- Professional Development
- Medicine & Nursing
- Arts & Crafts
- Health & Wellbeing
- Personal Development
2578 Courses in Southwater
Influencing and Decision Making
By Underscore Group
Gain practical skills in influencing and decision-making, perfect for anyone working in team-based or project-focused environments, with interactive, hands-on learning. Course overview Duration: 1 day (6.5 hours) This is a highly interactive and practical course which will help you to use influencing and decision making techniques. This workshop has been specifically designed to give you an opportunity to learn and test a range of influencing and decision making models and techniques. The course is aimed at anyone who interacts with others on a regular basis, especially those in project management disciplines, multi disciplinary, matrix type organisations where healthy debate and challenge are key to achieving optimum resolutions. Objectives By the end of the course you will be able to: Utilise a variety of new techniques to enhance your influencing skills Recognise the impact of non-verbal communication and use it to enhance influencing behaviours Use language skills necessary to get your message across in an influential way Apply different techniques for dealing with aggression Understand VUCA – Volatility, Uncertainty, Complexity & Ambiguous Use Perception, Bias, Decision Making and Judgement Understand personal preferences and approaches to Decision Making Speed read others approach to decision making Apply Mindsets, Skillsets and Toolsets for decision making Content What is influencing? Sources of power Influencing skills Choosing the right approach Developing Skills Communication skills – the language of influence Different influencing techniques and when to use them Having the confidence to challenge Dealing with confrontation and challenges in a confident manner The Decision Lifecycle – Personal Preferences Understand the human facts that influence decision making Understanding personal preferences and approaches to Decision Making Understand the impact of Perception, Bias and judgement in decision making Speed reading others approach to decision making Frameworks to provide context for decision making Understand the business factors that influence decision making - VUCA The Cynefin Framework – decision making in complex situations Understanding which business context, you operate in – simple, complicated, complex or chaotic Understanding how to decide in complexity Practical Practical exercises Case studies Personal action planning

Essential Presentation Skills
By Underscore Group
Develop the essential skills to begin your presentation journey. Course overview Duration: 1 day (6.5 hours) Overview When surveyed about their greatest fears, many people cite public speaking as their first. Also, in today’s business world staff and management are expected more and more to present to an audience of some kind. Whether it’s holding a staff meeting, speaking at a business event, training or simply motivating a team, this requires continued development of presentation knowledge and skills. This workshop offers participants the opportunity to develop the skills necessary to deliver confident, meaningful presentations that influence and inspire their audiences. Objectives By the end of the course you will be able to: Design, develop and deliver a confident presentation Control nerves during training sessions Make presentations memorable and relevant for an audience, therefore improving the opportunity for influence Deal with questions and minimise the impact of difficult situations Content Presenting with Power Why presenting with power is important How to present with power How to improve your public speaking Setting up for Successful Presentations Techniques that will help prepare effectively How to anticipate problems with presenting How to apply techniques to prepare for successful presentation Dealing with Nerves Effective preparation techniques to manage stress How performance anxiety affects you How to implement a plan to successfully deliver a presentation

Developing programme sponsorship
By Underscore Group
Investigate and recognise the role of project sponsor and the importance of the relationship between sponsor and project manager and how this can be improved. Course overview Duration: 1 day (6.5 hours) This workshop is designed to investigate, understand and develop the role of the project sponsor. By taking elements of effective governance from the guidance published by the APM (Association for Project Management) and Axelos Managing Successful Programmes, an improved project sponsor capability can be developed. The workshop will also explore the importance of the relationship between sponsor and project manager and how this can be improved. Whilst predominately designed for the project sponsor role, there is provision for a discussion with project manager representatives to agree an action plan to improve the delivery of projects within an organisation. Objectives By the end of the course you will be able to: Describe and commit to the role of the Project Sponsor Identify the key principles of governance that can contribute to success Describe the environment in which the projects are delivered Explain the financial and resource constraints within the project environment Define the criteria used for project selection Identify the expectations of key stakeholders and develop a clear communication plan to engage with them Identify and resolve areas of conflict Describe the relationship with the Project Manager Create an effective environment and relationship for project success Content Introduction The Project Environment The Principles of Governance The background to the training Roles The Project Sponsor The Project Manager The Project Board Sponsor responsibilities Defining Project Selection Criteria and Prioritisation Business Case and Justification Finance and Funding Resourcing the projects Stakeholder Engagement Project Governance Resolving conflict between stakeholders Benefits Realisation Capitalising the lessons learned during project reviews Delivering success The relationship with the Project Manager and team Action Plan for the future The workshop will use case studies drawn from previous client projects, both successful and less successful.

Microsoft Word - Document Production Part 2
By Underscore Group
Discover the more complex features of Word for long document creation. Course overview Duration: 1 day (6.5 hours) Our Word Document Production (Part 2) course shows you some of the more advanced features of Word that are key for long document creation. This course will enable you to create longer, more complex documents with ease, including adding cross references, headers and footers and a table of contents. This course is aimed at existing Word users who have attended our Word Document Production (Part 1) course or have equivalent knowledge and who want to extract the most out of the package. Objectives By the end of the course you will be able to: Create, amend and use templates Use styles for easy formatting Work with section breaks Manage linked headers and footers Insert pictures and objects Add cross references Create a table of contents Use tracked changes Content Creating templates Creating templates Using templates Amending templates Using styles in templates Adding styles to a template Using Heading Styles Managing Styles Applying template style changes directly from a document Copying styles between templates Working with different types of section break Next page section breaks Odd and even section breaks Inserting page numbers, headers and footers Creating custom headers and footers Inserting fields Using Section breaks Dynamic linking between Sections Page numbering in Sections Graphics Inserting pictures Inserting objects from other packages Object text wrapping options Picture options Adding cross references Creating cross references Creating a table of contents Generating a table of contents Setting table of contents styles Updating a table of contents Track changes Setting track changes Accepting and rejecting changes Viewing comments The reviewing pan
Outlook - Improving Efficiency
By Underscore Group
We use it everyday but there are so many additional tools to save you time and make your work in Outlook more efficient and less stressful. Course overview Duration: 4 hours People tend to think they know how to use Outlook however there are so many lesser known features that can make working in Outlook so much more efficient. Simply understanding the layouts, how to turn things on and off and customising the environment to your preferences can save time and frustration. You then have search features, things such as conversation clean up and quick steps that can help to tidy up and organise what you do. Objectives By the end of the course you will be able to: Customise Outlook to your preferences Manage email conversations Setup and use Quick Steps Create folders and organise information Setup rules Search for information Work effectively with calendars Content Customising the user interface Using the Navigation Pane and “To-do Bar” Setting folder pane options Adding favourites Peak preview Customising the quick access bar Setting reading pane and message preview Customizing email mail views Using the field chooser Email options Email conversations Conversation clean up Using Quick Steps Creating folders and organising information Setting email options Setting up rules Searching for information Using the Search bar Setting what to search for Setting where to search Searching for categories Adding more search options Working with calendars Setting what to view Using Schedule View Setting calendar options Weather bar Adding different time zones Adding meetings and appointments Setting up and using categories Opening other people’s calendars Setting calendar permissions Calendar groups Working with Tasks Lists Setting task options Adding and amending tasks Setting dates, deadlines and reminders Adding attachments to tasks Assigning tasks to others Flagging tasks Using and setting Quick Click Recurring tasks Flagging emails to appear on your task list Converting emails to tasks Converting tasks to calendar appointments
Prioritising and Decision Making
By Underscore Group
Learn how to be fully effective in your role without burning yourself out. Course overview Duration: 1 day (6.5 hours) There are only 24 hours in a day, and only so many of those that you want to spend in the office! While many people seem to see working long hours and being highly stressed as a badge of honour you can in fact be more productive and fully effective in your role without burning yourself out. Quite simply in this whirlwind world we need to be great at managing the time and that’s what this interactive one day workshop will teach you. Objectives By the end of the course you will be able to: Use a selection of tools to set goals, plan and prioritise your time Stop self-sabotaging and create more productive time every day Take control of your day, the time you have available and other people who try to steal your time Hold more effective meetings Manage stress so that you can be at your peak more often Content Getting Started Understanding the need to manage your time effectively Identifying your time stealers Setting goals Getting clarity about what needs to be done Understanding what is urgent and what is important in order to prioritise your tasks Planning your time Using to do lists and other time management tools Stop Self Sabotaging Understanding your time personality and the impact it can have on how you use your time and how others perceive your time management Recognising procrastination and taking action The myth of multitasking Creating focus and clarity in your day Using the time you have to be most productive Taking Control How to assert yourself with others who might be impacting your time management Managing interruptions Saying no and feeling OK about it Negotiating workloads Delegating How to hold productive meetings Managing your meeting attendance effectively Avoiding Burnout Exploring stress and how we respond to it Shifting mindsets Thinking differently Managing overwhelm and panic Tools to manage stress at work

Microsoft Project Reporting
By Underscore Group
Use the features in project to report effectively on your plans. Course overview Duration: 4 hours Our Project – Reporting course is aimed at experienced users of Project who need to create reports in their project plans. It looks at using the different types of report in Project, exporting data to other packages, building new reports and sharing reports between projects. Experience of using Project to create and resource plans is required. Objectives By the end of the course you will be able to: Print and PDF data from your project Use timelines Setup filters and groups Import and export data Create and share dashboard reports Content Printing and reporting Setup and Printing Creating PDFs Visual reports Using the Timeline Filtering and grouping Applying filters Applying grouping Creating your own filters and groups Importing and exporting data Importing data into Project Exporting data Creating and saving data maps Dashboard reports Using dashboard reports Creating dashboard reports Adding widgets Customising data shown
Power BI Advanced Reporting
By Underscore Group
Expand your Power BI knowledge and take your reports to the next level. Course overview Duration: 1 day (6.5 hours) This course is aimed at existing users who want to expand their skills to use advanced reporting techniques and use DAX to create calculated columns and measures. Participants should have either attended our Power BI – Introduction course or have equivalent knowledge. You should be able to import and transform data and create simple reports. Objectives By the end of the course you will be able to: Import and connect data tables Create and use date calendars Create calculated columns Create and use measures Use drill down and drill through Create Tooltip pages Add and customise slicers Add action buttons Streamline your report for use in the Power BI Service Content Review of importing and loading data Importing data Transforming data Adding custom columns Creating data models Building visuals Creating date calendars Building date tables Creating Financial Year information Including Month and Day information Creating calculated columns Power Query custom columns vs DAX columns Creating DAX calculated columns Creating measures Implicit vs Explicit Measures Building measures Using DAX Common DAX functions Drill Down vs Drill Through Review of drill down Creating drill through pages Using drill through Creating ToolTips Pages Adding pages to use for Tooltips Linking ToolTip pages to visuals Using action buttons Adding images Adding buttons Setting actions Working with slicers Adding slicers Changing slicer settings Syncing slicers between pages Showing what has been sliced Setting slicer interactions Techniques in the Power BI Service Hiding the navigation bar Stopping users manually filtering
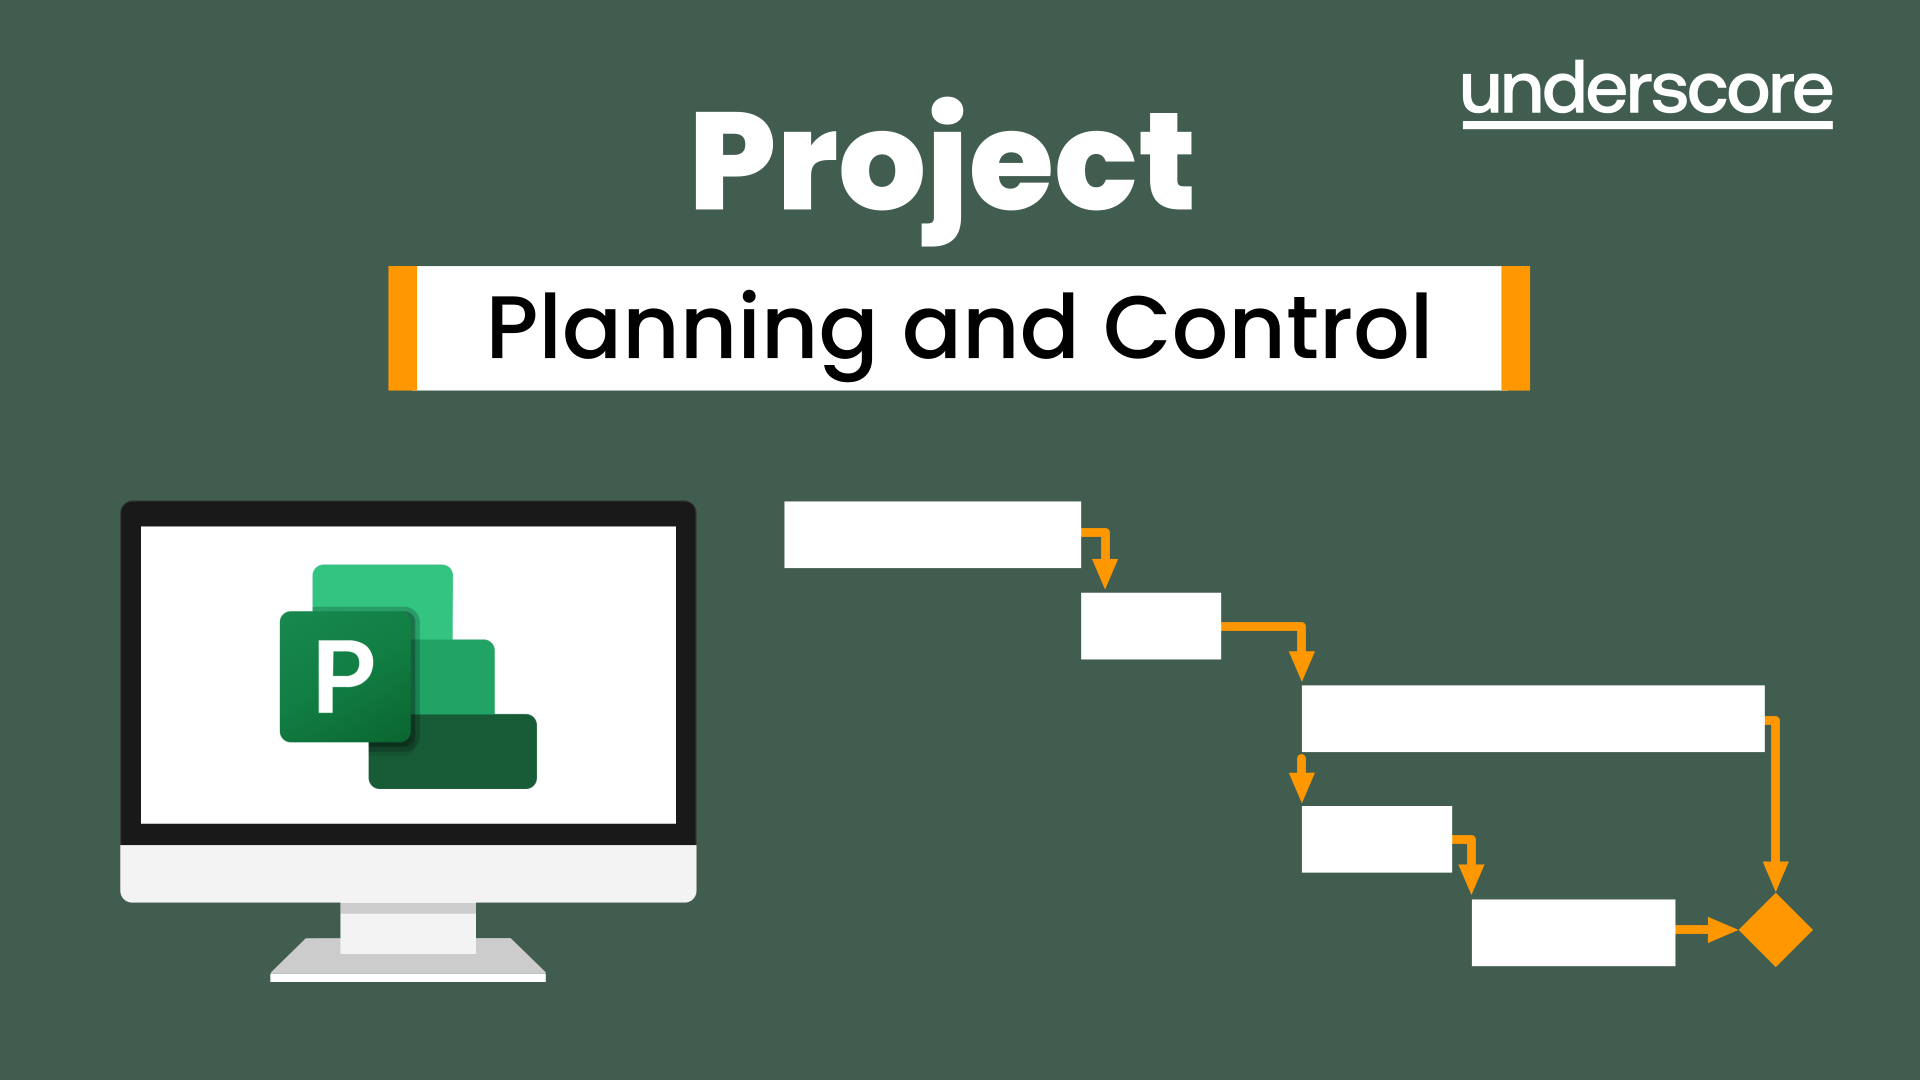
Project Planning and Control
By Underscore Group
Learn how to use Microsoft Project to create and resource robust project plans and how to maintain and track throughout the project lifecycle. Course overview Duration: 1 day (6.5 hours) Our Project Planning and Control course gives you the essential skills to use Microsoft Project to build, resource and monitor project schedules. It looks at initial setup, building plans, using a work breakdown structure and managing resources through to baselining and progressing your schedule. This course is designed for new or existing users of Microsoft Project, and no previous experience of Project is required. Knowledge of planning techniques would be an advantage. Objectives By the end of the course you will be able to: Create project schedules Build a Work Breakdown Structure Create relationships Set baselines Manage resources Set deadlines and task properties Print and report on your project Update and track project schedules Content Creating a new project Project defaults Project start date Setting default hours per day/week Setting daily working times Project timeline Building a project Creating a work breakdown structure Adding tasks and durations Estimated durations Setting milestones Recurring tasks Linking, Baselining and Resourcing Setting start dates and dependencies Task Inspector Resourcing Assigning resources Filtering available resources Baseline Setting a baseline Removing a baseline Managing resources Resource properties Dealing with over allocations Tasking information Constraint dates Setting deadline Assigning task specific calendars Task types Updating your project Completing work Completing work per resource Updating tasks Updating the project Rescheduling work Change highlighting Printing and reporting Setup and Printing Visual reports Using the Timeline Creating Dashboard reports
Coaching for Performance
By Underscore Group
Encourage people to think about how they can improve their performance through asking questions and coaching effectively. Course overview Duration: 1 day (6.5 hours) This workshop is suitable for anyone who is in a first line manager position looking to develop their coaching skills. The focus of the workshop is on understanding how coaching supports other management techniques, how it develops people and their performance, and how best to use coaching with your team. Objectives By the end of the course you will be able to: Define what coaching is and how it differs from and complements other management techniques State the benefits that coaching has for team members, managers and the business Use the key skills of coaching Implement strategies to deal with resistance to coaching Give feedback effectively while coaching Practice your coaching skills with real-life situations ContentWhat is Coaching How does coaching differ from mentoring, training, counselling? Giving advice vs coaching – The Power of 3 How does coaching support performance? Coaching as a leadership style Benefits of Coaching What are the benefits of taking a coaching approach for Team membersManagersThe wider organisation Key Skills How to build rapport for a positive coaching relationship Effective listening – understanding and practising the different levels involved in active listening Smart questioning The power of observation – reflecting back what isn’t being said Practical application throughout The GROW model for Coaching Understanding how to use the GROW model Types of questions to use at each stage Demonstration and practice Resistance for Coaching and Strategies Why might people be resistant to coaching? The role of “experts”, self-talk and self-concept in our thinking Expanding comfort zones Contracting and ethics Feedback/Directive Coaching Directive vs Non-Directive Coaching How and when to give feedback when coaching A feedback model Practice Action Planning