- Professional Development
- Medicine & Nursing
- Arts & Crafts
- Health & Wellbeing
- Personal Development
NVQ Level 3 Electrical Facials Unit
By The Angel Academy Of Teaching & Training
Electrical Facials Course This course is becoming more popular than ever before due to the amazing electrical equipment now available at reasonable prices for salons and therapist. An Electrical facial treatment can postpone early signs of ageing, improve the appearance of the skin and erase minor sun damage, scarring and pigmentation. Duration The course last two days, usually on a weekend, so you dont have to take time out of your busy week! Machines Covered: EMS, Galvanic, Microdermabrasion, High Frequency, Micro-current, Melia Extraction/Microlance

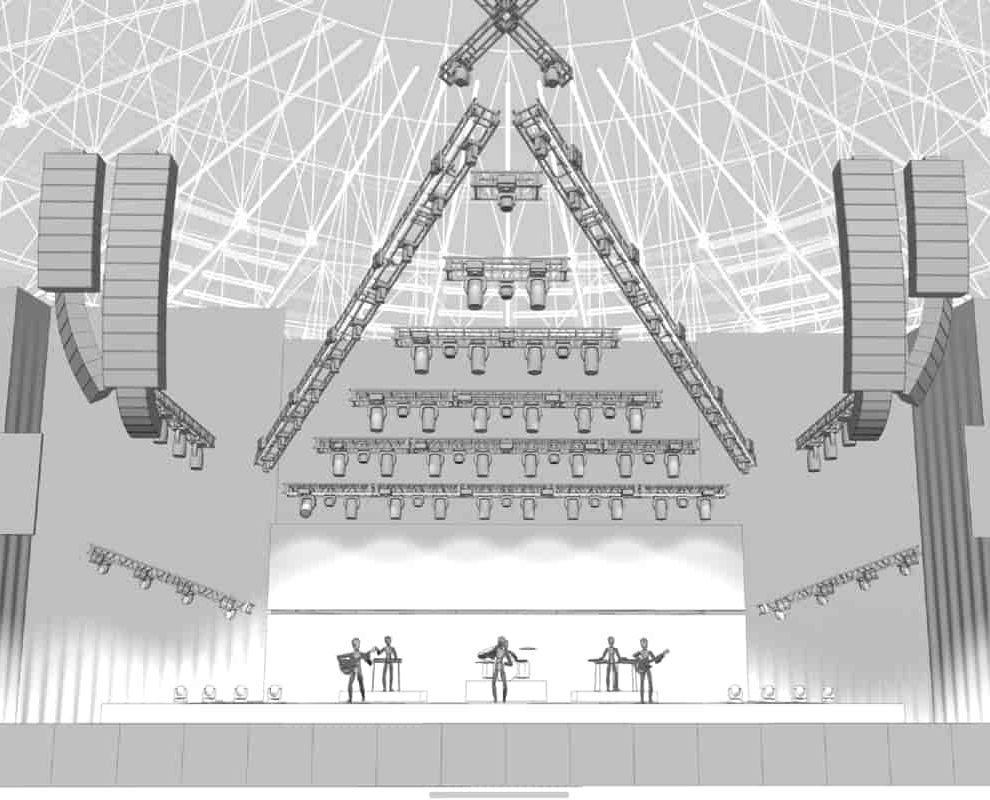
3ds Max Night Training Courses
By ATL Autocad Training London
Course Title: 3ds Max Night Training Program. Join our 3ds Max Evening Course for after-work convenience and guidance in 3D modeling. Personalized attention, and build an impressive portfolio. 3ds Max Courses & Classes Online and in-person in London. Click here for more info: Website Training Duration: 10 hours Learning Approach: 1-on-1 sessions and Customized content. Course Schedule: Reserve a convenient hour from 9 am to 7 pm, Monday to Saturday, to suit your schedule. I. Introduction to 3ds Max Course Overview Familiarization with the User Interface Basic Navigation and Settings II. Creating 3D Objects Formation of Primitive Objects Crafting Complex Shapes using Editable Poly Application of Modifiers to Objects Implementing Materials and Textures III. Lighting Introducing Light Sources in a Scene Different Types of Lighting Adjustment of Light Properties Creating Shadows IV. Camera Establishing Cameras and Camera Views Fine-Tuning Camera Settings Camera Animation Techniques V. Animation Fundamentals Keyframe Animation Techniques Utilizing the Time Slider and Track View Animation of Object Transformations Animated Materials and Textures VI. Rendering Configuration of Render Settings Selection of Output Format Batch Rendering Procedures Post-Processing Effects VII. Project-Based Learning Application of Learned Techniques in a Final Project Creative Problem-Solving for Project Completion In-Depth Course Outline: Modeling Techniques Edit Poly Modeling Extrusion, Chamfer, Cut, and Slicing Techniques Symmetry Mirror Modeling Designing Furniture (Tables and Chairs) Basic House Model Design Creating Lines and Shapes Importing Plans from AutoCAD/Vectorworks Interior Space Design Doors, Windows, Railings, Trees, and Stairs Modifiers Compound Objects (Connect, Scatter, Pro Boolean, Loft, Terrain) Bend, Taper, Twist, Stretch, Skew, FFD, Wave, and Ripple Lattice and Lathe Techniques 3ds Max Basic Lighting Omni Light Spot Light Direct Light 3ds Max Camera Techniques Free Camera Target Camera Texturing and Rendering Diffuse and Bump Mapping Incorporating Environment and Background Images Rendering Images with Advanced Lighting in 3ds Max For a hands-on experience, access a free 30-day trial of 3ds Max, a robust 3D modeling and rendering software for design visualization, games, and animation, via Autodesk's official website. Download 3ds max. Autodesk Download a free 30 day trial of 3ds Max, 3D modelling and rendering software. Learning Outcomes after 3ds Max: Advanced 3D Skills: Master intricate 3D modeling, animation, and rendering techniques. Project Experience: Apply skills to real-world projects, building a professional portfolio. Problem-Solving: Develop critical thinking for complex design challenges. Potential Jobs: 3D Modeler: Create detailed 3D models for various industries. Character Animator: Animate lifelike characters for entertainment media. Architectural Visualizer: Produce realistic architectural renders. Interior Designer: Visualize and present interior designs. Game Environment Artist: Design immersive game environments. Product Visualization Specialist: Render detailed product visuals. Visual Effects Artist: Create stunning visual effects for film/TV. Freelance 3D Artist: Take on diverse projects as an independent professional. Details: Duration: 10 Hours of Comprehensive Training Focus: Advanced 3D Modeling, Animation, and Rendering Techniques Learning Format: Personalized One-on-One Sessions for Maximum Attention Availability: Flexible Scheduling, Monday to Saturday, 9 am to 7 pm Instructors: Certified Experts and Industry Professionals Materials: Certificate of Completion and Extensive Training Guides Interactive Learning: Live Feedback Sessions and Access to Recorded Classes Support: Lifetime Email and Phone Assistance for Continued Learning Special Benefits: Competitive Rates, Referral Discounts, and Assistance with Software Installation This intensive 3ds Max Masterclass provides advanced training in 3D design and animation, ensuring personalized attention, interactive learning, and lifelong support for your creative journey. Personalized Instruction: Skilled trainers provide tailored one-on-one coaching, meeting your unique learning requirements. Practical Learning: Participate in hands-on demonstrations, strengthening skills applicable in design, gaming, and film industries. Comprehensive Materials: Obtain a Certificate of Attendance and detailed guides for continuous reference. Interactive Engagement: Engage in live sessions with tutors, gaining valuable feedback and access to session recordings. Flexible Learning: Choose between online or in-person sessions, aligning with your schedule and preferences. Value and Support: Benefit from competitive rates, referral discounts, and lifelong assistance via email and phone. Seamless Start: Get help with software installation, ensuring a smooth and hassle-free learning experience.

Level 2 NVQ Diploma in Hairdressing
By Alan d Hairdressing Education
Aimed at those wanting to be work-ready upon completion, this Beginners Hairdressing Course is the perfect way to start your new career. You’ll be cutting hair on day 2! You’ll also have training on roller-setting, long hair, colouring, perming, client care, shampooing, blow-drying and salon protocol.

Vectorworks Evening Training
By London Design Training Courses
Why choose Vectorworks Evening Training Course? Course Link. This course led by certified expert, this course offers flexibility for evening learning. Choose in-person or live online sessions to master Vectorworks in architecture, interior design, and landscaping. Enroll now even after business hours! Duration: 10 hrs. Method: 1-on-1, Personalized attention. Schedule: Tailor your own schedule by pre-booking a convenient hour of your choice, available from Mon to Sat between 9 am and 7 pm. The Vectorworks course provides comprehensive training in computer-aided design (CAD) and Building Information Modeling (BIM) using the powerful Vectorworks software. This hands-on, instructor-led course covers 2D drafting, technical drawing, and 3D modeling, enabling participants to apply Vectorworks effectively in real-world projects. Key Features: Hands-on, instructor-led classroom training. Practical Vectorworks CAD projects for real-world application. Part-time evening or weekend options available. 1-2-1 Private learning experience. Module 1: Grasping CAD and Vectorworks Understanding the Role of CAD in Design Getting Acquainted with Vectorworks Software Module 2: Configuring Your Workspace Customizing Your Workspace Essential Options and Preferences Module 3: Mastering Foundational Drawing Skills Techniques for Drawing Object Selection Methods Module 4: Advanced Object Manipulation Merging Shapes Reflecting Objects Rotating Objects Grouping Elements Module 5: Precision Drawing and Scaling Techniques Working with Scale Setting Preferences for Accuracy Creating and Saving Templates Module 6: Achieving Accurate Object Placement Ensuring Drawing Precision Precise Object Movement Module 7: Advanced Editing Methods Utilizing Fillet Tool Applying Offset Function Module 8: Understanding Object Attributes and Groups Basic Attribute Management Editing Object Groups Module 9: Object Duplication Techniques Linear Duplicates Rectangular Duplicates Circular Duplicates Module 10: Crafting Room Plans Designing Walls Incorporating Windows and Doors Module 11: Development of Room Plans Methods for Room Plan Drawing Module 12: Exploring Additional Attributes Hatch Patterns Gradients Image Fills Module 13: Creating Elevation Drawings Elevation Drawing Techniques Effective Approaches Module 14: Importing Images for Graphic Use Graphic Illustration Integrating Images Module 15: Symbols and Resource Handling Symbol Creation Introduction to Resource Browser Module 16: Organizing Drawings Using Design Layers Optimizing Design Layer Utilization Module 17: Labeling Drawings and Title Blocks Drawing Labels Title Block Text Placement Module 18: Plotting and Printing Methods User Interface Navigation and Terminology Printing Approaches Module 19: Generating Drawing Sheets A1, A2, and A3 Sheet Formats Module 20: Utilizing Viewports Effectively Managing Multiple Views Module 21: Professional Model Presentation Techniques Paper Space Presentation Conversion to PDF Formats Module 22: File and Project Management Module 23: Object Display and Terminology Module 24: Objects and Data Management Module 25: Precise Object Placement Object Snapping Quick Selection Module 26: Dividing and Measuring Objects Module 27: Dimensioning and Annotations Module 28: Working with Text Elements Module 29: Customizing Tool Palettes Module 30: Organizing Tool Palettes Module 31: Efficient Tool Palette Usage Module 32: Standard Views and Drawing Techniques Module 33: Drawing Curved Shapes Arcs, Donuts, and Ellipses Drawing Module 34: Real-World Units and Measurements Module 35: Object Manipulation Adjusting Object Angles Module 36: File Handling and Management Saving, Exiting, and Opening Projects Module 37: Creating Mirrored Images Module 38: Introduction to 3D Modeling By the end of the Vectorworks Evening Training Course, participants will: Demonstrate proficiency in using the Vectorworks interface, tools, and navigation. Create and edit 2D drawings, including walls, doors, windows, floors, ceilings, stairs, and railings. Effectively manage layers, classes, and views for organized and controlled object placement. Create and edit dimensions and annotations for accurate measurements and documentation. Develop skills in creating, modifying, and utilizing symbols for increased efficiency. Generate and edit 3D geometry, apply textures, and create sections and elevations from 3D models. Create polished presentation drawings using viewports, annotations, and text for clarity. Summarize course content and confidently apply learned skills in Vectorworks projects. Utilize available resources for further learning and professional development.
Mastering effective feedback is crucial for empowering others but can be damaging if not delivered thoughtfully. This course equips mangers and leaders with tools to deliver sensitive, factual, and specific feedback for positive outcomes. It also guides them in soliciting feedback, processing it constructively, and fostering a growth mindset for continuous improvement. This course is available to book for delivery in-house for your organisation and people exclusively, for either a half or full days training workshop. Prices are dependent on size of group ranging from a minimum of 4 to a maximum of 12 delegates. If you have a smaller number of delegates the Puritas 1:1 Leadership Coaching Programme is recommended.

Vectorworks Night Training Courses
By ATL Autocad Training London
Why Choose Vectorworks Night Training Courses? Flexibility: Learn around your work schedule. Personalized Attention: Small classes for focused guidance. Practical Learning: Hands-on training for immediate application. Convenience: Balance work and learning seamlessly. Check our Website Training Duration: 10 hours. Approach: Personalized 1-on-1 Training and customized training. Timings: Schedule a convenient hour, Mon to Sat, between 9 am and 7 pm. Course Outline: Mastering Vectorworks Basics I. Introduction to CAD and Vectorworks Software Understanding the role of Computer-Aided Design (CAD) in modern workflows. Comprehensive introduction to Vectorworks software. II. Workspace Setup and Fundamental Options Configuring the workspace for efficient navigation and operation. Exploring basic options to enhance user experience. III. Basic Skills in Drawing and Object Selection Mastering fundamental drawing techniques. Expertise in selecting and manipulating objects. IV. Advanced Editing Techniques Combining shapes, mirroring, rotating, and grouping objects effectively. Working with precise scaling, preferences, and templates. V. Detailed Object Manipulation and Attributes Drawing and moving objects accurately within the design space. Utilizing advanced editing tools like fillet and offset. Introduction to basic attributes and group editing. VI. Advanced Drawing Techniques and Graphics Creating room plans with walls, windows, and doors. Implementing graphic elements such as hatching, gradients, and image fills. Drawing elevations using various methods and techniques. VII. Resource Management and Design Layers Importing images for graphic illustration. Creating symbols and navigating the Resource Browser. Organizing the drawing effectively using design layers. VIII. Labels, Annotations, and User Interface Mastery Labeling drawings and incorporating simple title block text. Navigating the user interface, understanding key terminologies. Plotting, printing, creating sheets (A1, A2, A3), and working with viewports. IX. Advanced Object Manipulation and Customization Converting drawings into PDF files. Efficiently working with files, objects, and data. Utilizing object snaps, quick selection, division, and measurement. X. Dimensioning, Text, and Tool Palettes Implementing dimensioning and annotations effectively. Working with text, custom tool palettes, and organizing these palettes. Creating standard views and additional drawing objects (Arc, Donut, Ellipse). XI. 3D Modeling Introduction and Real-World Units Introduction to 3D modeling, focusing on creating extrudes. Working with real-world units for accurate representation. XII. Advanced Object Manipulation and Exporting Manipulating objects, changing object angles, creating mirror images. Dealing with architectural elements like walls, doors, windows, and floors. By the end of the Vectorworks Evening Training Course, participants will: Demonstrate proficiency in using the Vectorworks interface, tools, and navigation. Create and edit 2D drawings, including walls, doors, windows, floors, ceilings, stairs, and railings. Effectively manage layers, classes, and views for organized and controlled object placement. Create and edit dimensions and annotations for accurate measurements and documentation. Develop skills in creating, modifying, and utilizing symbols for increased efficiency. Generate and edit 3D geometry, apply textures, and create sections and elevations from 3D models. Create polished presentation drawings using viewports, annotations, and text for clarity. Summarize course content and confidently apply learned skills in Vectorworks projects. Utilize available resources for further learning and professional development. Who Should Attend? Perfect for those aiming to master Advanced 2D Plans, Sections, Elevations and Construction detailing, lighting, and rendering in Vectorworks. Schedule Flexibility: Book personalized 1-on-1 sessions, Monday to Saturday, 9 a.m. to 7 p.m. Split 10 hours to fit your schedule. Method: Choose in-person or Live Online 1-on-1 sessions with tailored content and individual support, including Zoom options. Why Vectorworks? A pioneering CAD software, Vectorworks seamlessly integrates 2D and 3D capabilities, making it ideal for architects and designers. Free Educational Access: Students and professors can access a complimentary Vectorworks Designer license via the Academic Portal. Explore Vectorworks: Transform your designs with Vectorworks, the leading 2D, 3D, CAD, BIM software. Download or try now: https://www.vectorworks.net Tailored Training Solutions: We offer customized and project-focused training programs, designed to meet your specific needs and goals. Individualized Coaching: Receive personalized one-on-one guidance tailored exclusively for you. Adaptable Timings: Choose training slots that align with your schedule, ensuring flexibility in your learning journey. Ongoing Assistance: Access continuous post-course support to enhance your understanding and resolve queries. Comprehensive Learning Resources: Receive detailed materials providing in-depth insights for effective learning and reference. Recognition of Participation: Earn a Certificate of Attendance upon completion of your personalized training. Affordable Learning: Benefit from cost-effective rates, making quality education accessible to all. Software Setup Guidance: Get expert assistance in setting up your software on your devices for seamless learning experiences. Rewards for Referrals: Recommend our courses to others and enjoy special rewards for each successful referral. Group Learning Benefits: Enjoy exclusive discounts when you opt for group training, making it an ideal choice for teams. Convenient Hours of Operation: Access our training services at your convenience, with operating hours extending to accommodate your busy schedule. Tailored Learning Paths: Experience courses curated specifically for your needs, ensuring targeted and effective learning outcomes.
Essential to Intermediate Adobe Illustrator Training
By ATL Autocad Training London
Whio is this Course for? Essential to Intermediate Adobe Illustrator Training Ideal for beginners, this course covers vector graphics, logos, icons, and illustrations. Learn typography, color theory, and compositions. Our certified tutors offer personalized guidance, and flexible scheduling options are available to accommodate your needs. Click here for more info: Website Duration: 6 hours Approach: 1-on-1 sessions and custom-tailored content. Schedule: Available Mon to Sat from 9 am to 7 pm, designed to fit your convenience. Course Title: Essential Adobe Illustrator Training Duration: 6 Hours Session 1: Introduction to Adobe Illustrator (1 hour) Overview of Illustrator interface and tools Understanding vector graphics and their advantages Creating and managing artboards Basic shape creation and editing techniques Session 2: Mastering Shapes and Paths (1 hour) Advanced shape manipulation: Pathfinder and Shape Builder tools Working with the Pen tool: curves, anchor points, and handles Creating complex shapes and compound paths Understanding the Appearance panel for object styling Session 3: Typography and Text Effects (1 hour) Text formatting: fonts, styles, and spacing Working with text on paths and shapes Applying text effects and blending modes Creating stylized typography and lettering Session 4: Image Tracing and Live Paint (1 hour) Image tracing techniques: converting raster to vector Live Paint feature for intuitive coloring of objects Creating detailed illustrations using traced images Incorporating images into your vector artwork Session 5: Advanced Illustration Techniques (1 hour) Gradient and pattern fills: customization and application Advanced brush techniques for artistic effects Using the Appearance panel for intricate object styling Incorporating 3D effects and perspective tools Session 6: Project-Based Learning and Q&A (1 hour) Guided hands-on project incorporating learned techniques Instructor-led review and feedback on projects Open Q&A session to address participant queries and challenges Upon completing this course, participants will have gained proficiency in essential and advanced Illustrator techniques, empowering them to create intricate vector graphics, logos, icons, and illustrations efficiently and creatively. Learning Outcomes: Upon completing the course, participants will: Master Illustrator Tools: Proficiency in essential Illustrator tools for vector graphic creation. Creative Expertise: Advanced skills in typography, image tracing, coloring, and intricate illustration techniques. Problem-Solving: Develop problem-solving abilities for complex design challenges. Job Opportunities: Graphic Designer: Create branding materials, logos, and marketing collateral. Illustrator Artist: Produce detailed digital artwork and illustrations for various media. UI/UX Designer: Design user interfaces for websites and mobile applications. Freelance Illustrator: Offer custom vector illustrations for clients and projects. Logo Design Specialist: Craft unique and memorable logos for businesses and brands. Skills Acquired: Participants in the Essential to Intermediate Adobe Illustrator Training will acquire fundamental to intermediate skills in vector graphic design, drawing, and illustration using Adobe Illustrator. Key skills include: Basic to Intermediate Vector Graphic Design Drawing and Illustration Techniques Precision Path Editing and Typography Skills Job Opportunities: Upon completion, individuals can pursue roles such as: Junior Graphic Designer Illustrator Assistant Layout Designer Marketing Material Creator This training lays the foundation for a career in graphic design, enabling participants to contribute effectively to design teams, advertising agencies, and creative projects. Featuring certified instructors with extensive professional expertise in the application. Attend in-person sessions at our center or join live online classes. The training is interactive and practical, blending theory with step-by-step demonstrations on Illustrator software. Delegates practice techniques on both Windows and Mac computers, ensuring universal compatibility. Upon completion, receive a comprehensive Illustrator training guide in your preferred format: printed or PDF. Earn an e-certificate as proof of completing the accredited course. Enjoy lifelong email support for any post-training queries. No prior Illustrator knowledge is needed. Our commitment includes delivering exceptional value, ensuring comprehensive learning, and accommodating both the 2023 version and recent releases of Illustrator.

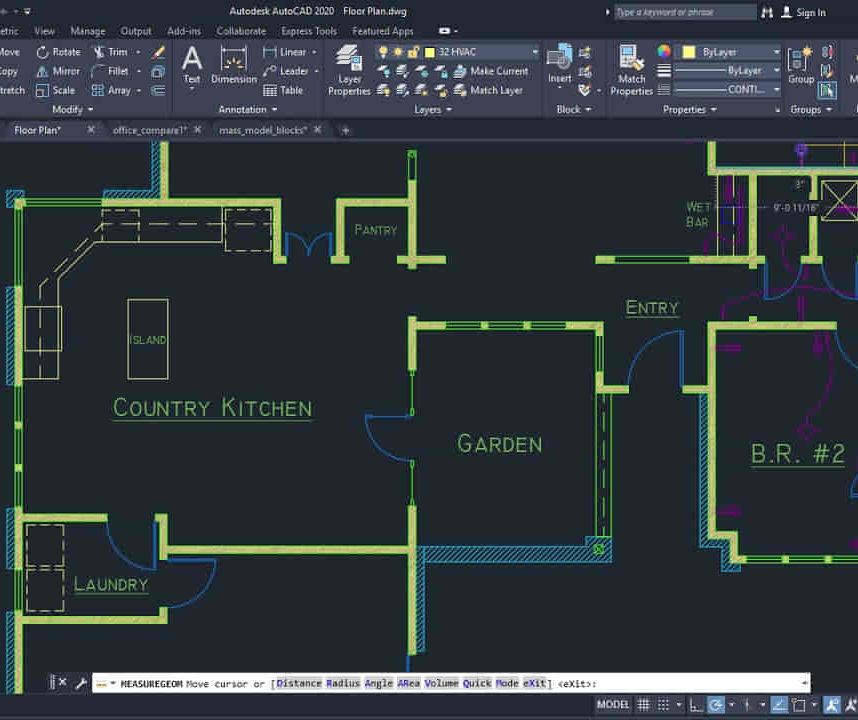
AutoCAD 2D Introduction to Intermediate Course
By ATL Autocad Training London
Why Learn AutoCAD 2D Introduction to Intermediate Course? Click here for more info: Website Whether you're starting a career, enhancing skills, or exploring creativity, this course is tailored for you. Learn on Windows or Mac, transform into a confident AutoCAD user. Transition to our Intermediate to Advanced Course post-completion. Duration: 10 hrs. Personalized 1-on-1 training. Perfect for beginners, this course offers flexible scheduling (Mon-Sat, 9 am-7 pm) and covers 2D plan and elevation creation in AutoCAD. AutoCAD 2D Course Outline Workspace Exploring the working environment Managing files Displaying objects Constructing fundamental drawings Inputting data Constructing basic objects Utilizing object snaps Utilizing Polar Tracking and PolarSnap Implementing object snap tracking Handling units Manipulating objects Selecting objects in the drawing Adjusting an object's position Generating new objects based on existing ones Modifying an object's orientation Creating mirrored versions of existing objects Designing object patterns Altering an object's dimensions Organizing and querying drawings Utilizing layers Modifying object attributes Matching object attributes Utilizing the properties palette Applying linetypes Using inquiry commands Modifying objects Trimming and extending objects to specified boundaries Generating parallel and offset geometries Merging objects Dividing an object into two separate entities Applying rounded corners to objects Producing angled corners between objects Modifying an object's shape Layouts and viewports Harnessing layouts Creating layout configurations Modifying layouts and employing page setups Working with viewports Creating layout viewports Managing layout viewports Controlling object visibility within layout viewports Annotating a drawing Generating multiline text Creating single-line text Implementing text styles Editing text Dimensioning Creating dimensions Utilizing dimension styles Adjusting dimensions Implementing multileaders Hatching objects Hatching elements Editing hatch patterns Managing reusable content Working with blocks Exploring DesignCenter Utilizing tool palettes Designing additional drawing elements Managing polylines Generating splines Crafting ellipses Working with tables Producing plotted drawings Employing page setups Utilizing plotter configuration files Creating and applying plot styles Plotting drawings Plot style tables Publishing drawings Generating drawing templates Leveraging drawing templates Download AutoCAD AutoCAD Trial https://www.autodesk.co.uk After completing the AutoCAD 2D Introduction to Intermediate Course, you will: Master Fundamentals: Understand AutoCAD basics, including navigation and terminology. Create Precise Drawings: Develop the skills to create accurate 2D drawings like plans and elevations. Manipulate Objects: Learn object selection, modification, and pattern creation. Dimension Proficiency: Create and edit dimensions and use text styles effectively. Layer Control: Organize drawings with layer management. Annotation Skills: Handle text and annotations with ease. Layouts and Viewports: Work with layouts and viewports for presentation. Plotting Expertise: Plot and publish drawings confidently. Customization Options: Explore advanced features for efficiency. Intermediate-Level Competency: Transition from beginner to an intermediate level of AutoCAD proficiency. This course equips you with essential skills for various industries, including architecture and engineering. This one-on-one CAD course is perfect for students who are either entirely new to the software or possess limited self-taught knowledge. Regardless of your starting point, our goal is to get you drawing plans within the very first hour of your class. We'll begin by building a strong foundation in AutoCAD, ensuring that you understand its core principles before delving into more advanced topics. If you have specific preferences, we can customize your AutoCAD learning experience to align with your goals. On the initial day of the course, we'll cover fundamental aspects such as user interface and terminology. Subsequently, you'll engage in a diverse range of lessons designed to deepen your understanding of AutoCAD and its creative processes. Topics covered will include introductory drawing techniques, editing functions, drawing aids, working with layers, managing text, and handling dimensions. Throughout the course, you'll practice through various drawing exercises and explore the intricacies of plotting. By the course's conclusion, you'll possess the skills needed to create your own simple drawings, suitable for applications in architectural, interior, engineering, events, furniture, or product design. Included in the course price are the following: Lifetime Email Support: Enjoy unlimited access to our support via email throughout your learning journey. Expert Instruction: Benefit from expert teaching provided by practicing architects, designers, and software professionals. Hands-On Learning: Engage in practical, hands-on lessons that can be customized to match your project requirements. Comprehensive Resources: Access video recordings and a digital reference PDF book for revision and continuous development. Certification: Receive a certificate of completion from us to enhance your CV and LinkedIn profile. Career Guidance: Gain valuable insights into pursuing design roles or establishing a creative business. Our experienced tutors will help you acquire the technical skills needed to make your CV and portfolio stand out. Our instructors, who are accomplished interior designers, animators, architects, and software experts, will not only impart technical expertise but also provide guidance on achieving success in the design industry or entrepreneurial endeavors.
Designated Person Ashore (DPA)
By International Maritime Training
According to the ISM Code the Designated Person Ashore (DPA) plays a key role in the effective implementation of a Safety Management System and takes responsibility for verification and monitoring of all safety and pollution prevention activities. To comply with the ISM Code a shipping company should be able to provide documentary evidence that the DPA has received sufficient training to undertake the necessary duties. In this course the participants will be fully prepared to assume the role of DPA. This means providing them with the knowledge, understanding and skills necessary to implement and maintain the company’s SMS as required by the ISM Code. Objectives The aim of the course is to provide knowledge, understanding and proficiency necessary to understand ISM code and also to provide training for all DPAs (and those preparing to become DPAs) so that they can fully understand their responsibilities and roles of this important position with respect to full compliance with the ISM Code.

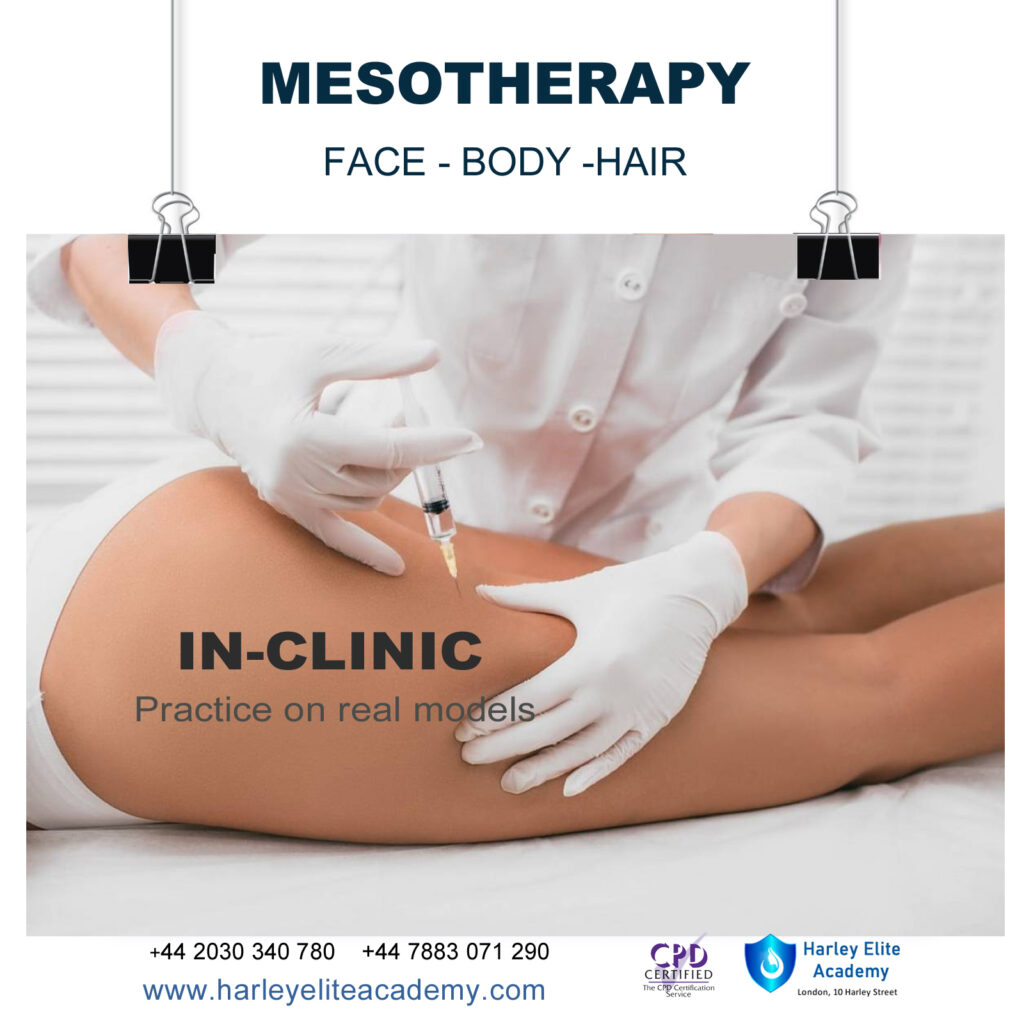
MESOTHERAPY, FACE, BODY, HAIR COURSE
By Harley Elite Academy (HeLa)
MASTERCLASS 8 CPD POINTS 1 DAY INTENSIVE COURSE ONLINE or IN-CLINIC NOTE! After booking we will contact you for scheduling the exact course date! Courses dates are subject to change due to mentors availability. We will inform you via email if a date becomes available! Nose Job Masterclass You will perform this procedure on live models under the supervision and guidance of highly experienced aesthetic practitioners. You will be trained under ENT specialist. We will give you all the knowledge you need for a safe technique in your practice. A certification of training will be provided upon completion of the course. Practice will enable you to learn in 1-day ONE-TO-ONE Training You will also have the opportunity to view a mesotherapy treatment demonstration at the conclusion of the training. Upon successful completion of the course, you will receive a certificate and title of Mesotherapy Certified Practitioner. You need to be medically qualified as a doctor, dentist, nurse, pharmacist or paramedic with full governing body registration and have completed a Foundation Filler Course and to have administered a number of cases. Additional information ATTENDANCE ONLINE (Theory), IN CLINIC (Practice) COURSE LEVEL EXPERT | Masterclass Course