- Professional Development
- Medicine & Nursing
- Arts & Crafts
- Health & Wellbeing
- Personal Development
Leather Bag Making Retreat
By Crafts ‘n’ Coffee
If you want to bag-make with genuine leather but are nervous of trying it, this weekend is ideal for you. It will give you the confidence to make your own leather bags at home and you’ll make some fab friends along the way! VERY IMPORTANT! Before booking, please check that your machine can cope with sewing at least 6 layers of faux leather or vinyl. Flat sewing is fine – if the machine can do that, we can manage lumps and bumps! **This retreat is a little different from many others in that making a bag isn’t the point of the weekend, although you will indeed make one. The focus is on learning new transferable techniques and skills that you will be able to use on so many bags you make in the future. We have our own ‘Retreat Suite’ of rooms, including a spacious, light and airy sewing room which is equipped with a display screen so everyone can easily see demonstrations from a working viewpoint. We also have our own bathroom and kitchen facilities. If you wish, you are free to continue work after dinner and until as late (or early!) as you like. You will need to bring your own sewing machine, fabric scissors and any other favourite sewing tools, but everything else is provided. We’ll have a good selection of fabrics, vinyls and leather for you to browse and purchase if you wish, at retreat-only prices. Come and join us in the exclusive Facebook group Bag Makers Retreat at https://www.facebook.com/groups/bagmakersretreat/ for all the latest retreat info, chat, gossip and more, plus a chance to meet other like-minded folks. If you have dietary requirements, please tell me before you book, so I can be sure we can meet your needs. All meal main courses are included in the retreat fee, as are Saturday and Sunday lunches and breakfasts. Starters, desserts and drinks with meals are not included but the meals are so huge you probably won’t want starters and desserts anyway!! Tea and coffee is available whenever you need, but you do have to make it yourself! If you’d like to stay an extra night or two, maybe to arrive on Thursday or leave on Monday if you have a long drive, let me know and I’ll check availability with our host. If you’d prefer to travel by train, we are happy to ferry you to and from the station, just ask. Please aim to arrive no later than 2pm as we have a lot of pattern cutting and fabric choosing to get through on Friday! Friday The fun starts here as you arrive at your weekend home-from-home – a beautifully refurbished, 4-star 18th century coaching inn with all the comforts you would expect. You’ll have time to settle into your own delightfully comfortable en-suite room which has all the anticipated little luxuries, before an introductory get-together with me and your companions in the sewing room at 2pm. You’ll be given your own copy of the bag pattern, which is very beginner- and strong domestic machine-friendly (see note in bold at the top of the page), but which will incorporate a lot of features and techniques that are also in much more complex designs, making this an excellent springboard to any leather or other bag you want to make. Then you can wallow in the plentiful stash of leathers and fabrics to choose from. All the leather, fabrics, interfacing, stabiliser, threads and bag hardware you need are supplied. As soon as you’re ready, you can start preparing and cutting out your pattern and some of the bag pieces so we can hit the ground running in the morning. After a superbly-cooked and substantial evening meal at around 6pm or so, you are welcome to continue working in the sewing room or to simply relax and chat there before bed. Saturday After an excellent breakfast, we can really start work learning some new skills and beginning work on construction. You’ll work at your own pace from around 9am with no pressure – I want your weekend to be fun and not stressful! We will walk through the techniques together and I will be there the whole time to answer questions and troubleshoot any tricky bits. You’ll also have the chance to try sewing with faux leather , if you haven’t already, and we’ll explore ways and techniques to use and apply rivets. Refreshments are freely available all day and you can take a break whenever you wish. A light lunch (with homemade cake!!) is also provided and we’ll have a short break in the middle of the day. The rest of the day will be similar to Friday – sewing, dinner at 6ish and more sewing if you wish to before bed. Do feel free to have a walk or just sit outside for a breather if the weather is kind. Sunday How can it be Sunday already?? Breakfast over, we’ll get back to work. You will need to allow a few minutes to pack and check out of your room, as it has to be made ready for Monday’s guests. Apart from that, it’s uninterrupted sewing (with refreshments and lunch breaks!) until your bag is finished. We’ll be heading off for a lightish lunch at 12.30pm or so. We have the sewing room for the rest of the day. If you don’t quite get done, there’s absolutely no need to worry as you’ll easily be able to complete your bag at home. If you finish earlier feel free to head home whenever you’re ready. Amongst loads of other hints and tips, you’ll learn – Choosing and handling leather How to make professional quality rolled handles Creating and applying custom bag feet How to create a zipped pocket the pro way How to use edge paint and get a professional finish with it Sewing the bag together and topstitching Reducing bulk with leather A sneaky way of getting your bag right-sides-out without ugly seams! An easy way to add a zipper pull without tools Working with different types of rivet machine and loads more. You’ll have an exclusive pattern, created just for the Retreats, which includes comprehensive mini-tutorials and full instructions. And I hope you have a lot of fun and make new friends while you learn!! I never abandon my students at the end of the course so if you get stuck on anything at home, you are welcome to give me a shout on Messenger and we’ll sort out your problem together. The not-so-small print Book your place using the simple booking system below – just click on your choice of dates and go from there. The full price is £465.00. The deposit of £65 is non-refundable if you cancel but can, however, be credited towards a future retreat booked within the next 6 months. It is completely refundable if I or the venue cancel. The booking page only shows the Friday, but the course is running until Sunday. The balance of £400.00 is payable by approx 6 weeks before the retreat date and payment instructions will be sent to you in good time. Cancellations 4 weeks or less before the retreat date can only be refunded if someone on the waiting list can come instead. If you book, pay and attend without pre-checking that your machine can sew the required thicknesses, as detailed in the note at the top of the page, I’m afraid no refunds will be given if it proves that your machine can’t cope during the Retreat. I may have a machine available to lend, but can’t promise one. *Don’t worry that your booking confirmation may be headed Unicorn Studios – it’s just the site that I’ve run my booking system from for years… it’s not a scam!! *


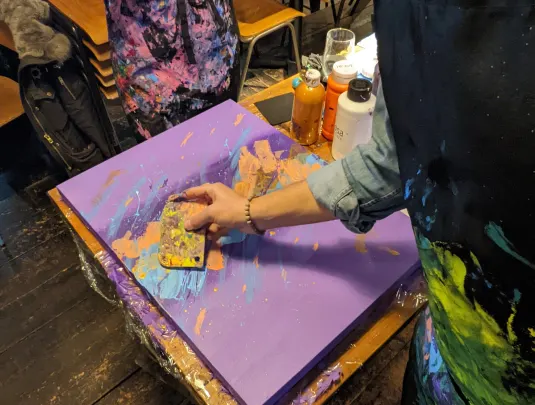
PAINT WITH INTENTION - ABSTRACT ART AND WELLBEING RETREAT
By Anna Kosa
BYO materials, canvas, drinks from home and join us for a fun evening painting together and chatting with local artists and art enthusiasts. All is welcome w...
Spend two lovely days at our alpaca farm designing and making your own completely unique hand woven scarf. Working on a Rigid Heddle loom you will choose your yarns from the beautiful natural colours and hand dyed yarns from the Burnt Fen Alpacas herd. We work in my studio - a Mongolian yurt next to the alpaca fields and the alpacas will no doubt visit to say hello. We have around 40 alpacas ranging through whites, fawns, browns, greys and blacks so there are plenty of natural colours to choose from! Any dyed yarn is hand dyed on the farm using natural dyes. Refreshments are available all day and a there is a delicious homemade soup for lunch.

Java OOP Course Duration: 1 Day Who would find this course useful? This is useful if you have some coding skills already. This course is fast paced, not quite basics level. It specifically concentrates on Object Oriented Programming Principles (OOP) in Java. Download: Download Java JDK and Eclipse IDE. For classroom courses: Bring your own device. Java OOP Course description Session 1: General Concepts Revision: Scanner, Input from stdin, Print to stdout. Descision, While and For Loops Arrays Session 2: Packages, Methods, Encapsulation Using packages Creating and calling methods, parameters, method overloading Data protection through encapsulation Session 3: Classes, object construction Inheritance, method overload and override Polymorphism or runtime binding Session 4: Constructors, parameterised constructors Create abstract classes and methods Create and use an interface Session 5: Use the access modifiers protected and the default (package-friendly) Create static variables, methods, and initialisers Create final classes, methods, and variables Session 6: Nested Classes, Local Classes, Anonymous Classes, and Lambda Expressions, Enum Types Nested and inner classes; A stack class. What is included PCWorkshops Course Certificate on completion Java Course Notes Java Code Examples Practical Java Course exercises, Java Course Revision work After the course: 1-Hour personalised online revision session Book the Java OOP Course Powered by Eventbrite About us Our experienced trainers are award winners. More about us FAQ's Client Comments

PowerPoint - introduction (In-House)
By The In House Training Company
This one-day workshop focuses on building a professional presentation from scratch, giving you essential hints and tips on how to utilise the key features of PowerPoint, including speaker notes, inserting charts, diagrams and pictures, and utilising slide transitions and animation. You will also learn about PowerPoint templates and themes to ensure your presentations have the best impact. This course will help participants: Using Slide Master Create a presentation using a template Insert slides and change the layout Manage slides and control formats Enhance slides using animation, pictures, charts and graphics Work with tables, rows, cells and columns Create and control paragraph lists Insert titles and labels Effectively use slide show controls and presenter view Print slides, handouts and notes 1 Introduction to PowerPoint Navigating the features Creating a simple presentation Inserting new slides and changing layouts Creating speaker notes 2 Using Layouts in Slide Master Editing templates in slide master Adding a design theme Adding transitions, pictures and logos Using Slide Show View 3 Drawing shapes and SmartArt Using Drawing Tool Formats Creating shapes Aligning shapes and stacking order Creating a cycle graphic Creating an organisation chart 4 Animation Visually enhancing slides with animation Using text and object animation Adding animation to lists Making animation work for you 5 Presenting Confidently running a presentation Using presenter view Using the slide show controls

COBOL training course description A hands on training course providing an introduction to COBOL. What will you learn Write COBOL programs Debug COBOL programs Examine existing code and determine its function. COBOL training course details Who will benefit: Programmers working with COBOL. Prerequisites: None although experience in another high level language would be useful. A 10 day version of this course would be more applicable for those new to programming. Duration 5 days COBOL training course contents Introduction to COBOL Compilation, linkage editor. Compile errors, compiler options. Divisions, syntax and format, COBOL character set, program structure. COBOL statement structure COBOL words, format of statements. Divisions Identification entries, Environment entries, Data division: FD, record descriptions, hierarchy and level numbers, description-string entry. File and Working-Storage Sections Literals, figurative constants, redefines clause, data representation, Usage clause, synchronization, sign clause. Procedure Division File status codes; Open, Read, Write, Close, Stop, Goback; Accept, display; Move, Justified, data name qualification, reference modification. Perform statement Out-of-line, With test ... Until, ... Times, in-line statement; Go to statement. Program design Design techniques, design considerations, procedure names, program structure. Printing Printed output, Write, advancing option, editing characters; Initialize. Condition testing Conditional statements: IF, class, sign and relation conditions, condition-name conditionals, Set, compound conditions, logical operators. Evaluate, Continue. Arithmetic Rounded option, On Size Error option, Add, Subtract, Multiply, Divide, Compute. Non-sequential files File access modes, Select. Indexed and relative files. Open, Close, creating / reading sequential access files, Write, Read, Invalid key clause, reading, writing / updating Random access files, Rewrite, Delete, Start. Declarative routines Clauses. Subroutines Call, Using clause - calling program/called program, Linkage Section, returning control. Table handling Subscripted tables: One/two/three dimensional tables, Perform, variable length tables. Indexed tables: Set, using an index; Search. Copy code: Copy, Suppress, Replacing. Data Manipulation Inspect, String, Unstring. COBOL/370 LE/370 and Intrinsic Functions.

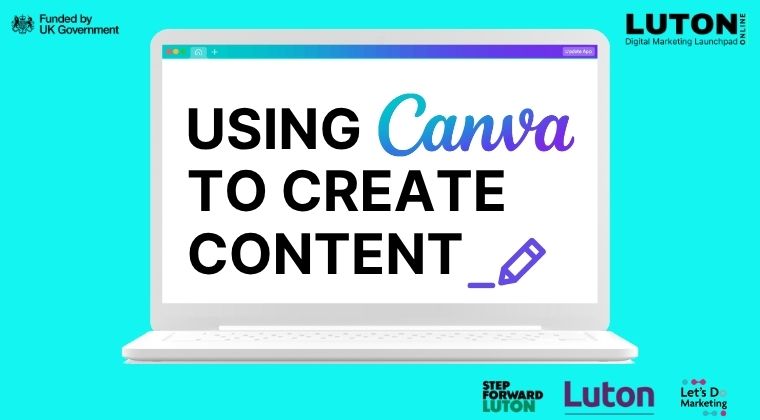
🗓 Date: Wednesday 24th September ⏰ Time: 12:30pm – 1:30pm 📍 Location: Hatch 1, The Hat Factory, Luton 🎯 Level: Intermediate Want to design eye-catching graphics for your business without hiring a designer? This hands-on Canva workshop will teach you how to create everything from social media posts to posters—completely free. Even if you’ve never used Canva before, this session will walk you through the basics and help you feel confident designing professional marketing materials that reflect your brand. What You’ll Learn: How to create a simple, branded social media post Designing flyers or posters for print Exploring Canva’s free tools and layout options Tips and tricks to get the most out of the platform What’s included in the Pro version and whether it’s worth it 💻 Laptop or tablet required for hands-on exercises. Ideal for small business owners, creatives, and anyone who wants to improve their visual marketing—no design experience needed!
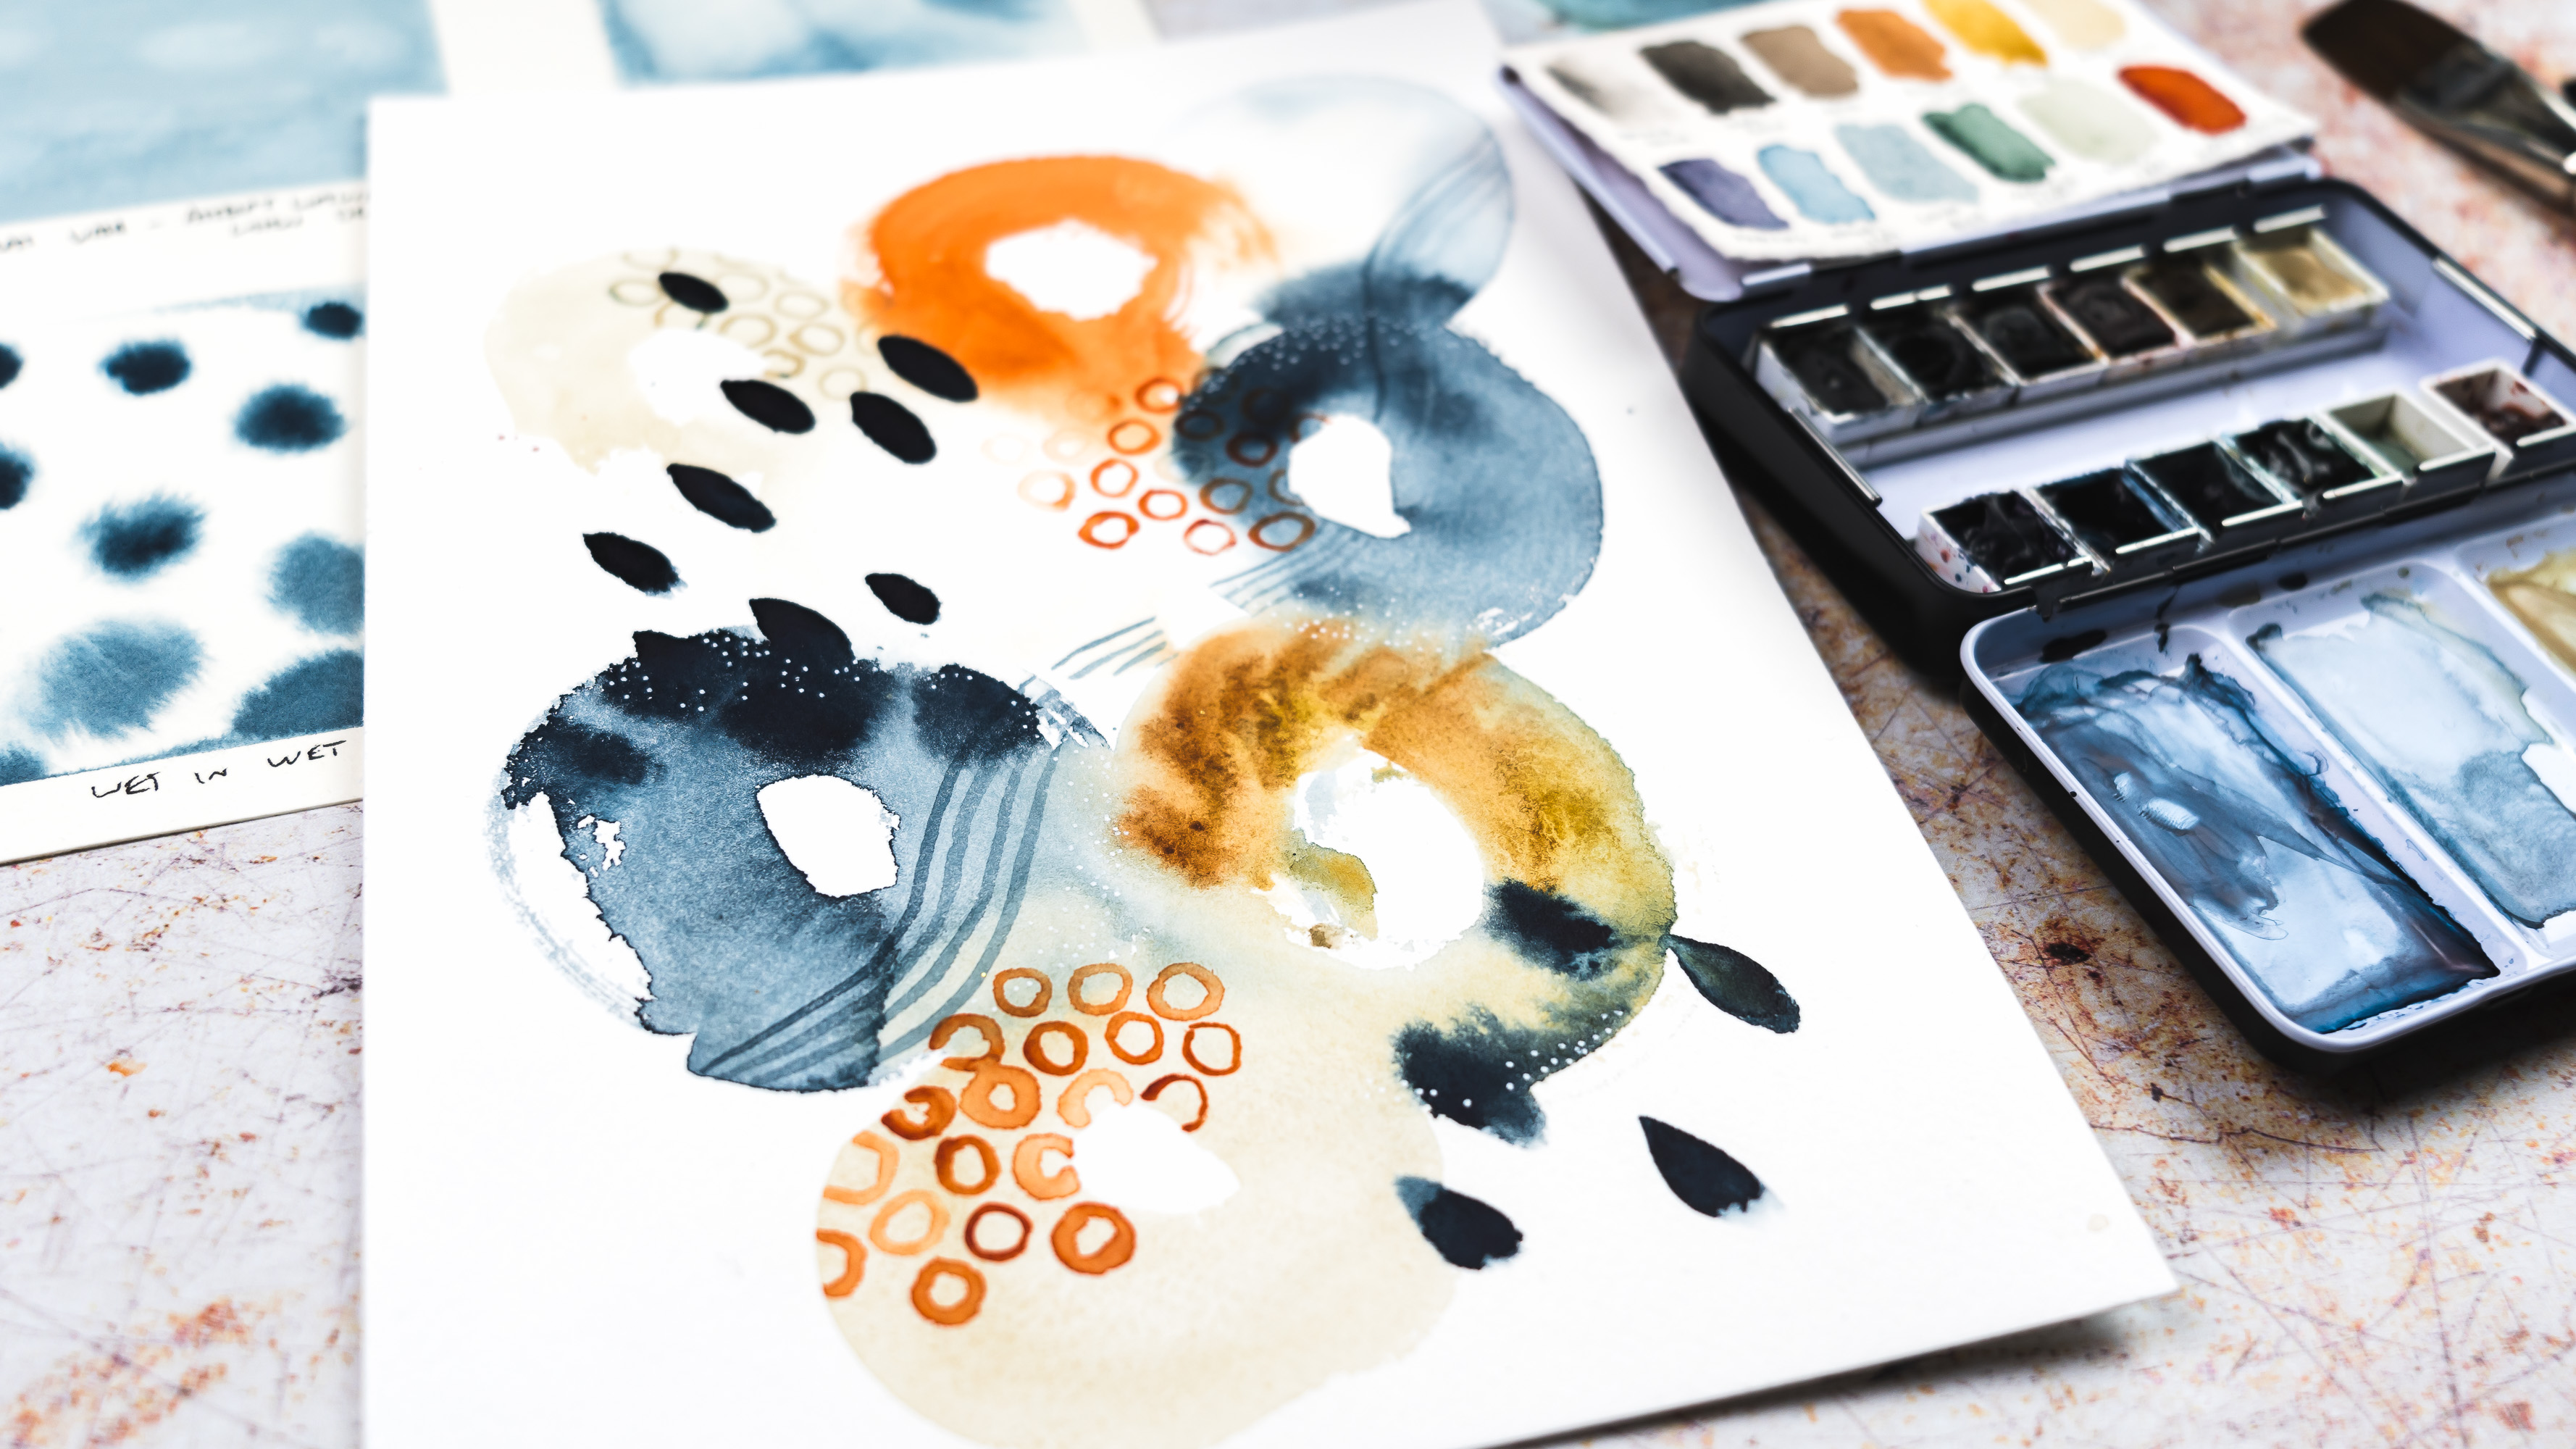
A NEW one-day watercolour painting workshop for beginners run by local artist and printmaker Lou Davis in our Edinburgh City Centre workshop space. Join artist Lou Davis for a whole day learning to paint in beautiful fluid watercolours. Lou uses watercolour to create simple and approachable patterned and abstract pieces that allow you to get acquainted with this medium in a way that helps you focus, shut out the outside world and simply create. In this workshop, you’ll learn everything you need to get started painting beautiful and relaxing projects using watercolour. We’ll cover a number of projects throughout the day, that will take you through the basics of watercolour from colour mixing and making different brush strokes, learning about paper types and water control, through to mixed media techniques: adding textures, working with masking fluid and embellishing your pieces with pens and metallic paints. This workshop is perfect if you’re new to watercolour and offers a really beautiful way to explore the medium, it’s also good if you’re experienced in watercolour and are interested in using your painting and drawing time to relax and de-stress. All materials for this workshop will be provided, and the price includes morning and afternoon refreshments from local suppliers. You are welcome to bring your own lunch, or there are several cafés and takeaway options nearby. Earth conscious credentials We are mindful of the effect we have on the environment, and do our best to minimise our impact. You will take the lovely watercolours you have created home with you on the day, and workshop correspondence and notes are sent to you electronically. Favourite feedback We love to hear what you think about our workshops. Here's a favourite review for previous watercolour painting workshop with Lou. A totally peaceful and mindful three hours spent being guided and inspired by Lou…Just going with the flow. Enjoying the process. And being quite surprised by the results. Lynn is a wonderful host at The Arienas Collective…Thanks Lynn and Lou for a mindful morning. [Judith] More information The Arienas Collective workshops, courses and events are run from a welcoming and supportive environment within a Georgian mews home in Edinburgh’s City Centre New Town. We invite you to join us, leave any day-to-day worries behind and immerse yourself in being creative. Spaces on our workshops and courses are limited so that our creative team of artists and makers can offer you the hands-on help and support you need to make the most of your time with us. Our taster and introductory workshops focus on teaching creative skills and methods you can continue practising at home, using affordable materials and equipment. Where more expensive equipment is required we will mention this in the workshop description. All the equipment and materials you need are included in the price, unless stated otherwise. Light refreshments from local suppliers are provided. On full day workshops you are welcome to bring your own lunch to eat inside or out. There is also a wide range of independent sit-in or takeaway delis, cafés, and restaurants, plus a range of supermarkets all within a 5-10 minute walk. Accessibility The workshop space is on the first-floor of our Georgian mews home and unfortunately we do not have lift access. Blue badge holders can park outside our front door on the single yellow line by arrangement. Allergies The workshop space is in our open plan living space and is not nut free. Please let us know about any skin or food allergies before booking. We offer a dairy-free milk and gluten free snack alternative. Minimum number no refund policy To ensure we can always pay our creatives a fair fee, we require a minimum number of bookings for each workshop and for this reason bookings are non-refundable. Should we have to cancel due to low numbers, we will offer you the option to swap to an alternative date or workshop, or to request a refund. We do our very best to avoid cancellations. Since we often get late bookings, we keep our workshops on sale for as long as possible. We realise that some of you travel from afar, so if you book a space and have not yet received an email confirming your workshop is going ahead and need to make plans for your trip, please get in touch before booking any travel or accommodation so we can update you on booking numbers. Or check in before booking. Private workshop bookings Most of our workshops are also available to book for: private get-togethers with family and friends; themed wedding and birthday celebrations; corporate team building and well-being purposes; and in-store retail events for your customers. If you’d like to know more please Email Lynn. Age restrictions Our workshops are planned with adults in mind. Many are suitable for teenagers, but some may require under 16s to be accompanied for insurance purposes. Please check with us before booking.