- Professional Development
- Medicine & Nursing
- Arts & Crafts
- Health & Wellbeing
- Personal Development
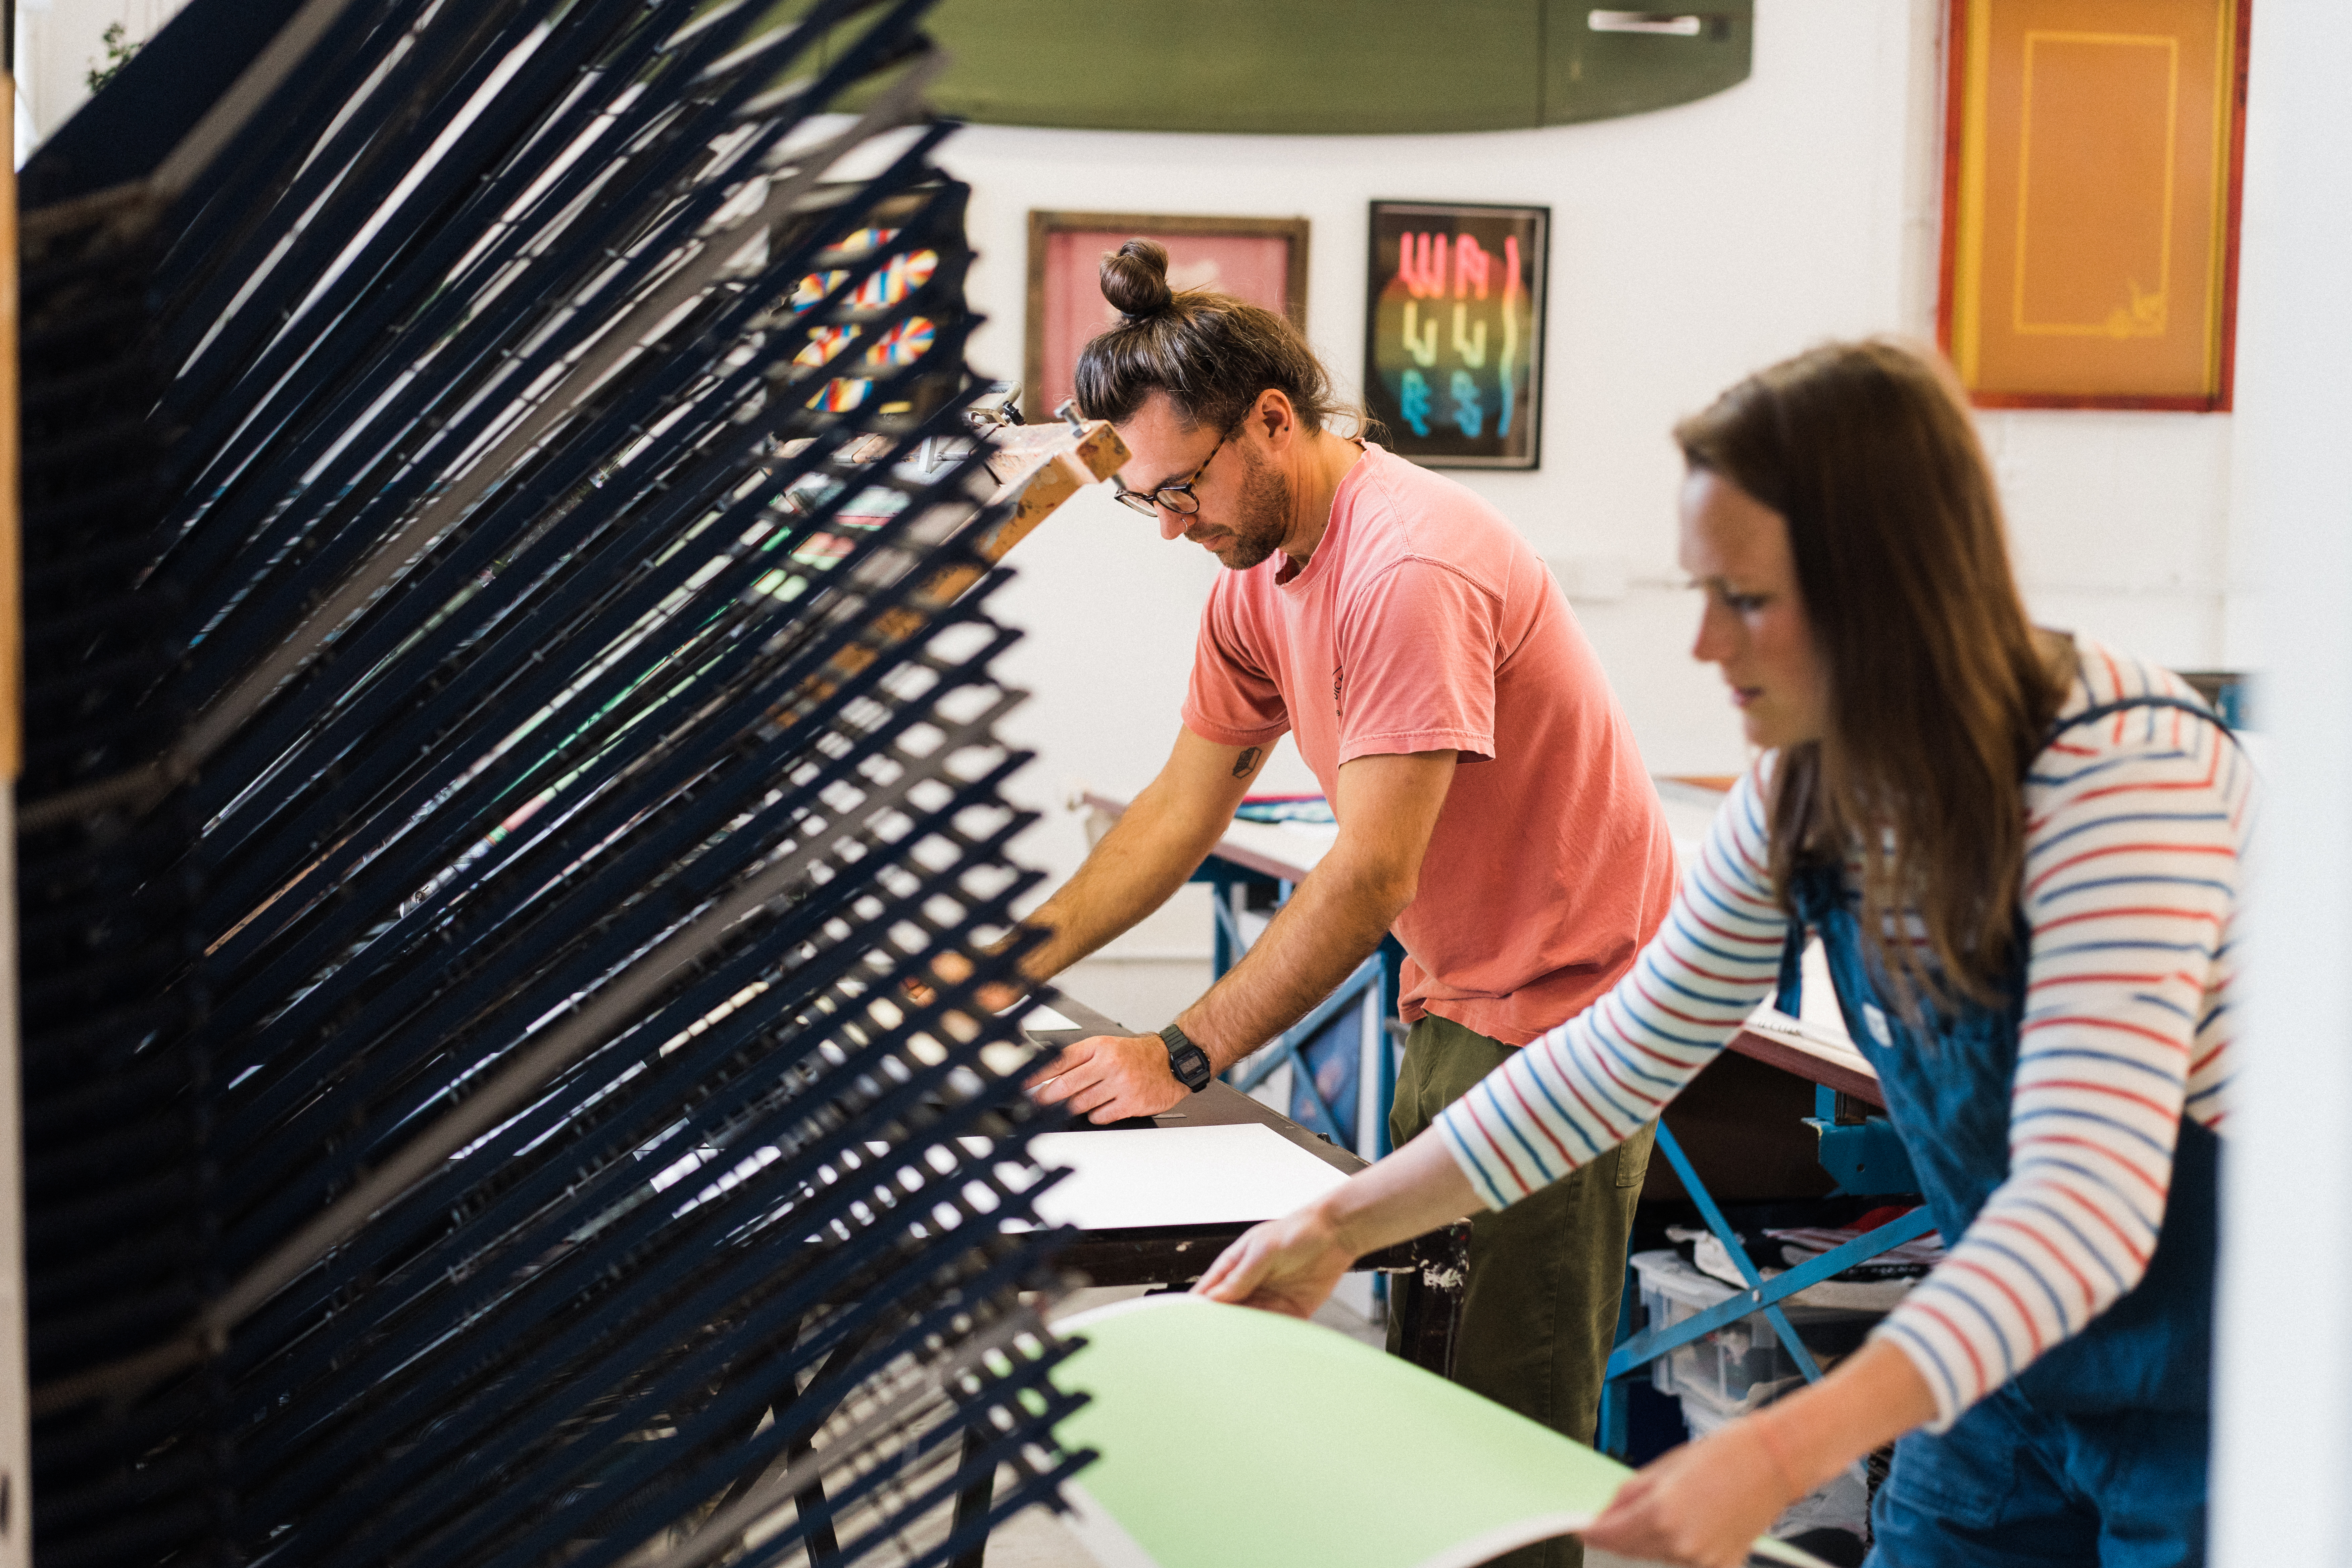
Screenprinting Explored, 2 day Workshop
By Make Good Print Co.
This 2-day workshop will help participants develop the skills and confidence to advance their screen-printing experience.
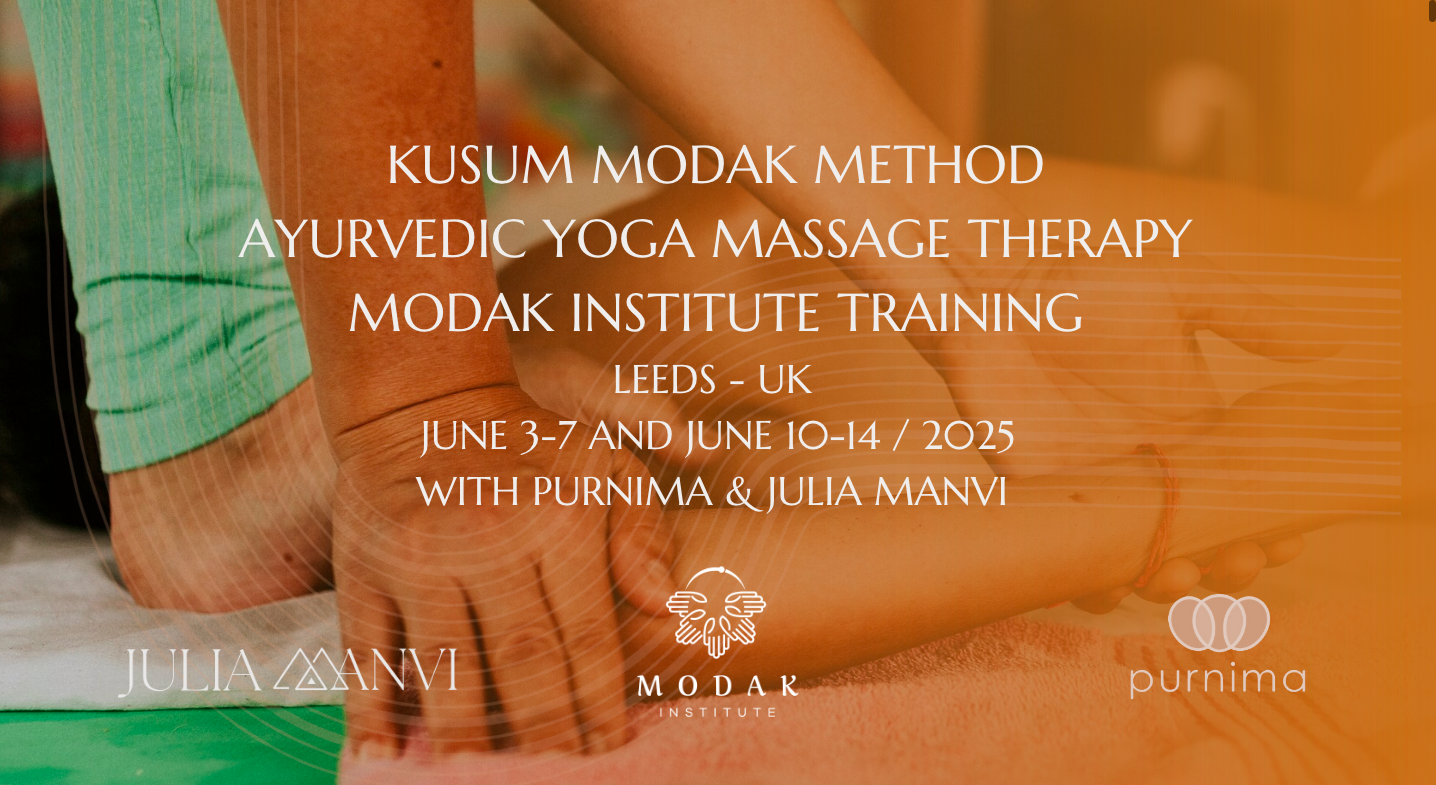
Kusum Modak Method Training Modak Institute Certificate & Level 3 Diploma UK
(1)By Purnima Bodywork Therapies
About the technique: The Kusum Modak Method, previously referred to as Ayurvedic Yoga Massage (AYM), Traditional Ayurvedic Massage, or simply Ayurvedic Massage, is now named in honor of its creator. This change was introduced with the establishment of the Modak Institute, founded by Kusum Modak to preserve her legacy with integrity and authenticity for future generations. This contemporary method combines traditional Ayurvedic Massage with Yoga, developed through Kusum Modak’s studies with her teachers, Limaye and B. K. S. Iyengar, in Pune, India. The therapy focuses on activating breath, circulation, and vital energy through deep touch using hands and feet, along with tractions and stretching maneuvers. Treatments are conducted on an orthopedic mat using vegetable oil and a natural powder called Vekhand, derived from a root known in the West as Calamus. Course Information: Course Structure: Over 10 days, students will gain the knowledge and skills to practice the Kusum Modak MethodSM and become officially certified as bodywork therapists by the Modak Institute. The program includes: Students will cultivate a therapeutic perspective and build confidence in applying the technique. This course follows the updated guidelines set forth by Kusum Modak through the Modak Institute. Content: Total Hours: 80 hours of practical classes + 4 hours online + 12 hours assessment Duration: 10 days (in person classes) Dates: June 3rd to 7th and June 10th to 14th, 2025 Schedule: 9:00 AM to 1:00 PM and 2:00 PM to 6:00 PM Course Location: Roots of Respect, 16 Blenheim Terrace Woodhouse LS2 9HN United Kingdom Hands-on practical exercises Detailed technical understanding of the 118 maneuvers Dedicated time for questions, reviews, and session exchanges Introduction to the basics of the technique (structure & practice); Kusum Modak MethodSM history and influential contributors; Introduction of Ayurveda Principles; The elements of the Kusum Modak MethodSM - AYTM The steps of the therapy sequence; Learning to warm up the muscles; Use of hands and feet (walking on the back); Understanding the quality of the touch to perform Kusum Modak MethodSM; Using therapy props (why and when to use them); Manoeuvres and stretching – how to apply and its variations; Synchronisation of the pressure and breath; Learning to set up a 1-hour sequence (which is the original duration) that will serve the needs of each client; Applied anatomy to the technique and subtle anatomy, pathology and application of the studied content; Client Assessment protocols. Why the medical history form is essential?; Contraindications; Postural correction and student welfare practices (preparing the body for delivery) Assessment: We offer complementary activities designed to provide a deeper understanding of the Method and to help you develop a more precise approach to your practice. To be approved and certified, you must: You will receive clear instructions and guidance to help you succeed, as well as detailed information about the evaluation criteria. The 4 hours of online activities include complementary lectures and related assignments. - Anatomy - Demystifying the Kusum Modak Method - Holistic Medical Systems - SOAP notes and Health History form Certification: You have two options: Review with Q&A Supervised Practice (individual correction, gaining accuracy) How to maintain health + wellbeing as a bodywork therapist. Attend 100% of the in person classes. Submit 10 case studies on the same person, including reports for 10 SOAP notes. Provide a video recording of the final session. MODAK INSTITUTE CERTIFICATE: The Modak Institute certificate is awarded to students upon successful completion of the course, which includes final assessment activities to be submitted within 60 days after the in person training. This certificate is issued by the Modak Institute, the only institute officially authorized and endorsed by Master Kusum Modak to represent her method. It validates that students are fully qualified to work professionally with Prerequisites: While no formal prerequisites are required, physical, mental, and emotional health are essential to participate in the intensive activities. Students will also develop awareness to their clients’ needs and enhance their own mindfulness during practice. Training Price: Modak Institute Certificate: 1650 GBP Level 3 Diploma Kusum Modak Method: + 295 GBP Payment Plan 1 - 100% Payment upfront with discount (50 GBP off) until March 15th 2 - 50% deposit - 50% until May 20th 3 - 4x (Feb, Mar, Apr, May) 4 - 5x (Feb, Mar, Apr, May, Jun) Please feel free to reach out if you need to arrange your payments differently. Cancellation Policy the Kusum Modak MethodSM and ensures their eligibility to obtain therapist insurance, providing recognition and support to practice as certified therapists. Once your final assessment is evaluated and approved, your certificate will be issued and sent directly to your email. Each certificate includes a unique digital code, enabling easy verification of your credentials and affiliation worldwide through Modak Institute website. MODAK INSTITUTE CERTIFICATE + LEVEL 3 DIPLOMA KUSUM MODAK METHOD: Same process as described above + Students may request the UK Level 3 Diploma Kusum Modak Method Certificate for an additional fee of 295 GBP, which requires completing three additional online courses (150 hours) to meet accreditation requirements. The student must request this certificate option at the time of registration. What’s Included: About the teachers: Purnima Full refundable with in two months in advance Partial refundable 50% in a month before starting the training After that is a non-refundable payment. 84 hours of structured and methodically designed training (80 in person + 4 online). Note: the student need to reserve plus 12 hours for assessment. Modak Manual, including photos of all maneuvers and additional insights into the method’s history and references. Official Modak Institute Certification. Access to video lectures. Oil and powder for use during the course. One year of membership in the Modak Institute, including: Participation in an online plataform Access to official graphic materials for promotional use Inclusion in the Modak Institute’s agenda for work promotion Exclusive Q&A WhatsApp group moderate by Purnima and Julia.
FAMILY CIRCLES
By Inclusive Solutions
Click to read more about this training, in which we demonstrate a live problem solving approach which is based on the active participation of family members. Course Category Inclusion Parents and Carers Behaviour and relationships Problem Solving Description In this training we demonstrate a live problem solving approach which is based on the active participation of family members. ‘Family Circles’ is an evolving new approach to problem solving with families and is based on our years of family work and the development and use of the Circle of Adults process. Inspired by our own Parent Solutions work and the Circle of Adults process as well as Family Group Conferencing and other Restorative Interventions we bring you Family Circles. Essentially the approach involves gathering a family together for a process that is facilitated but majors on the family members offering each other their wisdom and ideas. The approach is capacity focused, person centred approach to working with families rather than the dominant deficit oriented and ‘medical model’ of viewing and planning for or doing things to families. This training can be modelled with a group of professionals or better still with a family. In our work with families we develop the importance of naming stories or theories and seeking linkages and synthesis between what is found out and explored about the family situation and its history. We like participants to sit with the uncertainty, to reflect on the question ‘why’ but without judgement of each other. Deeper reflections may span a whole range of perspectives from ‘within person’ considerations, to situational or systemic possibilities. Health or emotional issues can be reflected on alongside organisational or transactional aspects of what is going on for the family. The better the shared understanding the better the strategy or actions which emerge from these meetings. Quality hypotheses with a close fit to reality lead to more effective implementation in the real world. We encourage ‘loose’ thinking, a search for connections, deeper listening, an ‘open mind’, speculation and exploration without moral judgements. From this stance self-reflection as well as reflection on the situation can produce remarkable insights. The quality of theories or new stories generated is directly influenced by family members’ experiences and the models of learning, behaviour and emotion, systems, educational development, change and so on that they have been exposed to. Learning Objectives To provide opportunities for: Shared problem solving in a safe exploratory climate in which the family will find its own solutions. Individuals to reflect on their own actions and strategies An exploration of whole-family processes and their impact Emotional support and shared understandings of issues at a child, parent, family, school and community level. Feed back to each other on issues, ideas and strategies that are agreed to be worth sharing with them. Who Is It For? Anyone interested in working with families in a way that builds and makes use of their capacities rather than focus on their challenges and difficulties. Social Care teams School staff Community organisers Educational Psychologists Course Content True family empowerment Deepening shared stories and understandings Facilitating groups Problem solving process Handling family group communication Allowing direct feedback and challenge between participants in a safe way Building relationships Process: Family members are welcomed: Introductions are carried out, ground rules and aims clarified whilst coffee is drunk. A recap from the last session is carried out: To follow up developments and reflections after the last meeting. One issue is selected for the main focus Issue presentation: The family member who raised the concern is asked questions to tell the ‘story’ of the issue or problem. Additional questions/information from the group about the problem are gathered: Ground rules may need to be observed carefully here. Individual participants need to be kept focused and prevented from leaping to premature conclusions or to making ‘helpful’ suggestions about strategy. Relationship aspects to the problem are explored. Metaphors and analogies are invited. How would a fly on the wall see your relationship? If you were alone together on a desert island, what would it be like? Impact of previous relationships/spillage from one relationship to another are explored. Eg what situation they are reminded of? For instance, does this situation remind you of any of those angry but helpless feelings you had with your other son when he was an adolescent? This provides opportunities to reflect on how emotions rub off on other people. The parent feels really frustrated, and on reflection we can see that so does the child System/Organisation factors (Family system/school and community systems and so on): What aspects help or hinder the problem? For instance, does the pastoral system of the local school provide space, or time and skilled personnel able to counsel this young person and work actively with their parents? Synthesis. At this stage the Graphic facilitator summarises what they have heard. They then go on to describe linkages and patterns in what they have heard. This can be very powerful. The person doing the graphic work has been able to listen throughout the presentation process and will have been struck by strong messages, emotions and images as they have arisen. The story and meaning of what is happening in the situation may become a little clearer at this point. Typical links may be ‘mirrored emotions’ strong themes such as loss and separation issues, or repeated processes such as actions triggering rejection. This step provides an excellent grounding for the next process of deepening understanding. What alternative strategies/interventions are open to be used? Brainstormed and recorded. ’Either/ors’ need to be avoided at this time also. This needs to be a shared session in which the family member who is presenting the concern contributes as much as anyone. Care is needed to ensure that this person is not overloaded with other people’s strategies. The final selection of strategy or strategies from the brainstormed list is the problem presenter’s choice. Strategies might include: a special time for the young person, a meeting with the child’s parents to explore how she is being managed at home and to share tactics, a home-school diary, counselling, or an agreed action plan that all are aware of, agreed sanctions and rewards and so forth. Strategies may productively involve processes of restitution and restoration, when ‘sorry’ is not enough. Making it right, rather than punishments or rewards, may then becomes the focus. First Steps. The problem presenter is finally asked to agree one or two first steps which they can carry out over the next 3-7 days. It can help to assign a ‘coach’ who will check in with them to ensure they have carried out the action they have named. This is a time to be very specific. Steps should be small and achievable. The person is just ‘making a start’. A phone call, or making an agreement with a key other person not present at the meeting would be ideal examples. Final reflections. Sometimes referred to as a ‘round of words’ help with closure for all involved. Reflections are on the process not the problem. In large families this is best done standing in a circle. In smaller groups all can remain sitting. Passing around a ‘listening stick’ or something similar such as a stone or light heighten the significance of the process ending and improve listening. Finally the problem presenter is handed the ‘Graphic’ this is their record of the meeting and can be rolled and presented ceremoniously by the facilitators for maximum effect! If you liked this course you may well like: Parent Solutions

Quality Assurance for Good Laboratory Practice
By Research Quality Association
Course Information A must-have programme for Quality Assurance auditors stepping into or honing their role within a Good Laboratory Practice (GLP) environment, this course offers invaluable, expert guidance for crafting a robust and efficient GLP audit programme. What will I learn? A solid regulatory foundation underpinning quality assurance activities Clarity on the roles of Quality Assurance, management, and study director within the framework of Good Laboratory Practice principles Enhanced efficacy in inspections and audits Heightened compliance with Good Laboratory Practice standards for your facility Unique insights into governmental monitoring activities within the GLP sphere. This course is structured to encourage delegates to Discuss and develop ideas Solve specific problems Examine particular aspects of GLP. Tutors Tutors will be comprised of (click the photos for biographies): Cate Ovington Director, The Knowlogy Group Ltd Jane Elliston Senior Quality Assurance Auditor, Battelle UK Shona Ross Head of QA, Tower Mains Ltd Programme Please note timings may be subject to alteration. Day 1 09:00 Welcome and Introductions 09:15 Good Laboratory Practice Standards and Regulations An insight into the background and history of Good Laboratory Practice. 09:45 Principles of Quality Assurance What is the role and responsibilities of QA in GLP. Maintaining the independence of QA and what is an audit. 10:30 Break 10:45 Standard Operating Procedures GLP requirements and QA involvement. 11:30 Study Plans GLP requirements and QA involvement. 12:05 QA Programme Risk based programme, what are study, process and facility audits. 13:00 Lunch 14:00 Inspections Attitudes, techniques and attributes. 14:40 Workshop 1 - Facility and Process Inspections An exercise in inspection planning and preparation for inspections. 15:15 Break 15:30 Workshop 1 - Feedback 15:45 The Auditor and Audit Conduct Attitudes, attributes and techniques. 16:30 Panel Session An opportunity for delegates to put questions to the panel of speakers. 17:15 Close of Day Day 2 09:00 Workshop 2 - A Mock Audit 10:45 Break 11:00 Workshop 2 - Feedback 11:30 Auditing the Study Report Techniques and methods for the QA audit of the study report. 12:00 Record Keeping and Data The impact of GLP on data and records management. 12:40 Lunch 13:25 Data Integrity A look at the OECD GLP guidance document; the expectations of the regulators and the involvement of QA - Where QA adds value. 14:15 Workshop 3 - Amendments to Study Plan and Deviations from the Plan What are they? What is the difference between them? How are they controlled? 15:00 Workshop 3 - Feedback 15:15 Break 15:30 Regulatory Compliance GLP Monitoring Authority monitoring for compliance with Good Laboratory Practice. 16:15 Panel Session An opportunity for delegates to put questions to the panel of speakers. 16:45 Close of Course Extra Information Face-to-face course Course Material Course material will be available in PDF format for delegates attending this course. The advantages of this include: Ability for delegates to keep material on a mobile device Ability to review material at any time pre and post course Environmental benefits – less paper being used per course. The material will be emailed in advance of the course and RQA will not be providing any printed copies of the course notes during the training itself. Delegates wishing to have a hard copy of the notes should print these in advance to bring with them. Alternatively delegates are welcome to bring along their own portable devices to view the material during the training sessions. Remote course Course Material This course will be run completely online. You will receive an email with a link to our online system, which will house your licensed course materials and access to the remote event. Please note this course will run in UK timezone. The advantages of this include: Ability for delegates to keep material on a mobile device Ability to review material at any time pre and post course Environmental benefits – less paper being used per course Access to an online course group to enhance networking. You will need a stable internet connection, a microphone and a webcam. CPD Points 14 Points Development Level Learn
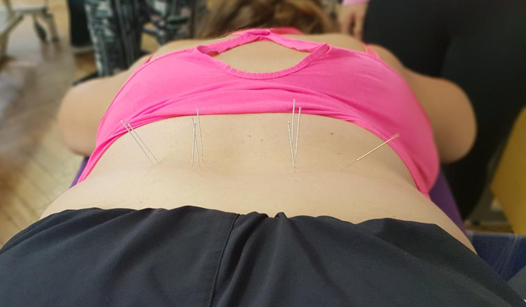
Foundation Dry Needling Course (London, England) March, 2025
By CPD Today
Medical acupuncture course designed for manual therapists, including osteopaths, chiropractors, physiotherapists and sports therapists
CQC Training Course - New Assessment Framework and How To Be 'Outstanding' Bristol
By Green Maze Support
Being Prepared for CQC's New Assessment Framework Course

CQC Training Course - New Assessment Framework and How To Be 'Outstanding' Exeter
By Green Maze Support
Being Prepared for CQC's New Assessment Framework Course
Small Group Tuition - In Person, London, Lambeth, Wandsworth, Merton, Southwark, Kensington & Chelsea
(8)By GLA Tutors Home or Online
Bespoke tuition for small groups.
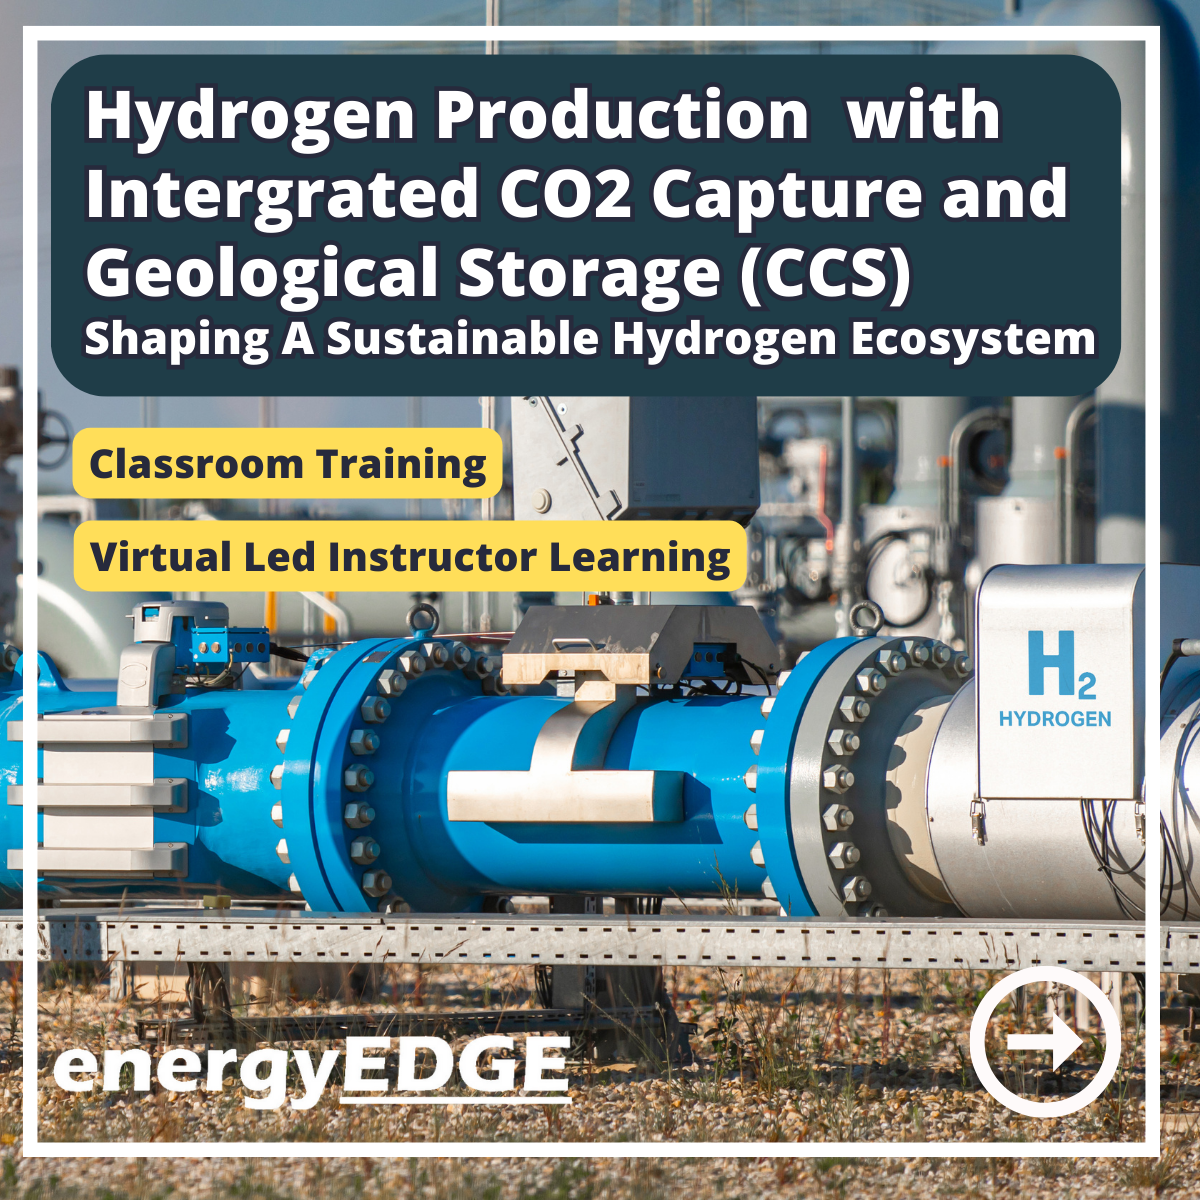
Hydrogen Production with Integrated CO2 Capture and Geological Storage (CCS) – Shaping A Sustainable Hydrogen Ecosystem
By EnergyEdge - Training for a Sustainable Energy Future
Discover the future of sustainable energy with EnergyEdge's expert-led training on hydrogen production, CO2 capture, and geological storage. Shape a greener world today!
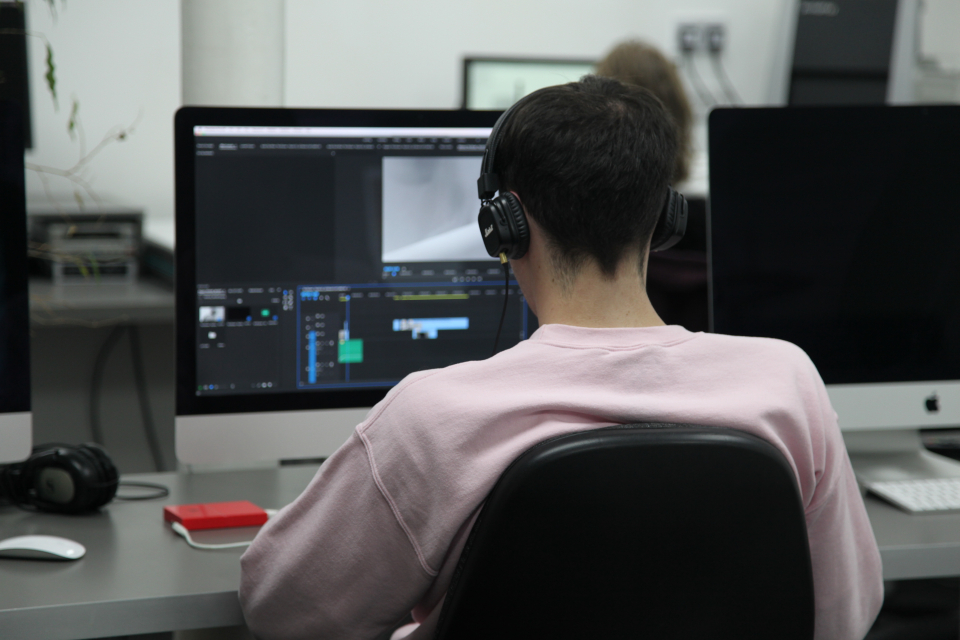
This 6 week course will support you to make the most of the range of applications Adobe Premiere Pro offers in the production of video. Sample footage will be provided for you throughout the course, but you can also bring along your own video files to work on. The course is quite technical so some computer experience is required. We use Macs on the course – the Premiere interface is the same across operating systems but some shortcuts and menu items are different. Week 1- The basics This week we’ll start with some of the basics, introducing you to editing and Premiere Pro through: A short history of editing; from analogue to digital Getting to know the layout of Premiere Pro Working with ‘bins’ (folders) and creating edit Sequences Making selects from the rushes and sound files by creating in and out points Introducing clips to the timeline and making a simple edit with music Understanding rendering for smooth, full quality playback Week 2- Editing narrative sequences This week we’ll get further stuck into editing by building narrative, focus on offline editing‚ better organisation of your projects and breaking down footage through: Re-linking lost or moved footage Video ingest – importing and organising clips Organising and breaking down rushes using annotated markers and sub-clips Basics of the effects and motion settings Using our skills to create a simple narrative sequence Editing a dialogue sequence Considering the best ways of exporting your film for online Learn Adobe Media Encoder for more efficient exporting Week 3- Video settings, effects & titles This week we will focus in on what makes up video from a technical standpoint. We will then look at how we can work with and alter these parameters for different uses in our films through: Transcoding – converting the footage into an editable file and understanding codecs and meta data Adjusting scale and positioning and using motion keyframes to create movement over time Adding titles and animating them Applying transitions and various stock video effects Layering tracks and using opacity and different layer blending effects Creating masks and using motion tracking Working with green-screen footage, creating mattes, mask filters and working with multiple layers Week 4- Audio & sound This week we’ll consider the importance of sound design and music for narrative and atmosphere in film and experimental video through: Learning how to enhance your film with sound and music Introducing audio and music to the timeline, cutting and leveling Laying down music and cutting the footage to fit Building sound design around an existing edit with sync-sound and SFX Common practice and different approaches for syncing external microphone audio and video Mastering the audio and making sure that it is all levelled Learning how to create subtitles for our films and different methods to export/embed them Week 5- Colour This week we’ll start looking at colour in our videos and what role that plays. We will look at the process of colour grading and changing the mood in our films through: Using Lumetri Colour, the colour-correcting function within Premiere Pro CC Matching the colour of different cameras to create a similar look Creating different “colour grades” to create different atmospheres Stylising our footage Understand the colour limitations of video files and the importance of exposure when filming Working with tracked masks to isolate certain areas within your image to colour correct Week 6- Putting it all together In our final week we will get the opportunity to experiment with all the skills we’ve learned to create an opening sequence for a tv series. This is also a great opportunity to revisit any topics from previous weeks. Courses are subject to minimum enrolment. Please register early, within five days of the start date, to reduce the likelihood of course cancellation. Please read our cancellation policy before booking. Students, anyone over the age of 65, and those in receipt of any form of benefits can claim the concessionary price, offering a 10% discount on the full course price. Valid proof of eligibility must be produced on the first day of the course. Please use the code CONCESSION when prompted at checkout.