- Professional Development
- Medicine & Nursing
- Arts & Crafts
- Health & Wellbeing
- Personal Development
5513 Productivity courses delivered Online
Microsoft PowerPoint for Office 365 (Desktop or Online) - Part 2 ( v1.1)
By Nexus Human
Duration 1 Days 6 CPD hours This course is intended for This course is intended for students who have a foundational working knowledge of PowerPoint, who wish to take advantage of the application's higher-level usability, security, collaboration, and distribution functionality. Overview In this course, you will use the advanced tools and features in PowerPoint to create and deliver engaging presentations.You will: Customize design templates. Add tables. Add charts. Work with media. Build advanced transitions and animations. Collaborate on a presentation. Customize the delivery of a presentation. Modify presentation navigation. Secure and distribute a presentation. Meetings, instruction, training, pitches; these are all a part of our daily lives. We are often called upon to deliver presentations with little notice, at multiple venues, and with varying requirements. And, some of these presentations include sensitive information that needs to be guarded. Given all the variables, it may seem an overwhelming task to deliver your content, on time, to all audiences, and to only those who need to see it. Oh, and by the way, you need to make it interesting, informative, and memorable. So, how do you do it? Without the help of a robust set of tools, it would be nearly impossible. But Microsoft© PowerPoint© provides you with a variety of such tools that can help you deliver content in nearly any situation, while saving time and effort. By taking advantage of these tools, you will be creating presentations that not only stand out from the crowd, but also don't consume all of your available time. Note: Most Office users perform the majority of their daily tasks using the desktop version of the Office software, so that is the focus of this training. The course material will also enable you to access and effectively utilize many web-based resources provided with your Microsoft 365? subscription. Helpful notes throughout the material alert you to cases where the online version of the application may function differently from the primary, desktop version. This course may be a useful component in your preparation for the PowerPoint Associate (Microsoft 365 Apps and Office 2019): Exam MO-300 certification exam. Lesson 1: Customizing Design Templates Topic A: Modify Slide Masters and Slide Layouts Topic B: Modify the Notes Master and the Handout Master Topic C: Add Headers and Footers Lesson 2: Adding Tables Topic A: Create a Table Topic B: Format a Table Topic C: Insert a Table from Other Office Applications Lesson 3: Adding Charts Topic A: Create a Chart Topic B: Format a Chart Topic C: Insert a Chart from Microsoft Excel Lesson 4: Working with Media Topic A: Add Audio to a Presentation Topic B: Add Video to a Presentation Topic C: Add a Screen Recording Lesson 5: Building Advanced Transitions and Animations Topic A: Use the Morph Transition Topic B: Customize Animations Lesson 6: Collaborating on a Presentation Topic A: Review a Presentation Topic B: Co-author a Presentation Lesson 7: Customizing Presentation Delivery Topic A: Enhance a Live Presentation Topic B: Record a Presentation Topic C: Set Up a Slide Show Lesson 8: Modifying Presentation Navigation Topic A: Divide a Presentation into Sections Topic B: Add Links Topic C: Create a Custom Slide Show Lesson 9: Securing and Distributing a Presentation Topic A: Secure a Presentation Topic B: Create a Video or a CD

Access - intermediate (In-House)
By The In House Training Company
This one-day workshop will give you a better understanding of the components and operations of an Access database. It is designed to build on a user's existing skills and includes useful action queries to allow greater manipulation of a database. This workshop will help participants: Ensure the integrity of their databases Manage field properties Use the query functions effectively Save time with the query expression builder Create different types of query more quickly Design better forms Link expressions in forms Create better and more useful reports Import and export tables more easily 1 Table relationship integrity Identifying relationships Identifying criteria for data integrity Applying referential integrity Managing relationship join types 2 Table field properties Field properties overview Using input mask field Using default value fields Using field validation rules 3 Query functions Running aggregate function calculations Running sum, average, count, max and min functions Grouping calculated data 4 Query calculations Using query operators and expressions Adding calculated fields to a query Using the query expression builder 5 Action queries Creating make table queries Creating append queries Creating update queries Creating delete queries 6 Designing forms Adding form controls Aligning and arranging form controls Adding pictures and labels to forms Adding new fields to a form Controlling tab order Adding command buttons Adding a combo box control Formatting data using conditional formatting 7 Form expressions (calculations) Using the form expression builder Working with a property sheet within a form Linking expressions within a form 8 Working with reports Creating reports with the report wizard Inserting report fields Formatting fields Inserting report headers and footers Working with a property sheet within a report 9 Grouped reports Creating groups with the report wizard Sorting grouped data Grouping alphabetically Grouping on date intervals Creating sub reports Adding calculations to groups 10 Importing and exporting tables Importing tables into Access Exporting tables from Access Importing and linking data in Access

55320 Programming with HTML, CSS, and JavaScript
By Nexus Human
Duration 5 Days 30 CPD hours This course is intended for This course is intended for students new to computer programming or experienced programmers who are new to client-side web development. Overview After completing this course, you will be able to: Describe the technologies involved in web development. Create HTML pages with links and images. Explain the benefits of CSS. Style HTML pages with CSS. Explain the concepts of objects, methods, and properties. Work with JavaScript variables. Create their own custom functions in JavaScript. Write flow control logic in JavaScript. Write JavaScript code that listens for and handles events, such as mouse clicks and page loads. Create forms with HTML and validate them with JavaScript. Use regular expressions in JavaScript for advanced form validation. This course is intended for IT professionals interested in becoming client-side web developers. who need to get a jump start on all three technologies. The course includes more than 30 exercises, providing a rapid hands-on introduction to the three major client-side languages: HTML, CSS, and JavaScript. Students should be prepared to cover a lot of ground quickly.This material updates and replaces course Microsoft course 20480 which was previously published under the title Programming in HTML5 with JavaScript and CSS3. Module 1: A Quick Overview of Web Development HTML is Part of a Team Client-side Programming Server-side Programming Web Development Technologies Module 2: Introduction to HTML Exercise: A Simple HTML Document Getting Started with a Simple HTML Document HTML Elements, Attributes, and Comments The HTML Skeleton Viewing the Page Source Special Characters HTML Elements and Special Characters History of HTML The lang Attribute Module 3: Paragraphs, Headings, and Text Paragraphs Heading Levels Breaks and Horizontal Rules Exercise: Paragraphs, Headings, and Text The div Tag Creating an HTML Page Quoted Text Preformatted Text Inline Semantic Elements Exercise: Adding Inline Elements Module 4: HTML Links Links Introduction Text Links Absolute vs. Relative Paths Targeting New Tabs Email Links Exercise: Adding Links Lorem Ipsum The title Attribute Linking to a Specific Location on the Page Targeting a Specific Location on the Page Module 5: HTML Images Inserting Images Image Links Adding Images to the Document Exercise: Adding Images to the Page Providing Alternative Images Module 6: HTML Lists Unordered Lists Ordered Lists Definition Lists Exercise: Creating Lists Module 7: Crash Course in CSS Benefits of Cascading Style Sheets CSS Rules Selectors Combinators Precedence of Selectors How Browsers Style Pages CSS Resets CSS Normalizers External Stylesheets, Embedded Stylesheets, and Inline Styles Exercise: Creating an External Stylesheet Exercise: Creating an Embedded Stylesheet Exercise: Adding Inline Styles div and span Exercise: Styling div and span Media Types Units of Measurement Inheritance Module 8: CSS Fonts font-family @font-face font-size font-style font-variant font-weight line-height font shorthand Exercise: Styling Fonts Module 9: Color and Opacity About Color and Opacity Color and Opacity Values Color Opacity Exercise: Adding Color and Opacity to Text Module 10: CSS Text letter-spacing text-align text-decoration text-indent text-shadow text-transform white-space word-break word-spacing Exercise: Text Properties Module 11: JavaScript Basics JavaScript vs. EcmaScript The HTML DOM JavaScript Syntax Accessing Elements Where Is JavaScript Code Written? JavaScript Objects, Methods, and Properties Exercise: Alerts, Writing, and Changing Background Color Module 12: Variables, Arrays, and Operators JavaScript Variables A Loosely Typed Language Google Chrome DevTools Storing User-Entered Data Exercise: Using Variables Constants Arrays Exercise: Working with Arrays Associative Arrays Playing with Array Methods JavaScript Operators The Modulus Operator Playing with Operators The Default Operator Exercise: Working with Operators Module 13: JavaScript Functions Global Objects and Functions Exercise: Working with Global Functions User-defined Functions Exercise: Writing a JavaScript Function Returning Values from Functions Module 14: Built-In JavaScript Objects Strings Math Date Helper Functions Exercise: Returning the Day of the Week as a String Module 15: Conditionals and Loops Conditionals Short-circuiting Switch / Case Ternary Operator Truthy and Falsy Exercise: Conditional Processing Loops while and do?while Loops for Loops break and continue Exercise: Working with Loops Array: forEach() Module 16: Event Handlers and Listeners On-event Handlers Exercise: Using On-event Handlers The addEventListener() Method Anonymous Functions Capturing Key Events Exercise: Adding Event Listeners Benefits of Event Listeners Timers Typing Test Module 17: The HTML Document Object Model CSS Selectors The innerHTML Property Nodes, NodeLists, and HTMLCollections Accessing Element Nodes Exercise: Accessing Elements Dot Notation and Square Bracket Notation Accessing Elements Hierarchically Exercise: Working with Hierarchical Elements Accessing Attributes Creating New Nodes Focusing on a Field Shopping List Application Exercise: Logging Exercise: Adding EventListeners Exercise: Adding Items to the List Exercise: Dynamically Adding Remove Buttons to the List Items Exercise: Removing List Items Exercise: Preventing Duplicates and Zero-length Product Names Manipulating Tables Module 18: HTML Forms How HTML Forms Work The form Element Form Elements Buttons Exercise: Creating a Registration Form Checkboxes Radio Buttons Exercise: Adding Checkboxes and Radio Buttons Fieldsets Select Menus Textareas Exercise: Adding a Select Menu and a Textarea HTML Forms and CSS Module 19: JavaScript Form Validation Server-side Form Validation HTML Form Validation Accessing Form Data Form Validation with JavaScript Exercise: Checking the Validity of the Email and URL Fields Checking Validity on Input and Submit Events Adding Error Messages Validating Textareas Validating Checkboxes Validating Radio Buttons Validating Select Menus Exercise: Validating the Ice Cream Order Form Giving the User a Chance Module 20: Regular Expressions Getting Started Regular Expression Syntax Backreferences Form Validation with Regular Expressions Cleaning Up Form Entries Exercise: Cleaning Up Form Entries A Slightly More Complex Example
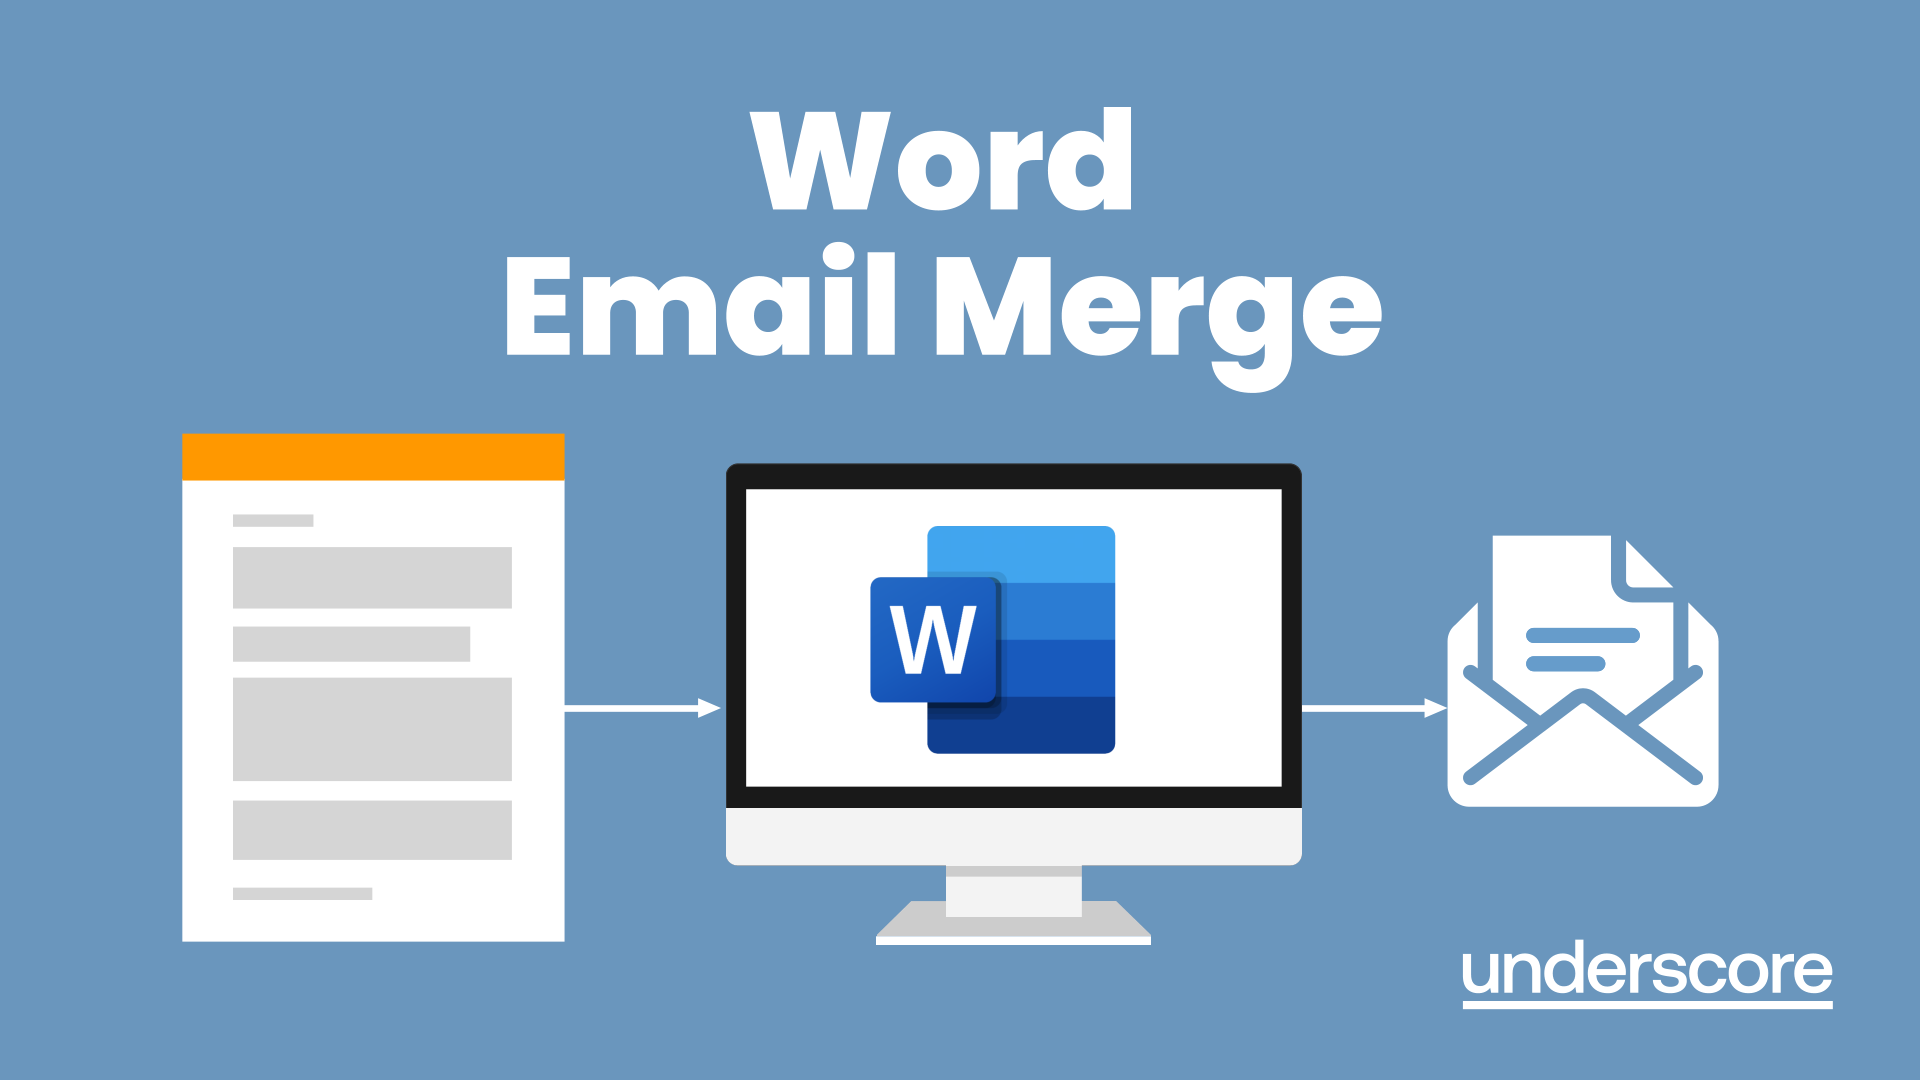
Word email merge
By Underscore Group
Learn how to create a mail merge in Word to allow you to send personalized emails to groups of people. Course overview Duration: 2 hours This course looks at how you can create a list of contacts with emails and then build a document to email out to everyone. This ensures that everyone gets a personal email but no one else sees the recipients. Objectives By the end of the course you will be able to: Create source data to use in a merge Create a document to email out Attach source data contacts Filter recipients Send out emails to all Content Creating source contact data Creating your source data in Excel Creating a Word mail merge document Starting a mail merge document Attaching your source contact data Building the document Emailing your document Previewing the results Running a test to a document Setting up any filters Sending your document to emails
Microsoft Word - Document Production Part 2
By Underscore Group
Discover the more complex features of Word for long document creation. Course overview Duration: 1 day (6.5 hours) Our Word Document Production (Part 2) course shows you some of the more advanced features of Word that are key for long document creation. This course will enable you to create longer, more complex documents with ease, including adding cross references, headers and footers and a table of contents. This course is aimed at existing Word users who have attended our Word Document Production (Part 1) course or have equivalent knowledge and who want to extract the most out of the package. Objectives By the end of the course you will be able to: Create, amend and use templates Use styles for easy formatting Work with section breaks Manage linked headers and footers Insert pictures and objects Add cross references Create a table of contents Use tracked changes Content Creating templates Creating templates Using templates Amending templates Using styles in templates Adding styles to a template Using Heading Styles Managing Styles Applying template style changes directly from a document Copying styles between templates Working with different types of section break Next page section breaks Odd and even section breaks Inserting page numbers, headers and footers Creating custom headers and footers Inserting fields Using Section breaks Dynamic linking between Sections Page numbering in Sections Graphics Inserting pictures Inserting objects from other packages Object text wrapping options Picture options Adding cross references Creating cross references Creating a table of contents Generating a table of contents Setting table of contents styles Updating a table of contents Track changes Setting track changes Accepting and rejecting changes Viewing comments The reviewing pan
Microsoft Word - Document Production Part 1
By Underscore Group
Learn all the quick tips and tricks you didn’t know about in Word and how to properly setup new documents. Course overview Duration: 1 day (6.5 hours) Our Word Document Production (Part 1) course shows you how Word was designed to be used and demonstrates the powerful tools available. This course will enable you to originate professional documents with ease, ensuring that modifications are quick and uncomplicated. It looks at some of the common frustrations and how to avoid them. This course is aimed at existing Word users who want to get the best out of the package Objectives By the end of the course you will be able to: Customise Word Use different Word views Use line, paragraph and page breaks correctly Set indents and tabs Use styles for easy formatting Work with section breaks Work with automatic correction features Insert and modify tables Content Word setup Using different views Customising the status bar Customising the Quick Access bar and Ribbon Document setup Using the Navigation Pane Using Show / Hide Line vs paragraph breaks Using page break Using the ruler Setting indents and tabs The different types of indent Using dot leader tab Bullets and numbering Working with simple numbered and bulleted lists Sorting lists Working with multi level lists Styles The importance of styles Creating, amending and applying Character Styles Amending and applying Paragraph Styles Setting bullet point styles Using the Style Inspector Reorganising a document Using Outline View Promoting and demoting headings Displaying Styles names in Draft and Outline views Page and number fomatting Section vs page breaks Setting page orientation Setting page margins Displaying page border Automatic corrections Working with Quick Parts Setting autocorrect options Autoformat while typing Creating simple tables Inserting or drawing a table Modifying table formatting Adding rows and columns Changing row heights and column widths
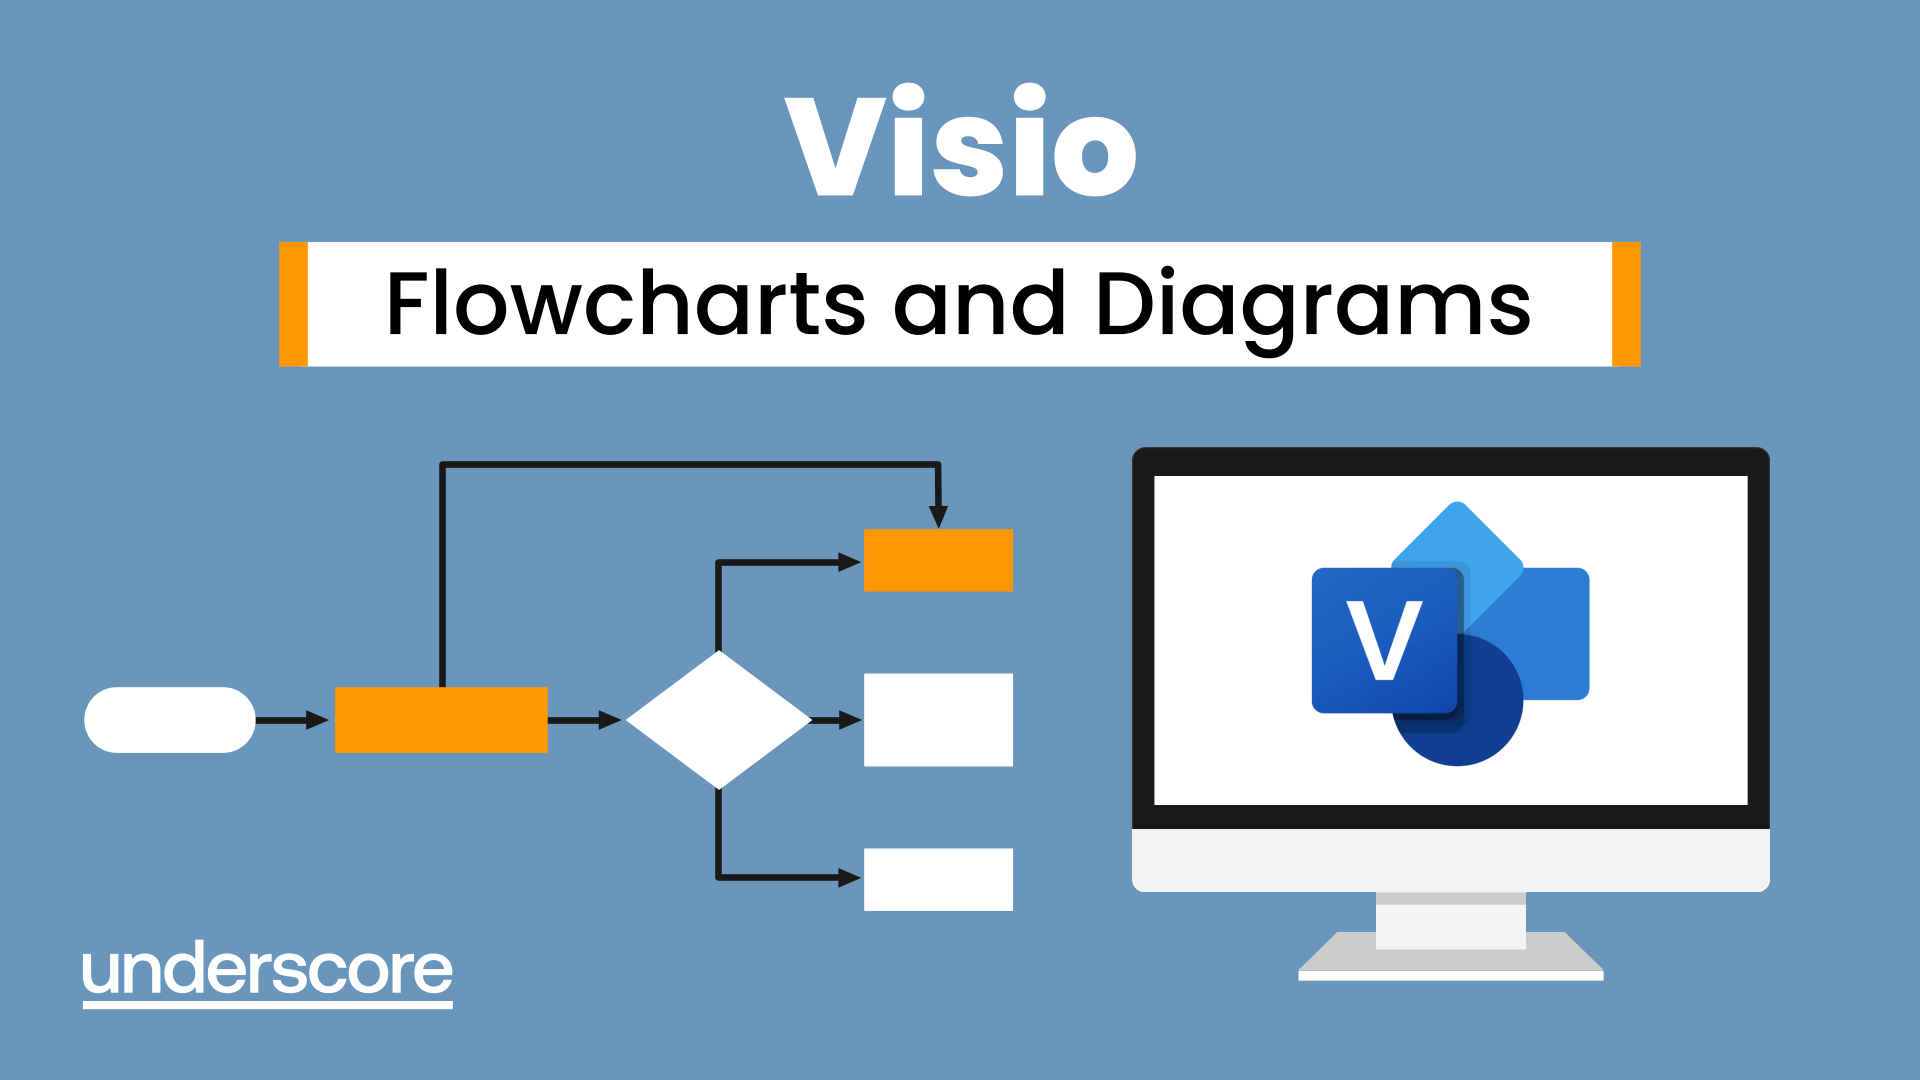
Visio Flowcharts and Diagrams
By Underscore Group
Ensure you can fully utilize this powerful tool to create a range of flowcharts and diagrams. Course overview Duration: 1 day (6.5 hours) Microsoft Visio is a powerful tool designed to simplify complex information through the creation of simple, professional-looking diagrams. While Visio is capable of producing almost any type of drawing this training concentrates on flowcharts, swim lane process diagrams and organisation charts. You will also discover the real power of Visio by adding essential data to the content of your diagrams and producing reports in Excel using this data. This course is designed for either new users of Visio or those who have dabbled and can create basic diagrams. Our course will give you the skills and knowledge you need to navigate your way around this powerful program and produce different types of diagram. Objectives By the end of the course you will be able to: Create and amend flowcharts Create cross functional (Swim Lane) process flows Produce organisation charts by importing data Add essential data to shapes Export diagram data reports to Excel Present, publish and print Visio diagrams Content Visio essentials Finding your way around Visio Using the ribbon and Quick Access toolbar Keyboard shortcuts Shapes and stencils explained What Visio can do for you Creating basic flowcharts Working with shapes Adding and deleting shapes Joining, aligning and sizing shapes Using Auto-Connect Labelling shapes and connectors Editing and improvinC flowcharts Amending shape and connector labels Using colours to emphasise Changing line styles Moving and copying objects Grouping diagram elements Quick ways of working Cross functional flowcharts Creating Cross-Functional Flowcharts Manipulating functional bands Creating off-page references within diagrams and hyperlinks to other documentation Organising charts and shape data Using the wizard to create an organisation Chart Importing existing Data into to create an organisation chart Modifying an organisation chart Shape Data Adding shape data to a shape Creating shape data sets Diagram reports Exporting data to a report in Excel Exporting to HTML Creating and customizing reports Presenting, publishing and printing Using Page Setup Print previewing Embedding backgrounds Adding headers and footers Converting your final documentation to PDF Saving as HTML Visio with PowerPoint
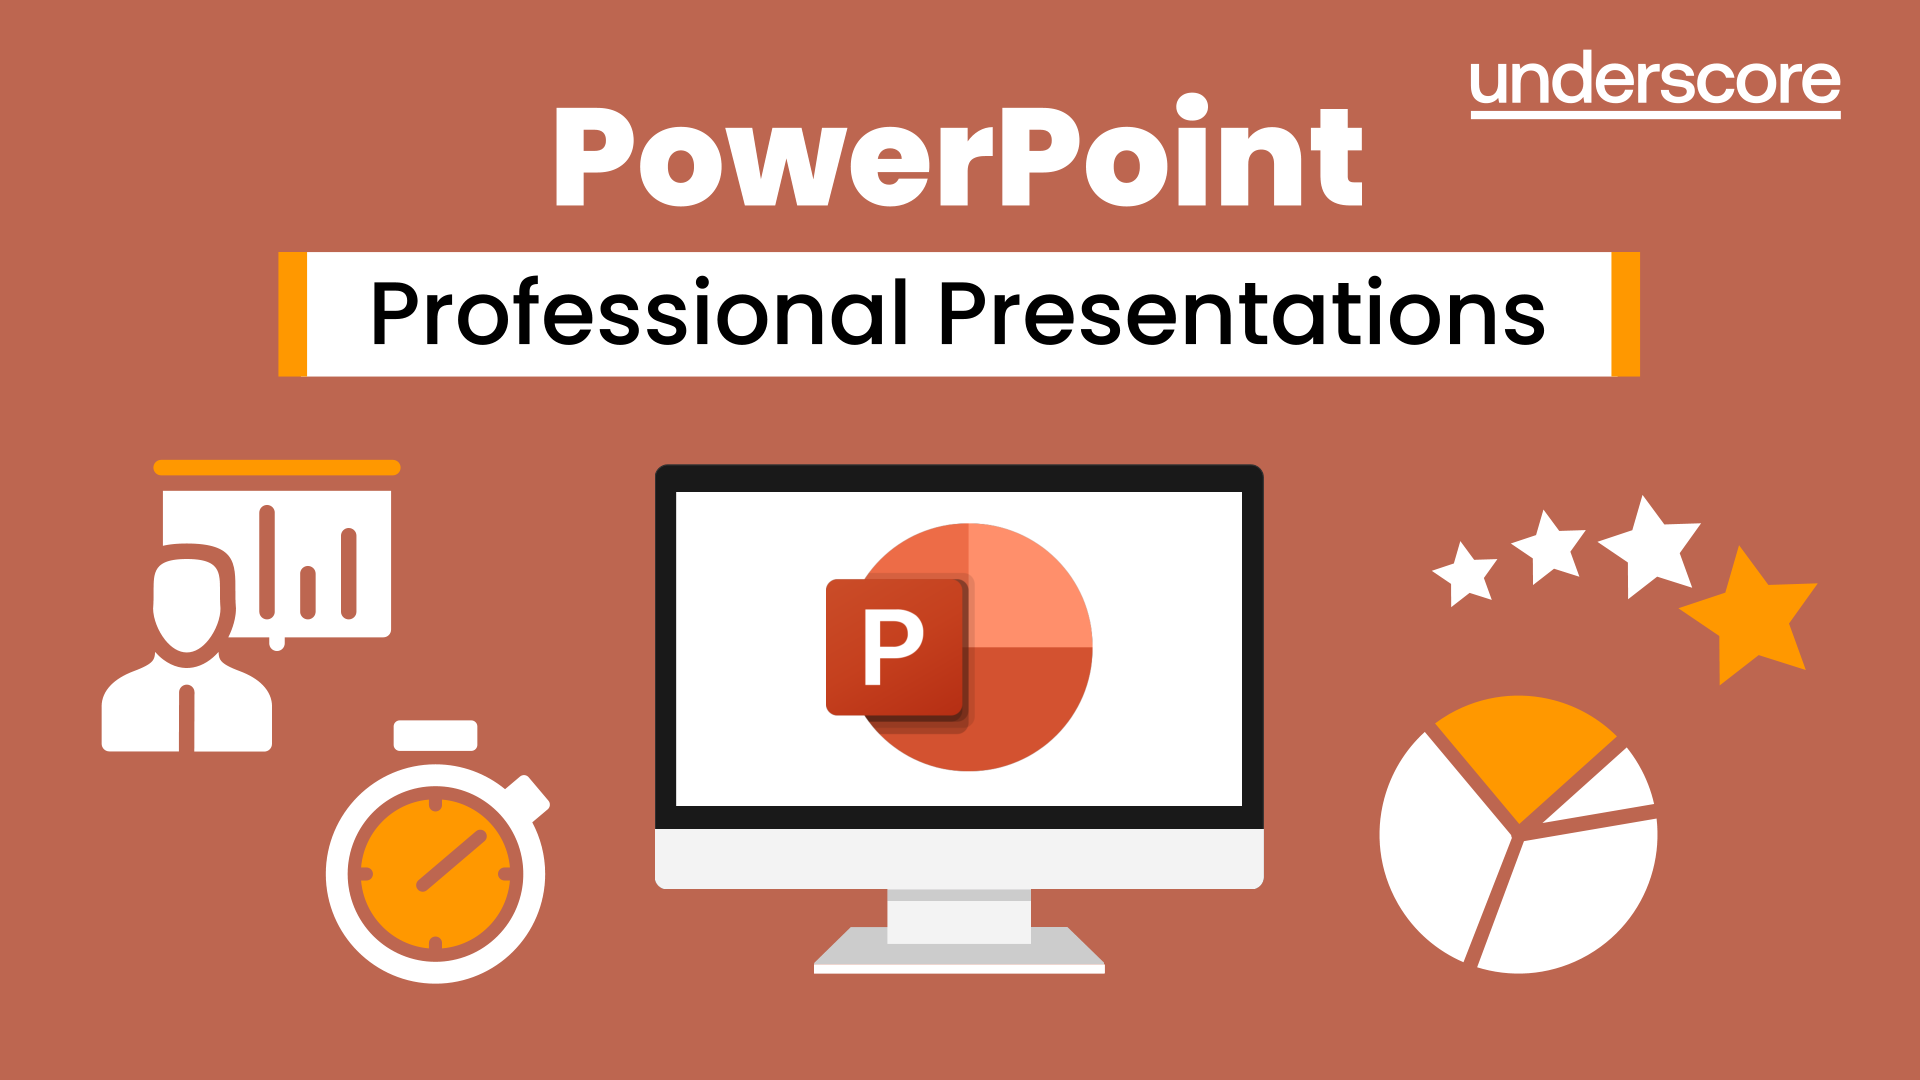
Powerpoint Professional Presentations
By Underscore Group
Learn the proper way to use PowerPoint and the background features that can make a real difference. Course overview Duration: 1 day (6.5 hours) Our PowerPoint – Professional Presentations course looks at creating professional, business focussed presentations quickly and easily. It ensures delegates are aware of the key concepts in using the tool such as slide masters and by the end of the day you will be able to create and run high quality presentations. This course is designed for new and existing users of PowerPoint who want to get the best out of the tool. Objectives By the end of the course you will be able to: Create a new presentation Amend the slide master/template Create text slides Animate text on slides Insert pictures and objects Set object animation Insert and work with SmartArt Create charts Run a presentation Content Creating a new presentation Creating a new presentation from a template Using your company template Changing slide layouts Copying, deleting and inserting slides Using the slide master Modifying the Slide Master Using Slide layouts Multiple Slide Masters Slide dates, footers and numbers Creating text slides Working with bullet points Setting spacing Changing text and bullet styles Using Outline view Text animation on a slide Slide titles Bullet points Applying animation to the Slide Master Animating text Slide titles Bullet points Applying animation to Slide Master Drill Down vs Drill Through Review of drill down Creating drill through pages Using drill through Inserting and working with pictures Inserting pictures Inserting online pictures Formatting pictures Adding Drawings Inserting lines and shapes Using Quick Styles Selecting and grouping objects Aligning and positioning objects Add text to a shape Duplicating objects Object animation Simple object animations Working with SmartArt Inserting SmartArt Graphics SmartArt formatting Converting text to SmartArt Inserting charts Creating a slide with a graph Changing chart types Setting chart options Graph animations Presenting your presentation Slide show settings Using Presenter view Using the PowerPoint viewer Slide show presentation tips
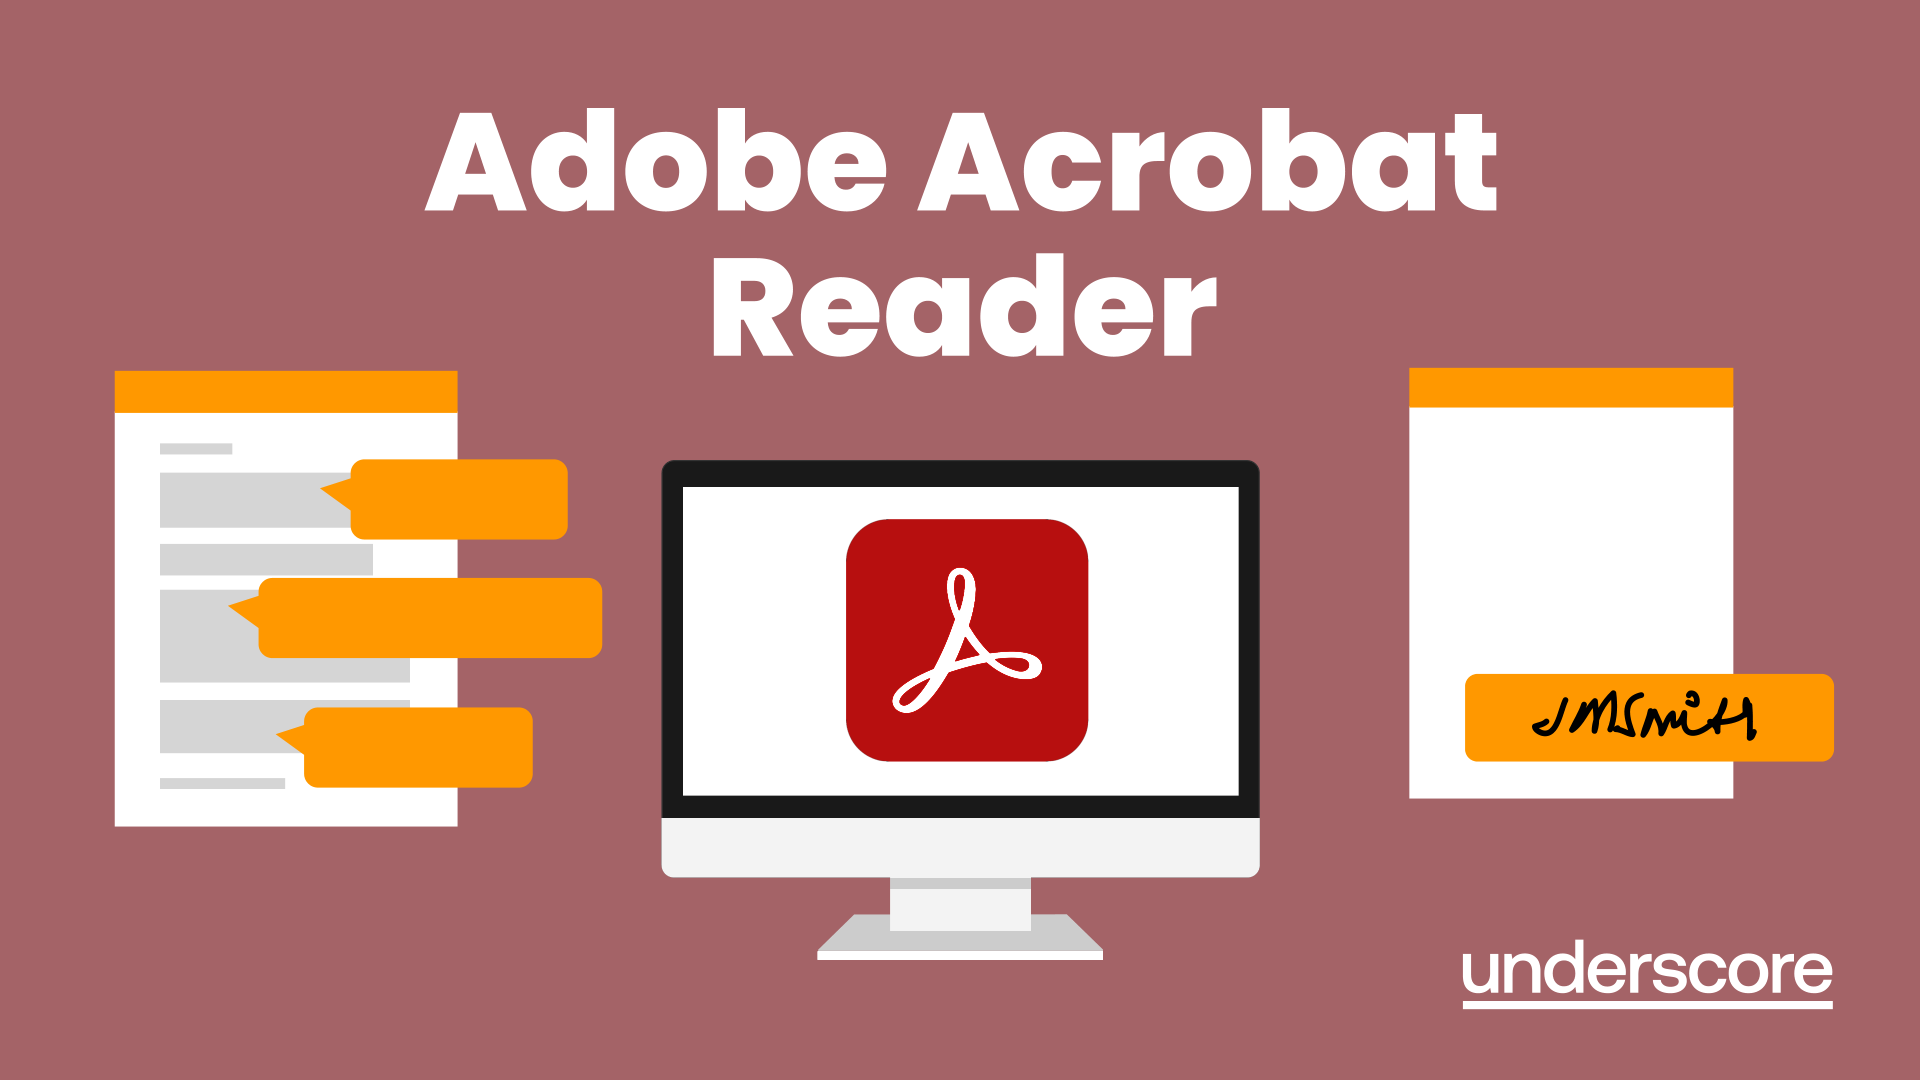
Adobe Acrobat Reader
By Underscore Group
There is so much more to this free tool than just creating PDFs. Learn what else you can do for free. Duration: 2 hours This Adobe Acrobat Reader course looks at the features of the Acrobat Reader tool. Learn how to create PDF and what options you have, complete and sign and mark up PDFs. Objectives By the end of the course you will be able to: Create PDFs from other tools Complete and sign documents Mark up PDF documents Content Creating PDFs Building PDF documents from Word, Excel and PowerPoint Working in Acrobat Home, Tools and Document Views Using the Navigation Panel and Pane Floating toolbar and Contextual menus Completing and signing documents Using fill and sign to complete forms Adding signatures Marking up documents Marking up changes Using sticky notes Using the highlighter pen Adding stamps Attaching documents and audio
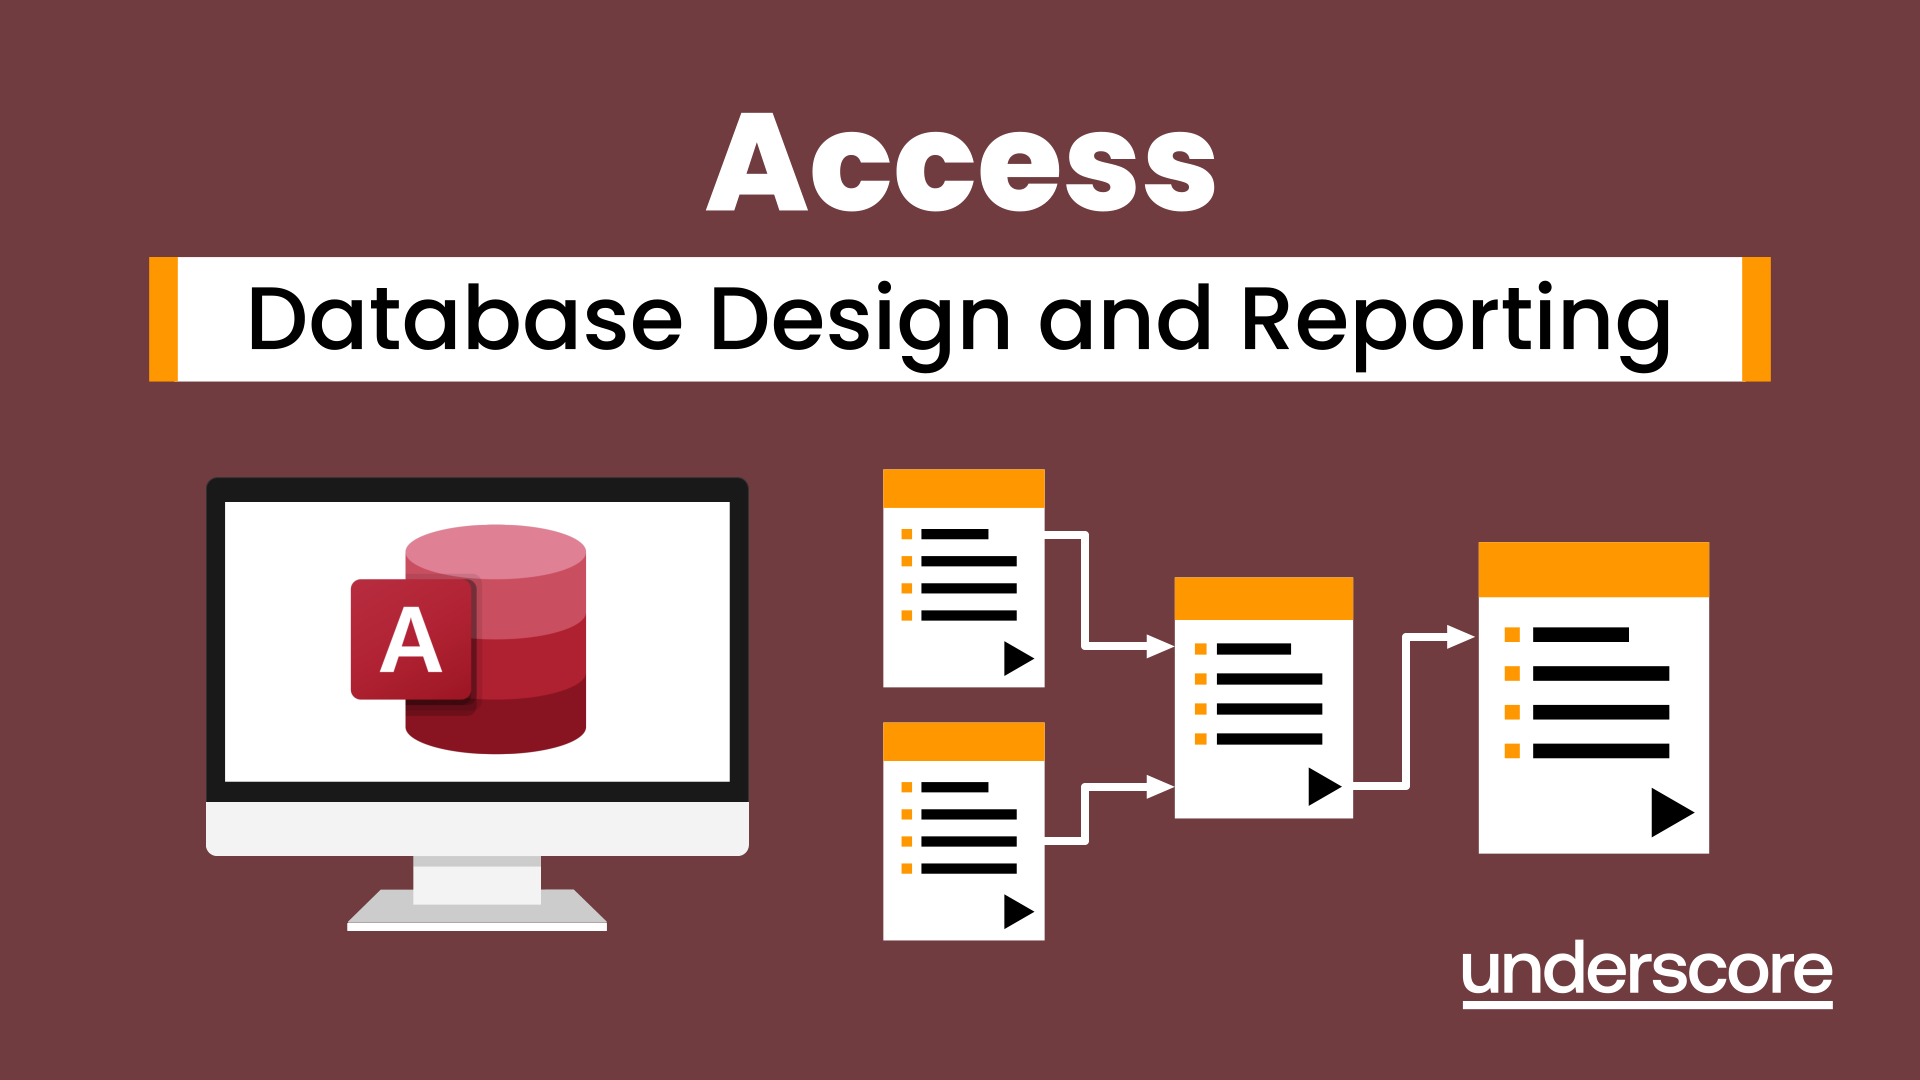
Access - Database Design and Reporting
By Underscore Group
Learn how to create fully relational databases and how to input, extract and report on data. Course overview Duration: 2 days (13 hours) Our Access Database Design and reporting course looks at the key elements to building fully relational databases and entering and extracting information from them. This course is designed for new users who need to build relational database systems. Objectives By the end of the course you will be able to: Create a new database Create data tables Set field validation and properties Enter data and manage data Create forms Use queries to extract data Create parameter queries Create calculations in queries Build relational databases Use sub datasheets Build multi table queries Use advanced form and report design techniques Content Creating a database Creating a new database Database elements Creating a data table Setting field properties Using input masks Using input masks Validation rules Default values Setting a primary key Creating lookup fields Data entry Adding data Deleting data Quick keys for data entry Working with data Sorting data Filtering data Finding information Navigation Creating data form Creating quick forms The form wizard Amending forms Formatting Setting the tab order Entering data using forms Creating queries Creating a query Setting criteria Using the expression builder Creating parameter queries Using wildcards Using more than one parameter Using calculations in queries Adding a totals row Formatting results Adding calculations Printing and reporting Printing tables and queries Creating reports Building and amending reports Adding headers and footers Working with relational databases Relational database principles Importing data from other sources Linking information between tables One-to-one and one-to-many links Defining referential integrity Amending links Deleting links Sub datasheets Viewing a subdatasheet Removing a subdatasheet Connecting a subdatasheet Multiple table queries Deciding which tables to use Adding tables to the query Creating links between tables Setting join properties Advanced form design Field properties Creating lookup fields Adding calculated fields Applying conditional formatting Advanced report design Field properties Report properties Alternate colour bandings Concatenating fields Adding calculated fields Sorting and grouping Grouping settings Adding headers and footers Adding dates, times, page numbers