- Professional Development
- Medicine & Nursing
- Arts & Crafts
- Health & Wellbeing
- Personal Development
6370 Courses in Belfast delivered Live Online
Emotional Intelligence for Today’s Leadership and Management
By Dickson Training Ltd
EQ is a pattern of how people's biases in their thinking leads them to think one choice or thing is better than another, as well as their clarity in differentiating within those biases to exercise clear and sound judgement. Where your thinking and responses lie within your biases spectrum, and your ability in adjusting to the situation you find yourself in, will determine responses equating to poor or strong Emotional Intelligence (EI). This course will enhance and promote the skill set necessary for any working leader or manager, allowing our in-depth emotional intelligence knowledge to be applied into your working environment. From an employer's perspective, this award can be a significant long-term return on investment by further developing your leaders and managers. What Does This Course Offer? Our program offers an EQ-SWOT™ assessment and EI Model in detail, and through activity and discussion we explore how applying and possibly adjusting, you may offer an improved Emotional Intelligence. Our learning experiences are successful because the outcomes are quickly embedded and demonstrate an immediate visible impact on the day-to-day working environment. Our engaging learning inspires employees to want to personally add value to the companies they work for. We also offer our Paradigm EQ-SWOT™ online assessment and report as a frame of reference within the program. This assessment should be completed before attending the program, and will be expanded upon during the program delivery. Course Content The Emotional Intelligence for Today’s Leadership and Management course covers the following topics: What makes EI so important within the workplace Self-Awareness and your EQ Profile The EQ unpacked Unconscious Bias & EI How to develop your EI quotient Accreditation Activity Our accredited tutors deliver training that encourages delegates to confidently and practically apply all they have learnt as soon as they get back into the business. To achieve this award, delegates need to prepare and deliver a 3 minute presentation* on the highlights of their learning and immediate application avenues when back in their working environment. *Participants will be given 30 minutes during the program to prepare for their 3 min presentation at the end of the program. Scheduled Course Dates Unfortunately this course is not currently scheduled as an open course as it is primarily run as an in-house programme. For more information, please contact us. In-House Courses This is our own management training course which has been developed and refined over the many years we have been providing it to delegates from organisations in virtually every industry. This means that the course syllabus is extremely flexible and can be tailored to your specific requirements. If you would like to discuss how we can tailor this management training course for you and/or run it at your premises, please contact us.

Ushering The Team Back To The Workplace
By Dickson Training Ltd
Most organisations and businesses are trying to navigate the best way back to a functional working framework. But two things need to happen - 1. The working practices need to be efficient, sustainable and compatible for meeting the demands and needs of the organisation; it’s clients, it’s workforce and it’s Leaders 2. The culture needs to be welcoming, authentic and supportive otherwise there will be disenfranchisement and potentially a churn of staff and loss of talent What has been proven to be a very successful approach to mitigate the dangers of demotivated team members and poor efficiency levels is a bespoke ‘Ushering the Team Back to the Workplace’ workshop. Programme Outline Below is a template of an actual Programme that has been delivered very successfully for clients such as the NHS; Claranet; Jotun Paints & Workspace. This, however, can be modified to suit any group or size. It will be designed to reflect the Organisation’s preferred Hybrid working framework and communication systems. The options of having the innovative Real Play technique to help handle delicate conversations is especially effective. The biggest gain is to reconnect the relationships via the activities and exercises, which would be selected carefully. Key commitments and buy-in is always the priority outcomes - which this programme will help deliver in just 1 day. The objectives include: Making the transition back to working as a collaborative team Enhancing the Leadership skills of the team Reviewing/establishing the Hybrid working protocols Galvanising the Team spirit Maintain inclusivity among full-time; part-time and Region based team members Energising and motivational Fun! Exercise – Round the Bend The team are to follow the instructions delivered as they walk (and jump) through the route – always keeping a safe distance apart. The instructions become more complicated as they progress. Debriefing points: Dealing with Change Attention to Detail Adapting approach Optimising results Exercise - Number Crunch (3 x Cohorts of 12/13) The team must be effectively led and motivated to work as one unified group to reach their objective of visiting each numbered location within a very tight deadline. Debriefing points: Support and co-ordination Strategy and planning Adapting approach Optimising results Tutorial – Team Dynamics Tuckman model Phases of Development towards Maturity Exercise - Juggling (3 x Cohorts of 12/13) The group(s) will be invited to optimise the number of ‘clients’ (juggling balls) they can manage at one time. This involves devising a sequence between the group to achieve maximum results without making any mistakes. We introduce different balls which represent different degrees of complexity, challenging the group’s preparation and approach to a variety ‘customers’ needs. Debriefing points: Ensuring effective communication Clarifying the approach for dealing with the unexpected Setting expectations and reviewing delivery Treating every colleague with care and respect Tutorial - Email Etiquette The primary standards – best practices ABSURD model Preparation and planning Top Tips World Cafe The team are split into 5-6 sub-groups – each with a specific review focus:- What recommendations do you have to engage the team back into the Workplace? How do we ensure the framework is efficient? What are the best ways to optimise team working strategically when most/all team members are in the office? What potential barriers are there? How do we accommodate for the Regional team members? What are the benefits to bringing the team back to the workplace? Each session has 2 – 3 rounds with each table’s ‘host’ sharing feedback for applying to the Team Action Plan – or Charter. Debriefing points: Each Syndicate’s recommendations and capture the key actions they generate 'Real Play' We offer an innovative solution to bring real Leadership/team scenarios to life. We use actors who improvise scenarios which have been specified by the group. The group is split the group into 2 sub-groups, one with the Actor, the other with the Trainer. Each group has a brief and has to instruct their Trainer/Actor on how to approach the scenario supplied. The Actor and Trainer perform the role play(s) as instructed by their respective teams; however, during the action they can be paused for further recommendations or direction. The outcome is the responsibility of the team(s) – not the performers Assign 24 x ‘Directors’ (4 for each Player – Phil & Julia – for each Real Play. Potential Real Play Scenarios: Engaging with a team member as to how the new working plans will be applied. Overcoming concerns to the new working practices/framework Addressing issues where a team member feels excluded from the teamworking practices/culture Debrief the Programme Individual Action Plans Team Priorities for application into the workplace
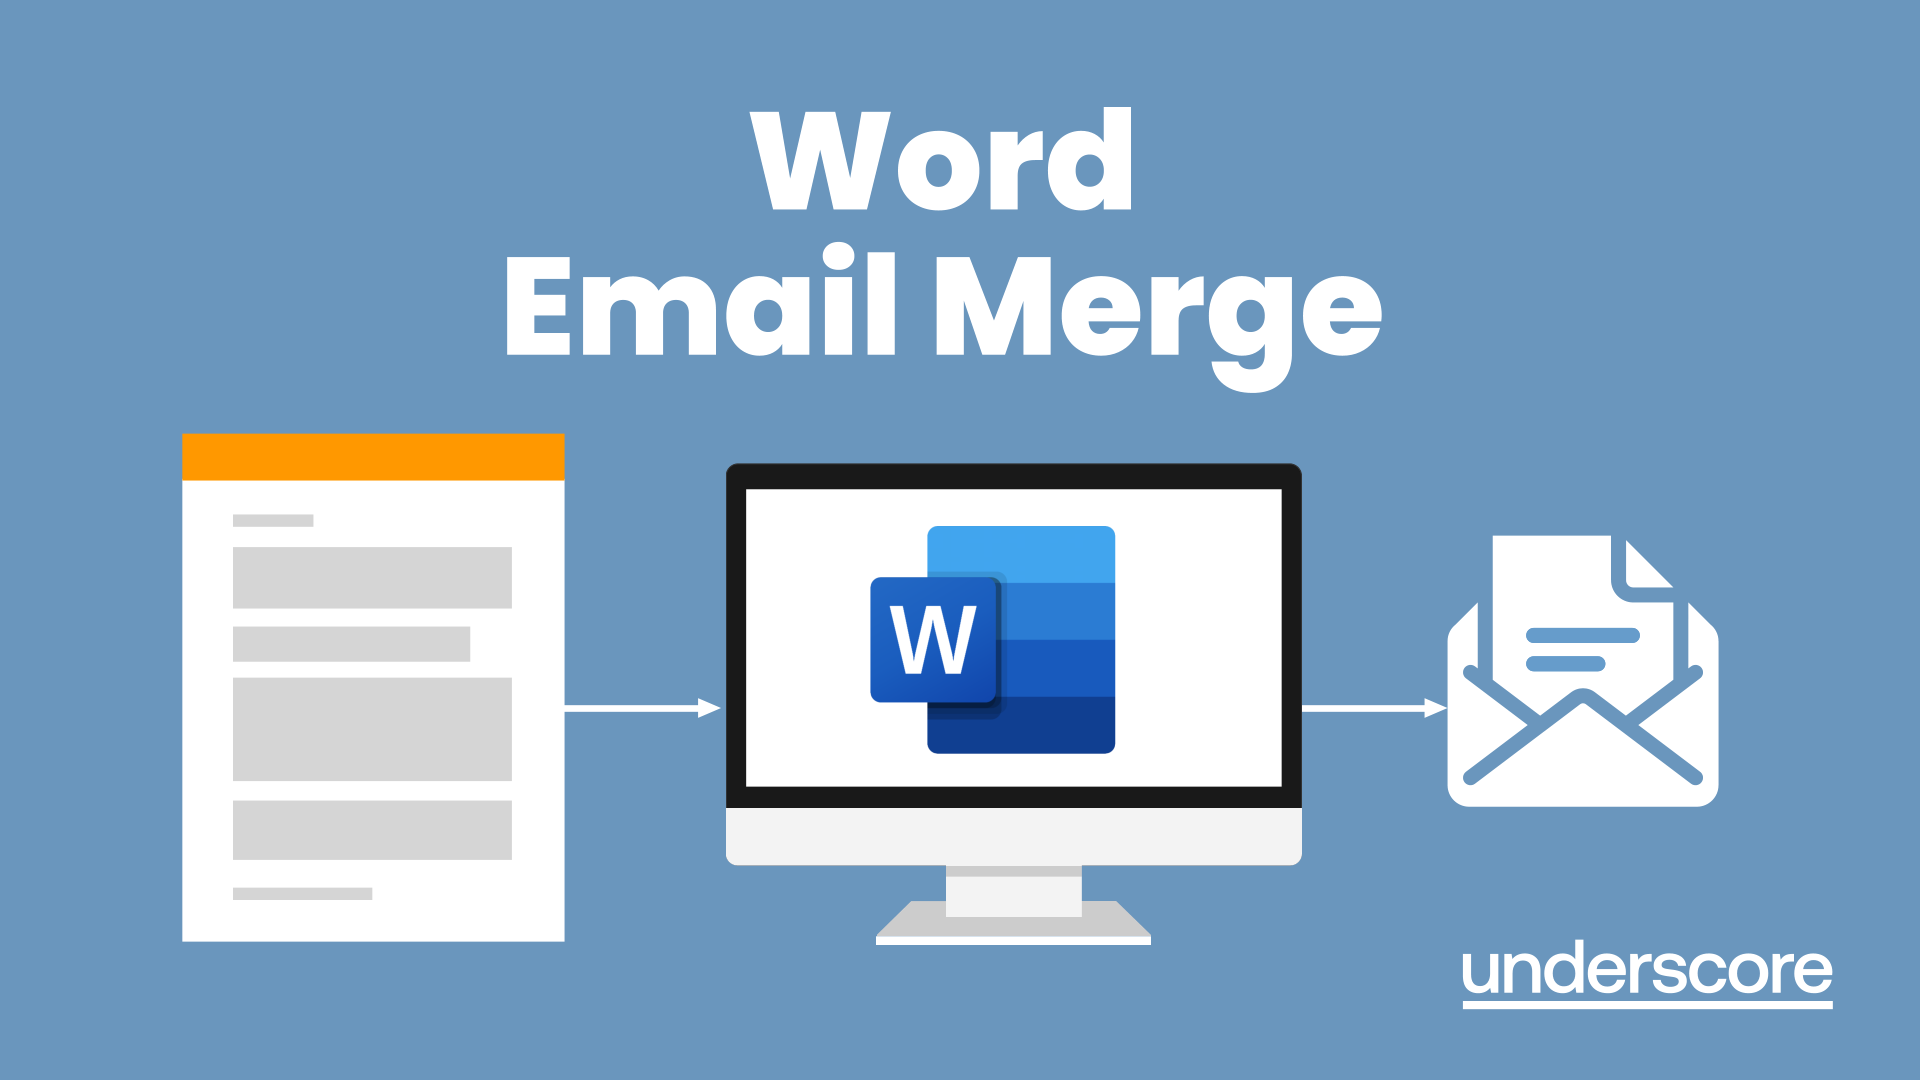
Word email merge
By Underscore Group
Learn how to create a mail merge in Word to allow you to send personalized emails to groups of people. Course overview Duration: 2 hours This course looks at how you can create a list of contacts with emails and then build a document to email out to everyone. This ensures that everyone gets a personal email but no one else sees the recipients. Objectives By the end of the course you will be able to: Create source data to use in a merge Create a document to email out Attach source data contacts Filter recipients Send out emails to all Content Creating source contact data Creating your source data in Excel Creating a Word mail merge document Starting a mail merge document Attaching your source contact data Building the document Emailing your document Previewing the results Running a test to a document Setting up any filters Sending your document to emails
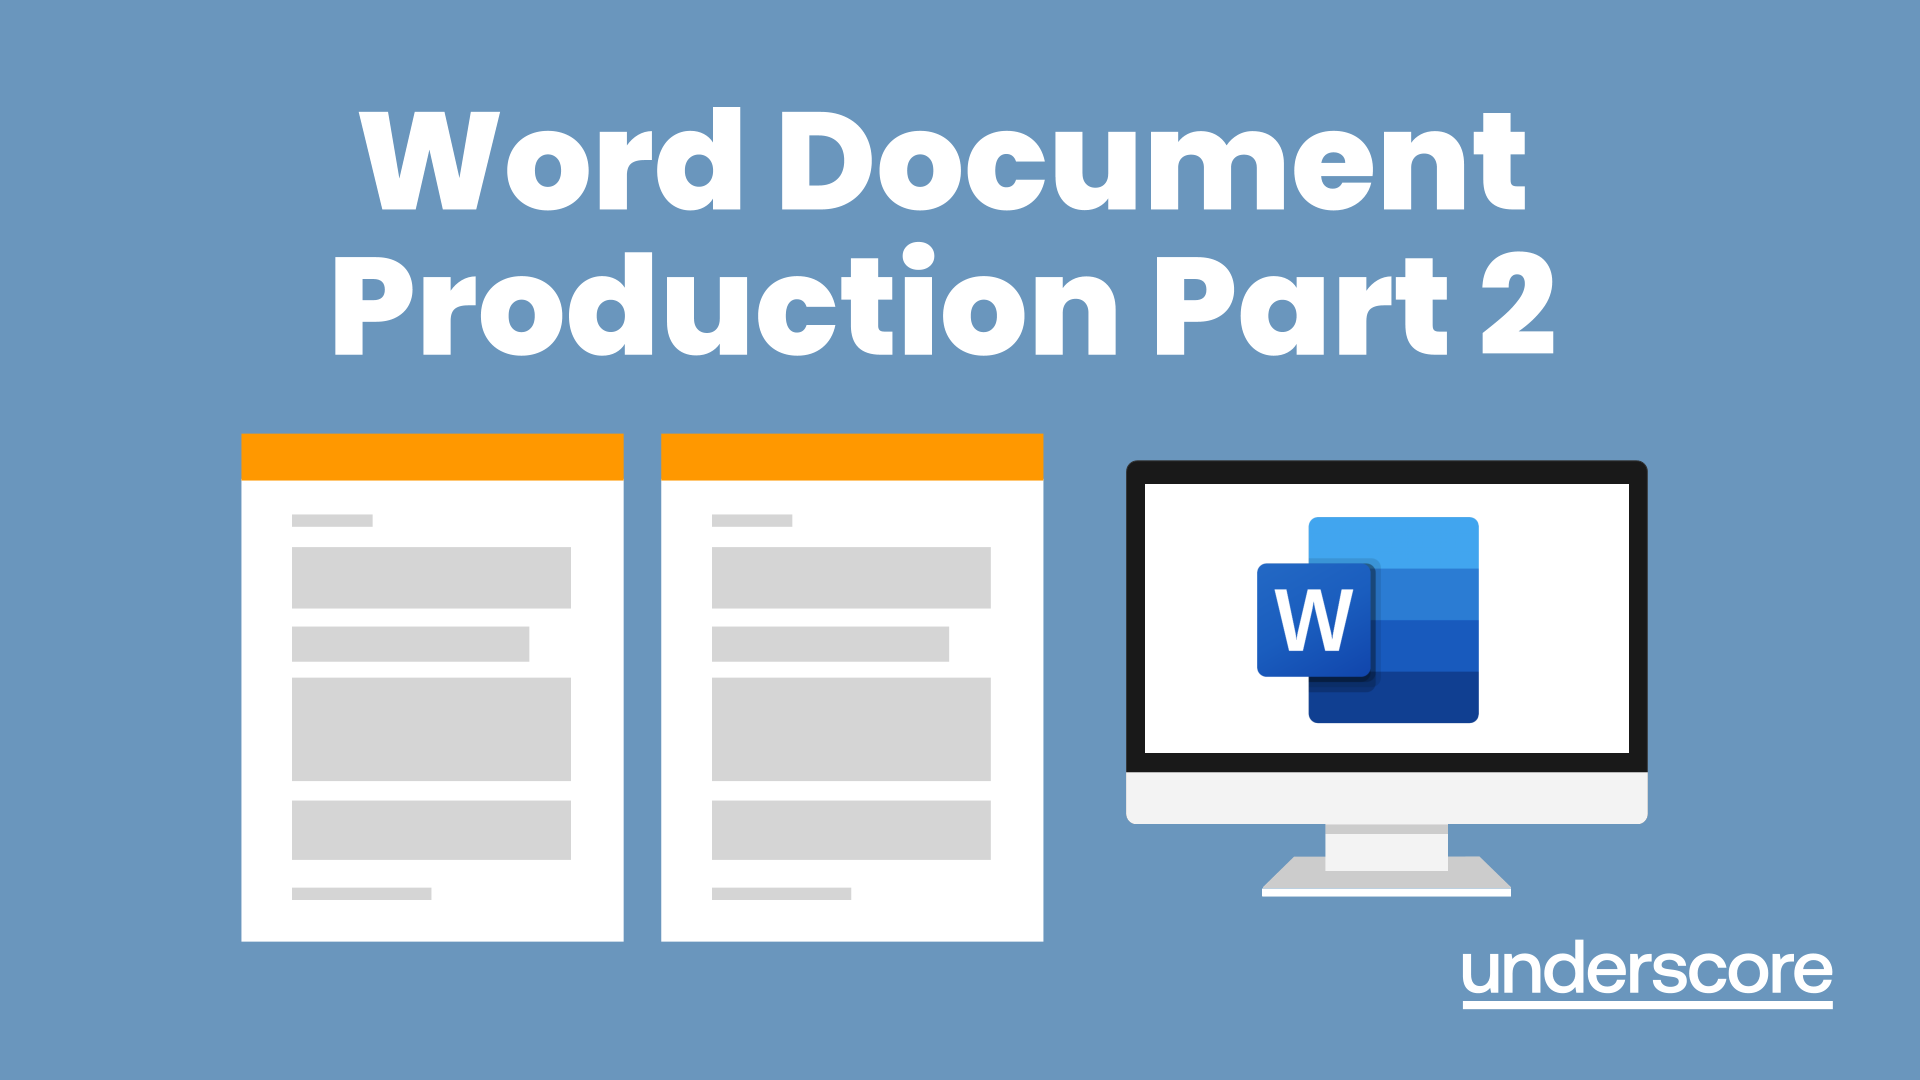
Microsoft Word - Document Production Part 2
By Underscore Group
Discover the more complex features of Word for long document creation. Course overview Duration: 1 day (6.5 hours) Our Word Document Production (Part 2) course shows you some of the more advanced features of Word that are key for long document creation. This course will enable you to create longer, more complex documents with ease, including adding cross references, headers and footers and a table of contents. This course is aimed at existing Word users who have attended our Word Document Production (Part 1) course or have equivalent knowledge and who want to extract the most out of the package. Objectives By the end of the course you will be able to: Create, amend and use templates Use styles for easy formatting Work with section breaks Manage linked headers and footers Insert pictures and objects Add cross references Create a table of contents Use tracked changes Content Creating templates Creating templates Using templates Amending templates Using styles in templates Adding styles to a template Using Heading Styles Managing Styles Applying template style changes directly from a document Copying styles between templates Working with different types of section break Next page section breaks Odd and even section breaks Inserting page numbers, headers and footers Creating custom headers and footers Inserting fields Using Section breaks Dynamic linking between Sections Page numbering in Sections Graphics Inserting pictures Inserting objects from other packages Object text wrapping options Picture options Adding cross references Creating cross references Creating a table of contents Generating a table of contents Setting table of contents styles Updating a table of contents Track changes Setting track changes Accepting and rejecting changes Viewing comments The reviewing pan
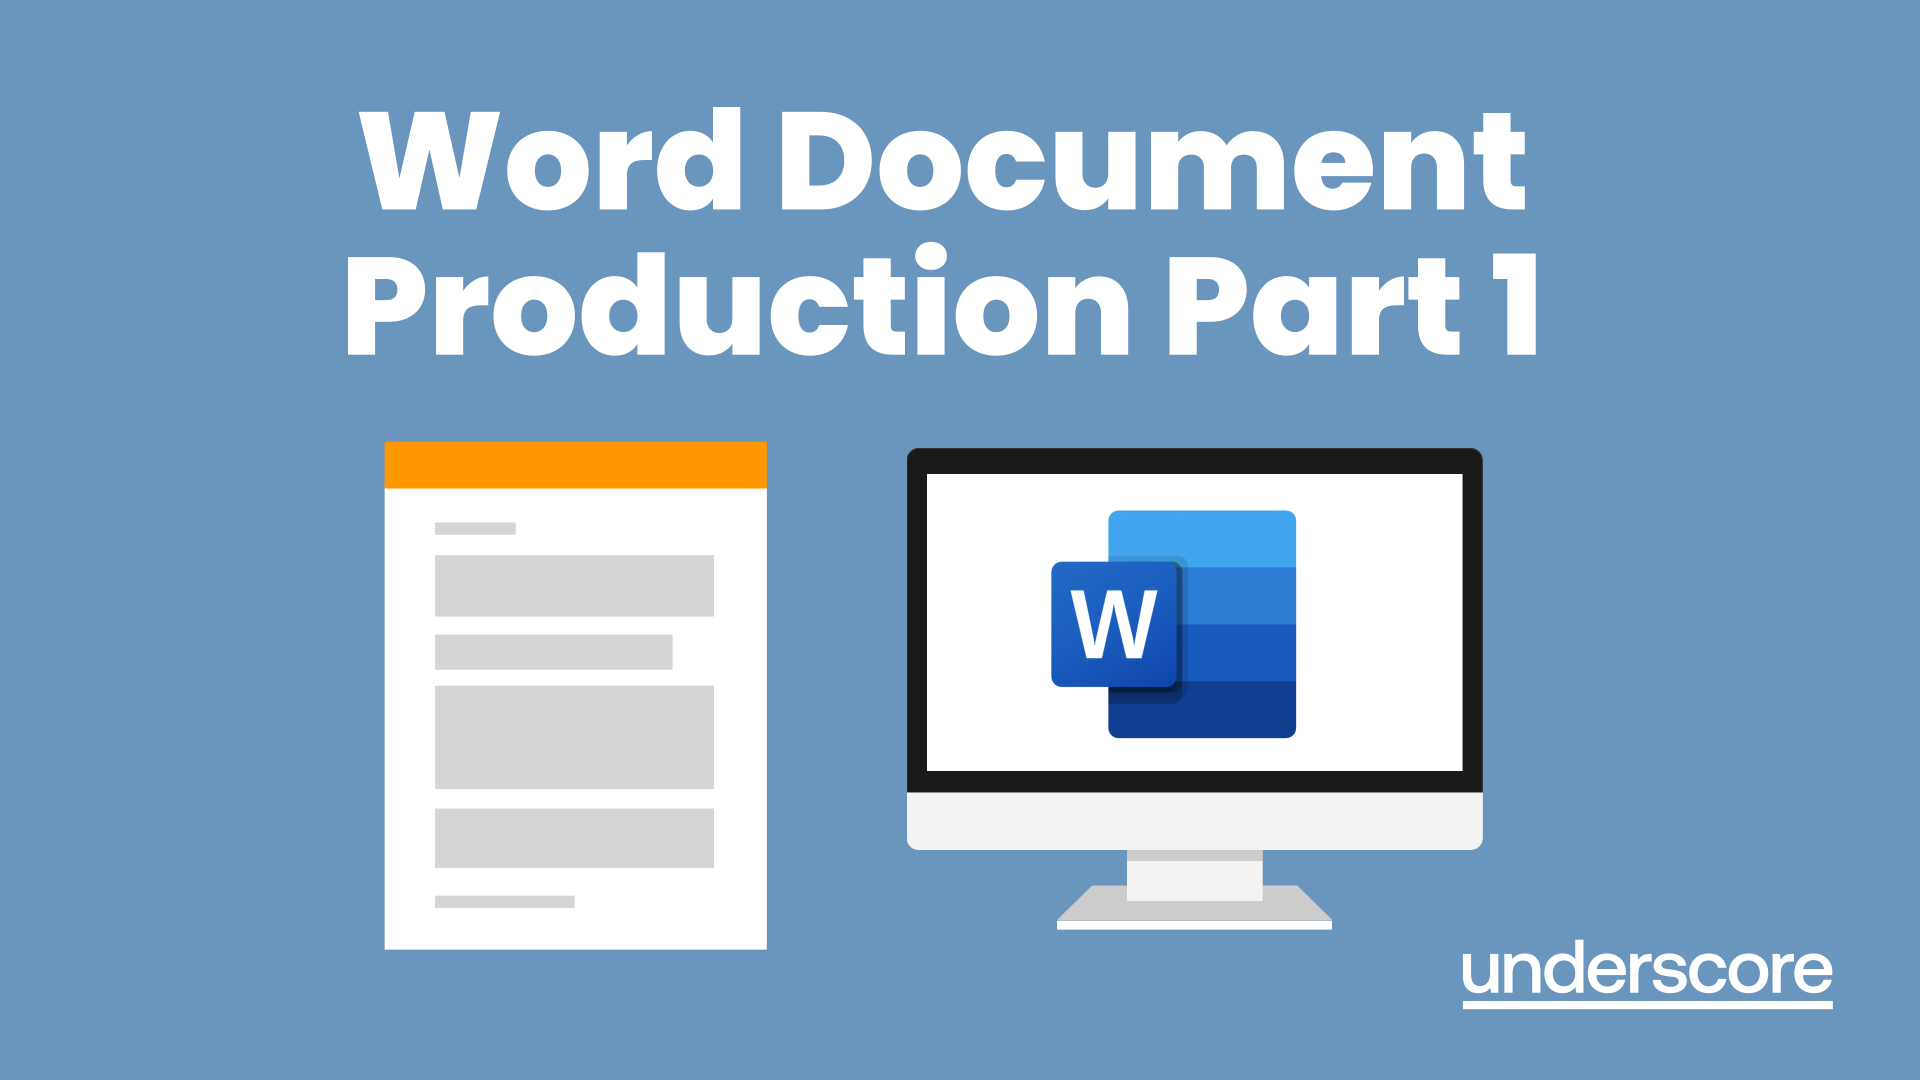
Microsoft Word - Document Production Part 1
By Underscore Group
Learn all the quick tips and tricks you didn’t know about in Word and how to properly setup new documents. Course overview Duration: 1 day (6.5 hours) Our Word Document Production (Part 1) course shows you how Word was designed to be used and demonstrates the powerful tools available. This course will enable you to originate professional documents with ease, ensuring that modifications are quick and uncomplicated. It looks at some of the common frustrations and how to avoid them. This course is aimed at existing Word users who want to get the best out of the package Objectives By the end of the course you will be able to: Customise Word Use different Word views Use line, paragraph and page breaks correctly Set indents and tabs Use styles for easy formatting Work with section breaks Work with automatic correction features Insert and modify tables Content Word setup Using different views Customising the status bar Customising the Quick Access bar and Ribbon Document setup Using the Navigation Pane Using Show / Hide Line vs paragraph breaks Using page break Using the ruler Setting indents and tabs The different types of indent Using dot leader tab Bullets and numbering Working with simple numbered and bulleted lists Sorting lists Working with multi level lists Styles The importance of styles Creating, amending and applying Character Styles Amending and applying Paragraph Styles Setting bullet point styles Using the Style Inspector Reorganising a document Using Outline View Promoting and demoting headings Displaying Styles names in Draft and Outline views Page and number fomatting Section vs page breaks Setting page orientation Setting page margins Displaying page border Automatic corrections Working with Quick Parts Setting autocorrect options Autoformat while typing Creating simple tables Inserting or drawing a table Modifying table formatting Adding rows and columns Changing row heights and column widths
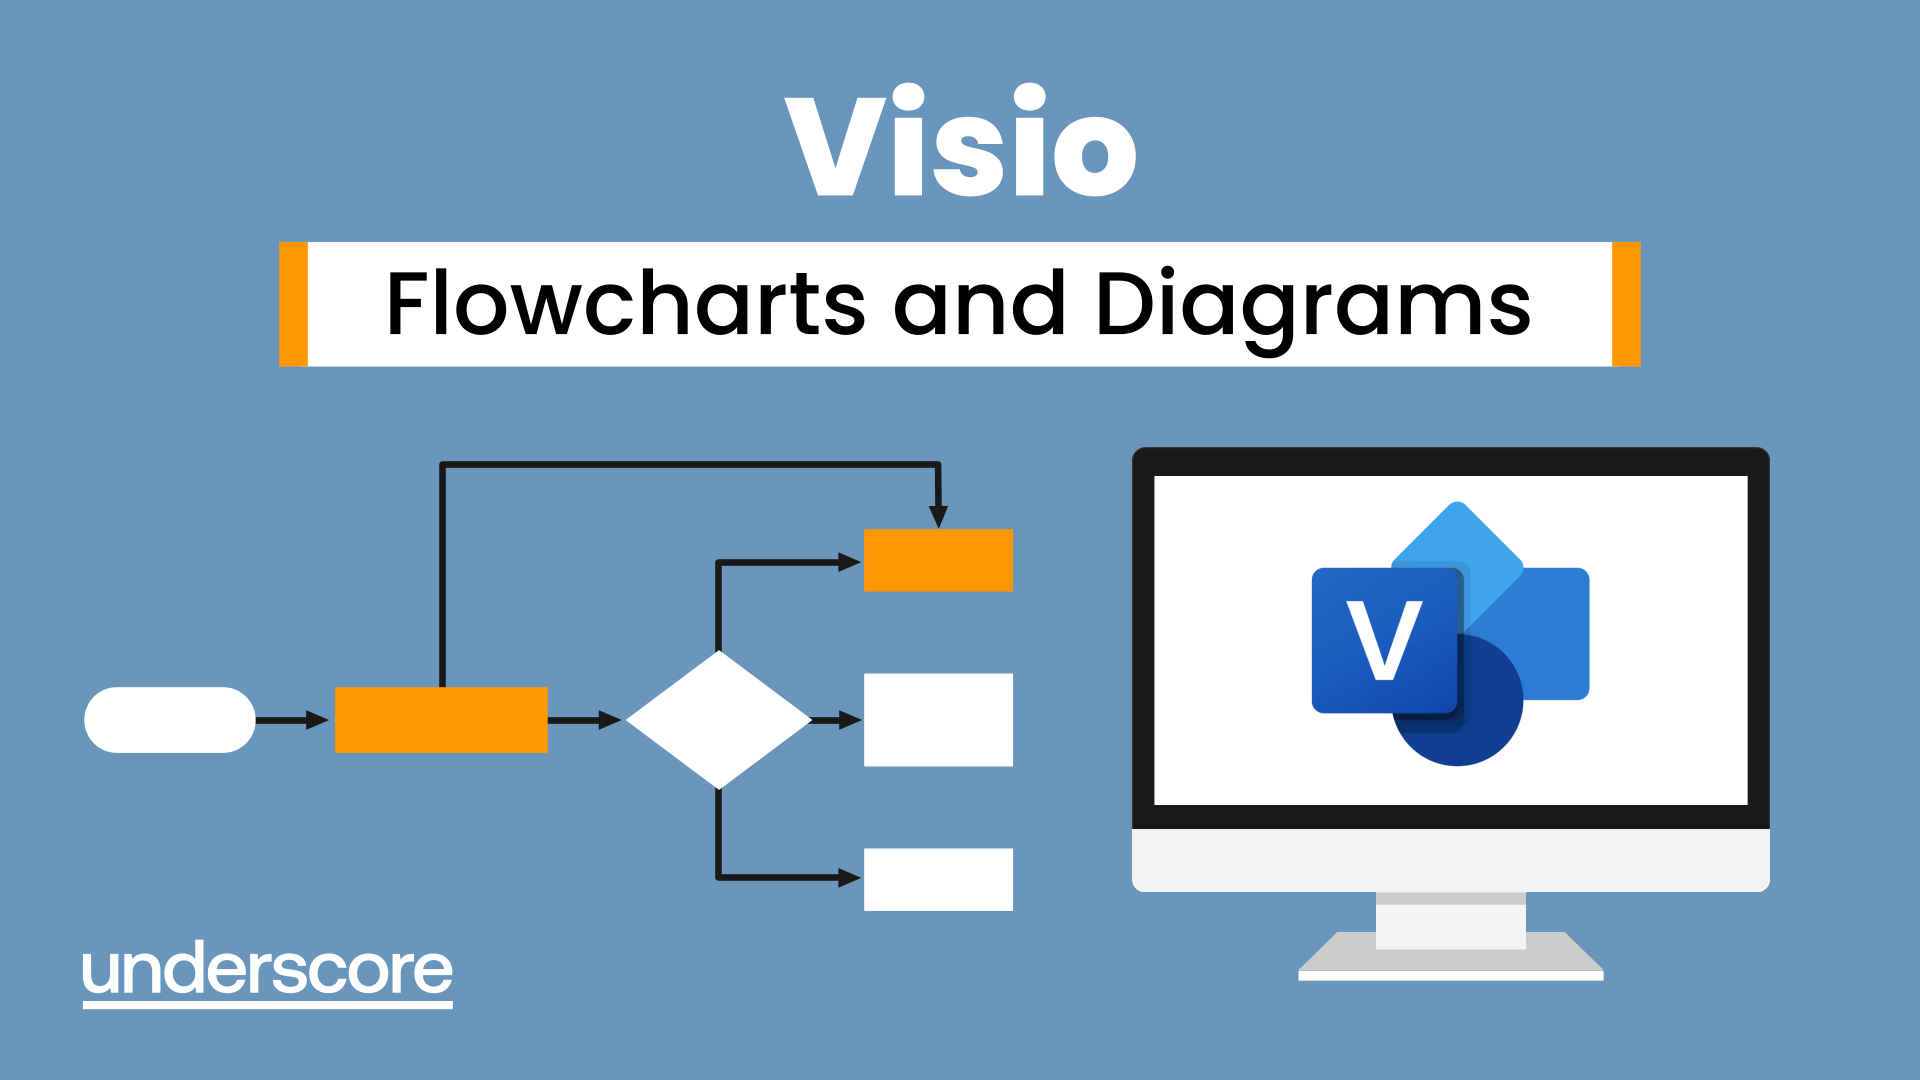
Visio Flowcharts and Diagrams
By Underscore Group
Ensure you can fully utilize this powerful tool to create a range of flowcharts and diagrams. Course overview Duration: 1 day (6.5 hours) Microsoft Visio is a powerful tool designed to simplify complex information through the creation of simple, professional-looking diagrams. While Visio is capable of producing almost any type of drawing this training concentrates on flowcharts, swim lane process diagrams and organisation charts. You will also discover the real power of Visio by adding essential data to the content of your diagrams and producing reports in Excel using this data. This course is designed for either new users of Visio or those who have dabbled and can create basic diagrams. Our course will give you the skills and knowledge you need to navigate your way around this powerful program and produce different types of diagram. Objectives By the end of the course you will be able to: Create and amend flowcharts Create cross functional (Swim Lane) process flows Produce organisation charts by importing data Add essential data to shapes Export diagram data reports to Excel Present, publish and print Visio diagrams Content Visio essentials Finding your way around Visio Using the ribbon and Quick Access toolbar Keyboard shortcuts Shapes and stencils explained What Visio can do for you Creating basic flowcharts Working with shapes Adding and deleting shapes Joining, aligning and sizing shapes Using Auto-Connect Labelling shapes and connectors Editing and improvinC flowcharts Amending shape and connector labels Using colours to emphasise Changing line styles Moving and copying objects Grouping diagram elements Quick ways of working Cross functional flowcharts Creating Cross-Functional Flowcharts Manipulating functional bands Creating off-page references within diagrams and hyperlinks to other documentation Organising charts and shape data Using the wizard to create an organisation Chart Importing existing Data into to create an organisation chart Modifying an organisation chart Shape Data Adding shape data to a shape Creating shape data sets Diagram reports Exporting data to a report in Excel Exporting to HTML Creating and customizing reports Presenting, publishing and printing Using Page Setup Print previewing Embedding backgrounds Adding headers and footers Converting your final documentation to PDF Saving as HTML Visio with PowerPoint
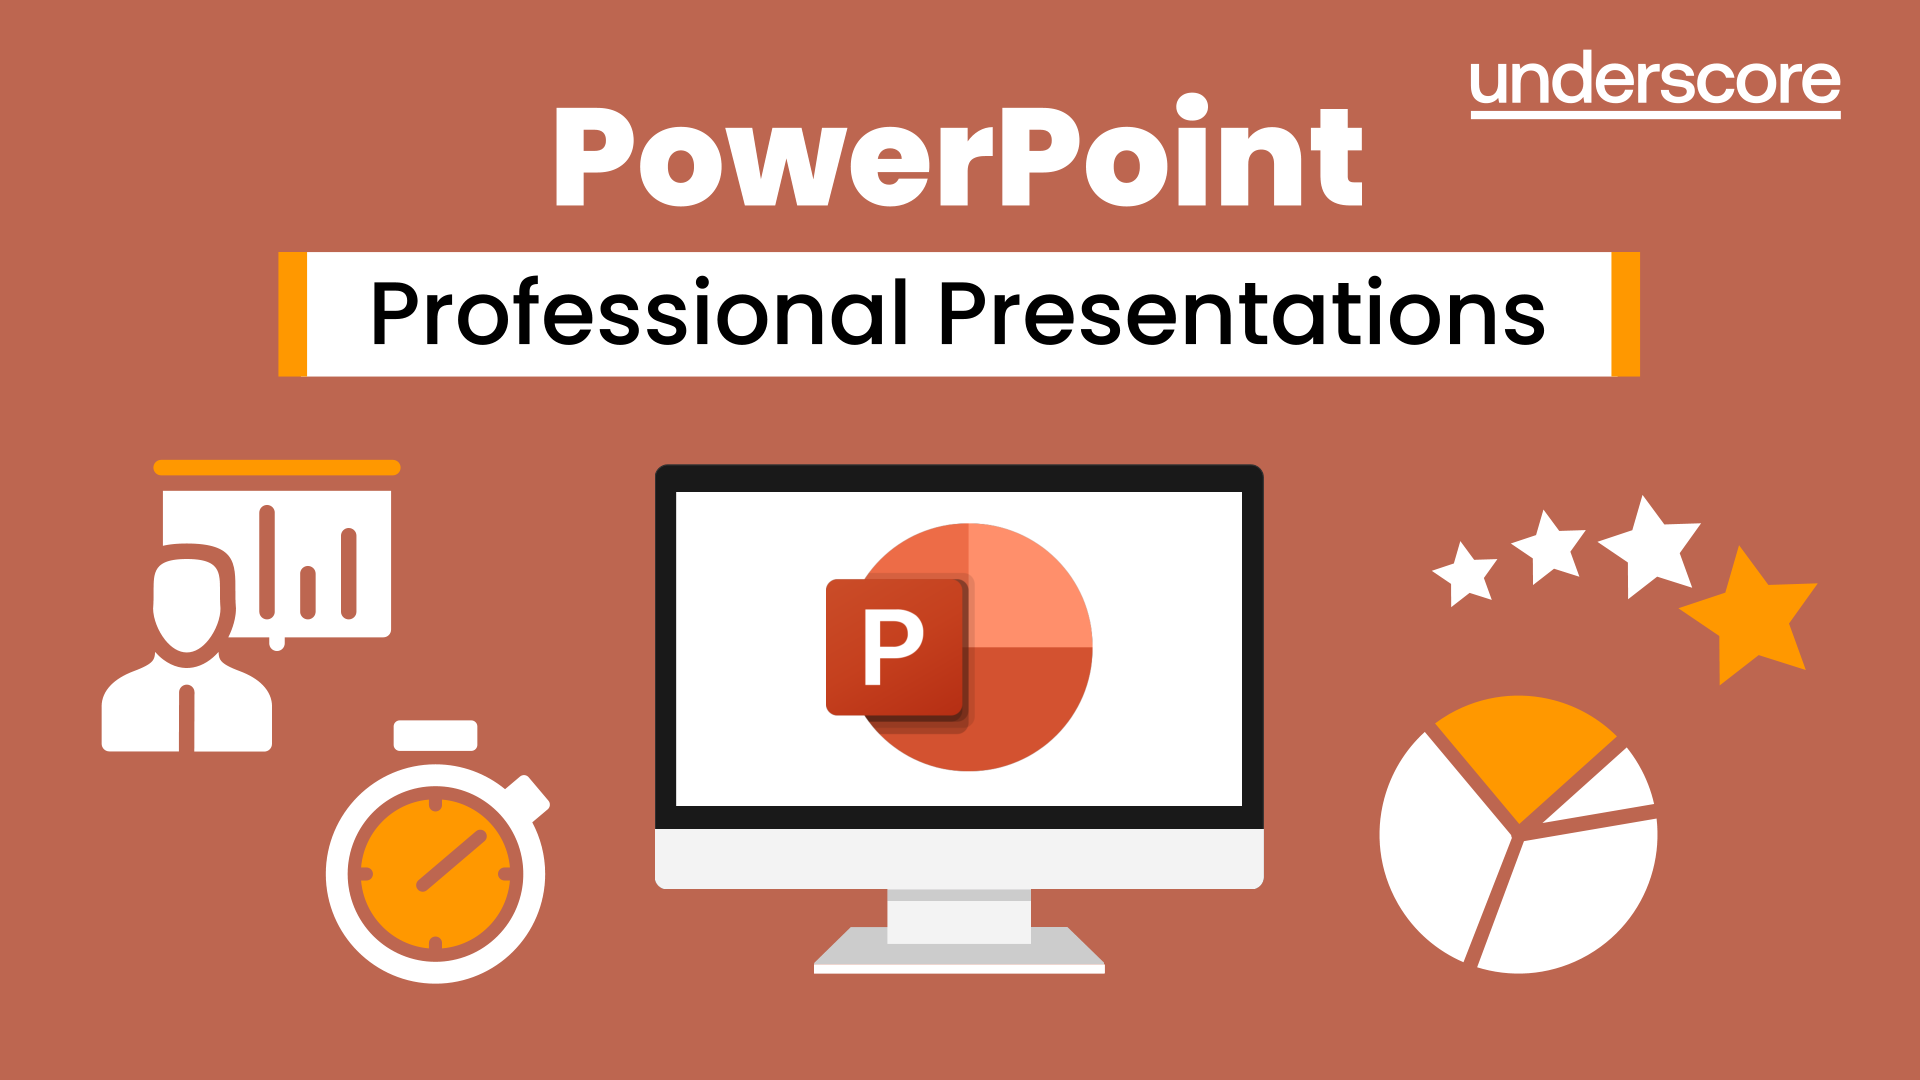
Powerpoint Professional Presentations
By Underscore Group
Learn the proper way to use PowerPoint and the background features that can make a real difference. Course overview Duration: 1 day (6.5 hours) Our PowerPoint – Professional Presentations course looks at creating professional, business focussed presentations quickly and easily. It ensures delegates are aware of the key concepts in using the tool such as slide masters and by the end of the day you will be able to create and run high quality presentations. This course is designed for new and existing users of PowerPoint who want to get the best out of the tool. Objectives By the end of the course you will be able to: Create a new presentation Amend the slide master/template Create text slides Animate text on slides Insert pictures and objects Set object animation Insert and work with SmartArt Create charts Run a presentation Content Creating a new presentation Creating a new presentation from a template Using your company template Changing slide layouts Copying, deleting and inserting slides Using the slide master Modifying the Slide Master Using Slide layouts Multiple Slide Masters Slide dates, footers and numbers Creating text slides Working with bullet points Setting spacing Changing text and bullet styles Using Outline view Text animation on a slide Slide titles Bullet points Applying animation to the Slide Master Animating text Slide titles Bullet points Applying animation to Slide Master Drill Down vs Drill Through Review of drill down Creating drill through pages Using drill through Inserting and working with pictures Inserting pictures Inserting online pictures Formatting pictures Adding Drawings Inserting lines and shapes Using Quick Styles Selecting and grouping objects Aligning and positioning objects Add text to a shape Duplicating objects Object animation Simple object animations Working with SmartArt Inserting SmartArt Graphics SmartArt formatting Converting text to SmartArt Inserting charts Creating a slide with a graph Changing chart types Setting chart options Graph animations Presenting your presentation Slide show settings Using Presenter view Using the PowerPoint viewer Slide show presentation tips
Adobe Acrobat Reader
By Underscore Group
There is so much more to this free tool than just creating PDFs. Learn what else you can do for free. Duration: 2 hours This Adobe Acrobat Reader course looks at the features of the Acrobat Reader tool. Learn how to create PDF and what options you have, complete and sign and mark up PDFs. Objectives By the end of the course you will be able to: Create PDFs from other tools Complete and sign documents Mark up PDF documents Content Creating PDFs Building PDF documents from Word, Excel and PowerPoint Working in Acrobat Home, Tools and Document Views Using the Navigation Panel and Pane Floating toolbar and Contextual menus Completing and signing documents Using fill and sign to complete forms Adding signatures Marking up documents Marking up changes Using sticky notes Using the highlighter pen Adding stamps Attaching documents and audio

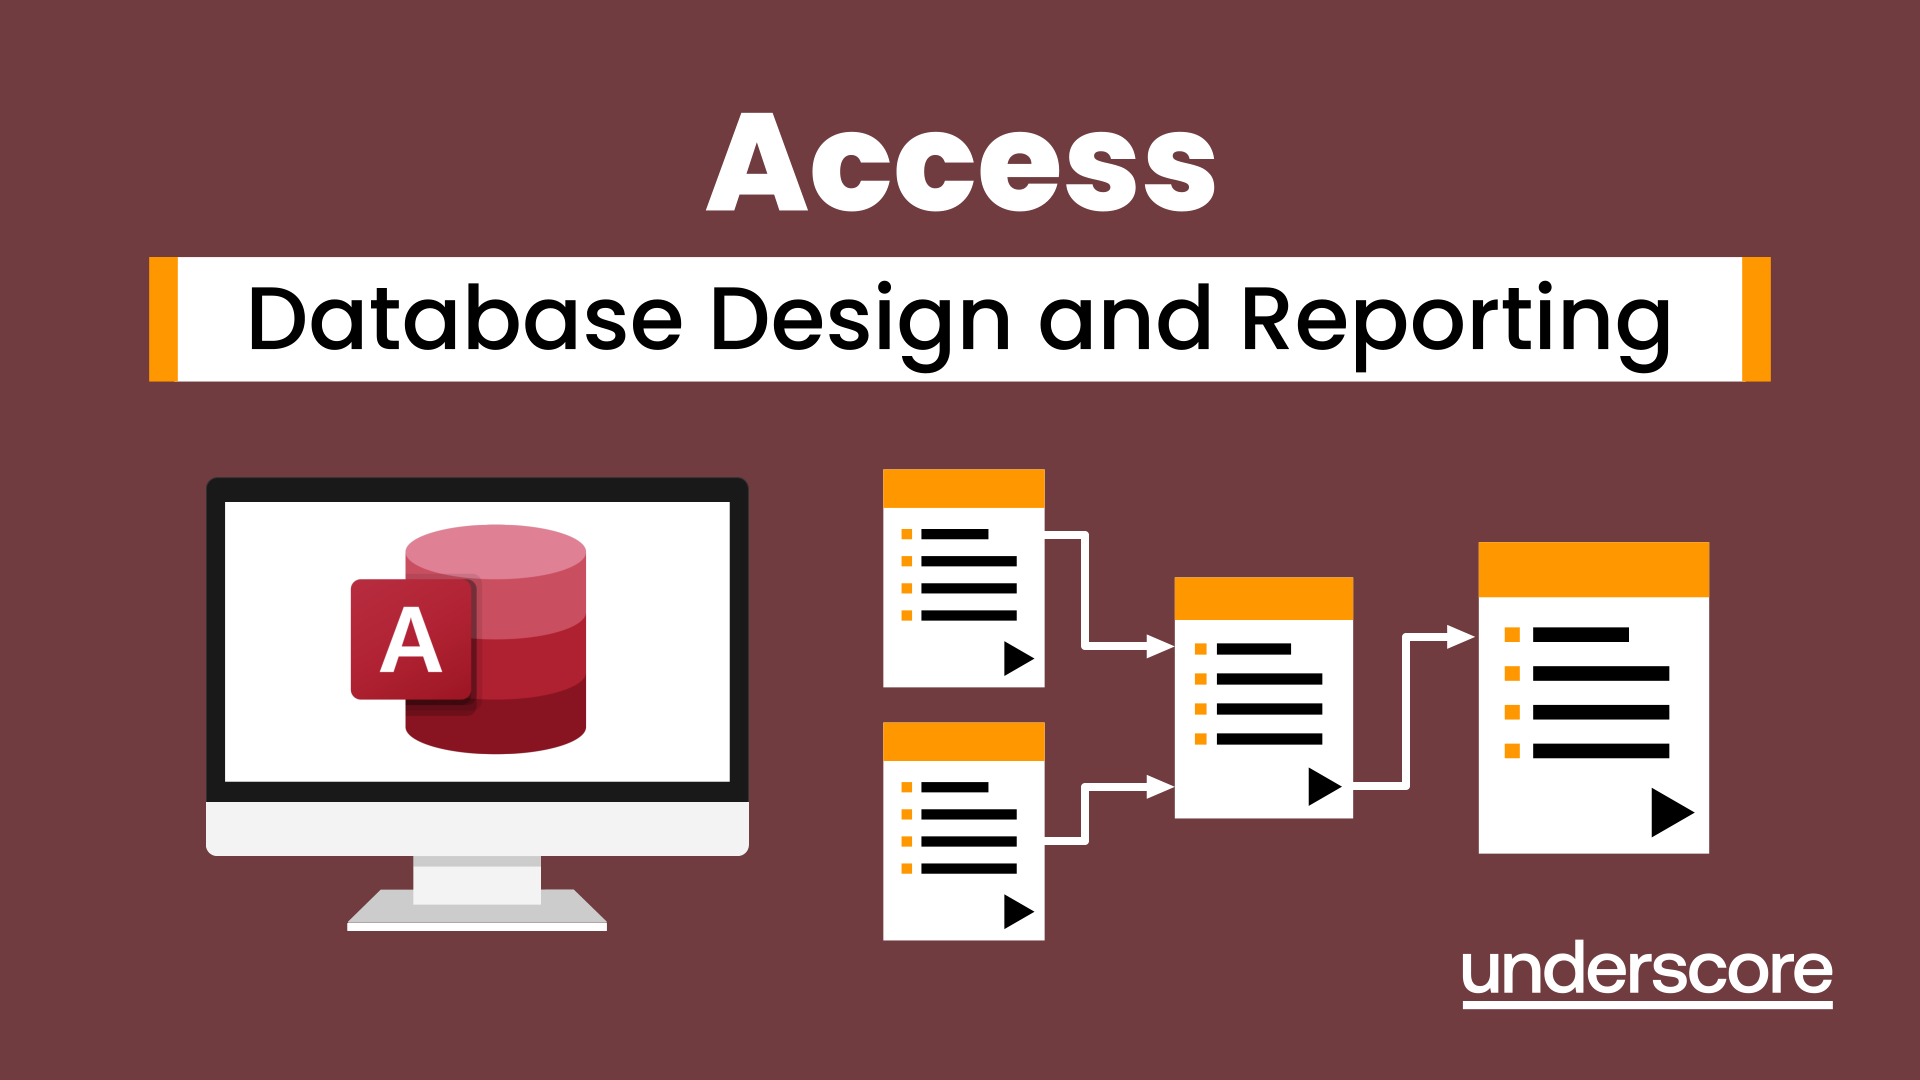
Access - Database Design and Reporting
By Underscore Group
Learn how to create fully relational databases and how to input, extract and report on data. Course overview Duration: 2 days (13 hours) Our Access Database Design and reporting course looks at the key elements to building fully relational databases and entering and extracting information from them. This course is designed for new users who need to build relational database systems. Objectives By the end of the course you will be able to: Create a new database Create data tables Set field validation and properties Enter data and manage data Create forms Use queries to extract data Create parameter queries Create calculations in queries Build relational databases Use sub datasheets Build multi table queries Use advanced form and report design techniques Content Creating a database Creating a new database Database elements Creating a data table Setting field properties Using input masks Using input masks Validation rules Default values Setting a primary key Creating lookup fields Data entry Adding data Deleting data Quick keys for data entry Working with data Sorting data Filtering data Finding information Navigation Creating data form Creating quick forms The form wizard Amending forms Formatting Setting the tab order Entering data using forms Creating queries Creating a query Setting criteria Using the expression builder Creating parameter queries Using wildcards Using more than one parameter Using calculations in queries Adding a totals row Formatting results Adding calculations Printing and reporting Printing tables and queries Creating reports Building and amending reports Adding headers and footers Working with relational databases Relational database principles Importing data from other sources Linking information between tables One-to-one and one-to-many links Defining referential integrity Amending links Deleting links Sub datasheets Viewing a subdatasheet Removing a subdatasheet Connecting a subdatasheet Multiple table queries Deciding which tables to use Adding tables to the query Creating links between tables Setting join properties Advanced form design Field properties Creating lookup fields Adding calculated fields Applying conditional formatting Advanced report design Field properties Report properties Alternate colour bandings Concatenating fields Adding calculated fields Sorting and grouping Grouping settings Adding headers and footers Adding dates, times, page numbers
Power BI Advanced Reporting
By Underscore Group
Expand your Power BI knowledge and take your reports to the next level. Course overview Duration: 1 day (6.5 hours) This course is aimed at existing users who want to expand their skills to use advanced reporting techniques and use DAX to create calculated columns and measures. Participants should have either attended our Power BI – Introduction course or have equivalent knowledge. You should be able to import and transform data and create simple reports. Objectives By the end of the course you will be able to: Import and connect data tables Create and use date calendars Create calculated columns Create and use measures Use drill down and drill through Create Tooltip pages Add and customise slicers Add action buttons Streamline your report for use in the Power BI Service Content Review of importing and loading data Importing data Transforming data Adding custom columns Creating data models Building visuals Creating date calendars Building date tables Creating Financial Year information Including Month and Day information Creating calculated columns Power Query custom columns vs DAX columns Creating DAX calculated columns Creating measures Implicit vs Explicit Measures Building measures Using DAX Common DAX functions Drill Down vs Drill Through Review of drill down Creating drill through pages Using drill through Creating ToolTips Pages Adding pages to use for Tooltips Linking ToolTip pages to visuals Using action buttons Adding images Adding buttons Setting actions Working with slicers Adding slicers Changing slicer settings Syncing slicers between pages Showing what has been sliced Setting slicer interactions Techniques in the Power BI Service Hiding the navigation bar Stopping users manually filtering