- Professional Development
- Medicine & Nursing
- Arts & Crafts
- Health & Wellbeing
- Personal Development
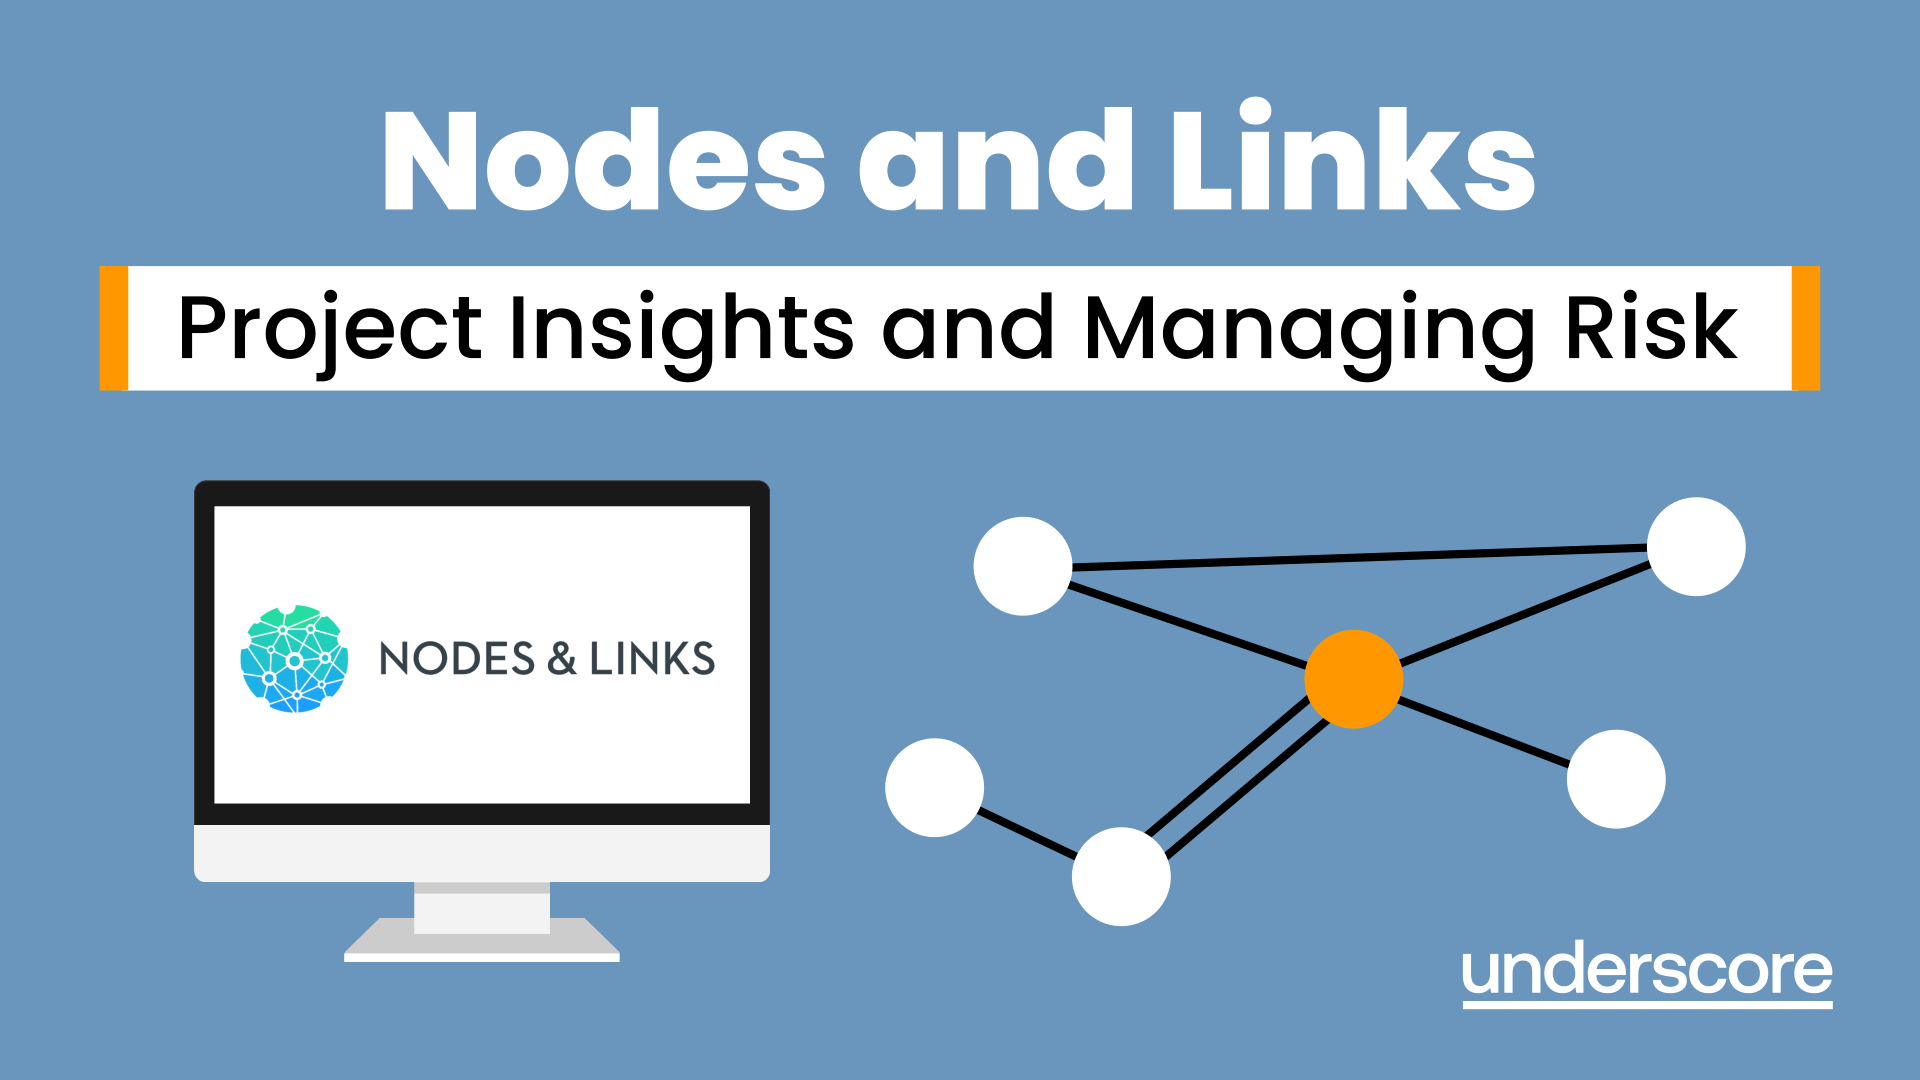
Nodes and Links Project Insights and Managing Risk
By Underscore Group
Learn how to use this innovative tool to analyse and validate your schedule, to add and model uncertainty and risk and to work with updated plans to compare project progress. Course overview Duration: 1 day (6.5 hours) This course looks at the powerful features of Nodes and Links. It looks at analysing and validating your schedule, adding uncertainty and risk and working with updated plans to compare project progress. Hands on practice will be gained throughout the course to ensure you can confidentially put your new skills into practice back in the workplace. This course is designed for new users of Nodes and links, no previous experience is required. You should however be familiar with risk management processes and terminology. Objectives By the end of the course you will be able to: Import and validate plans Analyse and review plans Add and model uncertainty Add and model risk Load updated schedules Re run analysis on updated schedules Content Validating your plan Importing a baseline plan Running a health check Analysing the results Reviewing the plan Analysing critical paths Reviewing activities Reviewing resources Adding Uncertainty Setting uncertainty templates Distributions Adding uncertainty Using Inherit Using AI Reviewing activity distributions Modelling Uncertainty Running the Analysis Reviewing the results Reviewing activity results Risk Drivers Filtering for activities Setting up the Risk Register Setting Risk Templates Adding Risks to the Risk Register Independent vs Dependant Events Setting Probability and Impact Modelling Uncertainty and Risk Mapping risks to activities Running the Analysis Reviewing the results Updated Plans Importing a new plan version Comparing plans Tracking progress Trend analysis Analysing Updated Plans Using updated plans Synchronising uncertainly and risk Rerunning analysis
Primavera Risk Analysis
By Underscore Group
Discover the powerful schedule and cost risk analysis features of PRA. Course overview Duration: 2 days (13 hours) Our Primavera Risk Analysis course gives a detailed introduction to the schedule and risk analysis features of Primavera Risk Analysis. It shows the powerful features of the tool and give hands on practice throughout the course to ensure you can confidentially put your new skills into practice back in the workplace. This course is designed for new users of Primavera Risk Analysis, and no previous experience is required. You should however be familiar with risk management processes and terminology. Objectives By the end of the course you will be able to: Import schedules into PRA Add three point estimates onto plans Perform schedule and cost analysis Use templated quick risk Run risk analysis Interpret results from the Risk Histogram and Tornado graph Add task percentiles to a Gantt chart Set up a risk register Add qualitative and quantitative risks Link risk to activities in the plan Create reports Use the Distribution Analyser Content Importing schedules Importing MSP and Primavera Schedules Running import checks Checking schedule integrity Schedule risk analysis 3 point estimating Entering uncertainly Different distributions Using quick risk Updating plan Importing plans with 3 point estimates Cost/Resource uncertainty Resource loadings Creating 3 point cost estimates Resource distributions and escalations Simple cost estimates Templated quick risk Setting up and applying templated quick risk Assessing risk at WBS level Running risk analysis Running risk analysis Interpreting results on the Risk Histogram Setting analysis options Task percentiles Setting task percentile options Including task percentiles on the Gantt chart Tornado graph Creating a Tornado graph Viewing sensitivity Analysing sensitivity against activities Setting up the risk register Setting Schema levels Defining criteria and tolerances Setting up a Risk Breakdown Structure (RBS) Working with manageability and proximity Saving scoring matrices Adding custom fields Exporting data Exporting to Excel, Word and PowerPoint Qualitive risks Setting risk IDs Adding risk cause, description and effect Setting up risk details Entering mitigation actions Quantitative risks Linking risks to activities Adding schedule and cost impacts Defining how multiple risks impact Correlation Migrating your plan Adding mitigation actions to your plan as tasks Linking tasks to mitigation actions Actioning your risk register Progressing risks Importing progressed plans Linking register to progressed plans Risk history The Waterfall chart Saving and reporting Exporting the risk register Running reports Creating new reports Building and comparing risk plans Using the distribution analyser Comparing dates and cost

VBA in Excel - Part 1
By Underscore Group
Following on from the Macros course look at how you can write your own Visual Basic code within Excel to fully automate tasks and save time. Course overview Duration: 2 days (13 hours) Our VBA in Excel course is an introduction to using the Visual Basic for Applications language for programming in Excel. It looks at structures, syntax and coding standards. This course is designed for existing experienced users of Excel who can record and run macros and those who have dabbled in VBA but would like some formal training and help to put some structure to their code. Objectives By the end of the course you will be able to: Write visual basic procedures Create event and general procedures Use commands from the Excel data model Use statements and functions Use a selection of debugging tools Create and use variables and constants Use different types of loops Create an Excel user form Content The VBA environment Project explorer Excel objects Modules Properties window Code window Code structure Code structure Navigating within your code Adding comments Using WITH Steps to creating a VBA procedure Procedures Sub procedures Event procedures Calling procedures The Excel data model Workbook commands Worksheet commands Excel selection methods Data manipulation commands Debugging Using breakpoints Stepping through code The immediate window The watch window The locals window points Variables and Constants Declaring variables Declaring multiple variables Variable data types Concatenation Scope of variables Constants Declaring constants Using constants Scope of constants Looping Do while loops Do until loops For next loops Conditional Statements IF statement SELECT CASE statement Comparison statements Logical operators Creating a User Form Form layout The control toolbox Naming conventions Adding objects Naming objects Captions Displaying the form Object properties Object properties Setting properties at design time Setting properties at run time Interconnectivity between the user form and Excel Comparing values Transferring information Running code

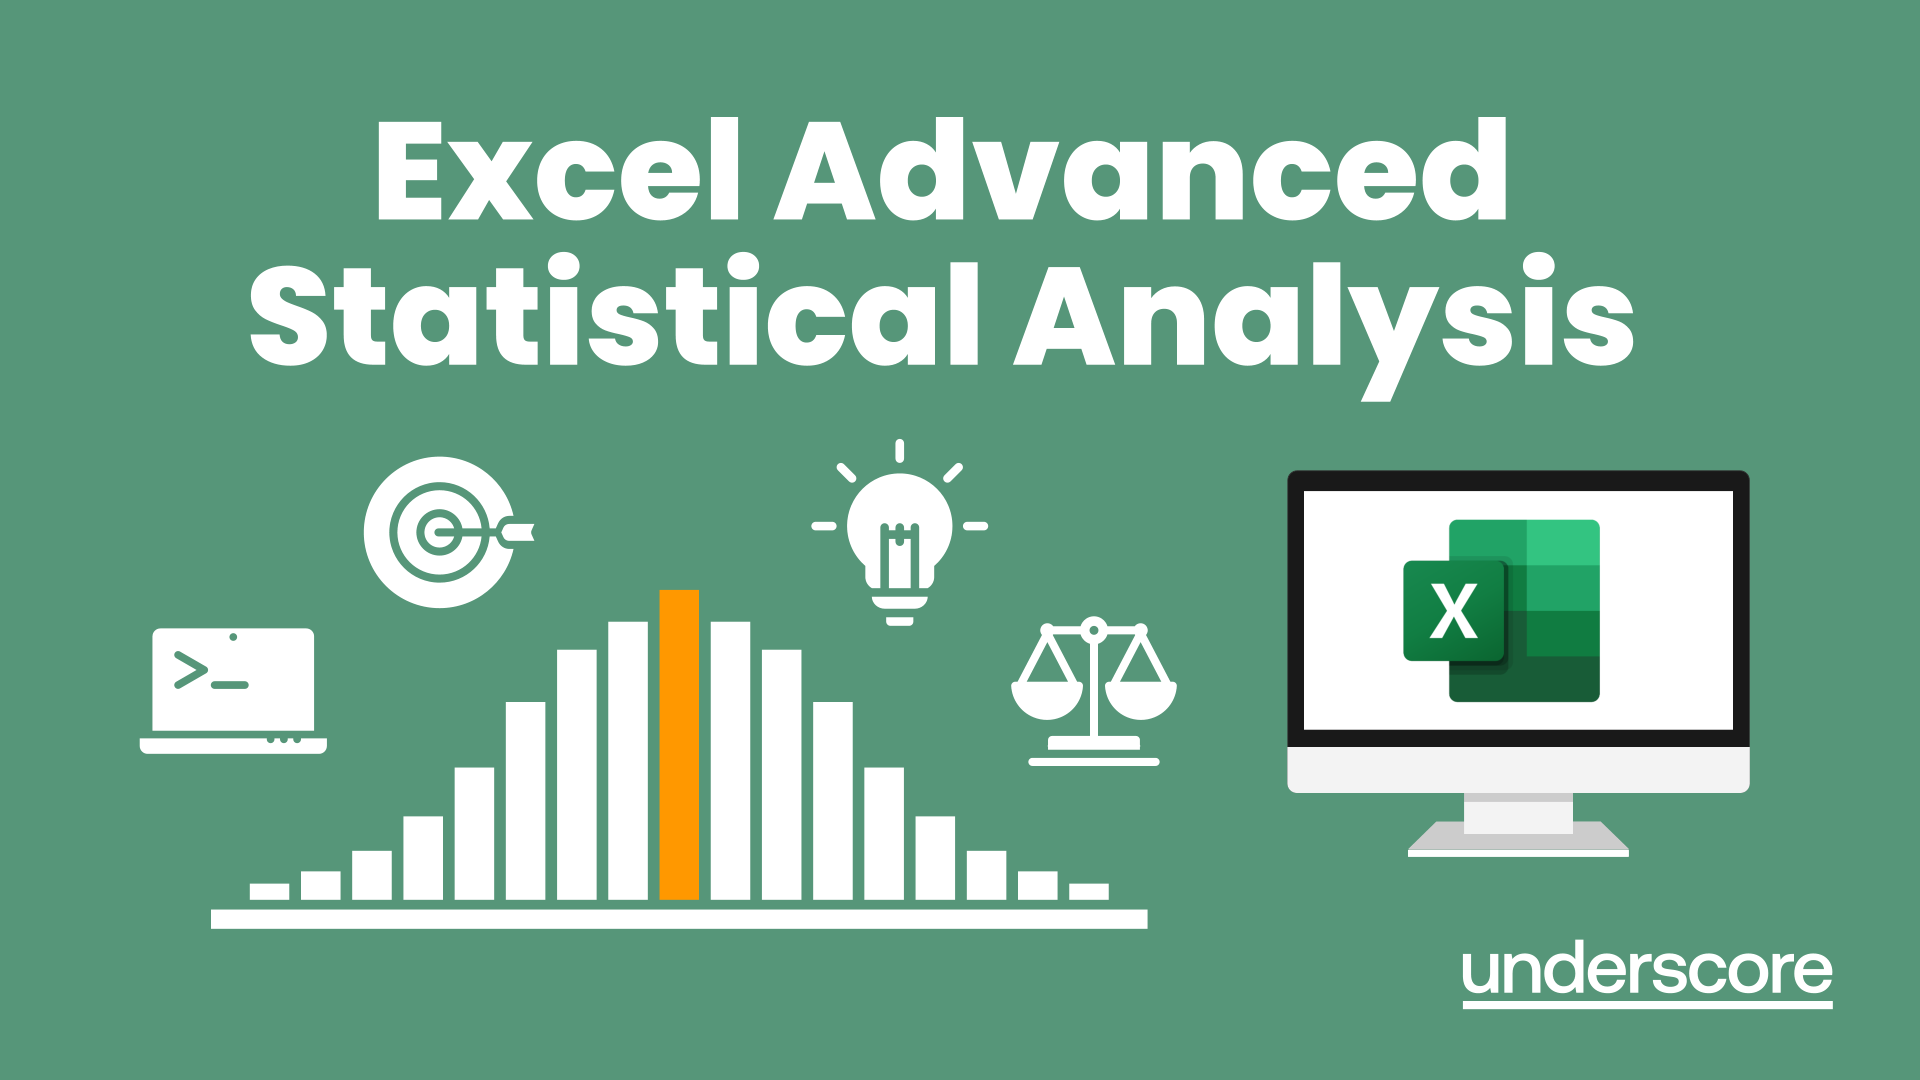
Excel Advanced Statistical Analysis
By Underscore Group
Use some of the hidden statistical analysis tools within Excel to build complex data models. Course overview Duration: 1 day (6.5 hours) This advanced Excel course looks at some of the statistical analysis tools available and gives examples of when they might be used. This course is aimed at advanced users of Excel who work with statistical data often and have a good knowledge of Maths. Objectives By the end of the course you will be able to: Use Goal Seek Create and view scenarios Use Forecast Sheet Create single and double input data tables Create models using the solver Install and use the Analysis Toolpak Create and use array formulas Use a range of advanced Financial and Statistical Excel functions Content Using what if analysis options Using Goal Seek Creating, saving and viewing scenarios Generating a Forecast sheet Solver Creating models Projecting scenarios with Solver Using data tables Creating single input data tables Creating double input data tables Projecting with data tables Financial functions PMT FV NPV Analysing data with Analysis ToolPak Installing the Analysis Toolpak Generating statistical analysis Visualising data using Histograms Array formulas Using embedded Excel Array formulas Create an Array formula Multi and single cell Array formula Using TRANSPOSE to flip rows or columns Use the FREQUENCY Function Use an array to count unique entries in a range Dynamic arrays Spilling data Using the new dynamic array functions Advance functions in formulas Statistical functions:MEAN, MEDIAN and MODERANKLARGE and SMALLMODPERCENTILE Use the AGGREGATE function to sum data in ranges with errors
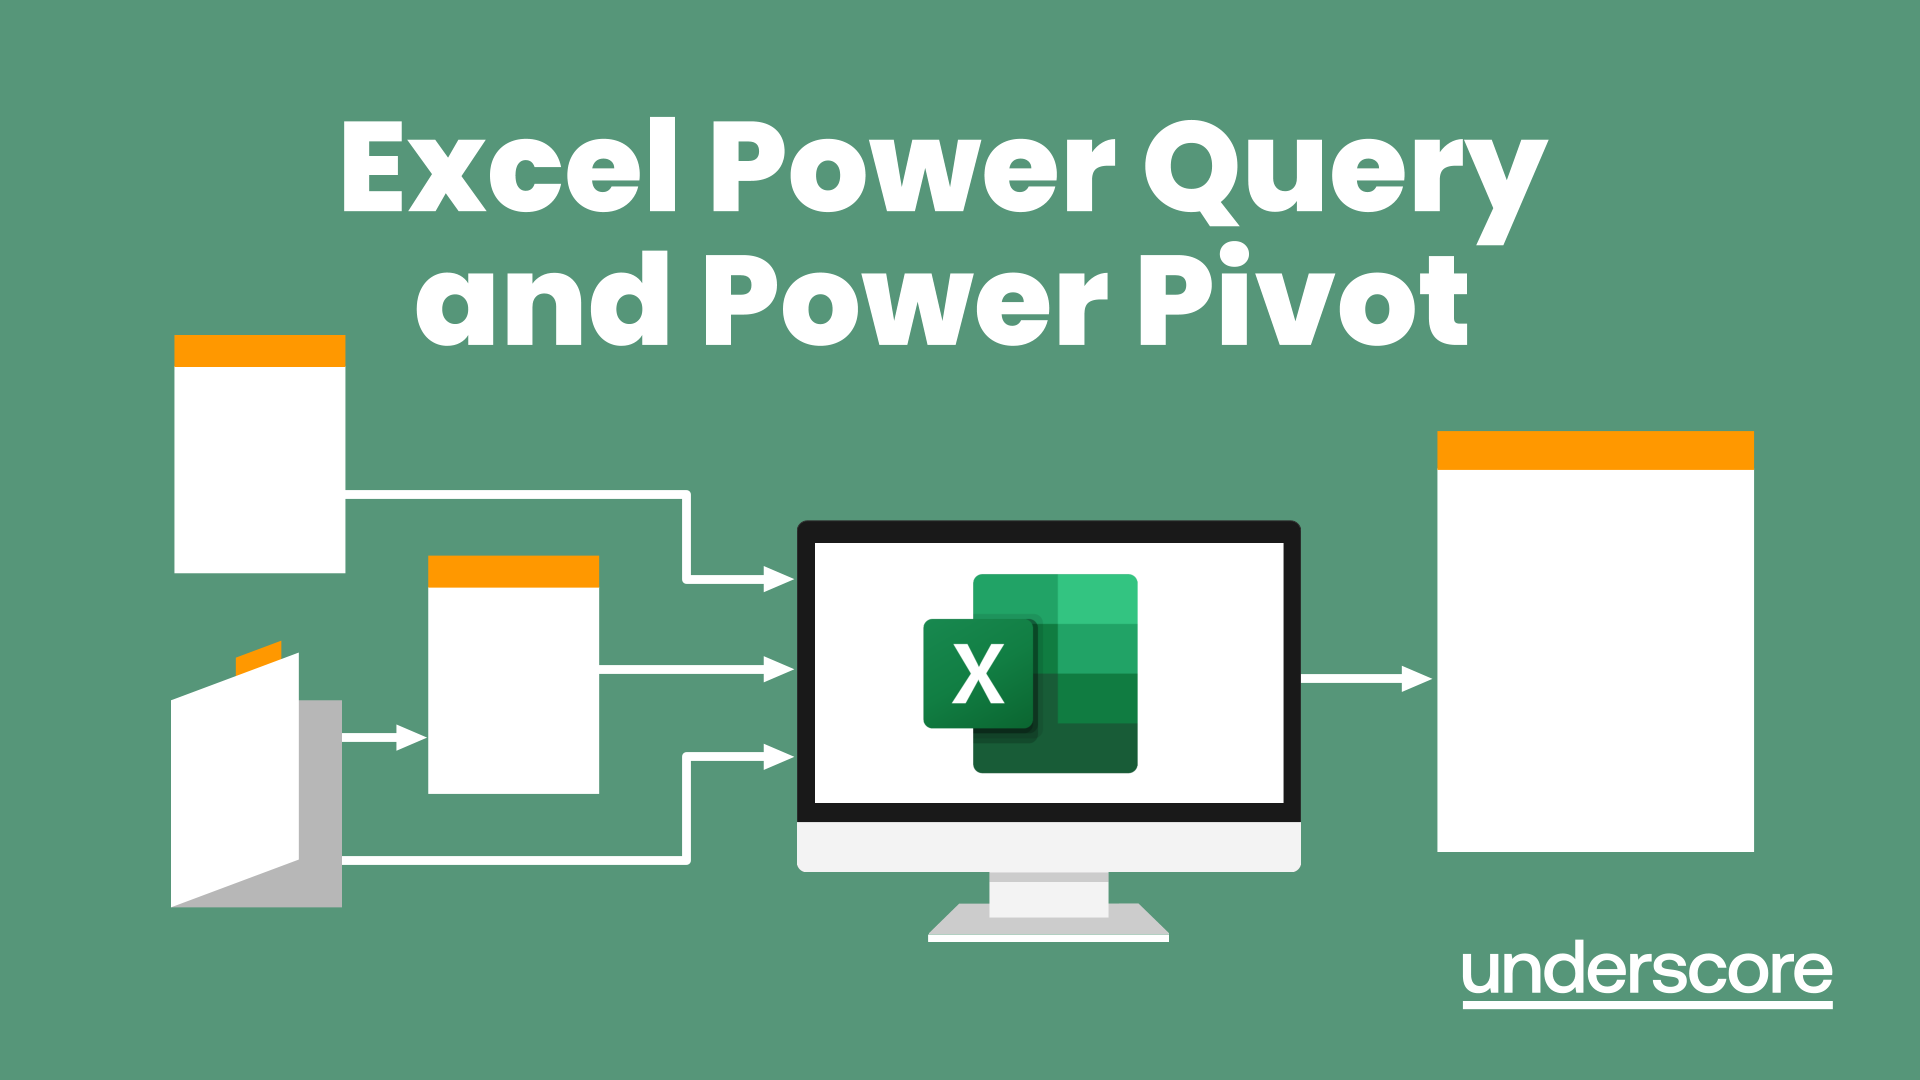
Excel Power Query and Power Pivot
By Underscore Group
Learn how to work with and connect multiple data sets to effectively analyse and report on data. Course overview Duration: 1 day (6.5 hours) Within Excel you have some powerful features to enable you to connect and analyse multiple data sources. Power Query enables you to import and manipulate your data, Power Pivot enables you to connect multiple data sources and create pivot tables and pivot charts from them. This course is an introduction to Power Query and Power Pivot in Excel to get you started on creating a powerful reporting capability. Knowledge of working with Excel workbooks and relational databases would be an advantage. Objectives By the end of the course you will be able to: Import data from multiple data sources Edit and transform data before importing Add extra columns of data Append data Merge data from other tables Create data models Build data relationships Build Pivot Tables Build Pivot Charts Use Slicers and Timeline Filters Content Importing data Data sources Importing data Transforming data Editing your data Setting data types Removing columns/rows Choosing columns to keep Setting header rows Splitting columns Appending queries Appending data from other tables Adding text Columns from example Custom columns Conditional columns Merge queries Setting up and using merge queries Merging in columns of data Creating a data model The data model Multiple data tables Connecting tables Building relationships Relationship types Building visuals from multiple tables Analysing information using pivot tables Creating and modifying a Pivot Table Recalculating the Pivot Table Filtering the Pivot Table Searching the Pivot Table Drilling down to underlying data Customising field names Changing field formatting Pivot charts, slices and timelines Creating Pivot Charts Adding and using Slicers
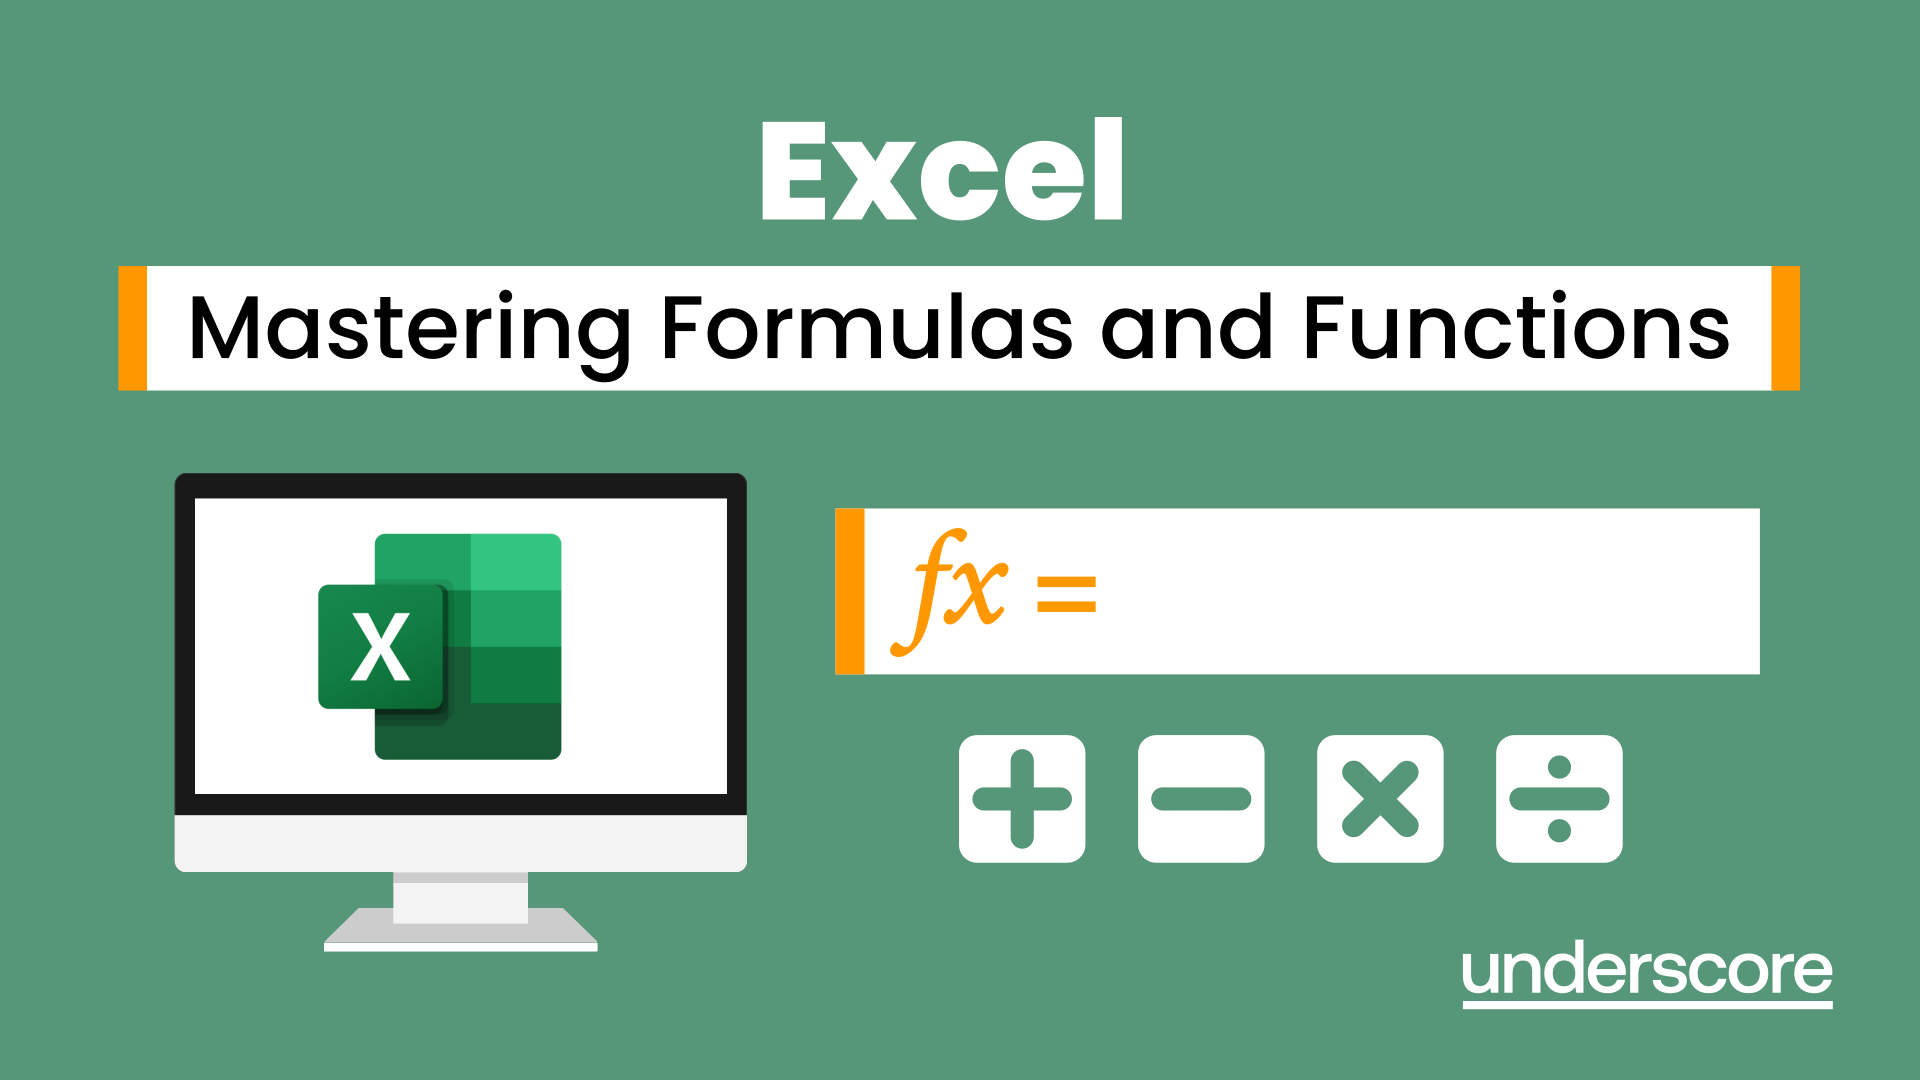
Excel - Mastering Formulas and Functions
By Underscore Group
Ideal for those already using Excel but who really want to get to grips with formulas and functions. Course overview Duration: 1 day (6.5 hours) Our Excel Mastering Formulas and Functions course looks at how to confidently use formulas and functions within Excel. It looks at how to correctly construct formulas and explains how to build common formulas such as working with percentages. It investigates a range of built in Excel functions and shows you how to use the formula auditing tools to help when things go wrong. This course is aimed at existing users of Excel who want to further their skills. Participants should be able to confidently create and amend worksheets. Objectives By the end of the course you will be able to: Construct Formulas Use a range of common Functions Work with absolute and relative references in formulas Create percentage calculations Use named ranges in formulas Use the XLOOKUP command Create formulas with date and use date functions Use formulas in conditional formatting Use a range of Count functions Use the formula auditing tools Content Formulas vs Functions Constructing formulas Using functions Common Excel functions Using the function wizard vs the formula bar Formulas in tables Absolute vs relative references in formulas Using absolute references in formulas Using partial absolute referencing Range Naming Naming ranges Using range names in formulas Single and multi-cell ranges Working with percentages Creating formulas with percentages Percentage breakdowns Percentage increases Formatting as a percentage Using Lookups Using XLOOKUP to insert information from other spreadsheets Calculating with dates Calculating with dates Using date functions Using formulas in conditional formatting Using conditional formulas Using functions in conditional formatting Count functions COUNT COUNTA COUNTBLANK Formula auditing Using the auditing facility Tracing how formulas are made up Tracing precedents and dependants Evaluating formulas Error checking Showing formulas on a sheet
Diversity and Inclusion
By Underscore Group
Understand what diversity and inclusion is and how to manage it affectively in the workplace. Course overview Duration: 1 day (6.5 hours) Diversity and Inclusion in the workplace will help you develop an understanding of why diversity and inclusion is important to a business, what it is and how individuals and teams can work effectively together and harness the power that comes from valuing diversity and promoting inclusion. Objectives By the end of the course you will be able to: Describe why diversity and inclusion is important in teams and organisations Explain and overcome unconscious bias and other beliefs that cause exclusion and impact the workplace Recognise your own diversity and understand the value of diversity and inclusion in teams Develop an Action Plan to create an inclusive work climate Content Understand Diversity and Inclusion What the Equality Act 2010 says about diversity Understanding protected characteristics Learn how to create an optimum climate to unlock the power of a diverse teams Understanding Yourself and Unconscious Bias Identify your own unique characteristics and how these could impact your performance Examine self-limiting beliefs and how these can impact personal performance Experience how unconscious bias impacts our information gathering, problem solving, judgement and decision making Creating a Diverse and Inclusive Team Climate Understand the importance of respect, the role of trust and what valuing diversity really means Apply the ABC Model to the creation of a diverse climate:Awareness – be alert, self-aware and aware of othersBoundaries – understand how things can go wrong when working with others: boundaries, banter and bullyingCoaching – learn listening and coaching skills to promote inclusion Create an achievable, personal action plan that can be applied immediately in the workplace to improve diversity, promote teaming and create an inclusive work climate

Teams
By Underscore Group
Get to grips with all the features of Teams, including calls and chats, Teams and Channels and Meetings Course overview Duration: 2 hours This session is aimed at those new or self-taught users of Teams to show them the features and how to setup and use it effectively. Objectives By the end of the course you will be able to: Use the core functions of Microsoft Teams Set up Microsoft Teams Make Calls Send Chats to colleagues via teams Set up channels Run Teams meetings Content What is Teams Teams elements Setting up your Teams Setting up audio and video Using voicemail Setting voicemail language Calls and Chats Sending individual and group chats Making and receiving calls Missed call notification Searching Teams and Channels Creating channels Channel settings Setting channel notifications Emailing channels Creating private channels Posting to channels Alerting specific people in a channel Adding files to channels Sending links to channels Teams Meetings Setting up meetings Running meetings from channels Setting backgrounds Screen sharing in meetings Handing over control Creating meeting notes Adding files to teams or meetings Using the meeting chat

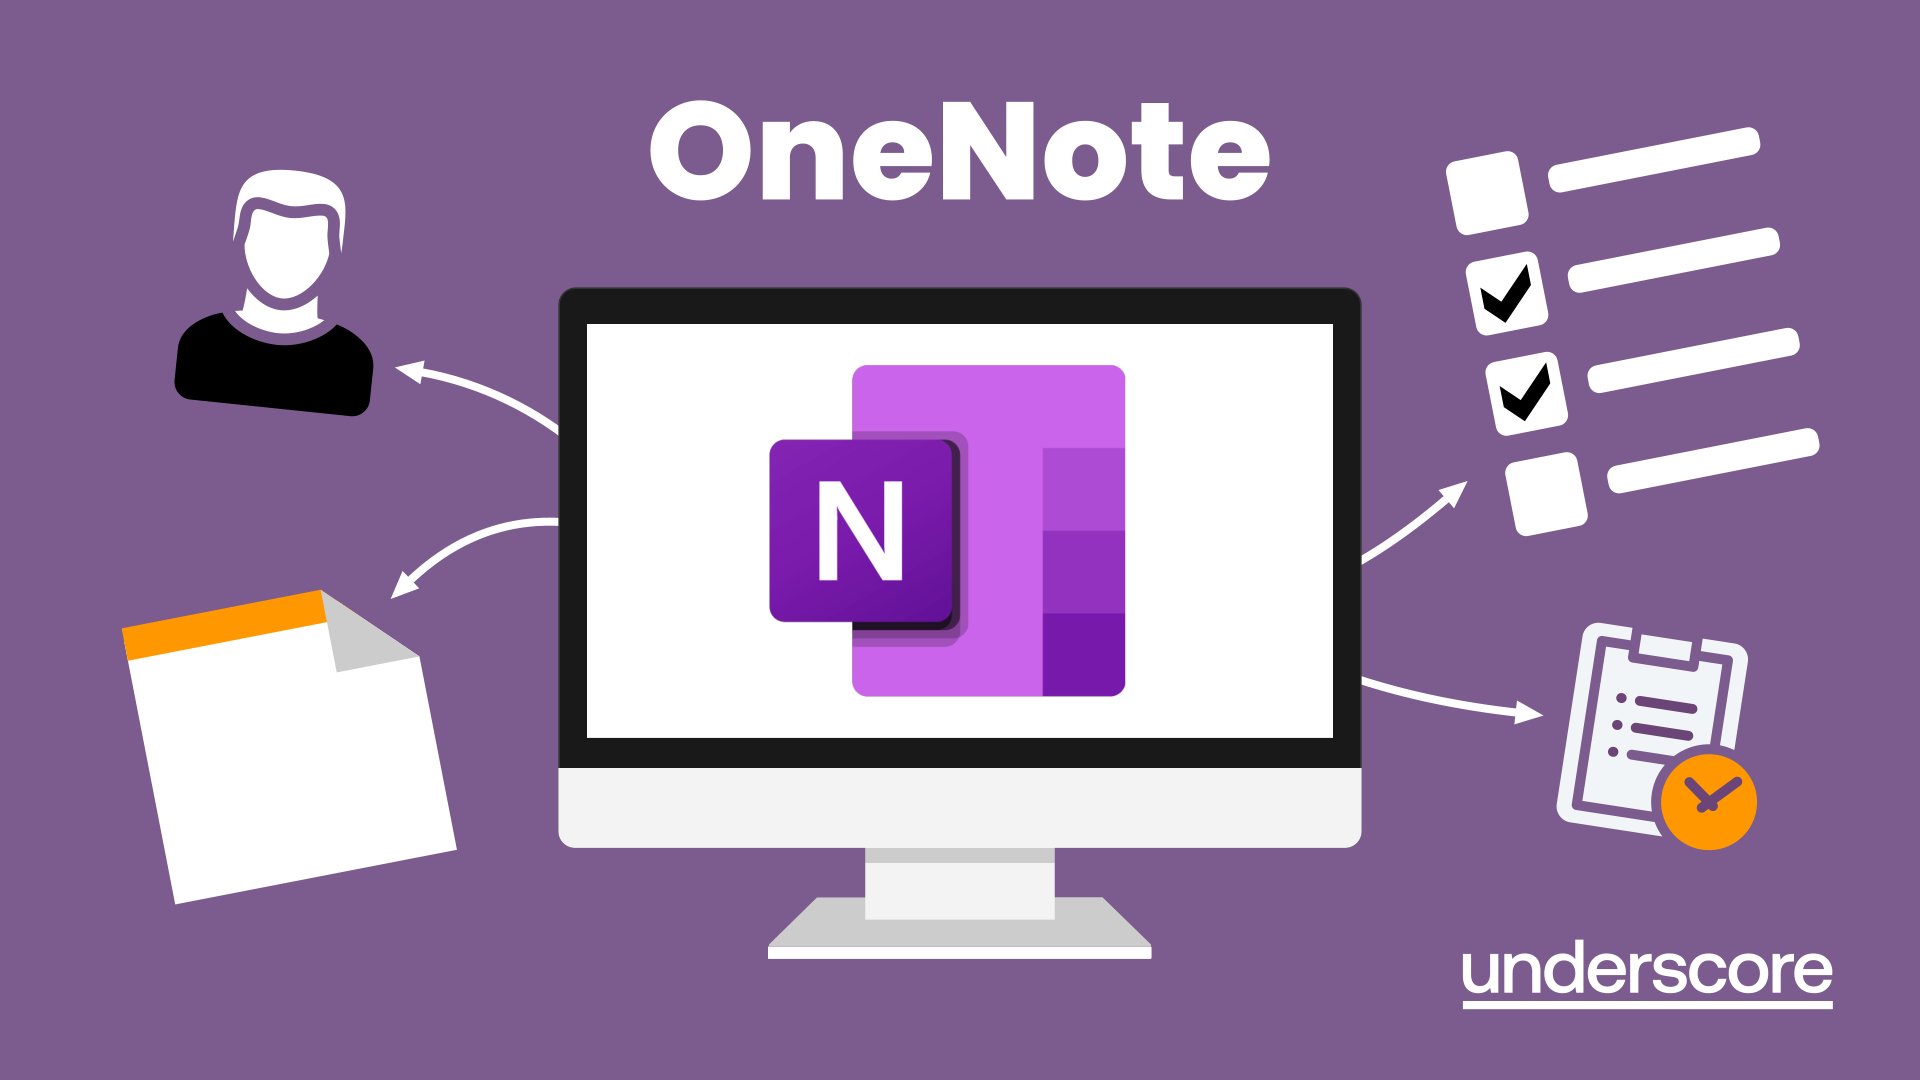
OneNote
By Underscore Group
Learn how to use OneNote to create, organize and populate electronic notebooks. Course overview Duration: 4 hours OneNote is a digital notebook and can be a great way to easily take notes. Whether for meetings, on training courses or to help with to do lists. It works very much like it’s paper copy equivalent but, of course, with lots of enhanced features. Its integration with Outlook and the other office applications means you can easily take notes and link them to documents meeting details and then email them out. You can even add audio and video notes as reminders. Objectives By the end of the course you will be able to: Create and manage notebooks Add contents Tag and prioritise content Create notes from other applications Create To Do Lists and integrate into Outlook Content Using OneNote Creating notebooks Creating sections and pages Formatting pages Using page templates Creating page templates Reordering sections and pages Deleting sections and pages Creating OneNote content Adding text Bullet lists Adding tables Adding images Adding drawings Adding links Adding audio and video notes Tagging Tagging Creating custom tags Creating to-do lists Searching and filtering for tags Notes Creating quick notes Filtering them in OneNote notebooks Linked notes Outlook integration Linking to tasks in Outlook Flagging notes for follow up Inserting Outlook meeting content Taking minutes Emailing OneNote pages Send emails to OneNote
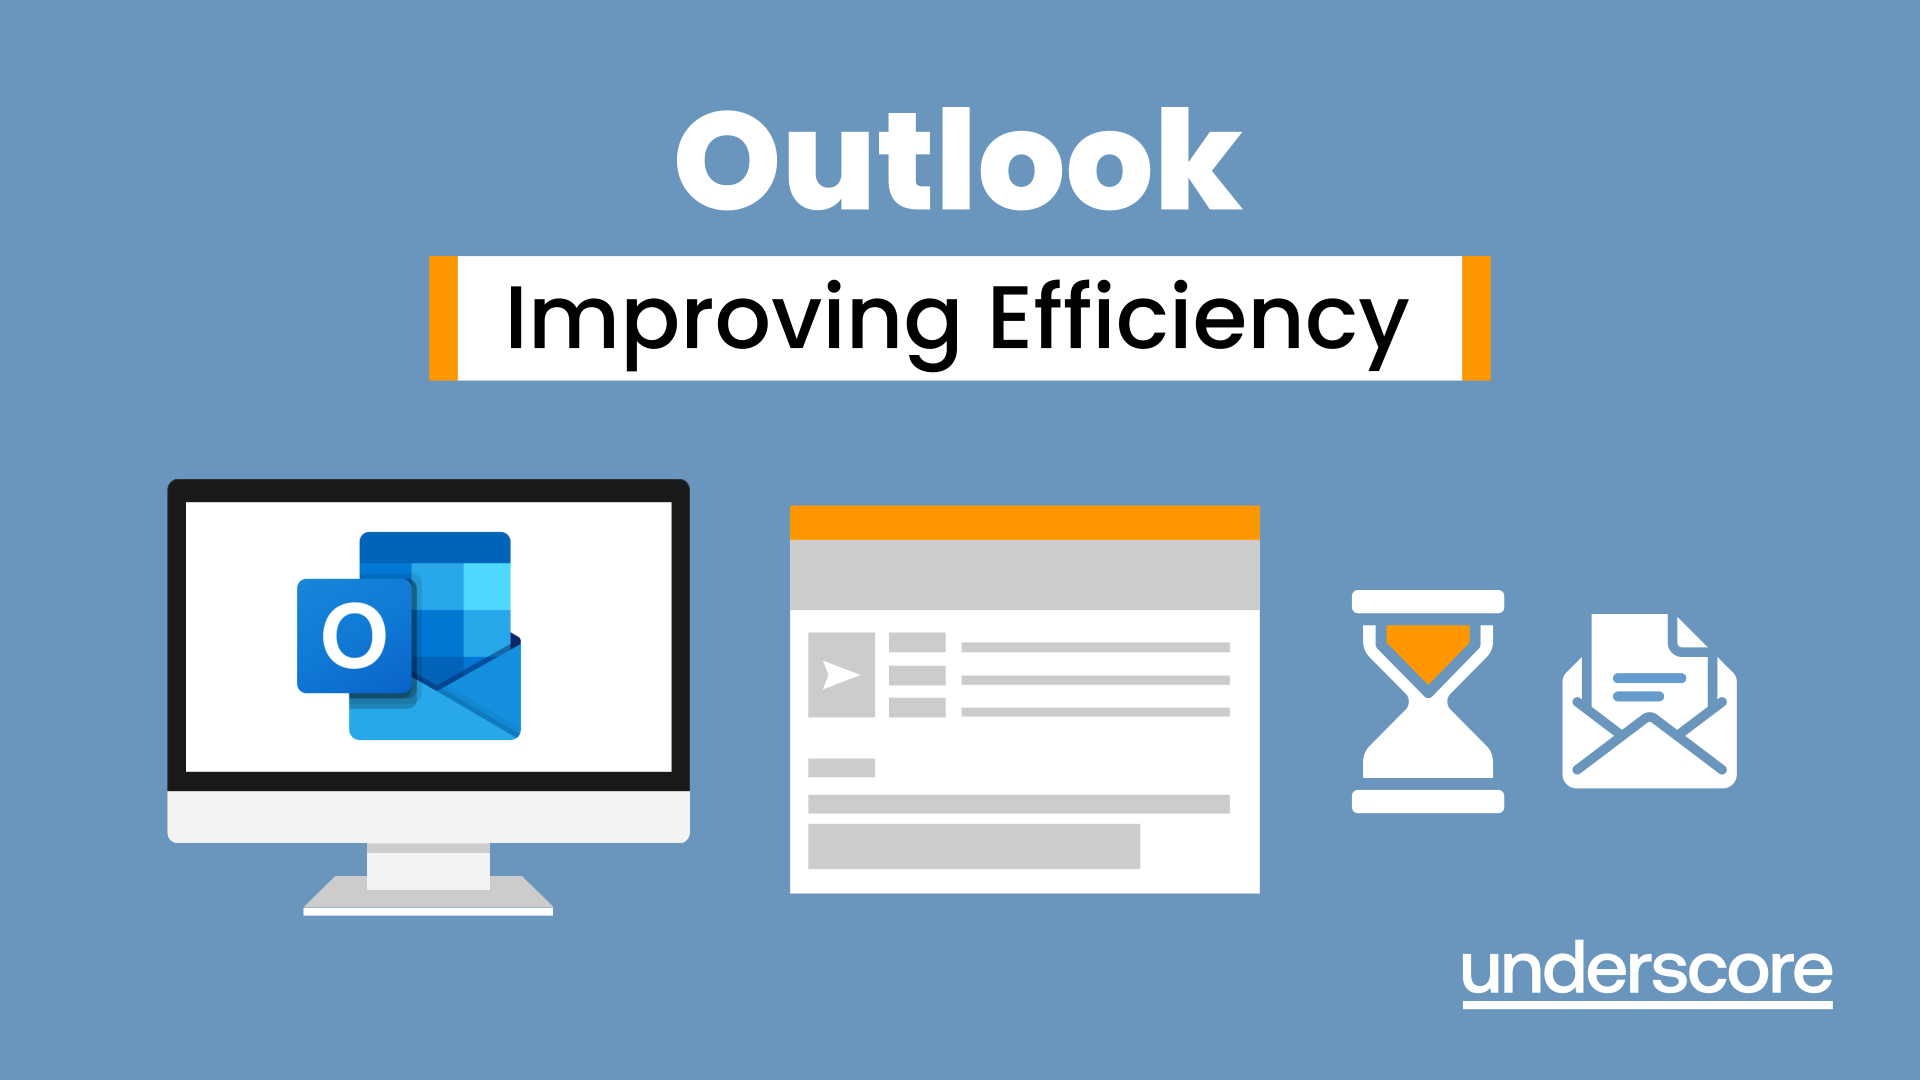
Outlook - Improving Efficiency
By Underscore Group
We use it everyday but there are so many additional tools to save you time and make your work in Outlook more efficient and less stressful. Course overview Duration: 4 hours People tend to think they know how to use Outlook however there are so many lesser known features that can make working in Outlook so much more efficient. Simply understanding the layouts, how to turn things on and off and customising the environment to your preferences can save time and frustration. You then have search features, things such as conversation clean up and quick steps that can help to tidy up and organise what you do. Objectives By the end of the course you will be able to: Customise Outlook to your preferences Manage email conversations Setup and use Quick Steps Create folders and organise information Setup rules Search for information Work effectively with calendars Content Customising the user interface Using the Navigation Pane and “To-do Bar” Setting folder pane options Adding favourites Peak preview Customising the quick access bar Setting reading pane and message preview Customizing email mail views Using the field chooser Email options Email conversations Conversation clean up Using Quick Steps Creating folders and organising information Setting email options Setting up rules Searching for information Using the Search bar Setting what to search for Setting where to search Searching for categories Adding more search options Working with calendars Setting what to view Using Schedule View Setting calendar options Weather bar Adding different time zones Adding meetings and appointments Setting up and using categories Opening other people’s calendars Setting calendar permissions Calendar groups Working with Tasks Lists Setting task options Adding and amending tasks Setting dates, deadlines and reminders Adding attachments to tasks Assigning tasks to others Flagging tasks Using and setting Quick Click Recurring tasks Flagging emails to appear on your task list Converting emails to tasks Converting tasks to calendar appointments