- Professional Development
- Medicine & Nursing
- Arts & Crafts
- Health & Wellbeing
- Personal Development
255 Construction courses in Bristol delivered Live Online
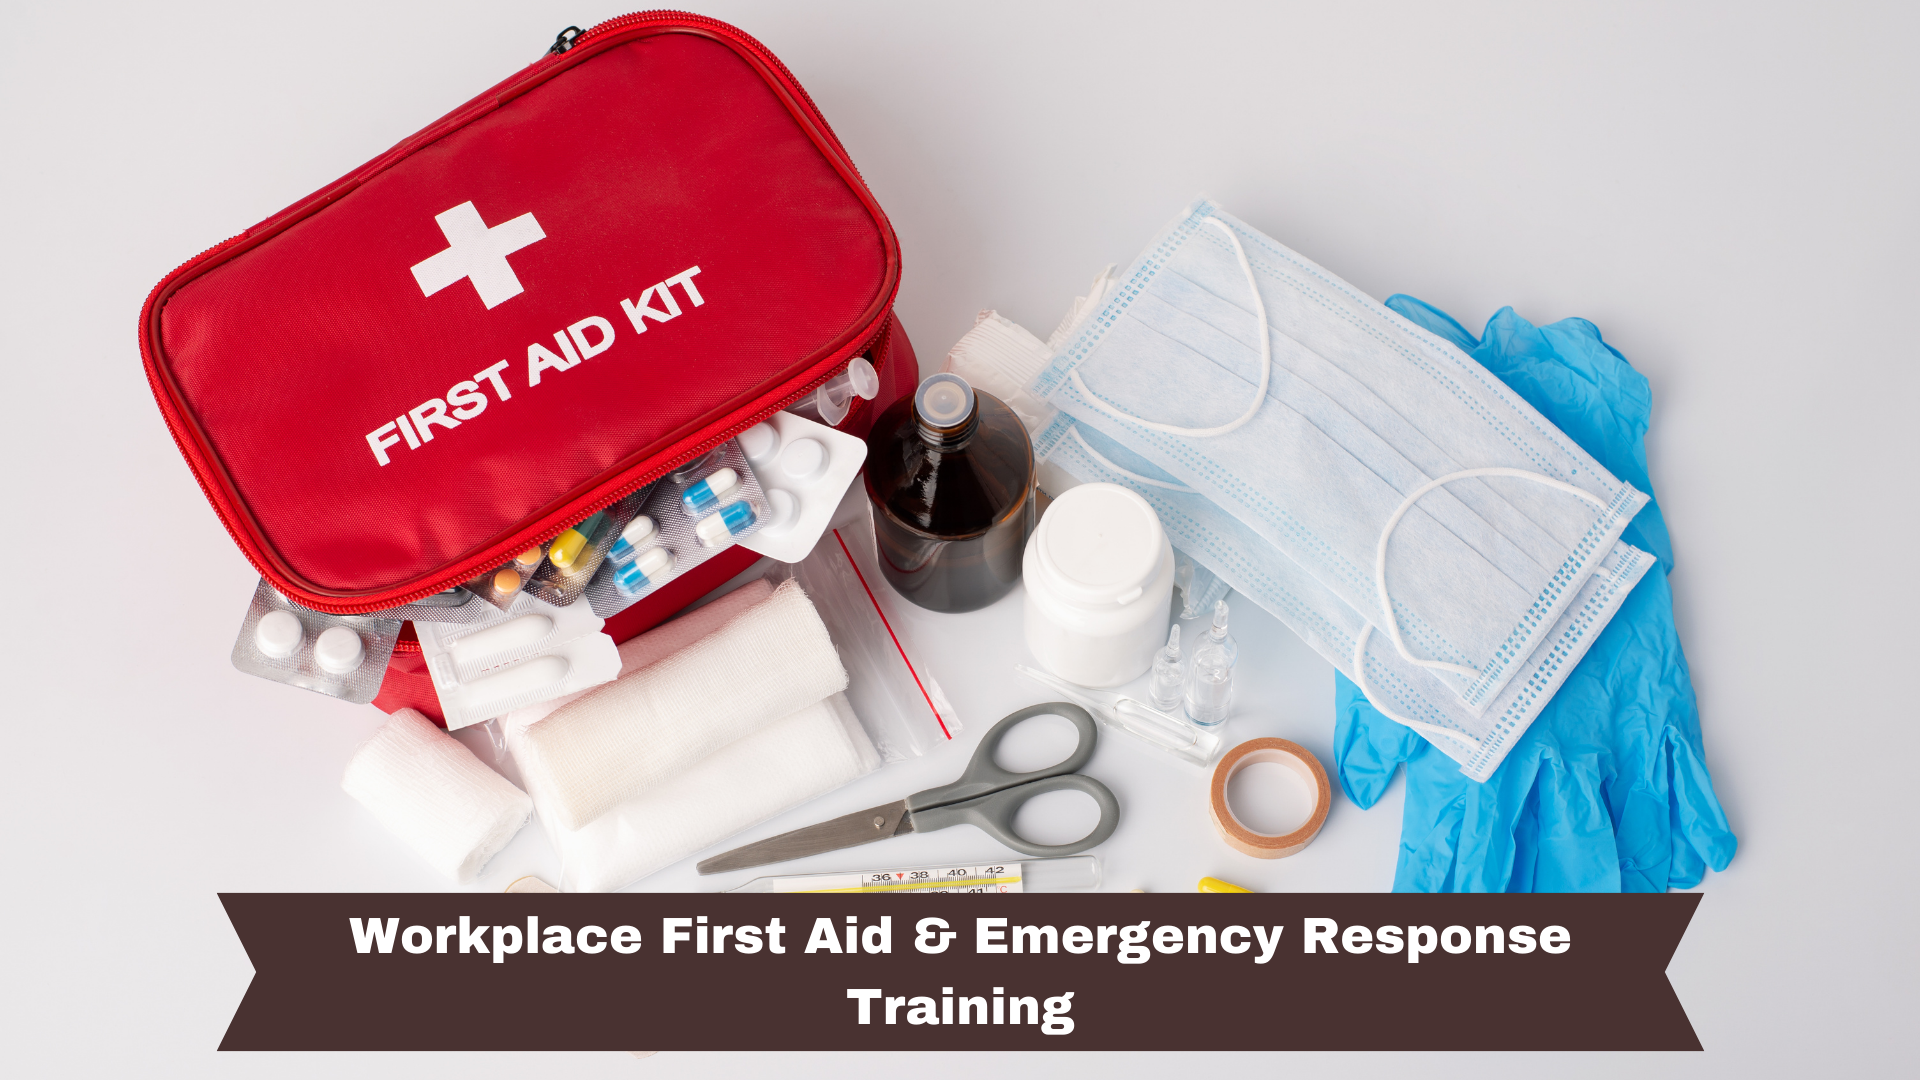
Workplace First Aid & Emergency Response Training
By NextGen Learning
Gain life-saving skills with this CPD-accredited First Aid Course. Learn CPR, AED use, injury management, and emergency response for any situation.
Certified Network Cabling Design Professional (CNCDP)
By Nexus Human
Duration 2 Days 12 CPD hours This course is intended for The primary audience for this course is any IT, facilities or data centre professional, consultant and/or those who work in network cabling system design, implementation and operation. Overview With few exceptions, enterprises today rely on IT for the delivery of business-critical services - often directly to the end consumer. It is therefore vital that the mission-critical data centre is designed, maintained and operated with high-availability and efficiency in mind. Among all the facilities, network cabling is the foundation for the network and one of the major contributors to the availability of the data center.CNCDP© is a 2-day course designed to expose participants to in-depth knowledge in designing and installing the data network cabling system which includes key subject matters such as; technical standards, designing of different cabling sub-systems, calculation of material requirements, architecture, installation, testing and acceptance. Introduction to Structured Cabling System (SCS) Brief history of SCS Basic copper and fibre transmission Copper and fibre cabling Single and multimode fibre Step/graded index multimode fibre Difference between Commercial Wiring and data centre cabling Development of standards Role of standards ANSI/TIA 568 standard Common standards The new usage of cabling to support Smart building Horizontal and Administration - Commercial Building Standard diagram recap: ANSI/TIA-568 Functional elements and example Scenario A: Determine the number of work areas Scenario B: Determine the number of user locations Zone wiring Administration: Interconnect and cross-connect Angled and flat panels Creating a cabling schematic design Convert schematic into physical layout Calculating the material list Horizontal and Administration - Data Centre Standard diagram recap: TIA-942 Basic/Reduced/Typical data centre setup Traditional 3 layers network design/ Spine and Leaf network design Select termination hardware Administration design ToR/EoR/Spine & Leaf cabling design Network and cabling resiliency Create cabling schematic design for ToR/EoR Convert into patch panel/rack layout Calculate the material list for ToR/EoR Building Backbone - Commercial Building Backbone diagram Calculate the copper backbone requirements per Telecom Room (TR) Calculate the fibre backbone requirements per Telecom Room Summarize the building backbone requirements Recognised cables Backbone Patch panels The maximum backbone distances Create cabling schematic design Converting the schematic design into patch panel/ rack layout Building Backbone - Data Centre TIA-942 based backbone topology TIA-942 backbone requirements Recognised backbone cable ToR/EoR/Spine and Leaf Backbone distance estimation Resiliency of backbone cable routes Creating cabling schematic design Converting the schematic design into patch panel/ rack layout Field and Fusion Termination for fibre connectors Pre-terminated fibre trunk and copper cables Architectural Considerations ANSI/TIA569-D Cable pathway and spaces Common requirements for the rooms Definition of the rooms Entrance Room/Demarcation Ceiling and floor pathways types Cable trays/basket/ladder/conduit Inner duct/sleeve/slot Calculating of pathway size Cable run best practices Cable management/AIM Grounding and bonding Separation distance requirements for copper cabling to power cabling Fire stopping Fire rated barrier Fire rated jacket cable Campus / Outdoor Backbone Common campus cable installation and cable types : Aerial cable / Direct-buried / Underground in-conduit Outdoor cable installation planning Lightning / surge protection Approved ground for surge protector Creating a schematic diagram Converting a schematic into a physical layout Site Inspection and Testing Visual site inspection notes Installation common issues Copper testing standard Permanent link / Channel / Patch cord / MPTL testing configuration Fibre connectors Fibre testing standard Tier 1 & 2 certification Fibre link definition Fibre testing steps Fibre inspection and cleaning Calibrating the test sets - 3 methods Setting up mandrel for testing Fibre loss budget calculation G.657 Bend insensitive fibre Optical Time-Domain Reflectometer (OTDR) Exam - Certified Network Cabling Design Professional (CNCDP©) The exam is a 60-minute closed book exam, with 40 multiple-choice questions. The candidate requires a minimum of 27 correct answers to pass the exam. Additional course details: Nexus Humans Certified Network Cabling Design Professional (CNCDP) training program is a workshop that presents an invigorating mix of sessions, lessons, and masterclasses meticulously crafted to propel your learning expedition forward. This immersive bootcamp-style experience boasts interactive lectures, hands-on labs, and collaborative hackathons, all strategically designed to fortify fundamental concepts. Guided by seasoned coaches, each session offers priceless insights and practical skills crucial for honing your expertise. Whether you're stepping into the realm of professional skills or a seasoned professional, this comprehensive course ensures you're equipped with the knowledge and prowess necessary for success. While we feel this is the best course for the Certified Network Cabling Design Professional (CNCDP) course and one of our Top 10 we encourage you to read the course outline to make sure it is the right content for you. Additionally, private sessions, closed classes or dedicated events are available both live online and at our training centres in Dublin and London, as well as at your offices anywhere in the UK, Ireland or across EMEA.

Definition of ventilation Anatomy & physiology Reasons for ventilation Different types of ventilation Non invasive ventilation Complication About this event Definition of ventilation Anatomy & physiology Reasons for ventilation Different types of ventilation Non invasive ventilation Complication of ventilation and troubleshooting Documentation
Revit MEP Training for 15 hours - Live and Online
By FirstScale Revit Consultant and Training
The Revit MEP course (£525), offers you individual learning (One to One) to improve your skills in Revit, and this course extends to 15 hours.

Introduction to Project Management (Virtual)
By IIL Europe Ltd
Introduction to Project Management (Virtual) This course provides practical insights into what is project management and how it is performed in a structured manner.You will learn how projects are selected, initiated, planned, executed, monitored and control, as well as closed, which could serve you ubiquitously. The goal of this course is to provide a minimally essential orientation to practical project management concepts, tools, and techniques. You will be provided with enough of these that can be applied from both a project manager and a key stakeholder perspective. Getting Started Introductions Course orientation Participants' expectations Foundation Concepts Key terms and concepts Organizational framework Leadership framework Originating and Initiating Originating projects Initiating projects Planning Planning overview Scope and quality planning Resources and risk planning Schedule and cost planning Project baselining Executing and Controlling Executing Monitoring and Controlling Closing Project closing overview Closing administratively Closing financially

Overview Learn about contract triggers, including European vs. American style, and variations like one-touch, no-touch, and double no-touch options. Who the course is for Risk managers IT System developers Traders and derivatives teams Consultants and brokers Course Content To learn more about the day by day course content please request a brochure To learn more about schedule, pricing & delivery options, book a meeting with a course specialist now

This 3 Days programme will equip you to use, price, manage and evaluate interest rate and cross-currency derivatives. The course starts with the building blocks of money markets and futures, through yield curve building to interest-rate and cross-currency swaps, and applications. The approach is hands-on and learning is enhanced through many practical exercises covering hedging, valuation, and risk management. This course also includes sections on XVA, documentation and settlement. The programme includes extensive practical exercises using Excel spreadsheets for valuation and risk-management, which participants can take away for immediate implementation.

Enscape Rendering Training Course
By ATL Autocad Training London
Who is this course for? Enscape Rendering Training Course. The Enscape Rendering Training Course is tailored for architects, interior designers, and design students aiming to learn realistic visualizations using Enscape. Whether you prefer 1-on-1 in-person or online courses, this training is best for you. Click here for more info: Website Training duration: 5 hrs Method: 1-on-1 and Tailored content Schedule: Customize your training. Choose any hour from Mon to Sat, 9 am to 7 pm Call 02077202581 or WhatsApp at 07970325184 to book. Course Outline: Enscape Rendering Software Training (5 hours) Course 1: Enscape for Revit Hour 1: 1. Introduction to Enscape: Overview of Enscape rendering software, its features, and benefits. 2. Installing and Setting up Enscape: Step-by-step guidance on installing and configuring Enscape for Revit. 3. Enscape Interface: Familiarizing with the Enscape user interface and navigation controls within Revit. Hour 2: 4. Enscape Materials: Exploring material creation, application, and customization within Enscape for Revit. 5. Lighting in Enscape: Understanding different lighting options, adjusting light settings, and creating realistic lighting effects. Hour 3: 6. Enscape Camera Settings: Manipulating camera angles, perspectives, and settings for optimal visualization. 7. Enscape Rendering Settings: Exploring various rendering settings and techniques to enhance the quality of the final output. Hour 4: 8. Enscape Rendering Workflow: Demonstrating a step-by-step workflow for generating renderings and walkthroughs using Enscape in Revit. 9. Advanced Features: Introduction to advanced features such as creating panoramas, virtual reality (VR) walkthroughs, and creating animations in Enscape. Hour 5: 10. Tips and Tricks: Sharing tips and techniques for maximizing efficiency and achieving high-quality results in Enscape for Revit. 11. Q&A and Troubleshooting: Addressing participant questions, providing troubleshooting guidance, and discussing common challenges and solutions. OR Course Outline: Enscape Rendering Software Training (5 hours) Course 1: Enscape for Sketchup Hour 1: 1. Introduction to Enscape: Overview of Enscape rendering software, its features, and benefits for SketchUp users. 2. Installing and Setting up Enscape: Step-by-step guidance on installing and configuring Enscape for SketchUp. 3. Enscape Interface: Familiarizing with the Enscape user interface and navigation controls within SketchUp. Hour 2: 4. Enscape Materials: Exploring material creation, application, and customization within Enscape for SketchUp. 5. Lighting in Enscape: Understanding different lighting options, adjusting light settings, and creating realistic lighting effects. Hour 3: 6. Enscape Camera Settings: Manipulating camera angles, perspectives, and settings for optimal visualization in SketchUp. 7. Enscape Rendering Settings: Exploring various rendering settings and techniques to enhance the quality of the final output. Hour 4: 8. Enscape Rendering Workflow: Demonstrating a step-by-step workflow for generating renderings and walkthroughs using Enscape in SketchUp. 9. Advanced Features: Introduction to advanced features such as creating panoramas, virtual reality (VR) walkthroughs, and creating animations in Enscape. Hour 5: 10. Tips and Tricks: Sharing tips and techniques for maximizing efficiency and achieving high-quality results in Enscape for SketchUp. 11. Q&A and Troubleshooting: Addressing participant questions, providing troubleshooting guidance, and discussing common challenges and solutions. Learning Outcome: After completing the Enscape (VR) Training and Interactive Workshop, participants will master real-time walkthroughs, set up VR applications, efficiently migrate models, navigate designs dynamically, update objects in real-time, control visual styles, adjust day-time settings, export and share designs, utilize the asset library, and gain a comprehensive overview of Enscape. These skills will enable them to confidently visualize and display 3D designs without cloud uploads or external software, enhancing communication and collaboration in architectural projects. What does the Enscape Training & Interactive Workshop offer? The Enscape Training & Interactive Workshop is designed to help you get up and running with Virtual Reality (VR) in a cost-effective manner. It covers hardware and software setup, navigation techniques, real-time updates, material settings, and more. The workshop also allows participants to experience VR firsthand. What are the benefits of attending the Enscape (VR) Training and Interactive Workshop? By attending this workshop, you will gain the ability to perform real-time walkthroughs of your designs in 3D. You can view your projects in VR without the need for cloud uploads or exporting to other 3D software. The workshop offers extensive asset libraries, collaboration, and annotation sharing, enhancing your design visualization capabilities. What are the prerequisites for attending the Enscape (VR) Training and Interactive Workshop? No prior knowledge of Enscape is required. However, assistance from IT management may be necessary for hardware and software installation. Logistics, such as room suitability and technical requirements, will be discussed before the workshop. What will I learn in the Enscape (VR) Training and Interactive Workshop? The workshop covers hardware setup, software installation, and configuration. You will learn how to migrate models from Revit and SketchUp into VR, navigate through designs, update objects and materials in real-time, and utilize various visual styles and settings. The course also includes interactive workshops with support from our expert tutors. Enscape rendering courses offer valuable benefits: Real-time Visualization: Instantly visualize designs for quick iterations and informed decisions. Seamless Integration: Streamline rendering by integrating with popular design software. High-Quality Visuals: Create photorealistic presentations and walkthroughs. Efficient Design Communication: Enhance collaboration and communication during presentations. Enhanced Design Iteration: Explore options and make informed decisions in real-time. Time and Cost Savings: Reduce rendering time and deliver projects more efficiently. Portfolio Enhancement: Elevate your portfolio with visually striking renderings, opening new opportunities.

Blue CSCS Card NVQ Level 2 Plant This qualification provides you with the opportunity to showcase their knowledge, skills and understanding in their chosen specialism. You will have the relevant experience in one of the specific areas. You will be operating on one of the following machines: Forward Tipping Dumper Ride on Roller Excavator Telehandler Induction As soon as you register you will be given a dedicated assessor. They will arrange an induction and together with your assessor, you will get to decide on the pathway which best proves your competency. The induction is used to plan out how you will gather the relevant evidence to complete the course. During the course The assessor will work with you to build a portfolio of evidence that allows you to showcase your knowledge, skills and experience. The assessor will also regularly review and provide you with feedback. This will allow you to keep on track to progress quickly. You will be assessed through various methods such as observations, written questions, evidence generated from the workplace, professional discussion, and witness testimonials. On completion Once all feedback has been agreed, the Internal Quality Assurer will review your portfolio and in agreement with your assessor the certificate will be applied for. To download our PDF for this course then please click here.