- Professional Development
- Medicine & Nursing
- Arts & Crafts
- Health & Wellbeing
- Personal Development
179 Sound courses in Cardiff delivered Live Online
This unique syllabus teaches modules in Adobe software for A Level/GCSE and adults. Learn the basics and dive deeper with our experienced teachers, who will help you build upon your professional portfolio and provide you with what you need to work towards a professional qualification. The below outline covers Photoshop, Illustrator, Premiere Pro, and Acrobat. Module 1: Introduction to Adobe Creative Cloud • Understanding Adobe's Creative Cloud Suite • Installation and setup • Introduction to the user interface • Navigating Adobe software Module 2: Adobe Photoshop Basics • Introduction to Photoshop • Understanding raster graphics • Essential tools and panels • Basic photo editing and retouching Module 3: Intermediate Photoshop Skills • Advanced selection techniques • Layers and blending modes • Color correction and adjustment layers • Creating and editing masks Module 4: Adobe Illustrator Fundamentals • Introduction to vector graphics • Illustrator's interface and tools • Drawing and editing shapes • Working with text and typography Module 5: Advanced Illustrator Techniques • Creating complex vector illustrations • Using the Pen tool effectively • Working with gradients and patterns • Illustrator's 3D capabilities Module 6: Adobe Premiere Pro Basics • Introduction to video editing • Premiere Pro's workspace • Importing and organising media • Basic video editing and transitions Module 7: Advanced Premiere Pro Editing • Advanced video editing techniques • Working with audio and sound • Applying effects and colour correction • Exporting video for various platforms Module 8: Adobe Acrobat for Document Management • Introduction to Adobe Acrobat • Creating, editing, and organising PDFs • Adding interactivity to PDFs • Digital signatures and security features Module 9: Integration and Workflow • Seamless integration between Adobe software • Creating assets in Photoshop/Illustrator for use in Premiere Pro • Exporting and importing files for collaborative work • Best practices for project management Module 10: Portfolio Development and Practical Projects • Final projects for each Adobe application • Developing a professional portfolio • Presenting and sharing your work • Preparing for Adobe certification exams (optional) Please note that the duration and depth of each module can vary depending on the level of expertise required and the specific needs of the learners. Additionally, it's important to adapt the curriculum to the learners' proficiency levels, whether they are A Level/GCSE students or adult learners with different experience levels.
Lumion Training Course
By ATL Autocad Training London
Who is this coure for? Lumion Training Course. Whether you're an architect, designer, 3D artist, or simply someone passionate about crafting captivating architectural visualizations, this course equips you with the essential skills to harness Lumion as a potent tool within your creative process. Click here for more info: Website Duration: 10 Hours Customize your training. Choose any hour from Mon to Sat, 9 a.m. to 7 p.m. Call 02077202581 or WhatsApp at 07970325184 to book. Lumion 3D Course Outline Module 1: Introduction to Lumion 3D Explore Lumion 3D's Features and Navigate the Interface. Master Efficient Workflow with Shortcut Keys. Customize Settings for Optimal Performance. Module 2: 3D Models and Materials Import 3D Models in Various Formats. Apply and Fine-Tune Materials. Create Procedural Materials and Achieve Glass Effects. Troubleshoot Common Issues. Module 3: Building Projects in Lumion Craft Scenes and Sculpt Terrain. Enhance Realism with Alpha and Height Maps. Module 4: The 3D World Manage Multiple 3D Objects and Their Properties. Implement Grass and Scattering Elements. Module 5: Lighting in Lumion 3D Utilize Weather Settings for Dynamic Scenes. Master Lumion Lights, Interior and Exterior Illumination. Create 3D Reflections and Spotlight Effects. Module 6: Realistic Visualizations Integrate Special Effects like Fire, Smoke, and Fog. Achieve Realism with Camera Effects and Shadow Manipulation. Render Still Images and Dynamic Animations. Module 7: NPR Visualizations Create Non-Photorealistic Visualizations with Artistic Effects. Implement Unique Styles for Enhanced Visual Impact. Module 8: Artistic Effects in Lumion 3D Explore Conceptual Visualizations with Painting and Sketch Effects. Craft Cartoon Effects and Understand Perspective Concepts. Module 9: Animation in Lumion 3D Master Timing and Camera Techniques for Dynamic Shots. Compose Animation Clips and Incorporate Effects. Utilize Layers and Control Objects for Precise Animation. Module 10: Advanced Features Understand Import and Output Formats in Lumion. Expand Your Asset Library with the 3D Model Library. Integrate Animated Characters and Sound Effects. Maximize the Advanced Material Library's Potential. Control Environments and Weather for Dynamic Scenes. Efficient Scene Management and Movie Editing in Lumion 3D. For students, download Lumion at: Lumion for Students Download Lumion for Students https://lumion.com⺠Upon completing the Lumion 3D course, participants will: Master Lumion Tools: Navigate the interface, optimize settings, and use shortcuts efficiently. 3D Modeling and Materials: Import models, refine materials, troubleshoot, and enhance realism. Scene Crafting: Create detailed scenes, manage objects, and implement elements for lifelike environments. Lighting Mastery: Utilize weather settings, create reflections, and manage dynamic lighting. Visual Effects Integration: Add special effects, manipulate shadows, and create still images and animations. Artistic Visualization: Explore artistic effects, conceptual visualizations, and cartoon techniques. Advanced Animation: Master timing, camera techniques, and precise animation control. Advanced Features: Understand formats, expand asset libraries, and manage scenes efficiently. Effective Communication: Communicate design concepts effectively to clients and stakeholders. Independence in 3D Rendering: Gain expertise to create complex visualizations independently. Course Overview: What is Lumion? Lumion is specialized 3D rendering software designed for architects and designers. It enables the swift transformation of 3D design models, allowing application of materials, interior and exterior furnishing, and showcasing lighting and shadows without specialized training. Course Objectives: This course focuses on initiating Lumion projects, integrating environments, cameras, lighting, populating scenes, creating terrains, and producing animations. Expectations from the Course: By enrolling, you'll master high-quality render creation, enhance your portfolio, impress clients with top-tier visuals, and gain confidence to elevate your service rates. This course equips you with tools and skills to craft exquisite architectural renders, elevating your work significantly. Intended Audience: Architects, landscape architects, interior architects, civil engineers interested in 3D visualization, and students exploring the realm of 3D visualization. Course Benefits: Delve into Lumion's world-class rendering with speed and precision. This course emphasizes achieving superior quality and realism in the shortest rendering time. Whether you're an architect, interior designer, 3D visualization artist, or Lumion enthusiast, this course empowers you to create exceptional 3D render images. Essential assets, including 3D models and textures, are provided, allowing you to follow the step-by-step process at your own pace. Advantages of Personalized Training: Expertise in Real-Time Rendering: Gain in-depth mastery of Lumion, mastering its features for creating stunning real-time visualizations. Navigate the interface seamlessly and leverage powerful tools for immersive architectural experiences. Enhanced Design Presentations: Elevate design presentations with dynamic visualizations that effectively communicate concepts, lighting nuances, material details, and spatial relationships. Rich Asset Repository: Access a wide variety of high-quality assets, from vegetation to weather effects, enhancing realism and creating captivating scenes that engage viewers. Authentic Landscapes and Effects: Develop skills to create lifelike landscapes, atmospheric weather effects, and unique visual elements that add depth and intrigue to your projects. Flexible Learning Options: Choose between in-person or live online sessions, ensuring convenient and accessible learning tailored to your preferences. Additionally, access recorded lessons for self-paced review and revision. Continuous Support: Benefit from lifelong email support, allowing you to stay connected with instructors for ongoing learning and guidance, even after completing the course.

Introduction to Premiere Pro CC
By Nexus Human
Duration 3 Days 18 CPD hours This course is intended for Anyone who'd like to learn Adobe Premiere Pro CC Those that plan to take the Adobe Certfied Expert (ACE) exam Overview Introduction to Premiere Pro CC will allow you to learn powerful real-time video and audio editing tools that give you precise control over virtually every aspect of your production. In this three-day course, you?ll get a thorough overview of the interface, tools, features, and production flow for Premiere Pro CC. The course is an ideal combination of instructor-led demonstration and hands-on practice to introduce you to Adobe Premiere Pro software, a revolutionary 64-bit nonlinear video-editing application. You will learn powerful real-time video and audio editing tools that give you precise control over virtually every aspect of your production. Touring Adobe Premiere Pro CC Nonlinear editing in Adobe Premiere Pro Expanding the workflow Touring the Adobe Premiere Pro interface Setting up a Project Setting up a project Setting up a sequence Importing Media Importing assets Working with the Media Browser Importing images The media cache Capturing the videotape Organizing Media The Project panel Working with bins Organizing media with content analysis Monitoring footage Modifying clips Essentials of Video Editing Using the Source Monitor Navigating the Timeline Essential editing commands Working with Clips and Markers Program Monitor controls Controlling resolution Using markers Using Sync Lock and Track Lock Finding gaps in the Timeline Moving clips Extracting and deleting segments Adding Transitions What are transitions? Edit points and handles Adding video transitions Using A/B mode to fine-tune a transition Adding audio transitions Advanced Editing Techniques Four-point editing Retiming clips Replacing clips and footage Nesting sequences Regular trimming Advanced trimming Trimming in the Program Monitor panel Putting Clips in Motion Adjusting the Motion effect Changing clip position, size, and rotation Working with keyframe interpolation Using other motion-related effects Multi-camera Editing The multi-camera process Creating a multi-camera sequence Switching multiple cameras Finalizing multi-camera editing Additional multi-camera editing tips Editing and Mixing Audio Setting up the interface to work with audio Examining audio characteristics Adjusting audio volume Adjusting audio gain Normalizing audio Creating a split edit Adjusting audio levels in a sequence Working with the Audio Mixer Sweetening Sound Sweetening sound with audio effects Adjusting EQ Applying effects in the Audio Mixer Cleaning up noisy audio Adding Video Effects Working with effects Keyframing effects Effects presets Frequently used effects Color Correction and Grading Color-oriented workflow An overview of color-oriented effects Fixing exposure problems Fixing color balance Specials color effects Creating a look Exploring Compositing Techniques What is an alpha channel? Using compositing in your projects Working with the Opacity effect Working with alpha-channel transparencies Color keying a greenscreen shot Using mattes Creating Titles An overview of the Titler window Video typography essentials Creating titles Stylizing text Working with shapes and logos Making text roll and crawl Managing Your Projects The File menu Using the Project Manager Final project managment steps Importing projects or sequences Managing collaboration Managing your hard drives Exporting Frames, Clips, and Sequences Overview of export options Exporting single frames Exporting a master copy Working with Adobe Media Encoder Exchanging with other editing applications Recording to tape Additional course details: Nexus Humans Introduction to Premiere Pro CC training program is a workshop that presents an invigorating mix of sessions, lessons, and masterclasses meticulously crafted to propel your learning expedition forward. This immersive bootcamp-style experience boasts interactive lectures, hands-on labs, and collaborative hackathons, all strategically designed to fortify fundamental concepts. Guided by seasoned coaches, each session offers priceless insights and practical skills crucial for honing your expertise. Whether you're stepping into the realm of professional skills or a seasoned professional, this comprehensive course ensures you're equipped with the knowledge and prowess necessary for success. While we feel this is the best course for the Introduction to Premiere Pro CC course and one of our Top 10 we encourage you to read the course outline to make sure it is the right content for you. Additionally, private sessions, closed classes or dedicated events are available both live online and at our training centres in Dublin and London, as well as at your offices anywhere in the UK, Ireland or across EMEA.

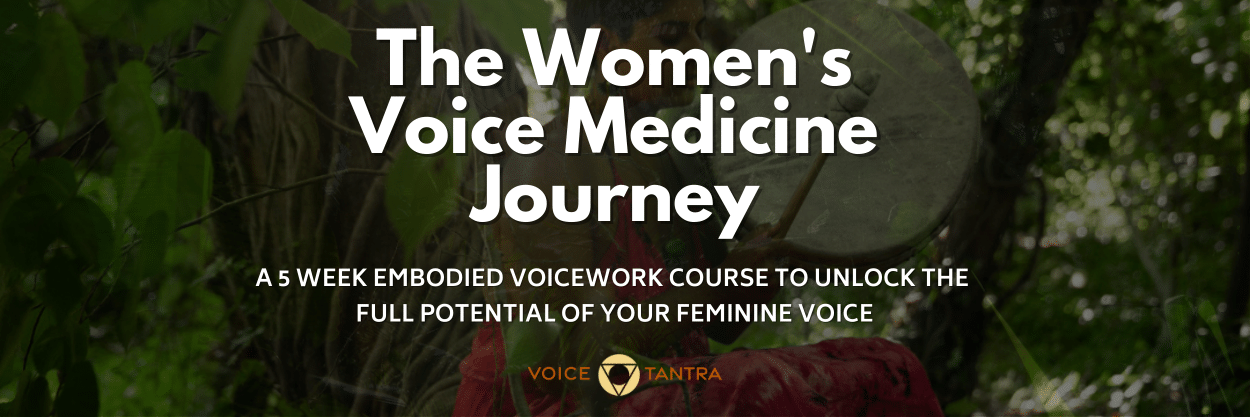
Enrolment for the Women's Voice Medicine Journey & 3 x 1-1 Coaching Sessions
(39)By Sing for Your Soul
Welcome to the Women's Voice Medicine Journey. This is a female-designed, step-by-step programe, to teach you how you can truly activate and integrate some of the most essential Embodied Voicework tools to Free Your Voice and unleash your Creative Feminine Power.
Adobe Premiere Pro
By Nexus Human
Duration 3 Days 18 CPD hours There are good reasons Adobe Premiere Pro is such a popular post-production video editing software application. It excels for a wide variety of uses; tapeless and DSLR footage; cross-platforms, open workflows for easy collaboration, powerful metadata features for greater editing and production efficiency, plus real-time 3D editing and Virtual Reality. This four-day course is ideal for beginners, as well as Final Cut Pro and Avid editors - or for anyone who is involved in a content creation environment. Adobe Premiere Interface Performing Nonlinear Editing in Premiere Pro Looking at the Standard Digital Video Workflow Enhancing the Workflow with Premiere Pro Expanding the Workflow Incorporating other Components into the Editing Workflow Adobe Creative Cloud Video Workflow Touring the Premiere Pro Workspace Looking at the Workspace Layout Customizing the Workspace Introducing Preferences Keyboard Shortcuts Moving, Backing up, and Syncing User Settings Setting up a Project Setting up a Sequence Setting up the Timeline Importing Media Importing Assets Working with ingest Options and Proxy Media Working with the Media Browser Importing Images Using Adobe Stock Customizing the Media Cache Recording a Voice-over Organizing Media Project Panel Working with Bins Monitoring Footage Modifying Clips Mastering the Essentials of Video Editing Using the Source Monitor Navigating the Timeline Essential Editing Commands Working with Clips and Markers Using Program Monitor Controls Setting the Playback Resolution Playing back VR Video Using Markers Using Sync Lock and Track Lock Finding Gaps in the Timeline Selecting Clips Moving Clips Extracting and Deleting Segments Adding Transitions Understanding Transitions Edit points and Handles Adding Video Transitions Using A/B mode to Fine-tune a Transition Adding Audio Transitions Performing Advanced Editing Techniques Performing Three or Four-point Editing Changing Playback Speed Replacing Clips and Footage Nesting Sequences Performing Regular Trimming Performing Advanced Trimming Trimming in the Program Monitor Putting Clips in Motion Adjusting the Motion Effect Changing Clip Position, Size, and Rotation Working with Keyframe Interpolation Using other Motion-related Effects Multi-camera Editing Following the Multi-camera Process Creating a Multi-camera Sequence Switching Multiple Cameras Finalizing Multi-camera Editing Editing and Mixing Audio Setting up the Interface to Work with Audio Examining Audio Characteristics Creating a Voice-over Scratch Track Adjusting Audio Volume Normalizing Audio Creating a Split Edit Adjusting Audio Levels for a Clip Sweetening Sound Sweetening Sound with Audio Effects Adjusting EQ Cleaning up Noisy Audio Fading Audio with Essential Sounds Adding Video Effects Working with Effects Master Clip Effects Masking and Tracking Visual Effects Keyframing Effects Effect Presets Frequently Used Effects Improving Clips with Color Correction and Grading Following a Color-oriented Workflow An overview of Color-oriented Effects Fixing Exposure Problems Fixing Color Balance Using Special Color Effects Creating a Look Exploring Compositing Techniques Understanding an Alpha Channel Making Compositing Part of Your Projects Working with the Opacity Effect Working with Alpha-channel Transparencies Color Keying a Green Screen Shot Using Mattes Creating Titles An Overview of Shapes & Type Loading in Graphics Using the Essentials Graphic Panel Browsing Templates Saving Templates Mastering Video Typography Essentials Creating Titles Stylizing Text Making Text Roll and Crawl Introducing Captions Managing Your Projects Using the File menu Using the Project Manager Performing the Final Project Management Steps Importing Projects or Sequences Managing Collaboration Using the Libraries Panel Managing Your Hard Drives Exporting Frames, Clips, and Sequences Overview of Export Options Exporting Single Frames Exporting a Master Copy Working with Adobe Media Encoder Uploading to Social Media Exchanging with Other Editing Applications Additional course details: Nexus Humans Adobe Premiere Pro training program is a workshop that presents an invigorating mix of sessions, lessons, and masterclasses meticulously crafted to propel your learning expedition forward. This immersive bootcamp-style experience boasts interactive lectures, hands-on labs, and collaborative hackathons, all strategically designed to fortify fundamental concepts. Guided by seasoned coaches, each session offers priceless insights and practical skills crucial for honing your expertise. Whether you're stepping into the realm of professional skills or a seasoned professional, this comprehensive course ensures you're equipped with the knowledge and prowess necessary for success. While we feel this is the best course for the Adobe Premiere Pro course and one of our Top 10 we encourage you to read the course outline to make sure it is the right content for you. Additionally, private sessions, closed classes or dedicated events are available both live online and at our training centres in Dublin and London, as well as at your offices anywhere in the UK, Ireland or across EMEA.
Facilitating Meetings Effectively
By Nexus Human
Duration 1 Days 6 CPD hours This course is intended for This course is designed for managers, supervisors, team leaders, or anyone who leads meetings as part of their job and wants to learn how to become a more effective meeting facilitator. Overview Build a foundation for a successful meeting. Prepare for a meeting. Set the stage for a meeting. Facilitate a meeting. Facilitate a specialized meeting Effective facilitators know how to take charge of meetings and lead groups toward successfully completing their work objectives. In this course, you will strategically plan meetings and create formal agendas, lead groups to generate new ideas through brainstorming events, and help people work through facilitated difficult sessions. You will also further develop your facilitation skills by leading virtual meetings and even moderating international sessions. Private classes on this topic are available. We can address your organization?s issues, time constraints, and save you money, too. Contact us to find out how. Lesson 1: Building a Foundation for Successful Meetings Topic A: Identify Types of Meetings Topic B: Identify Attributes of Strong Meeting Leaders Lesson 2: Preparing for a Meeting Topic A: Clarify the Purpose of the Meeting Topic B: Identify Participants Topic C: Plan Meeting Logistics Topic D: Create an Agenda Lesson 3: Setting the Stage for a Meeting Topic A: Establish a Meeting Climate Topic B: Resolve Challenging Situations Lesson 4: Facilitating a Meeting Topic A: Lead a Meeting Topic B: Make Sound Decisions Topic C: Publish Meeting Minutes Topic D: Close a Meeting Lesson 5: Facilitating Specialized Meetings Topic A: Manage a Brainstorming Session Topic B: Manage a Virtual Meeting Topic C: Manage an International Meeting
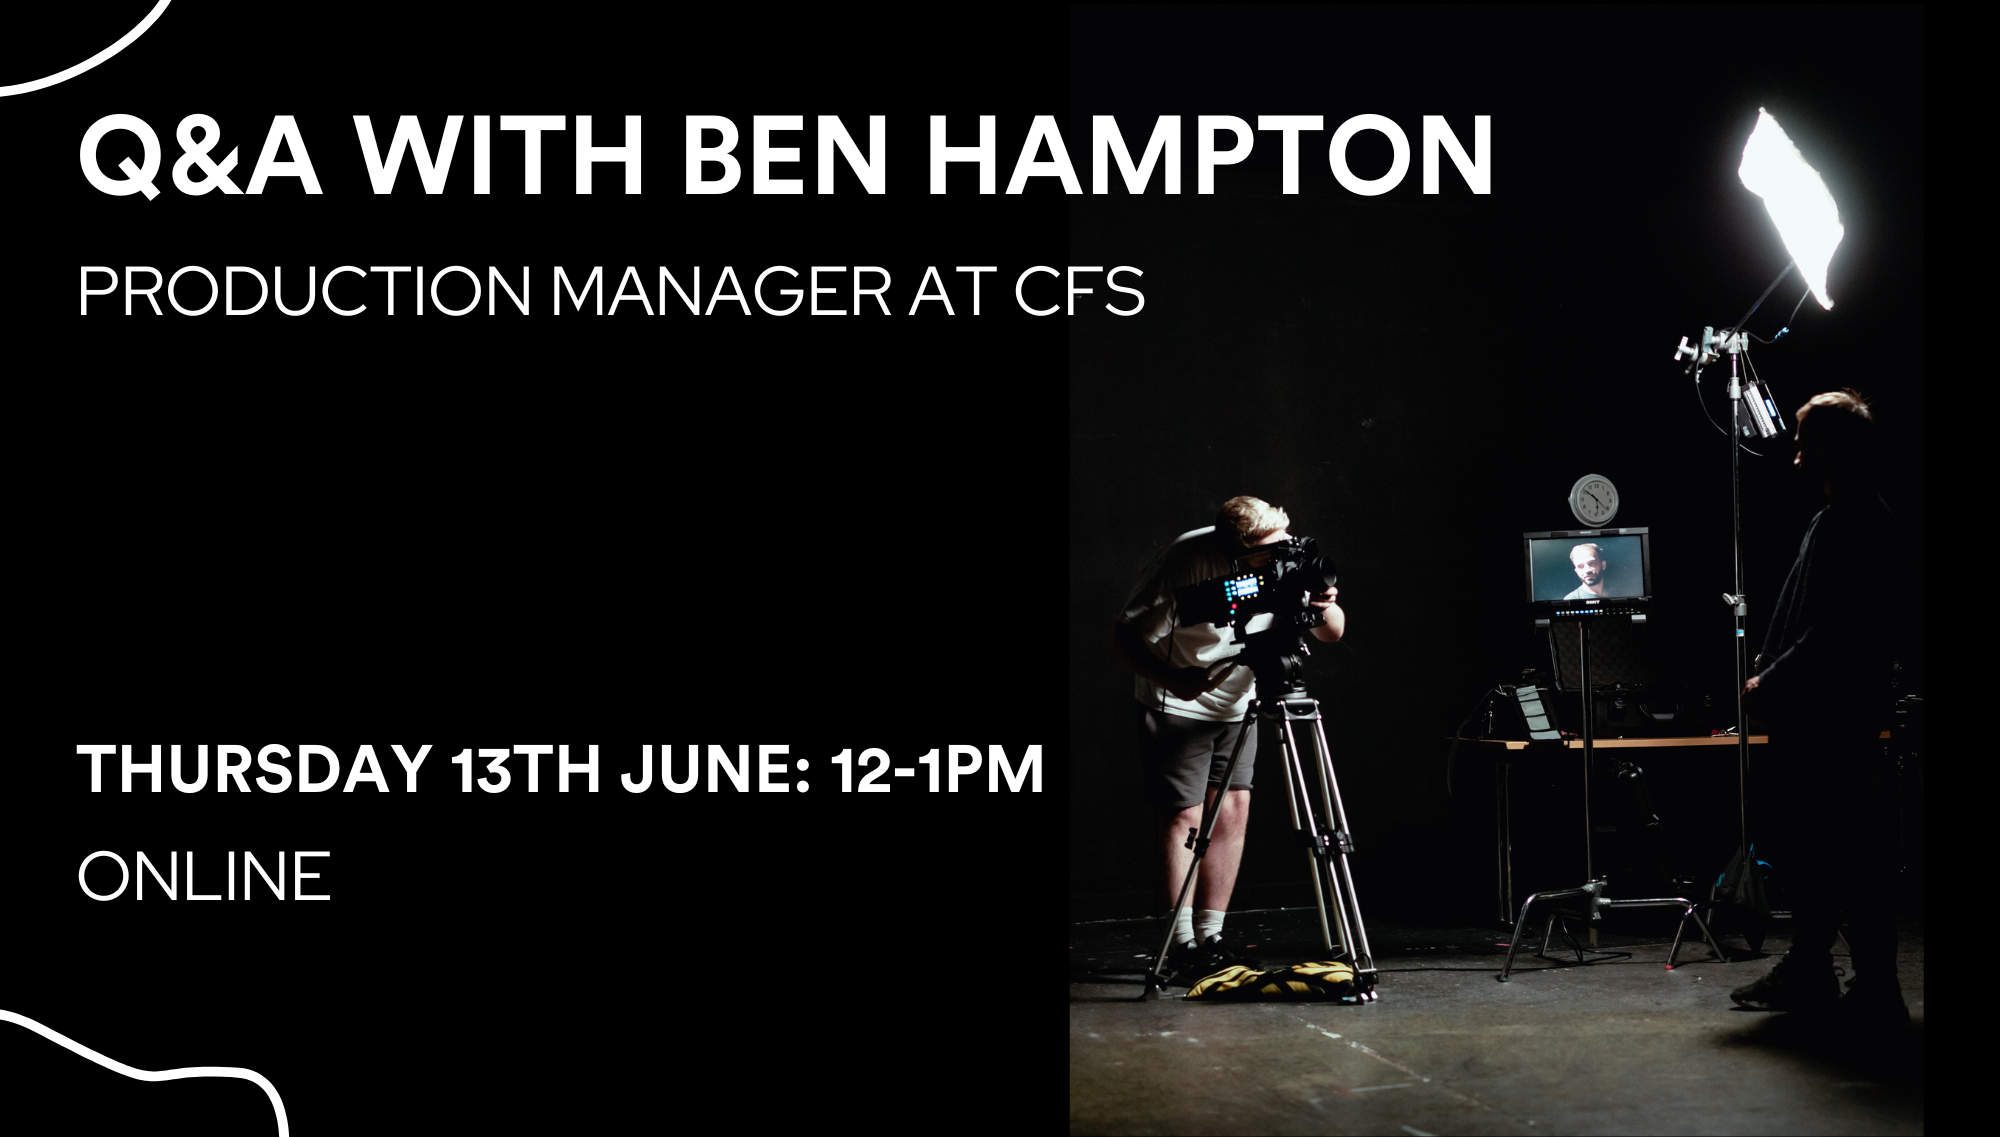
Interested in learning more about the industry standard equipment and facilities we have at Central Film School? Get ready for a Q&A session with Ben Hampton, the Production Manager here at CFS. Ben will be talking through some of the exciting new developments at the school, including our motion capture technology and virtual production facilities, arriving in August.See firsthand our state-of-the-art cameras, lighting, and sound equipment that you'll be using throughout your degree and ask any questions you have! When: Thursday, June 13th, from 12-1pm. Where: This will be an online event, meaning you can join us from anywhere you like!
How to help troubled and troublesome teenagers
By Human Givens College
Discover effective new ways to: find out what the problem is, communicate with reluctant teens, discover their hidden strengths, promote positive behaviour change, improve their mental health – and much more… Accredited CPD Certificate: 6 hours Length: 1 day (9.15am - 4.00pm GMT) The best live online I have attended so far and I’ve done eight! Everything was relevant – completely spot onTEACHER / TUTOR Live Online – Join Richard Brook on Tuesday 19th March for this live online training event via Zoom. Simply book your place and we will email you details of how to join the Zoom workshop the day before. BONUS RECORDING – the training is recorded, in case anyone experiences technical difficulties on the day, so you will also get a recording for a limited time afterwards to maximise your learning. Why take this course This live online training event gives you the essential knowledge, tips and practical skills you need to help troubled teenagers unlock their potential and begin to build lives for themselves that work well. Tutor Richard Brook has a wealth of hands-on practical experience in adolescent mental health and social work which he draws on throughout the day – you will have plenty of time to ask questions and discuss how you can implement the skills and techniques in your own work or with the teens you care for. The programme is varied and intensive, yet lively with a strong focus on gaining skills. It clarifies what healthy teenage development looks like, why things can go wrong and the best ways to help young people overcome obstacles and begin to create lives for themselves that work well. Richard also shows how, by working with the ‘givens’ of human nature, and ensuring that sound knowledge of how people really function is applied intelligently to teenagers, you can speed up progress, reduce anti-social behaviour and teen depression, and bring young people real benefits. At the end of the day you will find yourself more empowered to respond effectively to each individual’s needs and temperament, whilst avoiding yourself the emotional pitfalls of working in stressful situations. Such a realistic and logical approach – it's given me lots of ideas for working with a variety of people, not just teenagers!PROBATION OFFICER What will you learn An increased understanding of what drives most problematic behaviour, including anti-social behaviour Essential knowledge and skills to deliver effective interventions to young people, both individually and in groups A deeper understanding of the causes of adolescent mental health problems Simple yet effective techniques for engaging uncommunicative young people, building rapport and promoting behavioural changes Constructive ways to help prevent teenage depression, anxiety and stress Four vital guiding principles that ensure your work with young people is relevant and effective Ways to motivate young people and help them set achievable goals How to discover and build upon a young person’s strengths and engage them in practical problem-solving Knowledge of how the insights from the human givens approach can dramatically improve interventions and their outcomes The opportunity to discuss how you could implement these in your own work with a highly knowledgeable tutor who has years of hands-on experience Also covered: The common misconceptions about adolescence What healthy teenage development looks like – this may bring you some surprises! A clear and logical foundation upon which to structure creative and effective interventions Ways to respond effectively to each individual’s needs, temperament and learning style How to avoid the emotional pitfalls of working in stressful situations An expanded repertoire of skills and a refined understanding of what works and – most importantly – why Course Programme The ‘How to help troubled and troublesome teenagers’ course starts at 9.15am and runs until 4.00pm. 9.15am Join the Zoom meeting 9.30am What’s the trouble? 11.00am Comfort break and discussion 11.30am How to communicate with teenagers 1.00pm Lunch break 1.45pm Practical problem solving 2.45pm Comfort break and discussion 3.00pm How to help them create a life that works well 4.00pm Day ends This course has been independently accredited by the internationally recognised CPD Standards Office for 6 hours of CPD training. On completion of this training you’ll receive CPD certificates from the College and the CPD Standards Office.

Public Speaking
By Nexus Human
Duration 1 Days 6 CPD hours This course is intended for This course is intended for individuals who want to become more confident and relaxed when speaking in front of an audience. Overview Upon successful completion of this course, students will become more confident and relaxed in front of an audience which will translate into a successful speaking event. In this course, students will learn some basic public speaking skills, including in-depth information on developing an engaging program and delivering their presentation with power. Getting Started Icebreaker Housekeeping Items The Parking Lot Workshop Objectives Identifying Your Audience Performing a Needs Analysis Creating an Audience Profile Identifying Key Questions and Concerns Creating a Basic Outline Outlining the Situation Identifying the Task That Had to Be Performed Listing the Actions You Took Revealing the Results Organizing the Program Making Organization Easy Organizational Methods Classifying and Categorizing Fleshing It Out Identifying Appropriate Sources Establishing Credibility The Importance of Citations Putting It All Together Writing Your Presentation Adding a Plan B Reviewing, Editing, and Rewriting Being Prepared Checking Out the Venue Gathering Materials A 24 Hour Checklist Overcoming Nervousness A Visit from the Boss Preparing Mentally Physical Relaxation Techniques Appearing Confident in Front of the Crowd Delivering Your Speech (I) Starting Off on the Right Foot Using Visual Aids Checking the Volume of Your Voice Delivering Your Speech (II) Adjusting on the Fly Gauging Whether Breaks Are Required Wrapping Up and Winding Down Questions and Answers Ground Rules Answering Questions That Sound Like an Attack Dealing with Complex Questions Wrapping Up Words from the Wise Review of Parking Lot Lessons Learned Completion of Action Plans and Evaluations