- Professional Development
- Medicine & Nursing
- Arts & Crafts
- Health & Wellbeing
- Personal Development
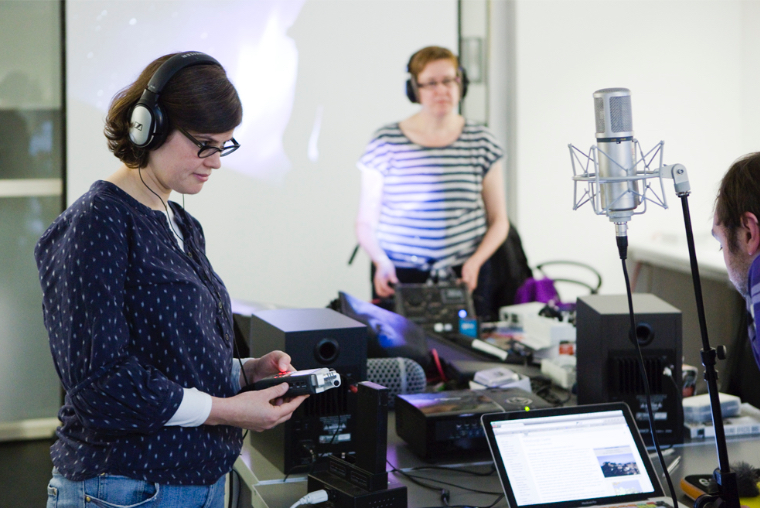
Employing a mix of practical exercises and critical reflection, this introductory day course provides an overview of fundamental techniques for recording and editing voice, ambiences and sound effects for podcasts, video/film and art installations or just for fun. The course uses industry standard software and introduces a range of popular, high quality microphones and portable recording devices. The course has enough flexibility to be steered by the individual interests of the participants, but you will generally cover; the properties of sound, microphone selection and placement, gain structure, effective planning, noise limiting and reduction, sound editing, dynamics, sound processing and spatial effects. If desired, we can look at a variety of techniques for improving sound quality and recording audio from video conferencing, as we all find ourselves working and interacting in this manner every day. Computer experience is required. Morning Microphone Selection – why and when to use Applications, characteristics, limitations Microphone type – Dynamic, Condenser, Lavalier, Shotgun, Boundary, Stereo, Binaural Polar Patterns – Omni, Cardoid, Attenuated and others Practical microphone placement and technique Critical distance, proximity effect, shielding, simple acoustic treatments, filtering Lavalier microphone – positioning, preventing distortion & rustles Booming – positioning, preventing microphone bumps Stereo Mics – phase issues Afternoon Editing techniques (fades, looping) Building a mix Basic sound processing, noise reduction and dynamics (channel strips, EQ and compression) Insert effects (modulation, filtering, distortion) Send effects (delay, reverb) Automation (of volume, panning etc) Bussing (sending signals to multiple fx) Mastering effects (limiting) Exporting and file types Courses are subject to minimum enrolment. Please register early, within five days of the start date, to reduce the likelihood of course cancellation. Please read our cancellation policy before booking. Students, anyone over the age of 65, and those in receipt of any form of benefits can claim the concessionary price, offering a 10% discount on the full course price. Valid proof of eligibility must be produced on the first day of the course. Please use the code CONCESSION when prompted at checkout.
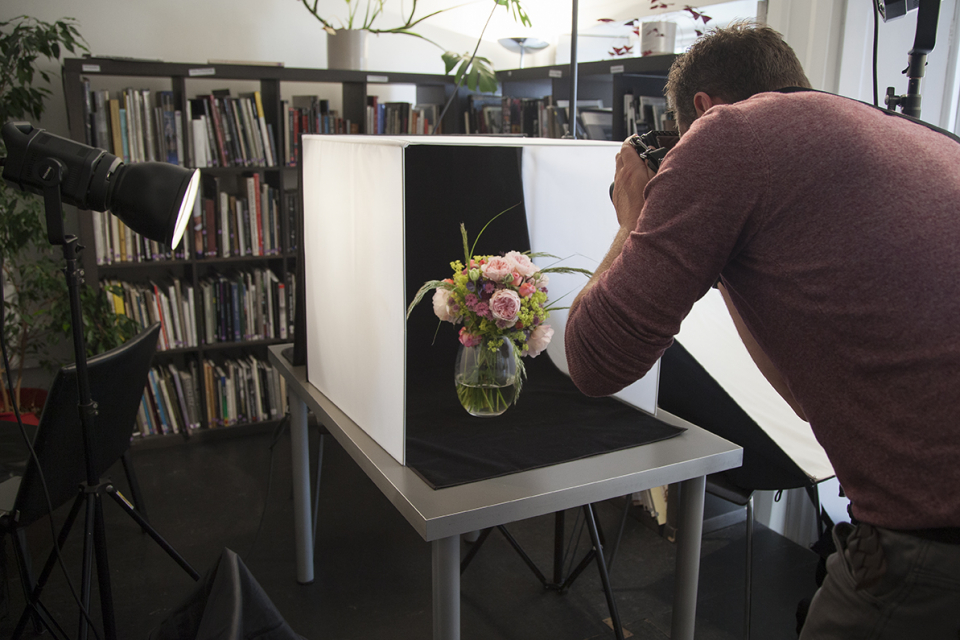
This one-day workshop will introduce you to the history and development of still life and product photography and its use in commerce and fine art. We will look at the work of historical and contemporary practitioners leading to a practical demonstration of still life photography, encompassing the relevant lighting, styling and composition. The day will include a simple product photography and lighting session exploring camera techniques and equipment you can use to create your own images. Please bring along a small object you would like to photograph as part of the day. Morning The day will start with an introduction to the still life genre, looking at its development through photography both as a commercial and artistic tool. We’ll then build and light a still life setup – providing guidance and examples of different lighting techniques, composition and styling skills. Afternoon The afternoon will focus on product photography and lighting for sales. This will include information on equipment and technical requirements, along with some handy tips, tricks and hacks! We’ll also demonstrate ‘Focus Stacking’ – an advanced technique for combining multiple images. The day will conclude with a practical session, where you will get a chance to work in small groups to photograph the objects you have brought in, we’ll also provide some sample objects if required. This is a great opportunity to put the day’s learning into practice with our tutor’s support on hand. Project Days are designed for those who are already familiar with some digital photography processes but who want to pursue a particular aspect and develop skills in a specific genre. This course is the perfect follow-on from our Digital SLR training courses and will support you in building upon your existing knowledge of camera skills and allow you to work confidently on your own projects. Some prior digital SLR photography experience is therefore recommended. Courses are subject to minimum enrolment. Please register early, within five days of the start date, to reduce the likelihood of course cancellation. Please read our cancellation policy before booking. Students, anyone over the age of 65, and those in receipt of any form of benefits can claim the concessionary price, offering a 10% discount on the full course price. Valid proof of eligibility must be produced on the first day of the course. Please use the code CONCESSION when prompted at checkout.
This course will introduce you to the beautiful world of colour analogue photography. Taking as a starting point the work of contemporary photographic artists working with colour, we will discuss and explore theory as well as developing core skills essential for the capture and printing of your own colour images. You will learn how to correctly expose colour negative film and learn more about the characteristics of different types of film and the effects that they can have on an image. Within Stills’ darkrooms you will learn how to process your colour film by hand and print high quality analogue C-Type prints. Day 1 Morning: Colour Theory, Inspiration and Refresher for SLR Camera Controls During the morning we will be looking at contemporary photographers and artists that have used colour to inform their practice in specific ways. We will look at the ways in which colour revolutionized the artworld and vernacular photography. We will also look at basic colour theory, exploring which colours compliment each other and why. We will also refresh basic camera controls, load cameras and head out to the streets to shoot a roll of film. Afternoon: Colour Film Processing During this session, you will learn how to hand process your colour film. We will discuss the loading of the tank and the preparation of the machine to ensure correct processing temperature. We will look at different film types, why you may want to use them and the range of effects that can be produced. Day 2 Morning: Introducing the Colour Darkroom and Contact Sheets You will be introduced to Stills colour darkooms and become familiarised with the range of equipment you will be using. You will be taught how to set up your darkroom for printing, how the colour print processor works and how to print a contact sheet for viewing your negatives. Afternoon: Printing In the afternoon you will be expected to make a series of final C-Type prints. You will be shown techniques to improve your printing skills and produce the images you desire. This last session will allow you time to print with some one-to-one attention. We will discuss some printing techniques to help you get the most from your negatives. We will also have time at the end of the day to look back on all the work produced over the course and discuss it in relation to theory we learnt at the beginning. By the end of the course you will have: Learned more about colour theory and have a knowledge of contemporary artists working with colour photography Learned to process your own colour film Experimented with a variety of specialised darkroom printing techniques Printed contact sheets and a collection of colour photographs Feel confident in a colour darkroom using specialist equipment Courses are subject to minimum enrolment. Please register early, within five days of the start date, to reduce the likelihood of course cancellation. Please read our cancellation policy before booking. Students, anyone over the age of 65, and those in receipt of any form of benefits can claim the concessionary price, offering a 10% discount on the full course price. Valid proof of eligibility must be produced on the first day of the course. Please use the code CONCESSION when prompted at checkout.
From propaganda to advertising, posters are a ubiquitous, powerful vehicle to take a message to the masses. Over four weeks, learn how to approach poster design in a creative and practical way. Although some computer work will be introduced, it will only be used as another production tool, participants will be encouraged to experiment with analogue techniques such as collage and hand-generated type. You will learn about the history of poster design; learn to use aspects of Adobe InDesign, Illustrator and Photoshop; develop approaches to letterform and layout. The emphasis of this course is on the development of a set of posters from research and design through to output. Week 1: History History of Poster Design: Looking at significant and famous posters from around the globe and their impact on society. Practical activity: After a quick introduction to InDesign we will recreate one of these posters, studying the component parts and their relationships to one another. Homework: Think of a concept for your design. What is it for? Who is your target audience? Where and how will it be displayed? Select a favourite poster to bring in or discuss with the group in week 2. Week 2: Image We will begin by discussing participant posters they have brought in to share and look at positives and potential negatives within the designs. Image selection can be a key factor to the success of your poster campaign. We will think about the choices between photography and illustration looking at examples of how this is done successfully. Think about the different ways we can generate and use images. Practical activity: Consider what medium the image might be and how it can be created. Learn about flatbed/film scanner for potential use in image creation. Week 3: Fonts We will look at how typography impacts designs and the messages that it can convey by itself. Consider various approaches to how we can generate type. How typographic selections work alongside selected images. Practical activity: Work through a few typographic workshops thinking about how typographic choices will alter the message you are trying to convey. We will consider various ways and techniques of creating type for our poster. Homework: Developing your typographic solution further, if required. Work through variations of layout. Week 4: Output Continue working on our posters making final tweaks and selecting the poster that is our most successful design for output. We will look at the various formats for output and how we prepare our posters for print. Look at usage of different poster sizes – why use one over the other?? Practical activity: Size your final poster and get it ready for output (if working analogue, scan final poster and upscale). Courses are subject to minimum enrolment. Please register early, within five days of the start date, to reduce the likelihood of course cancellation. Please read our cancellation policy before booking. Students, anyone over the age of 65, and those in receipt of any form of benefits can claim the concessionary price, offering a 10% discount on the full course price. Valid proof of eligibility must be produced on the first day of the course. Please use the code CONCESSION when prompted at checkout.
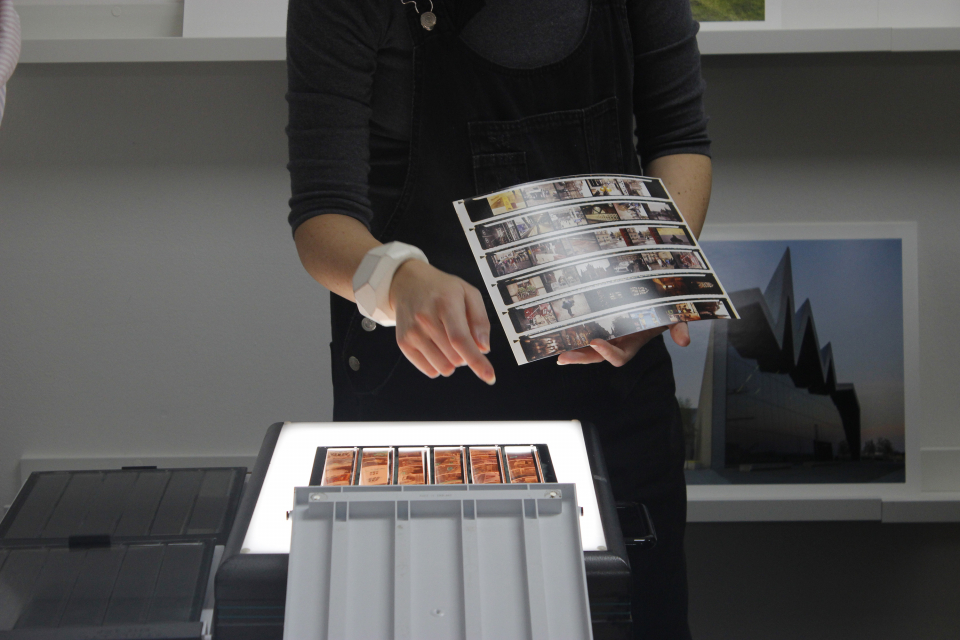
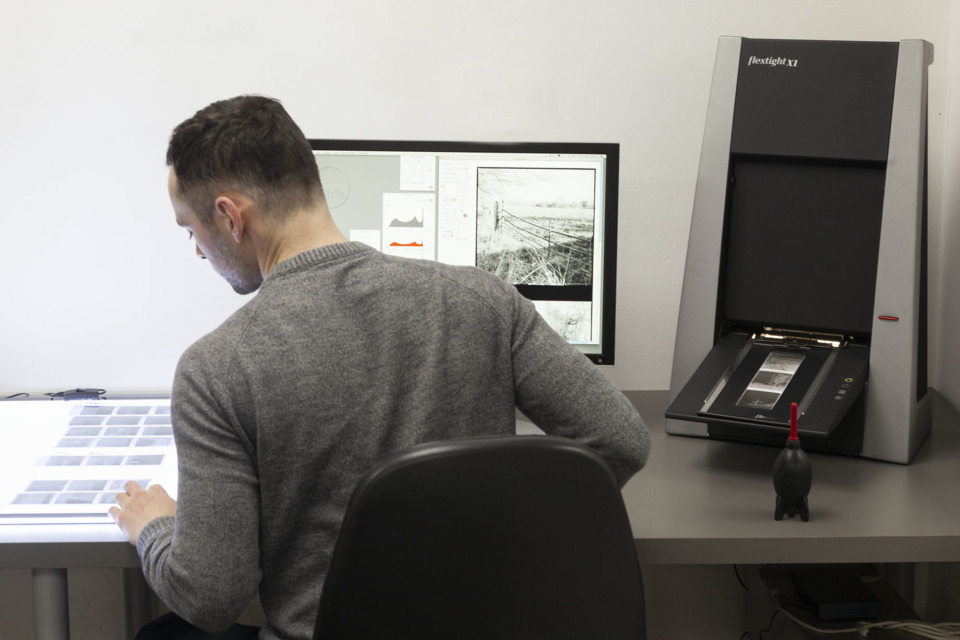
Do you have a growing mountain of negatives and/or prints and wish to have them as digital files? This course will equip you with the skills to digitally archive your collection ready for reprinting and sharing online! It can be intimidating to approach alone, but this class will break the process down into an easy step-by-step tutorial – from scanning, to editing, and exporting. Having completed the course, participants will have a solid understanding of the required processes and can go on to take full control of their negatives and potential outputs. This workshop will take you through the scanning process – turning analogue negatives/prints into digital files – using two different scanners: an Epson flatbed and a Hasselblad virtual drum scanner. Providing an opportunity to look at how best to scan and restore prints as well as negatives, you will learn the benefits of both scanning systems and understand when and why to use them. Once images are scanned, you will then be shown how to take full advantage of all the information you have captured to really get the most out of the files. The course will guide you through the editing process using Adobe Photoshop to bring your photos up to the highest standard, utilizing colour correction, levels, adjustments as well as a walkthrough of the processes used to clean dust and scratches from your images. You will be shown how to export files for digital printing as well as for sharing online. All equipment and software will be provided for you, but in order to get the most out of the course you are encouraged to bring along a varied selection of negatives and/or prints to use during the course. It is estimated that you will have time to scan up to a dozen images during the day, so please do not bring along whole archives at this stage! Having completed the course you will be able to return to Stills to confidently use the scanning facilities here on a session or daily basis. However, much of the information and learning from these systems can be directly applied to your own home scanning setup if required. Courses are subject to minimum enrolment. Please register early, within five days of the start date, to reduce the likelihood of course cancellation. Please read our cancellation policy before booking. Students, anyone over the age of 65, and those in receipt of any form of benefits can claim the concessionary price, offering a 10% discount on the full course price. Valid proof of eligibility must be produced on the first day of the course. Please use the code CONCESSION when prompted at checkout.
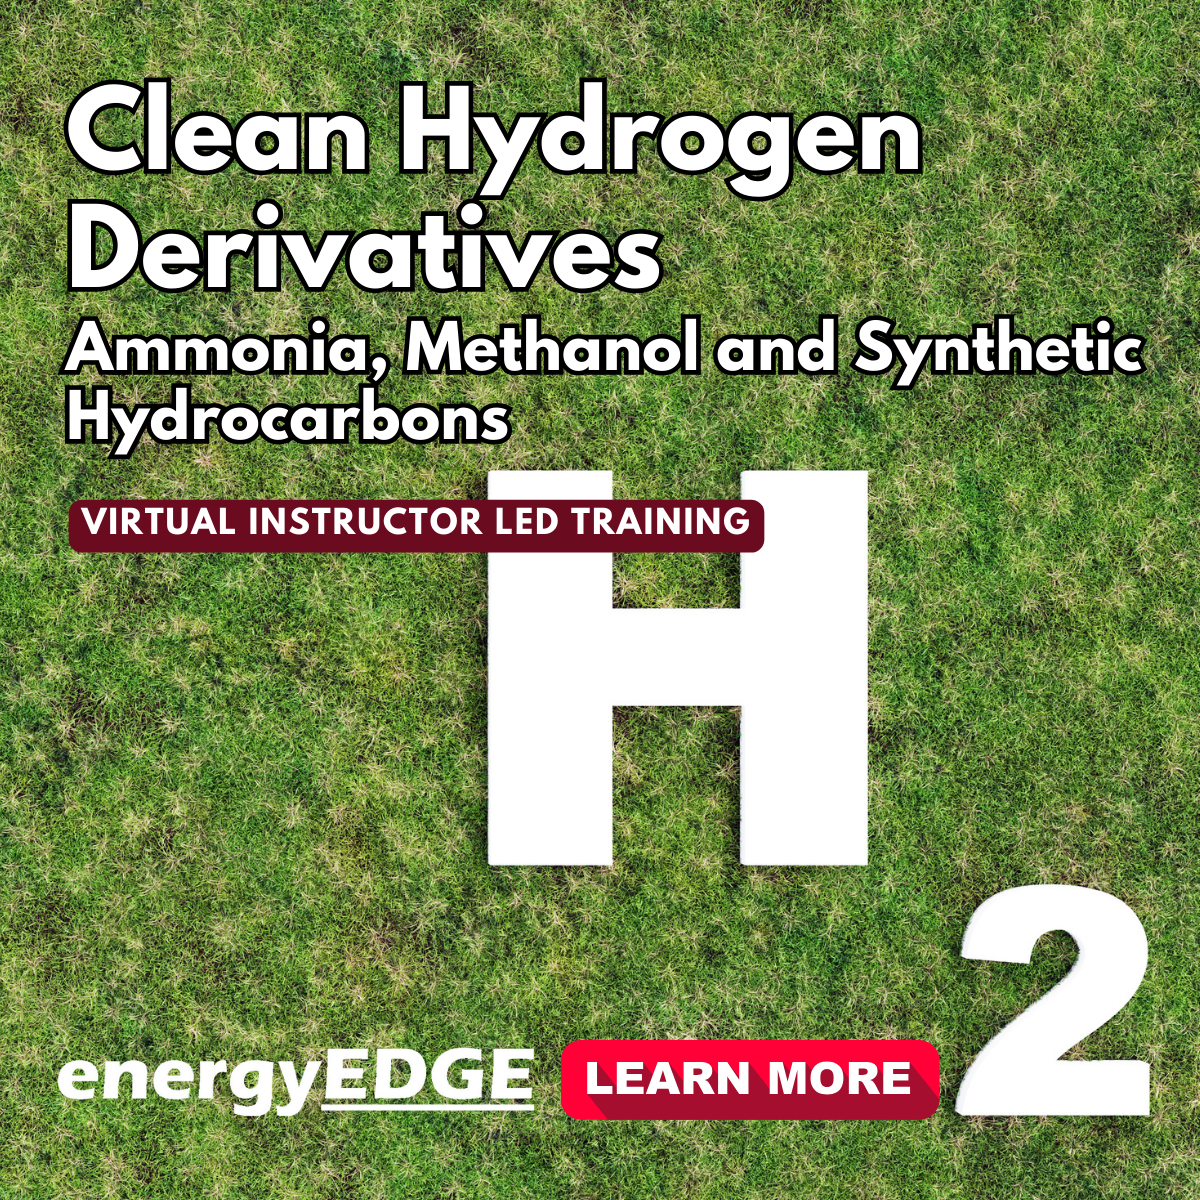
Clean Hydrogen Derivatives - Ammonia, Methanol and Synthetic Hydrocarbon - Virtual Instructor Led Training (VILT)
By EnergyEdge - Training for a Sustainable Energy Future
Elevate your expertise in clean hydrogen derivatives - ammonia, methanol, and synthetic hydrocarbon with EnergyEdge's course. Enroll now for virtual instructor-led training!
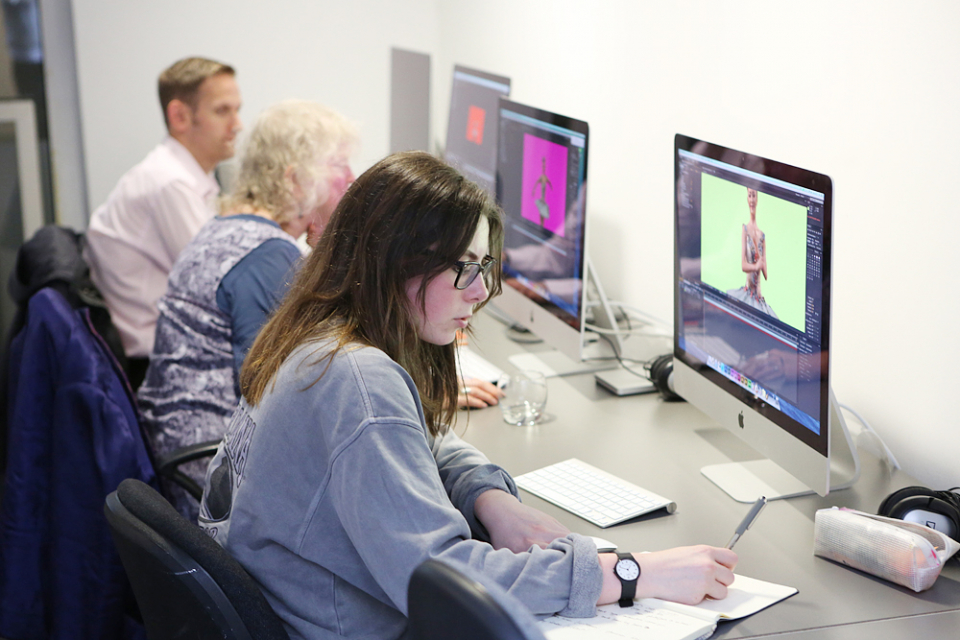
Adobe After Effects CC is the industry leader in video compositing software, offering an exciting and versatile array of applications for the creation of professional moving image work. On this course you will learn a range of visual effects and animation techniques, working between Photoshop and After Effects to create videos which explore text based motion graphics, character animation, green-screen compositing, 3D landscapes, motion tracking and lots more in-between. Alongside technical exercises the tutor will screen and discuss relevant artists, designers and filmmakers, providing both the technical skills and inspiration to create your own professional motion graphics work, filmic special effects or experimental artists video. Computer experience is required. Week 1 This week we will create a short video that combines text, still image and video layers. Through this exercise you will learn how to: Navigate the workspace on After Effects Set up a project and select a video format Introduce video to the timeline and split layers Change the position and scale of layers Introduce basic text Use selections in Photoshop to create a still image composition Import this composition into After Effects to create a composite video. Week 2 This week we will look at basic animation techniques. Through a series of exercises, you will learn how to: Use Photoshop to great multi-layered elements for animation Import these Photoshop elements into After Effects Work with key-frames and interpolation Add motion blur Duplicate and pre-compose animated elements Create a parallax effect to give the illusion of depth Apply blending modes Work with the puppet tool to create moving joints for an animated character Week 3 This week we will look at converting 2D photographs into a 3D virtual space to provide depth and movement. Through a series of exercises, you will learn how to: Convert a 2D image into a 3D space Set up a multi-layered diorama in Photoshop Import this into After Effects and position the layers within 3D space Create an animated camera move through 3D space Apply depth of field Week 4 This week we will look at working with green-screen compositing to place a live action figure within an animated backdrop. Through a series of exercises, you will learn how to: Work with the Keylight filter Adjust colour balance and tone Composite the figure against an animated background Introduce shadows and highlights Use the green-screen figure to create a silhouette Week 5 This week we will look at applying masks to footage to create cutouts, as well as exploring different applications for effects. Through a series of exercises, you will learn how to: Work with masks Use the Roto-mask tool Apply time re-mapping Work with ‘Particle Playground’ and similar effects Week 6 This week we will look at working with the paint panel to create animated drawings, as well as using motion tracking to attach a text element to a moving point within a video clip. Finally, we will cover how to output your final project, adding sound effects and applying a basic edit. Through a series of exercises, you will learn how to: Create text based motion graphics (kinetic typography) Apply motion tracking to live action footage Render your project Add sound to your video Courses are subject to minimum enrolment. Please register early, within five days of the start date, to reduce the likelihood of course cancellation. Please read our cancellation policy before booking. Students, anyone over the age of 65, and those in receipt of any form of benefits can claim the concessionary price, offering a 10% discount on the full course price. Valid proof of eligibility must be produced on the first day of the course. Please use the code CONCESSION when prompted at checkout.
End of Life Awareness
By Prima Cura Training
This course will help you to gain a better knowledge of the policy which underpins end of life care. It will help you to learn about the delivery of great end of life care and improve your communication skills to strengthen working relationships during this period. You will also feel you have a better understanding on how to support the friends and family of the person that you are caring for.

This 6 week course will support you to make the most of the range of applications Adobe Premiere Pro offers in the production of video. Sample footage will be provided for you throughout the course, but you can also bring along your own video files to work on. The course is quite technical so some computer experience is required. We use Macs on the course – the Premiere interface is the same across operating systems but some shortcuts and menu items are different. Week 1- The basics This week we’ll start with some of the basics, introducing you to editing and Premiere Pro through: A short history of editing; from analogue to digital Getting to know the layout of Premiere Pro Working with ‘bins’ (folders) and creating edit Sequences Making selects from the rushes and sound files by creating in and out points Introducing clips to the timeline and making a simple edit with music Understanding rendering for smooth, full quality playback Week 2- Editing narrative sequences This week we’ll get further stuck into editing by building narrative, focus on offline editing‚ better organisation of your projects and breaking down footage through: Re-linking lost or moved footage Video ingest – importing and organising clips Organising and breaking down rushes using annotated markers and sub-clips Basics of the effects and motion settings Using our skills to create a simple narrative sequence Editing a dialogue sequence Considering the best ways of exporting your film for online Learn Adobe Media Encoder for more efficient exporting Week 3- Video settings, effects & titles This week we will focus in on what makes up video from a technical standpoint. We will then look at how we can work with and alter these parameters for different uses in our films through: Transcoding – converting the footage into an editable file and understanding codecs and meta data Adjusting scale and positioning and using motion keyframes to create movement over time Adding titles and animating them Applying transitions and various stock video effects Layering tracks and using opacity and different layer blending effects Creating masks and using motion tracking Working with green-screen footage, creating mattes, mask filters and working with multiple layers Week 4- Audio & sound This week we’ll consider the importance of sound design and music for narrative and atmosphere in film and experimental video through: Learning how to enhance your film with sound and music Introducing audio and music to the timeline, cutting and leveling Laying down music and cutting the footage to fit Building sound design around an existing edit with sync-sound and SFX Common practice and different approaches for syncing external microphone audio and video Mastering the audio and making sure that it is all levelled Learning how to create subtitles for our films and different methods to export/embed them Week 5- Colour This week we’ll start looking at colour in our videos and what role that plays. We will look at the process of colour grading and changing the mood in our films through: Using Lumetri Colour, the colour-correcting function within Premiere Pro CC Matching the colour of different cameras to create a similar look Creating different “colour grades” to create different atmospheres Stylising our footage Understand the colour limitations of video files and the importance of exposure when filming Working with tracked masks to isolate certain areas within your image to colour correct Week 6- Putting it all together In our final week we will get the opportunity to experiment with all the skills we’ve learned to create an opening sequence for a tv series. This is also a great opportunity to revisit any topics from previous weeks. Courses are subject to minimum enrolment. Please register early, within five days of the start date, to reduce the likelihood of course cancellation. Please read our cancellation policy before booking. Students, anyone over the age of 65, and those in receipt of any form of benefits can claim the concessionary price, offering a 10% discount on the full course price. Valid proof of eligibility must be produced on the first day of the course. Please use the code CONCESSION when prompted at checkout.
Tutor: Joseph Wilson During this 4-week course, we will use conventional black and white analogue materials in conjunction with non-conventional techniques to create images that stradle ordinary photographic representation and alternative vision. We will deviate from standard darkroom production through the practical exploration of a range of techniques such as Sabattier printing, bas relief printing, cameraless photography, and various methods for pushing and pulling film. These otherworldly techniques – many of which have been the basis for contemporary digital manipulation tools – offer abundant possibility for alternative photographic vision, where emphasis is placed on the transformative potential of darkroom work. This course would be the perfect follow up from our Intro to B&W or Colour Darkroom courses. All materials including photographic film and paper will be provided during this course. However, participants are encouraged to bring along some of their own black and white negatives. Camera know-how and prior darkroom experience are required for this course. Course Outline Week 1: Pushing and Pulling Film We will begin by considering non-conventional ways in which we can rate and process our films, and the various effects of doing so. Presentation and discussion on the uses of these techniques by artists. Shooting 5×4 film at various ISO ratings Using adjustments in time, temperature, dilution, and agitation to Push & Pull the film. Week 2: Possibilities in Print This week we will create prints from our negatives using alternative techniques. Review results in negatives and make contact prints. Sabattier effect printing Multiple exposure printing Bas Relief Printing Week 3: Cameraless Photography We will explore the possibilities of directly exposing through objects and ‘resists’ onto photographic paper. We will cover: Photograms Chemigrams Week 4: Lith Printing An introduction to Lith printing and the possibilities it affords us. A presentation on the history and uses of Lith printing Lith Printing from our negatives Combining non-conventional printing techniques with lith. Courses are subject to minimum enrolment. Please register early, within five days of the start date, to reduce the likelihood of course cancellation. Please read our cancellation policy before booking. Students, anyone over the age of 65, and those in receipt of any form of benefits can claim the concessionary price, offering a 10% discount on the full course price. Valid proof of eligibility must be produced on the first day of the course. Please use the code CONCESSION when prompted at checkout. Stills uses ILFORD PHOTO chemicals on this course that can potentially pose a risk to pregnant and breast feeding women and asthmatics. We take every care to ensure good working practices and adequate ventilation in our darkrooms. If you feel you may be adversely affected, please visit the Health and Safety section of Ilford’s website for further information. General Guidance Notes for Pregnant and Breast Feeding Women and Asthmatics: From a risk assessment standpoint, provided all necessary control measures (such as good working practices, adequate ventilation, and the use of appropriate PPE) are in place then pregnant and breastfeeding women should be able to continue to work safely with photochemical products.Inhalation is the main route by which fumes and gases enter the body, making good ventilation a high priority. Exposure to irritant chemicals that would not affect most people may provoke an asthma attack in a person who already has asthma. For example, low levels of the gas sulphur dioxide can be produced by some ILFORD PHOTO processes. Most individuals would be unaffected but asthmatics may suffer adverse affects. ILFORD PHOTO products include no known human carcinogens, and no substances to which phrase R46 (May cause heritable genetic damage) or R64 (May cause harm to breastfed babies) applies. Most ILFORD PHOTO developers use hydroquinone, and their classification therefore includes R40 (Limited evidence of a carcinogenic effect) and R68 (Possible risk of irreversible effects). Some ILFORD PHOTO chemicals use boric acid or borates. These substances are classified as toxic for reproduction. As a result, the classification of some of the powder developers includes R60 (May impair fertility) and R61 (May cause harm to the unborn child).