- Professional Development
- Medicine & Nursing
- Arts & Crafts
- Health & Wellbeing
- Personal Development
4321 OV courses in Nottingham delivered Live Online
Gift Wrapping Class for teams
By Louise Lewis
Learn the Essentials of Gift Wrapping & have some fun with your team this festive season What’s included (and how it will help): Step by step tuition covering all the Essential Techniques of gift wrapping so they never need to grab a gift/bottle bag again Practical guidance on tying different styles of Ribbon Bow so they can confidently use them on any gift (and when it’s best to use each one) Learn Pro tips so you feel less overwhelmed & can gift wrap quickly at busy times Plus all materials are provided A class is a great opportunity for team building/bonding so that people get to know each other outside of a work setting and/or meet people in person. It’s an inclusive alternative to a Christmas party (boozy meals/discos aren’t for everyone) and everyone gets to take away a gift at the end of the class. Packages start from £597 for groups of up to 10 people. Dates & times can be booked to suit. Book a call below to discuss your requirements.

Emotional Intelligence for Business Professionals
By Nexus Human
Duration 1 Days 6 CPD hours This course is intended for Individuals taking this course are business professionals seeking to develop or increase their emotional intelligence. Overview Identify the components of emotional intelligence and recognize how emotional intelligence benefits organizations. Assess and develop your personal emotional intelligence competencies. Assess and develop your social emotional intelligence competencies. Practice emotional intelligence in common workplace scenarios. It was once believed that intelligence was the metric that would determine a person\'s success in the workplace. Intelligence matters because it contributes to your ability to do your job. But intelligence is not the best indicator of whether or not you\'ll succeed. Your ability to understand and manage your own emotions, and get along well with others, has at least as much impact on your performance and effectiveness as intelligence. In this course, you\'ll explore strategies to increase your awareness of your emotions, develop your ability to manage your emotions, and improve your social skills. Private classes on this topic are available. We can address your organization?s issues, time constraints, and save you money, too. Contact us to find out how. 1. Recognizing the Benefits of Emotional Intelligence Define Emotional Intelligence Recognize EQ\'s Impact on Work Experience 2. Increasing Your Personal Emotional Intelligence in the Workplace Develop Your Level of Self-Awareness Develop Your Self-Regulation Skills Develop Your Motivation 3. Increasing Your Social Emotional Intelligence in the Workplace Develop Your Empathy Develop Your Social Skills 4. Practicing Emotional Intelligence in the Workplace Practice Emotionally Intelligent Leadership Build an Emotionally Intelligent Team Manage Change Manage Conflict Coach for Performance

Managing Conflict
By Nexus Human
Duration 1 Days 6 CPD hours This course is intended for This course is intended for any business professional who encounters conflict in the workplace. Overview Recognize the impact of conflict in the workplace by identifying your personal reaction and developing a healthy attitude toward conflict. Analyze conflict by assessing the situation and identifying the source of the conflict. Utilize effective communication techniques to manage conflict in a proactive manner. Resolve conflict by evaluating approaches, and determining and implementing an action plan with the best solution. An organization improves its likelihood of success by effectively managing conflict. As a leader within your organization, you share in that responsibility. This course will help you cultivate the skills necessary to help manage conflict and ultimately to decrease the presence of conflict in the workplace. Private classes on this topic are available. We can address your organization?s issues, time constraints, and save you money, too. Contact us to find out how. 1. Recognizing the Impact of Conflict Identify Your Personal Reaction to Conflict Develop a Healthy Attitude Toward Conflict 2. Analyzing Conflict Assess the Situation Identify the Source of the Conflict 3. Dealing with Conflict Listen Actively Communicate Effectively Respond to Negative Tactics Avoid Conflict Escalation 4. Resolving Conflict Evaluate Approaches to Conflict Resolution Determine the Best Solution Implement an Action Plan Additional course details: Nexus Humans Managing Conflict (Second Edition) training program is a workshop that presents an invigorating mix of sessions, lessons, and masterclasses meticulously crafted to propel your learning expedition forward. This immersive bootcamp-style experience boasts interactive lectures, hands-on labs, and collaborative hackathons, all strategically designed to fortify fundamental concepts. Guided by seasoned coaches, each session offers priceless insights and practical skills crucial for honing your expertise. Whether you're stepping into the realm of professional skills or a seasoned professional, this comprehensive course ensures you're equipped with the knowledge and prowess necessary for success. While we feel this is the best course for the Managing Conflict (Second Edition) course and one of our Top 10 we encourage you to read the course outline to make sure it is the right content for you. Additionally, private sessions, closed classes or dedicated events are available both live online and at our training centres in Dublin and London, as well as at your offices anywhere in the UK, Ireland or across EMEA.
Organizational Communication
By Nexus Human
Duration 1 Days 6 CPD hours This course is intended for This course is intended for customer service professionals with any level of experience who want to expand their knowledge, improve their skill set, and increase the understanding of customer benefits. This course teaches basic communication terms and organization basics. Students will learn how to communicate effectively, motivate employees, overcome communication barriers, develop leadership habits, understand how communication flows within an organization, develop networks, and identify the roles that individuals fulfill in an organization. Course activities also cover applying technology to organizational communication, discussing innovation and change, examining how environmental context affects communication, and discussion how power and politics affect an organization. Students will also learn how to manage change, stress, conflict, and empower individuals. The manual is designed for quick scanning in the classroom and filled with interactive exercises that help ensure student success. Prerequisites This course is intended for customer service professionals with any level of experience who want to expand their knowledge, improve their skill set, and increase the understanding of customer benefits. 1. Communication basics Effective communication Organizational management Organization types and characteristics Communication flow 2. Leadership and motivation Communication and leadership Communication and motivation 3. Relational context and organizations Relational context Relationships and organizations 4. Technology in the workplace Workplace technology Impact of technology Technology guidelines 5. Context, stress, and managerial tools Environmental context Stress and communication 6. Innovation and change Aspects of innovation Aspects of change 7. Power, politics, and diversity Power and communication Diversity and communication Empowerment and communication Additional course details: Nexus Humans Organizational Communication training program is a workshop that presents an invigorating mix of sessions, lessons, and masterclasses meticulously crafted to propel your learning expedition forward. This immersive bootcamp-style experience boasts interactive lectures, hands-on labs, and collaborative hackathons, all strategically designed to fortify fundamental concepts. Guided by seasoned coaches, each session offers priceless insights and practical skills crucial for honing your expertise. Whether you're stepping into the realm of professional skills or a seasoned professional, this comprehensive course ensures you're equipped with the knowledge and prowess necessary for success. While we feel this is the best course for the Organizational Communication course and one of our Top 10 we encourage you to read the course outline to make sure it is the right content for you. Additionally, private sessions, closed classes or dedicated events are available both live online and at our training centres in Dublin and London, as well as at your offices anywhere in the UK, Ireland or across EMEA.
Revit Structure Training - 15 Hours - Basic to Intermediate
By FirstScale Revit Consultant and Training
The Revit Structure Training is for 15 hours, £525, and it will cover from Introduction to Intermediate in small classes with only 1 people per class.

BOHS P903 - Management and control of evaporative cooling and other high risk industrial systems
By Airborne Environmental Consultants Ltd
BOHS P903 - Management and control of evaporative cooling and other high risk industrial systems is there to provide background and an overview of the risk of Legionella infection and how it can be controlled in Evaporative Cooling and other high risk Industrial type systems. It is a requirement of this course that candidates have successfully completed P901 - Legionella- Management and Control of Building Hot and Cold Water Services. Where both P901 and P903 courses are run on subsequent days or as a combined course then this prerequisite is waived.

BOHS P904 - Management and control in leisure, display, therapy and other non-industrial systems
By Airborne Environmental Consultants Ltd
BOHS P904 - Management and control in leisure, display, therapy and other non-industrial systems is there to provide background and an overview of the risk of Legionella infection and how it can be controlled in leisure, display, therapy and other non-industrial water systems. It is a requirement of this course that candidates have successfully completed P901- Legionella- Management and Control of Building Hot and Cold Water Services [Syllabus GM.1]. Where both P901 and P904 courses are run on subsequent days or as a combined course then this pre-requirement is waived.

Revit Architecture Training for 15 hours - Live and Online
By FirstScale Revit Consultant and Training
Revit Architecture Training is for 15 hours £525, and the Revit classes are one-to-one which will improve your learning. Revit Architecture course is 100% practical and hands-on training.

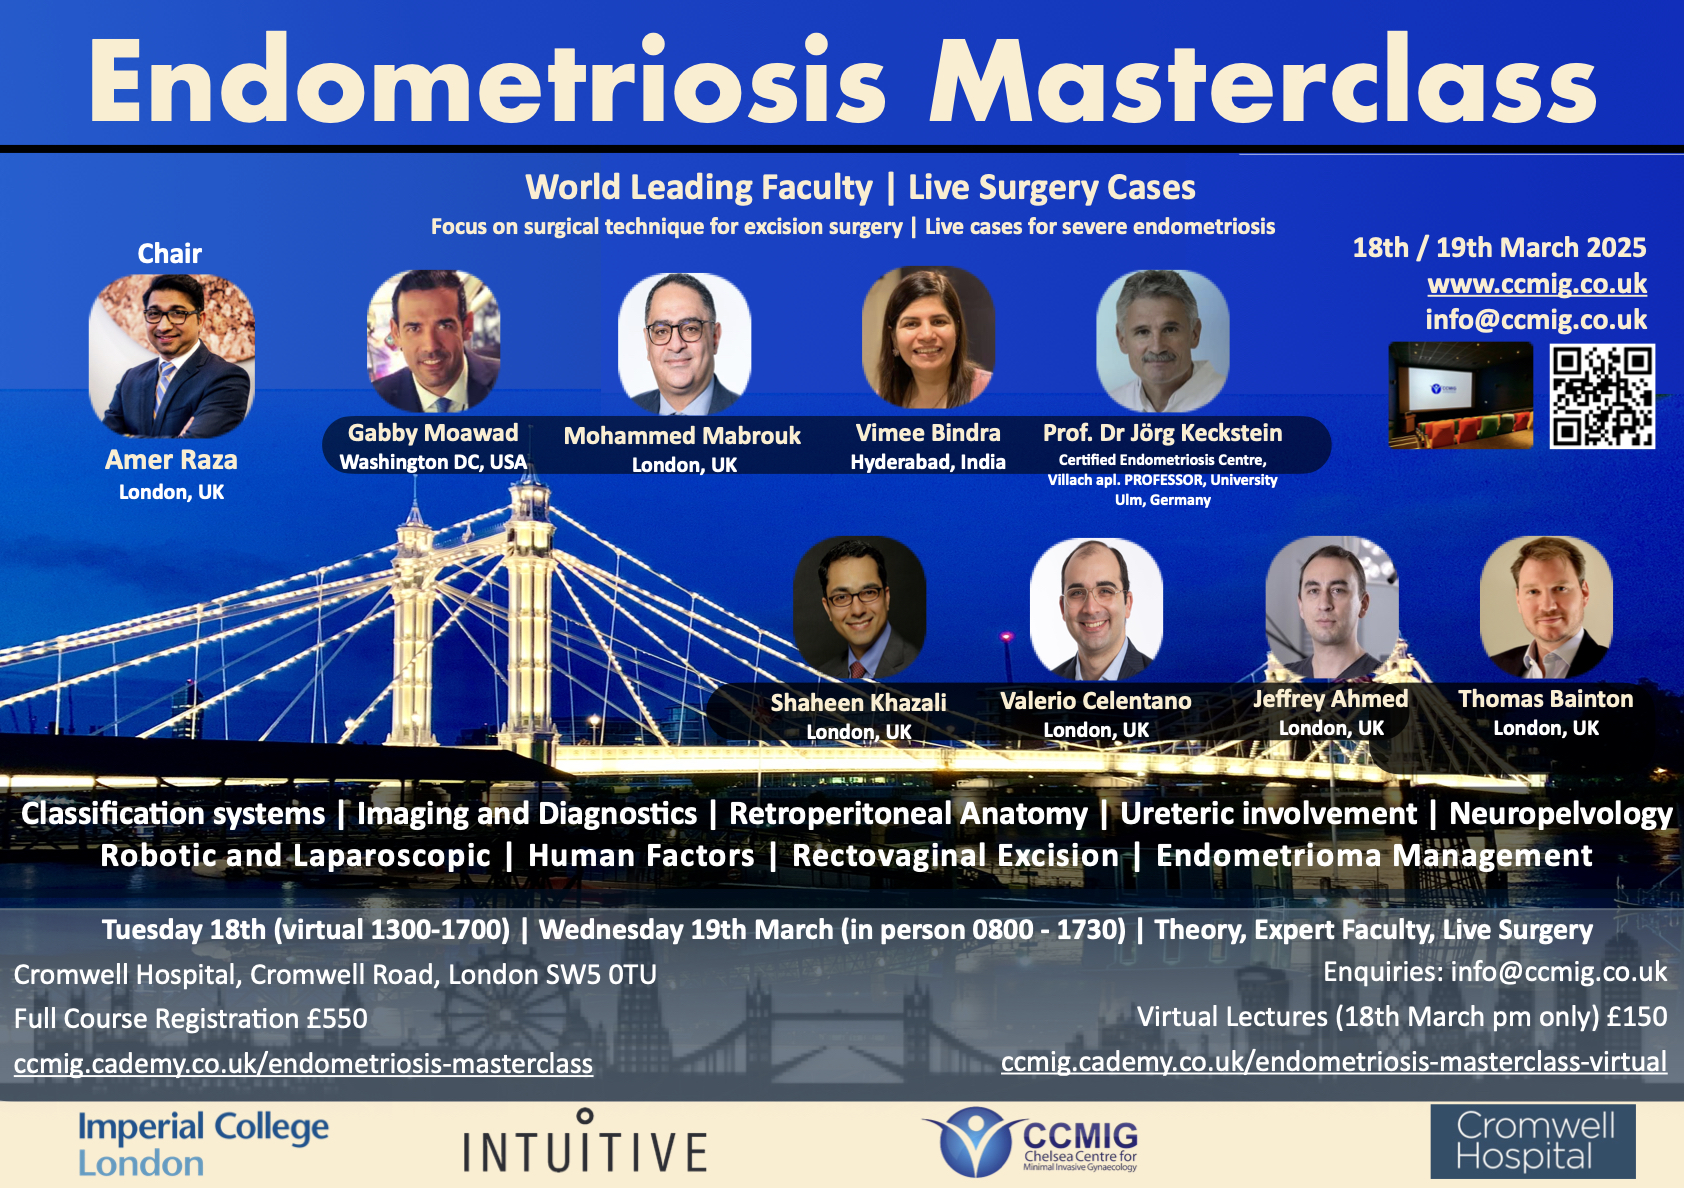
Endometriosis Masterclass
By CCMIG
Endometriosis masterclass. Two day practical theory and hands on course on all aspects of endometriosis management. Expert faculty and live surgical cases.
Vectorworks Spotlight Training Courses
By ATL Autocad Training London
Why Learn Vectorworks Spotlight Training Courses? VectorWorks Spotlight Course offers strong 2D drawing tools and lighting skills. while. Spotlight goes beyond fundamentals, offering solution for designing, modeling, and sharing entertainment projects. It's the industry standard for lighting, scenery, sets, corporate events, theater, and exhibits. Click here for more info: Website When can I book this course? 1-on-1 training. Duration: 16 hrs, Flexible scheduling (Mon to Sat, 9 am - 7 pm). Choose your own day and time. Training Course: Vectorworks Spotlight Duration: 16 hours Course Overview: I. Introduction to Vectorworks (1 hour) Overview of Vectorworks software and its diverse applications Familiarization with the user interface and navigation Customizing preferences and settings to optimize workflow II. 2D Drawing Tools (2 hours) Utilizing basic drawing tools for creating lines, rectangles, circles, and polygons Implementing text and dimension tools for annotations Applying modify tools for object editing and transformation Organizing elements using layers and classes III. 3D Modeling Tools (3 hours) Introduction to extrude, revolve, sweep, and loft tools for 3D modeling Creating 3D objects from 2D shapes for spatial representation Modifying and refining 3D models Exploration of the 3D modeling environment IV. Advanced 3D Modeling Tools (2 hours) Utilization of solid modeling tools for complex geometry creation Performing Boolean operations to combine or subtract shapes Creation and use of symbols for efficient workflow V. Introduction to Spotlight (1 hour) Overview of the Spotlight workspace and its features Adding and configuring lighting devices for stage and event design Creation and modification of lighting positions for precise placement VI. Spotlight Tools and Techniques (3 hours) Creation and editing of lighting instruments for customized setups Use of visualization tools for lighting simulations Creation and application of labels and legends for documentation Generation of worksheets and reports for lighting analysis VII. Advanced Spotlight Techniques (2 hours) Utilization of video and projection tools for multimedia presentations Incorporation of audio and sound systems for immersive experiences Understanding rigging and hoisting for stage setup Management of paperwork and documentation for effective planning VIII. Integration with Other Software (1 hour) Importing and exporting files for collaborative work with other software Utilizing Vectorworks in CAD and BIM workflows for seamless interoperability Exploration of plugins and add-ons for expanded functionality IX. Project-based Exercises (1 hour) Application of learned techniques to real-world scenarios Creation of a lighting plan for a concert or theater production Designing a 3D model of a building or interior space Free 30-day BIM & CAD Software Trial Request: Vectorworks After completing Vectorworks 2D | 3D and Spotlight Training Course? Vectorworks Proficiency: Master Vectorworks software, including interface and tools. 2D Drafting: Create precise technical drawings using fundamental 2D tools. 3D Modeling: Develop skills in 3D modeling, modification, and spatial representation. Spotlight Expertise: Learn stage and event design tools, focusing on lighting setups. Advanced Techniques: Explore complex 3D modeling and Spotlight features. Interdisciplinary Integration: Integrate Vectorworks with other software in CAD and BIM workflows. Project Application: Apply skills to real-world scenarios, creating plans and models. Job Opportunities: CAD Technician: Draft detailed plans for architecture and engineering firms. Stage Designer: Plan lighting, sound, and multimedia setups for events. Event Planner: Design event layouts with lighting and audio-visual setups. Architectural Drafter: Create accurate architectural plans and models. Interior Designer: Visualize interior spaces in 2D and 3D for clients. Lighting Designer: Specialize in various lighting applications, from buildings to stages. BIM Specialist: Work with architectural firms on Building Information Modeling projects. Freelance Designer: Offer services in 2D/3D modeling, event planning, or architectural visualization. What is Vectorworks Spotlight? Vectorworks Spotlight is a specialized package tailored for entertainment design professionals, offering both 2D and 3D capabilities. It is the industry-standard CAD software for entertainment design, ideal for lighting, scenery, sets, events, theater, and exhibits. Training Details: Duration: 16 hrs (flexible scheduling) Method: Personalized 1-on-1 training (In-person or Live Online over Zoom) Tailored content, adaptable pace, individual support Differences from Vectorworks Fundamentals: Vectorworks Fundamentals serves general modeling and drawing needs, while Spotlight provides comprehensive solutions for design, modeling, documentation, and collaborative project sharing, catering specifically to industry experts. Applications of Spotlight: Spotlights have diverse uses, including emergency situations and when a powerful light source surpassing a flashlight is required. Interior Designers and Vectorworks: Yes, interior designers use Vectorworks software, particularly Vectorworks Architect, for efficient workflow and effective realization of creative visions. Course Structure: Individualized Instruction (1-2-1) Customized Content Adaptable Learning Pace Flexible Scheduling: Monday to Saturday, 9 am to 7 pm Get Vectorworks: For more information and to download Vectorworks, visit Vectorworks Website. Individualized Training: Get personalized attention and tailored guidance during your training sessions. Flexible Timings: Select your preferred schedule and training days to fit your convenience. Post-Training Assistance: Access complimentary online support even after course completion. Comprehensive Resources: Receive detailed PDF notes and handouts for effective learning. Certification of Completion: Receive a recognition certificate upon successfully finishing the course. Affordable Pricing: Take advantage of budget-friendly training rates. Software Setup Support: Receive assistance in configuring the software on your device. Referral Benefits: Recommend a friend and enjoy discounts on upcoming courses. Group Training Offers: Benefit from special discounts for group training programs. Convenient Hours: Attend sessions from Monday to Sunday, with extended operating hours. Tailored Learning: Experience customized training designed to meet your specific requirements.