- Professional Development
- Medicine & Nursing
- Arts & Crafts
- Health & Wellbeing
- Personal Development
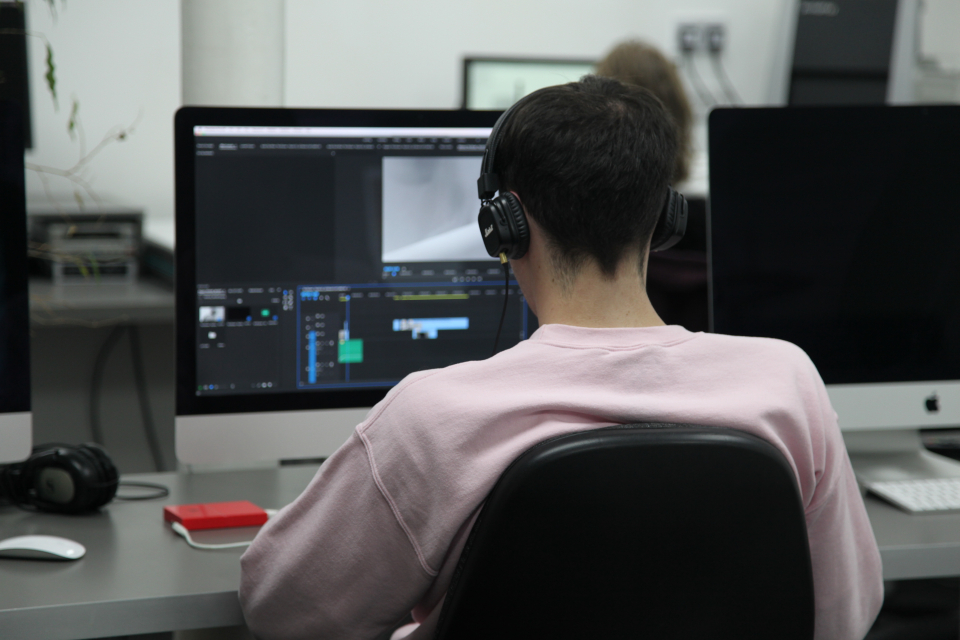
This 6 week course will support you to make the most of the range of applications Adobe Premiere Pro offers in the production of video. Sample footage will be provided for you throughout the course, but you can also bring along your own video files to work on. The course is quite technical so some computer experience is required. We use Macs on the course – the Premiere interface is the same across operating systems but some shortcuts and menu items are different. Week 1- The basics This week we’ll start with some of the basics, introducing you to editing and Premiere Pro through: A short history of editing; from analogue to digital Getting to know the layout of Premiere Pro Working with ‘bins’ (folders) and creating edit Sequences Making selects from the rushes and sound files by creating in and out points Introducing clips to the timeline and making a simple edit with music Understanding rendering for smooth, full quality playback Week 2- Editing narrative sequences This week we’ll get further stuck into editing by building narrative, focus on offline editing‚ better organisation of your projects and breaking down footage through: Re-linking lost or moved footage Video ingest – importing and organising clips Organising and breaking down rushes using annotated markers and sub-clips Basics of the effects and motion settings Using our skills to create a simple narrative sequence Editing a dialogue sequence Considering the best ways of exporting your film for online Learn Adobe Media Encoder for more efficient exporting Week 3- Video settings, effects & titles This week we will focus in on what makes up video from a technical standpoint. We will then look at how we can work with and alter these parameters for different uses in our films through: Transcoding – converting the footage into an editable file and understanding codecs and meta data Adjusting scale and positioning and using motion keyframes to create movement over time Adding titles and animating them Applying transitions and various stock video effects Layering tracks and using opacity and different layer blending effects Creating masks and using motion tracking Working with green-screen footage, creating mattes, mask filters and working with multiple layers Week 4- Audio & sound This week we’ll consider the importance of sound design and music for narrative and atmosphere in film and experimental video through: Learning how to enhance your film with sound and music Introducing audio and music to the timeline, cutting and leveling Laying down music and cutting the footage to fit Building sound design around an existing edit with sync-sound and SFX Common practice and different approaches for syncing external microphone audio and video Mastering the audio and making sure that it is all levelled Learning how to create subtitles for our films and different methods to export/embed them Week 5- Colour This week we’ll start looking at colour in our videos and what role that plays. We will look at the process of colour grading and changing the mood in our films through: Using Lumetri Colour, the colour-correcting function within Premiere Pro CC Matching the colour of different cameras to create a similar look Creating different “colour grades” to create different atmospheres Stylising our footage Understand the colour limitations of video files and the importance of exposure when filming Working with tracked masks to isolate certain areas within your image to colour correct Week 6- Putting it all together In our final week we will get the opportunity to experiment with all the skills we’ve learned to create an opening sequence for a tv series. This is also a great opportunity to revisit any topics from previous weeks. Courses are subject to minimum enrolment. Please register early, within five days of the start date, to reduce the likelihood of course cancellation. Please read our cancellation policy before booking. Students, anyone over the age of 65, and those in receipt of any form of benefits can claim the concessionary price, offering a 10% discount on the full course price. Valid proof of eligibility must be produced on the first day of the course. Please use the code CONCESSION when prompted at checkout.
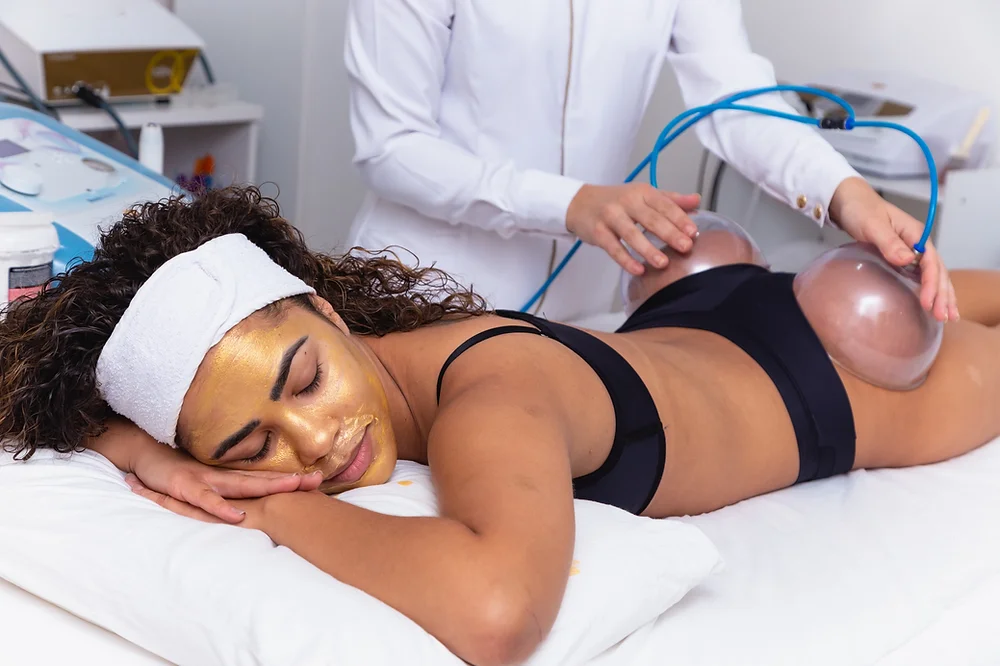
In person Brazilian BBL Non Surgical Buttock Enhancement
By KBH Training Academy
Brazilian BBL Non-Surgical Buttock Enhancement What is Non-Surgical BBl? A non-surgical Brazilian Bum Lift is a safe and non-invasive way to lift the sculpt the shape of your bum. Using our specialist equipment, focused heating causes the contraction of the fibres in your bum, resulting in an immediate tightening of your skin in this area. This Lipofirm technology used in our treatments brings increased smoothness and softness to the skin, in addition to the tightening and lifting that will help you to feel so much better about an area you may not be comfortable with. Course content: Health and safety Sterilisation and disinfecting The appearance of the therapist Ergonomics About Brazilian bum lift enhancement Electricity Skin laxity Epidermis & dermis Hypodermis Weight gain Subcutaneous fat White and brown adipocytes Cellulite Mechanical lymphatic drainage Electrical muscle stimulation Skin tightening - radiofrequency Fat reduction - radiofrequency Contra-actions Contra-indications Aftercare Treatment protocol for bum lift Training Kit(if purchased) Training Kit(if purchased) Machine 3x suction cups 150ml, 90ml,80ml How does the course work? The course is divided into 2 parts, the first part is theoretical which you have to complete before you come for your practical training, and the second one is a practical assignment. The practical assignment is done on the day which will be agreed upon course purchase. You will spend around 2-3 hours practising on a model in our venue in London E106RA. Will I require a model? Yes, usually 1 model is required Do I Need Experience Before Booking a Course? We’re pleased to offer courses to people with lots of different experiences. However, previous experience nor qualifications are not necessary if you would like to enrol on our Course. Certificate You will receive an end of course certificate which is accredited by the cpd group and allows you to work on public PAYMENT Payments are non refundable. By paying for the course you agree to our terms and conditions.
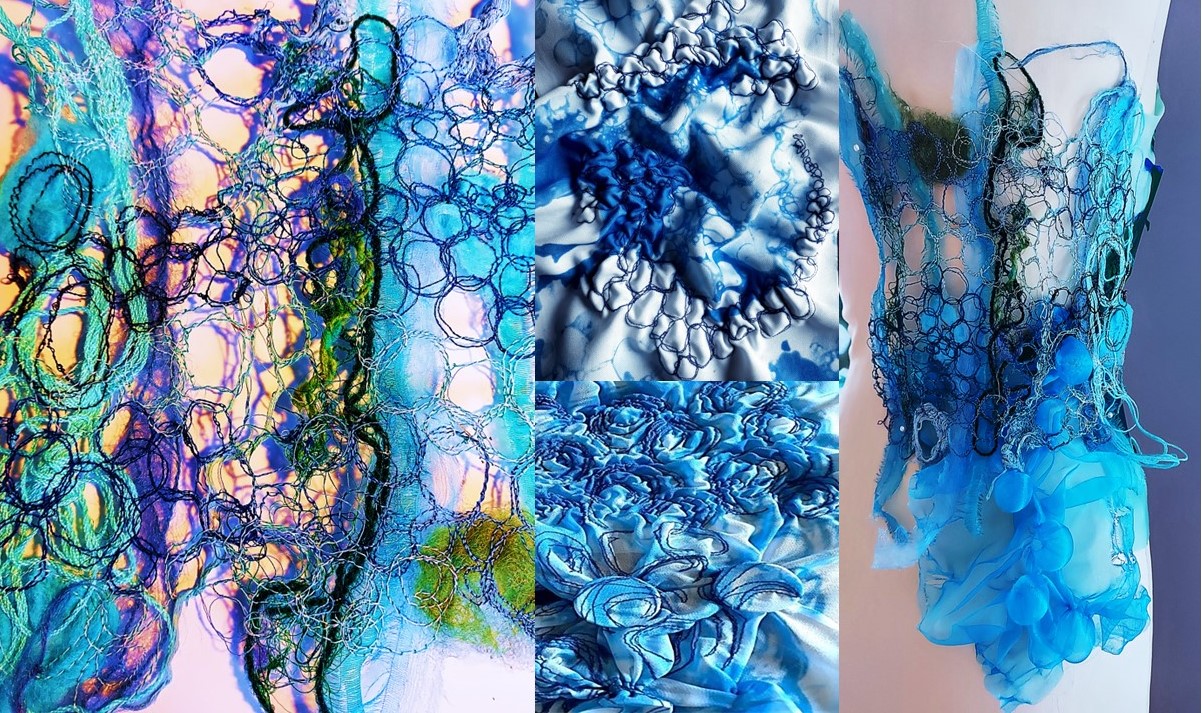
Applique and free motion stitching - quilting workshop
By cheekyhandmades
Learn to applique, learn what tools and tricks you need to really make this work for you. Also get to grips with the really free and artistic free motion machine embroidery technique. Set your machine free to draw with it, combined with applique you can make stunning art! This is a very practical and hands on class which will see you appliqueing & free motion stitching in no time, the techniques are easily mastered so you can spend your time creating. Part of a 4 day quilting course, but suitable as a stand alone course too.
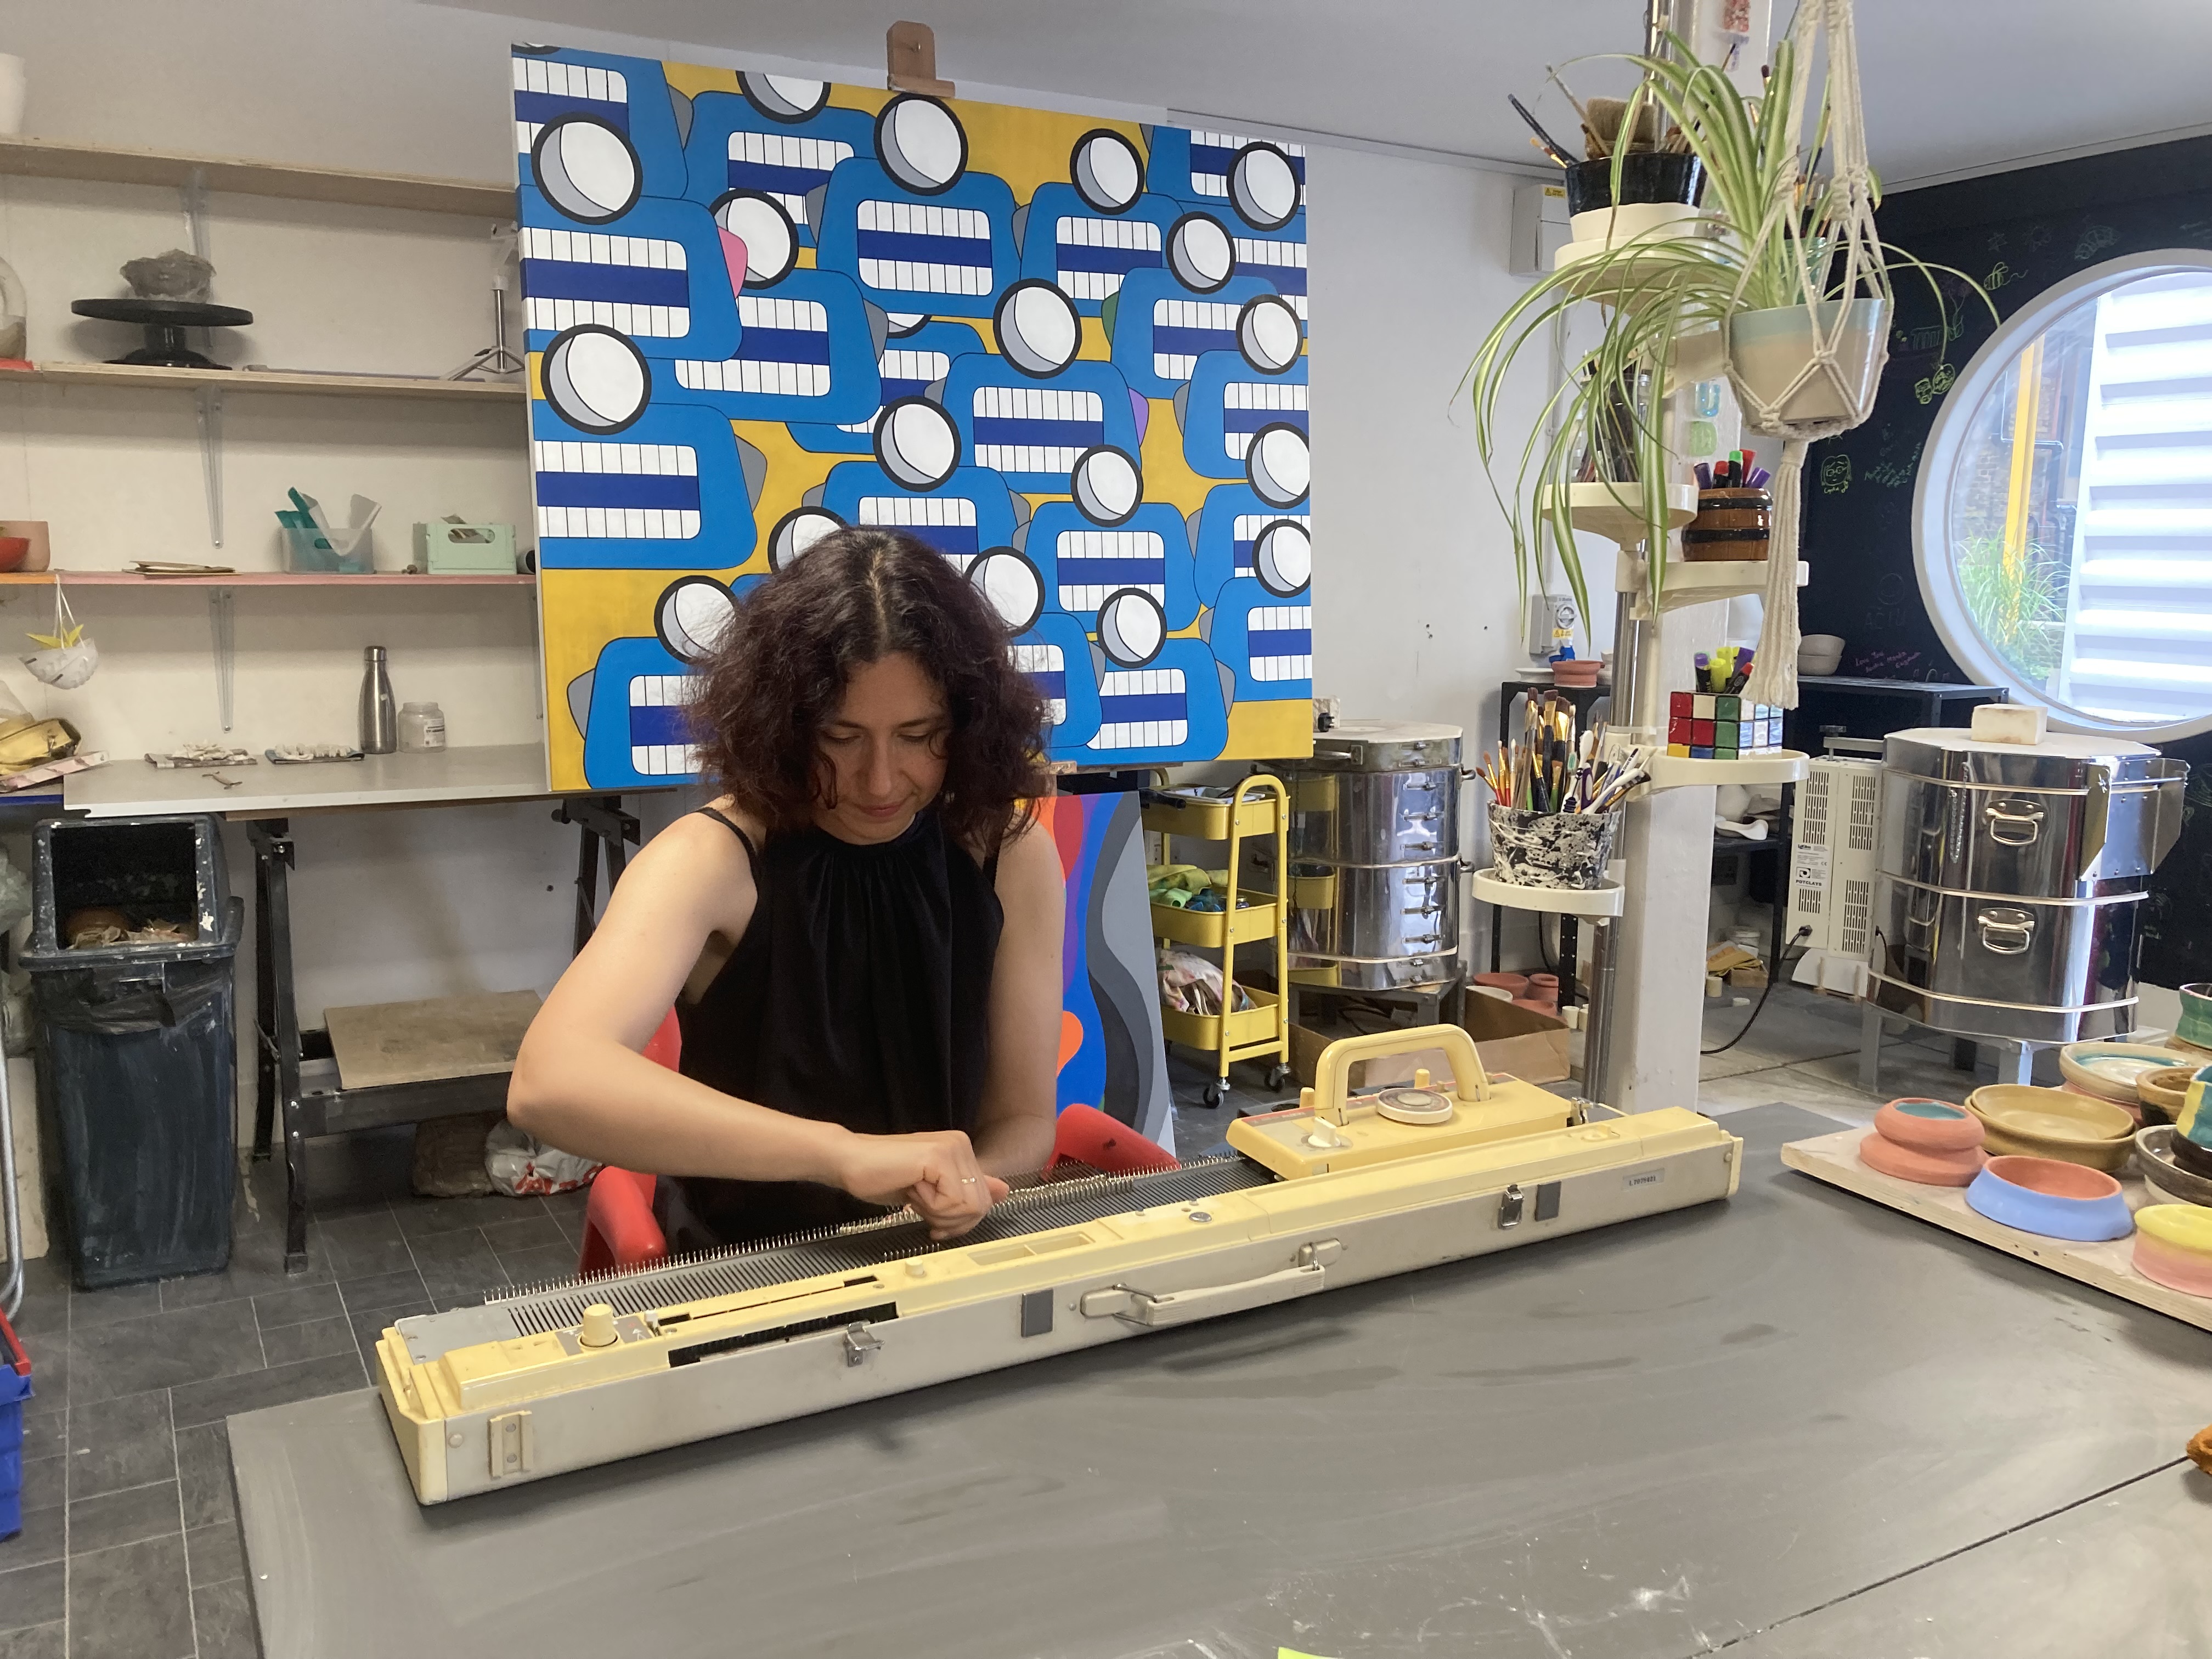
Professional knitting on a vintage machine - Private Workshop
By Art Craft Studios
In this private workshop, you'll learn the basics of knitting using a vintage knitting machine to create wearable textiles. 🧶What is machine knitting & who invented it? The knitting machine was invented by Englishman William Lee in 1589 to make stockings. it's a very small manual machine that enables the maker to create fine, fast knitting. Machine knitting was one of the first major stages in the textile industry that led to the Industrial Revolution. It’s still in use today but unfortunately, it’s become a forgotten craft! So we’re here to bring it back! During this creative and therapeutic class your teacher Valeria will guide you through designing and making your own knitted artwork. You'll learn how to use the vintage knitting ‘machine’ and listen to the wonderful sound it produces as the needles move. The process of machine knitting enables you to have full control over your design. Many people find machine knitting therapeutic and relaxing as you can watch and listen to your artwork come to life. Not only that the results look like those of an expert (even for absolute beginners). 🧶What can you make? It’s smooth, quick performance is perfect for making a range of knits – from home accessories to stylish garments - knit long trendy scarves, and quirky tote bags in under 3 hours… Smaller items only take minutes to do. Valeria will work with you to design and make what you want. All materials and tools are included and your artwork is yours to take home and wear with pride. 🧶Why use a knitting Machine over hand-held? Unlike hand knitting, the beauty of using a domestic knitting machine is that you can knit fast and use much finer yarns to create wearable textiles with a professional artistic finish. There will be far fewer mistakes making it less stressful & it’s super fast. Your teacher Valeria is an experienced designer/maker with a passion for knitwear. She has worked in a high-end knitwear design studio and as a fashion buyer and now she makes kids and adult knitwear @maluk_knitwear (maluk meaning little one in Ukrainian). She is also a freelance textile designer. 🧶So what are you waiting for - come and enjoy this forgotten craft with us. Please note: This booking is a private 1:1 workshop. If you would like to bring a friend free of charge you can. You will split the cost, and share the experience plus time on the vintage knitting machine.
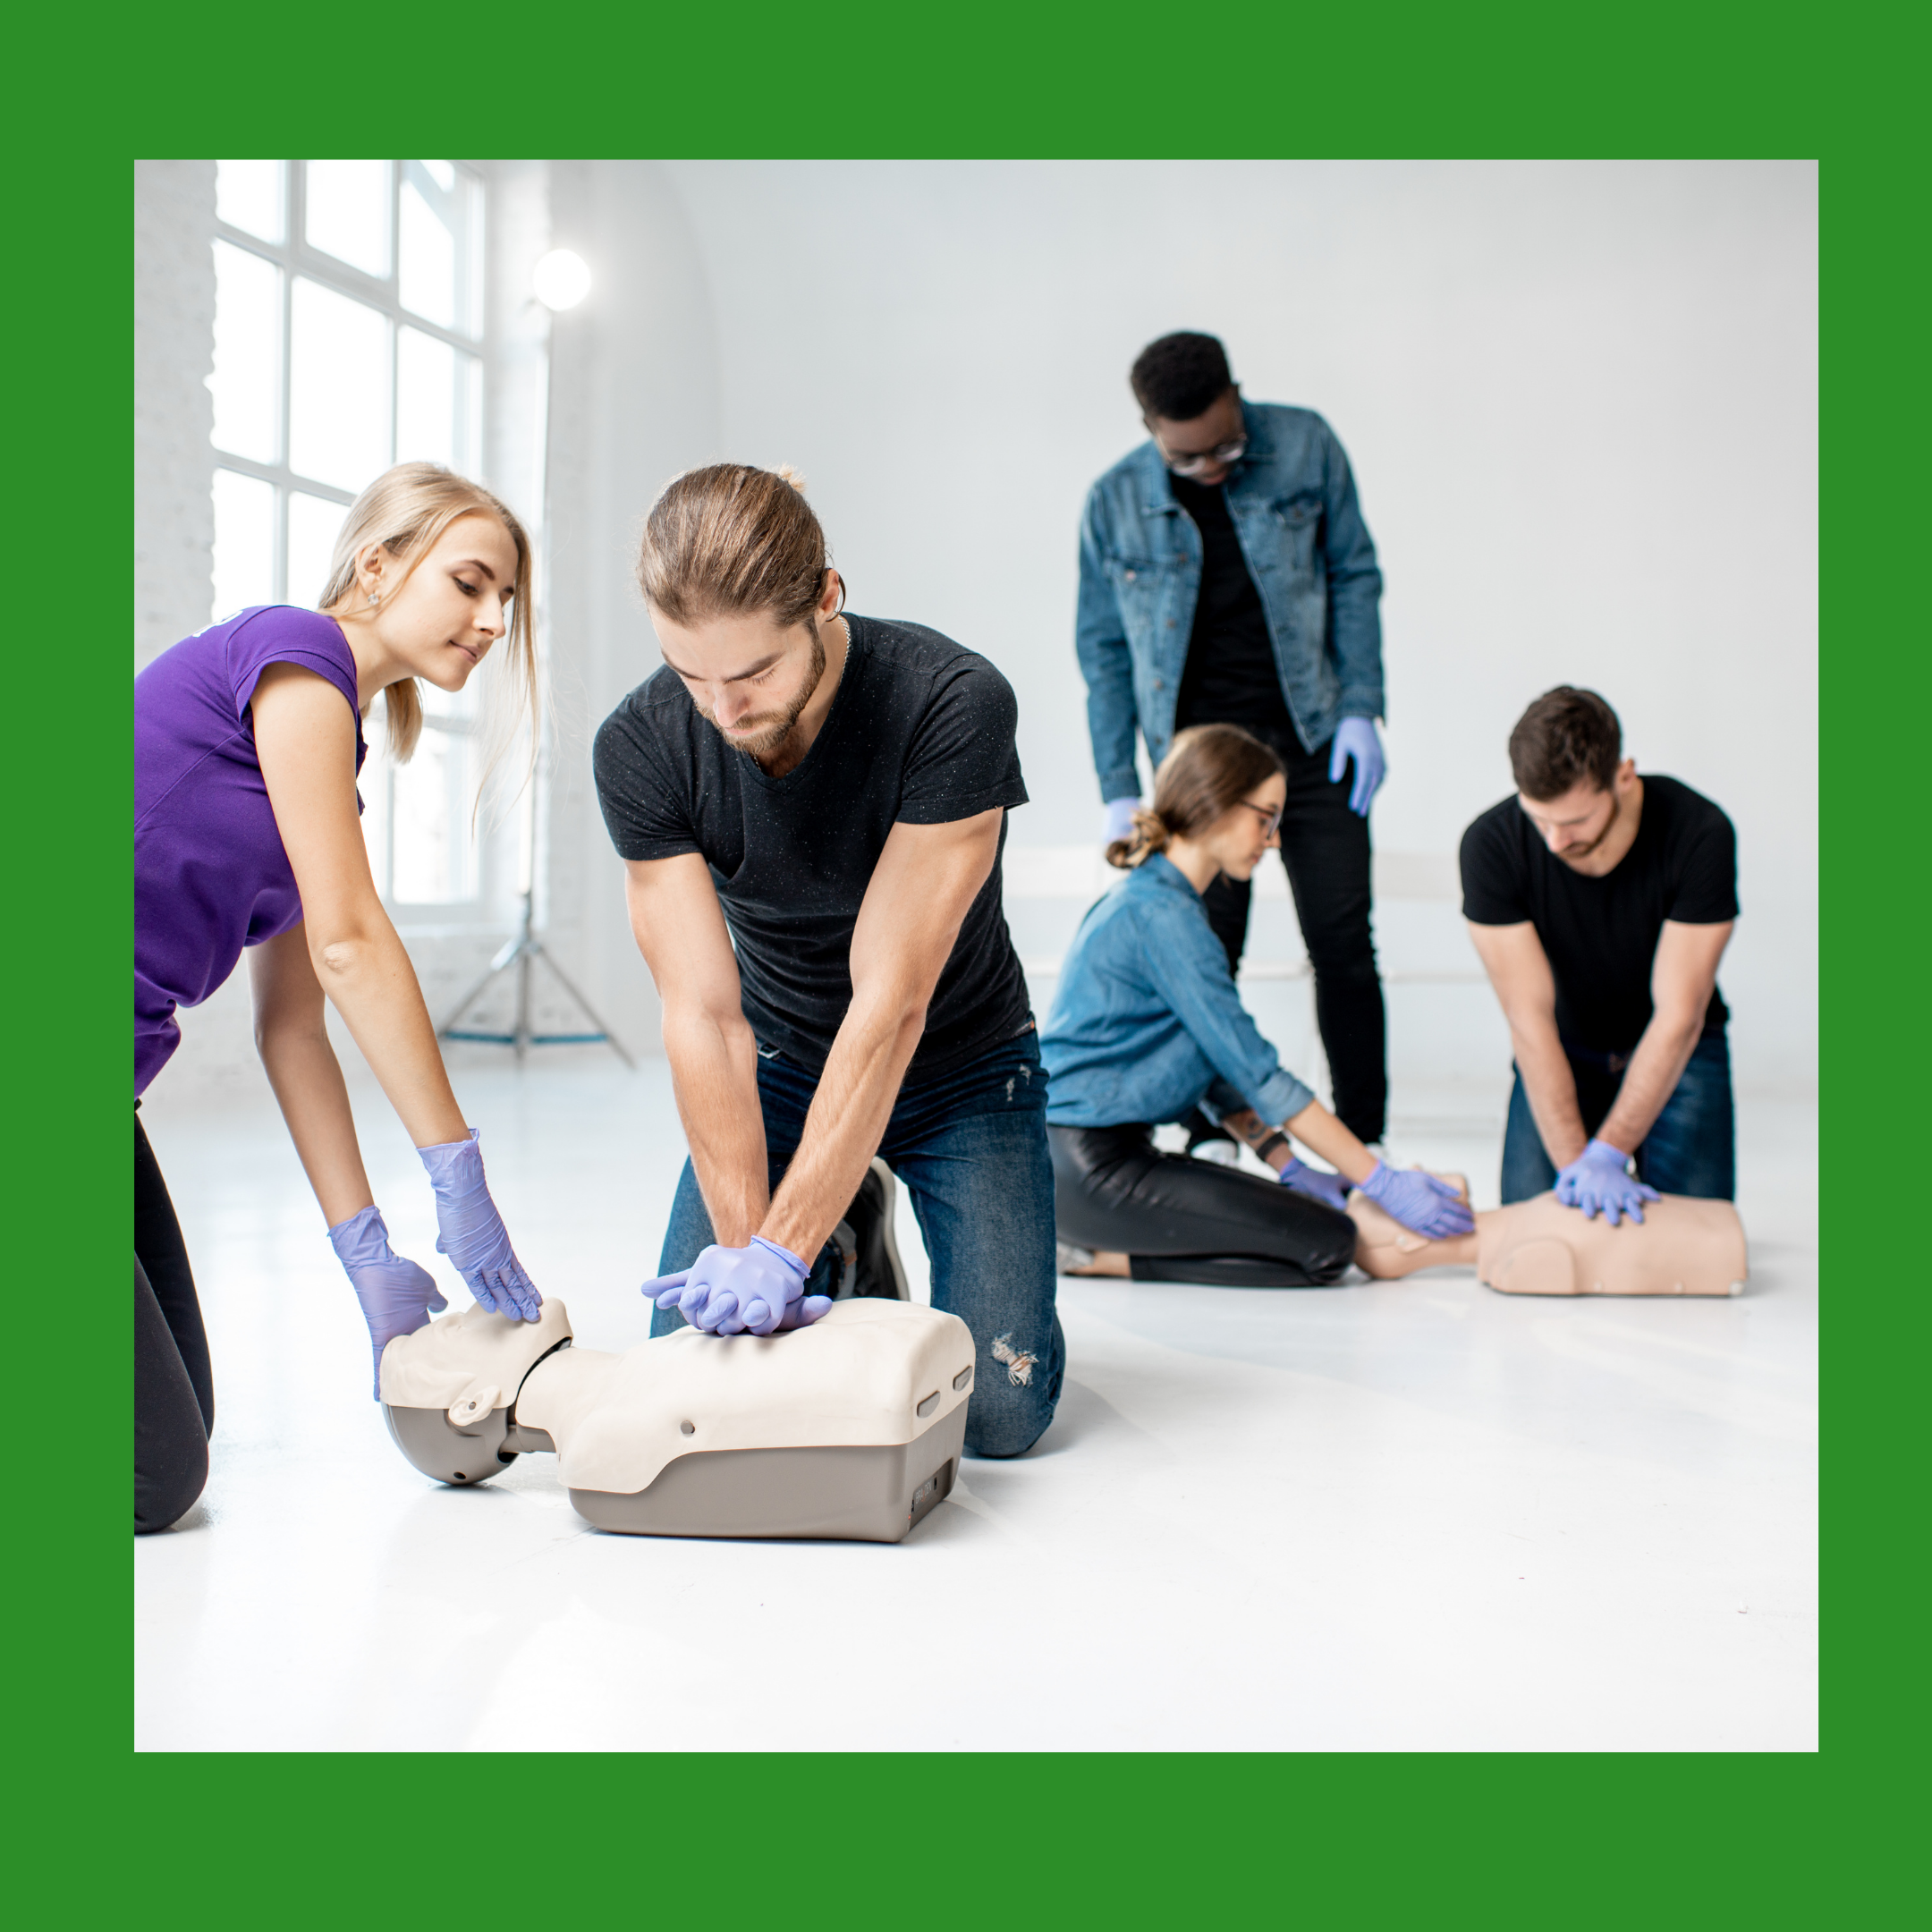
The qualification is aimed at learners already working or preparing to work in industry that is identified within the company's risk assessment of First Aid. The qualification has a recommended course duration of 2 days; however the course duration may be increased to meet additional learning needs if required but not reduced.
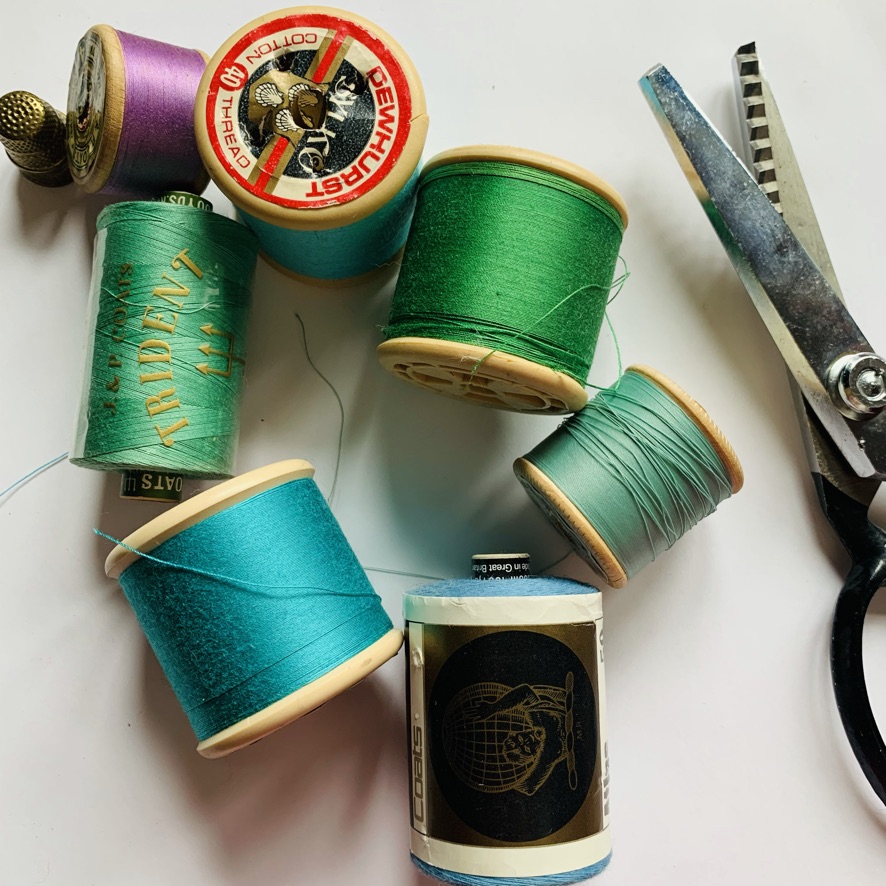
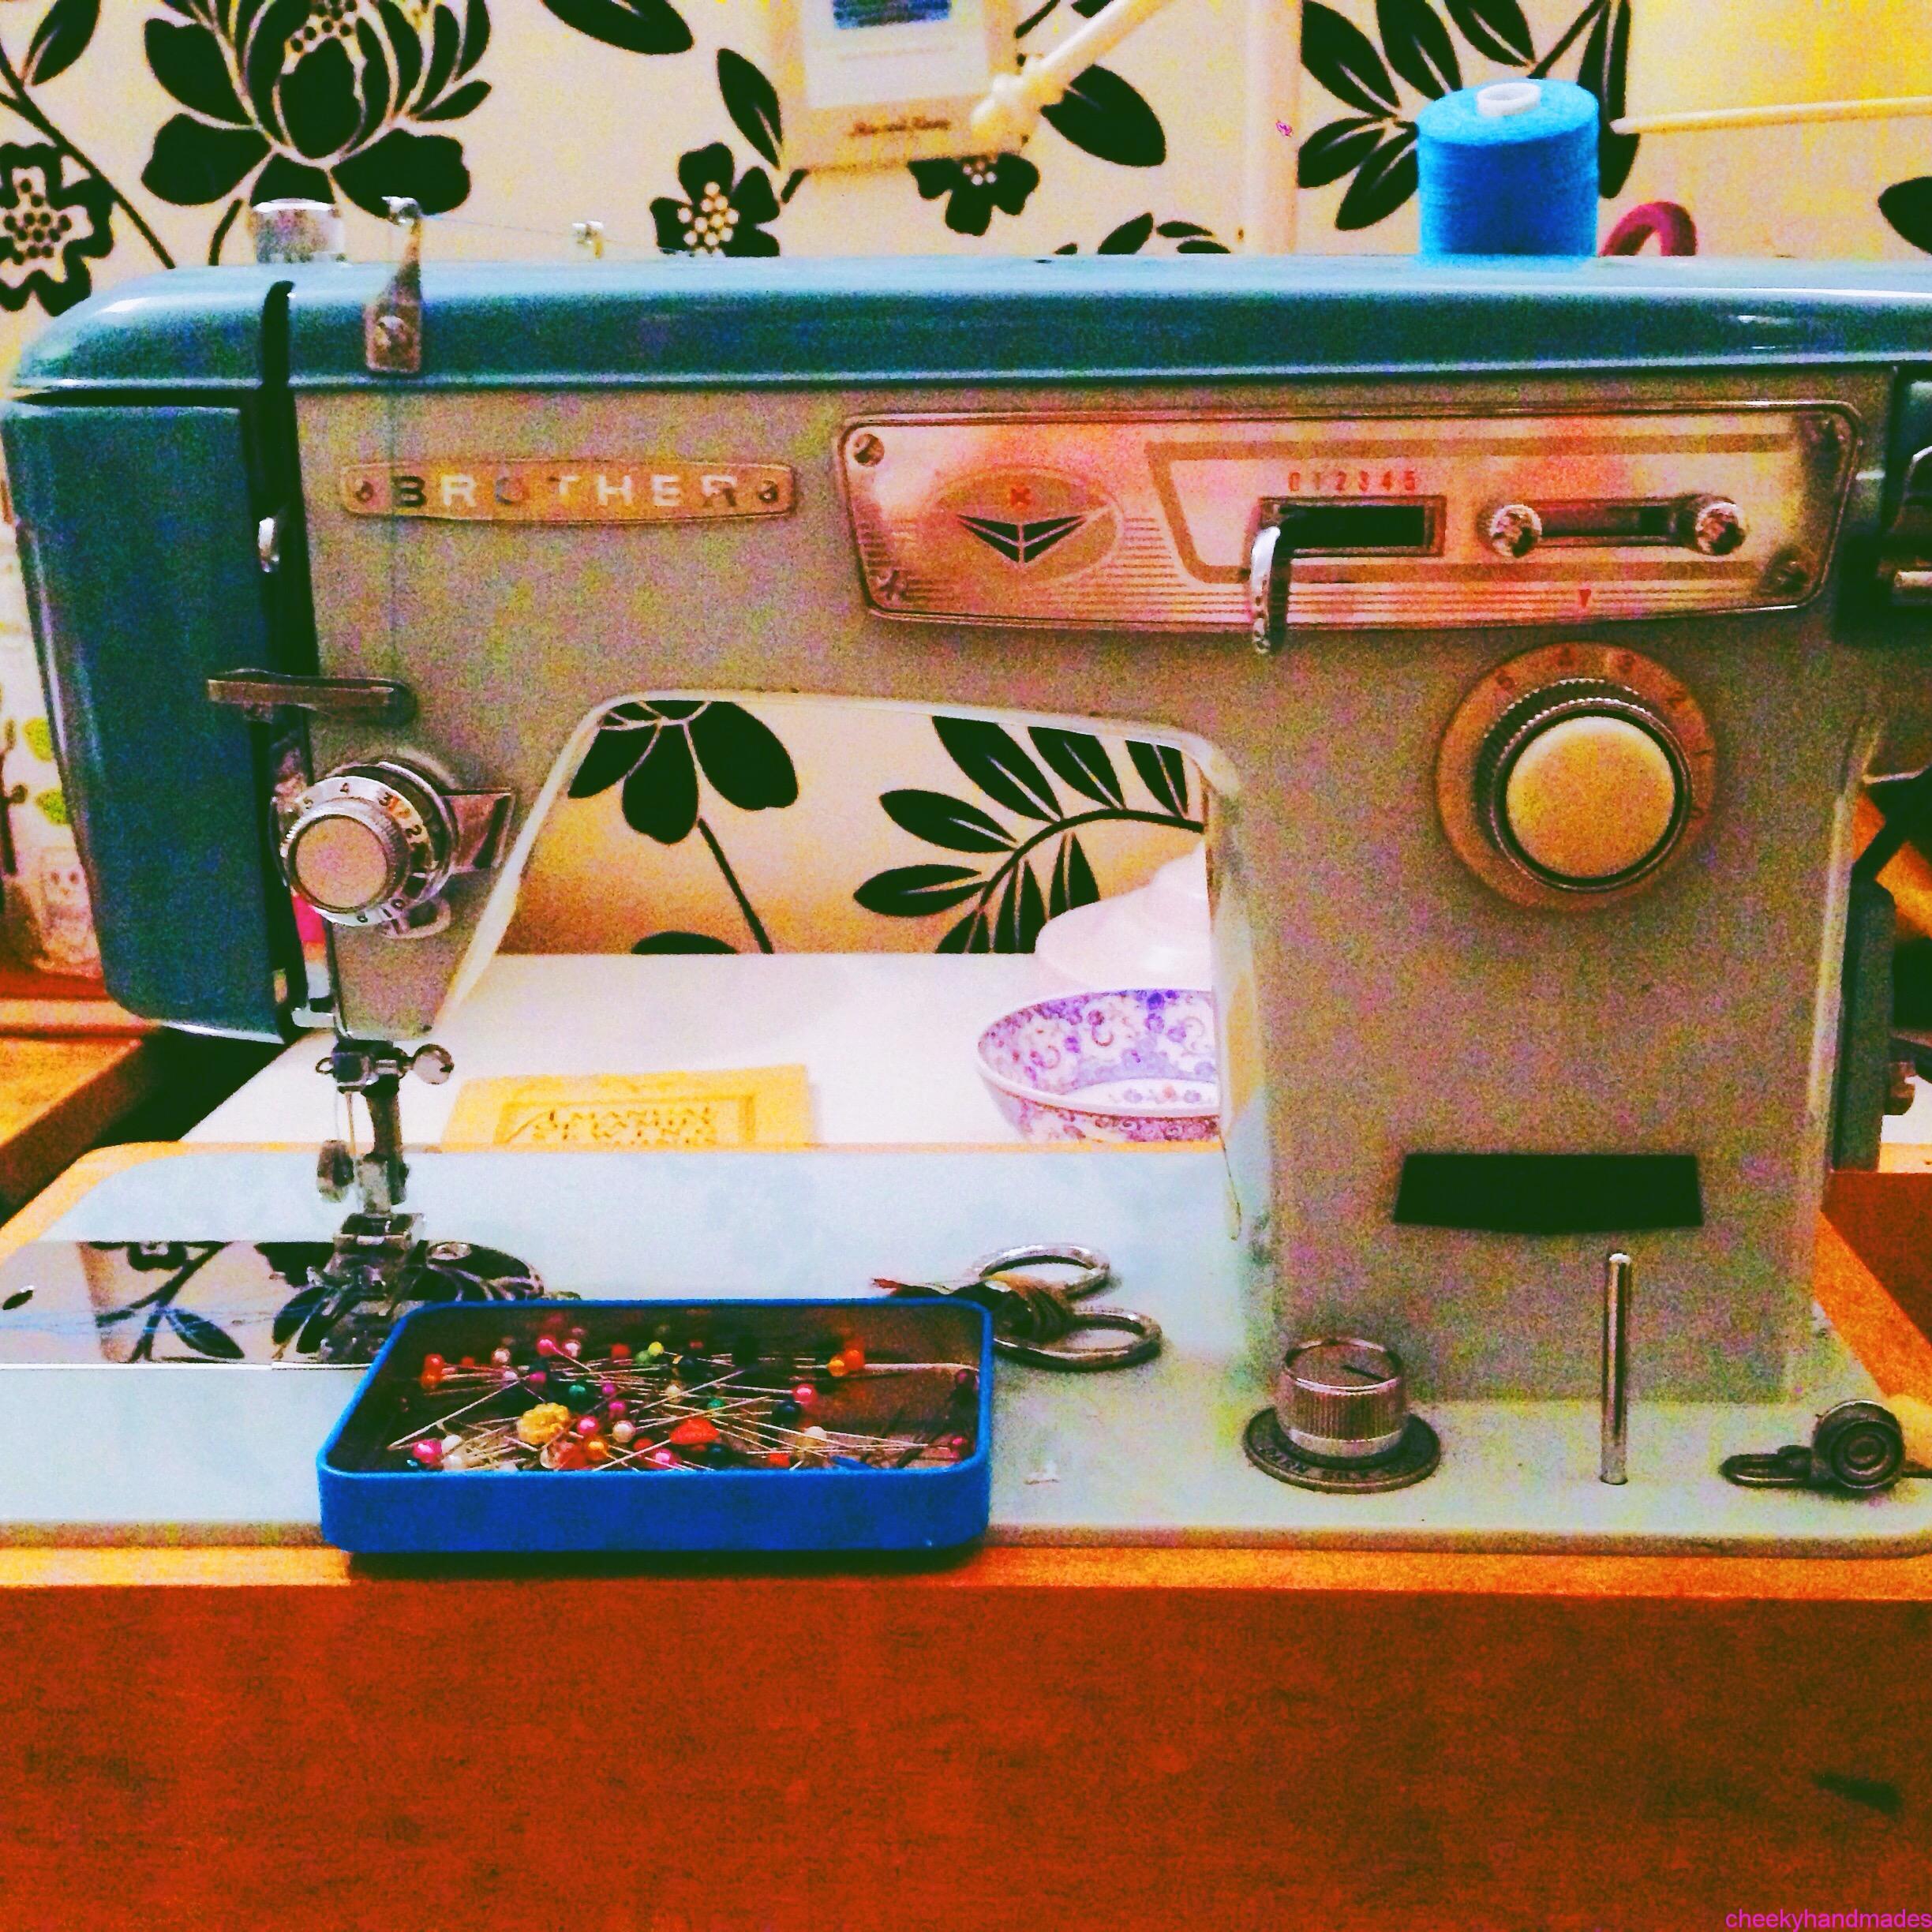
Sewing machine repair event
By cheekyhandmades
Bring your poorly sewing machine for some TLC. In this session as part of London Repair week, I will show you how to look after your machine, common issues and how to fix them, and guaranteed you'll go home with a better understanding of how to keep your machine purring. I will talk for an hour and then there's a Q&A/ fixing session for an hour and you'll get to home with a fact sheet and some excellent quality needles (these fix 99% of all issues!). If your machine needs more fixing than can be provided during this session you can leave her, and I will fix her for the discounted rate of £30, effectively taking your ticket price off the repair cost.
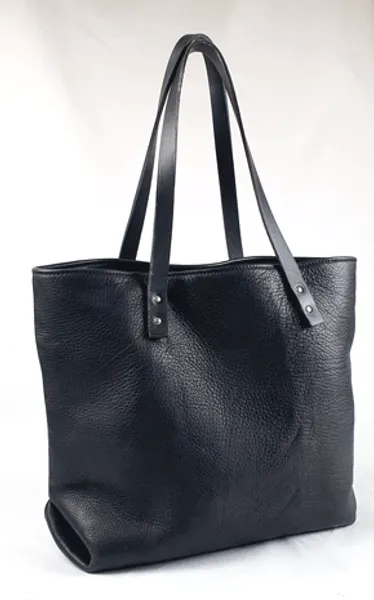
This course is ideal for all, from beginners to confident makers. You will learn the basics of leather craft for accessories and be introduced to techniques including machine stitching on leather, hand finishing and hand cutting. You will also be working with the full spectrum of leather types from soft leathers and suedes to a hard sturdy veg tanned leather. This is a perfect introductory course to start your journey into leatherwork and bag making as you will experience the wide variety of tasks involved in the work. In order to complete your bag in a day we will use part pre-prepared components and the bag will be made from a ‘Hands of Tym’ pattern but do not fear there is still plenty of work for you to do. During the day you will be directed by your tutor Leathersmith and London College of Fashion Lecturer Georgie Tym to make: A fully lined 'Turned seam' 'W Base' Medium Leather Tote bag with raw edge straps. There will be one small pocket inside attached to the lining The dimensions of the Tote Bag are 300mm x 320mm x 160mm. It will be the same construction as the bag in the photos - please contact for more info or view online Parking available on the drive with easy access via the M40. Banbury train station is a 30 min walk. Trains run from both London Marylebone and Birmingham to Banbury in 50mins. Also well connected to Reading, Oxford, Leamington Spa to name a few. Maximum class size is 4 What's included in the price? There are no additional costs. All leather, hardware and other materials will be included. There will be a selection of leather and hardware colours for you to choose from. There will be lunch served at midday and tea/ coffee breaks throughout. Cancellation policy Easy - Cancellation and a full refund can be obtained up to 2 weeks before the course starts About Georgie at Hands of Tym During training at Cordwainers, London College of Fashion in 2010 I learnt how to design, make and manufacture bags professionally. Following a varied career in Accessories design and development across many roles and international brands I set up Hands of Tym in 2016. The courses I offer are suitable for all, from experienced to total novice. Come along to learn something new, and design and make your own leather bag in a day.
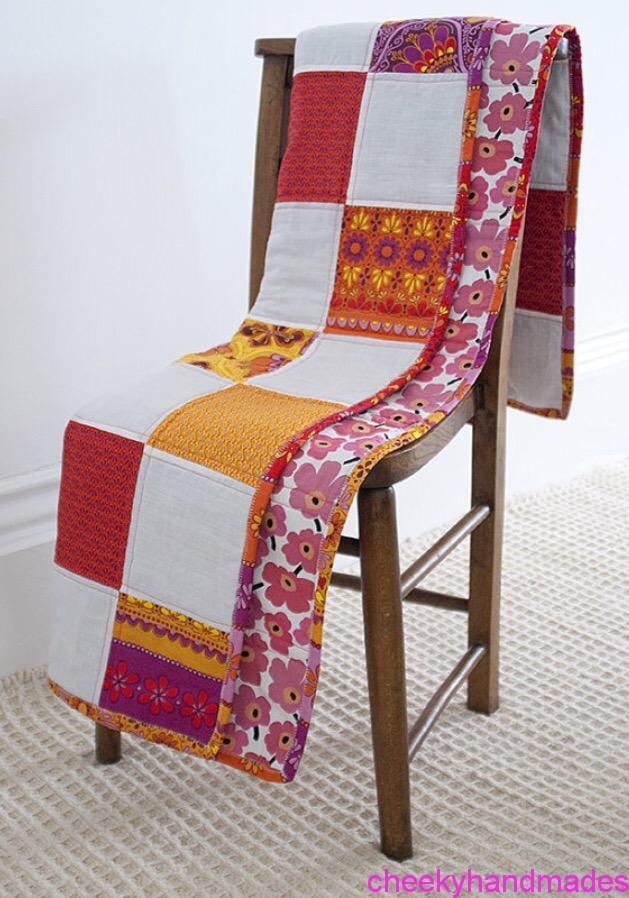
Learn to make a patchwork quilt
By cheekyhandmades
Learn how to measure, cut and stitch accurate patchwork quilt blocks in this one day workshop. Part of a 4 day quilt course, but suitable as a stand alone class too. This class is a great class to take after the beginners class as the sewing will be mostly straight lines and it will allow you to practice more seams and other skills learned in the beginners class. You will need to know how to handle a sewing machine for this class but it's very much still a class that's achievable for beginners. You will cover design, measuring, cutting, the use of various tools, and stitching.