- Professional Development
- Medicine & Nursing
- Arts & Crafts
- Health & Wellbeing
- Personal Development
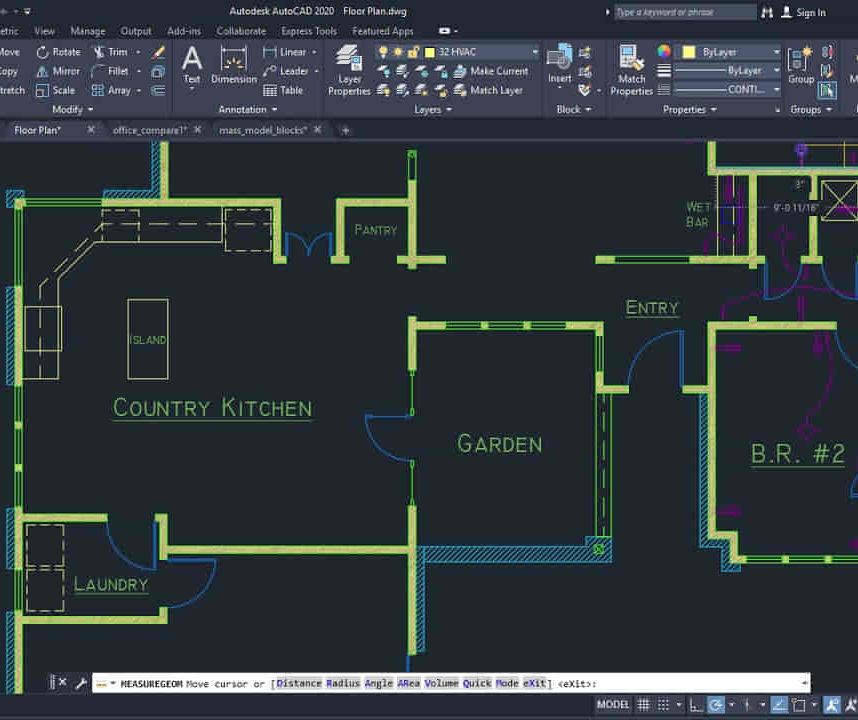
AutoCAD 2D Introduction to Intermediate Course
By ATL Autocad Training London
Why Learn AutoCAD 2D Introduction to Intermediate Course? Click here for more info: Website Whether you're starting a career, enhancing skills, or exploring creativity, this course is tailored for you. Learn on Windows or Mac, transform into a confident AutoCAD user. Transition to our Intermediate to Advanced Course post-completion. Duration: 10 hrs. Personalized 1-on-1 training. Perfect for beginners, this course offers flexible scheduling (Mon-Sat, 9 am-7 pm) and covers 2D plan and elevation creation in AutoCAD. AutoCAD 2D Course Outline Workspace Exploring the working environment Managing files Displaying objects Constructing fundamental drawings Inputting data Constructing basic objects Utilizing object snaps Utilizing Polar Tracking and PolarSnap Implementing object snap tracking Handling units Manipulating objects Selecting objects in the drawing Adjusting an object's position Generating new objects based on existing ones Modifying an object's orientation Creating mirrored versions of existing objects Designing object patterns Altering an object's dimensions Organizing and querying drawings Utilizing layers Modifying object attributes Matching object attributes Utilizing the properties palette Applying linetypes Using inquiry commands Modifying objects Trimming and extending objects to specified boundaries Generating parallel and offset geometries Merging objects Dividing an object into two separate entities Applying rounded corners to objects Producing angled corners between objects Modifying an object's shape Layouts and viewports Harnessing layouts Creating layout configurations Modifying layouts and employing page setups Working with viewports Creating layout viewports Managing layout viewports Controlling object visibility within layout viewports Annotating a drawing Generating multiline text Creating single-line text Implementing text styles Editing text Dimensioning Creating dimensions Utilizing dimension styles Adjusting dimensions Implementing multileaders Hatching objects Hatching elements Editing hatch patterns Managing reusable content Working with blocks Exploring DesignCenter Utilizing tool palettes Designing additional drawing elements Managing polylines Generating splines Crafting ellipses Working with tables Producing plotted drawings Employing page setups Utilizing plotter configuration files Creating and applying plot styles Plotting drawings Plot style tables Publishing drawings Generating drawing templates Leveraging drawing templates Download AutoCAD AutoCAD Trial https://www.autodesk.co.uk After completing the AutoCAD 2D Introduction to Intermediate Course, you will: Master Fundamentals: Understand AutoCAD basics, including navigation and terminology. Create Precise Drawings: Develop the skills to create accurate 2D drawings like plans and elevations. Manipulate Objects: Learn object selection, modification, and pattern creation. Dimension Proficiency: Create and edit dimensions and use text styles effectively. Layer Control: Organize drawings with layer management. Annotation Skills: Handle text and annotations with ease. Layouts and Viewports: Work with layouts and viewports for presentation. Plotting Expertise: Plot and publish drawings confidently. Customization Options: Explore advanced features for efficiency. Intermediate-Level Competency: Transition from beginner to an intermediate level of AutoCAD proficiency. This course equips you with essential skills for various industries, including architecture and engineering. This one-on-one CAD course is perfect for students who are either entirely new to the software or possess limited self-taught knowledge. Regardless of your starting point, our goal is to get you drawing plans within the very first hour of your class. We'll begin by building a strong foundation in AutoCAD, ensuring that you understand its core principles before delving into more advanced topics. If you have specific preferences, we can customize your AutoCAD learning experience to align with your goals. On the initial day of the course, we'll cover fundamental aspects such as user interface and terminology. Subsequently, you'll engage in a diverse range of lessons designed to deepen your understanding of AutoCAD and its creative processes. Topics covered will include introductory drawing techniques, editing functions, drawing aids, working with layers, managing text, and handling dimensions. Throughout the course, you'll practice through various drawing exercises and explore the intricacies of plotting. By the course's conclusion, you'll possess the skills needed to create your own simple drawings, suitable for applications in architectural, interior, engineering, events, furniture, or product design. Included in the course price are the following: Lifetime Email Support: Enjoy unlimited access to our support via email throughout your learning journey. Expert Instruction: Benefit from expert teaching provided by practicing architects, designers, and software professionals. Hands-On Learning: Engage in practical, hands-on lessons that can be customized to match your project requirements. Comprehensive Resources: Access video recordings and a digital reference PDF book for revision and continuous development. Certification: Receive a certificate of completion from us to enhance your CV and LinkedIn profile. Career Guidance: Gain valuable insights into pursuing design roles or establishing a creative business. Our experienced tutors will help you acquire the technical skills needed to make your CV and portfolio stand out. Our instructors, who are accomplished interior designers, animators, architects, and software experts, will not only impart technical expertise but also provide guidance on achieving success in the design industry or entrepreneurial endeavors.
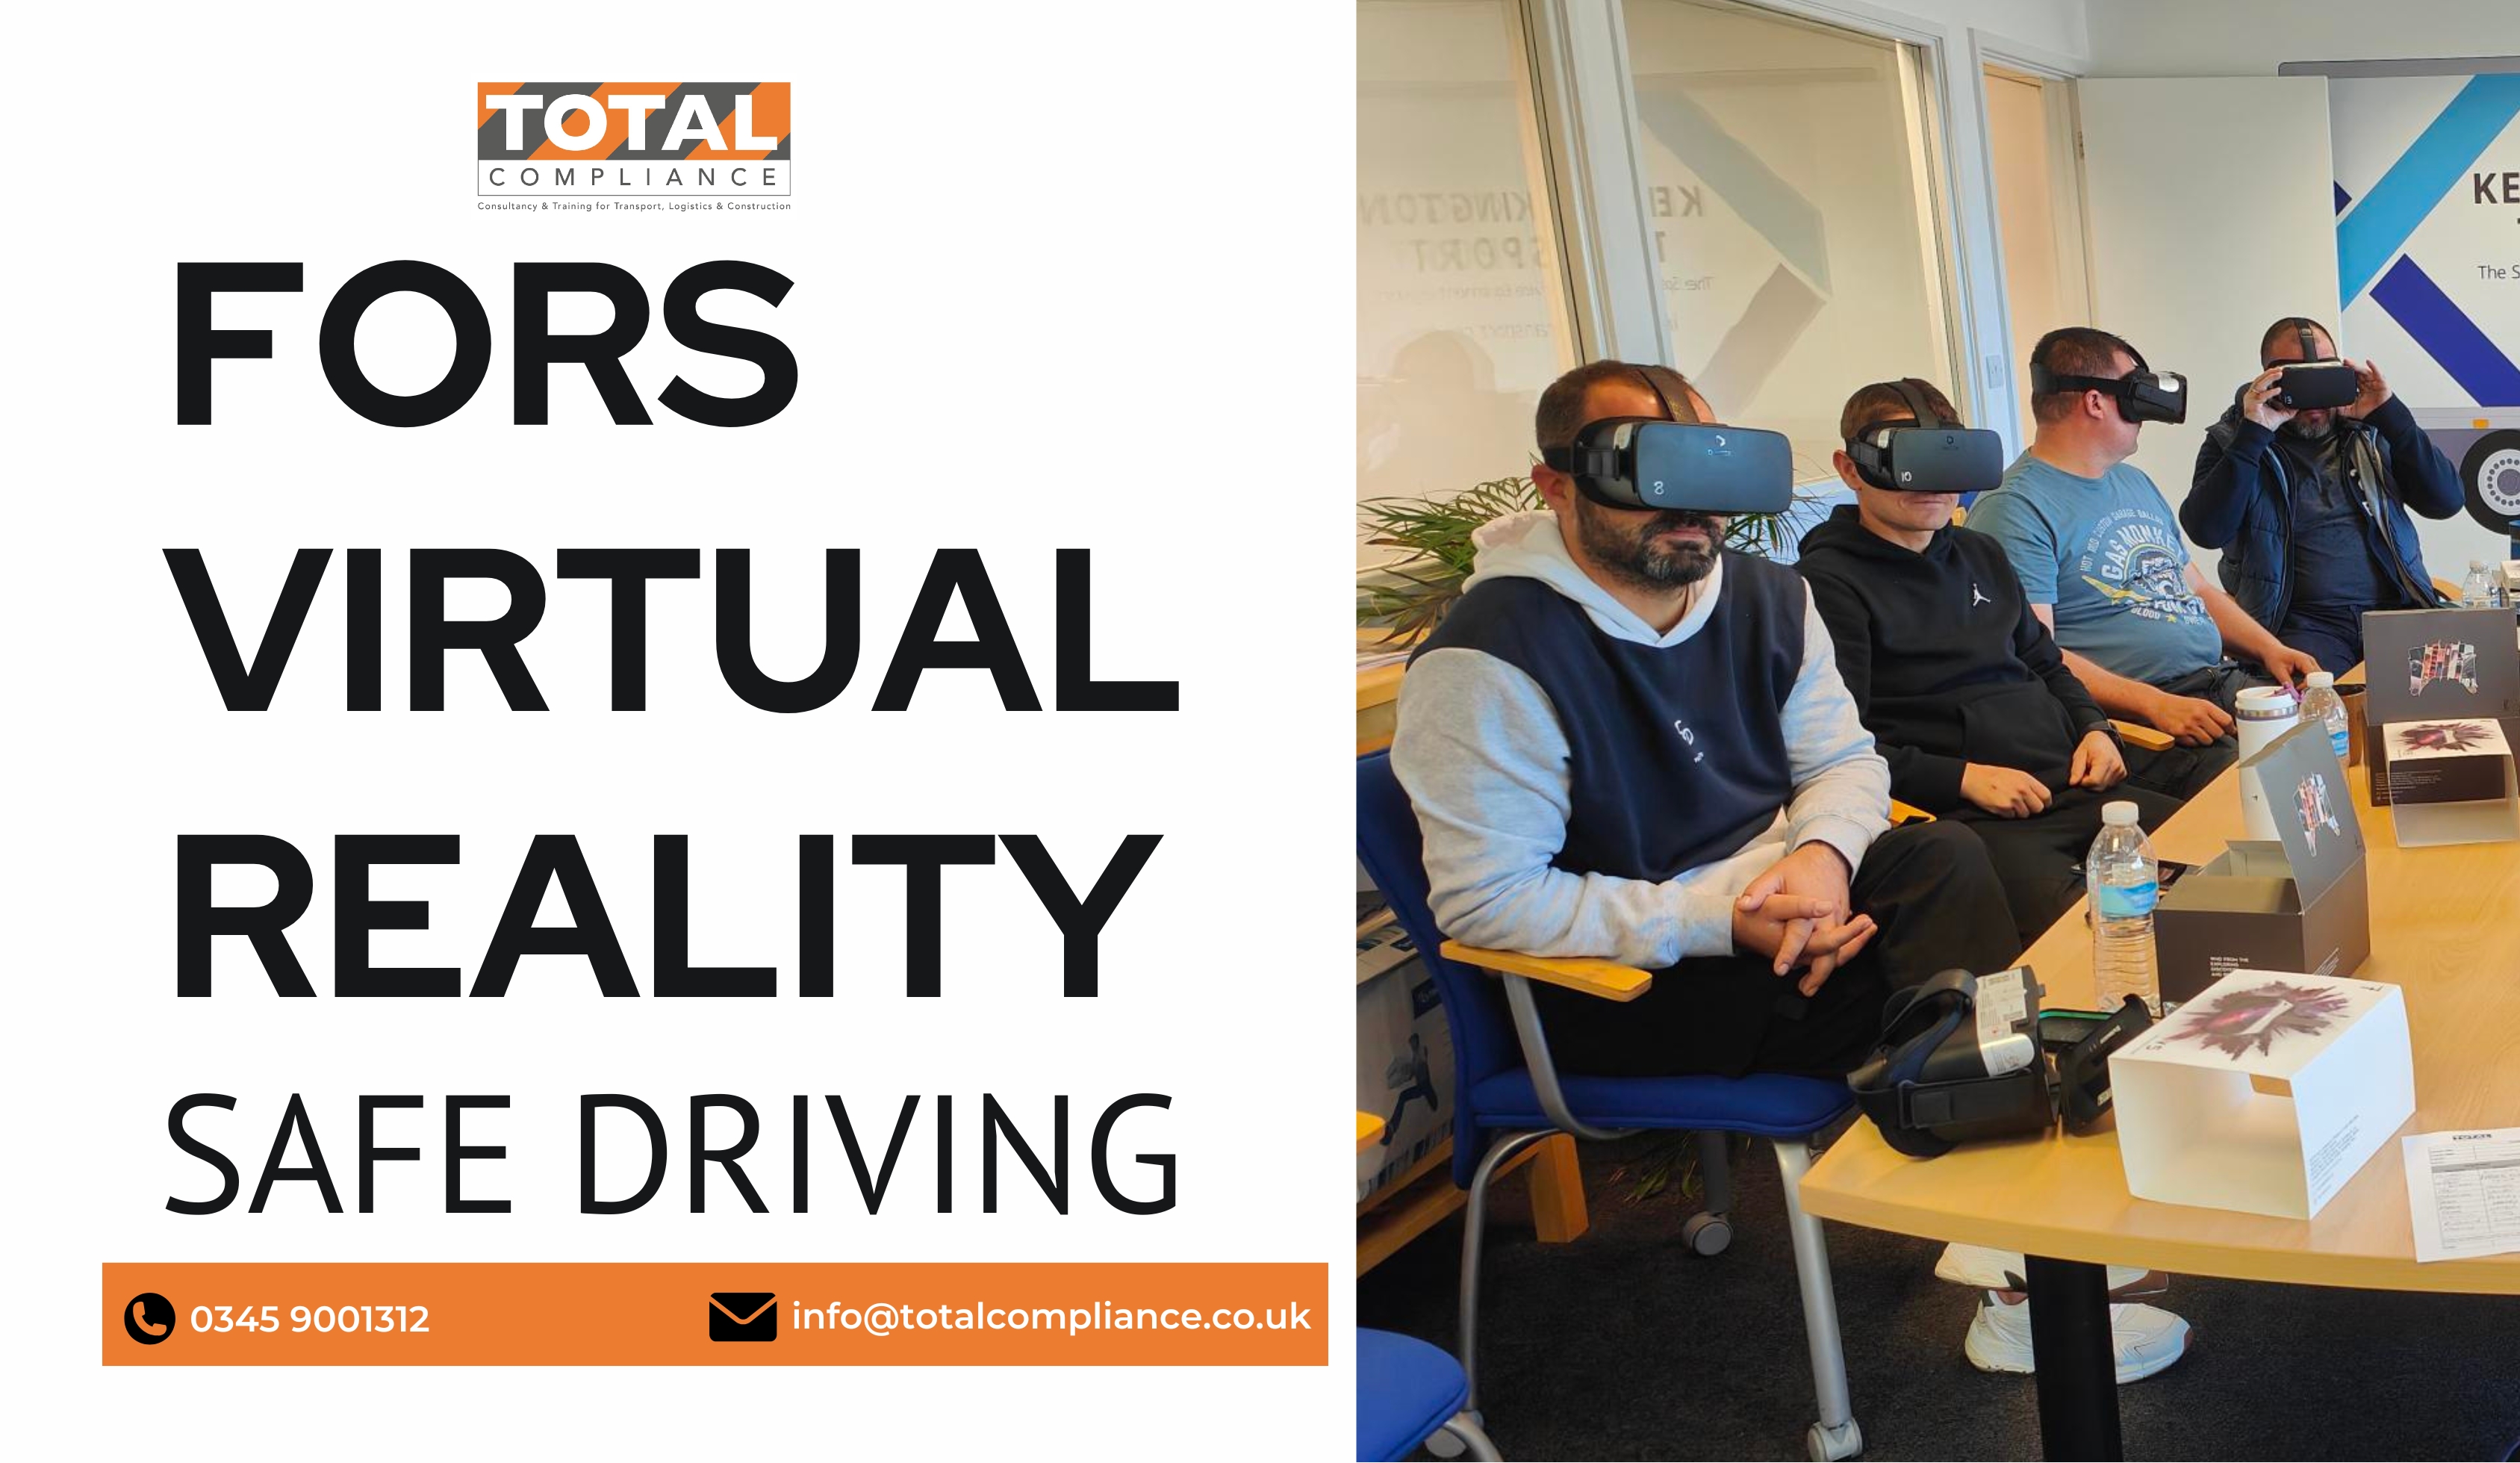
FORS Virtual Reality Safe Driving - Periodic 7 Hour CPC Course - Wakefield - Oct 2025
By Total Compliance
Experience safer urban roads with our FORS Approved Virtual Reality Safe Urban Driving Training. Our immersive program empowers drivers to navigate bustling city streets alongside vulnerable road users, fostering a culture of road safety. With a seven-hour DCPC-approved course, participants gain valuable insights and skills for responsible driving. Invest in your drivers' safety and meet compliance requirements while protecting lives on the road. Elevate road safety with our innovative VR training. Learn more at www.totalcompliance.co.uk
Reach truck Training Course
By London Construction College
Take TheReach truck Training Course. This Will Take You 7 Days To Complete. Enroll Now On To The Course! What Is The Reach truck Training Course? A Reach Truck Training Course is a specialized training program designed to educate individuals on the safe and efficient operation of reach trucks, which are narrow-aisle forklifts commonly used in warehousing, distribution centers, and manufacturing facilities. Reach trucks are designed for precise material handling and storage in narrow spaces, making them a vital part of many industrial operations. Course Overview: 7 Days Course | Course Fee: £220 Payment Structure: £70 deposit and £150 payment in the office Why Choose A Reach Truck Training Course? Forklift operators are essential in the world of construction. They are responsible for the safe and efficient movement of heavy materials and equipment on job sites. Here are some compelling reasons to consider our Forklift Course: Specialized Mastery Our course focuses solely on reach truck operation, ensuring in-depth coverage and comprehensive understanding of this specialized equipment Safety First Safety is our top priority. We provide extensive training on safety protocols, making sure participants can operate reach trucks in a secure and responsible manner. Career Opportunities: The demand for certified fork hoist operators remains high in diverse industries. Completing this course opens doors to job opportunities and career advancement. Experienced Instructors Our course is designed and delivered by experienced reach truck operators, offering practical insights and real-world knowledge. Launching Your Career With Our Reach Truck Training Accelerate your career in material handling with our Reach Truck Training. Designed for both beginners and experienced operators, our program focuses on honing skills crucial for efficient reach truck operations. Led by industry-experienced instructors, you’ll gain hands-on experience and a deep understanding of safety protocols. Secure your Reach Truck Operator Certification and unlock opportunities for career advancement. Course Highlights Our Reach Truck Training Course offers a well-rounded curriculum to ensure you’re fully prepared for the responsibilities of a certified operator: Safety-Centric Approach Comprehensive coverage of safety protocols, ensuring a secure work environment with minimized risks and accidents. In-Depth Theoretical Knowledge Thorough understanding of reach truck types, components, and applications, equipping operators with comprehensive theoretical foundations. Hands-On Practical Training Immersive, real-world simulation exercises for practical skills honed for confident and effective on-the-job performance. Specialized Techniques Coverage of specialized reach truck handling techniques, providing versatility in handling various loads and challenging scenarios. FAQ Reach Truck Training Course What is the primary objective of the Reach Truck Training Course? The primary objective of the Reach Truck Training Course is to equip individuals with the necessary skills and knowledge to operate reach trucks safely and efficiently in various industrial settings. Who is eligible to enroll in the Reach Truck Training Course? The Reach Truck Training Course is open to individuals with an interest in reach truck operations, including both beginners and experienced operators seeking to enhance their skills. What safety measures are emphasized in the Reach Truck Training Course? The course places a strong emphasis on safety protocols, covering topics such as safe operational techniques, risk mitigation strategies, and emergency response procedures to create a secure work environment. What certification is awarded upon completion of the Reach Truck Training Course? Participants who successfully complete the Reach Truck Training Course receive a Reach Truck Operator Certification. This certification is recognized within the industry and serves as a validation of their competence in reach truck operations.

V-Ray for Rhino Essentials Training
By ATL Autocad Training London
Why Choose V-Ray for Rhino Essentials Training? Master photorealistic rendering in Rhino with our intensive V-Ray training. Led by certified experts, learn lighting, material manipulation, rendering configurations, textures, and global illumination. Check our Website Training Duration: 10 hours Approach: 1-on-1, in-Person and Live online and Customized Content. Flexibility: 1-on-1 sessions scheduled at your convenience, from Mon to Sat between 9 am and 7 pm. Vray for Rhino Essentials - 10 Hours Course Session 1: Introduction to Vray and Rhino Integration Overview of Vray: Understanding its importance in architectural and product visualization. Setting up Vray in Rhino: Installation, basic configurations, and interface exploration. Understanding the Rhino-Vray workflow: Navigating between Rhino and Vray seamlessly. Session 2: Basic Lighting Techniques Exploring different light sources: Domes, spotlights, and area lights. Adjusting light intensity and color temperature for realistic ambiance. Creating natural lighting scenarios: Daylight, twilight, and night scenes. Session 3: Mastering Material Creation Introduction to Vray materials: Diffuse, reflection, refraction, and bump maps. Crafting realistic materials: Wood, glass, metal, and fabrics. Utilizing the material editor efficiently for precise adjustments. Session 4: Advanced Rendering Configurations Global Illumination: Understanding photon mapping and irradiance mapping. Fine-tuning render settings: Quality vs. speed, resolution, and anti-aliasing. Exploring Vray frame buffer: Post-processing and image enhancement. Session 5: Texture Manipulation and Mapping Understanding UV mapping: Unwrapping complex geometries for accurate textures. Applying textures in Vray: Diffuse, bump, displacement, and normal maps. Realistic texture manipulation: Scaling, rotation, and blending textures seamlessly. Session 6: Camera Settings and Scene Composition Camera configurations: Focal length, depth of field, and exposure settings. Composing visually appealing scenes: Rule of thirds, focal points, and balance. Rendering interior and exterior scenes: Managing lighting challenges and reflections. Session 7: Real-Time Feedback and Interactive Rendering Introduction to Vray interactive rendering: Real-time feedback for quick adjustments. Utilizing Vray's denoiser for noise reduction in interactive mode. Enhancing productivity with interactive rendering: Modifying materials and lighting on the fly. Session 8: Optimizing Render Times Efficient render optimization techniques: Reducing noise and enhancing quality. Distributed rendering: Utilizing multiple machines for faster rendering. Troubleshooting common rendering issues: Flickering, artifacts, and texture problems. Session 9: Post-Processing and Presentation Post-production in Photoshop: Enhancing renders, adding depth, and adjusting colors. Creating compelling visual narratives: Adding people, context, and atmosphere. Designing professional presentation boards: Layout, annotations, and graphic elements. Session 10: Final Project and Portfolio Review Participants showcase their final Vray-rendered projects. Instructor-led critique and feedback session. Tips for building a strong portfolio: Choosing the best renderings and presenting your work effectively. By the end of this 10-hour course, participants will have a comprehensive understanding of Vray for Rhino, enabling them to create photorealistic renderings and significantly enhance their design visualization skills. Upon completing the Vray for Rhino Essentials course, participants will: Master Lighting Techniques: Expertly utilize various light sources. Create realistic lighting scenarios for diverse scenes. Advanced Material Proficiency: Manipulate complex materials and textures for lifelike renders. Understand reflective surfaces and material interaction. Optimize Rendering Settings: Fine-tune render configurations for optimal quality and speed. Implement noise reduction techniques for cleaner renders. Texture Mapping Mastery: Perfect UV mapping methods for accurate texture application. Seamlessly blend textures for realistic surface mapping. Effective Camera Use and Composition: Configure camera settings, depth of field, and exposure. Compose visually appealing scenes for impactful renders. Real-Time Rendering Skills: Utilize interactive rendering for immediate feedback and adjustments. Enhance scenes in real time for efficient workflow. Post-Processing Expertise: Enhance renders in post-production using software tools. Add depth, adjust colors, and create visually compelling final images. Professional Presentation Techniques: Design layouts, annotations, and context to create impactful visual narratives. Curate a strong portfolio with the best-rendered projects. By honing these skills, participants will produce photorealistic renders and significantly enhance their architectural and product visualization capabilities. Skills You'll Gain: Master lighting techniques for realistic visualization. Learn material manipulation and texture enhancement in Vray. Understand advanced rendering configurations for high-quality results. Explore global illumination concepts for lifelike scenes. Career Opportunities: Upon completing Vray for Rhino Essentials, you'll be well-equipped for various roles in the design and visualization industry, including: Architectural Visualizer: Create stunning architectural visualizations for presentations and client approvals. Product Designer: Enhance product design by creating photorealistic prototypes and visualizations. Interior Designer: Craft immersive interior spaces with realistic lighting and material textures. 3D Visualization Artist: Work in animation studios, gaming companies, or marketing agencies, producing high-quality 3D visualizations. Freelance Rendering Specialist: Offer your skills on platforms like Upwork or Fiverr, providing rendering services to clients worldwide. Course Highlights: Acquire fundamental skills in V-Ray for Rhino, covering lighting, materials, and rendering setups. Explore advanced techniques for lifelike textures, reflections, and global illumination effects. Master the workflow for crafting architectural renderings, both interior and exterior. Harness the power of V-Ray features like proxies, fur, and particle systems for dynamic visuals. Optimize render times and quality using efficient techniques and expert tips. Validate your expertise with a Certificate of Completion, showcasing your V-Ray proficiency. Access recorded lessons for future reference, enabling self-paced learning and continuous improvement. Professional Guidance: Learn from certified tutors and industry experts with extensive practical experience. Gain valuable insights and personalized feedback as you progress through the course, ensuring a comprehensive understanding of V-Ray for Rhino.

SketchUp - Rendering with V-Ray Course
By ATL Autocad Training London
Who is this course for? SketchUp - Rendering with V-Ray Course This course is tailored for architects, designers, 3D artists, and anyone interested in enhancing their rendering skills using SketchUp and V-Ray. Whether you're a beginner or an experienced user, this course provides in-depth training to create stunning visualizations and realistic renders in SketchUp using V-Ray. Check our Website Course Duration: 6 hours Training Method: 1-on-1, (Face to Face) or Live Online session. Personalized to your needs. Course Content Overview: SketchUp and V-Ray: Exploring Intermediate Modeling Techniques Mastering V-Ray Materials: Textures, Sources, and Editing Managing and Optimizing Textures for Graphics and Bitmaps Illuminate Your Designs: Delving into Lighting: Types, Placement, and Scene Enhancement Understanding V-Ray Camera: Exposure, White Point, and Efficient Setup Achieve Stunning Renderings: Rendering Scenes: Digital Output, File Formats, and Best Practices Optimizing Quality Settings for Efficient Scene Creation Transitioning from 2D to 3D: Modeling Essentials for Visualization Utilizing Follow-Me and Push-Pull Techniques Enhancing Designs with Components: Choosing Between Groups and Components Mastering V-Ray Frame Buffer: Automatic 2D Graphic Saving File Types, Properties, and Effective Usage Perfecting V-Ray Materials: Materials Editor: Layering, Previews, and Shiny Surfaces Incorporating Bumps and Bitmaps for Realism Exploring Advanced Techniques: Unveiling Ambient Occlusion Effects Advanced Modeling, including Magic Box and Polygon Techniques Optimizing Texturing: Projected UVW Mapping Fine-Tuning Mapping Size and Position Locking Mapping for Consistency Alpha Channels: Preparing Graphics with Alpha Channels Integrating Rendered Output with Photoshop Hands-On Learning: Practical Exercises: From Concept to Stunning Renderings Vray for SketchUp Trial. https://www.chaosgroup.com/vray/sketchup/free-trial. Texture resources https://www.vray-materials.de/ and https://textures.com After completing the SketchUp and Vray course, participants will: Gain expertise in creating realistic 3D architectural and interior design scenes using Vray for SketchUp. Master lighting, camera settings, and composition for visually striking renders. Excel in applying Vray materials and textures for enhanced design quality. Produce high-quality renderings and refine them with post-production techniques. Receive a certification of attendance and 30 days of post-course email support. Job opportunities include roles in architectural visualization, interior design, real estate marketing, product design, and more. Skills Acquired: Advanced SketchUp Proficiency: Master advanced techniques for modeling and designing in SketchUp. V-Ray Rendering Skills: Learn how to use V-Ray to create realistic, high-quality renders in SketchUp. Texture Mapping and Material Application: Understand the art of texturing and applying materials for lifelike renders. Lighting Techniques: Explore various lighting setups to enhance the realism of your renders. Post-Processing: Gain skills in enhancing renders further through post-processing techniques. Job Opportunities: Architectural Visualizer: Create detailed and realistic architectural visualizations for projects. Interior Designer: Develop compelling interior visualizations for residential or commercial spaces. 3D Artist: Work in the gaming or animation industry, creating 3D models and environments. Visualization Specialist: Provide visualization services for real estate, marketing, or design agencies. Freelance Renderer: Offer your rendering services on a freelance basis to various clients. Why Choose Our Training? Personalized Coaching: Benefit from one-on-one training sessions conducted either Face to Face (SW96DE) or Live online, ensuring a tailored experience with practicing architects and designers. Flexible Hours: Our training is available Monday to Saturday from 9 am to 7 pm, accommodating your schedule for a seamless learning experience. Tailored Tutorials: Take advantage of custom video tutorials designed specifically for you, providing additional resources to enhance your learning journey. Comprehensive Reference: Receive a digital reference book to support thorough revision, ensuring a comprehensive understanding of each concept covered. Ongoing Support: Enjoy free and continuous support via phone or email even after the course concludes, ensuring your success beyond the classroom. Adaptable Syllabus: We customize the syllabus and projects to meet your specific needs, ensuring a focused learning experience on what matters most to you. Official Certification: Receive a certificate upon completing your course, recognizing your achievement in mastering the content. Why Us? Individualized Learning Support: Our courses, ranging from 10 hours to 120 hours Diploma training Courses, provide consistent support. With personalized assignments and post-course assistance, we guide you towards mastering software with dedicated help. Personal Attention, No Crowds: Say goodbye to crowded classrooms. Experience the intimacy of one-on-one learning, ensuring you receive the focused attention necessary for a confident and comfortable learning environment. Financial Flexibility: We understand the financial aspects of education. We offer various payment plans tailored to your needs, making your learning journey accessible and affordable. Expert Instructors, Real-world Knowledge: Our instructors are industry experts chosen for their extensive knowledge and teaching passion. Dedicated to imparting invaluable skills, they provide real-world insights to anyone eager to learn.

Hydrogen Storage, Transportation and Distribution – Successfully Navigate the Hydrogen Value Chain
By EnergyEdge - Training for a Sustainable Energy Future
Gain expertise in hydrogen storage, transportation, and distribution with Energyedge's course. Successfully navigate the hydrogen value chain. Enroll now!

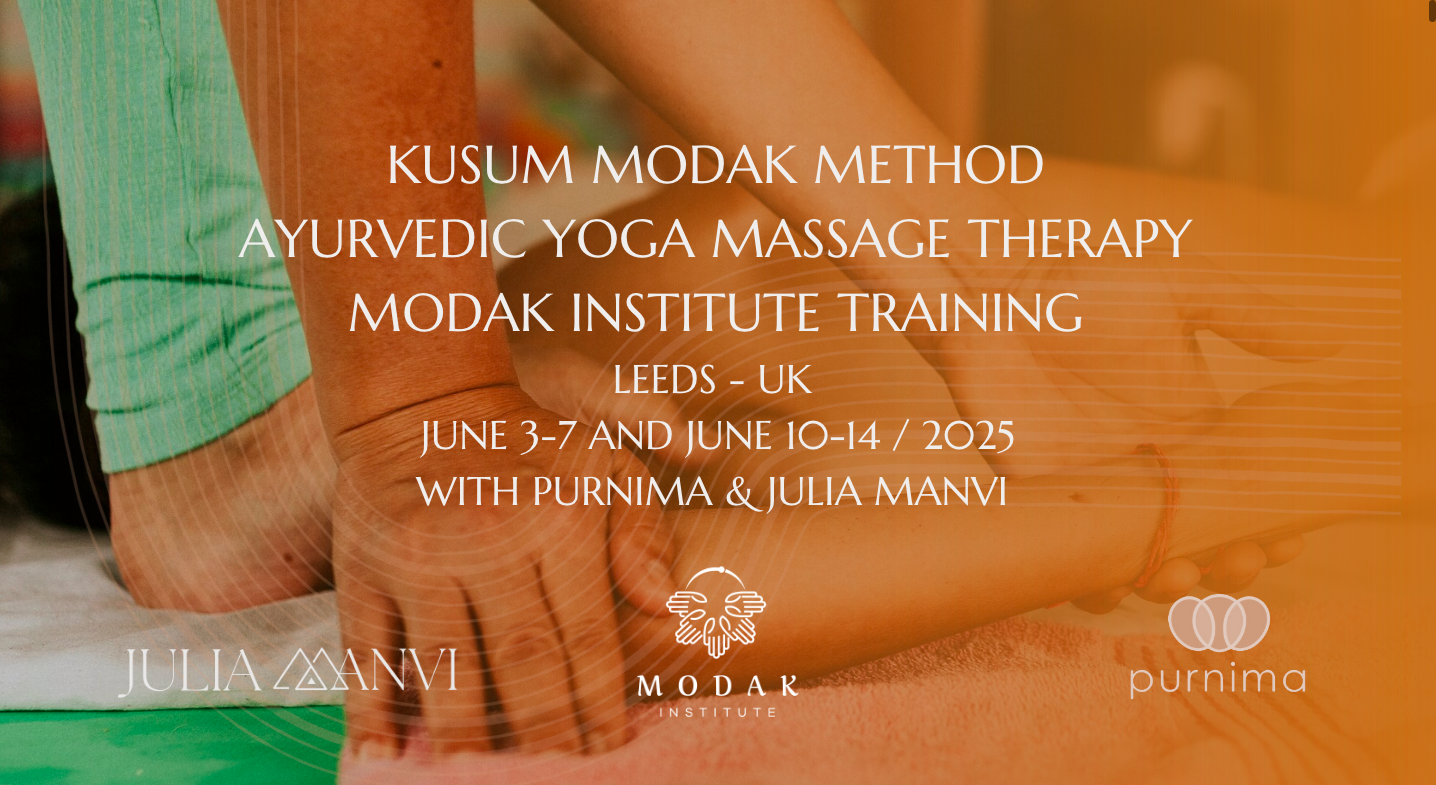
Kusum Modak Method Training Modak Institute Certificate & Level 3 Diploma UK
(1)By Purnima Bodywork Therapies
About the technique: The Kusum Modak Method, previously referred to as Ayurvedic Yoga Massage (AYM), Traditional Ayurvedic Massage, or simply Ayurvedic Massage, is now named in honor of its creator. This change was introduced with the establishment of the Modak Institute, founded by Kusum Modak to preserve her legacy with integrity and authenticity for future generations. This contemporary method combines traditional Ayurvedic Massage with Yoga, developed through Kusum Modak’s studies with her teachers, Limaye and B. K. S. Iyengar, in Pune, India. The therapy focuses on activating breath, circulation, and vital energy through deep touch using hands and feet, along with tractions and stretching maneuvers. Treatments are conducted on an orthopedic mat using vegetable oil and a natural powder called Vekhand, derived from a root known in the West as Calamus. Course Information: Course Structure: Over 10 days, students will gain the knowledge and skills to practice the Kusum Modak MethodSM and become officially certified as bodywork therapists by the Modak Institute. The program includes: Students will cultivate a therapeutic perspective and build confidence in applying the technique. This course follows the updated guidelines set forth by Kusum Modak through the Modak Institute. Content: Total Hours: 80 hours of practical classes + 4 hours online + 12 hours assessment Duration: 10 days (in person classes) Dates: June 3rd to 7th and June 10th to 14th, 2025 Schedule: 9:00 AM to 1:00 PM and 2:00 PM to 6:00 PM Course Location: Roots of Respect, 16 Blenheim Terrace Woodhouse LS2 9HN United Kingdom Hands-on practical exercises Detailed technical understanding of the 118 maneuvers Dedicated time for questions, reviews, and session exchanges Introduction to the basics of the technique (structure & practice); Kusum Modak MethodSM history and influential contributors; Introduction of Ayurveda Principles; The elements of the Kusum Modak MethodSM - AYTM The steps of the therapy sequence; Learning to warm up the muscles; Use of hands and feet (walking on the back); Understanding the quality of the touch to perform Kusum Modak MethodSM; Using therapy props (why and when to use them); Manoeuvres and stretching – how to apply and its variations; Synchronisation of the pressure and breath; Learning to set up a 1-hour sequence (which is the original duration) that will serve the needs of each client; Applied anatomy to the technique and subtle anatomy, pathology and application of the studied content; Client Assessment protocols. Why the medical history form is essential?; Contraindications; Postural correction and student welfare practices (preparing the body for delivery) Assessment: We offer complementary activities designed to provide a deeper understanding of the Method and to help you develop a more precise approach to your practice. To be approved and certified, you must: You will receive clear instructions and guidance to help you succeed, as well as detailed information about the evaluation criteria. The 4 hours of online activities include complementary lectures and related assignments. - Anatomy - Demystifying the Kusum Modak Method - Holistic Medical Systems - SOAP notes and Health History form Certification: You have two options: Review with Q&A Supervised Practice (individual correction, gaining accuracy) How to maintain health + wellbeing as a bodywork therapist. Attend 100% of the in person classes. Submit 10 case studies on the same person, including reports for 10 SOAP notes. Provide a video recording of the final session. MODAK INSTITUTE CERTIFICATE: The Modak Institute certificate is awarded to students upon successful completion of the course, which includes final assessment activities to be submitted within 60 days after the in person training. This certificate is issued by the Modak Institute, the only institute officially authorized and endorsed by Master Kusum Modak to represent her method. It validates that students are fully qualified to work professionally with Prerequisites: While no formal prerequisites are required, physical, mental, and emotional health are essential to participate in the intensive activities. Students will also develop awareness to their clients’ needs and enhance their own mindfulness during practice. Training Price: Modak Institute Certificate: 1650 GBP Level 3 Diploma Kusum Modak Method: + 295 GBP Payment Plan 1 - 100% Payment upfront with discount (50 GBP off) until March 15th 2 - 50% deposit - 50% until May 20th 3 - 4x (Feb, Mar, Apr, May) 4 - 5x (Feb, Mar, Apr, May, Jun) Please feel free to reach out if you need to arrange your payments differently. Cancellation Policy the Kusum Modak MethodSM and ensures their eligibility to obtain therapist insurance, providing recognition and support to practice as certified therapists. Once your final assessment is evaluated and approved, your certificate will be issued and sent directly to your email. Each certificate includes a unique digital code, enabling easy verification of your credentials and affiliation worldwide through Modak Institute website. MODAK INSTITUTE CERTIFICATE + LEVEL 3 DIPLOMA KUSUM MODAK METHOD: Same process as described above + Students may request the UK Level 3 Diploma Kusum Modak Method Certificate for an additional fee of 295 GBP, which requires completing three additional online courses (150 hours) to meet accreditation requirements. The student must request this certificate option at the time of registration. What’s Included: About the teachers: Purnima Full refundable with in two months in advance Partial refundable 50% in a month before starting the training After that is a non-refundable payment. 84 hours of structured and methodically designed training (80 in person + 4 online). Note: the student need to reserve plus 12 hours for assessment. Modak Manual, including photos of all maneuvers and additional insights into the method’s history and references. Official Modak Institute Certification. Access to video lectures. Oil and powder for use during the course. One year of membership in the Modak Institute, including: Participation in an online plataform Access to official graphic materials for promotional use Inclusion in the Modak Institute’s agenda for work promotion Exclusive Q&A WhatsApp group moderate by Purnima and Julia.
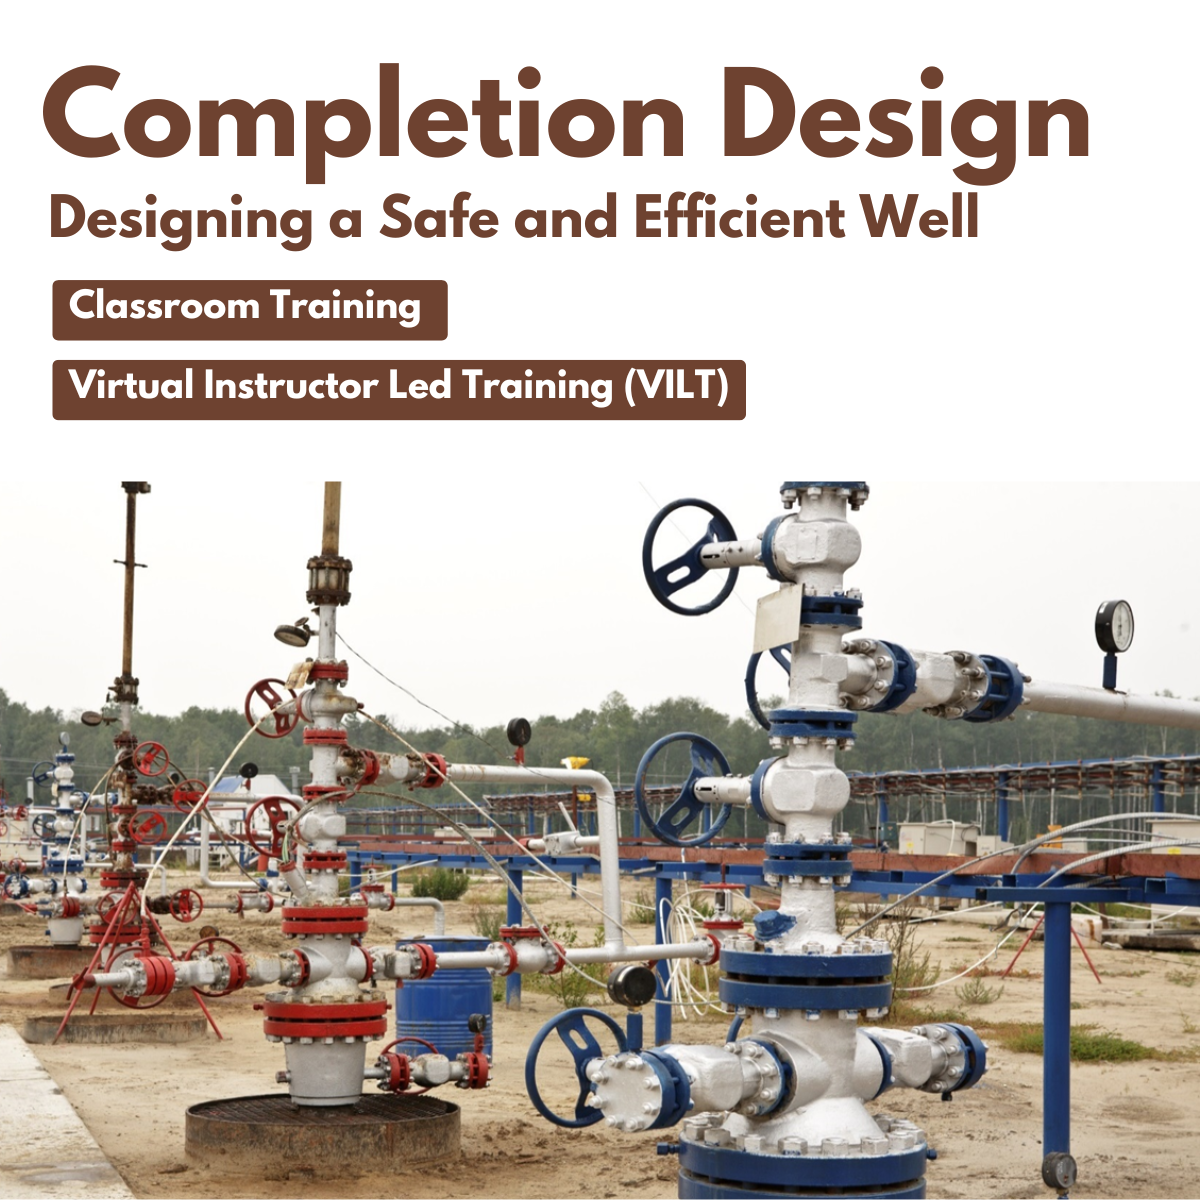
Completion Design
By EnergyEdge - Training for a Sustainable Energy Future
Enhance your expertise in completion design with EnergyEdge's comprehensive classroom training. Join now and gain valuable insights!

Marginal Field Development and Planning
By EnergyEdge - Training for a Sustainable Energy Future
Enhance your knowledge in marginal field development and planning with EnergyEdge's course. Enroll now to gain valuable insights.