- Professional Development
- Medicine & Nursing
- Arts & Crafts
- Health & Wellbeing
- Personal Development

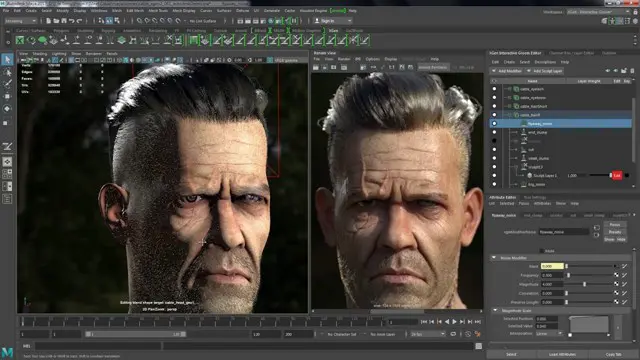
Unreal Engine Courses London
By Real Animation Works
Face to Face training customised and bespoke. One to One Online or Face to Face
Managing Stress and Building Resilience
By IIL Europe Ltd
Managing Stress and Building Resilience Stress has an impact on all of us at some point in our professional lives. Learning how to manage stress and build resilience will result in higher professional productivity, better health, and more sustainable living habits. It will also help us create a physical - and emotional - work-life balance. In this one-day workshop, you will learn practical solutions to sustain behavior change that can positively impact your life on both a professional and personal level. When you are able to reduce the level of negative stress that affects you, your performance improves, along with your health and happiness. The objective of this course is therefore not only to create awareness around emotional well-being in a work context, but also to help participants create a better overall balance between the investment they make in their personal and professional lives. This course covers how our perceptions affect our beliefs and how our beliefs affect our actions. You will learn a host of stress-reduction techniques, while exploring your own stress triggers and responses. Highly interactive, the sessions cover a blend of theory, discussions, and exercises. You will explore concepts with fellow participants within a safe environment where skills and habits can be developed, sharpened, and improved. What You Will Learn At the end of this program, you will be able to: Identify what stress feels like and what the typical symptoms and reactions are to stress Analyze your own responses to stressful events and the consequences of those reactions Organize your work structure to reduce stress and build resilience Recognize activities that drain you and those that give you energy Generate relief from stressful events Cultivate a mindset of resilience Better manage your time, work commitments, and personal boundaries in order to be most effective at your job Getting Started What is stress? Beliefs and thinking errors Work-life balance Drainers and energizers Stress reduction techniques Time management Summary and Next Steps

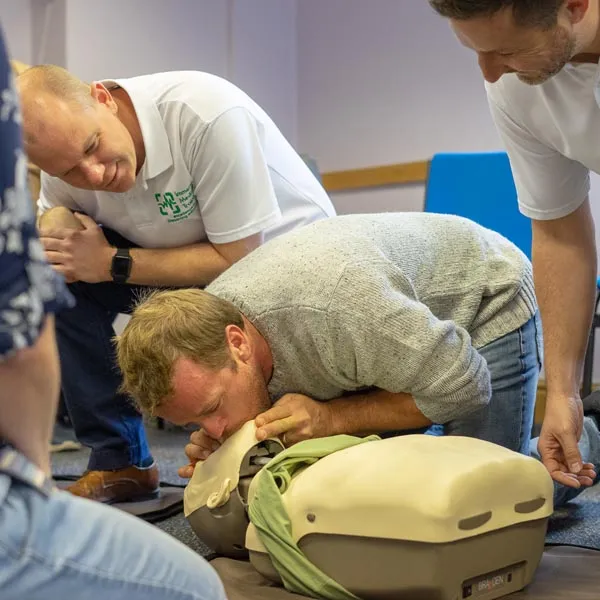
Emergency First Aid at Work - Level 3 Award
By Immerse Medical
Our 8 hour course will enable students to attain the knowledge and practical competencies needed to deal with a range of emergency first aid situations and/or take on the role of emergency first aider in the workplace. At Immerse Training we specialise in bespoke on-site courses, delivered at your premises, based on your industry. Qualification Information This qualification and learning outcomes are based on the recommendations of: The Resuscitation Council (UK) Skills for Health Assessment Principles for First Aid Qualifications Course Content Following this course students will: Understand the role and responsibilities of a first aider. Be able to assess an incident. Be able to manage an unresponsive casualty who is breathing normally. Be able to manage an unresponsive casualty who is not breathing normally. Be able to recognise and assist a casualty who is choking. Be able to manage a casualty with external bleeding. Be able to manage a casualty who is in shock. Be able to manage a casualty with a minor injury. Who should attend? This qualification is for people who deal with first aid at work enabling them to be workplace emergency first aiders under the Health and Safety (First Aid) Regulations 1981. This qualification is also for people who have a specific responsibility at work, or in voluntary and community activities, to provide basic first aid to people in a range of emergency first aid situations. Pre-requisites Students must be at least 14 years old on the first day of training. Assessment and Certifications Assessment of this course is continuous and also includes 1 theory/multiple choice question paper. Successful students will receive an Immerse Training Certificate, which is valid for three years. This certificate will be issued by Qualsafe, the awarding body for Immerse Training. Additional Information Completion of the Level 3 Award in Emergency First Aid at Work includes 1 credit at Level 3 of the Regulated Qualifications Framework (RQF). Workplace First Aid Courses First Aid courses for employers and employees. Our workplace courses are fully accredited, registered and meet Health and Safety Executive (HSE) guidelines. From 1 day Emergency First Aid at Work (previously appointed person) to 3 day First Aid at Work courses. We specialise in on-site courses at your workplace, tailored to the specific risks associated with your business. All courses can be delivered at our training centre in Poole, Dorset or we can deliver on-site across Bournemouth, Poole, Dorset, Hampshire and the South of England.
Belly dance course for beginners and improvers
By Jessica Gamil Bellydance
Learn the core moves of Egyptian Bellydance, and put it together with a fun choreography to Egyptian pop. We will learn: Correct posture and alignment. Hip movements (figures of eight/mayas (vertical and horizontal), circles and omis, different types of shimmies, drops and accents, locks, twists etc) Undulations and belly accents. Arm and hand positions, paths and movements. Common turns and stepping patterns used in bellydance e.g. pas de bourre. No belly dance experience required, if you are an improver you can refine and "troubleshoot" your base technique here to improve your movement quality. Variations will be offered in class depending on your level. There is also the opportunity to perform the choreography in the group at an end-of-term show (£10 ticket fee)! All classes are streamed and recorded on zoom so you can catch up if you miss a class. Homework with 1-2-1 feedback on WhatsApp included (optional) About your teacher: Jessica Gamil is an international performer, teacher and judge with over 16 years’ of Bellydance experience. Jessica has won Bellydance competitions in Italy and Switzerland, and travels to Cairo and festivals across the world to continue her dance training. Jessica is known for her easy to follow explanations of bellydance technique, so you’ll pick up new movements in no time!

Essentials Of Sepsis Recognition & Escalation For Care & Support Staff
By NR Medical Training
To better equip care organisations and their amazing, hardworking staff in this fight, we offer the Essentials of Sepsis Recognition & Escalation For Care & Support Staff course. This face to face training course delivered by experienced healthcare professionals arms care and support staff with the necessary knowledge, skills and confidence to identify individuals at risk of sepsis, recognise its early signs, and escalate care effectively when they suspect sepsis. With our CQC compliant course, you'll be better prepared to help those at risk. Learners will receive an NR Medical Training/UK Sepsis Trust certificate which is valid for 1 year and a summary of elements covered throughout the course.

This course is a legal requirement to obtain the SIA CCTV Licence which enables you to work as a CCTV (Closed Circuit Television) operator. CCTV Operatives usually work in a control room that is connected to a network of CCTV equipment. Employers typically include security companies, medium-large corporations, local authorities, the police, etc.

Level 2 NVQ Diploma in Steel Erecting
By Dynamic Training and Assessments Ltd
Level 2 NVQ Diploma in Steel Erecting
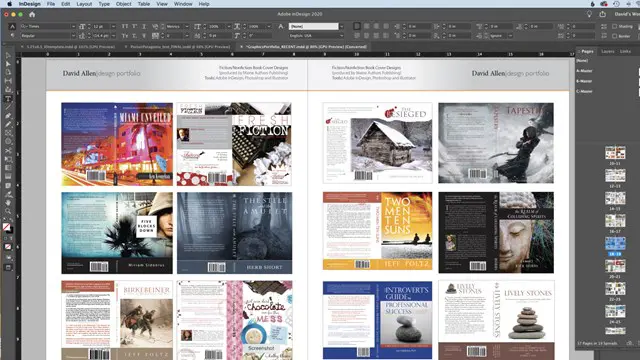
AutoCAD Architecture Training Classes
By London Design Training Courses
Why Choose AutoCAD Architecture Training Classes? Course info Master architectural design tools and workflows. Create precise floor plans, elevations, and sections. Utilize BIM for intelligent 3D modeling. Access recorded lessons and lifetime email support. Enroll for in-person or online sessions. Duration: 16 hrs. Method: 1-on-1, Personalized attention. Schedule: Tailor your own schedule by pre-booking a convenient hour of your choice, available from Mon to Sat between 9 am and 7 pm. AutoCAD Architecture 3D Course Outline: Introduction to AutoCAD Architecture Understanding the difference between AutoCAD Architecture and AutoCAD LT Familiarization with the user interface and 3D viewing Wall Construction and Modification Adding walls to the model Creating curtain walls for specialized designs Modifying walls to fit specific requirements Joining walls together to form complex structures Adding and modifying wall openings for doors and windows Ceiling Plans (Reflected) Creating ceiling grids and construction detailing Modifying ceiling grids to match design needs Inserting ceiling fixtures and construction detailing Structural Design and Analysis Working with structural members and online resources Creating column grids and detailing columns Modifying column grids and annotations Annotating column grids and detailing for clarity Stairs Creating stairs in the model Modifying stairs to suit design specifications Adding railings to stairs and construction detailing Modifying railings and construction detailing Floors and Slabs Creating floor slabs and construction detailing Modifying floor slabs to align with the design Editing slabs using Slab Tools and construction detailing Roofs and Construction Detailing of Roofs Creating roofs for the building Designing roof slabs for specific areas Modifying roofs and roof slabs as needed Using Roof Slab Tools for precise detailing Annotation Detail drawing for scale and annotation Adding text, leaders, and comments to the model Dimensioning in AutoCAD Architecture for accurate measurements Utilizing other annotation tools for clarity Equipment and Furnishings Adding interior and exterior furnishings to the design Incorporating blocks and online 3D models for realistic representations Utilizing Tool Palettes and Autodesk Seek resources Model Views Ready for Print PDF Creating callouts for specific views Designing elevations, sections, and construction detailing Modifying callout objects for better visualization Implementing live sections and elevations Generating reports and managing project resources Schedules Adding door and window labels to the model Editing label data for accuracy Creating schedules for better project management Modifying schedules to suit specific requirements This AutoCAD Architecture 3D course covers a comprehensive range of topics, providing participants with the skills to create detailed 3D architectural models, implement construction detailing, and manage project resources efficiently. The course enables participants to produce professional-grade architectural designs using AutoCAD Architecture software.

Autodesk Maya 10 hrs One to One training
By Real Animation Works
Autodesk face to face training customised and bespoke. Certified Tutors.