- Professional Development
- Medicine & Nursing
- Arts & Crafts
- Health & Wellbeing
- Personal Development
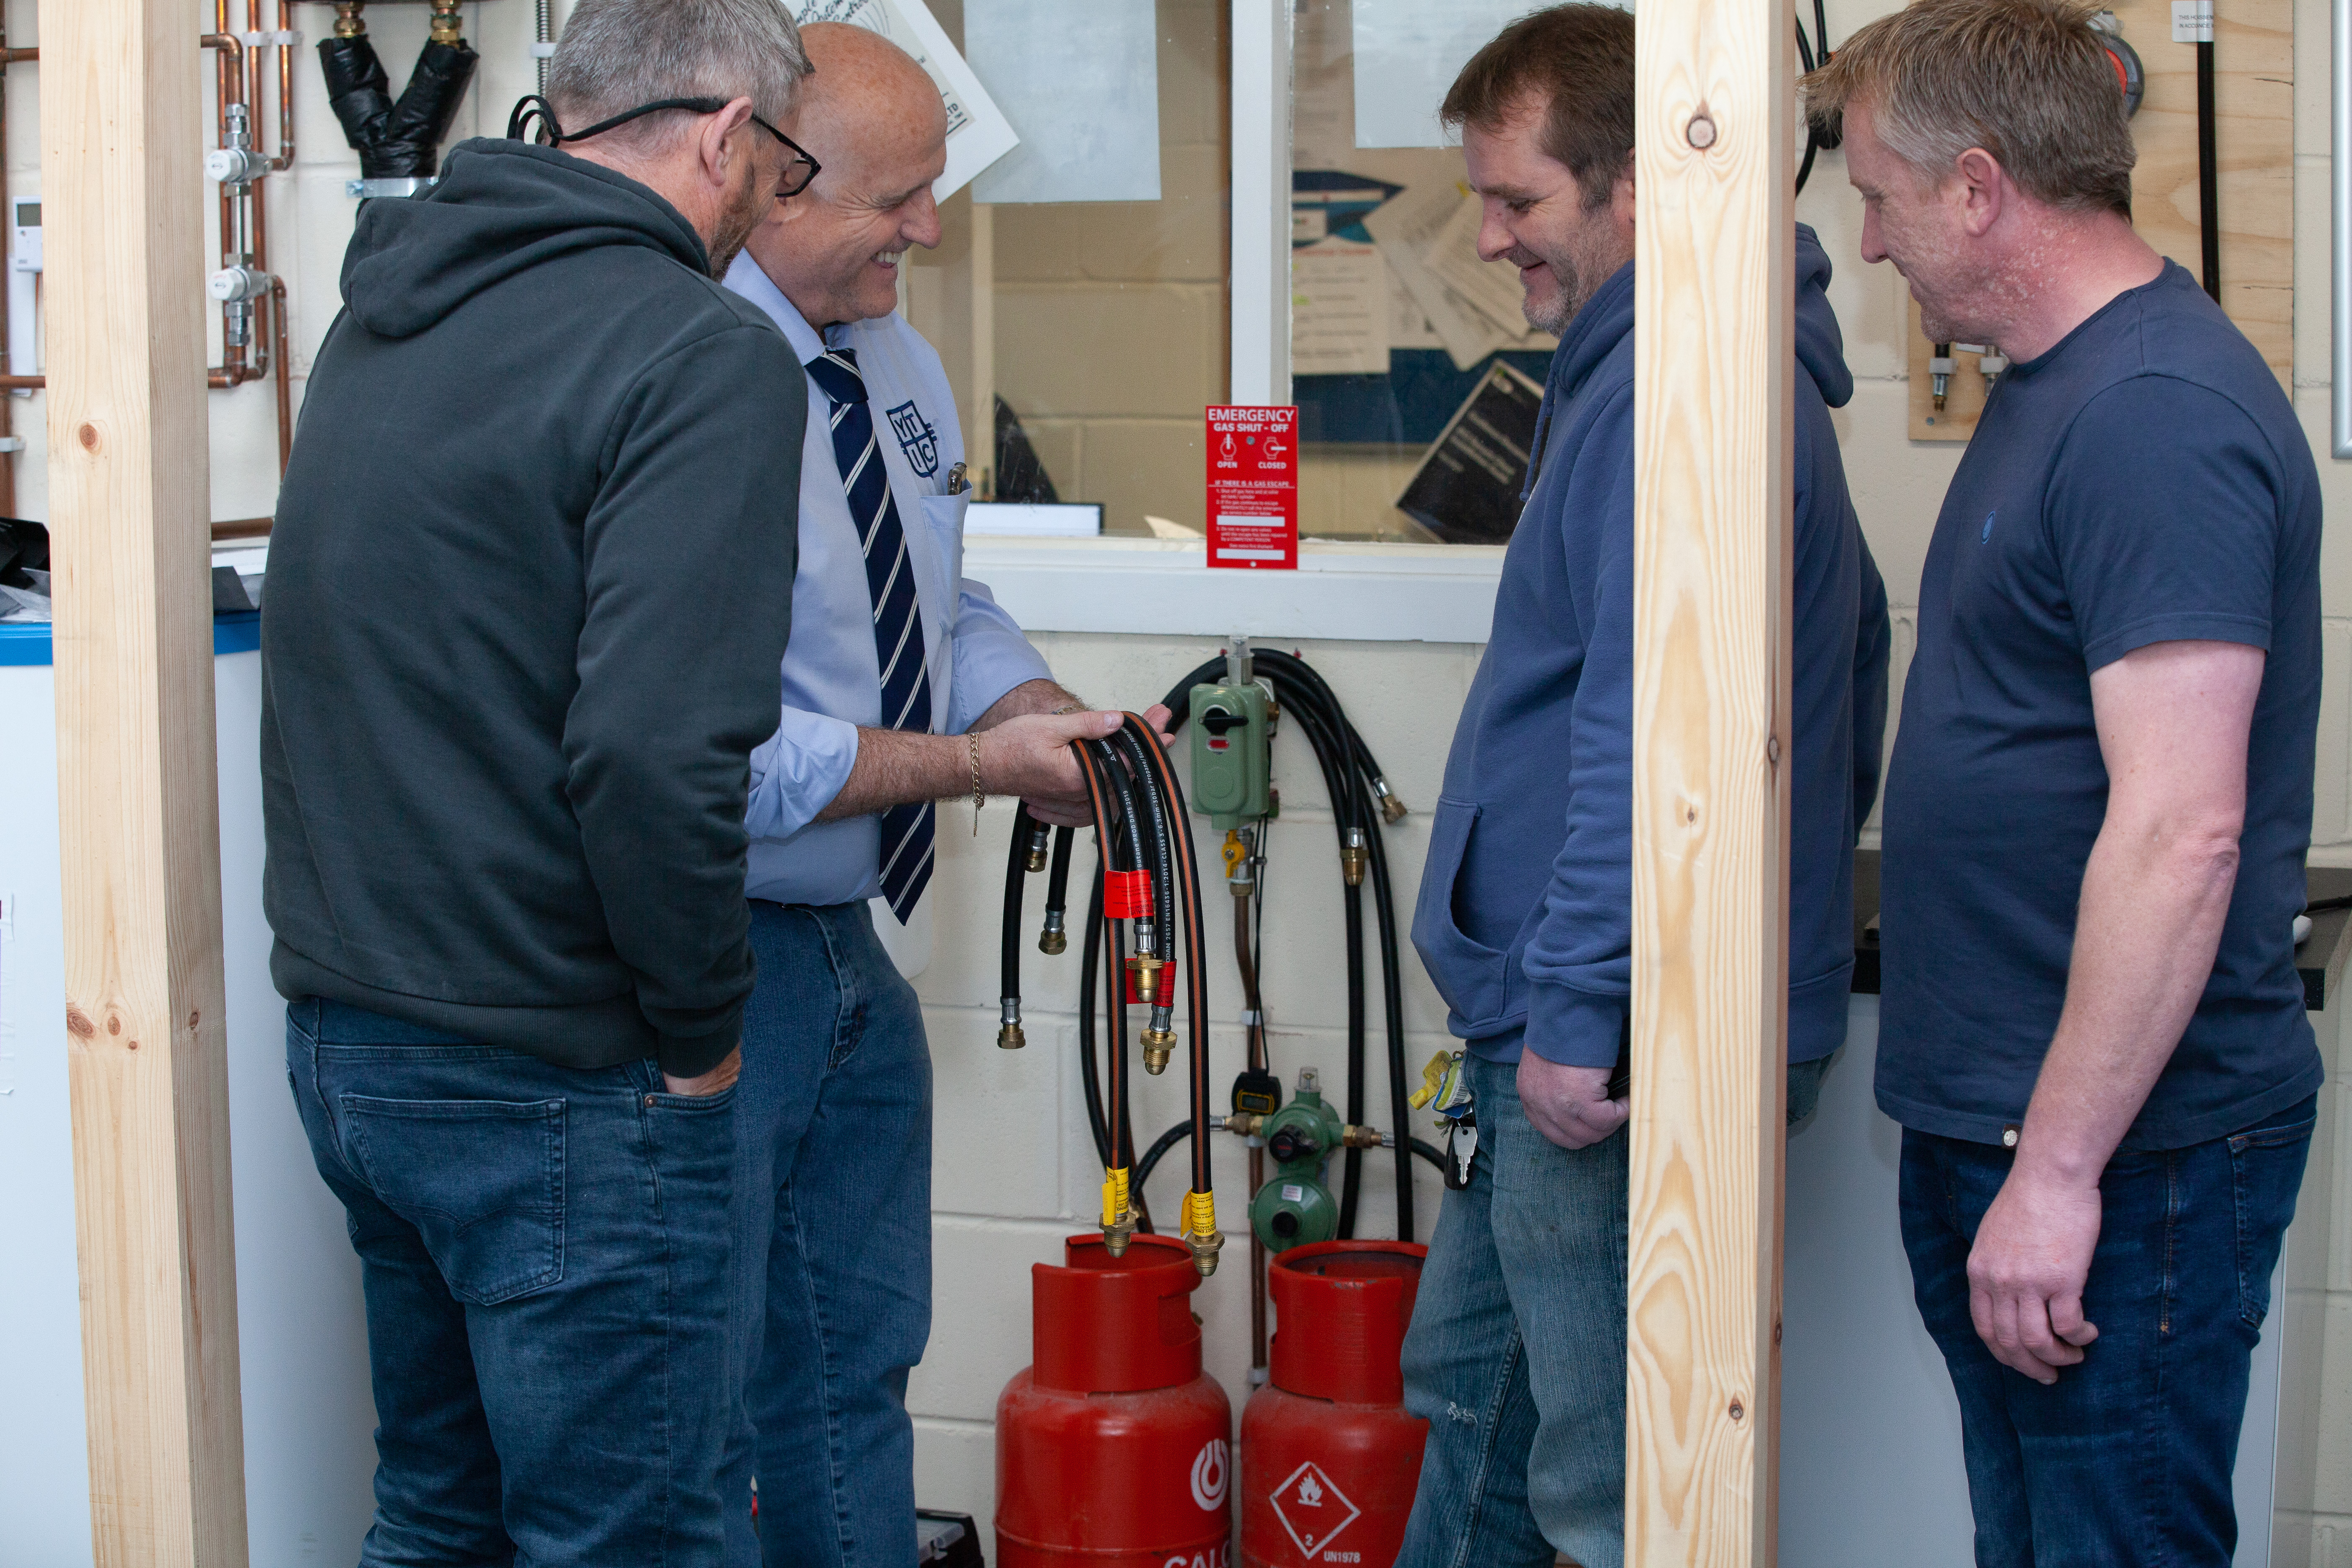
367 FITT courses
Yoga & Wellbeing Immersion Course
By Catherine Annis Yoga
Would you like to immerse yourself in your personal yoga practice? To refresh and inspire your personal approach to yoga? If, like many of us, you feel the need to take time out, dive deep into your personal practice and replenish your energy levels, then join us for this year’s Scaravelli Inspired Yoga & Wellbeing Immersion. This year, we’re focusing on feeling good. Exploring how and why yoga helps to lift our mood and downregulate our nervous system. Each day, we’ll practice yoga, breathwork and meditation. We’ll walk across the downs and down to the beach for a swim, maybe light a bonfire as the sun sets.


Beginner to Intermediate 3ds Max Training Program
By ATL Autocad Training London
Who is this course for? Beginner to Intermediate 3ds Max Training Program. Learn 3D modeling with our in-depth 3ds Max training program. Beginners to intermediate learners, this course is led by certified instructors and industry professionals. Learn 3D modeling, animation, and visualization. In-person or live online sessions. Click here for more info: Website Duration: 20 hours Method: 1-on-1 Personalized Attention. Schedule: Design your own schedule, hours of your choice, offered Mon to Sat from 9 am to 7 pm. 3ds Max and Vray Basic to Intermediate Training Course - 20 Hours Course Outline: Module 1: Introduction to 3ds Max (2 hours) Familiarizing with the 3ds Max interface and navigation Understanding the workspace setup for efficient workflow Mastering object creation, modification, and manipulation Exploring the basics of scene organization and management Module 2: 3D Modeling in 3ds Max (4 hours) Creating primitive and complex shapes using standard tools Utilizing modifiers for advanced modeling techniques Mastering spline modeling for precision and creativity Combining multiple objects for seamless compositions Module 3: Texture Mapping and Material Creation (4 hours) Understanding UVW mapping and texture coordinates Applying materials and shaders for realistic surfaces Utilizing Vray materials for enhanced visual effects Customizing materials for unique and captivating designs Module 4: Lighting and Rendering with Vray (4 hours) Implementing Vray lights for various lighting setups Exploring Vray's global illumination for realism Configuring render settings for high-quality output Fine-tuning the rendering process for efficiency and speed Module 5: Animation and Camera Techniques (4 hours) Setting up animation keyframes for dynamic motion Utilizing cameras for captivating viewpoints and perspectives Creating smooth camera animations and walkthroughs Incorporating animated objects to bring scenes to life Module 6: Scene Optimization and Advanced Features (2 hours) Streamlining scene organization for better workflow Leveraging Vray proxies for optimized performance Exploring advanced Vray features for stunning effects Using Vray render elements for post-processing control Module 7: Project Work and Review (2 hours) Applying the learned skills in hands-on projects Reviewing and refining the projects with instructor guidance Consolidating knowledge and addressing any remaining queries Course Requirements: A computer with 3ds Max and Vray installed (trial versions available on Autodesk and Chaos Group websites) Basic familiarity with 3D modeling concepts is beneficial but not mandatory Enthusiasm for learning 3ds Max and Vray to create impressive 3D models, visualizations, and animations By the end of the 3ds Max and Vray Basic to Intermediate Training Course, participants will be able to: Navigate and utilize the 3ds Max interface with ease for efficient 3D modeling and scene management. Create a variety of 3D models using different techniques, including primitive shapes, modifiers, and spline modeling. Apply textures and materials to their models, utilizing Vray materials for enhanced visual effects. Set up lighting and render scenes using Vray, understanding global illumination for realistic renders. Animate objects and cameras, producing dynamic and engaging animations within their 3D scenes. Optimize scenes and use advanced Vray features, like proxies and render elements, for improved performance and post-processing control. Apply the learned skills to hands-on projects, gaining practical experience in creating captivating 3D models and animations. Review and refine their projects, receiving instructor guidance and feedback to enhance their work. Gain confidence in using 3ds Max and Vray, allowing them to continue exploring and advancing their 3D modeling and rendering skills independently. Showcase their newfound abilities through an impressive portfolio of 3D models and animations, ready to take on new creative challenges in various industries. Skills Acquired: Mastering Fundamental 3D Modeling Techniques in 3ds Max Developing Texturing and Material Application Skills Understanding Lighting and Rendering Fundamentals Grasping Animation Basics and Keyframe Animation Gaining Proficiency in Scene Composition and Camera Setup Career Opportunities: Entry-Level 3D Modeler Junior 3D Animator Texturing and Lighting Assistant CAD Designer in Architectural Firms Product Visualization Artist in Marketing Agencies Upon completing our 3ds Max Beginner Course, students will acquire foundational 3D modeling and animation skills, opening doors to entry-level positions in various industries, including animation studios, architectural firms, and marketing agencies. Personalized Guidance: Expert trainers cater to your unique learning needs through tailored one-on-one coaching. Hands-On Learning: Engage in practical demonstrations, reinforcing skills applicable to industries like design, gaming, and film. Comprehensive Resources: Access a Certificate of Attendance and detailed training guides for continuous reference. Interactive Sessions: Interact live with tutors, receiving valuable feedback and access to recorded sessions. Flexible Options: Choose between online or in-person sessions, fitting your schedule and preferences. Value and Support: Enjoy competitive rates, discounts for referrals, and lifetime assistance via email and phone. Smooth Start: Receive assistance with software installation, ensuring a seamless learning experience.


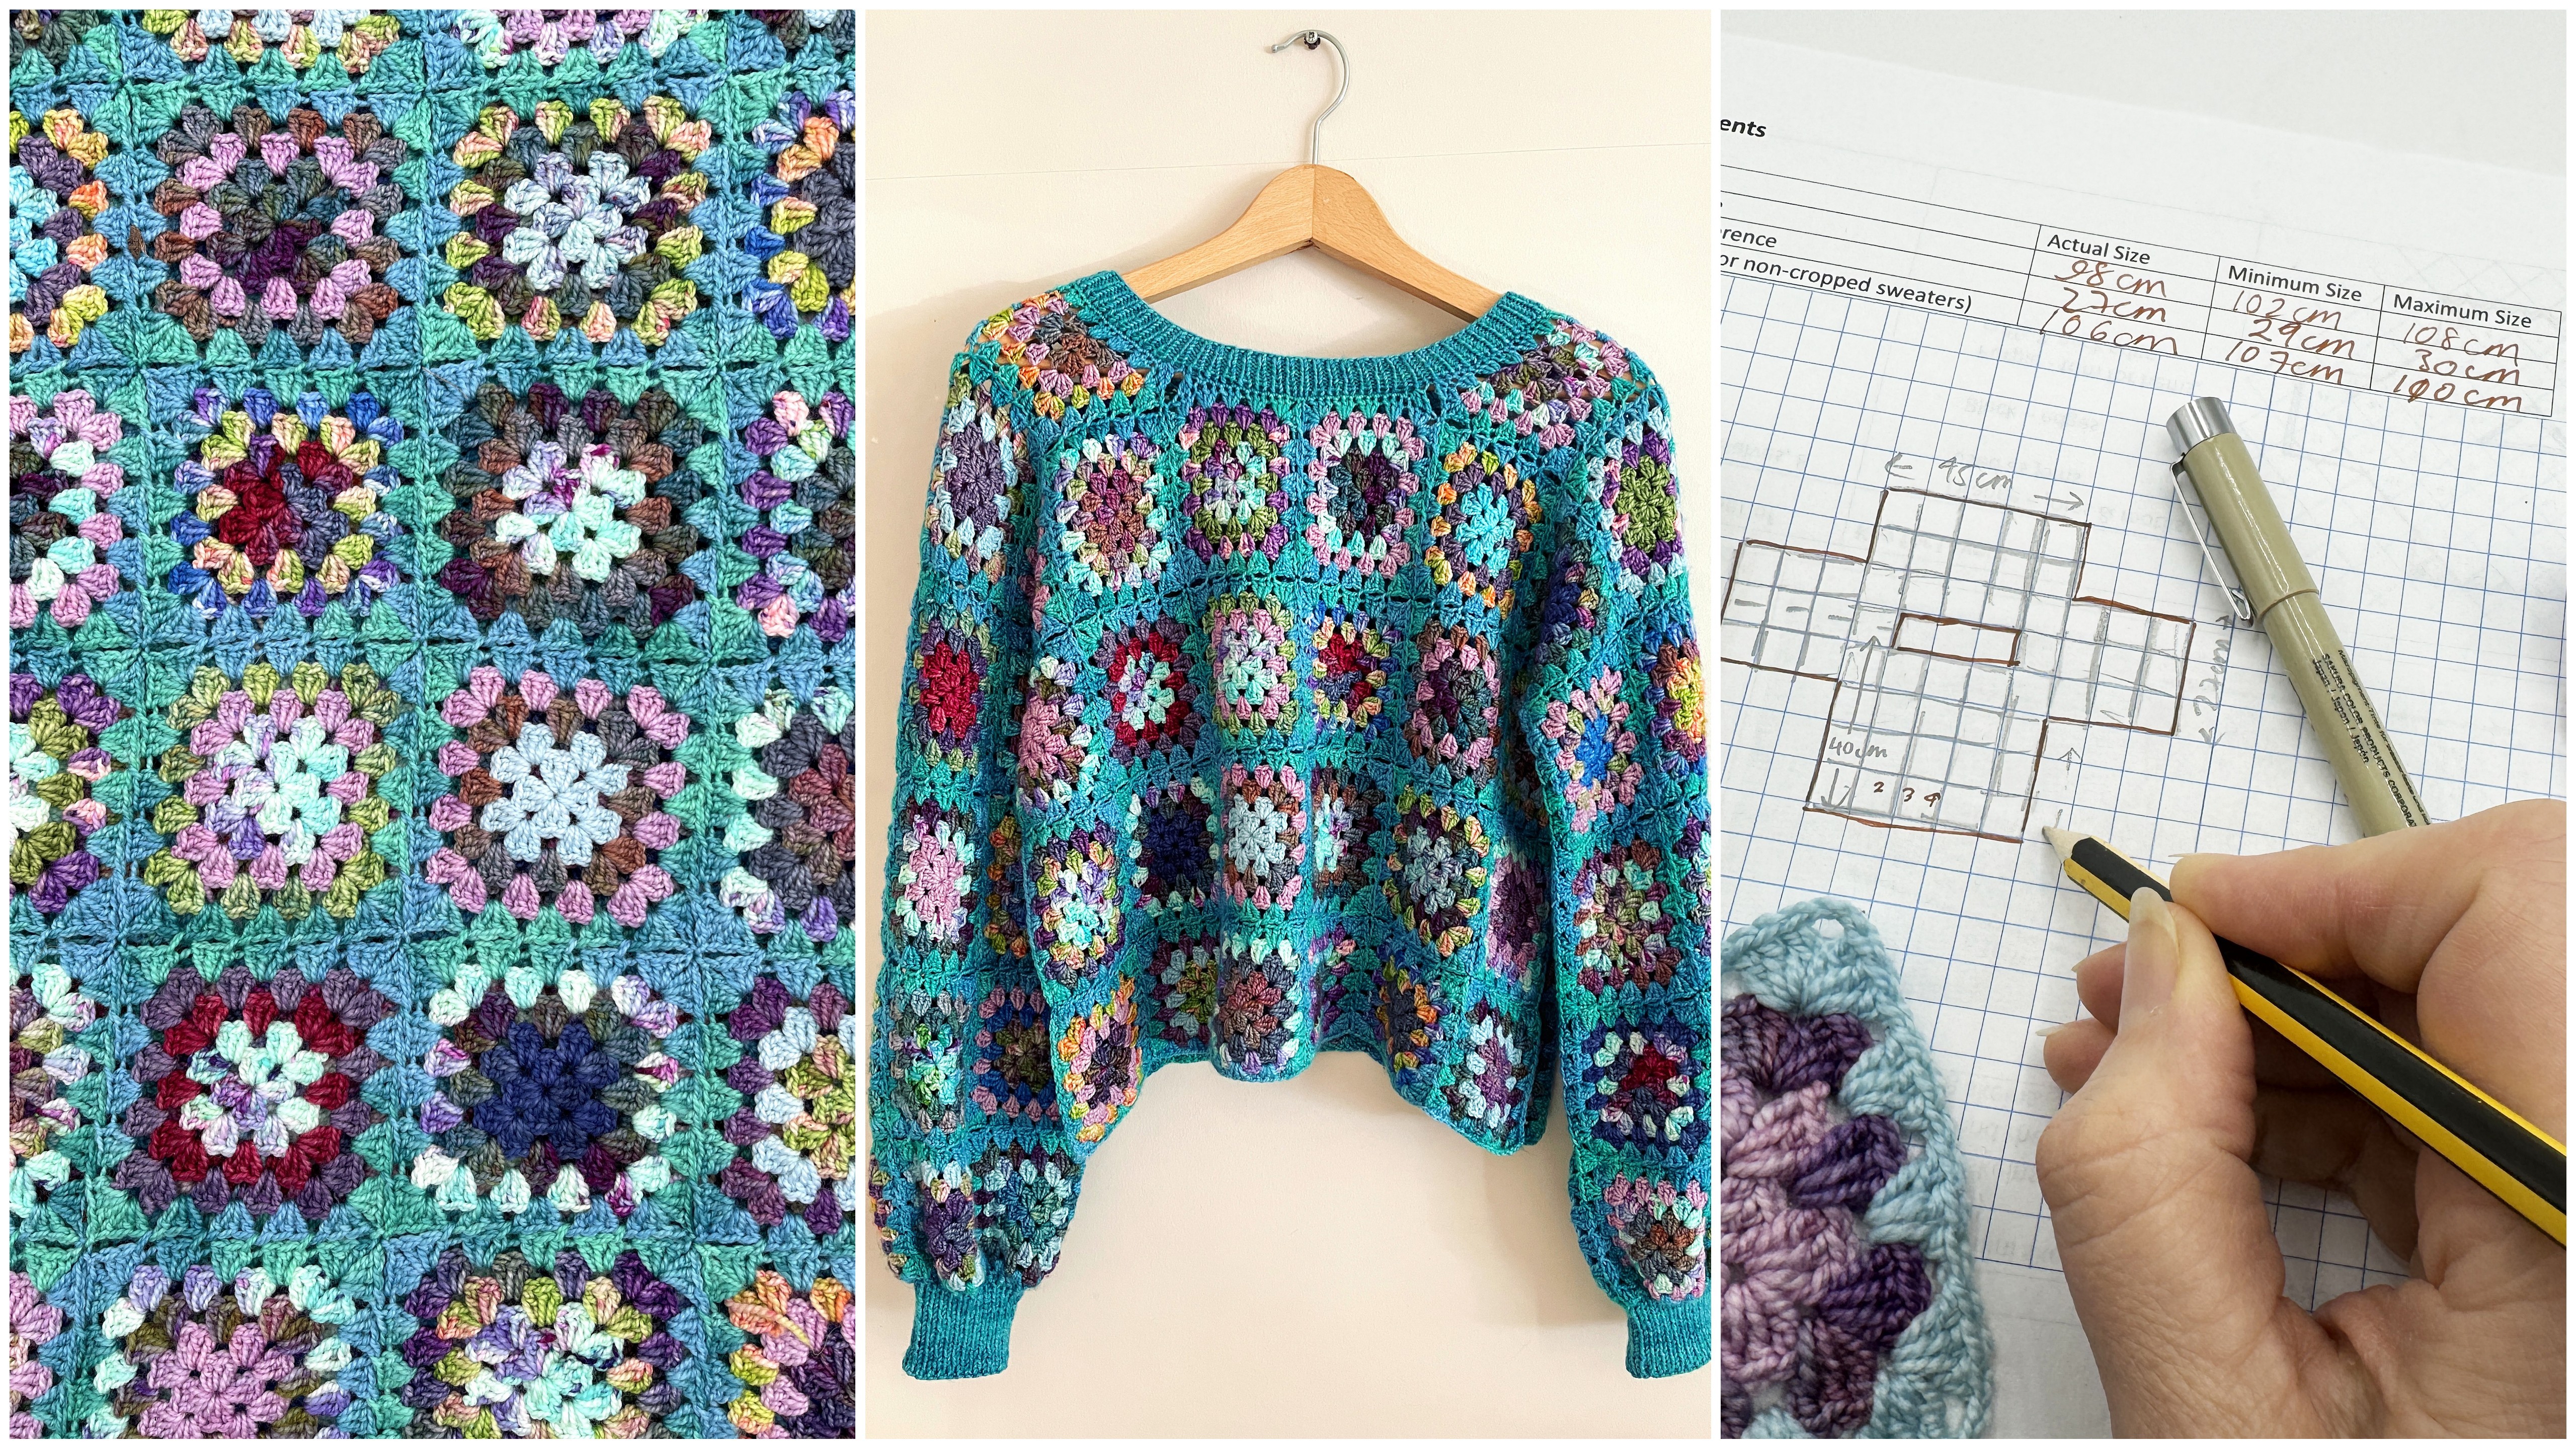
Design & Make Your Own Granny Square Sweater - Online Course Starting 22nd April 2024
By Merrian Holland
Learn how to design and customize a perfect fitting sweater using DK or 4ply/fingering weight yarn. From layout and shape to color placement and professional finishing, this 12-week course will guide you through every step with personalized assistance from expert crochet tutor, Merrian. You'll also be part of a small community of crochet students, all making the sweater together over the 12 weeks.
Interaction Design
By Experience Thinkers
Learn how to establish deliberate and creative interactions that allow users to navigate a platform in the ways that makes sense to them.

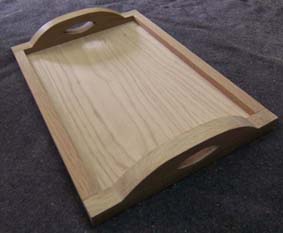
Cabinet Making course for all levels of ability
By Philip Hodge
Learn how to prepare & join wood to make items that are both practical & beautiful. With personal tuition learn to be creative.