- Professional Development
- Medicine & Nursing
- Arts & Crafts
- Health & Wellbeing
- Personal Development
Adobe Illustrator and Photoshop Training
By London Design Training Courses
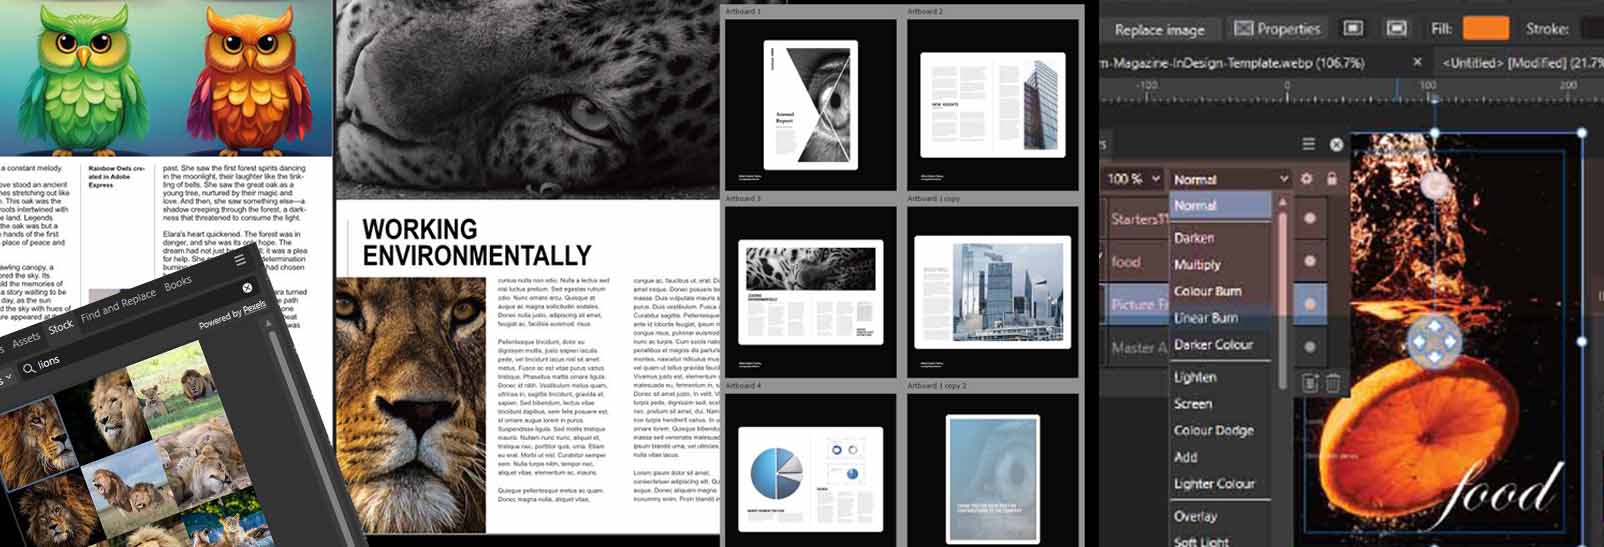
Why Choose Adobe Illustrator and Photoshop Training Course? Click here for more info Master vector graphics, digital illustrations, photo manipulations, and more. Certified tutors provide personalized guidance and feedback. Flexible scheduling available. Receive a Certificate of Completion. Learn Adobe Creative Cloud. Duration: 10 hrs. Method: 1-on-1, Personalized attention. Schedule: Tailor your own schedule by pre-booking a convenient hour of your choice, available from Mon to Sat between 9 am and 7 pm. This comprehensive and hands-on course introduces you to digital design through Adobe Photoshop and Illustrator. Learn how these three programs seamlessly collaborate to create stunning designs. Gain insights into bitmap and vector graphics and discover the most suitable image file formats for different scenarios. 10-hour course outline for Adobe Photoshop and Illustrator: Module 1: Introduction to Adobe Photoshop (1 hour) Overview of Photoshop interface and tools Understanding bitmap graphics and resolution Basic image editing techniques (cropping, resizing, color adjustments) Layers and their importance in design Module 2: Essential Photoshop Tools (1 hour) Working with selection tools (Marquee, Lasso, Magic Wand) Understanding brushes and brush settings Introduction to the Pen tool for precise selections Working with layers and layer styles Module 3: Advanced Image Editing (1 hour) Advanced color adjustments (Curves, Levels, Hue/Saturation) Photo retouching and manipulation techniques Creating composite images using blending modes Filters and special effects for creative designs Module 4: Introduction to Adobe Illustrator (1 hour) Overview of Illustrator interface and tools Working with vector graphics and paths Basic shapes and drawing tools Understanding anchor points and handles Module 5: Creating Vector Artwork (1 hour) Using the Pen tool for precise vector illustration Creating and editing shapes and objects Working with gradients and patterns Understanding the Appearance panel Module 6: Illustrator Typography (1 hour) Text tools and formatting options Creating text effects and artistic typography Combining text with shapes and images Working with text on a path Module 7: Combining Photoshop and Illustrator (1 hour) Importing Illustrator files into Photoshop and vice versa Working with smart objects and vector shapes in Photoshop Creating custom brushes and patterns in Illustrator for use in Photoshop Designing posters and flyers combining elements from both software Module 8: Integration with InDesign (1 hour) Exporting assets from Photoshop and Illustrator for InDesign Designing layouts in InDesign using assets from both programs Understanding print and digital design considerations Preparing files for printing and online use Module 9: Advanced Techniques and Tips (1 hour) Creating custom actions and automation in Photoshop Mastering advanced selection techniques Utilizing Illustrator's advanced tools (Pathfinder, Shape Builder, etc.) Exploring creative design styles and trends Module 10: Final Projects and Portfolio (1 hour) Students work on individual or group projects incorporating Photoshop and Illustrator skills Review and feedback on the projects Preparing a portfolio showcasing their work Download Adobe Illustrator - Free Trial https://www.adobe.com/uk/illustrator Throughout the course, you will explore various processes, including design and layout, workspaces, tools and palettes, importing files, and preparing files for both on-screen and print outputs. Course Objectives: By the course's conclusion, you will have a solid understanding of the fundamentals of each software package and their individual functionalities. You will learn how to efficiently work with all three applications in tandem and skillfully assemble print and digital-ready designs, leveraging elements crafted in Photoshop and Illustrator and integrated using InDesign.

Electricity Pricing and Marginal Cost Analysis - Virtual Instructor Led Training (VILT)
By EnergyEdge - Training for a Sustainable Energy Future
Develop a deep understanding of electricity pricing and marginal cost analysis with EnergyEdge's virtual instructor-led training course. Enroll now for a rewarding learning journey!

“You don't take a photograph. You make it" - Ansel Adams Photography For Parents - Editing In Lightroom Next course starts 11 March 2024 Editing is an essential skill for anyone with even just a passing interest in photography. Much as we try, we can't always get everything right in camera and editing tools help us bring our vision to life, help correct problems and allow our images to look beautifully polished. We teach how to do all these things in Adobe Lightroom because it's a powerful, intuitive and affordable tool used by Pros around the world for that very reason. KEY COURSE INFO: Course type: Instructor-led Course duration: 4 weeks + prep module Course format: Online course with interactive edit-along live classes, feedback on your learning and support group WHAT YOU LEARN: From being able to correct issues such as over/under exposure, issues with colour or graininess to bringing your vision to life, creating mood and tone to your images, knowing how to use editing software is a must. But good and purposeful editing goes way beyond just slapping on a preset or a filter - in our course we teach you all about the tools - not just what all of them do but how, and we teach you how to know what to use and when to achieve certain effects.everything you need to allow you to style your photos, confidently use the software and fix common problems. editing to correct common photo problems creating good editing workflow using powerful precision tools editing to achieve beautiful skin tones using light and colour creatively editing to bring out a mood of a feel THIS IS THE COURSE FOR YOU IF : Love taking photos but want them to look more polished - with colours that pop and light that's perfectly balanced You want to be able to fix common issues such as under- or overexposure, white balance or colour casts so that you never need to bin an image just because it wasn't right straight out of camera You want to get more creative with light and colour to make the images look just like the moment felt. Bring on the moody edits or sun soaked edits or light kissed skin tones or creative black and white conversions You want to confidently use the editing techniques so you can bring your vision to life every time, without guesswork You want to be able to prepare your images for print so that your walls can beam with pride at the beauty that you captured Next Editing in Lightroom course starts 11 March 2024 4 core course modules plus prep module Support Facebook group Weekly edit-along live webinar Practice files to learn on Feedback on your images HERE IS WHAT YOU WILL LEARN in this course : Our Photo Editing in Lightroom course guides you through the photo editing process in Adobe Lightroom from start to finish – from setting it up correctly, organising your collections and creating a workflow that works for you, through learning the capabilities of all the editing tools - such as adjusting exposure, colours, light or sharpening the images; all the way to printing and creating photo books. We’ll show you how to create specific artistic effects ( high impact Black and white, vintage, light and airy, dark and moody etc ), and how to fix common photography problems ( grainy images, underexposed images, wrong colours etc). At the end of the course you will be able to confidently manage your photo collection with Lightroom, achieve desired artistic effects and make your photos truly stand out. Getting around in Lightroom and Lightroom Classic - shooting in full manual - but with clarity and purpose Correcting common problems - whether your photo started too dark or too bright, your child's face was in a shade, the white balance and colours were off, the grain was heavy, the light looked dull - you can fix it all within a couple of clicks in Lightroom Using Lightroom's super powerful intelligent masking tools to quickly and efficiently edit specific parts of your image - from brightening up the eyes to rescuing overblown skies Enhancing and adding beautiful light - light makes images stand out, but it can be hard capturing the atmosphere it creates in camera at times. Lightroom is where you can bring light to life and make your images feel how what you saw in real life Knowing how to shoot in camera so you can get the most in editing - photographers will often purposefully under or overexpose images in camera so that they have more chance of balancing the image just they way they want in Lightroom. INSIDE THE MODULES - aka WHAT DO YOU LEARN? Module 0: Getting set up in Lightroom This module is released a week before the course starts to give you a chance to fully familiarise yourself with the layout, structure and the best way of working in Lightroom Classic, including guidance of creating a smooth selection and culling process that helps you see and keep the best of your images, without getting bogged down with 100s near duplicates. Module 1: Getting Started In Lightroom - Global Edits In this module we introduce you to Lightroom's most powerful tools - the global edits. We help you understand how to tweak your images to achieve the effects you're after quickly - from adjusting over and under exposure, to correcting white balance in a few different ways, to having a play with my favourite Lightroom tool - the tone curve. Major Takeaways: At the end of the module you will have gained full control of lightroom key global tools and will be able to use them to correct any global - as in affecting the whole image - issues with your images. This includes perfecting your exposure, balancing your colour and white balance, sharpening and creating clarity and more. Module 2: Targeted Edits - Masks! Lightroom allows us to apply edits to selected parts of the image through a range of its very powerful, intelligent and manual masks. This means you can now effortlessly select your subject from the photo to adjust them separately with just one click, you can pick only the sky, the subject's eyes or only colour green or any other element and treat them differently to the rest. Major Takeaways: You will be able to use the full range of masks in lightroom and apply your edits exactly where they are needed, and nowhere else. This includes working with with the new AI powered masks which can detect a person's individual features and allow you to selectively edit them in a few simple steps, as well as those more manual tools, that allow you to literally paint with light and colour on your photographs. Module 3: Creative Editing in Lightroom This is a brand new module in our course where we take all the tools introduced in Modules 1 and 2 and actually use them to achieve different effects on our photos. Wer show you how to be guided by light when editing, how to achieve a light and airy or a moody edit on your images, how to add light and how to convert to black and white, as well as how to edit skin in Lightroom! This module is all play! Major Takeaways: You will learn how to create yoru own editing process - from knowing where to start and to understanding what elements of your photograph may need or benefit from adjusting and knowing how you can do so to achieve different outcomes. You will also learn how to edit your skin tones so they look delightful - no matter what your subject's complexion. Module 4: After the edits We close the course with a module centered around all the things you might want to do after the edits - from preparation for print, creating photo books, but also sharing your images online and syncing them between different machines and adobe workplaces. PLUS there is a little Photoshop intro so you get a glimpse at how it's different and what it can do. Major Takeaways: You will learn how to connect all of your Adobe ecosystem and sync and share your images across multiple devices. You will learn how to prepare your images for print so they look their very best and how to create photobooks. Next course starts 11 March 2024 Absolutely, without a doubt book Editing. I was very unsure at first. My interest in photography is to capture those memories so it felt like it was 'cheating' to edit. I can honestly say it's like magic.To finish off the pictures you love and just give you complete control over the exposure, colours to make them perfect, to rescue the disasters etc. I learnt so much in those few weeks and it made the biggest difference to my photos. Kerry White Editing in LIGHTROOM Book your space now: COURSE STARTS : 11 March 2024 ( 4 weeks + 1 prep week)COURSE COST : £179 ( payment plans available ) What’s included: 4 weekly modules with step by step illustrated tutorials and videos + prep module weekly edit along class online class ( also recorded) - on Wednesday evenings feedback and advice on your edits private support group PDF workbook and downloadable videos Practice images to learn on Join our next group to really bring life to your images and make them look sleep, polished and full of light COURSE PREREQUISITES: Lightroom or Lightroom Classic CC software installed on your computer or tablet. RECOMENDED : Lightroom Photography Plan 25GB – a monthly subscription at approx £9pm – including Lightroom CC, Lightroom Classic CC and Photoshop. This plan can also be occasionally purchased at a lower price via Amazon or Groupon if you purchase a year’s worth of subscription in one go ( average savings – around 2-4 months worth depending on the deal) Please note that Adobe also has a Lightroom Plan with 1TB of storage – we do not recommend this plan as it restricts you to one version of software only. The increased Cloud storage can always be purchased as an add on or your plan can be switched from Photographer plan to CC only at a later stage if you prefer.

Sketchup One to One Basic to Intermediate Level
By Real Animation Works
Sketchup face to face training customised and bespoke.

Affinity Publisher Training
By Greta Powell Training
Affinity Publisher Training Course for Beginners. Online Affinity Training with live instructors or face to face onsite. Learn to create and design layouts for flyers, brochures, newsletters, marketing documents and business stationery.
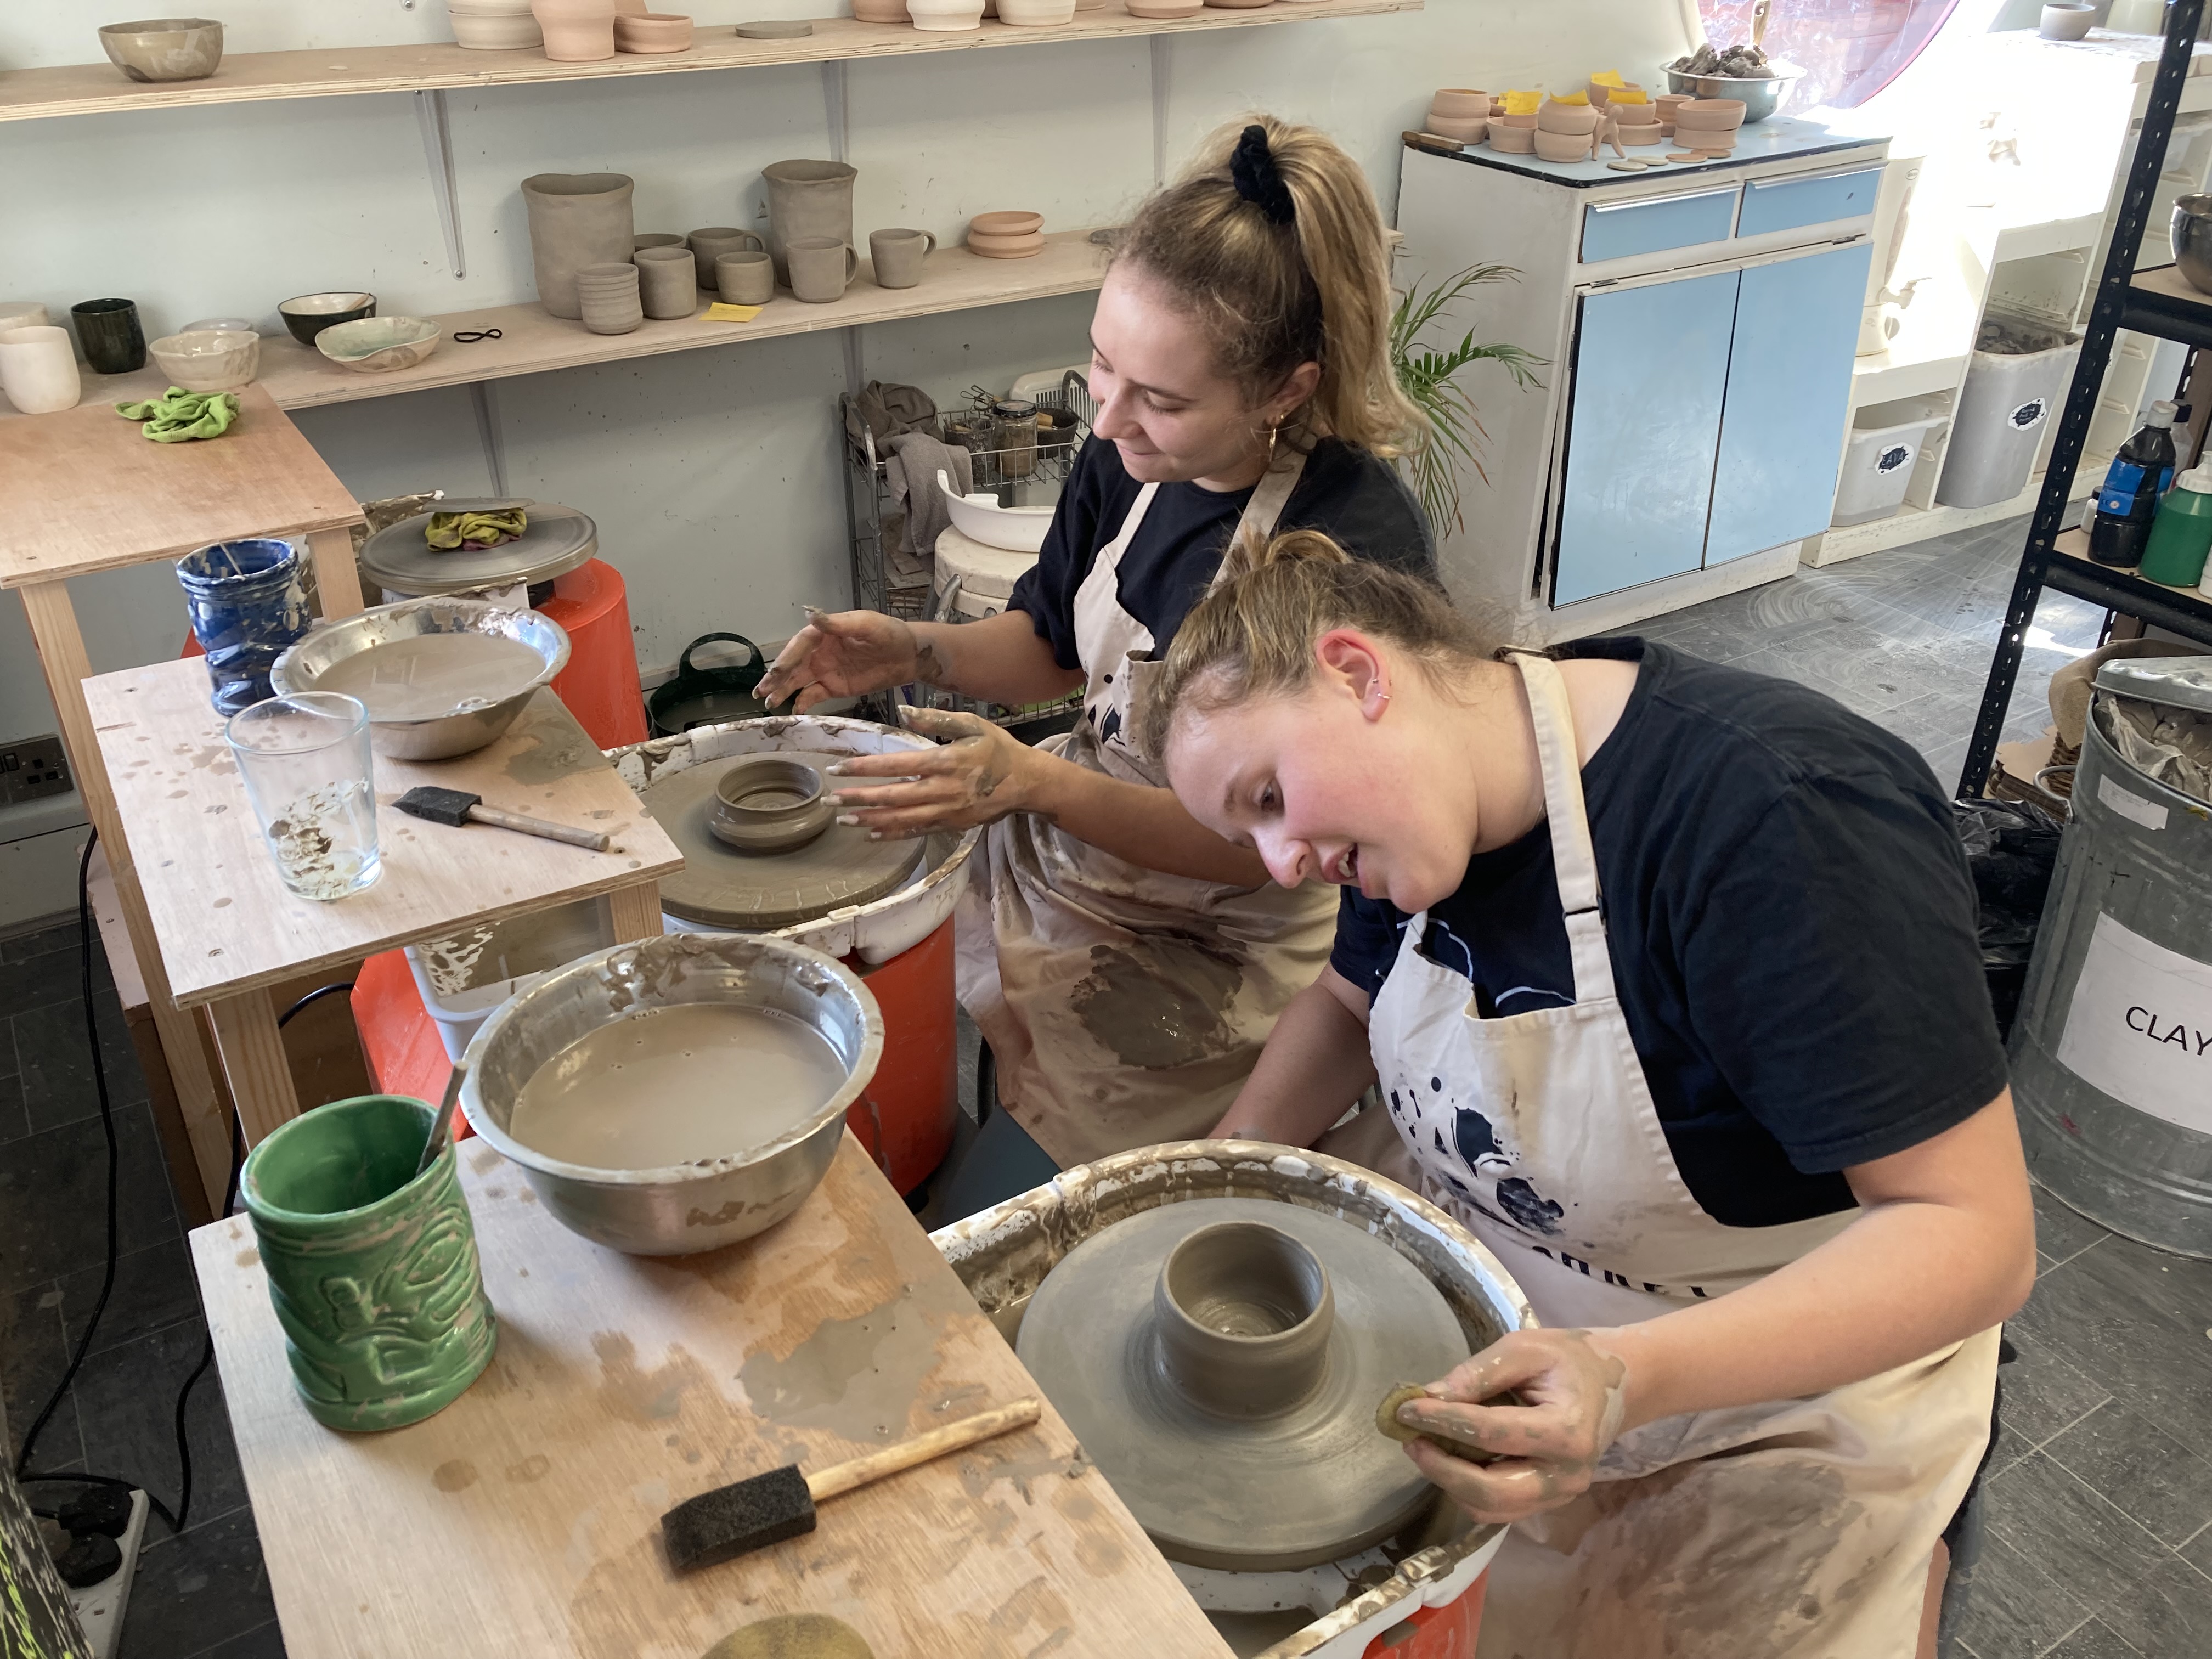
Art Craft Pottery Wheel Taster Class
By Art Craft Studios
If you've always wanted to make handmade pottery but have no idea where to begin, this beginner-friendly wheel throwing class could be just the pottery workshop for you & your friends!
This English Exam Preparation course is specifically designed for adult learners who are preparing to take an English language proficiency exam, such as IELTS, TOEFL, or Cambridge exams. Participants will focus on developing the necessary skills and strategies to achieve a successful outcome in their chosen exam. Through targeted practice, exam-specific tasks, and personalised feedback, learners will gain confidence and proficiency in all sections of the exam. Course Duration: 12 weeks (48 sessions) Course Objectives: By the end of this course, participants will: 1. Understand the format and requirements of the chosen English language proficiency exam. 2. Develop effective strategies for each section of the exam. 3. Enhance reading, writing, listening, and speaking skills within the context of the exam. 4. Expand vocabulary and improve language accuracy for exam-specific tasks. 5. Practice time management techniques to complete tasks within the allocated time. Course Outline: Week 1: Introduction to the Exam - Introduction to the chosen English language proficiency exam - Overview of the exam format, sections, and scoring criteria - Assessment of participants' current language proficiency and individual learning goals Week 2: Reading Skills and Strategies - Understanding different question types in the reading section - Developing reading skills for comprehension, skimming, and scanning - Practice exercises and strategies to improve speed and accuracy Week 3: Writing Skills and Strategies - Analyzing the writing tasks and requirements of the exam - Developing skills for organising ideas, structuring paragraphs, and coherence - Practice exercises for different writing tasks (essays, reports, letters, etc.) Week 4: Listening Skills and Strategies - Identifying question types and understanding the listening section format - Developing listening skills for main ideas, details, and inference - Practice exercises and strategies for improving listening accuracy and note-taking Week 5: Speaking Skills and Strategies - Understanding the speaking section requirements and assessment criteria - Developing skills for fluency, coherence, and pronunciation - Practice exercises for different speaking tasks (interviews, presentations, etc.) Week 6: Vocabulary Expansion for Exam Tasks - Expanding vocabulary in specific topics and themes relevant to the exam - Practice exercises to reinforce and use new vocabulary effectively - Techniques for deducing meaning from context and using appropriate vocabulary Week 7: Grammar and Language Accuracy - Reviewing and reinforcing essential grammar rules and structures - Identification and correction of common grammar errors in exam tasks - Exercises and activities to improve language accuracy in writing and speaking Week 8: Time Management and Exam Strategies - Strategies for time management and prioritizing tasks during the exam - Practice exercises to improve speed and efficiency in completing tasks - Tips and techniques for maximizing scores in each section Week 9: Mock Exam: Reading and Writing - Simulating a complete reading and writing section of the exam - Timed practice sessions to replicate exam conditions - Detailed feedback and analysis of strengths and areas for improvement Week 10: Mock Exam: Listening and Speaking - Simulating a complete listening and speaking section of the exam - Timed practice sessions to replicate exam conditions - Detailed feedback and analysis of strengths and areas for improvement Week 11: Exam Strategies Review and Practice - Reviewing and reinforcing exam strategies for each section - Targeted practice exercises to address specific challenges and areas of improvement - Individualised feedback and guidance based on participants' performance Week 12: Final Evaluation and Exam Tips - Comprehensive review of all exam sections and strategies - Final evaluation to assess participants' progress and readiness for the exam - Tips for managing test anxiety and mental preparation for the exam Note: This syllabus is a guideline and can be customised based on the specific exam requirements and the needs, interests, and proficiency levels of the participants. The course may also include additional topics or activities to cater to learners' specific goals or areas of focus.
Introductory Confidence Building Evening for quiet, shy and introverted people
(6)By The Sunflower Effect Confidence Courses
Designed for quiet, shy, self-conscious and introverted people. In this introductory evening, you will be discovering the keys to authentic confidence based on author and self-confidence specialist, Claire Schrader's experiences of being a shy introvert, and what really worked in getting her out of her shell so she could achieve things in her personal and professional life she never would have thought possible. You will meet Claire in person and experience a series of confidence exercises that you will be able to put into practice in your everyday life. Claire creates an informal, relaxed, non-judgmental atmosphere that will quickly put you at your ease, and free you of the internal pressures that normally inhibit you from expressing yourself. It's a very safe place for you to gently stretch out of your comfort zone with people who feel in the same boat as you.

Teenage Fashion Lab (11-17 years)
By Summer Fashion School London
Learn to make on-trend garments, develop your sewing & pattern cutting skills, whilst getting into the mind of a designer. We have a range of compelling and sustainable workshops taught by expert tutors and industry professionals.

Maya Essentials Basic to Fundamental Training Program
By ATL Autocad Training London
Autodesk Maya Basic to Fundamentals Training. Ideal for beginners, learn to navigate Maya's interface, create models, apply textures, animate objects, and delve into advanced topics. Engage in interactive in-person or online sessions. Access recorded lessons for review and receive lifelong email support. Learn 3D modeling and animation - enroll today! Click here for more info: Website Duration: 10 hours of immersive learning. Method: Personalized 1-to-1 sessions and Choose your own day and time Monday to Saturday 9 am to 7 pm. Course Overview: I. Introduction to Maya (1 hour) Maya overview and applications Basic interface and navigation tools Project creation and management II. 3D Modeling Techniques (2 hours) Polygon modeling fundamentals Creating, editing, and refining objects Advanced techniques like extrusions and bevels III. Texturing and Materials (1 hour) Introduction to texturing concepts Material creation and application Texture mapping, UV unwrapping, and image importing IV. Lighting and Rendering (1.5 hours) Basic lighting techniques and composition setup Rendering images and animations effectively Output options and file formats V. Animation Skills (2.5 hours) Keyframe animation and animation curves Character rigging and animation Special effects: particles, fluids, explosions, and smoke VI. Intermediate Modeling Techniques (1 hour) NURBS modeling basics and advanced curves/surfaces manipulation Creating organic shapes with NURBS and sculpting tools VII. Conclusion and Next Steps (0.5 hours) Course review and recap Further learning resources and tips Q&A and feedback session Autodesk Maya Basic to Fundamentals Training Course Key Learning Areas: Advanced modeling techniques: Surfaces, Polygons, Subdiv Modeling, etc. Deformation methods: Twist, Lattice, Flare, Bend Shape manipulation: Lines, Pen tools, Revolve, Loft, Planer, Text in Maya Animation: Keyframes, Path animations, Timeline Texturing and Rendering: Diffuse, Reflections, Transparency, Shaders, Resolution settings Lighting and Camera: Basic & advanced lights, Shadows, Camera effects, Path animation Note: The course content and duration are adaptable to cater to learners' needs and proficiency levels. Maya Interface Proficiency: Participants will develop a comprehensive understanding of Maya's interface, tools, and workflow, allowing them to navigate seamlessly and manage projects efficiently. 3D Modeling Skills: Students will be equipped with polygon modeling techniques to create both basic and complex 3D models with precision. They will master the art of shaping and refining objects, elevating their creativity in 3D design. Texturing and Materials Mastery: Learners will gain expertise in texturing, applying materials, and incorporating images to enhance the visual appeal of their 3D models. They will create captivating surfaces with colors, textures, and reflectivity. Lighting and Rendering Expertise: Participants will learn essential lighting techniques to illuminate their scenes effectively. They will set up cameras and produce high-quality still images and dynamic animations with Maya's powerful rendering capabilities. Animation Techniques: Students will explore the world of animation, utilizing keyframe techniques and animation curves to bring their creations to life. They will delve into character rigging, animating characters with sophistication and realism. Special Effects and Dynamics: Learners will unleash their creativity with mesmerizing particle systems, fluid simulations, and dynamic effects. They will craft captivating visuals, such as explosions and smoke, adding depth and excitement to their projects. Intermediate Modeling Techniques: Participants will refine their skills with NURBS modeling, mastering curve and surface manipulation. They will create intricate organic shapes, pushing the boundaries of their artistic expression. Creative Problem-Solving: Throughout the course, students will tackle real-world projects, facing challenges that foster creative problem-solving skills. They will gain confidence in overcoming obstacles in 3D modeling and animation. Maya Essentials Basic to Fundamental Training Program: Course Focus: Autodesk Maya Essentials, covering fundamental concepts and techniques. Duration: Flexible scheduling, tailored to individual learning pace. Method: Personalized 1-1 training, interactive sessions, hands-on projects. Curriculum Highlights: Introduction to Maya (1 hour): Interface overview, navigation, project management. 3D Modeling Techniques (2 hours): Polygon basics, object creation, advanced editing. Texturing and Materials (1 hour): Texture mapping, material application, UV unwrapping. Lighting and Rendering (1.5 hours): Lighting fundamentals, composition setup, effective rendering. Animation Skills (2.5 hours): Keyframe animation, character rigging, special effects. Intermediate Modeling (1 hour): NURBS modeling, organic shapes, sculpting tools. Conclusion and Next Steps (0.5 hours): Course review, learning resources, Q&A session. These resources will complement your training, providing additional support and insights as you explore the world of Autodesk Maya. Explore the World of 3D Animation: Master the intricacies of 3D computer graphics and animation using Autodesk Maya. Delve into modeling, texturing, animation, and rendering to bring your creative visions to life. Practical Learning Experience: Dive into hands-on projects refining your skills. Craft 3D models, apply textures, animate characters, and produce polished renders. Recognized Industry Expertise: Gain proficiency in Autodesk Maya, a leading software in entertainment, gaming, and animation. Enhance your employability with highly sought-after skills, opening doors to diverse career paths. Endless Applications: Uncover Maya's versatility in entertainment, architectural visualization, product design, and more. Tailor your expertise to align with your passions and career aspirations. Reinforcement through Recordings: Access comprehensive lesson recordings for thorough review. Revisit specific topics, reinforcing your grasp of Autodesk Maya at your own pace. Continuous Guidance: Receive lifetime email support for ongoing mentorship. Seek answers, clarifications, and expert advice, ensuring your continuous growth even after completing the course.