- Professional Development
- Medicine & Nursing
- Arts & Crafts
- Health & Wellbeing
- Personal Development
Photoshop Evening Training
By London Design Training Courses
Why Choose Photoshop Evening Training Course? Click here for more info Become proficient in Photoshop, the premier photo editing software, with our London Software Training course. Gain essential skills in photo editing, enabling independent navigation of the interface for successful edits and graphic creation. Duration: 10 hours Approach: 1-on-1 guidance, Customized instruction. Schedule: Tailor your own hours, available from Mon to Sat between 9 am and 7 pm.Or Call 02077202581 or WhatsApp 07970325184. Participate in our Photoshop Evening Training Course, hosted at the UK's largest training school. Whether you're a beginner or an expert, our course is tailored to suit your level, offered both live online and in person. Adobe Photoshop Course Highlights: Embark on your design journey with our Adobe Photoshop course, conducted at the UK's leading Adobe Training Centre. Acquire proficiency in Adobe's premier digital imaging software, crucial for digital content creation. Our courses prioritize hands-on exercises, ensuring practical learning experiences. Whether you're new to Photoshop or an experienced user seeking efficiency, our diverse courses cater to your needs. Join us to master Photoshop and unleash your creative potential. Course Details: Duration: 10 hours Approach: Personalized 1-on-1 guidance, customized instruction. Schedule: Flexible hours available from Mon to Sat between 9 am and 7 pm. For inquiries, call 02077202581 or WhatsApp 07970325184. Evening Adobe Photoshop - 10-Hour Training Course Module 1: Introduction to Photoshop (1 hour) Overview of Photoshop interface and tools Understanding file formats and resolution Navigating the workspace and customizing preferences Essential keyboard shortcuts for efficient workflow Module 2: Working with Layers (1 hour) Mastering the concept of layers and their importance Organizing and managing layers effectively Applying layer styles for creative effects Utilizing blend modes for stunning compositions Module 3: Selection Techniques (1 hour) Understanding different selection tools and their uses Precise selections using the Marquee, Lasso, and Magic Wand tools Advanced selections with Quick Selection and Refine Edge Creating masks for non-destructive editing Module 4: Image Editing and Retouching (1 hour) Essential photo retouching techniques for portraits and landscapes Correcting exposure, color, and tone with Adjustment Layers Using the Healing Brush and Clone Stamp for seamless repairs Removing distractions and blemishes with Content-Aware tools Module 5: Typography and Text Effects (1 hour) Working with text layers and formatting options Creating eye-catching text effects using Layer Styles Manipulating text along paths and shapes Designing typographic compositions Module 6: Advanced Image Manipulation (1 hour) Combining images with layer masks and blending modes Creating composite images and surreal artwork Applying transformations and distortions for creative effects Working with Smart Objects for non-destructive editing Module 7: Filters and Special Effects (1 hour) Exploring various filters for artistic and practical purposes Applying blur, sharpening, and distortion filters Creating artistic effects with the Filter Gallery Using smart filters for flexible editing Module 8: Drawing and Vector Graphics (1 hour) Working with shape layers and vector tools Creating custom shapes and icons Utilizing the Pen tool for precise illustrations Designing logos and scalable graphics Module 9: Advanced Color Correction (1 hour) Mastering color adjustments with Curves and Levels Using Adjustment Layers for selective color control Understanding color spaces and profiles Creating duotones and split-tones Module 10: Designing for Web and Print (1 hour) Preparing images for web and social media platforms Understanding resolution and color modes for print Exporting files in various formats for different purposes Final project: Designing a digital artwork or print-ready composition Learning Outcome refers to what students are expected to know, understand, or be able to do at the end of a learning experience, such as a course, training program, or educational module. Learning outcomes are usually specific, measurable, and achievable objectives that demonstrate the effectiveness of the learning process. For example, learning outcomes for a Photoshop course could include: Participants will be proficient in using essential Photoshop tools and features. Participants will demonstrate the ability to apply advanced image editing and retouching techniques. Participants will be able to create visually appealing designs using layers, typography, and special effects. Participants will understand and utilize different file formats and color modes for various output requirements. Participants will produce a final project showcasing their skills and creativity in Adobe Photoshop.
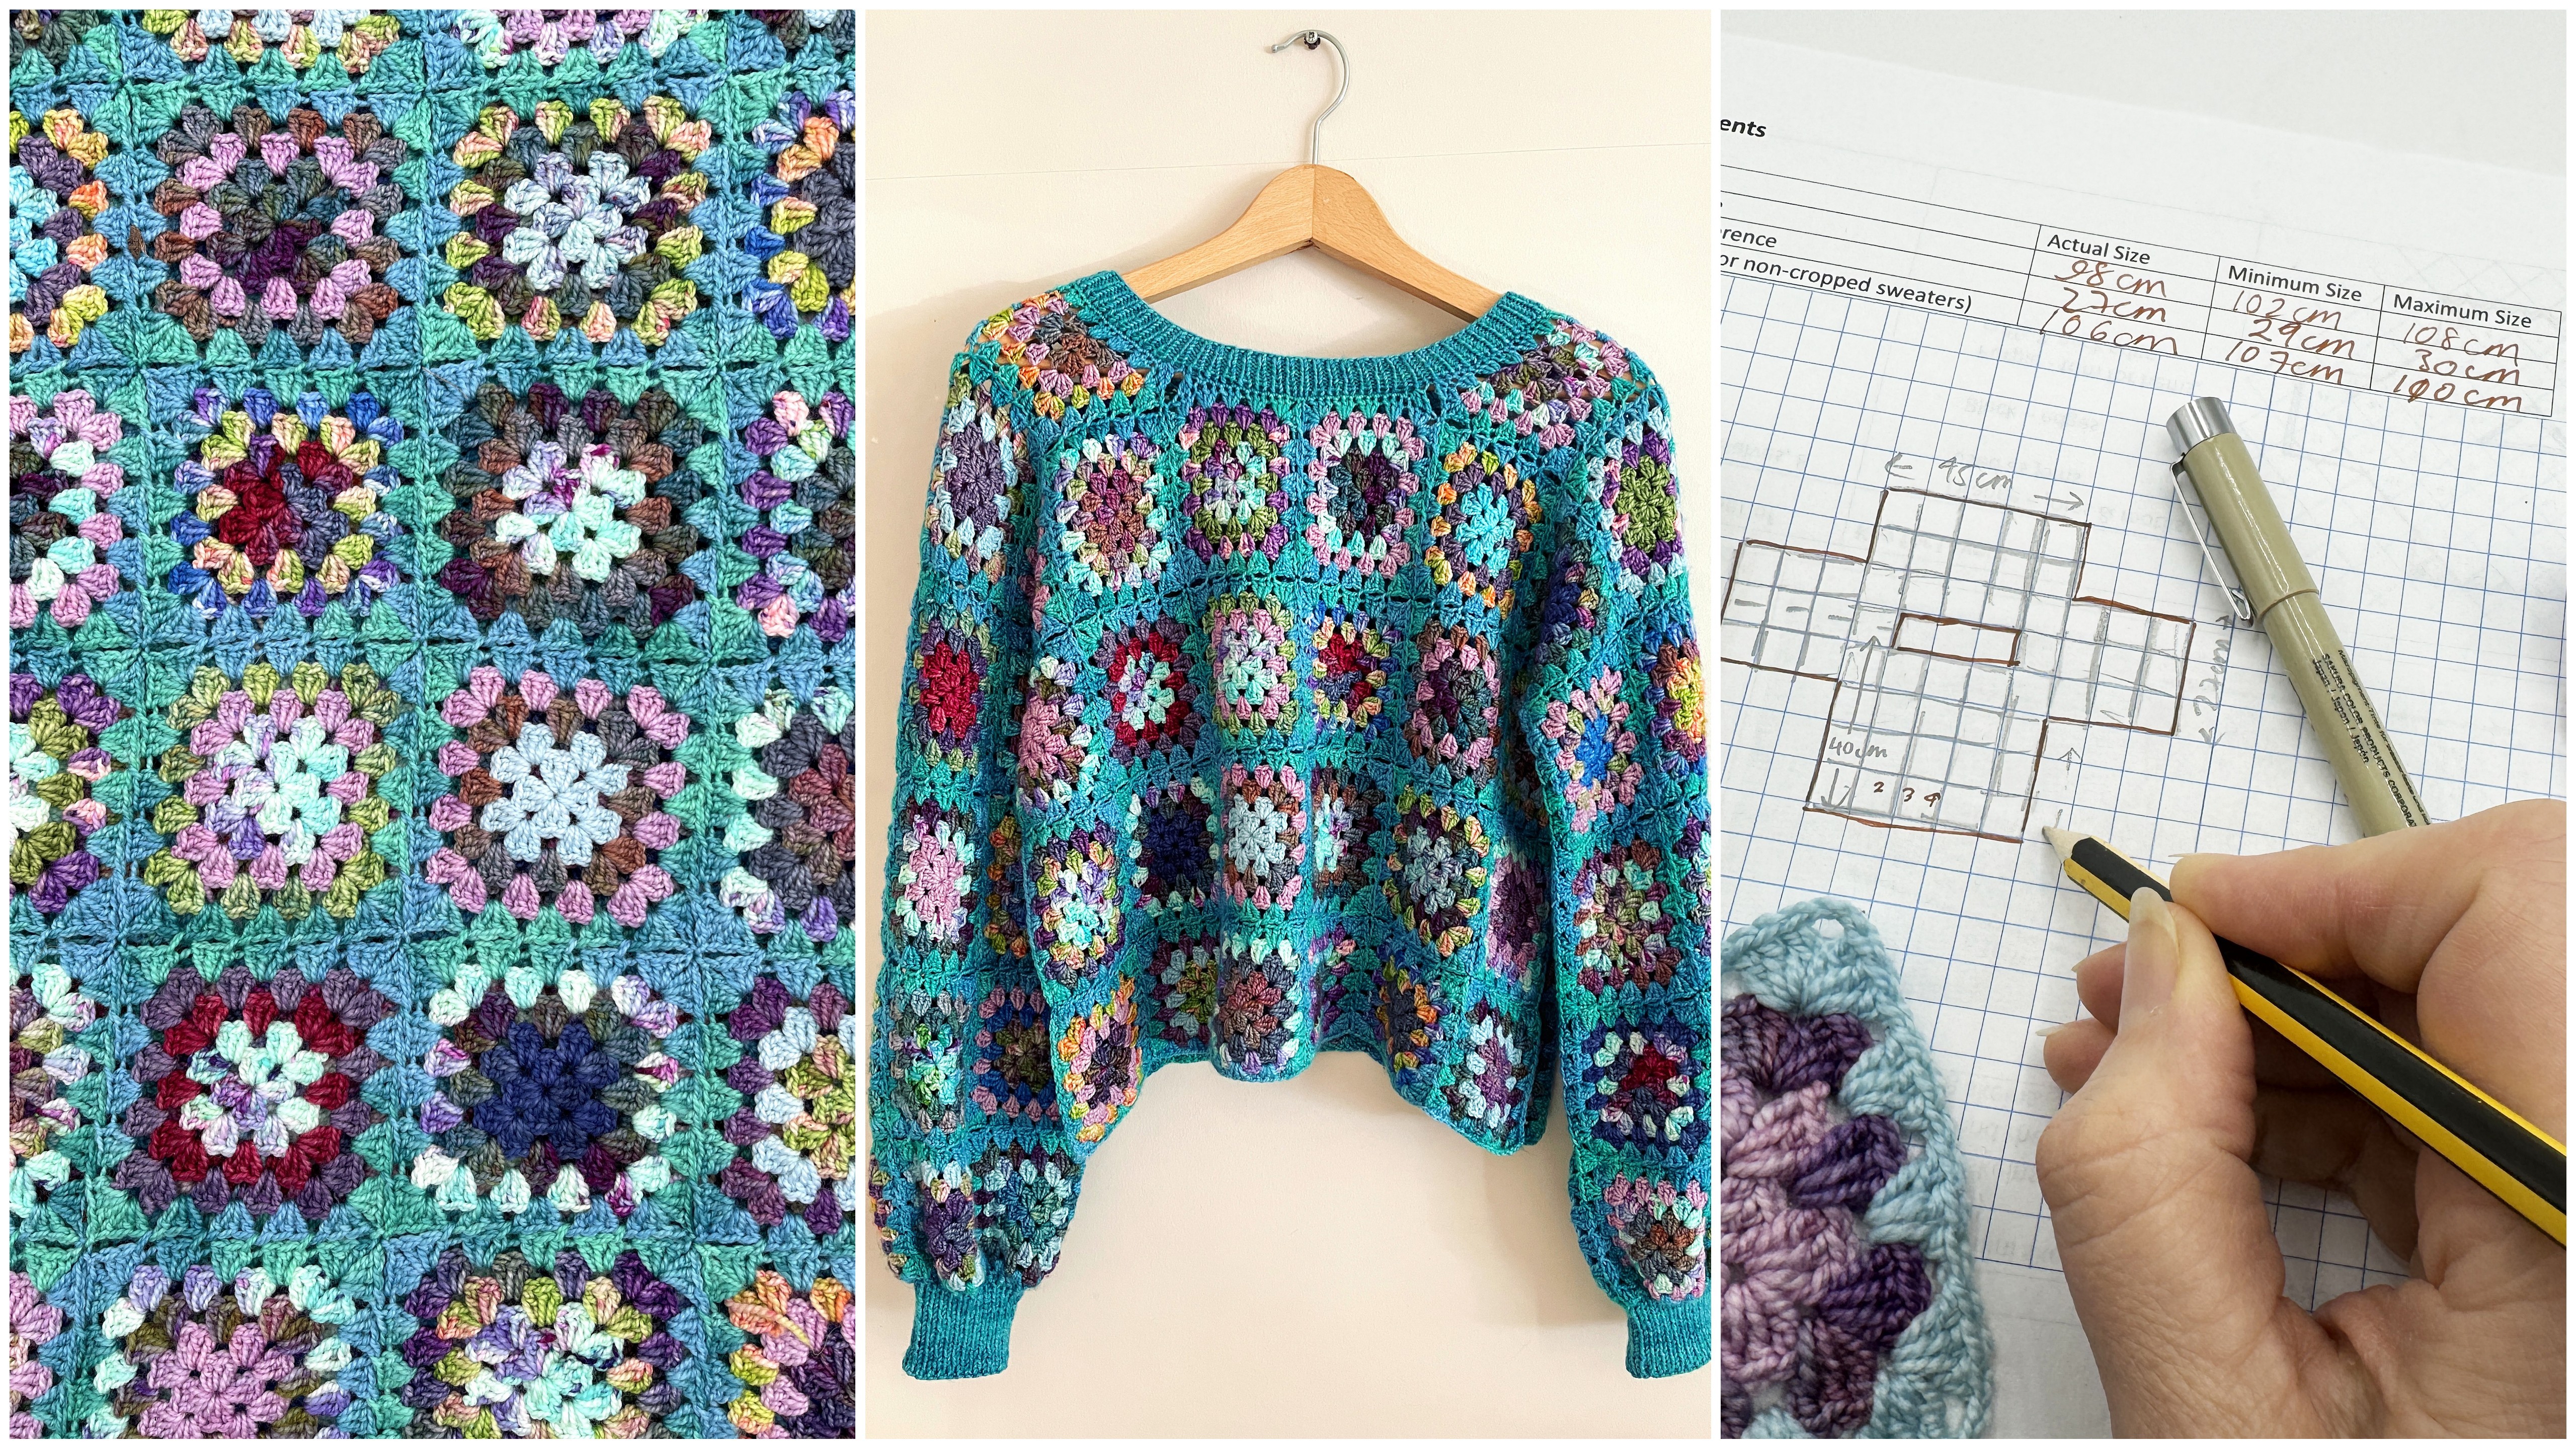
Design & Make Your Own Granny Square Sweater - Tuesday Evenings - Walton-on-Thames
By Merrian Holland
Learn how to design and customize a perfect fitting sweater using DK or 4ply/fingering weight yarn. From layout and shape to color placement and professional finishing, this 7-week course will guide you through every step with personalized assistance from expert crochet tutor, Merrian.
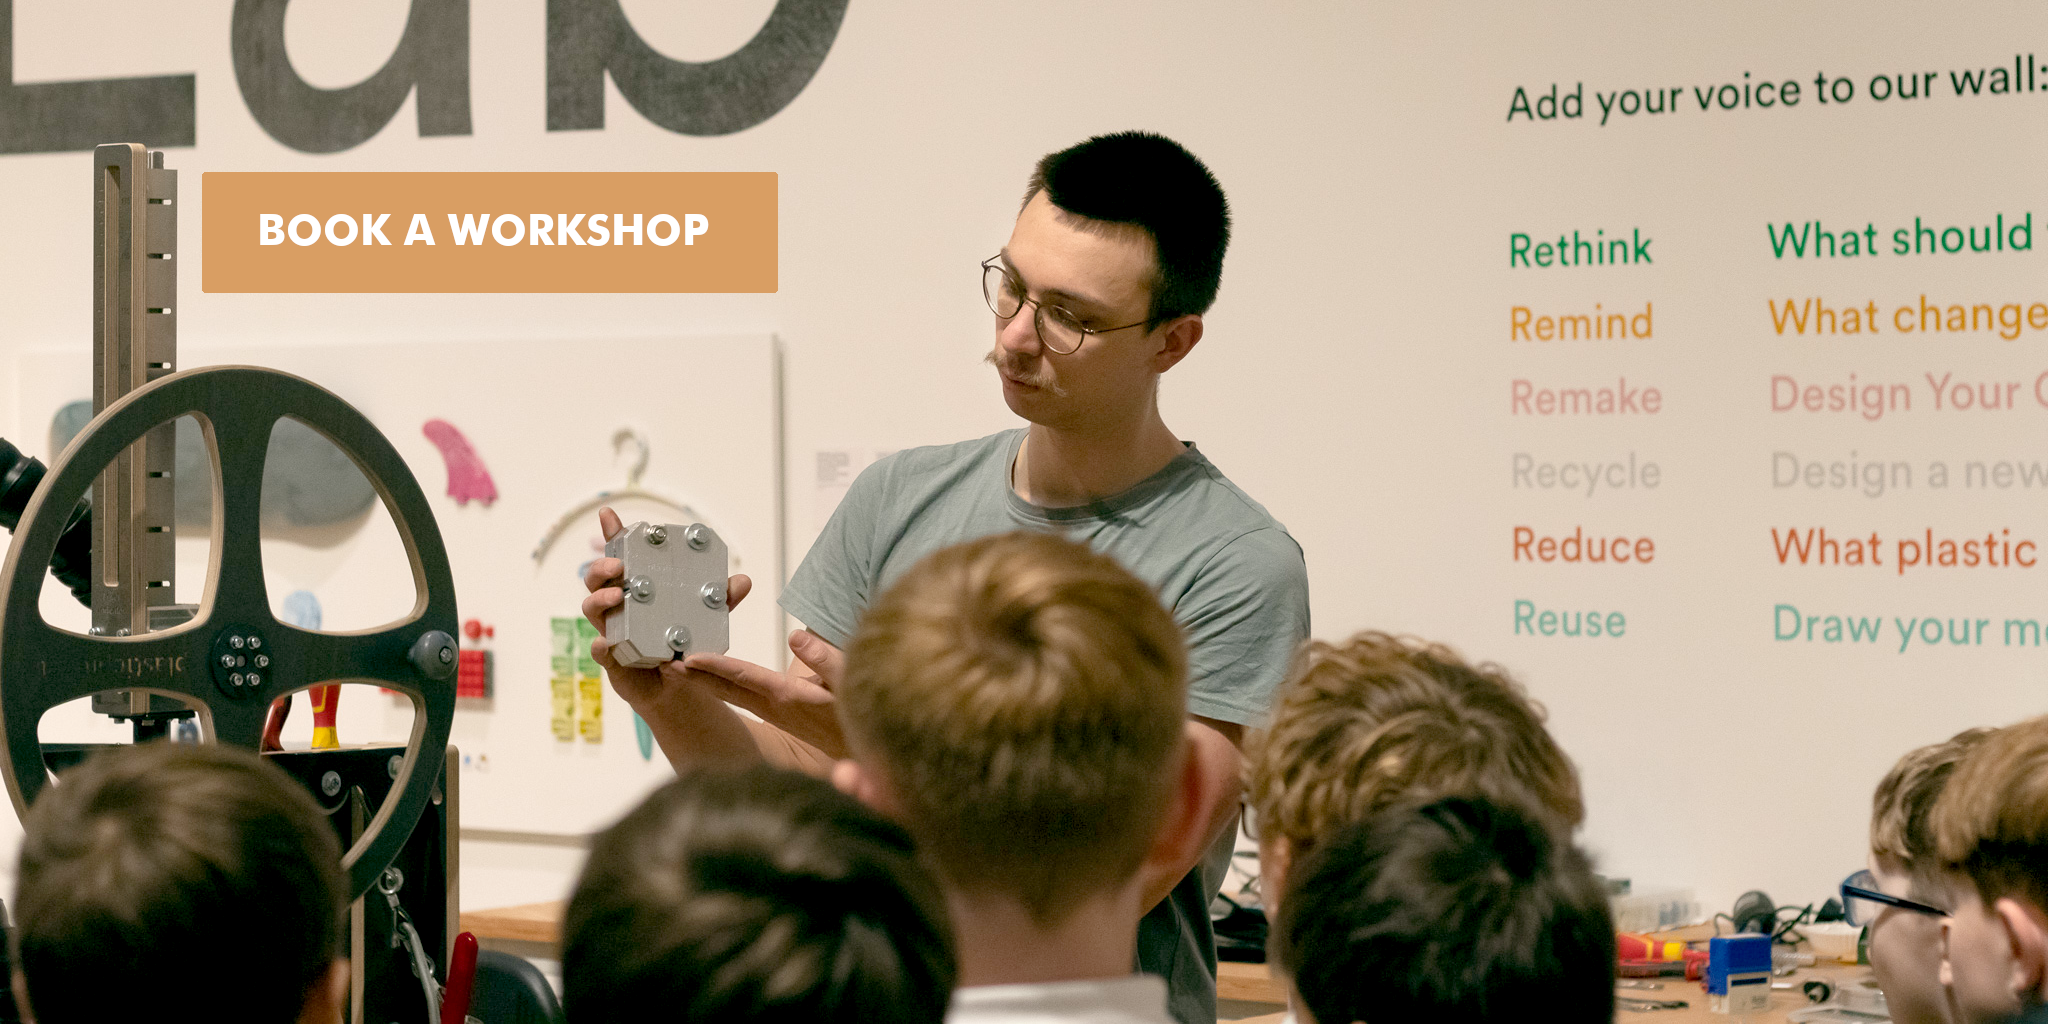
Private GCSE Product Design tutoring
By Hannah Thompson
Private 1-1 tutoring for those struggling with the exam part of GCSE Product Design.

Private GCSE Product Design exam tutoring
By DESIGN1
Help for GCSE Product Design Students who are struggling with the exam element of the qualification.

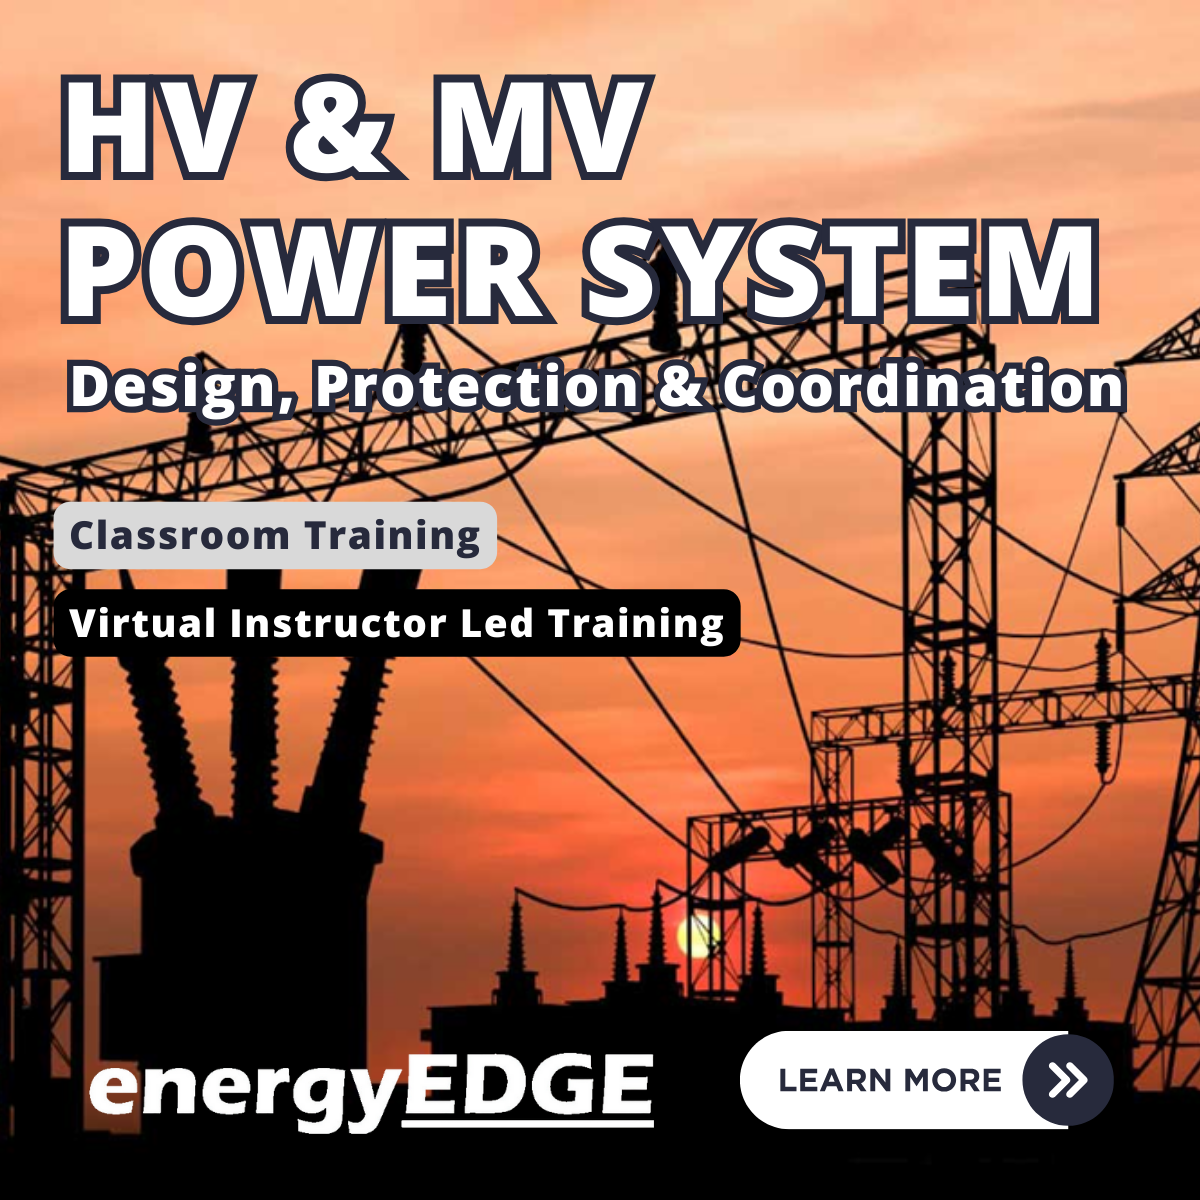
HV & MV Power System Design, Protection & Coordination - Virtual Instructor-Led Training (VILT)
By EnergyEdge - Training for a Sustainable Energy Future
Enhance your expertise in HV/MV power system design and protection coordination with EnergyEdge's virtual instructor-led training. Join now!
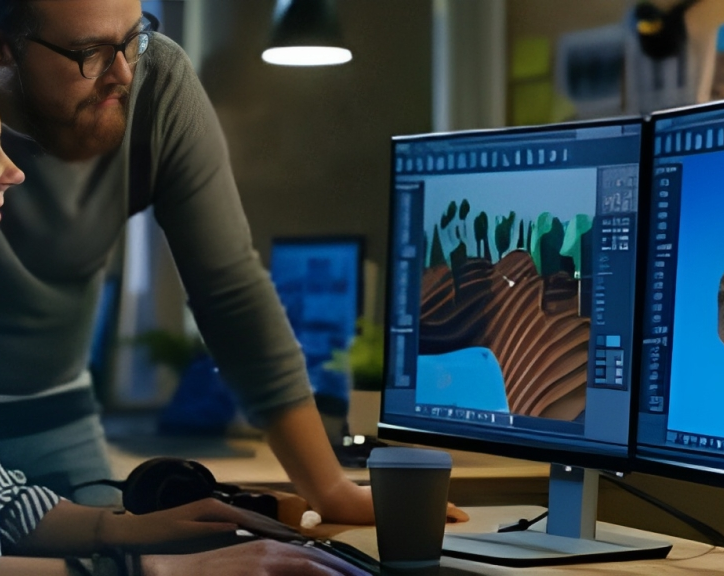
https://www.transmedia.co.uk/course/adobe-premiere-pro-introduction Adobe Premiere Pro is the industry-leading video editing software. It's used by creatives in every role, from editors working in professional broadcast studios, to social media professionals to in-house marketing departments in private and public sector organisations. Our two day course will teach you everything you need to make a professional start in video editing with Premier Pro. All our Adobe Premiere Pro courses are taught by industry professionals who are also Adobe Certified Professional trainers. They will share years of their industry experience with you, imparting best practice techniques as well mastery of the tools. Our course includes Key Concepts in Premiere, Starting a Project and Setting up, Editing Overview, the Timeline, Sequences, Transitions, Audio, Titling, Transparency, Effects and Exporting your completed clip.

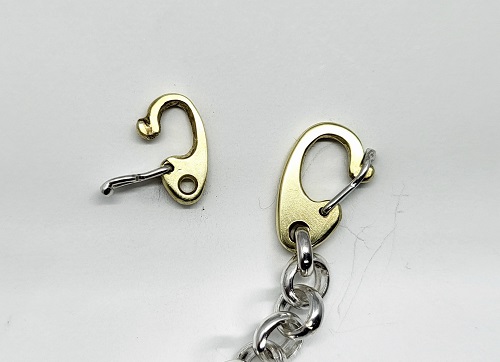
The legendary Peter Keep from Jewellery Training Solutions is heading to Woking from Australia to teach his vast knowledge. Our focus within both courses on offer this weekend is to offer our students intricate technical knowledge which is quickly lost to new technology. Well skilled technical jewellers able to create multiple designs by hand are rare and in demand, Peter is dedicated to sharing his endless knowledge and tips, and while he can usually be found online, we are lucky enough to offer classes with Peter in person – a golden opportunity not to be missed. WHEN: FRIDAY 6th September 10-4 WHERE: Workshop 925 based at The Mayford Centre, just outside of Woking and very close to Guildford. Unit F9 The Mayford Centre, Mayford Green Woking, Surrey GU22 0PP TUTOR: Peter Keep –About WHAT DOES THE DAY INVOLVE? The legendary Peter Keep from Jewellery Training Solutions is heading to Woking from Australia to teach his vast knowledge. Our focus within both courses on offer this weekend is to offer our students intricate technical knowledge which is quickly lost to new technology. Well skilled technical jewellers able to create multiple designs by hand are rare and in demand, Peter is dedicated to sharing his endless knowledge and tips, and while he can usually be found online, we are lucky enough to offer classes with Peter in person – a golden opportunity not to be missed. In this class Peter will teach you how to make a catch with a hinged locking mechanism.This project is easier than it first looks, but you do need to have experience piercing out shapes and drilling. During the one-day workshop Peter will show you some other options and explain how they work. You will also be provided with information handouts and materials. These specialist skills can be applied across other aspects of jewellery making. You NEVER stop learning as far as the jewellery industry is concerned and it is Peter’s passion to maintain traditional skill. EXPERIENCE REQUIRED: Students should have some workshop experience and be confident using normal jewellery tools and equipment. If you are unsure, please email us at hello@workshop925.com to discuss any queries, we are always here to help. CLASS SIZE: 7 WHAT IS INCLUDED? All tools and consumables are supplied. WHAT TO BRING: For safety reasons, during each class, you are required to wear appropriate footwear, we request that no open toed shoes are worn within Workshop 925. Long hair should also be tied back when working with the equipment. You may also wish to bring a notebook. We have handouts for many demonstrations, but there are always many tips and tricks given verbally by the tutor, which some might like to keep note of. Please bring any lunch, snacks and drinks which you may want to your session. We have tea and coffee for you to help yourselves to. We supply all materials and tools. PAYMENT OPTIONS: You can pay via our website or in our workshop in person using our card machine. If you prefer to pay directly, you can email us on hello@workshop925.com and we can invoice you manually to arrange a bank transfer. For classes over £80, instalment options are also available. Please email us on hello@workshop925.com to arrange. Gift Voucher – if you have a voucher to redeem, please email us before booking on hello@workshop925.com Please check your dates carefully before booking a class as we are unable to offer refunds. See our Terms & Conditions for full details.
Vray for Sketchup Training
By London Design Training Courses
Why choose Vray for Sketchup Training Course? Course info Our in-person or live online sessions led by certified tutors. Learn advanced rendering techniques, practical hands-on experience, recorded lessons, lifetime email support, and an industry-recognized certification. Enroll now to elevate your Sketchup renderings. Duration: 6 hrs Method: 1-on-1, Personalized attention Schedule: Tailor your own schedule by pre-booking a convenient hour of your choice, available from Monday to Saturday between 9 am and 7 pm Experience V-Ray training, where you'll master the art of creating stunningly realistic 3D architectural and interior design scenes from your SketchUp models. V-Ray for SketchUp is a user-friendly rendering solution, offering faster rendering, enhanced lighting tools, and the ability to visualize intricate scenes effortlessly. Our SketchUp - Rendering with V-Ray course empowers you to seamlessly integrate SketchUp with V-Ray, allowing you to craft scenes with captivating features, including: Various lighting techniques (daylight, sunlight, and skylight). Reflective surfaces for added depth. Dynamic moving cameras for captivating visualizations. This hands-on course is highly practical, ensuring you gain real-world skills and expertise. You have the flexibility to arrange this course on-request, either as one-to-one training or as a 'closed course' for your group. The training can be tailored to accommodate your existing knowledge and specific project requirements. Choose from in-class sessions available at six centers or participate in live online classes. V-Ray works seamlessly on both Windows and Mac platforms, and our centers provide computers for delegates to use, ensuring a familiar environment for all. Upon successful completion, you'll receive an e-certificate to validate your V-Ray training. Following the training, you'll enjoy lifetime email support from your trainer to address any post-course queries or concerns. Prerequisites for this course include familiarity with the fundamentals of SketchUp, such as attending our Introduction to SketchUp course or possessing equivalent knowledge. Our training can accommodate any recent version of SketchUp Pro and V-Ray, ensuring compatibility with your preferred Windows or Mac platform. Experience the transformative power of V-Ray and elevate your SketchUp projects to new heights. Experience V-Ray training, where you'll master the art of creating stunningly realistic 3D architectural and interior design scenes from your SketchUp models. V-Ray for SketchUp is a user-friendly rendering solution, offering faster rendering, enhanced lighting tools, and the ability to visualize intricate scenes effortlessly. Module 1: Introduction to Vray for SketchUp Gain insights into Vray's benefits for SketchUp Install and set up Vray for SketchUp Familiarize with the Vray interface and workflow Explore Vray materials and their properties Module 2: Lighting and Environment Master effective lighting techniques in Vray Understand different Vray light types and settings Create realistic outdoor lighting with Vray sun and sky Utilize Vray dome lighting for interior scenes Introduce IES lights and their usage in Vray Module 3: Camera and Composition Learn Vray camera settings and their impact on the final image Control exposure and adjust camera settings in Vray Create depth of field effects with Vray camera Animate the Vray camera for dynamic shots Explore the Vray frame buffer and its functionalities Module 4: Vray Materials and Textures Gain an in-depth understanding of Vray materials and their properties Create realistic materials using Vray's material editor Save and organize custom Vray material libraries Apply Vray material overrides for quick changes Module 5: Rendering and Post-Production Explore Vray rendering settings and optimization techniques Render high-quality images and animations with Vray Enhance Vray renders using post-production techniques in Photoshop Fine-tune the final output with the Vray frame buffer Compose Vray render elements in Photoshop for added control For those interested in trying Vray for SketchUp, a free trial can be accessed through the following link: https://www.chaosgroup.com/vray/sketchup/free-trial. Additionally, provided material and texture resources (https://www.vray-materials.de/ and https://textures.com/) can enhance the quality of renders by providing access to a variety of materials and textures for use in Vray.

Dressmaking 3 day workshop
By cheekyhandmades
Start by learning to read a commercial dressmaking pattern, adjusting it to your own unique measurements, and then learn to sew up your garment. The class has a maximum of 4 people in it so you get tons of one to one support, and you will learn a lot! This is a really comprehensive introduction to learning to make your own clothes. It is a small class and nicely paced so you will be able to ask all the questions and really delve quite deep into it all. Most of my past students now regulary make their own clothes! I am passionate about teaching people about fit and we will talk about dart manipulation, bust adjustments, neckline and sleeve adjustments etc. We usually all work from the same pattern but if you want to make something else because you, for example, don't wear dresses, I am very flexible.