- Professional Development
- Medicine & Nursing
- Arts & Crafts
- Health & Wellbeing
- Personal Development
HV & MV Power System Design, Protection & Coordination - Virtual Instructor-Led Training (VILT)
By EnergyEdge - Training for a Sustainable Energy Future
Enhance your expertise in HV/MV power system design and protection coordination with EnergyEdge's virtual instructor-led training. Join now!

Home Renovation Course - 3 weeks evening course
By Studio AVC
Learn how to plan your home renovation project successfully in just 3 weeks with our evening course !

TEMA & HTRI Heat Exchanger Design & Cost Saving Management – Virtual Instructor Led Training (VILT)
By EnergyEdge - Training for a Sustainable Energy Future
Acquire in-depth knowledge of heat exchanger design and cost-saving management with EnergyEdge's TEM & HTRI course. Join our virtual instructor-led training to stay ahead in the industry.

Learn the skills of a Crime Scene Investigator ... Explore the exciting world of the Forensic Investigator in this unforgettable interactive experience day. You will spend the day using real forensic methods and techniques to perform a range of established crime scene investigations. All investigations that you perform are "hands-on", giving you the opportunity to learn how these procedures work in real life. Your day will include: DRUG TESTING: Perform a drugs test! The suspect was carrying a small plastic bag of a white substance when arrested. He was known to police as a cocaine dealer. Was he carrying cocaine? Carry out chemical tests to establish if the white powder was cocaine? FINGERPRINTING: Learn how to lift and record fingerprints using the conventional dusting process to detect and preserve fingerprints. MICROSCOPY: Use a light microscope to forensically examine crime scene samples. Discover how to use different magnifying powers to optimise the results. FABRIC SAMPLE ANALYSIS: Compare samples collected at the crime scene and on the suspect to identify human hairs. SOIL ANALYSIS: Analyse soil samples collected from the crime scene and compare against soil recovered from the suspect's shoes. Identify which soil sample is common between both crime scene and suspect. Use chemical tests to confirm your results. TOOL MARK IDENTIFICATION: You have a known tool impression from the crime scene. Use forensic casting techniques to create clay impressions and compare with a range of tools recovered from the suspect's tool shed. Which tool did he use? BLOOD DETECTION: Blood-like stains were found at the crime scene. Before sending samples to the forensic lab we need to establish if they are blood samples. Use established forensic tests and procedures to identify blood spots and stains that may not be visible to the naked eye. DNA EXTRACTION: Perform an extraction procedure to extract DNA from samples provided. You will be able to see (and feel) actual DNA once you have completed the process! Awards a Certificate of Completion OPEN TO ALL APPLICANTS LOCATIONS THROUGHOUT THE U.K. AFTER THE COURSE … Understand the breadth of career opportunities available to you in nearly 100 specific disciplines of forensic science, including: Forensic Art Forensic Photography Wildlife Forensics Forensic Statistics Entomology Cypercrime and Cyper-IT Forensic Meteorology DNA analysis Counterfeiting & Forgery Casts & Impressions incl. tyres & shoes and many more! Appreciate the difference in roles between Forensic Scientist posts and Crime Scene Investigator posts. Understand that there are many forensic posts in niche areas that may benefit from existing transferrable skills (such as IT). Apply qualifications and skills acquired to parallel fields such as teaching. For a more detailed overview please see our "Opportunities in Forensic Science" guide.

Cannulation Training – CPD Approved
By Lead Academy
Do you want to boost your medical career by learning about the cannulation process? This comprehensive cannulation course is ideal for you! You can learn about the whole venepuncture and cannulation procedure in this Venepuncture and Cannulation Training Course, as well as the safest methods for handling, flushing, and removing a cannula. This course will provide you with the necessary training to flourish in your profession, whether you are a novice or an experienced individual wishing to enhance your career in the healthcare industry. Course Highlights Designed by healthcare professionals Accredited by the CPD Certification Recognised and Valuable Certification Self-Paced Online Theoretical Learning High-Quality Study Materials Interactive practical training Practical Day Class Schedule – 1 Day Face-to-Face Training Venue Location London: Bank Studio, 23 Park Royal Road, NW10 7JH Date: 21st February, 2025 Date: 30th March, 2025 Date: 28th April, 2025 Date: 27th May, 2025 Date: 21st June, 2025 Time: 10:00 am – 05:00 pm Venue Location Birmingham: 83-85 Hagley Road, Birmingham, B16 8QG Date: 25th January, 2025 Date: 24th February, 2025 Date: 23rd March, 2025 Date: 21st April, 2025 Date: 26th May, 2025 Date: 26th June, 2025 Time: 10:00 am – 05:00 pm This extensive IV Cannulation Course covers the following credentials: Selection of veins for cannulation Arm and hand physiology and anatomy Types of cannula Process of cannulation Safety measures Proper insertion of the cannula Classroom-Based Cannulation Course Practical learning We offer comprehensive theoretical study materials and practical sessions for our cannulation training. As part of the practical training, you will receive practical dry lab demonstrations and hands-on experience to justify your role. Who is this Venepuncture and Cannulation Course for? This Venepuncture and Cannulation course is primarily aimed at: Health Visitors Healthcare professionals Nurses, midwives, pharmacists and doctors Freshers looking to begin their career in the healthcare sector Anyone looking to enhance their cannulation skills Aims and Learning Outcomes of this Venepuncture and Cannulation Training Course Know how to select the appropriate veins for cannulation Understand the anatomy and physiology of hands and arms Recognise the various sizes of a cannula Identify the risks concerning cannulation Know how to insert the cannula properly Recognise the safety precautions that should be maintained Gain knowledge about the dressing procedure Know how to safely flush and remove a cannula Learn how to securely dispose of all the sharps Learning how to perform Phlebotomy Trainingand Catheterisation Training can help you to provide better care to your patients. By being able to insert a catheter quickly and effectively, you can administer necessary treatments more efficiently, which can improve patient outcomes and reduce discomfort. Entry Requirements There are no academic entry requirements for this cannulation course, and it is open to students of all educational backgrounds. You need to join the Phlebotomy Training before attending the Cannulation Training. Assessment Method In this Venepuncture and Cannulation training, learners will be assessed via observation. That means during the practical training, you will be observed by the supervisor/trainer. Upon successful demonstration of blood sampling and blood draw, you will be awarded a CPD-accredited certificate accepted by thousands of professional bodies and government regulators in the UK and worldwide. Whether you are a fresher looking to kickstart your career in healthcare or practising healthcare looking to enhance your cannulation skills, this course will help you achieve your professional aspirations by all means. Course Curriculum 1. Cannulation Training - Course Introduction 2. What are Venepuncture and Cannulation 3. Anatomy and Physiology of the Circulatory System 4. Legal Aspects of Venepuncture (Phlebotomy) and Cannulation 5. Practitioner Requirements 6. Professional Competence and Accountability 7. Documentation and Record Keeping 8. Vicarious Liability 9. Consent 10. Influencing Factors during Venepuncture 11. Infection Prevention and Management 12. Haemolysis 13. Selecting Correct Equipment 14. Procedure of Venepuncture and Cannulation 15. Order of Draw 16. Peripheral Cannula and Venepuncture 17. Procedure Prior to Cannulation 18. During Cannulation 19. Cannula Size and Cannulation Aftercare 20. Removal of Cannulation 21. Complications 22. Cannulation Training - Conclusion Recognised Accreditation This course is accredited by Continuing Professional Development (CPD). CPD UK is globally recognised by employers, professional organisations, and academic institutions, thus a certificate from CPD Certification Service creates value towards your professional goal and achievement. CPD certificates are accepted by thousands of professional bodies and government regulators here in the UK and around the world. Many organisations look for employees with CPD requirements, which means, that by doing this course, you would be a potential candidate in your respective field. Certificate of Achievement On successful completion of the cannulation course, you will be eligible to obtain a CPD-accredited certificate of achievement as proof of your new skill. The certificate of achievement is an official credential that confirms that you successfully finished a course with Lead Academy.

Design & Make Your Own Granny Square Sweater - Tuesday Evenings - Walton-on-Thames
By Merrian Holland
Learn how to design and customize a perfect fitting sweater using DK or 4ply/fingering weight yarn. From layout and shape to color placement and professional finishing, this 7-week course will guide you through every step with personalized assistance from expert crochet tutor, Merrian.

Dreamweaver training course description Dreamweaver is a web authoring program that allows you to build professional quality websites. This course starts with a tour of Dreamweaver and customising your workspaces, moving onto HTML and CSS basics. Page layouts, templates and interactive pages are also covered. The final session covers how to use Dreamweaver as a HTML editor. Hands on session follow all the major theory chapters. What will you learn Use Dreamweaver to create websites. Customise Dreamweaver. Use templates. Add interactivity to web pages. Use Dreamweaver to edit HTML code. Dreamweaver training course details Who will benefit: Anyone wishing to create or edit websites. Prerequisites: None. Duration 3 days Dreamweaver training course contents Getting started Installing the programme, Updating to the latest version,, Online content, On first launch, Choosing the program colour theme, Setting up the workspace, Defining a Dreamweaver site, Checking for updates, Additional resources. Customizing your workspace Touring the workspace, Using the start screen, Exploring new feature guides, Setting interface preferences, Switching and splitting views, Selecting a workspace layout, Personalising Dreamweaver, Working with extract, Creating custom keyboard shortcuts, Using the Property inspector, Using the Related Files interface, Using tag selectors, Using the CSS Designer, Using the Visual Media Query (VMQ) interface, Using the DOM viewer, Using Element dialogs, displays and inspectors, Setting up version control in Dreamweaver, Exploring experimenting and learning. HTML Basics What is HTML? Where did HTML begin? Frequently used HTML elements, What's new in HTML5. CSS Basics What is CSS? HTML vs. CSS formatting, HTML defaults, CSS box model, Applying CSS styling, Multiples, classes and ids. Web design basics Developing a new website, Scenario, Working with thumbnails and wireframes, Creating a page layout Evaluating page design options, Working with predefined layouts, Styling an existing layout, Styling elements using the Extract panel, Extracting text from a Photoshop mockup, Troubleshooting CSS styling, Extracting text styling from a Photoshop mockup, Creating a gradient background using Extract, Extracting image assets from a mockup, Adding CSS background effects in code, Finishing up the layout. Working with templates Creating a template from an existing layout, Inserting editable regions, Inserting editable regions, Inserting HTML entities, Inserting metadata, Validating HTML code, Producing child pages, Moving CSS styles to linked file, Updating a template. Working with text, lists and tables Previewing the completed file, Creating and styling text, Creating lists, Creating and styling tables, Spell-checking webpages, Finding and replacing text. Working with images Web image basics, Previewing completed files, Inserting an image, Controlling image positions with CSS classes, Working with the Insert panel, Using the Insert menu, Inserting non-web file types, Working with Photoshop Smart Objects, Copying and pasting images from Photoshop, Inserting images by drag and drop, Optimizing images with the Property inspector. Working with navigation Hyperlinks, previewing the completed file, creating internal and external hyperlinks, setting up email links, Creating image-based links, Targeting page elements, Locking an element on the screen, Styling a navigation menu, Checking your page, Adding destination links. Adding interactivity Dreamweaver behaviours, Previewing the completed file, Working with Dreamweaver behaviours, Working with jQuery Accordion widgets, Inserting a jQuery Accordion widget, Styling a jQuery Accordion. Publishing to the web Defining a remote site, Cloaking folders and files, Wrapping things up, Putting your site online, Synchronizing local and remote sites. Working with code Creating HTML code, multicursor support, commenting your code, Working with CSS preprocessors, Selecting code, Collapsing code, Expanding code, Accessing Split code view, Previewing assets in Code View.

Drill String Design & Drilling Optimization
By EnergyEdge - Training for a Sustainable Energy Future
About this Training Course The drill string is the simplest piece of equipment in use on a drilling rig and at the same time, the most critical piece. We use the qualifier 'basic' because although 99% of the drill string comprises plain tubes that are just screwed together, the lowest section, just above the bit, can go to extreme loading and is fitted with highly sophisticated electronics packages providing both positional and lithological data as well as a steering system to drive and orient the bit. The principle tasks of the drill string are also deceptively simple. These are to: Convey each drill bit to the bottom of the hole and then to retrieve it when worn, Act as a conduit to convey drilling fluid at high pressure down to the bit and Transmit torque from surface to bit, occasionally in concert with a hydraulic motor to drive this bit. This 3 full-day course will cover in detail what it takes to decide on minimum drill string specifications, which are able to support the loads to which it will be subjected. In addition to the need to use a drill string with minimum strength requirements, we also need to ensure that we can prevent drill string failure. If the failure consists of a small split or leak of any kind, then the time involved may be little more than that required for a roundtrip to change the bit. If the string parts, then the recovery is likely to take a considerable amount of time. In a worst case scenario, the fish in the hole may prove impossible to retrieve, requiring a sidetrack. A less than optimal design of the string will reduce the efficiency of the operation and almost always leads to premature bit wear. This is particularly true when we are unable to measure and control the dynamics of the drill string as a whole and the bottomhole assembly in particular. Axial vibrations, torsional vibrations and lateral vibrations may take place in various degrees of severity. The behaviour of the drill string while operating under torsional vibrations is thought to be of great importance and may result in torsional buckling. This course will also cover the drilling optimization limiters, how to identify them and how to remove them. This is done by understanding the drill string dynamics - by operating under the most favourable conditions and by measuring the dynamics in the vicinity of the bit (or at the bit) in order to make timely adjustments. Training Objectives The course homes in what office staff needs to know and plan for and what field staff needs to know and implement. By the end of this course, participants will be familiar with: Critical dimensions of common drill pipe and weld-on tool joints and its relation to yield for calculation of tensile, torsional and burst resistance. Make-up torque of connections that relate to the tool joint dimensions and the torsional strength of that connection. Use of design factors and safety factors on tensile and torsional strength in relation to new and worn state. Conditions which could lead to drill pipe collapse. Situations where limitations on sinusoidal (snake) and helical buckling will apply and the influence of radial clearance and deviation. Failure of drill pipe (fatigue) and the circumstances under which these would occur (rotation across doglegs, pipe in compression etc). Mechanism under which hardbanding would induce casing wear and the methods applied to measure and prevent any significant wear. Drill pipe inspection methods we apply to identify early flaws/cracks/corrosion, to measure dimensions, to inspect tool joints etc. Common BHA components, including heavy wall drill pipe, their external/internal dimensions, connections (API, proprietary) and appearance (such as spiral). Significance of thread compounds to ensure the correct make-up torque is applied. Significance of drill string/BHA 'neutral point' in the context of drill string component failure. Basic design principles for a BHA make-up in a vertical, low/medium deviated and highly deviated well in terms of weight transfer and drag/torque. Stabilization principles for a pendulum (vertical), a stabilized (vertical or tangent), a build and a drop-off assembly. BHA design and stabilization in relation to mitigation/elimination of vibration and to the elimination of tension, torsion or fatigue failure. Matching bit aggressiveness, gauge length, BHA stabilization, steerability and Mechanical Specific Energy (MSE) to mitigate the severity of any vibration. Bit efficiency and reduction of wear by understanding mechanical and hydraulic limiters. How to perform a passive or active drill-off test. Importance of being conversant with API 7G RP and/or equivalent data books, to look up/check the recommended tensile/torque and other parameters for the drill string in use. Target Audience This course is intended for staff directly or indirectly involved in the delivery of challenging wells such as junior to senior well engineers, both in office-based planning and operations and field-based operator/contractor supervisory staff such as company men and toolpushers. Trainer Your expert course leader has over 45 years of experience in the Oil & Gas industry. During that time, he has worked exclusively in the well engineering domain. After being employed in 1974 by Shell, one of the major oil & gas producing operators, he worked as an apprentice on drilling rigs in the Netherlands. After a year, he was sent for his first international assignment to the Sultanate of Oman where he climbed up the career ladder from Assistant Driller, to Driller, to wellsite Petroleum Engineer and eventually on-site Drilling Supervisor, actively engaged in the drilling of development and exploration wells in almost every corner of this vast desert area. At that time, drilling techniques were fairly basic and safety was just a buzz word, but such a situation propels learning and the fruits of 'doing-the-basics' are still reaped today when standing in front of a class. After some seven years in the Middle East, a series of other international assignments followed in places like the United Kingdom, Indonesia, Turkey, Denmark, China, Malaysia, and Russia. Apart from on-site drilling supervisory jobs on various types of drilling rigs (such as helicopter rigs) and working environments (such as jungle and artic), he was also assigned to research, to projects and to the company's learning centre. In research, he was responsible for promoting directional drilling and surveying and advised on the first horizontal wells being drilled, in projects, he was responsible for a high pressure drilling campaign in Nigeria while in the learning centre, he looked after the development of new engineers joining the company after graduating from university. He was also involved in international well control certification and served as chairman for a period of three years. In the last years of his active career, he worked again in China as a staff development manager, a position he nurtured because he was able to pass on his knowledge to a vast number of new employees once again. After retiring in 2015, he has delivered well engineering related courses in Australia, Indonesia, Brunei, Malaysia, China, South Korea, Thailand, India, Dubai, Qatar, Kuwait, The Netherlands, and the United States. The training he provides includes well control to obtain certification in drilling and well intervention, extended reach drilling, high pressure-high temperature drilling, stuck pipe prevention and a number of other ad-hoc courses. He thoroughly enjoys training and is keen to continue taking classes as an instructor for some time to come. POST TRAINING COACHING SUPPORT (OPTIONAL) To further optimise your learning experience from our courses, we also offer individualized 'One to One' coaching support for 2 hours post training. We can help improve your competence in your chosen area of interest, based on your learning needs and available hours. This is a great opportunity to improve your capability and confidence in a particular area of expertise. It will be delivered over a secure video conference call by one of our senior trainers. They will work with you to create a tailor-made coaching program that will help you achieve your goals faster. Request for further information post training support and fees applicable Accreditions And Affliations
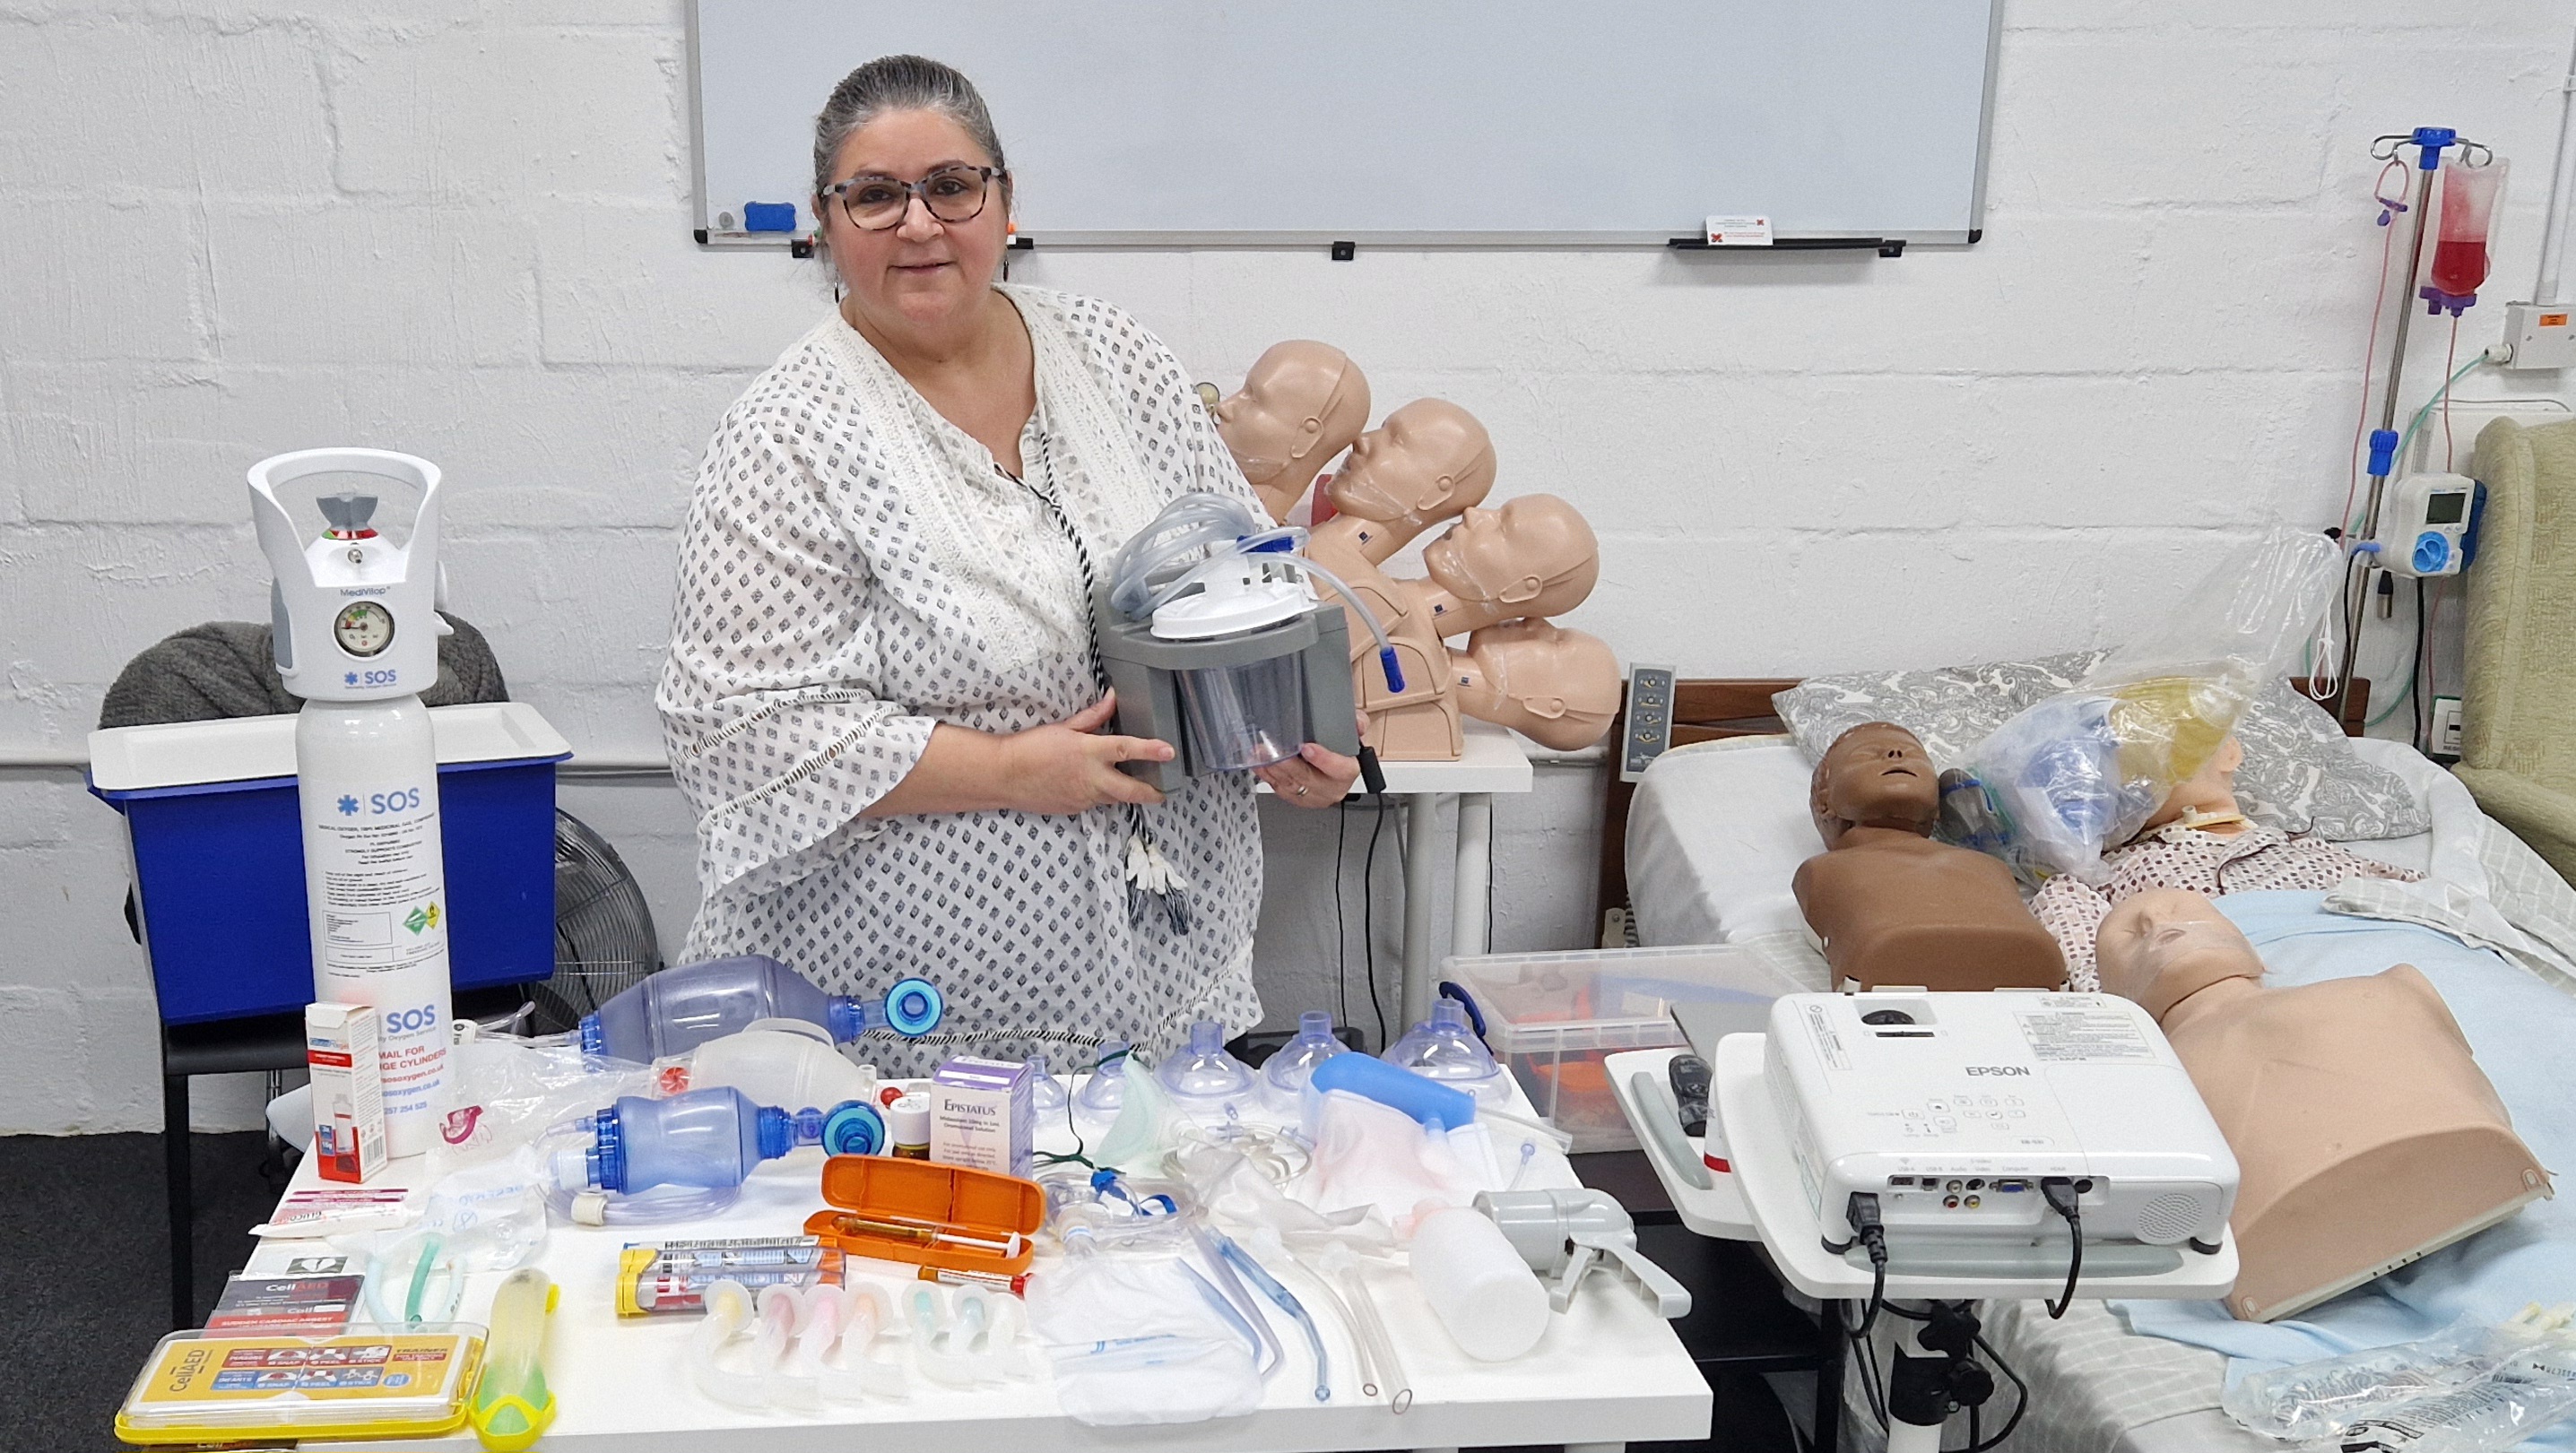
Join our Immediate Life Support (ILS) Course for healthcare professionals. Learn essential skills like CPR, airway management, AED use, and more, following Resuscitation Council UK guidelines. Gain a CPD-accredited certificate online after successful completion. Ideal for nurses, healthcare assistants, paramedics, and clinical staff to enhance emergency response skills.