- Professional Development
- Medicine & Nursing
- Arts & Crafts
- Health & Wellbeing
- Personal Development
1511 Courses in Sheffield delivered Live Online
CDS: NEW CUSTOMS FOR EXPORTS/IMPORTS
By Export Unlocked Limited
Are you a customs agent/ Importer ? Or does your company use customs agents and intermediaries to help you trade with the EU and the Rest of the World? If so, you need to know how to meet customs requirements fast and efficiently now the new customs declaration system CDS is in place. We can help.

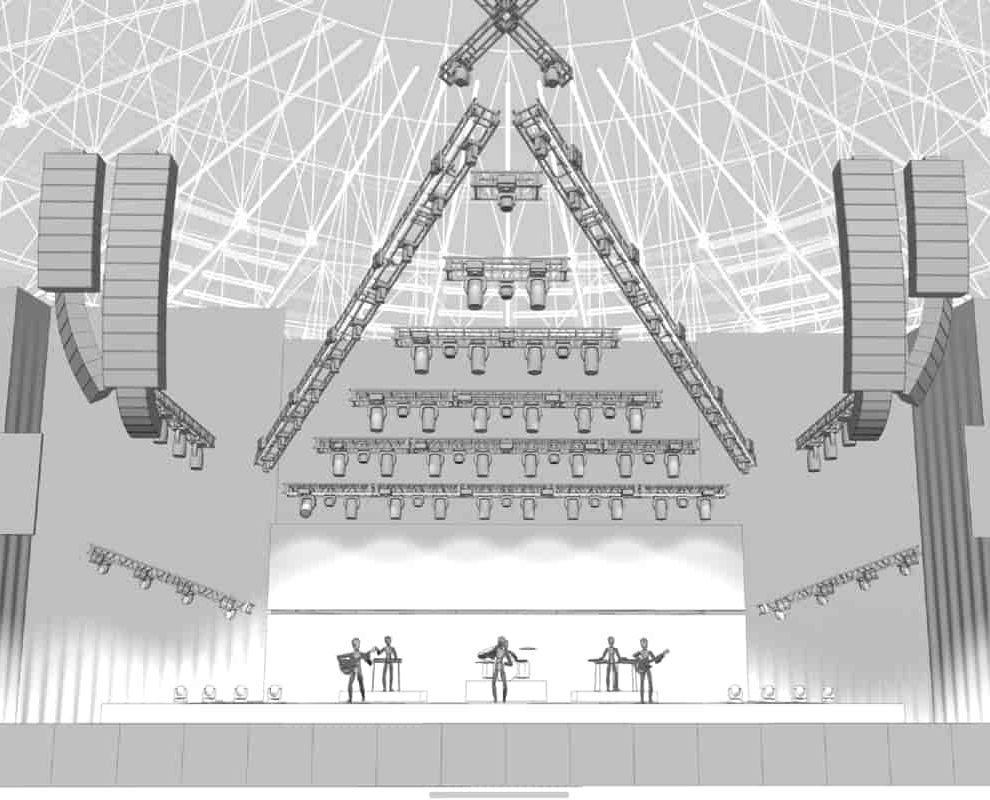
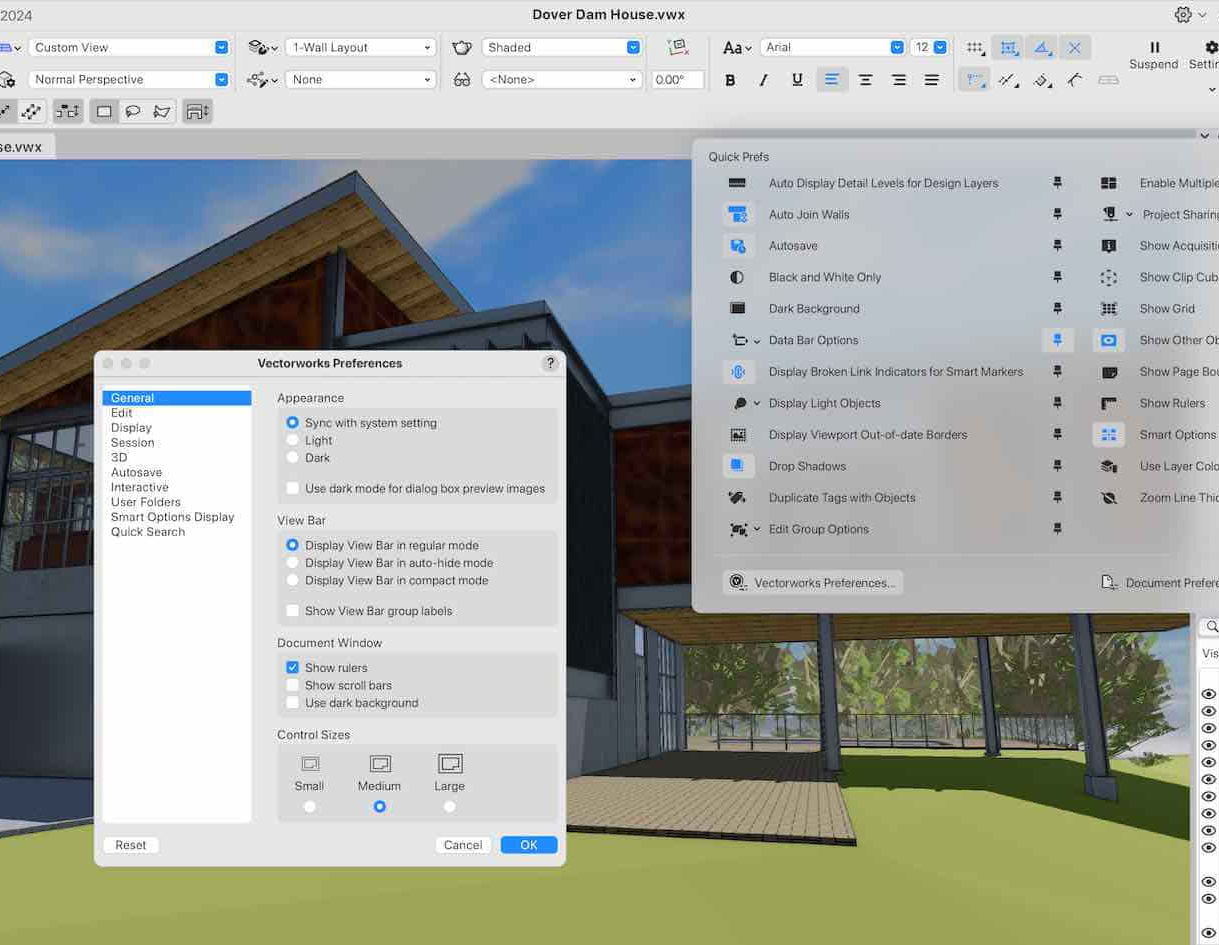
Vectorworks Night Training Courses
By ATL Autocad Training London
Why Choose Vectorworks Night Training Courses? Flexibility: Learn around your work schedule. Personalized Attention: Small classes for focused guidance. Practical Learning: Hands-on training for immediate application. Convenience: Balance work and learning seamlessly. Check our Website Training Duration: 10 hours. Approach: Personalized 1-on-1 Training and customized training. Timings: Schedule a convenient hour, Mon to Sat, between 9 am and 7 pm. Course Outline: Mastering Vectorworks Basics I. Introduction to CAD and Vectorworks Software Understanding the role of Computer-Aided Design (CAD) in modern workflows. Comprehensive introduction to Vectorworks software. II. Workspace Setup and Fundamental Options Configuring the workspace for efficient navigation and operation. Exploring basic options to enhance user experience. III. Basic Skills in Drawing and Object Selection Mastering fundamental drawing techniques. Expertise in selecting and manipulating objects. IV. Advanced Editing Techniques Combining shapes, mirroring, rotating, and grouping objects effectively. Working with precise scaling, preferences, and templates. V. Detailed Object Manipulation and Attributes Drawing and moving objects accurately within the design space. Utilizing advanced editing tools like fillet and offset. Introduction to basic attributes and group editing. VI. Advanced Drawing Techniques and Graphics Creating room plans with walls, windows, and doors. Implementing graphic elements such as hatching, gradients, and image fills. Drawing elevations using various methods and techniques. VII. Resource Management and Design Layers Importing images for graphic illustration. Creating symbols and navigating the Resource Browser. Organizing the drawing effectively using design layers. VIII. Labels, Annotations, and User Interface Mastery Labeling drawings and incorporating simple title block text. Navigating the user interface, understanding key terminologies. Plotting, printing, creating sheets (A1, A2, A3), and working with viewports. IX. Advanced Object Manipulation and Customization Converting drawings into PDF files. Efficiently working with files, objects, and data. Utilizing object snaps, quick selection, division, and measurement. X. Dimensioning, Text, and Tool Palettes Implementing dimensioning and annotations effectively. Working with text, custom tool palettes, and organizing these palettes. Creating standard views and additional drawing objects (Arc, Donut, Ellipse). XI. 3D Modeling Introduction and Real-World Units Introduction to 3D modeling, focusing on creating extrudes. Working with real-world units for accurate representation. XII. Advanced Object Manipulation and Exporting Manipulating objects, changing object angles, creating mirror images. Dealing with architectural elements like walls, doors, windows, and floors. By the end of the Vectorworks Evening Training Course, participants will: Demonstrate proficiency in using the Vectorworks interface, tools, and navigation. Create and edit 2D drawings, including walls, doors, windows, floors, ceilings, stairs, and railings. Effectively manage layers, classes, and views for organized and controlled object placement. Create and edit dimensions and annotations for accurate measurements and documentation. Develop skills in creating, modifying, and utilizing symbols for increased efficiency. Generate and edit 3D geometry, apply textures, and create sections and elevations from 3D models. Create polished presentation drawings using viewports, annotations, and text for clarity. Summarize course content and confidently apply learned skills in Vectorworks projects. Utilize available resources for further learning and professional development. Who Should Attend? Perfect for those aiming to master Advanced 2D Plans, Sections, Elevations and Construction detailing, lighting, and rendering in Vectorworks. Schedule Flexibility: Book personalized 1-on-1 sessions, Monday to Saturday, 9 a.m. to 7 p.m. Split 10 hours to fit your schedule. Method: Choose in-person or Live Online 1-on-1 sessions with tailored content and individual support, including Zoom options. Why Vectorworks? A pioneering CAD software, Vectorworks seamlessly integrates 2D and 3D capabilities, making it ideal for architects and designers. Free Educational Access: Students and professors can access a complimentary Vectorworks Designer license via the Academic Portal. Explore Vectorworks: Transform your designs with Vectorworks, the leading 2D, 3D, CAD, BIM software. Download or try now: https://www.vectorworks.net Tailored Training Solutions: We offer customized and project-focused training programs, designed to meet your specific needs and goals. Individualized Coaching: Receive personalized one-on-one guidance tailored exclusively for you. Adaptable Timings: Choose training slots that align with your schedule, ensuring flexibility in your learning journey. Ongoing Assistance: Access continuous post-course support to enhance your understanding and resolve queries. Comprehensive Learning Resources: Receive detailed materials providing in-depth insights for effective learning and reference. Recognition of Participation: Earn a Certificate of Attendance upon completion of your personalized training. Affordable Learning: Benefit from cost-effective rates, making quality education accessible to all. Software Setup Guidance: Get expert assistance in setting up your software on your devices for seamless learning experiences. Rewards for Referrals: Recommend our courses to others and enjoy special rewards for each successful referral. Group Learning Benefits: Enjoy exclusive discounts when you opt for group training, making it an ideal choice for teams. Convenient Hours of Operation: Access our training services at your convenience, with operating hours extending to accommodate your busy schedule. Tailored Learning Paths: Experience courses curated specifically for your needs, ensuring targeted and effective learning outcomes.
Vectorworks 2D Basics Level Training Course
By ATL Autocad Training London
Why Vectorworks 2D Basics Level Training Course? Vectorworks excels in 2D design, delivering exceptional results and serving as a robust 2D design tool. The Fundamentals course provides customizable tools for precise 2D drawings, while VectorWorks Architect streamlines the process with user-friendly, easy-to-learn tools. Click here for more info: Website Course Details: 10 hrs, Flexible 1-on-1 sessions, in-person or online. 9 am and 7 pm (Mon-Sat).10 hours, split as needed for your schedule. Module 1: Understanding CAD and Vectorworks The Role of CAD in Design Introduction to Vectorworks Software Module 2: Setting Up Your Workspace Workspace Configuration Basic Options and Preferences Module 3: Foundational Drawing Skills Drawing Techniques Selecting Objects Module 4: Advanced Object Editing Combining Shapes Mirroring Objects Rotating Objects Grouping Objects Module 5: Precision Drawing and Scaling Working with Scale Setting Preferences Saving Templates Module 6: Accurate Object Placement Drawing Precision Moving Objects Precisely Module 7: Advanced Editing Techniques Using Fillet Employing Offset Module 8: Introduction to Object Attributes and Groups Basic Attributes Editing Object Groups Module 9: Duplicating Objects Linear Duplicates Rectangular Duplicates Circular Duplicates Module 10: Creating Room Plans Designing Walls Incorporating Windows and Doors Module 11: Room Plan Development Room Plan Drawing Methods Module 12: Utilizing Additional Attributes Hatch Patterns Gradients Image Fills Module 13: Drawing Elevations Elevation Techniques Effective Methods Module 14: Importing Images for Graphics Graphic Illustration Image Integration Module 15: Symbols and Resource Management Creating Symbols Introduction to Resource Browser Module 16: Organizing Drawings with Design Layers Design Layer Usage Module 17: Labeling Drawings and Title Blocks Drawing Labels Title Block Text Module 18: Plotting and Printing User Interface and Terminology Printing Techniques Module 19: Creating Drawing Sheets A1, A2, and A3 Sheets Module 20: Utilizing Viewports Multiple Views Module 21: Professional Model Presentation Paper Space Presentation Converting to PDFs Module 22: Managing Files and Projects Module 23: Displaying Objects and Terminology Module 24: Objects and Data Management Module 25: Precise Object Placement Object Snaps Quick Select Module 26: Dividing and Measuring Objects Module 27: Dimensioning and Annotation Module 28: Working with Text Module 29: Custom Tool Palettes Module 30: Organizing Tool Palettes Module 31: Effective Tool Palette Usage Module 32: Standard Views and Drawing Techniques Module 33: Drawing Curves Arcs, Donuts, and Ellipses Module 34: Real-World Units and Measurements Module 35: Object Manipulation Changing Object Angles Module 36: File Management Saving, Exiting, and Opening Projects Module 37: Creating Mirror Images Module 38: Introduction to 3D Modeling Creating Extrusions Basic 3D Concepts Outcomes and Vectorworks Jobs: Vectorworks Proficiency: Gain expertise in using Vectorworks software for design tasks. 2D Design Skills: Create accurate 2D drawings and architectural plans. Advanced Editing: Efficiently manipulate and edit objects in your designs. Precision Drawing: Develop skills for precise scaling and drawing. These skills open doors to careers in design, architecture, engineering, entertainment, and more. Potential Jobs: Architectural Drafter Interior Designer Landscape Designer AD Technician Graphic Designer Construction Estimator Product Designer Set Designer Event Planner Urban Planner Vectorworks 2D Training Course Our Vectorworks training is thoughtfully designed to educate and inspire designers at every skill level. Whether you're just starting or a seasoned pro, our courses will furnish you with fresh skills, streamline your workflows, and unleash the full potential of your Vectorworks software. Online Training Choices Tailored Online Sessions: Customized training sessions tailored to your specific requirements and skill level. Virtual Classroom: Participate in interactive virtual classes from the convenience of your workspace. Getting Started Guides: Comprehensive guides to assist you in navigating the fundamentals of Vectorworks. In-Person Training Opportunities Customized On-Site Sessions: Hands-on training delivered directly to your office or at regional events. One-to-One: Engage in interactive learning at our training locations. Download Vectorworks https://www.vectorworks.net Personalized One-on-One Training: Get individualized attention and customized instruction. Flexible Scheduling: Choose your preferred training time and day to suit your schedule. Post-Course Assistance: Access free online support after course completion. Comprehensive Learning Materials: Receive PDF notes and handouts to enhance your learning. Certificate of Completion: Earn a recognition certificate upon successfully finishing the course. Affordable Rates: Enjoy cost-effective training rates. Software Setup Assistance: Receive help setting up the software on your computer. Referral Benefits: Recommend a friend and receive discounts on future courses. Group Training Discounts: Special discounts available for group training sessions. Convenient Availability: Access training sessions from Monday to Sunday, with extended hours. Tailored Training: Receive customized, bespoke training tailored to your specific requirements.
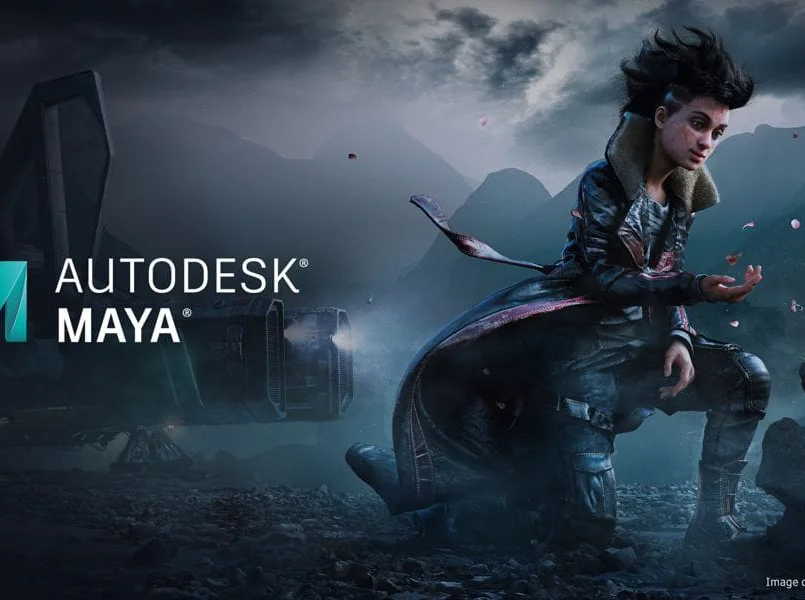
Maya Essentials Basic to Fundamental Training Program
By ATL Autocad Training London
Autodesk Maya Basic to Fundamentals Training. Ideal for beginners, learn to navigate Maya's interface, create models, apply textures, animate objects, and delve into advanced topics. Engage in interactive in-person or online sessions. Access recorded lessons for review and receive lifelong email support. Learn 3D modeling and animation - enroll today! Click here for more info: Website Duration: 10 hours of immersive learning. Method: Personalized 1-to-1 sessions and Choose your own day and time Monday to Saturday 9 am to 7 pm. Course Overview: I. Introduction to Maya (1 hour) Maya overview and applications Basic interface and navigation tools Project creation and management II. 3D Modeling Techniques (2 hours) Polygon modeling fundamentals Creating, editing, and refining objects Advanced techniques like extrusions and bevels III. Texturing and Materials (1 hour) Introduction to texturing concepts Material creation and application Texture mapping, UV unwrapping, and image importing IV. Lighting and Rendering (1.5 hours) Basic lighting techniques and composition setup Rendering images and animations effectively Output options and file formats V. Animation Skills (2.5 hours) Keyframe animation and animation curves Character rigging and animation Special effects: particles, fluids, explosions, and smoke VI. Intermediate Modeling Techniques (1 hour) NURBS modeling basics and advanced curves/surfaces manipulation Creating organic shapes with NURBS and sculpting tools VII. Conclusion and Next Steps (0.5 hours) Course review and recap Further learning resources and tips Q&A and feedback session Autodesk Maya Basic to Fundamentals Training Course Key Learning Areas: Advanced modeling techniques: Surfaces, Polygons, Subdiv Modeling, etc. Deformation methods: Twist, Lattice, Flare, Bend Shape manipulation: Lines, Pen tools, Revolve, Loft, Planer, Text in Maya Animation: Keyframes, Path animations, Timeline Texturing and Rendering: Diffuse, Reflections, Transparency, Shaders, Resolution settings Lighting and Camera: Basic & advanced lights, Shadows, Camera effects, Path animation Note: The course content and duration are adaptable to cater to learners' needs and proficiency levels. Maya Interface Proficiency: Participants will develop a comprehensive understanding of Maya's interface, tools, and workflow, allowing them to navigate seamlessly and manage projects efficiently. 3D Modeling Skills: Students will be equipped with polygon modeling techniques to create both basic and complex 3D models with precision. They will master the art of shaping and refining objects, elevating their creativity in 3D design. Texturing and Materials Mastery: Learners will gain expertise in texturing, applying materials, and incorporating images to enhance the visual appeal of their 3D models. They will create captivating surfaces with colors, textures, and reflectivity. Lighting and Rendering Expertise: Participants will learn essential lighting techniques to illuminate their scenes effectively. They will set up cameras and produce high-quality still images and dynamic animations with Maya's powerful rendering capabilities. Animation Techniques: Students will explore the world of animation, utilizing keyframe techniques and animation curves to bring their creations to life. They will delve into character rigging, animating characters with sophistication and realism. Special Effects and Dynamics: Learners will unleash their creativity with mesmerizing particle systems, fluid simulations, and dynamic effects. They will craft captivating visuals, such as explosions and smoke, adding depth and excitement to their projects. Intermediate Modeling Techniques: Participants will refine their skills with NURBS modeling, mastering curve and surface manipulation. They will create intricate organic shapes, pushing the boundaries of their artistic expression. Creative Problem-Solving: Throughout the course, students will tackle real-world projects, facing challenges that foster creative problem-solving skills. They will gain confidence in overcoming obstacles in 3D modeling and animation. Maya Essentials Basic to Fundamental Training Program: Course Focus: Autodesk Maya Essentials, covering fundamental concepts and techniques. Duration: Flexible scheduling, tailored to individual learning pace. Method: Personalized 1-1 training, interactive sessions, hands-on projects. Curriculum Highlights: Introduction to Maya (1 hour): Interface overview, navigation, project management. 3D Modeling Techniques (2 hours): Polygon basics, object creation, advanced editing. Texturing and Materials (1 hour): Texture mapping, material application, UV unwrapping. Lighting and Rendering (1.5 hours): Lighting fundamentals, composition setup, effective rendering. Animation Skills (2.5 hours): Keyframe animation, character rigging, special effects. Intermediate Modeling (1 hour): NURBS modeling, organic shapes, sculpting tools. Conclusion and Next Steps (0.5 hours): Course review, learning resources, Q&A session. These resources will complement your training, providing additional support and insights as you explore the world of Autodesk Maya. Explore the World of 3D Animation: Master the intricacies of 3D computer graphics and animation using Autodesk Maya. Delve into modeling, texturing, animation, and rendering to bring your creative visions to life. Practical Learning Experience: Dive into hands-on projects refining your skills. Craft 3D models, apply textures, animate characters, and produce polished renders. Recognized Industry Expertise: Gain proficiency in Autodesk Maya, a leading software in entertainment, gaming, and animation. Enhance your employability with highly sought-after skills, opening doors to diverse career paths. Endless Applications: Uncover Maya's versatility in entertainment, architectural visualization, product design, and more. Tailor your expertise to align with your passions and career aspirations. Reinforcement through Recordings: Access comprehensive lesson recordings for thorough review. Revisit specific topics, reinforcing your grasp of Autodesk Maya at your own pace. Continuous Guidance: Receive lifetime email support for ongoing mentorship. Seek answers, clarifications, and expert advice, ensuring your continuous growth even after completing the course.

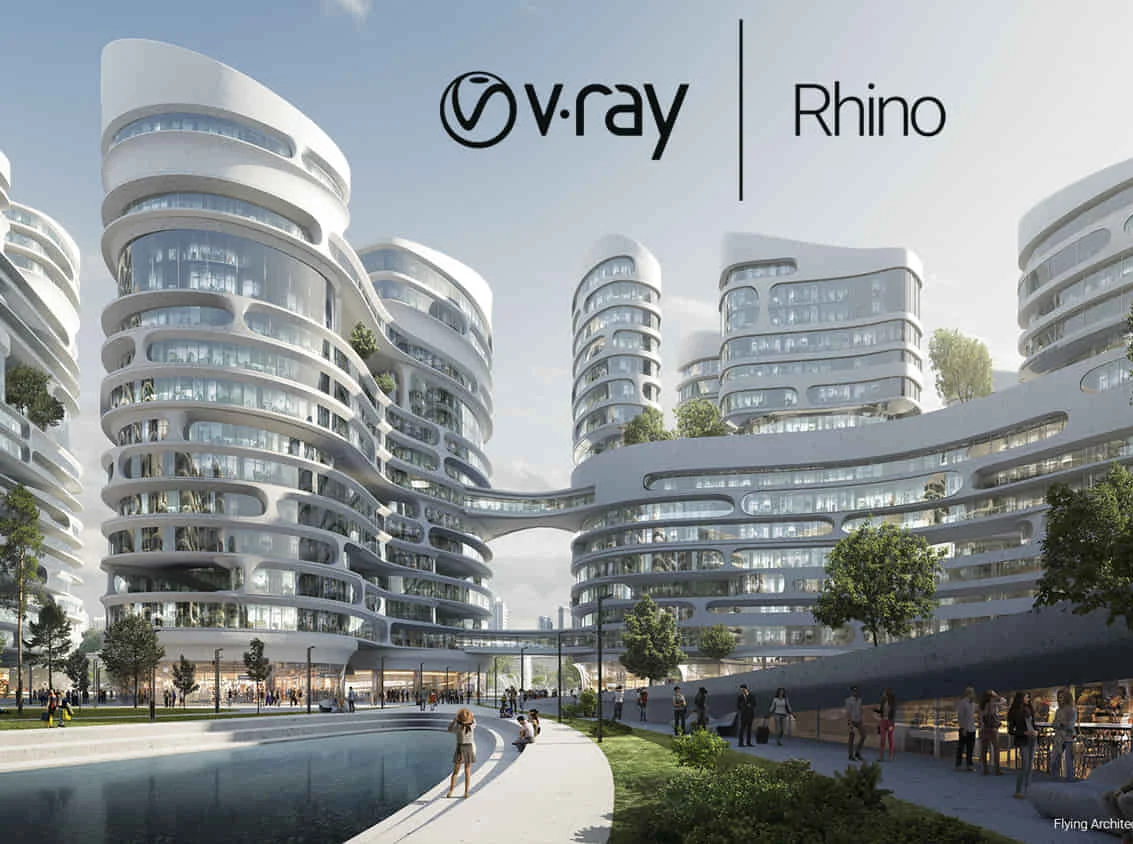
V-Ray for Rhino Essentials Training
By ATL Autocad Training London
Why Choose V-Ray for Rhino Essentials Training? Master photorealistic rendering in Rhino with our intensive V-Ray training. Led by certified experts, learn lighting, material manipulation, rendering configurations, textures, and global illumination. Check our Website Training Duration: 10 hours Approach: 1-on-1, in-Person and Live online and Customized Content. Flexibility: 1-on-1 sessions scheduled at your convenience, from Mon to Sat between 9 am and 7 pm. Vray for Rhino Essentials - 10 Hours Course Session 1: Introduction to Vray and Rhino Integration Overview of Vray: Understanding its importance in architectural and product visualization. Setting up Vray in Rhino: Installation, basic configurations, and interface exploration. Understanding the Rhino-Vray workflow: Navigating between Rhino and Vray seamlessly. Session 2: Basic Lighting Techniques Exploring different light sources: Domes, spotlights, and area lights. Adjusting light intensity and color temperature for realistic ambiance. Creating natural lighting scenarios: Daylight, twilight, and night scenes. Session 3: Mastering Material Creation Introduction to Vray materials: Diffuse, reflection, refraction, and bump maps. Crafting realistic materials: Wood, glass, metal, and fabrics. Utilizing the material editor efficiently for precise adjustments. Session 4: Advanced Rendering Configurations Global Illumination: Understanding photon mapping and irradiance mapping. Fine-tuning render settings: Quality vs. speed, resolution, and anti-aliasing. Exploring Vray frame buffer: Post-processing and image enhancement. Session 5: Texture Manipulation and Mapping Understanding UV mapping: Unwrapping complex geometries for accurate textures. Applying textures in Vray: Diffuse, bump, displacement, and normal maps. Realistic texture manipulation: Scaling, rotation, and blending textures seamlessly. Session 6: Camera Settings and Scene Composition Camera configurations: Focal length, depth of field, and exposure settings. Composing visually appealing scenes: Rule of thirds, focal points, and balance. Rendering interior and exterior scenes: Managing lighting challenges and reflections. Session 7: Real-Time Feedback and Interactive Rendering Introduction to Vray interactive rendering: Real-time feedback for quick adjustments. Utilizing Vray's denoiser for noise reduction in interactive mode. Enhancing productivity with interactive rendering: Modifying materials and lighting on the fly. Session 8: Optimizing Render Times Efficient render optimization techniques: Reducing noise and enhancing quality. Distributed rendering: Utilizing multiple machines for faster rendering. Troubleshooting common rendering issues: Flickering, artifacts, and texture problems. Session 9: Post-Processing and Presentation Post-production in Photoshop: Enhancing renders, adding depth, and adjusting colors. Creating compelling visual narratives: Adding people, context, and atmosphere. Designing professional presentation boards: Layout, annotations, and graphic elements. Session 10: Final Project and Portfolio Review Participants showcase their final Vray-rendered projects. Instructor-led critique and feedback session. Tips for building a strong portfolio: Choosing the best renderings and presenting your work effectively. By the end of this 10-hour course, participants will have a comprehensive understanding of Vray for Rhino, enabling them to create photorealistic renderings and significantly enhance their design visualization skills. Upon completing the Vray for Rhino Essentials course, participants will: Master Lighting Techniques: Expertly utilize various light sources. Create realistic lighting scenarios for diverse scenes. Advanced Material Proficiency: Manipulate complex materials and textures for lifelike renders. Understand reflective surfaces and material interaction. Optimize Rendering Settings: Fine-tune render configurations for optimal quality and speed. Implement noise reduction techniques for cleaner renders. Texture Mapping Mastery: Perfect UV mapping methods for accurate texture application. Seamlessly blend textures for realistic surface mapping. Effective Camera Use and Composition: Configure camera settings, depth of field, and exposure. Compose visually appealing scenes for impactful renders. Real-Time Rendering Skills: Utilize interactive rendering for immediate feedback and adjustments. Enhance scenes in real time for efficient workflow. Post-Processing Expertise: Enhance renders in post-production using software tools. Add depth, adjust colors, and create visually compelling final images. Professional Presentation Techniques: Design layouts, annotations, and context to create impactful visual narratives. Curate a strong portfolio with the best-rendered projects. By honing these skills, participants will produce photorealistic renders and significantly enhance their architectural and product visualization capabilities. Skills You'll Gain: Master lighting techniques for realistic visualization. Learn material manipulation and texture enhancement in Vray. Understand advanced rendering configurations for high-quality results. Explore global illumination concepts for lifelike scenes. Career Opportunities: Upon completing Vray for Rhino Essentials, you'll be well-equipped for various roles in the design and visualization industry, including: Architectural Visualizer: Create stunning architectural visualizations for presentations and client approvals. Product Designer: Enhance product design by creating photorealistic prototypes and visualizations. Interior Designer: Craft immersive interior spaces with realistic lighting and material textures. 3D Visualization Artist: Work in animation studios, gaming companies, or marketing agencies, producing high-quality 3D visualizations. Freelance Rendering Specialist: Offer your skills on platforms like Upwork or Fiverr, providing rendering services to clients worldwide. Course Highlights: Acquire fundamental skills in V-Ray for Rhino, covering lighting, materials, and rendering setups. Explore advanced techniques for lifelike textures, reflections, and global illumination effects. Master the workflow for crafting architectural renderings, both interior and exterior. Harness the power of V-Ray features like proxies, fur, and particle systems for dynamic visuals. Optimize render times and quality using efficient techniques and expert tips. Validate your expertise with a Certificate of Completion, showcasing your V-Ray proficiency. Access recorded lessons for future reference, enabling self-paced learning and continuous improvement. Professional Guidance: Learn from certified tutors and industry experts with extensive practical experience. Gain valuable insights and personalized feedback as you progress through the course, ensuring a comprehensive understanding of V-Ray for Rhino.
Vray for Architects and Interior Designers 3ds max or Sketchup Training
By London Design Training Courses
Why Choose Vray for Architects and Interior Designers 3ds max or Sketchup Training Course? Click here for info Achieve stunningly realistic renders with our tailored course in V-Ray. Designed for experienced SketchUp and 3ds max users, this advanced training covers model preparation and rendering techniques, customized to your skill level and preferences. Duration: 10 hrs. Method: 1-on-1, Personalized attention. Schedule: Tailor your own hours of your choice, available from Mon to Sat between 9 am and 7 pm. SketchUp is renowned for its user-friendly interface and widespread usage in 3D modeling. Now, with V-Ray for SketchUp, users can take advantage of a powerful rendering tool for unparalleled visualization quality and realism. V-Ray seamlessly integrates into the SketchUp environment, allowing for efficient rendering within your existing workflows. Our course is ideal for those seeking to enhance their SketchUp proficiency by incorporating V-Ray's potent rendering capabilities for 3D models. We adapt the training to your current skill levels in both SketchUp and V-Ray and tailor the content to your modeling requirements and desired rendering quality. V-Ray Rendering Training Course. Course Duration: 10 hours Course Description: This 10-hour course enhances rendering skills with V-Ray, a leading 3D visualization engine. Participants master photorealistic renders, focusing on lighting, materials, and post-production. Covering key concepts, workflow, lighting techniques, material creation, rendering settings, and post-processing, the course ensures stunning visual results. Course Outline: Module 1: Introduction to V-Ray Rendering (1 hour) Overview of V-Ray and its role in 3D rendering Understanding the rendering workflow Setting up V-Ray for your 3D software platform Module 2: Essential Rendering Concepts (1 hour) Understanding global illumination and its impact on renders Exploring image sampling and antialiasing techniques Introduction to render elements for post-processing Module 3: Lighting Techniques (2 hours) Mastering various lighting types in V-Ray Creating natural lighting with HDRI maps Implementing artificial lighting with V-Ray lights Achieving realistic daylight with V-Ray sun and sky Module 4: Material Creation (2 hours) Creating realistic materials using V-Ray material editor Applying textures and procedural maps for added realism Understanding material reflections and refractions Advanced techniques for materials like glass, metal, and fabric Module 5: Rendering Settings and Optimization (1.5 hours) Exploring V-Ray rendering settings for different scenarios Understanding render output options and resolution settings Efficiently using V-Ray distributed rendering for faster results Module 6: Post-Processing with Photoshop (1.5 hours) Enhancing renders through post-processing techniques Compositing render elements for added control Adjusting colors, contrast, and lighting in Photoshop Adding effects and final touches to achieve photorealism Module 7: Advanced Rendering Techniques (1 hour) Working with V-Ray proxies and instancing for complex scenes Utilizing V-Ray displacement for intricate detailing Understanding depth of field and motion blur effects Module 8: Real-World Project (1 hour) Applying the skills learned to complete a real-world rendering project Guidance and feedback from the instructor

Maya Evening Learning Sessions
By ATL Autocad Training London
Maya Evening Learning Sessions. Maya Evening Learning Sessions offer flexibility for professionals, interactive classes, supportive community, and skill enhancement in a convenient after-work schedule. Perfect for work-life balance and continued education. Click here for more info: Website Tailored Learning: Custom curriculum catering to your skill level. Course Duration: 10 hours. Approach: 1-to-1 Schedule: Craft your learning path by pre-booking hours from Mon to Sat, 9 am to 7 pm, accommodating your convenience. Maya 10-Hour Course Key Details: Duration: 10 hours of intensive training. Approach: Hands-on, interactive sessions focusing on essential Maya concepts and techniques. Curriculum Highlights: Introduction to Maya: Understanding the software interface and basic tools. 3D Modeling: Mastering polygon modeling techniques and object manipulation. Texturing and Materials: Learning to apply textures, materials, and UV mapping. Lighting and Rendering: Exploring lighting setups, camera compositions, and rendering methods. Animation Fundamentals: Grasping keyframe animation, editing clips, and basic character rigging. Special Effects and Dynamics: Creating particle systems, fluid simulations, and basic special effects. Who Should Attend: Beginners: Individuals new to 3D modeling and animation. Aspiring 3D Artists: Those aiming to pursue careers in animation, gaming, or visual effects. Creative Professionals: Designers and artists looking to expand their skill set into 3D graphics. Job Opportunities: Completing this Maya course equips participants with the skills necessary for various roles, including: 3D Modeler: Creating detailed 3D models for games, movies, or simulations. Animator: Bringing characters and scenes to life through animation. Texture Artist: Designing textures and materials to enhance 3D models. Lighting Artist: Illuminating scenes to evoke specific moods and atmospheres. Visual Effects Artist: Specializing in creating stunning visual effects for films and games. Participants completing the Maya 10-Hour Course will: Master Maya basics including modeling, texturing, lighting, and animation. Create 3D models, apply textures, and understand lighting and rendering principles. Develop essential skills in animation and special effects. Troubleshoot common issues in 3D projects. Recommended Books: "Introducing Autodesk Maya 2022" by Derakhshani: Comprehensive guide with hands-on tutorials. "Maya Character Creation" by Maraffi: Focuses on character modeling and animation techniques. "The Animator's Survival Kit" by Williams: Timeless principles applicable to any animation software. Maya 10-Hour Course Key Details: Duration: 10 hours of intensive training. Approach: Hands-on, interactive sessions focusing on essential Maya concepts and techniques. Curriculum Highlights: Introduction to Maya: Understanding the software interface and basic tools. 3D Modeling: Mastering polygon modeling techniques and object manipulation. Texturing and Materials: Learning to apply textures, materials, and UV mapping. Lighting and Rendering: Exploring lighting setups, camera compositions, and rendering methods. Animation Fundamentals: Grasping keyframe animation, editing clips, and basic character rigging. Special Effects and Dynamics: Creating particle systems, fluid simulations, and basic special effects. Who Should Attend: Beginners: Individuals new to 3D modeling and animation. Aspiring 3D Artists: Those aiming to pursue careers in animation, gaming, or visual effects. Creative Professionals: Designers and artists looking to expand their skill set into 3D graphics. Job Opportunities: Completing this Maya course equips participants with the skills necessary for various roles, including: 3D Modeler: Creating detailed 3D models for games, movies, or simulations. Animator: Bringing characters and scenes to life through animation. Texture Artist: Designing textures and materials to enhance 3D models. Lighting Artist: Illuminating scenes to evoke specific moods and atmospheres. Visual Effects Artist: Specializing in creating stunning visual effects for films and games. Adaptable Evening Maya Classes In-Depth 10-Hour Maya Program Hands-On Maya Projects Professional Maya Expertise Diverse Maya Applications Guidance from Experts Tailored Learning Experience Ongoing Email Assistance Access to Maya Trial and Resources Ignite Your Creative Potential!
Spanish Supreme
By Personal Chef Edinburgh
Introduction to the bold, aromatic and authentic saffron – scented SPANISH CHICKEN AND PRAWN PAELLA and traditional chickpea-based stew from Madrid

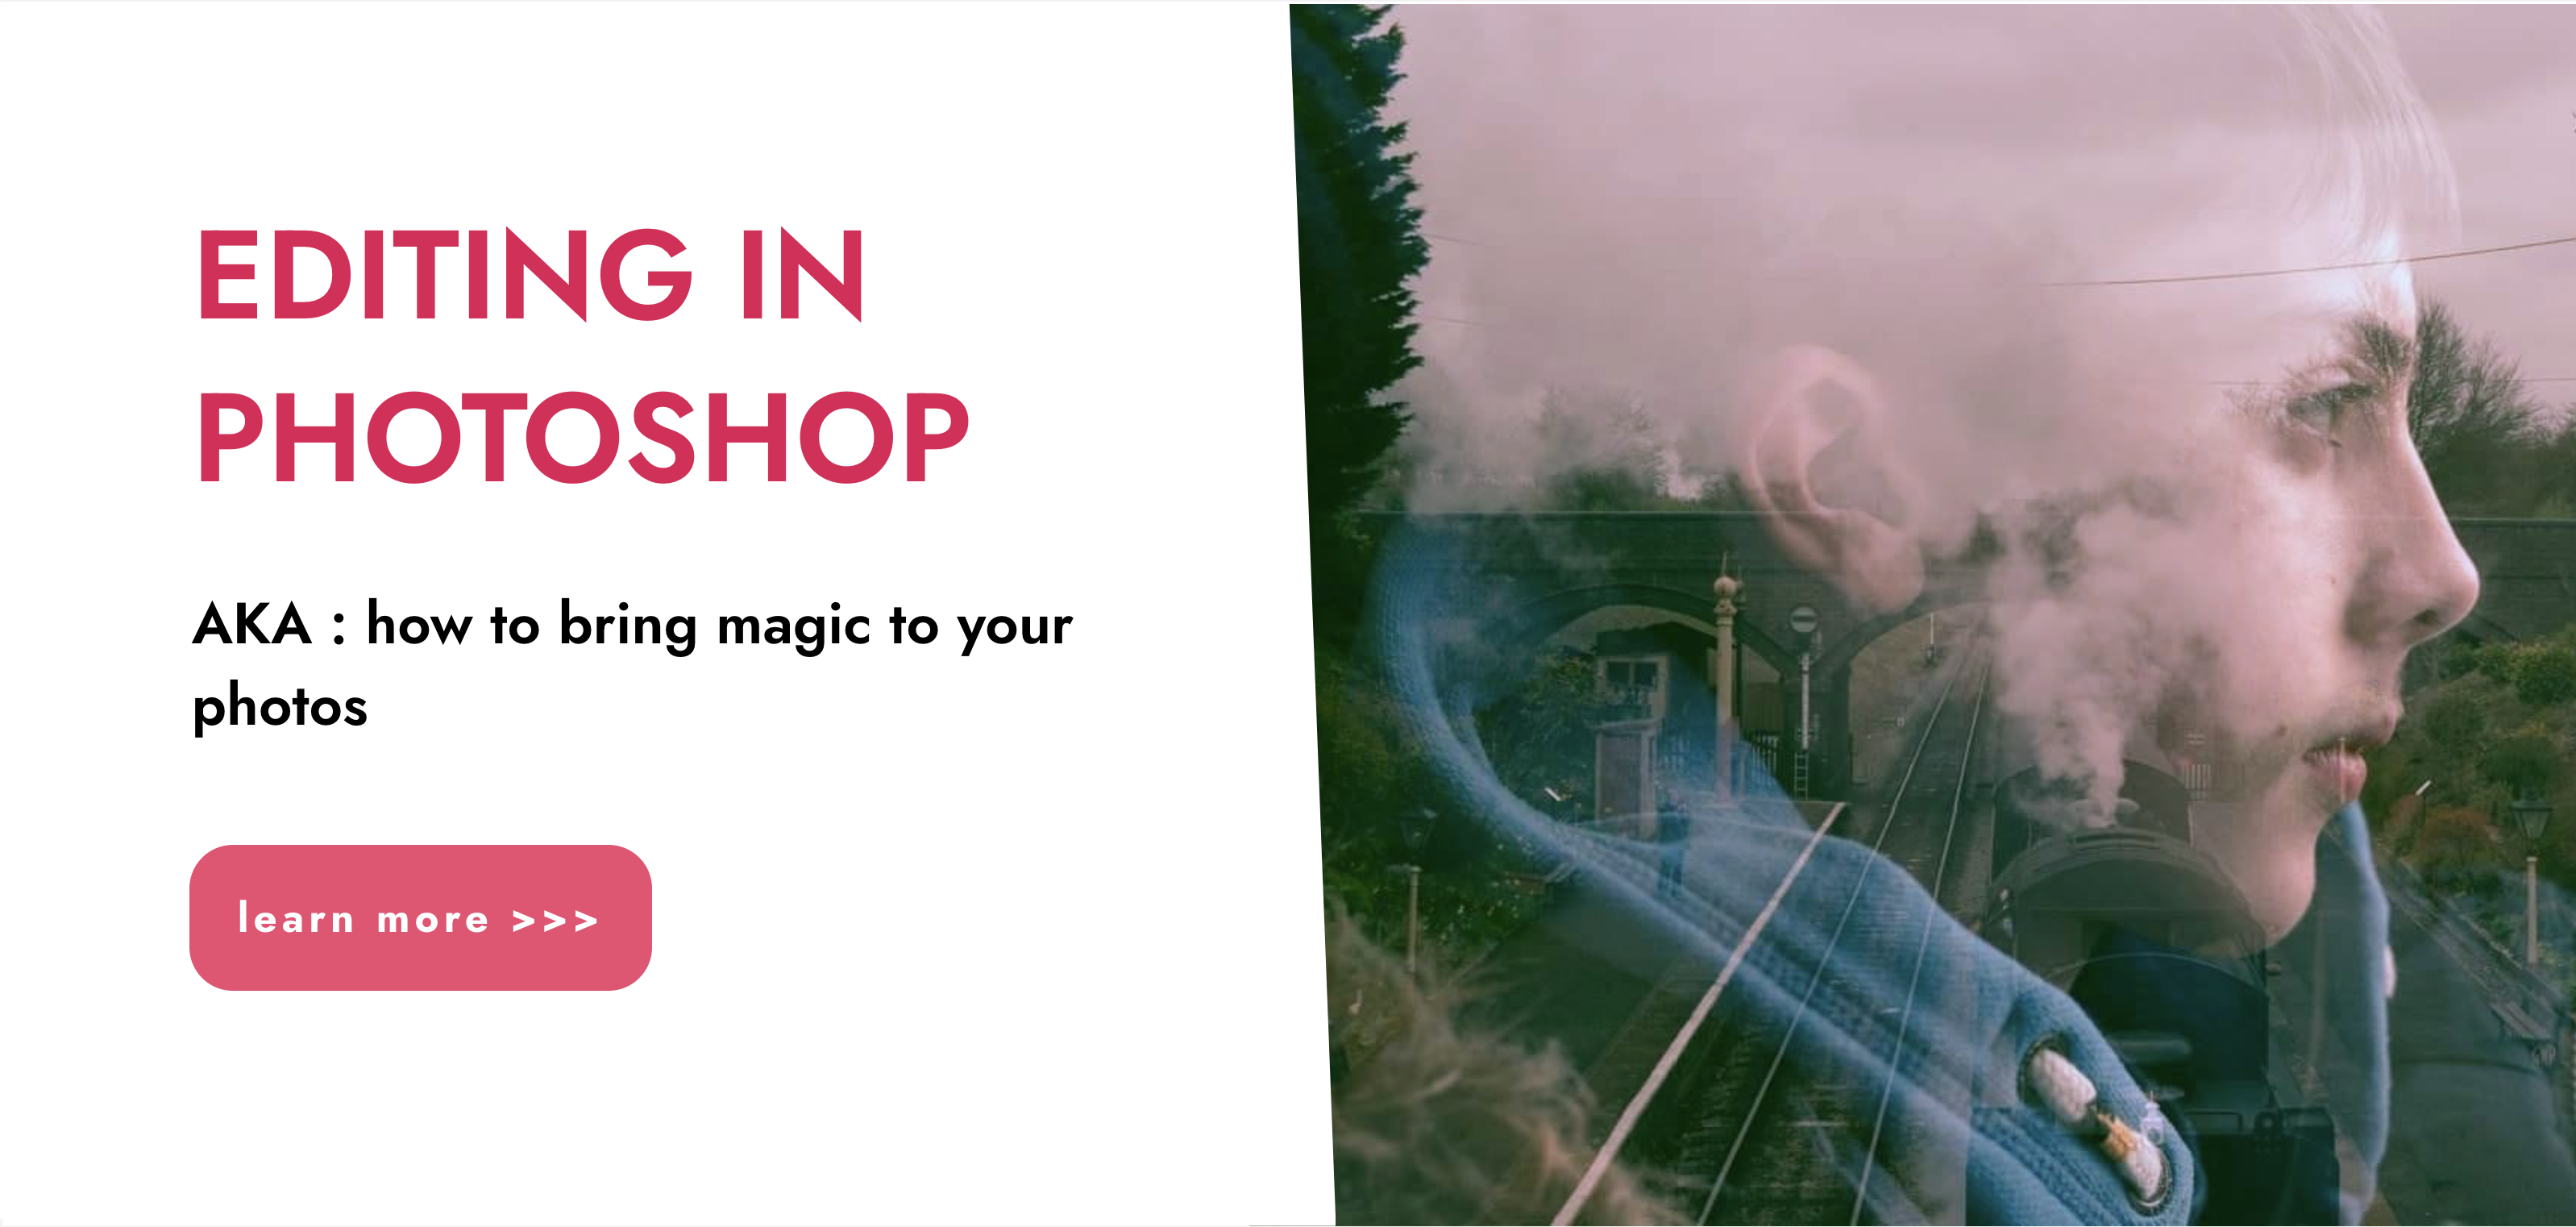
“Photography is more than a medium for factual communication of ideas. It is a creative art" - Ansel Adams Photoshop For Photographers When you're ready to take the next step in your photo-education and learn to use Photoshop - our Photoshop for Photographers course will take you from Photoshop novice to someone who can confidently navigate it and use its super powerful tools to take your photos beyond what you thought was possible! So if you've ever dreamt about being able to use Photoshop, maybe even got as far as opening it and quickly get overwhelmed with all that's packed inside - we've got you. KEY COURSE INFO: Course type: Instructor-led Course level: 2 levels - Essential Photoshop ( L1) and Creative Photoshop (L2) Course duration: each course level consists of 4 weeks + prep module Course format: Online course with step by step tutorials, instructional videos and interactive edit-along live classes, feedback on your learning and support group WHAT YOU LEARN: Our Photoshop for Photographers is a 2 level course - the first one covering all the key aspects of understanding how to navigate and work in Photoshop along with its most widely used tools and techniques, the second one building on top of that to really boost the creative uses you can apply it to. This incredibly in-depth course has everything you need as a photographer who wants to harness this amazing tool. What you learn: from basic Photoshop tools to more complex photo manipulations, from playing with colour to portrait retouching, from adding light to removing any unwanted object from your photos and lots, lots more. key photoshop tools object removal and placements - face / sky swaps Overlays & blending modes The art of adding light Skin editing and retouching introduction to compositing THIS IS THE COURSE FOR YOU IF : You you already know basics of editing (in Lightroom) but want to take them further into Photoshop ( where more fun happens) You tried using Photoshop before only to close it immediately after opening due to all the overwhelmingly unfamiliar tools and options You followed youtube tutorials before but beside replicating what the person did exactly, you still don't really have a good idea of how to use Photoshop - or why you should!? You want to be able to take advantage of the tools that are missing in Lightroom or do not give you sufficient control over them to do the job seamlessly - such as precise ways of removing unwanted objects in your image - Photoshop's powerful tools, such as the Content-Aware Fill and Clone Stamp enable you to remove distracting objects or people from your photos, ensuring the focus remains on the subject You want to be able to manipulate or replace elements in your images - from turning your background blurry to replacing blank skies, doing face swaps and more You want to be able to bring beautiful light into your images - from haze to sun rays, from - with colours that pop and light that's perfectly balanced You want to be able to take yoru portraits to a new level - remove blemishes, retouch skin,and correct imperfections, giving your images a polished and professional finish. You desire to create stunning composites: With Photoshop, you can combine multiple images seamlessly to create captivating composite photos. This skill is particularly useful for photographers who want to tell stories or create imaginative and surreal images. ONE COURSE - 2 LEVELS ESSENTIAL PHOTOSHOP Pick this course if you're new to Photoshop or do not have a lot of experience in Photoshop In this course you learn to : Navigate the software and set it up for a proper, smart, non-destructive workflow Discover all the essential tools and techniques that take your images way beyond what you could do in Lightroom Learn the key skills : from masks to brushes, from blending modes to selections, from cloning to canvas extensions, from face swaps to sky swaps - and more!! CREATIVE PHOTOSHOP Pick this course if you're already familiar with the basic tools and ways of working in Photoshop In this course you take all that you learned in the Essentials course and turbo boost it for creativity. You'll learn : How to play with light, colour and blur for unique creative outcomes How to get more out of the familiar tools - so advanced brushes, advanced selections, advanced blending More fun skills : from skin edits to retouching, from stitching photos to involved composites, from creating effects such as neon glow to turning your photos into comics and more! Learn more about Creative Photoshop WHAT'S INCLUDED IN EACH OF OUR PHOTOSHOP COURSES: 4 core modules - each with detailed step by step tutorials, downloadable videos and PDF workbooks Support Facebook group Weekly edit-along live webinar Practice files to learn on Feedback on your images ESSENTIAL PHOTOSHOP Next Essential Photoshop course starts 15 January 2024 The way you work in Photoshop is very different compared to Lightroom and a big learning curve for anyone who begins learning it for the first time. It's also a big reason why a lot of photographers open it for the first time, find it hard to recognise any familiar tools or make them work on the image and the give up. In this course we take you through it step by step. We show you around this tool and teach you how to use it in a way that's smart, non-destructive, flexible and making the most of its amazing features. Here is a non-exhaustive list of what you will learn: A thorough understanding of Layers, masks and brushes - you cannot really work effectively in Photoshop if you do not know how to use these tools. An absolute must! Key Photoshop tools - Photoshop is a hugely vast tool used by lots of different creative professions and depending on what you use it for, you will be using different tools. We introduce you to the ones that are key for a photographer! Working with Adjustment layers - these fantastic tools allow you to change colours, adjust tone and mood of images Removing and replacing parts of your photos - powerful selection, healing, cloning, content aware tools and more to allow you to clean up your images of everything that's undesirable or distracting in your images Simple composites ( Face swaps / Sky swaps) - while composites can be hugely complex and challenging, we show you how to get started with a few simple - but effective ones!Understanding Precision tools and filters for blurring and sharpening Blending modes and their immense potential for transforming your images with the tools you already know - from working with overlays to CREATIVE PHOTOSHOP Next Creative Photoshop course starts 15 April 2024 In Level 2 we build on the foundation we establish in Level 1 and start applying what you have learned more creatively - as well as learning more tools, more techniques and starting more fun projects. This is where we really get to have fun with those powerful tools - we learn not just how to fix and clean up undesirable elements from the photos, but how to creatively treat them so that they reflect your creative vision and imagination. The magic of Colour and blur - adding mood and softness to images to transform the images . We use several creative techniques to completel;y transform the images Adding and creating light effects in Photoshop - from light beams to sun burtsts to rainbows! Step by step skin editing and portrait retouching - from adjusting skin tones, removing unwanted colour casts, disappearing blemishes and creating highend, polished portraits that still retain healthy skin texture Using smart filters and creative adjustment layers to achieve effects such as turning your images into cartoons, watercolours or neon effects Working with and creating your own custom brushes, overlays etc - the power of photoshop brushes has to be experienced to be believed - from adding light rays to Playing with composites - adding magic to your images or creating new scenes and stories from scratch PHOTOSHOP For Photographers Photoshop courses - KEY INFO Essential Photoshop ( Level 1) - 4 week course, starts 15 Jan 2024 Creative Photoshop ( Level 2) - 4 week course, 15 April 2024 Course cost: BOOKING A SINGLE COURSE: £179 ( payment plans available ) BOOKING A BUNDLE: Book Level 1 and Level 2 together : £259 (payment plans available ) PHOTOSHOP FOR PHOTOGRAPHERS Each course consists of 4 weekly modules with step by step illustrated tutorials and videos + prep module weekly edit along class online class ( also recorded) feedback and advice on your edits private support group PDF workbook and downloadable videos Practice images to learn on COURSE PREREQUISITES: Adobe Photoshop software installed on your computer or tablet.This can be purchased either as a standalone Photoshop Subscription or as part of the Photography Plan which includes also access to Lightroom and Lightroom Classic. Please note that you need to ensure that your computer can run Photoshop - please follow Adobe minimum system requirements guidelines
Introduction to coding with Python
By futureCoders SE
Learn how to code with Python. Work on a small real-life project from conception to tested app, in a team or on your own.