- Professional Development
- Medicine & Nursing
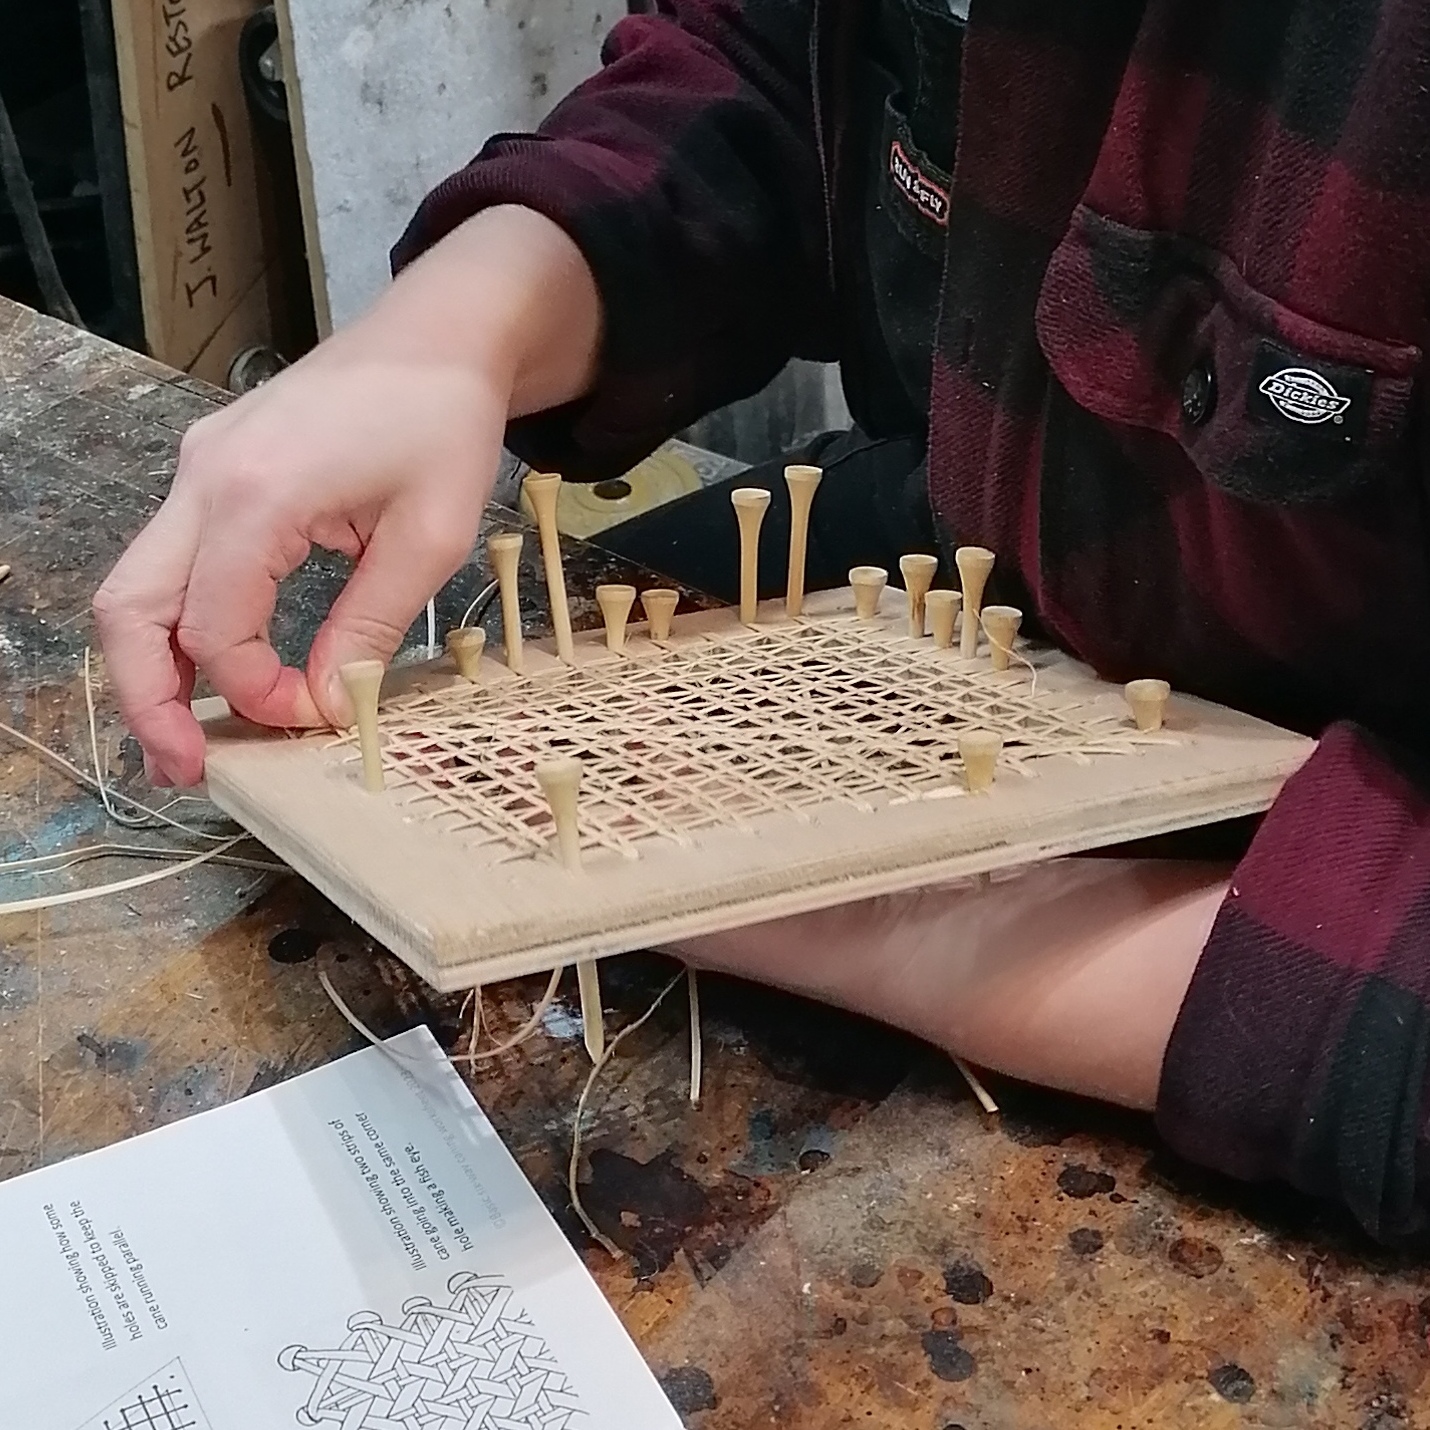
- Arts & Crafts
- Health & Wellbeing
- Personal Development
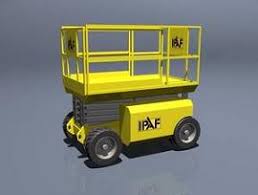
IPAF Operator Training 3a
By Kingfisher Access
The IPAF operator course instructs a candidate to prepare and safely operate various types of MEWPs, also referred to as cherry pickers, aerial lifts or scissor lifts. Categories include Static Vertical (1a), Static Boom (1b), Mobile Vertical (3a), Mobile Boom (3b), Specialist Machines (SPECIAL), Push Around Vehicle (PAV), Insulated Aerial Device (IAD).Categories include Static Vertical (1a), Static Boom (1b), Mobile Vertical (3a), Mobile Boom (3b),
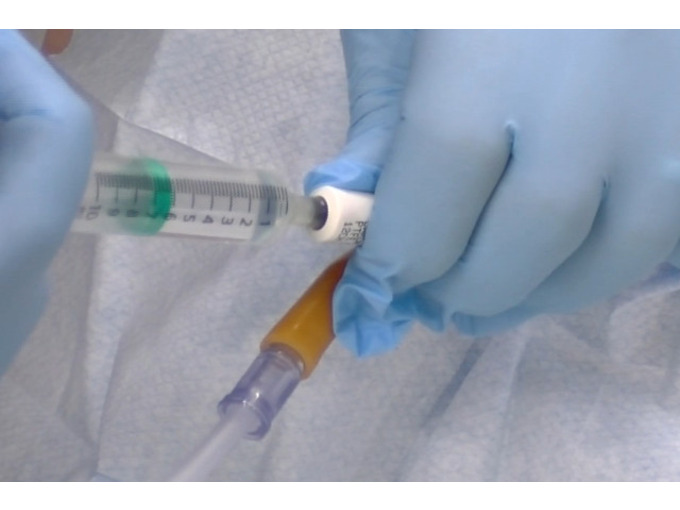
An Understanding of Urinary Catheterisation and Catheter Care
By Guardian Angels Training
Our Urinary Catheterisation and Catheter Care training course, facilitated by registered nurses with first-hand clinical experience, are blended learning courses that allow participants to demonstrate theoretical and practical simulation within a classroom environment.
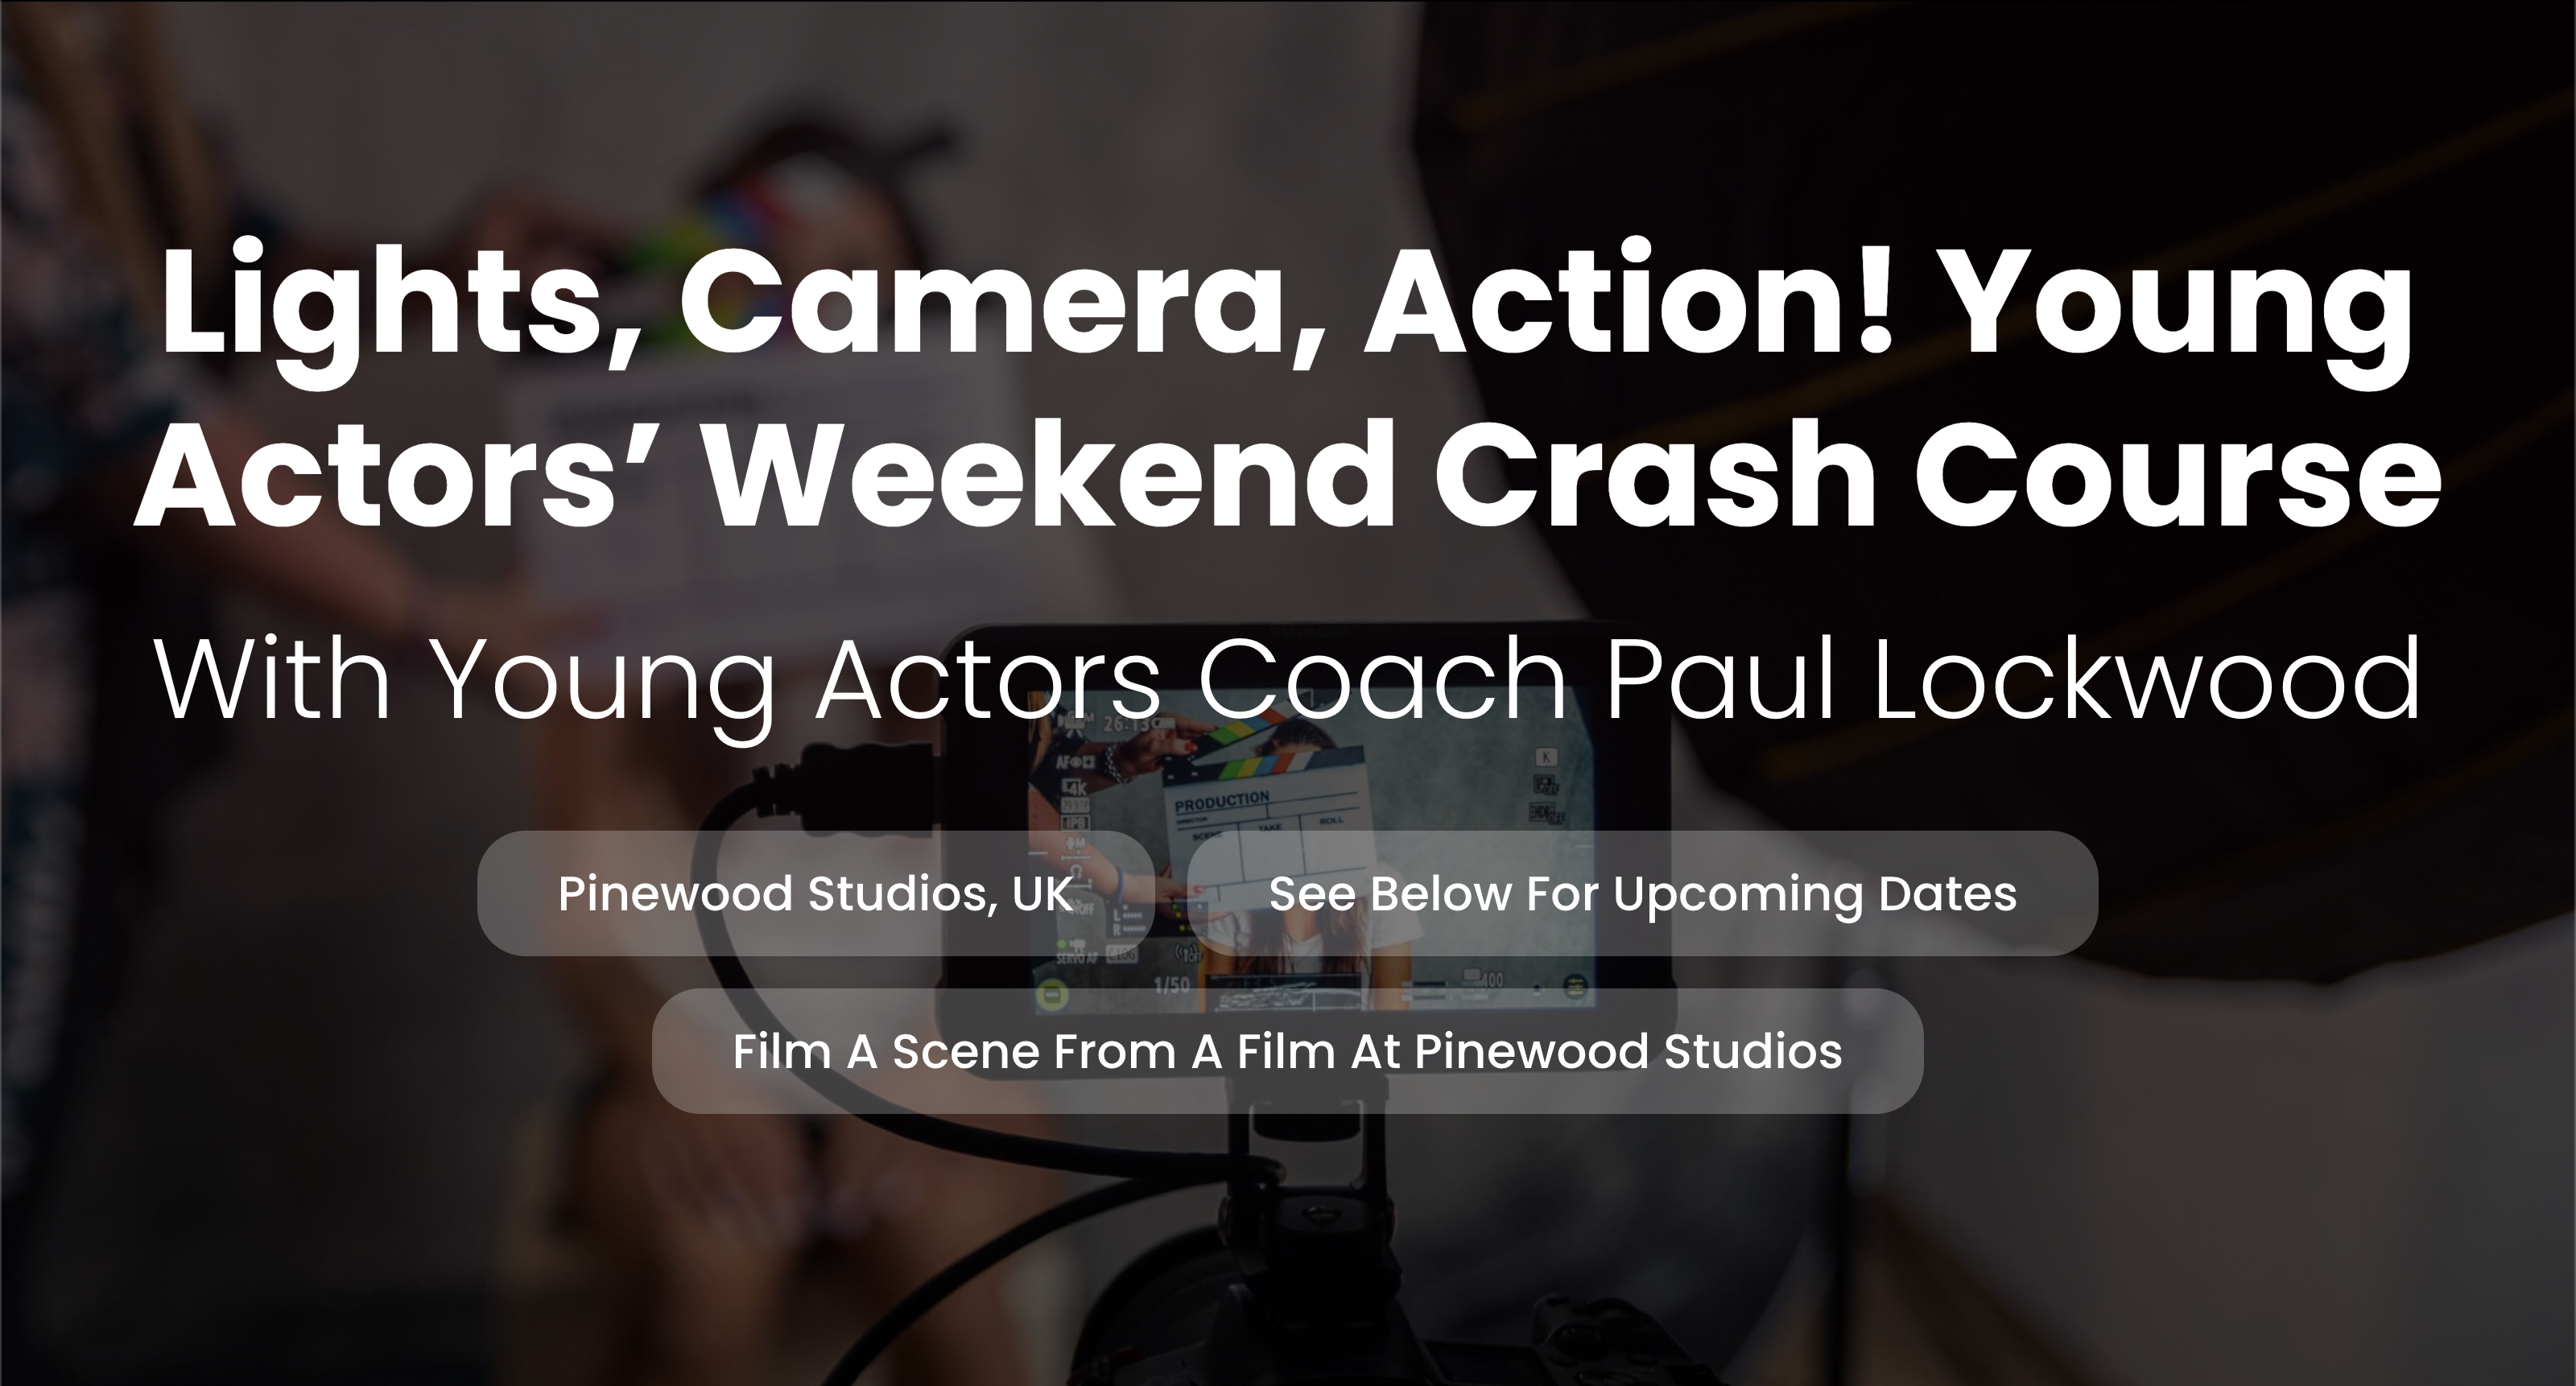
Lights, Camera, Action! Young Actors’ Weekend Crash Course
By Actors Studio
With Young Actors Coach Paul Lockwood Introduction Acting classes designed for Children/Teenagers who show a passion for acting and wish to enhance their skills in acting for screen and stage. Actors Studio offers weekend crash courses in Theatre, Television and Film for young actors aged 11 – 16 at the world-renowned Pinewood Studios. Children will work alongside experienced actor and acting coach Paul Lockwood to learn the difference between stage and screen performances, while developing a high set of skills to achieve a truthful performance. Lights Camera Action widens a young actors skill-set with sessions that include, acting techniques, devising short scenes, script work, audition techniques, screen and stage acting, listening and reacting skills. Meet Your Tutor Paul Lockwood Young Actors Coach Paul Lockwood is a screen actor and stage performer who specialises in working with young performers to help them realise their potential on screen. Paul works with both professional and beginners understanding the needs to help them succeed. Course Outline Our young actors are encouraged to work collaboratively, learning to give and accept constructive criticism and feedback to make them better actors. Our course also inspires confidence, social interaction, creativity and most of all fun in a secure and supportive environment. Children will film and receive an edited digital version of their scene! Special sessions in Audition Technique and Casting Advice will be offered where appropriate. Classes are held in our studio at Pinewood Studios over Weekends Additional Information Features Held at Pinewood Studios Popular with young performers looking to realise their potential Filmed scene for future development Further advice will be given to those showing potential Inspiring general confidence, social interaction and creativity Learning Outcomes Audition technique for commercial, film and stage The differences between stage and screen performances How to achieve emotionally truthful performance How to behave on a film set Developing listening and reacting skills Course Location Actors Studio, Pinewood Studios, Pinewood Road, Iver Heath, Buckinghamshire, SL0 0NH Free parking available at Pinewood Studios Nearest Train Stations: Uxbridge Tube Station, Slough and Gerrards Cross. Transfer from station to Pinewood Studios – 10 minutes Coffee shop on site (may not be open at weekends) Excellent transport links from London
Rhino 3d and V-ray for Rhino Basic to Intermediate Training
By London Design Training Courses
Why Learn Rhino 3d and V-ray for Rhino Basic to Intermediate Training Course? Course Link Learn Rhino 3D and V-Ray for Rhino Basic to Intermediate Training Course. Designed for beginners and experienced users, this course empowers you with essential modeling and rendering techniques. Choose between in-person or live online sessions. Duration: 16 hrs. Method: 1-on-1, Personalized attention. Schedule: Tailor your own schedule by pre-booking hours of your choice, available from Mon to Sat between 9 am and 7 pm. London Design Training Course Certified tutors for Rhino 3D and Vray Training - Online, On-Site, or In-Class one to one. Choose from a diverse range of Rhino courses conducted by expert trainers with extensive production experience. Rhino 3D and V-Ray Comprehensive Training Course Duration: 16 hours Course Overview: Learn Rhino 3D and V-Ray with our Basic to Intermediate Training Course. Perfect for beginners, this course equips you with the skills to navigate Rhino's interface, create captivating 3D models, apply textures, and utilize V-Ray for stunning renders. Course Outline: I. Introduction to Rhino 3D and V-Ray (1 hour) Get familiar with Rhino 3D and V-Ray interfaces and essential tools Master viewport navigation with expert controls Understand units and tolerance for precise designs Customize your workspace for seamless workflow II. Creating Basic 3D Objects (3 hours) Craft captivating 3D shapes and objects Edit objects and work with curves for refined designs Explore surfaces and solids for advanced modeling Utilize transformations and copying techniques for enhancements III. Materials and Textures (2 hours) Unleash the power of materials and textures on your designs Apply stunning materials to bring your creations to life Enhance your designs with custom materials for an aesthetic boost IV. Basic Lighting Techniques in V-Ray (2 hours) Discover the magic of lighting with V-Ray for impactful renders Utilize V-Ray lights and HDRI maps for striking lighting effects Adjust lighting settings for impeccable results V. Enhancing Renders with V-Ray Settings (3 hours) Optimize V-Ray render settings for the best output Adjust global illumination and reflection settings for desired looks Elevate renders with dynamic effects like depth of field and motion blur VI. Advanced Modeling Techniques (2 hours) Master advanced modeling tools for intricate shapes Refine curve and surface creation and editing skills Handle solids with Boolean operations and trimming techniques VII. Advanced Lighting Techniques in V-Ray (2 hours) Create and adjust artificial lights for perfect illumination Utilize V-Ray's Sun and Sky system for realism Craft custom HDR images for enhanced lighting VIII. Exporting and Importing (1 hour) Learn file formats for seamless sharing and collaboration Prepare models for 3D printing with best practices Integrate models from other software for a unified workflow IX. Conclusion and Next Steps (30 minutes) Recap course knowledge and highlights Access valuable tips and resources for continuous learning Engage in interactive Q&A for feedback and support Resources: Explore V-Ray with a free trial at: https://www.chaosgroup.com/vray/sketchup/free-trial Access material library at: https://www.vray-materials.de/ Discover textures at: https://textures.com/ Downloads: Download Rhino 7 for Windows for a full 90-day evaluation at: https://www.rhino3d.com Experience Rhino 7 for Mac Evaluation with a user-friendly interface and seamless performance for 90 days. Upon completing the Rhino 3D and V-Ray Basic to Intermediate Training Course, participants can expect to achieve the following learning outcomes: Proficiency in Rhino 3D and V-Ray: Develop a comprehensive understanding of Rhino 3D and V-Ray interfaces, tools, and functionalities, enabling participants to navigate and utilize the software effectively. 3D Modeling Skills: Master the art of creating captivating 3D objects and shapes using Rhino 3D, including editing, transforming, and refining designs for diverse applications. Material Application: Acquire the ability to apply and customize materials and textures to enhance the visual appeal and realism of 3D models, elevating the quality of designs. Lighting Techniques: Gain expertise in utilizing V-Ray lighting tools, such as V-Ray lights and HDRI maps, to achieve striking lighting effects in rendered scenes. Rendering Excellence: Learn to optimize V-Ray render settings, control global illumination, and apply dynamic effects like depth of field and motion blur for high-quality and impressive renders. Advanced Modeling: Develop skills in advanced modeling techniques, including handling curves, surfaces, and solids, enabling participants to tackle complex design challenges. Lighting Mastery: Acquire the knowledge and expertise to create and adjust artificial lights, utilize the Sun and Sky system, and craft custom HDR images for realistic lighting setups. Seamless File Management: Understand various file formats for exporting and importing 3D models, facilitating efficient collaboration and preparation for 3D printing. Creative Problem-Solving: Enhance creative thinking and problem-solving abilities through hands-on practice and exploration of diverse design scenarios. Professional Presentation: Learn post-production techniques in Photoshop to enhance renders and create visually appealing design presentations for effective communication. Continuous Learning: Access valuable resources and tips to encourage continuous learning and professional growth in Rhino 3D and V-Ray.


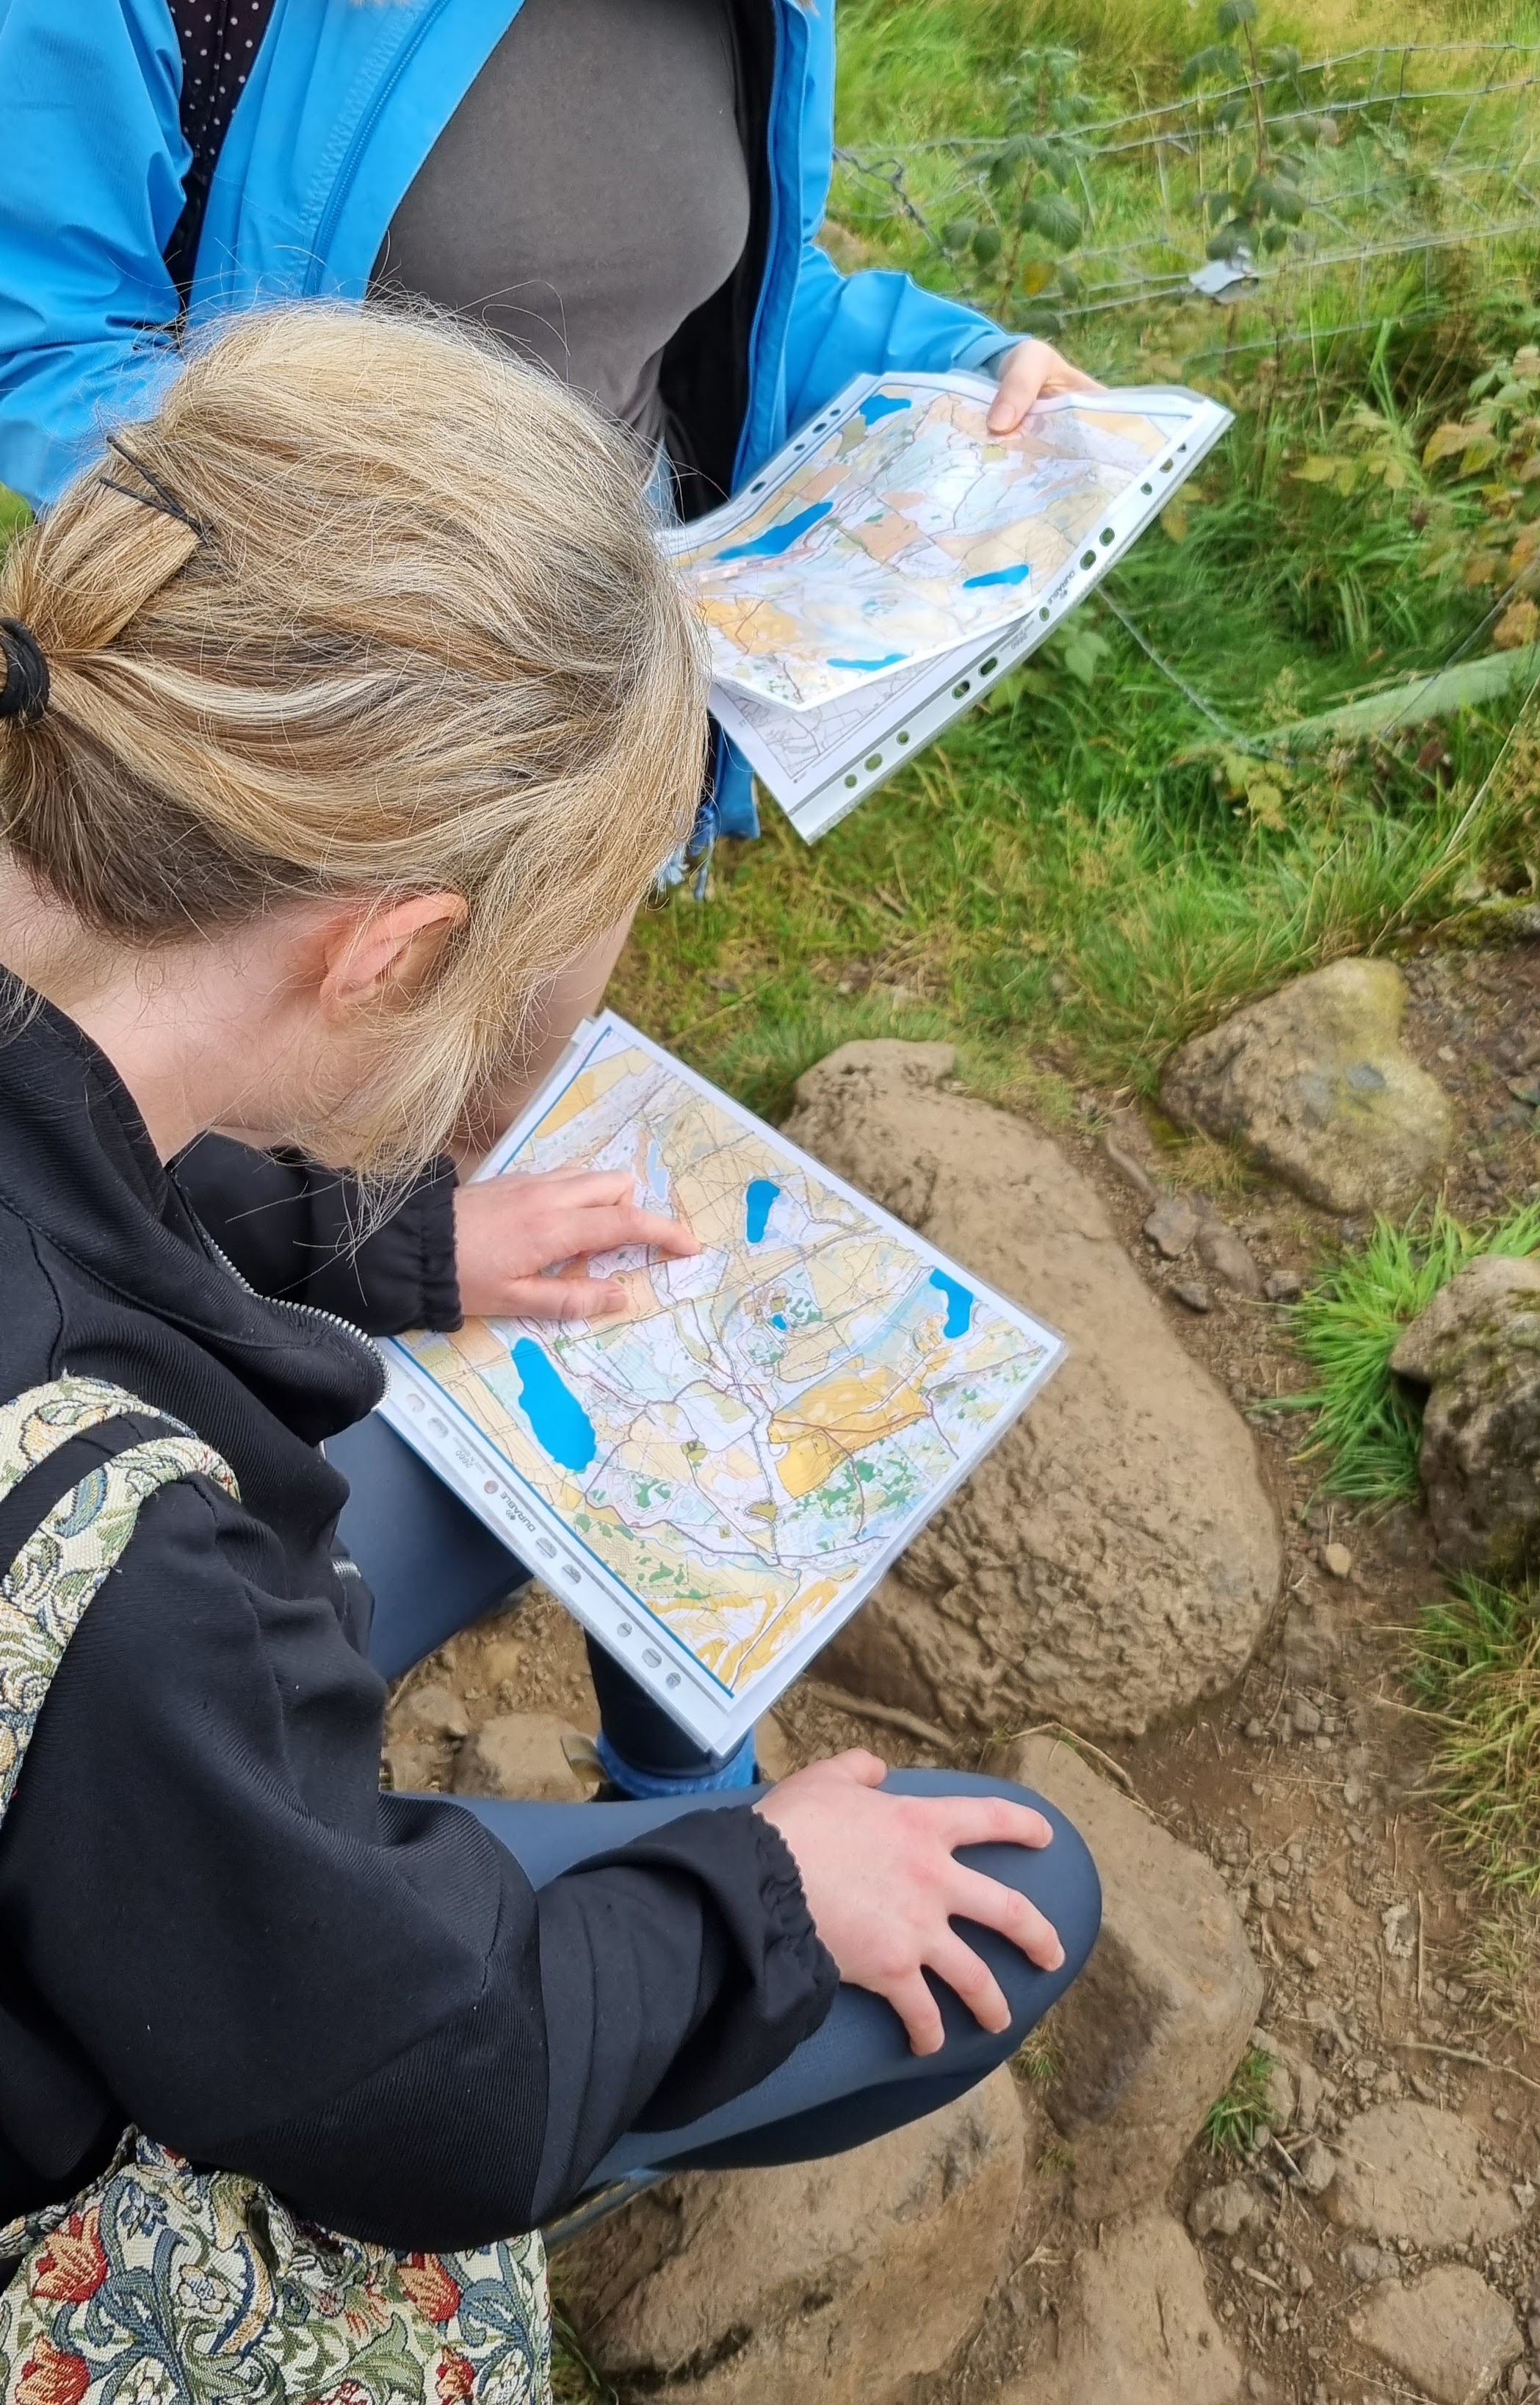
Navigation Skills for the Hills- Beginners and Progression
By SkylarkGuidingLtd
For more information about upcoming courses please visit: https://skylarkguiding.co.uk/navigation-course/
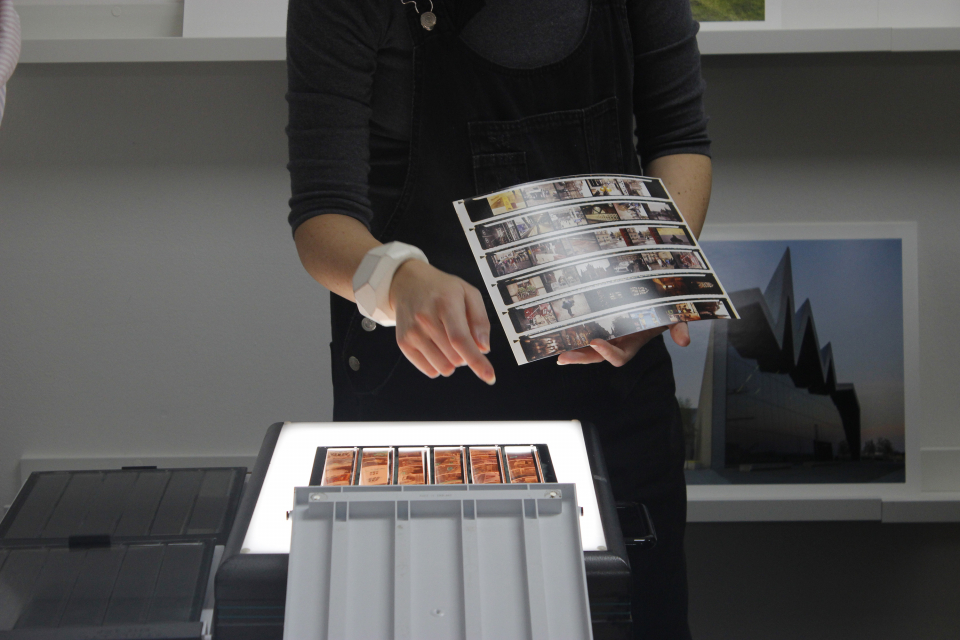
This course will introduce you to the beautiful world of colour analogue photography. Taking as a starting point the work of contemporary photographic artists working with colour, we will discuss and explore theory as well as developing core skills essential for the capture and printing of your own colour images. You will learn how to correctly expose colour negative film and learn more about the characteristics of different types of film and the effects that they can have on an image. Within Stills’ darkrooms you will learn how to process your colour film by hand and print high quality analogue C-Type prints. Day 1 Morning: Colour Theory, Inspiration and Refresher for SLR Camera Controls During the morning we will be looking at contemporary photographers and artists that have used colour to inform their practice in specific ways. We will look at the ways in which colour revolutionized the artworld and vernacular photography. We will also look at basic colour theory, exploring which colours compliment each other and why. We will also refresh basic camera controls, load cameras and head out to the streets to shoot a roll of film. Afternoon: Colour Film Processing During this session, you will learn how to hand process your colour film. We will discuss the loading of the tank and the preparation of the machine to ensure correct processing temperature. We will look at different film types, why you may want to use them and the range of effects that can be produced. Day 2 Morning: Introducing the Colour Darkroom and Contact Sheets You will be introduced to Stills colour darkooms and become familiarised with the range of equipment you will be using. You will be taught how to set up your darkroom for printing, how the colour print processor works and how to print a contact sheet for viewing your negatives. Afternoon: Printing In the afternoon you will be expected to make a series of final C-Type prints. You will be shown techniques to improve your printing skills and produce the images you desire. This last session will allow you time to print with some one-to-one attention. We will discuss some printing techniques to help you get the most from your negatives. We will also have time at the end of the day to look back on all the work produced over the course and discuss it in relation to theory we learnt at the beginning. By the end of the course you will have: Learned more about colour theory and have a knowledge of contemporary artists working with colour photography Learned to process your own colour film Experimented with a variety of specialised darkroom printing techniques Printed contact sheets and a collection of colour photographs Feel confident in a colour darkroom using specialist equipment Courses are subject to minimum enrolment. Please register early, within five days of the start date, to reduce the likelihood of course cancellation. Please read our cancellation policy before booking. Students, anyone over the age of 65, and those in receipt of any form of benefits can claim the concessionary price, offering a 10% discount on the full course price. Valid proof of eligibility must be produced on the first day of the course. Please use the code CONCESSION when prompted at checkout.
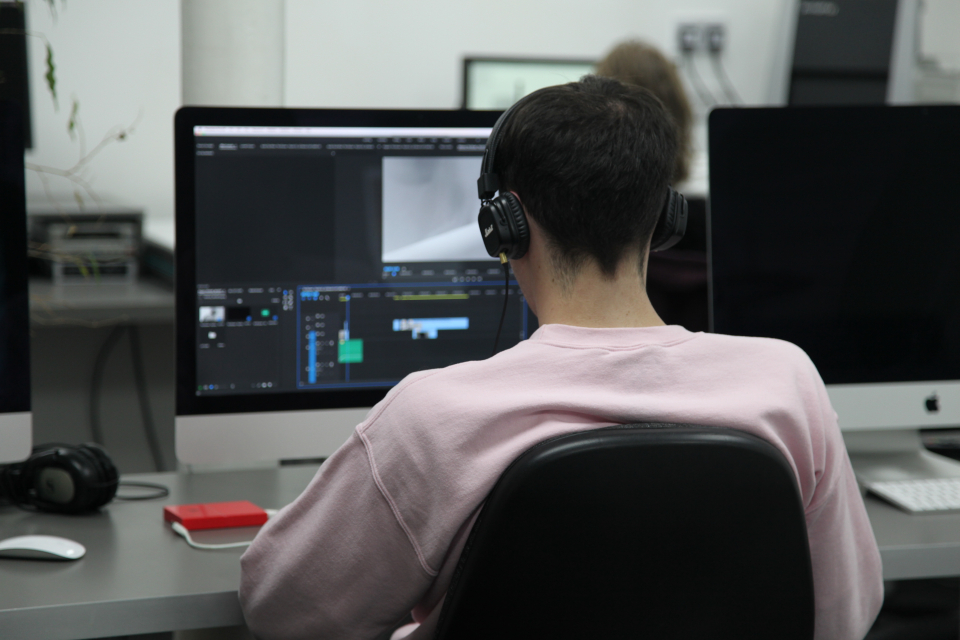
This 6 week course will support you to make the most of the range of applications Adobe Premiere Pro offers in the production of video. Sample footage will be provided for you throughout the course, but you can also bring along your own video files to work on. The course is quite technical so some computer experience is required. We use Macs on the course – the Premiere interface is the same across operating systems but some shortcuts and menu items are different. Week 1- The basics This week we’ll start with some of the basics, introducing you to editing and Premiere Pro through: A short history of editing; from analogue to digital Getting to know the layout of Premiere Pro Working with ‘bins’ (folders) and creating edit Sequences Making selects from the rushes and sound files by creating in and out points Introducing clips to the timeline and making a simple edit with music Understanding rendering for smooth, full quality playback Week 2- Editing narrative sequences This week we’ll get further stuck into editing by building narrative, focus on offline editing‚ better organisation of your projects and breaking down footage through: Re-linking lost or moved footage Video ingest – importing and organising clips Organising and breaking down rushes using annotated markers and sub-clips Basics of the effects and motion settings Using our skills to create a simple narrative sequence Editing a dialogue sequence Considering the best ways of exporting your film for online Learn Adobe Media Encoder for more efficient exporting Week 3- Video settings, effects & titles This week we will focus in on what makes up video from a technical standpoint. We will then look at how we can work with and alter these parameters for different uses in our films through: Transcoding – converting the footage into an editable file and understanding codecs and meta data Adjusting scale and positioning and using motion keyframes to create movement over time Adding titles and animating them Applying transitions and various stock video effects Layering tracks and using opacity and different layer blending effects Creating masks and using motion tracking Working with green-screen footage, creating mattes, mask filters and working with multiple layers Week 4- Audio & sound This week we’ll consider the importance of sound design and music for narrative and atmosphere in film and experimental video through: Learning how to enhance your film with sound and music Introducing audio and music to the timeline, cutting and leveling Laying down music and cutting the footage to fit Building sound design around an existing edit with sync-sound and SFX Common practice and different approaches for syncing external microphone audio and video Mastering the audio and making sure that it is all levelled Learning how to create subtitles for our films and different methods to export/embed them Week 5- Colour This week we’ll start looking at colour in our videos and what role that plays. We will look at the process of colour grading and changing the mood in our films through: Using Lumetri Colour, the colour-correcting function within Premiere Pro CC Matching the colour of different cameras to create a similar look Creating different “colour grades” to create different atmospheres Stylising our footage Understand the colour limitations of video files and the importance of exposure when filming Working with tracked masks to isolate certain areas within your image to colour correct Week 6- Putting it all together In our final week we will get the opportunity to experiment with all the skills we’ve learned to create an opening sequence for a tv series. This is also a great opportunity to revisit any topics from previous weeks. Courses are subject to minimum enrolment. Please register early, within five days of the start date, to reduce the likelihood of course cancellation. Please read our cancellation policy before booking. Students, anyone over the age of 65, and those in receipt of any form of benefits can claim the concessionary price, offering a 10% discount on the full course price. Valid proof of eligibility must be produced on the first day of the course. Please use the code CONCESSION when prompted at checkout.
Phoenix Pottery and Art Studio offer a variety of art, craft and pottery classes. A regular calendar of pottery courses for beginners plus pottery studio space for experienced ceramicists to work on their own projects. From Watercolour painting classes, mixed media art, wreath making, glass fusing, to Mindfulness with clay workshops and Lots of other seasonal events. All the festive classes and workshops are available to book now. Close to Warrington, Manchester , Liverpool, Wigan, Lancs and the Northwest. With easy Motorway access