- Professional Development
- Medicine & Nursing
- Arts & Crafts
- Health & Wellbeing
- Personal Development
1255 Courses
Unconscious bias
By Underscore Group
Understand the biases we all have and the impact they can have in the workplace. Look at how to minimise their impact on others and the organisation. Course overview Duration: 1 day (6.5 hours) The purpose of this course is to help individuals understand and recognise their own unconscious biases, and to provide strategies on how to minimise the impact of those biases in the workplace. The course will provide an overview of what unconscious bias is, its prevalence and impact, and ways to mitigate its effects. Objectives By the end of the course you will be able to: Define unconscious bias and recognise different types of bias Understand how unconscious bias affects decision-making and behaviours in the workplace Identify their own unconscious biases Understand the impact of unconscious bias on individual and team performance Apply strategies to mitigate the effects of unconscious bias in the workplace Content Module 1: Introduction to Unconscious Bias Definition of unconscious bias History and prevalence of unconscious bias Different types of unconscious bias (e.g. affinity bias, confirmation bias) Module 2: Understanding the Impact of Unconscious Bias How unconscious bias affects decision-making and behaviours in the workplace Examples of unconscious bias in the workplace Impact of unconscious bias on individual and team performance Module 3: Recognising Your Own Unconscious Biases Identifying personal biases Tools to recognise and minimise unconscious biases Module 4: Mitigating the Impact of Unconscious Bias in the Workplace Best practices for reducing unconscious bias in the workplace Strategies for managerial and executive leadership to combat unconscious bias Tips for creating a culture of inclusion and diversity

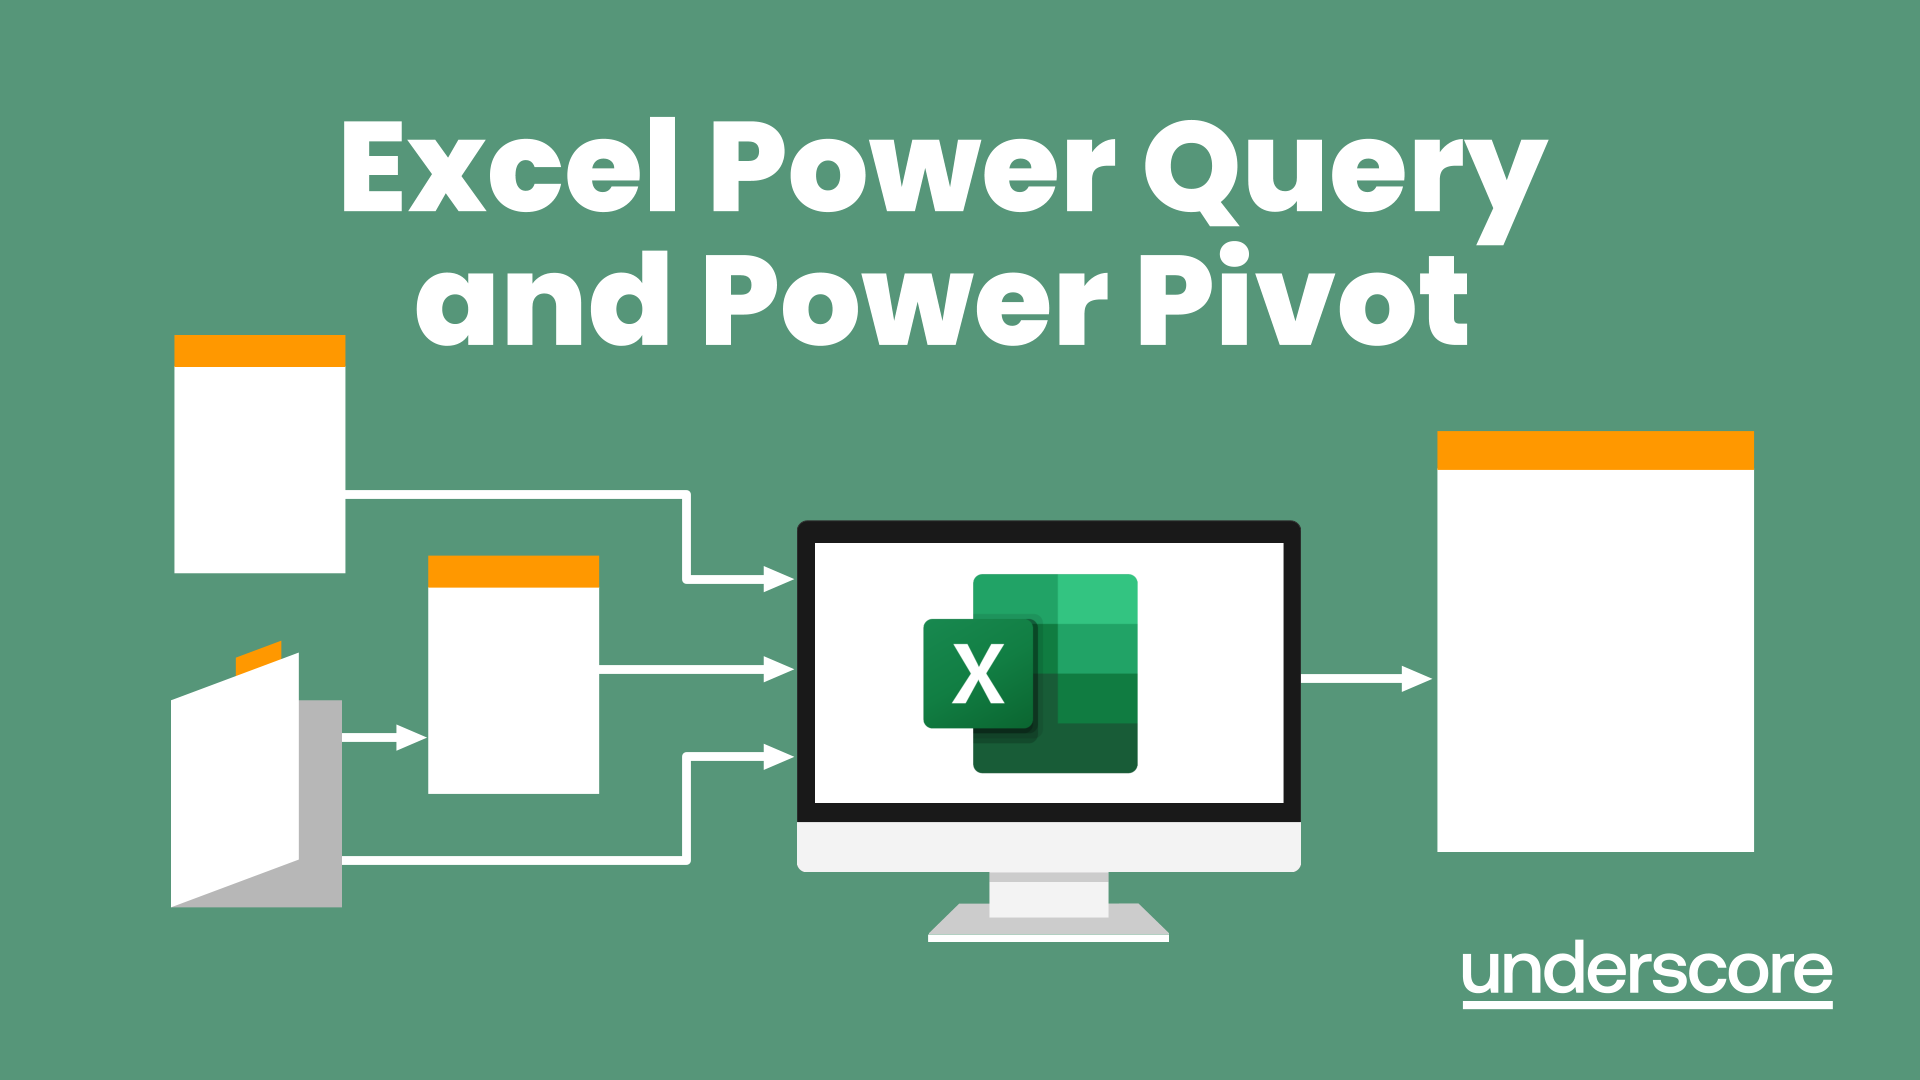
Excel Power Query and Power Pivot
By Underscore Group
Learn how to work with and connect multiple data sets to effectively analyse and report on data. Course overview Duration: 1 day (6.5 hours) Within Excel you have some powerful features to enable you to connect and analyse multiple data sources. Power Query enables you to import and manipulate your data, Power Pivot enables you to connect multiple data sources and create pivot tables and pivot charts from them. This course is an introduction to Power Query and Power Pivot in Excel to get you started on creating a powerful reporting capability. Knowledge of working with Excel workbooks and relational databases would be an advantage. Objectives By the end of the course you will be able to: Import data from multiple data sources Edit and transform data before importing Add extra columns of data Append data Merge data from other tables Create data models Build data relationships Build Pivot Tables Build Pivot Charts Use Slicers and Timeline Filters Content Importing data Data sources Importing data Transforming data Editing your data Setting data types Removing columns/rows Choosing columns to keep Setting header rows Splitting columns Appending queries Appending data from other tables Adding text Columns from example Custom columns Conditional columns Merge queries Setting up and using merge queries Merging in columns of data Creating a data model The data model Multiple data tables Connecting tables Building relationships Relationship types Building visuals from multiple tables Analysing information using pivot tables Creating and modifying a Pivot Table Recalculating the Pivot Table Filtering the Pivot Table Searching the Pivot Table Drilling down to underlying data Customising field names Changing field formatting Pivot charts, slices and timelines Creating Pivot Charts Adding and using Slicers
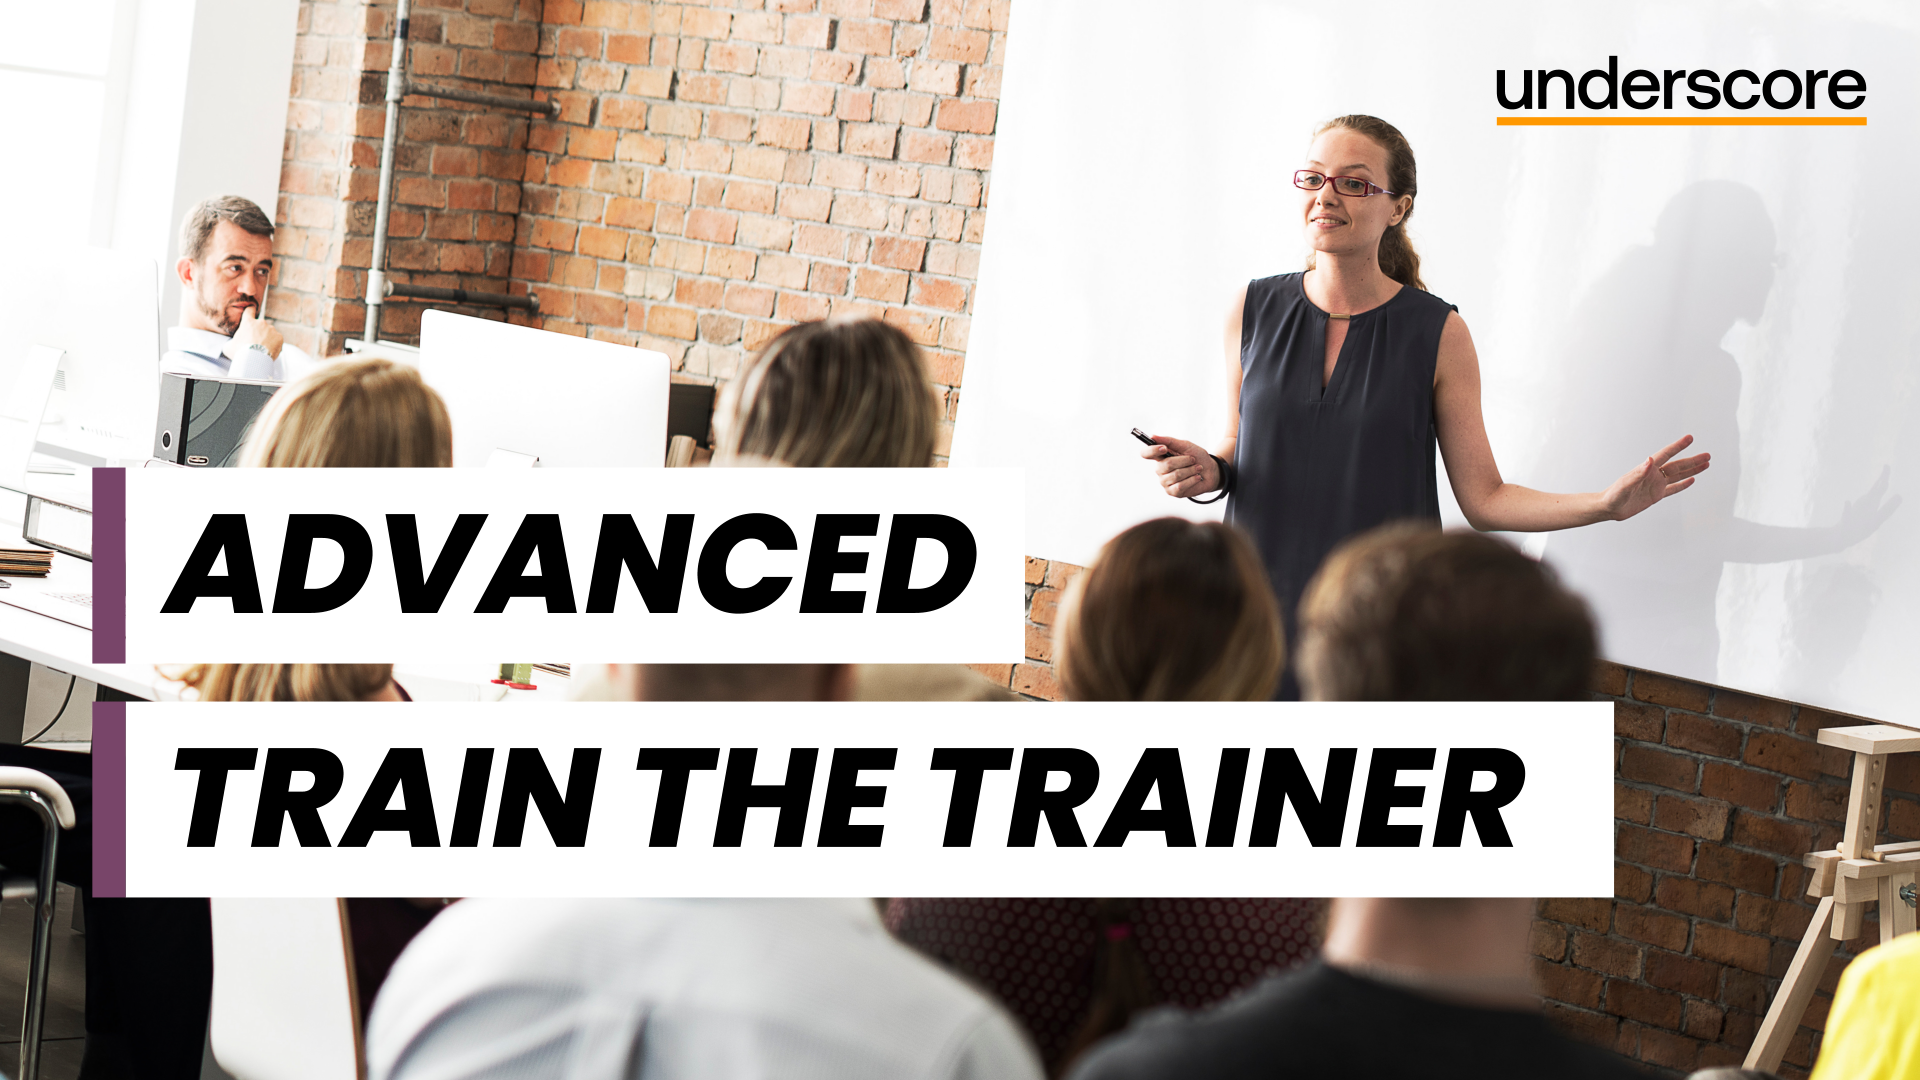
Advanced Train the Trainer
By Underscore Group
Develop more advanced training skills such as expert presentation, facilitation and coaching skills. Course overview Duration: 2 days (13 hours) This workshop is for people who want to take their personal skills as a trainer to the next level. It builds on the Underscore Level 1 Train the Trainer course. In this Level 2 course delegates will develop more advanced training skills such as expert presentation, facilitation and coaching skills. In the modern world learning is often delivered in blended learning formats and this course will introduce delegates to the challenges of blended learning and how to introduce a range of delivery methods into programmes. Attendees will learn how to write more complex learning plans and integrate different methods and media into their plans. Objectives By the end of the course you will be able to: Describe your Personal Training Style Explain how personality affects communication styles Use techniques to read delegates and adapt communications for greater impact Recognise the ‘games people play’ and how to deal with difficult behaviour Use techniques to establish credibility and enhance your reputation Identify the right approach to take when faced with a range of challenges Use advanced Presentation Skills Use facilitation and coaching skills for experiential workshops Use modern Training Methods and Media Deliver memorable training Note: Delegates attending this programme will be asked to complete an online psychometric in advance of attending the programme in order to help understand personal training styles Content Understanding your Personal Training Style Receive feedback from online Psychometric Understand personal training styles Understand personal communication and working style Understand the impact this has on audience Learn how to adapt your style for greater impact Growing your reputation as a trainer Your Training Persona Training Confidence Training Reputation Trainer Brand Understand the ‘Games People Play’ An introduction to Transactional Analysis (TA) for Trainers Using TA to:Contract for learningUnderstand Trainee AudienceUnderstand interpersonal stylesUnderstand working and thinking stylesWorking in groupsCreativity and innovation Developing deeper Trainer Skills Presentation Magic – making your presentations more effective Facilitation skills for workshops Coaching skills for classrooms and virtual training Delivering experiential workshops Modern Training Methods and Media Incorporating blended learning into your programmes Using Social Learning Using Videos Using Virtual Tools Using CBT and e-learning Pre-course work 1: Complete and online Psychometric Pre-course work 2: Deliver and record a 5-10-minute training session in your workplace on your phone and bring it with you Note: there is an option to have addition 1 hour coaching for delegates to support workplace learning after the course.
VBA in Excel - Part 1
By Underscore Group
Following on from the Macros course look at how you can write your own Visual Basic code within Excel to fully automate tasks and save time. Course overview Duration: 2 days (13 hours) Our VBA in Excel course is an introduction to using the Visual Basic for Applications language for programming in Excel. It looks at structures, syntax and coding standards. This course is designed for existing experienced users of Excel who can record and run macros and those who have dabbled in VBA but would like some formal training and help to put some structure to their code. Objectives By the end of the course you will be able to: Write visual basic procedures Create event and general procedures Use commands from the Excel data model Use statements and functions Use a selection of debugging tools Create and use variables and constants Use different types of loops Create an Excel user form Content The VBA environment Project explorer Excel objects Modules Properties window Code window Code structure Code structure Navigating within your code Adding comments Using WITH Steps to creating a VBA procedure Procedures Sub procedures Event procedures Calling procedures The Excel data model Workbook commands Worksheet commands Excel selection methods Data manipulation commands Debugging Using breakpoints Stepping through code The immediate window The watch window The locals window points Variables and Constants Declaring variables Declaring multiple variables Variable data types Concatenation Scope of variables Constants Declaring constants Using constants Scope of constants Looping Do while loops Do until loops For next loops Conditional Statements IF statement SELECT CASE statement Comparison statements Logical operators Creating a User Form Form layout The control toolbox Naming conventions Adding objects Naming objects Captions Displaying the form Object properties Object properties Setting properties at design time Setting properties at run time Interconnectivity between the user form and Excel Comparing values Transferring information Running code

Primavera Risk Analysis
By Underscore Group
Discover the powerful schedule and cost risk analysis features of PRA. Course overview Duration: 2 days (13 hours) Our Primavera Risk Analysis course gives a detailed introduction to the schedule and risk analysis features of Primavera Risk Analysis. It shows the powerful features of the tool and give hands on practice throughout the course to ensure you can confidentially put your new skills into practice back in the workplace. This course is designed for new users of Primavera Risk Analysis, and no previous experience is required. You should however be familiar with risk management processes and terminology. Objectives By the end of the course you will be able to: Import schedules into PRA Add three point estimates onto plans Perform schedule and cost analysis Use templated quick risk Run risk analysis Interpret results from the Risk Histogram and Tornado graph Add task percentiles to a Gantt chart Set up a risk register Add qualitative and quantitative risks Link risk to activities in the plan Create reports Use the Distribution Analyser Content Importing schedules Importing MSP and Primavera Schedules Running import checks Checking schedule integrity Schedule risk analysis 3 point estimating Entering uncertainly Different distributions Using quick risk Updating plan Importing plans with 3 point estimates Cost/Resource uncertainty Resource loadings Creating 3 point cost estimates Resource distributions and escalations Simple cost estimates Templated quick risk Setting up and applying templated quick risk Assessing risk at WBS level Running risk analysis Running risk analysis Interpreting results on the Risk Histogram Setting analysis options Task percentiles Setting task percentile options Including task percentiles on the Gantt chart Tornado graph Creating a Tornado graph Viewing sensitivity Analysing sensitivity against activities Setting up the risk register Setting Schema levels Defining criteria and tolerances Setting up a Risk Breakdown Structure (RBS) Working with manageability and proximity Saving scoring matrices Adding custom fields Exporting data Exporting to Excel, Word and PowerPoint Qualitive risks Setting risk IDs Adding risk cause, description and effect Setting up risk details Entering mitigation actions Quantitative risks Linking risks to activities Adding schedule and cost impacts Defining how multiple risks impact Correlation Migrating your plan Adding mitigation actions to your plan as tasks Linking tasks to mitigation actions Actioning your risk register Progressing risks Importing progressed plans Linking register to progressed plans Risk history The Waterfall chart Saving and reporting Exporting the risk register Running reports Creating new reports Building and comparing risk plans Using the distribution analyser Comparing dates and cost


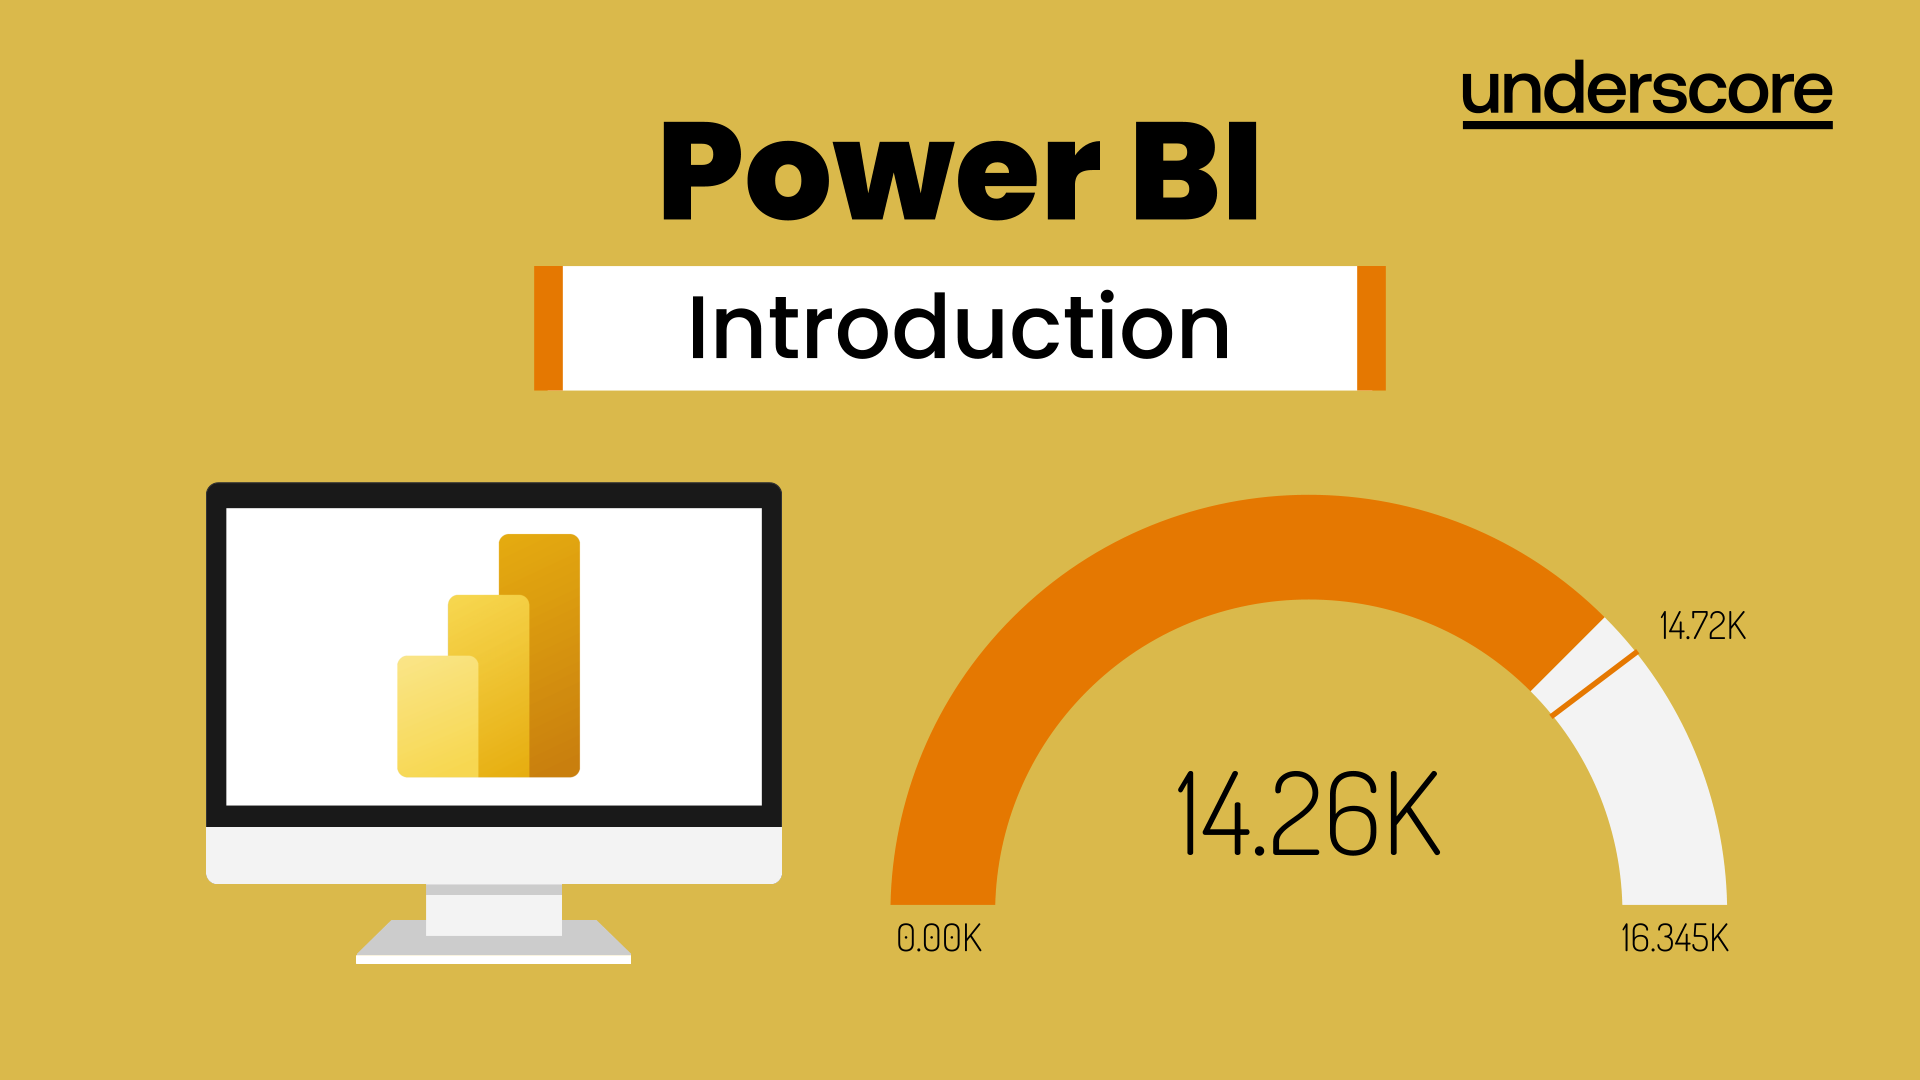
Power BI Introduction
By Underscore Group
Learn how to use this powerful tool to import and clean data and create some amazing visuals. Course overview Duration: 2 days (13 hours) Power BI Desktop is a powerful tool for working with your data. It enables you to import multiple data sources and create effective visualisations and reports. This course is an introduction to Power BI to get you started on creating a powerful reporting capability. You should have a good working knowledge of Excel and managing data before attending. Objectives By the end of the course you will be able to: Import data from multiple data sources Edit and transform data before importing Create reports Create different visualisations Create data models Build data relationships Use the drill down features Create measures Use the Power BI Service Build dashboards Use the mobile app Content Essentials Importing Data Power BI Overview Data sources Importing data Transforming Your Data Editing your data Setting data types Removing columns/rows Choosing columns to keep Setting header rows Splitting columns Creating Reports Creating and saving reports Adding pages Renaming pages Interactivity Refreshing your data Adding Columns Columns from example Custom columns Conditional columns Append Queries Importing folders Setting up and using append queries Creating Chart Visualisations Adding chart elements Choosing chart types Setting properties Setting values, axis and legends Using tooltips Visual filters Setting page and report filters Creating Tables, Cards, Gauges and Maps Adding table elements Adding maps Working with cards Working with matrices KPIs and Gauges Conditional Formatting Setting rules Removing conditional formatting Working with Data Models Merge Queries Setting up and using merge queries Merging in columns of data Creating a Data Model The data model Multiple data tables Connecting tables Building relationships Relationship types Building visuals from multiple tables Unpivoting Data Working with summary data Unpivoting data Using Hierarchies Using built in hierarchies Drill down Drill up See next level Expand a hierarchy Create a new hierarchy Grouping Grouping text fields Grouping date and number fields Creating Measures DAX functions DAX syntax Creating a new measure Using quick measures Using the PowerBI Service Shared workspaces My workspace Dashboards Reports Datasets Drill down in dashboards Focus mode Using Q&A Refreshing data Using Quick Insights Power BI Mobile App Using the Power BI Mobile App
Smartphone video production
By Rough House Media
Do you use video as a tool to promote your charity, business, organisation or campaigns? And if you don’t, do you feel as if you ought to? Videos account for more than 80% of all consumer internet traffic. So the pressure to use video as a marketing and PR tool has increased enormously. But the cost can be prohibitive. Using a video production company, such as ours, might be ideal, but for many it is out of reach – particularly if, like many of our clients, you’re a charity. However, there is an alternative, which more and more organisations are choosing, especially those which need to produce regular digital content. That is to produce the video yourself. Nowadays, you do not even need to invest in a video camera. All you need is your smart phone, some simple equipment you can buy on Amazon for as little as £80, plus your laptop or PC. This is why we have developed a new smartphone video training course, Smart Video. Our smartphone video training course covers: Equipment – including setting up your phone, microphones, tripods and editing programmes Planning your video Techniques to give your films broadcast-quality polish Getting the perfect shot – including shot sizes, positioning the camera, framing, lighting, sound, sequences and backgrounds Filming interviews An introduction to editing Producing videos for social media Bespoke training The course can be tailored to the type of videos you need to make. If most of your videos will be interviews, we’ll focus on presenting your interviewee in the best possible light – literally. If, on the other hand, you need to film buildings, events or products, we’ll tailor the course accordingly. If your video needs a script, we’ll give you tips and techniques on how to “write to pictures”, so your messages comes across well. And on all our courses, we’ll give you a guide to the best equipment and apps to use to enhance your filming and editing. The smartphone video course will be led by Paul Curran who has many years experience producing, filming and editing films and videos, for the BBC and corporate clients.

NPORS Scissor Lift Training The aim of the NPORS Scissor lift training is to provide the candidate with the basic knowledge and practical skills involved in operating Mobile Elevated Working Platforms. NPORS Scissor lift training delegates will be enabled to: Book with Confidence at Vally Plant Training At Vally Plant Training, we guarantee unbeatable value with our Price Match Promise. When you choose us, you can book with confidence, knowing that we will not be beaten on price. If you find a lower price for the same NPORS Experienced Worker Test, we’ll match it—ensuring you receive top-quality training at the best possible rate. Your skills, our commitment—always at the best price. Boom Lift Training We at Vally Plant Training also offer the Boom Lift Training Course. The two can run at the same time so you are able to gain both qualifications to operate these MEWPS in the workplace Mobile Elevating Work Platform (MEWPS) Course Summary An Introduction to the Construction Industry. Provision and Use of Work Equipment Regulations. Lifting Operations and Lifting Equipment Regulations. Health and Safety at Work Order. Other current relevant regulations. Introduction to the machine. Pre – shift inspections. Controls and instruments. Operators Code of Safe Practice. Components and types of Mobile Elevating Work Platforms. Limitation of use. Moving and locating machine. Emergency controls. Servicing and Inspection Testing. Scissor Lift Training Available 7 days a week to suit your business requirements. VPT have a team of friendly and approachable instructors, who have a wealth of knowledge of the Scissor Lift and the construction industry We have our own training centre conveniently located close to the M5 junction 9, In Tewkesbury. With its own purpose-built MEWP practical training area to simulate an actual working environment. Our Scissor lift training and test packages are priced to be competitive. Discounts are available for multiple bookings We can send a fully qualified NPORS scissor lift Tester to your site nationwide, to reduce the amount of time away from work Frequently Asked Questions 1. Who should take the Scissor Lift Training? This training is ideal for individuals who need to operate Mobile Elevated Work Platforms (MEWPs), particularly scissor lifts, in various industries. 2. What does the Scissor Lift Training cover? The training includes site safety awareness, machine control familiarization, pre-start checks, safe operating techniques, recognizing hazards, and emergency procedures. 3. How long is the Scissor Lift Training? The course typically lasts 1 day and can accommodate up to 6 candidates. 4. What certification do I receive upon completion? Participants receive an NPORS card, either the traditional card valid for 5 years or the NPORS card with CSCS logo, initially valid for 2 years. 5. Are there any prerequisites for the Scissor Lift Training? Candidates must have a good understanding of English. For the NPORS card with CSCS logo, a CSCS Health & Safety test must have been completed within the last two years. Our more courses: Refine your expertise with our specialized Lift Supervision Training, Slinger Signaller Training, Ride-On Road Roller, Telehandler Training, Cat & Genny Training Slinger Signaller, Abrasive Wheels Training, Lorry Loader Training and Telehandler Training. Elevate your skills for safer and more efficient operations in construction and logistics. Enroll today to advance your career prospects. For those looking for a “NPORS Scissor Lift Training near me,” our widespread operations make it convenient for you to access Vally Plant Trainings top-quality training no matter where you are in the UK
NPORS Ride On Roller Training The aim of the NPORS Ride On Roller Training is to provide both theoretical and practical training in the safe and efficient use of the ride on roller . On successful completion of the ride on road roller training you will be issued with the NPORS identity card with or without the CSCS logo. Discounts are available for multiple bookings NPORS Ride on road Roller Training or testing can be carried out on your site nationwide or at our Training Centre in Gloucestershire Ride On Roller Experienced Worker Test Book with Confidence at Vally Plant Training At Vally Plant Training, we guarantee unbeatable value with our Ride On Roller Experienced Test Price Match Promise. When you choose us, you can book with confidence, knowing that we will not be beaten on price. If you find a lower price for the same NPORS Road Roller Experienced Worker Test, we’ll match it—ensuring you receive top-quality training at the best possible rate. Click for our terms and conditions Your skills, our commitment—always at the best price. NPORS Ride On Roller Test is for operators who have received some form of training in the past or alternatively has been operating the Ride On Road Roller for a period of time. If you are unsure if you qualify to go down the test route please contact us to discuss this in more detail. Turn your Ride On Roller red card to blue with our hassle free Roller NVQ, for more information CLICK HERE Ride On Roller Course Content The course time is spent on developing skills and knowledge associated with the road roller. Topics covered include:- Site Safety Awareness. Operating Safety Code. Introduction to machine / Control Familiarisation. Pre-Start Checks and Refuelling. General Operating. Set the roller for compaction duties Explain actions required for hazards underground and overhead services Recognise compacted/uncompacted areas Conditions that may cause instability of the roller Safety procedures when working up to unsupported edges. Park and shut down procedures. NPORS Multi-Choice Theory Test. NPORS Practical Skills Test. Variations Pedestrian Roller Ride on articulated Ride on rigid Ride on heavy duty Ride on vibrating Dead weight Ride on articulated/vibrating Ride On Road Roller Training Available 7 days a week to suit your business requirements. VPT have a team of friendly and approachable instructors, who have a wealth of knowledge of Ride On Road Rollers and the construction industry We have our own training centre conveniently located close to the M5 junction 9, In Tewkesbury. With its own purpose-built practical road roller training area to simulate an actual working environment. Our Ride On Roller training and test packages are priced to be competitive. Discounts are available for multiple bookings We can send a fully qualified NPORS Roller Tester to your site nationwide, to reduce the amount of time away from work Frequently Asked Questions 1. Who should take the Ride On Road Roller Training? This training is ideal for individuals who need to operate ride-on road rollers, both novices and experienced operators. 2. What does the Ride On Road Roller Training cover? The course includes site safety awareness, machine control familiarization, pre-start checks, operating techniques, recognizing hazards, compaction procedures, and safety protocols. 3. How long is the Ride On Road Roller Training? For novices, the course lasts 3 days. Experienced operators can take a 1-day test. 4. What certification do I receive upon completion? Participants receive an NPORS card, either the traditional card valid for 5 years or the NPORS card with CSCS logo, valid for 2 years initially. 5. Are there any prerequisites for the Ride On Road Roller Training? Candidates should understand English. For the NPORS card with CSCS logo, a CSCS Health & Safety test must have been completed within the last two years. More courses: Refine your skills with our Lift Supervision Training, Slinger Signaller Training, Telehandler Training, Cat & Genny Training, Scissor Lift, Slinger Signaller, Abrasive Wheels Training, Lorry Loader Training and Telehandler Training. Elevate your expertise for safer and more efficient operations in construction and logistics. Join us today to advance your career prospects. For those looking for a “NPORS Scissor Lift Training near me,” our widespread operations make it convenient for you to access Vally Plant Trainings top-quality training no matter where you are in the UK