- Professional Development
- Medicine & Nursing
- Arts & Crafts
- Health & Wellbeing
- Personal Development
4137 BA courses in Cardiff delivered Live Online
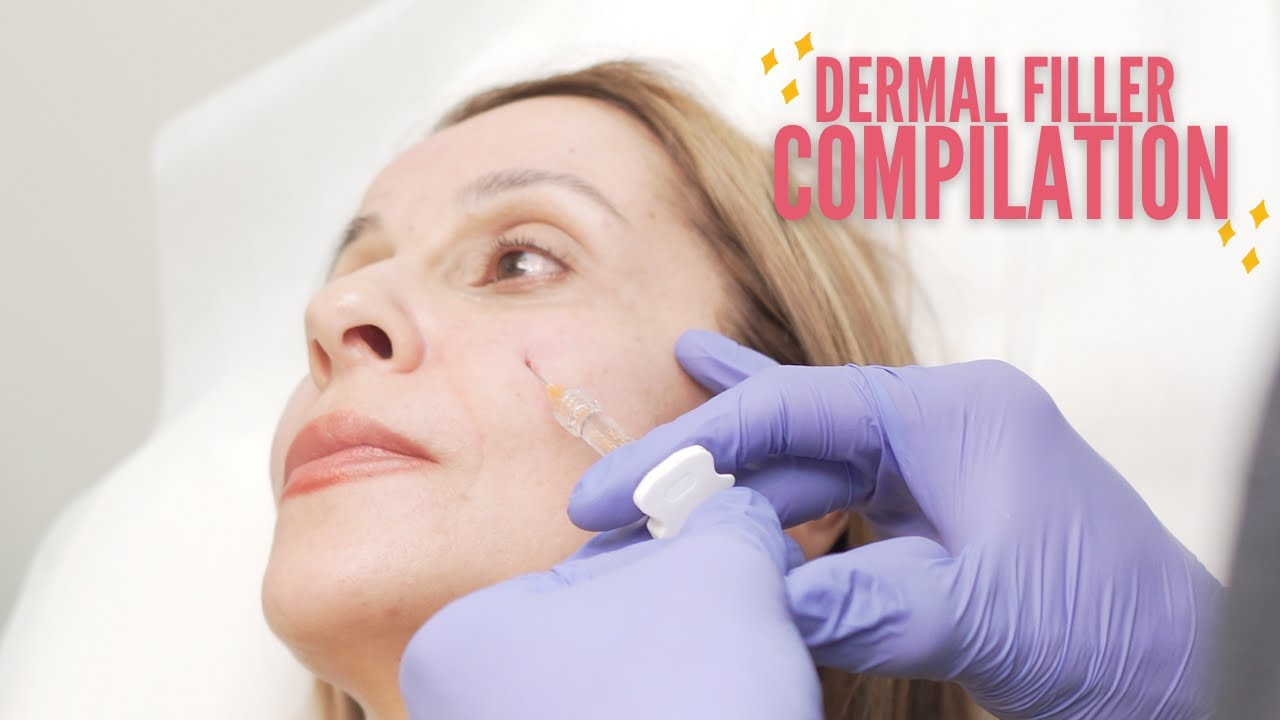
Complications Course
By Harley Elite Academy (HeLa)
Emergencies & Complications 1 DAY INTENSIVE COURSE ONLINE or IN-CLINIC NOTE! After booking we will contact you for scheduling the exact course date! Courses dates are subject to change due to mentors availability. We will inform you via email if a date becomes available! Additional information ATTENDANCE ONLINE (Theory), IN CLINIC (Practice) COURSE LEVEL INTERMEDIATE | Advanced Course
Fibre splicing training course description A short, concise hands on fibre optic cable splicing course providing comprehensive coverage of fibre splicing. Over 50% of the course is practical based. What will you learn Prepare cable for splicing. Splice fibre optic cable. Fibre splicing training course details Who will benefit: Those wishing to be able to splice fibre. Prerequisites: None. Duration 1 day Fibre splicing training course contents Fibre optic essential review Fibre cable types. SMF, MMF. Safe working practices. Cable handling issues. Hands on: Handling fibre optic cable. Preparing fibre for splicing Cutting and stripping tools, cleaving methods, fibre cleaning materials. Hands on: Fibre preparation. Splicing Joining fibres, splicers, fusion splicing, mechanical splicing, splicing procedure. cleaving, splicing parameters. Splicing vs. connectors. Which splice? Hands on: Splicing fibre. Splice loss mechanisms End gap, concentricity, end angle, NA mismatch, finish and dirt, coaxiality, Axial run out, core mismatch, back reflection. Testing Testing successful fibre splicing. Hands on: Testing spliced fibre.

FAT DISOLVING | Aqualyx or Lemon Bottle
By Harley Elite Academy (HeLa)
ADVANCED 8 CPD POINTS 1 DAY INTENSIVE COURSE ONLINE or IN-CLINIC NOTE! After booking we will contact you for scheduling the exact course date! Courses dates are subject to change due to mentors availability. We will inform you via email if a date becomes available! Lipolysis (Fat Disolving) achieves good results in the following body zones: – Chin (double chin) – Hips (love handles) – Stomach (abdominal area) – Thighs (saddlebags) – Upper arms (arm toning) – Pseudo gynecomastia (male breasts) – Back (bra fat or muffin top) The acids present in Aqualyx cause fat destruction in the body. Aqualyx main active ingredient is deoxycholic acid. Deoxycholic acid is a bile acid, synthesized in the human liver. The fatty acids are then released into the body, to be broken down by our usual metabolic processes in the liver. Naturally occurring bile acid is used by the body to emulsify fat. Aqualyx comes in a water based injection that dissolves fat cells that it comes into contact with. A single vial will be sufficient. Small are for larger areas, such as the abdomen or the inner thigh, anywhere between 5 to 10 vials One treatment of AQUALYX® usually includes only 1 or 2 injection sites, as well as a local anaesthetic solution of lidocaine which is used to irradicate any pain and make the procedure as comfortable as possible. Course Content Disinfection, Health & Safety. Consultation and timings including data protection, medical history and client consent Skin Types Skin analysis Pre and post treatment procedures Injection protocol and techniques Safe handling needles, before, during and after treatment Product knowledge Setting up Treatment procedure Results clients can expects and managing expectations Contractions and aftercare advice Treatment planning and pricing Post care instruction Fat dissolving products (Lemon Bottle), very safe. Lemon Bottle is a high-concentration fat dissolve solution that combines Riboflavin (vitamin B2) and other premium ingredients that create fat decomposition by accelerating metabolism of fat cells. Become a certified Lemon Bottle fat-dissolving treatments expert with our comprehensive and accredited courses designed specifically for UK practitioners. We have the perfect course to suit your needs, focusing on the Lemon Bottle system. Minimal swelling, minimal pain. Begins working immediately. You need to be medically qualified as a doctor, dentist, nurse, pharmacist or paramedic with full governing body registration and have completed a Foundation Filler Course and to have administered a number of cases. Additional information ATTENDANCE ONLINE (Theory), IN CLINIC (Practice) COURSE LEVEL INTERMEDIATE | Advanced Course

Peering at LINX training course description A one or two day induction course covering the technical procedures of LINX along with correct interaction with LINX and LINX members. This course focuses on the implementation of the technologies within the LINX network. For those already competent in BGP the one day version of this course is sufficient. What will you learn Explain the role of LINX in the Internet. Correctly connect to LINX. Recognise the correct procedures for peering at LINX. Use the current Best Current Practices. Peering at LINX training course details Who will benefit: Technical staff of new LINX members. Technical staff of companies preparing to join LINX. Non technical staff may also benefit from this course. Prerequisites: None. (For technical staff with BGP knowledge 1 day) Duration 1 to 2 days Peering at LINX training course contents Introduction and review Networks, The Internet, IP, routers, Autonomous systems, the structure of the Internet, the role of Internet Exchanges. BGP and peering. LINX, EuroIX, RIPE. What you get when you join LINX. LINX products: Connexions, Virtual PoPs, Colocation resales, LINX from anywhere. LINX infrastructure The original architecture, The growth of LINX, the current topology. LINX London locations. Dual LAN topology. LON1, LON2. Use of MPLS to connect London sites. Regional peering: LINX NoVa, LINX Manchester, LINX Wales, LINX Scotland, ManxIX, JEDIX. Connecting with LINX nnecting with LINX Locations. 1/10/100/400G. Interface specifications. Link aggregation. The racks and space provided, access to the racks, connecting WAN circuits into LINX. The connection form, How to link your ISP with LINX, switch assignments, limits on traffic, average measured traffic, getting statistics from LINX, Using looking glass. Allowed traffic. Port security Configuration hints LINX IP details, IPv4, IPv6, PTR records, Cisco base configuration, Juniper base configuration. Peering with other LINX members Preparing for peering, the peering template, setting up the peering, RFC 2142, the RIPE database, contacts, peeringdb.net, solving downed BGP sessions, escalation procedures. Peering configuration hints Cisco BGP configuration, Juniper BGP configuration. LINX additional services Private interconnect, LINX time service. NTP, Strata. The LINX route server Bi lateral peering, Multi lateral peering. How the LINX route server is configured. Use of communities on the route server, template for peering with the route server. Summary Getting further information, the LINX website, the LINX mailing lists.

Basics to Essential Photoshop Skills Course
By ATL Autocad Training London
Basics to Essential Photoshop Skills Course, Master retouching, layers, color, correction, shapes, and symbols. Delve into graphic design, photo editing, and digital art. Elevate your skills from beginner to pro, gaining expertise in UX strategies, ensuring your websites are impactful and user-friendly. Click here for more info: Website Duration: 16 hours Method: Personalized 1-on-1 sessions ensure individual attention. Schedule: Customize your learning with pre-booked sessions available Monday to Saturday, from 9 am to 7 pm. Module 1: Introduction to Photoshop (2 hours) Understanding the Photoshop interface and workspace Navigating tools, panels, and menus Essential keyboard shortcuts for efficient workflow Introduction to different file formats and their uses Module 2: Basic Image Editing Techniques (2 hours) Cropping, resizing, and straightening images Color adjustments and corrections using adjustment layers Removing blemishes and distractions with healing tools Introduction to layers and blending modes Module 3: Advanced Image Manipulation (2 hours) Creating composite images with layer masks Utilizing advanced selection tools for precise editing Applying filters and special effects for creative enhancements Mastering text and typography in Photoshop Module 4: Graphic Design and Layout (2 hours) Designing banners, posters, and social media graphics Working with shapes, gradients, and patterns Creating visually appealing typography compositions Introduction to vector graphics and custom shapes Module 5: Web and UI Design (2 hours) Designing user interfaces for websites and applications Creating web-ready graphics and optimizing images Prototyping interactive elements and buttons Designing responsive layouts for various devices Module 6: Introduction to 3D and Animation (2 hours) Creating 3D objects and text Basic 3D manipulation and lighting effects Introduction to animation with the Timeline panel Exporting animations and interactive multimedia Module 7: Project-Based Learning (2 hours) Applying learned techniques to real-world projects Designing a digital artwork, website mockup, or social media campaign Receiving instructor feedback for skill refinement Final presentation of completed projects and portfolio building Upon completing our personalized Photoshop Mastery course, you'll: Master Tools: Excel in Photoshop's essential and advanced tools, including image manipulation and graphic design techniques. Design Expertise: Develop skills in creating compelling graphics, web layouts, and interactive UI designs. 3D & Animation Skills: Understand 3D manipulation, lighting, and basic animation techniques. Career Opportunities: This course prepares you for roles such as Graphic Designer, Web/UI Designer, Digital Artist, Photo Retoucher, 3D Artist, or Entrepreneur in the design industry. Dive deep into the world of Photoshop with our exclusive 1-on-1 training program. Tailored to your pace and skill level, this course offers a comprehensive understanding of Photoshop's essentials and advanced features. From image editing to graphic design and 3D manipulation, master Photoshop with personalized attention and hands-on guidance. Key Details: Personalized Attention: Enjoy dedicated 1-on-1 sessions with an experienced Photoshop instructor, ensuring focused learning and personalized guidance. Tailored Curriculum: The course content is customized based on your goals, allowing you to explore specific areas of interest and address individual challenges. Flexible Scheduling: Schedule sessions at your convenience, accommodating your busy lifestyle. Choose from weekdays or weekends, morning or evening, for a flexible learning experience. Hands-on Learning: Engage in practical, real-time exercises and projects tailored to your interests, reinforcing your skills and boosting confidence. In-depth Exploration: Cover a wide range of topics, including image editing, graphic design, 3D manipulation, web design, and more, delving deep into each area for a thorough understanding. Interactive Q&A: Participate in interactive Q&A sessions during each class, clarifying doubts and gaining valuable insights from your instructor. Lesson Recordings: Access recordings of your sessions for review and reinforcement, ensuring you grasp every concept and technique thoroughly. Ongoing Support: Benefit from continuous email support even after the course completion, receiving guidance on projects and addressing any post-training queries. Solid Foundation: Develop foundational Photoshop skills, mastering essential techniques for image editing and graphic design. Versatile Editing: Learn retouching, color correction, and photo enhancement for professional-quality results. Efficient Workflow: Optimize your work with layer management, non-destructive editing, and time-saving tricks. Creative Mastery: Harness Photoshop's power to create digital art, manipulate images, and design stunning graphics. Real-world Application: Apply skills to diverse projects like photo editing, web design, and social media graphics. Flexible Review: Access recorded lessons for convenient review of specific techniques or workflows. Lifelong Support: Enjoy lifetime email assistance for guidance, questions, and clarifications even after course completion.

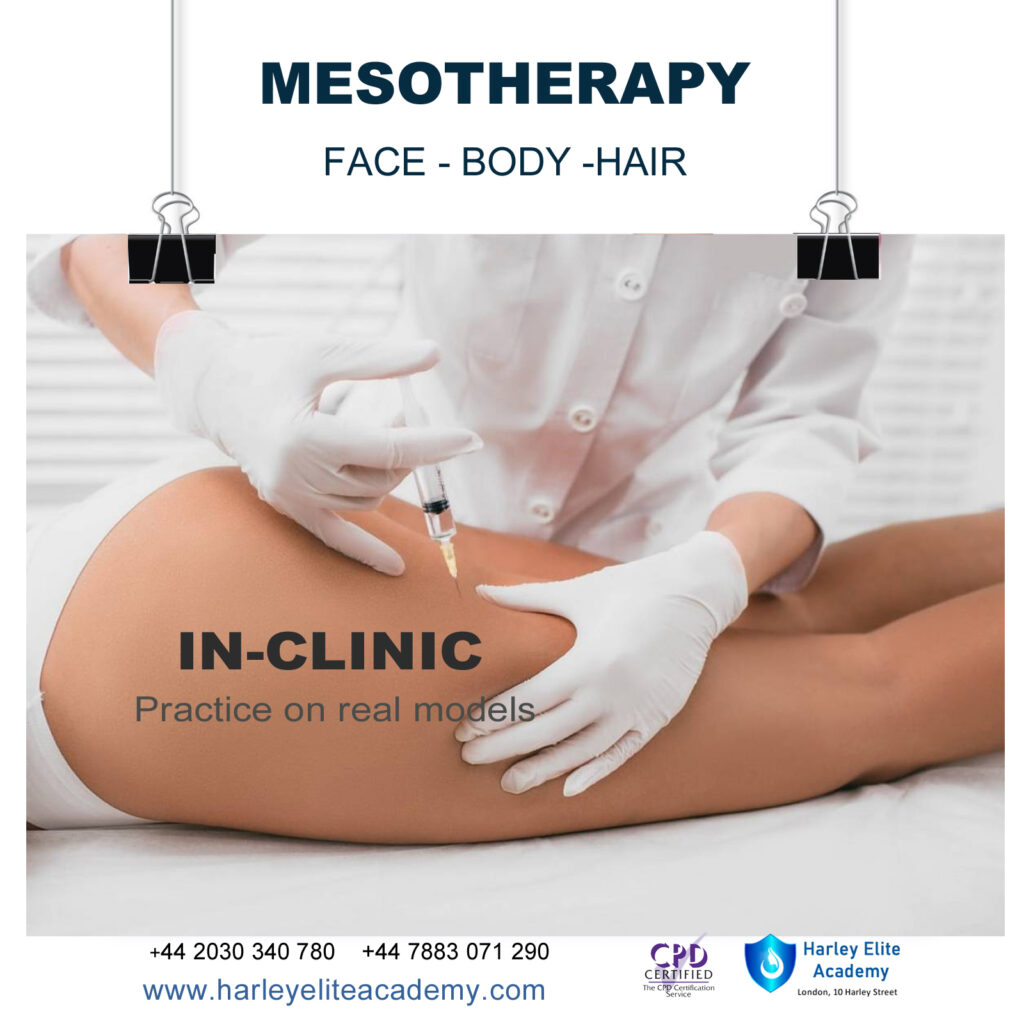
MESOTHERAPY, FACE, BODY, HAIR COURSE
By Harley Elite Academy (HeLa)
MASTERCLASS 8 CPD POINTS 1 DAY INTENSIVE COURSE ONLINE or IN-CLINIC NOTE! After booking we will contact you for scheduling the exact course date! Courses dates are subject to change due to mentors availability. We will inform you via email if a date becomes available! Nose Job Masterclass You will perform this procedure on live models under the supervision and guidance of highly experienced aesthetic practitioners. You will be trained under ENT specialist. We will give you all the knowledge you need for a safe technique in your practice. A certification of training will be provided upon completion of the course. Practice will enable you to learn in 1-day ONE-TO-ONE Training You will also have the opportunity to view a mesotherapy treatment demonstration at the conclusion of the training. Upon successful completion of the course, you will receive a certificate and title of Mesotherapy Certified Practitioner. You need to be medically qualified as a doctor, dentist, nurse, pharmacist or paramedic with full governing body registration and have completed a Foundation Filler Course and to have administered a number of cases. Additional information ATTENDANCE ONLINE (Theory), IN CLINIC (Practice) COURSE LEVEL EXPERT | Masterclass Course
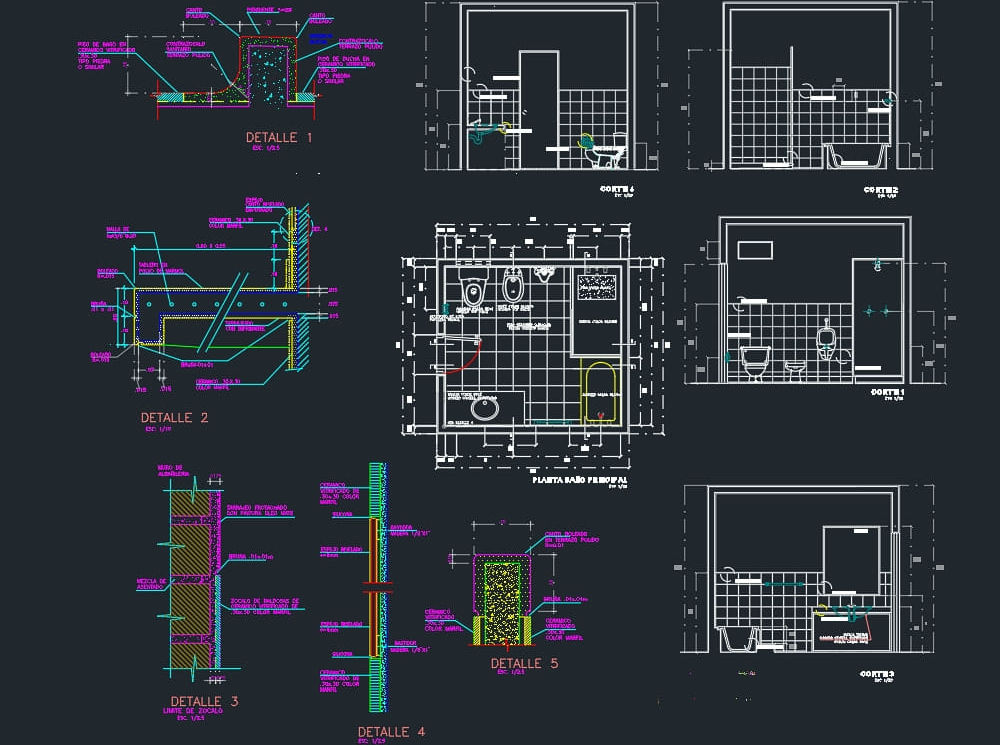
AutoCAD 2D Basics to Advanced Course
By ATL Autocad Training London
Who is this course for? AutoCAD 2D Basics to Advanced Course. Click here for more info: Website This course enables you to learn the skills in the CAD. Upon completion, you'll proficiently edit and create 2D drawings, utilizing advanced features like Paperspace and Block Attributes for increased efficiency. 1-on-1 sessions. Our booking are available Mon to Sat, 9 am to 7 pm Duration: 16 hours, which you can flexibly distribute across as many days you want. Approach: In-person or live online training. AutoCAD Basics to Advanced Level Training Course Outline. Fundamental Concepts: Introduction to AutoCAD interface, commands, and tools. Managing drawings and creating basic shapes. Basic modification techniques like erase, move, rotate, and scale. Intermediate Techniques: Working with layers and adjusting properties. Creating and modifying text and dimensions. Introduction to blocks and attributes. Advanced Topics: Advanced object modification techniques such as fillet, chamfer, trim, and extend. Utilizing grips for object manipulation. Creating and editing polylines and splines. Course Highlights: Engaging exercises and projects for skill reinforcement. Access to Q&A and troubleshooting support. Proficiency in AutoCAD 2D for basic to intermediate drawings. Topics Covered: Drawing techniques encompassing various shapes. Inquiry tools for measurement and selection. Modification commands for object manipulation. Layer management and attributes. Annotation and dimensioning. Hatching objects and working with reusable content. Layouts and viewports for better organization. Annotating drawings effectively. Polylines, splines, ellipses, and tables. Plotting drawings and creating templates. Multi-lines, revision clouds, and wipeout objects. Working with point objects and calculations. Creating and managing templates. Annotation scaling and text manipulation. Dimensioning and geometric annotations. Dynamic blocks and attributes. Layer management best practices. Introduction to sheet sets and their properties. Utilizing fields and attributes in sheet sets. Working with tables, table styles, and advanced tables. Exporting and importing tables. Creating tables linked to external data. Download AutoCAD Software https://www.autodesk.co.uk What Will I Gain from this Course? Throughout this course, you will develop expertise in the following areas: CAD layering techniques Text and dimension style manipulation Proficiency in creating and editing 2D drawings Mastery of attributed block creation and editing Efficient utilization of Paperspace Dynamic input and grips utilization This comprehensive training program not only provides you with an advanced comprehension of 2D drawing in AutoCAD but also offers a fundamental introduction to 3D drawing concepts. Upon completion of this course, you will possess the skills to: Swiftly generate schematics, parts, and assemblies Enhance efficiency by reusing content and customizing tool palettes Save time through the use of dynamic blocks, which can be edited in place Gain full control over your viewports and layouts Is This Course Right for Me? This advanced AutoCAD 2D training assumes that you are already a proficient AutoCAD user. We recommend prior attendance of our Introduction and/or Intermediate AutoCAD 2D training courses or practical experience in the topics covered in those courses. If you have any doubts about the suitability of this course for your skill level, please feel free to contact us, and we will be happy to assist you. In this course, you will gain proficiency in utilizing essential features of AutoCAD (Computer Aided Design) to enhance the efficiency of producing and editing 2D CAD drawings. You will acquire expertise in layering, text and dimension styles, the creation and modification of attributed blocks, and effective use of Paperspace. Additionally, you will master dynamic inputs, grips, and the art of renaming and purging. This flexible course grants you 16 hours to complete, typically spanning 4 to 5 days. It serves as a valuable continuation of skills acquired from the CAD: AutoCAD 2D Essentials course or as an opportunity to expand your existing AutoCAD knowledge. Upon course completion, you will possess the ability to efficiently create and modify 2D drawings, leveraging advanced features like Paperspace and Block Attributes. Your instruction will be provided by an Autodesk-certified instructor with industry experience." 1. All-encompassing course designed to accommodate both novices and advanced users. 2. Addresses essential functions and advanced methodologies in AutoCAD. 3. Enhances proficiency in creating precise and professional 2D drawings. Interactive instruction guided by seasoned educators. Benefit from on-demand access to lesson recordings for convenient revision. Receive ongoing support through lifetime email and phone assistance. Post-course Assistance: Enjoy continuous support via lifetime email and phone assistance. Should you encounter any challenges or queries after the course, we are readily available to address your concerns via email or phone calls."
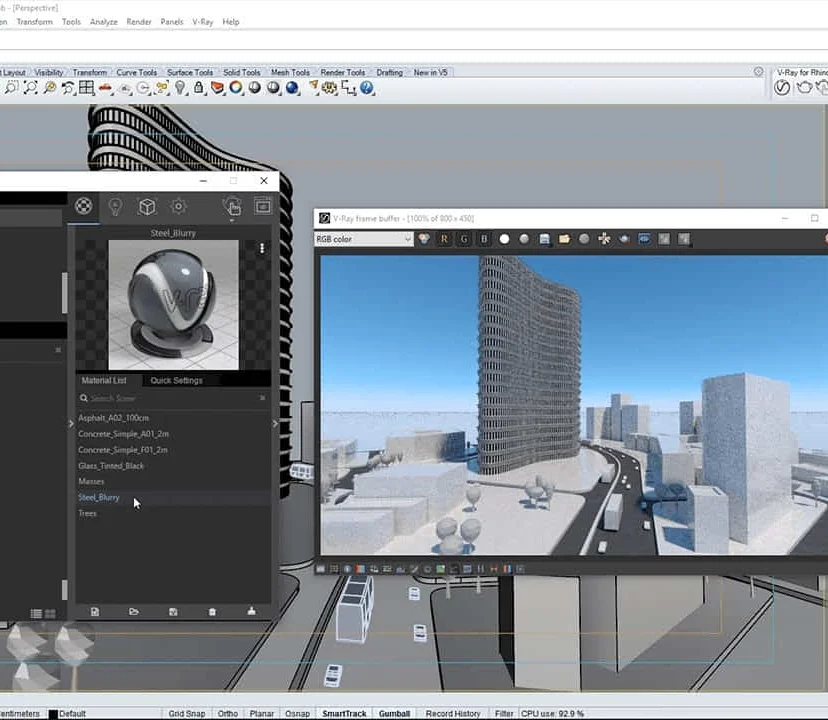
Complete Rhino 3D and V-Ray Training Program: Basic to Intermediate
By ATL Autocad Training London
Why Choose Complete Rhino 3D and V-Ray Training Program: Basic to Intermediate? Learn Rhino 3D and V-Ray for Rhino Basic to Intermediate Training Course. Suitable for beginners and experienced users alike, this program equips you with vital modeling and rendering skills. Opt for in-person or live online sessions. Click here for more info: Website Duration: 16 hours. Approach: 1-on-1 Sessions, Customized Content and Flexible Learning. Scheduling Flexibility: Tailor your sessions from Mon to Sat between 9 am and 7 pm. Course Title: Complete Rhino 3D and V-Ray Training Program: Basic to Intermediate - 16 Hours Session 1-2: Introduction to Rhino 3D Basics (2 hours) Understanding Rhino Interface: Navigating toolbars, command line, and properties panel. Basic Geometric Shapes: Creating lines, circles, and polygons with precision. Editing Tools: Mastering move, rotate, scale, and mirror commands. Session 3-4: Advanced Rhino 3D Modeling Techniques (2 hours) Curves and Surfaces: Delving into NURBS curves, creating complex surfaces, and blending techniques. Modeling Aids: Utilizing grids, snaps, and construction planes for accuracy. Organizing with Layers: Managing complex projects efficiently. Session 5-6: Introduction to V-Ray for Rhino (2 hours) V-Ray Interface: Understanding V-Ray toolbar and settings. Basic Lighting: Exploring different light types and their effects on scenes. Materials: Creating realistic materials, understanding diffuse, reflection, and transparency. Session 7-8: Intermediate V-Ray Concepts (2 hours) Advanced Lighting: Mastering HDRI lighting, creating natural outdoor lighting scenarios. Texture Mapping: Understanding UV mapping, applying textures seamlessly. Rendering Optimization: Reducing noise, optimizing settings for quicker, high-quality renders. Session 9-10: Rhino-V-Ray Integration (2 hours) Model Preparation: Optimizing Rhino models for V-Ray rendering. Advanced Material Manipulation: Creating complex materials, incorporating textures. Interactive Rendering: Real-time adjustments for immediate feedback. Session 11-12: Advanced Modeling Techniques in Rhino (2 hours) Advanced Surface Modeling: Creating organic shapes, advanced surfacing techniques. Precision Modeling: Advanced curve editing, filleting, and trimming. Working with 3D Text: Creating custom 3D text for design projects. Session 13-14: Scene Composition and Presentation (2 hours) Camera Settings: Understanding focal length, depth of field, and perspective. Scene Composition: Design principles, rule of thirds, focal points, and balance. Post-Processing: Enhancing renders in Photoshop, adding atmosphere and context. Session 15-16: Final Project and Portfolio Review (2 hours) Final Project Work: Participants apply learned skills to create a complex 3D scene. Instructor-led Critique: Feedback session for final projects. Portfolio Guidance: Tips for selecting the best works for a professional portfolio. By the end of this 16-hour course, participants will have a deep understanding of both Rhino 3D and V-Ray, allowing them to create intricate 3D models and produce high-quality, realistic renders for various applications. Upon completing the Rhino 3D and V-Ray Basic to Intermediate Training Course, participants can expect to achieve the following learning outcomes: Proficiency in Rhino 3D and V-Ray: Develop a comprehensive understanding of Rhino 3D and V-Ray interfaces, tools, and functionalities, enabling participants to navigate and utilize the software effectively. 3D Modeling Skills: Master the art of creating captivating 3D objects and shapes using Rhino 3D, including editing, transforming, and refining designs for diverse applications. Material Application: Acquire the ability to apply and customize materials and textures to enhance the visual appeal and realism of 3D models, elevating the quality of designs. Lighting Techniques: Gain expertise in utilizing V-Ray lighting tools, such as V-Ray lights and HDRI maps, to achieve striking lighting effects in rendered scenes. Rendering Excellence: Learn to optimize V-Ray render settings, control global illumination, and apply dynamic effects like depth of field and motion blur for high-quality and impressive renders. Advanced Modeling: Develop skills in advanced modeling techniques, including handling curves, surfaces, and solids, enabling participants to tackle complex design challenges. Lighting Mastery: Acquire the knowledge and expertise to create and adjust artificial lights, utilize the Sun and Sky system, and craft custom HDR images for realistic lighting setups. Seamless File Management: Understand various file formats for exporting and importing 3D models, facilitating efficient collaboration and preparation for 3D printing. Creative Problem-Solving: Enhance creative thinking and problem-solving abilities through hands-on practice and exploration of diverse design scenarios. Professional Presentation: Learn post-production techniques in Photoshop to enhance renders and create visually appealing design presentations for effective communication. Continuous Learning: Access valuable resources and tips to encourage continuous learning and professional growth in Rhino 3D and V-Ray. Skills You'll Gain: Master Rhino 3D basics: Curves, surfaces, modeling aids, and precision techniques. Explore intermediate V-Ray concepts: Advanced lighting, material manipulation, and texture mapping. Understand Rhino-V-Ray integration for seamless 3D modeling and rendering workflows. Optimize render settings for high-quality output and reduced rendering times. Career Opportunities: Upon completing this program, you'll be prepared for various roles in the design and visualization industry, such as: 3D Modeler: Create detailed 3D models for diverse industries, including architecture and product design. Architectural Visualizer: Produce realistic architectural visualizations for presentations and marketing materials. Product Designer: Develop visually appealing product prototypes and visualizations for marketing and manufacturing. Visualization Specialist: Work in design studios, advertising agencies, or game development companies, creating immersive visual content. Freelance Designer: Offer your skills on platforms like Upwork or Fiverr, providing 3D modeling and rendering services to clients worldwide. Solidify Rhino 3D Expertise: Master foundational modeling skills, including intricate geometries and surface manipulation, establishing a robust foundation for your 3D design journey. Unlock V-Ray for Rhino: Explore the potential of V-Ray for Rhino, learning to create mesmerizing visualizations and achieve lifelike rendering results that bring vitality to your designs. Enhance Visual Appeal: Grasp advanced lighting techniques, material application, and texture methods to elevate the visual allure of your 3D creations, making them more immersive and authentic. Explore Advanced Concepts: Delve into optimizing rendering settings, post-production tactics, and efficient workflows, advancing your design proficiency to higher levels. Hands-On Experience: Engage in practical exercises and real-world projects, applying your skills in practical contexts to enrich your portfolio and showcase your capabilities effectively. Certification of Achievement: Receive a valuable Certificate of Completion, confirming your expertise in Rhino 3D and V-Ray for Rhino, enhancing your professional credibility as a skilled designer. Flexible Learning Paths: In-Person or Live Online: Opt for in-person sessions, fostering collaborative learning, or choose live online classes for convenience and accessibility, tailoring your learning experience to your preferences. Personalized Guidance: Regardless of your chosen format, benefit from tailored instruction and guidance, ensuring optimal learning outcomes and continuous support throughout the course.
GRAPHIC DESIGN FOR BEGINNERS LEVEL 1
By Creative Design School International
This is a beginners level course and will take you through the basics of Graphic Design. This is a great way to start if you have no prior knowledge of graphic design and want to start at the beginning.