- Professional Development
- Medicine & Nursing
- Arts & Crafts
- Health & Wellbeing
- Personal Development
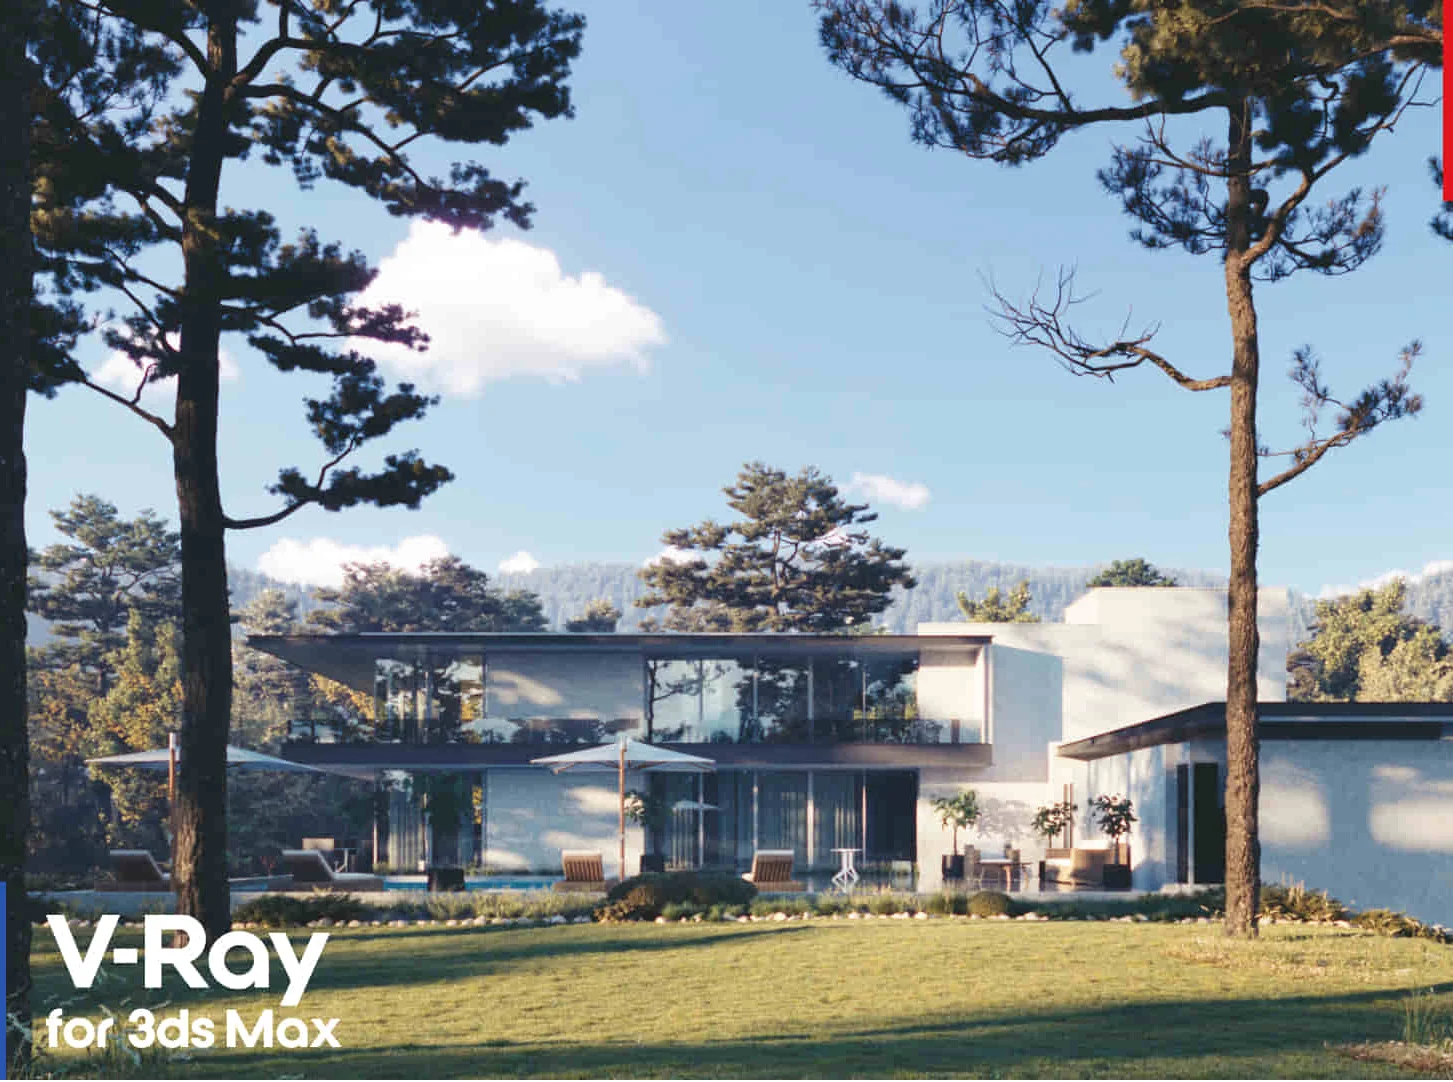
Rhino 3d and V-ray for Rhino Basic to Intermediate Training
By London Design Training Courses
Why Learn Rhino 3d and V-ray for Rhino Basic to Intermediate Training Course? Course Link Learn Rhino 3D and V-Ray for Rhino Basic to Intermediate Training Course. Designed for beginners and experienced users, this course empowers you with essential modeling and rendering techniques. Choose between in-person or live online sessions. Duration: 16 hrs. Method: 1-on-1, Personalized attention. Schedule: Tailor your own schedule by pre-booking hours of your choice, available from Mon to Sat between 9 am and 7 pm. London Design Training Course Certified tutors for Rhino 3D and Vray Training - Online, On-Site, or In-Class one to one. Choose from a diverse range of Rhino courses conducted by expert trainers with extensive production experience. Rhino 3D and V-Ray Comprehensive Training Course Duration: 16 hours Course Overview: Learn Rhino 3D and V-Ray with our Basic to Intermediate Training Course. Perfect for beginners, this course equips you with the skills to navigate Rhino's interface, create captivating 3D models, apply textures, and utilize V-Ray for stunning renders. Course Outline: I. Introduction to Rhino 3D and V-Ray (1 hour) Get familiar with Rhino 3D and V-Ray interfaces and essential tools Master viewport navigation with expert controls Understand units and tolerance for precise designs Customize your workspace for seamless workflow II. Creating Basic 3D Objects (3 hours) Craft captivating 3D shapes and objects Edit objects and work with curves for refined designs Explore surfaces and solids for advanced modeling Utilize transformations and copying techniques for enhancements III. Materials and Textures (2 hours) Unleash the power of materials and textures on your designs Apply stunning materials to bring your creations to life Enhance your designs with custom materials for an aesthetic boost IV. Basic Lighting Techniques in V-Ray (2 hours) Discover the magic of lighting with V-Ray for impactful renders Utilize V-Ray lights and HDRI maps for striking lighting effects Adjust lighting settings for impeccable results V. Enhancing Renders with V-Ray Settings (3 hours) Optimize V-Ray render settings for the best output Adjust global illumination and reflection settings for desired looks Elevate renders with dynamic effects like depth of field and motion blur VI. Advanced Modeling Techniques (2 hours) Master advanced modeling tools for intricate shapes Refine curve and surface creation and editing skills Handle solids with Boolean operations and trimming techniques VII. Advanced Lighting Techniques in V-Ray (2 hours) Create and adjust artificial lights for perfect illumination Utilize V-Ray's Sun and Sky system for realism Craft custom HDR images for enhanced lighting VIII. Exporting and Importing (1 hour) Learn file formats for seamless sharing and collaboration Prepare models for 3D printing with best practices Integrate models from other software for a unified workflow IX. Conclusion and Next Steps (30 minutes) Recap course knowledge and highlights Access valuable tips and resources for continuous learning Engage in interactive Q&A for feedback and support Resources: Explore V-Ray with a free trial at: https://www.chaosgroup.com/vray/sketchup/free-trial Access material library at: https://www.vray-materials.de/ Discover textures at: https://textures.com/ Downloads: Download Rhino 7 for Windows for a full 90-day evaluation at: https://www.rhino3d.com Experience Rhino 7 for Mac Evaluation with a user-friendly interface and seamless performance for 90 days. Upon completing the Rhino 3D and V-Ray Basic to Intermediate Training Course, participants can expect to achieve the following learning outcomes: Proficiency in Rhino 3D and V-Ray: Develop a comprehensive understanding of Rhino 3D and V-Ray interfaces, tools, and functionalities, enabling participants to navigate and utilize the software effectively. 3D Modeling Skills: Master the art of creating captivating 3D objects and shapes using Rhino 3D, including editing, transforming, and refining designs for diverse applications. Material Application: Acquire the ability to apply and customize materials and textures to enhance the visual appeal and realism of 3D models, elevating the quality of designs. Lighting Techniques: Gain expertise in utilizing V-Ray lighting tools, such as V-Ray lights and HDRI maps, to achieve striking lighting effects in rendered scenes. Rendering Excellence: Learn to optimize V-Ray render settings, control global illumination, and apply dynamic effects like depth of field and motion blur for high-quality and impressive renders. Advanced Modeling: Develop skills in advanced modeling techniques, including handling curves, surfaces, and solids, enabling participants to tackle complex design challenges. Lighting Mastery: Acquire the knowledge and expertise to create and adjust artificial lights, utilize the Sun and Sky system, and craft custom HDR images for realistic lighting setups. Seamless File Management: Understand various file formats for exporting and importing 3D models, facilitating efficient collaboration and preparation for 3D printing. Creative Problem-Solving: Enhance creative thinking and problem-solving abilities through hands-on practice and exploration of diverse design scenarios. Professional Presentation: Learn post-production techniques in Photoshop to enhance renders and create visually appealing design presentations for effective communication. Continuous Learning: Access valuable resources and tips to encourage continuous learning and professional growth in Rhino 3D and V-Ray.

Vray for Sketchup Training
By London Design Training Courses
Why choose Vray for Sketchup Training Course? Course info Our in-person or live online sessions led by certified tutors. Learn advanced rendering techniques, practical hands-on experience, recorded lessons, lifetime email support, and an industry-recognized certification. Enroll now to elevate your Sketchup renderings. Duration: 6 hrs Method: 1-on-1, Personalized attention Schedule: Tailor your own schedule by pre-booking a convenient hour of your choice, available from Monday to Saturday between 9 am and 7 pm Experience V-Ray training, where you'll master the art of creating stunningly realistic 3D architectural and interior design scenes from your SketchUp models. V-Ray for SketchUp is a user-friendly rendering solution, offering faster rendering, enhanced lighting tools, and the ability to visualize intricate scenes effortlessly. Our SketchUp - Rendering with V-Ray course empowers you to seamlessly integrate SketchUp with V-Ray, allowing you to craft scenes with captivating features, including: Various lighting techniques (daylight, sunlight, and skylight). Reflective surfaces for added depth. Dynamic moving cameras for captivating visualizations. This hands-on course is highly practical, ensuring you gain real-world skills and expertise. You have the flexibility to arrange this course on-request, either as one-to-one training or as a 'closed course' for your group. The training can be tailored to accommodate your existing knowledge and specific project requirements. Choose from in-class sessions available at six centers or participate in live online classes. V-Ray works seamlessly on both Windows and Mac platforms, and our centers provide computers for delegates to use, ensuring a familiar environment for all. Upon successful completion, you'll receive an e-certificate to validate your V-Ray training. Following the training, you'll enjoy lifetime email support from your trainer to address any post-course queries or concerns. Prerequisites for this course include familiarity with the fundamentals of SketchUp, such as attending our Introduction to SketchUp course or possessing equivalent knowledge. Our training can accommodate any recent version of SketchUp Pro and V-Ray, ensuring compatibility with your preferred Windows or Mac platform. Experience the transformative power of V-Ray and elevate your SketchUp projects to new heights. Experience V-Ray training, where you'll master the art of creating stunningly realistic 3D architectural and interior design scenes from your SketchUp models. V-Ray for SketchUp is a user-friendly rendering solution, offering faster rendering, enhanced lighting tools, and the ability to visualize intricate scenes effortlessly. Module 1: Introduction to Vray for SketchUp Gain insights into Vray's benefits for SketchUp Install and set up Vray for SketchUp Familiarize with the Vray interface and workflow Explore Vray materials and their properties Module 2: Lighting and Environment Master effective lighting techniques in Vray Understand different Vray light types and settings Create realistic outdoor lighting with Vray sun and sky Utilize Vray dome lighting for interior scenes Introduce IES lights and their usage in Vray Module 3: Camera and Composition Learn Vray camera settings and their impact on the final image Control exposure and adjust camera settings in Vray Create depth of field effects with Vray camera Animate the Vray camera for dynamic shots Explore the Vray frame buffer and its functionalities Module 4: Vray Materials and Textures Gain an in-depth understanding of Vray materials and their properties Create realistic materials using Vray's material editor Save and organize custom Vray material libraries Apply Vray material overrides for quick changes Module 5: Rendering and Post-Production Explore Vray rendering settings and optimization techniques Render high-quality images and animations with Vray Enhance Vray renders using post-production techniques in Photoshop Fine-tune the final output with the Vray frame buffer Compose Vray render elements in Photoshop for added control For those interested in trying Vray for SketchUp, a free trial can be accessed through the following link: https://www.chaosgroup.com/vray/sketchup/free-trial. Additionally, provided material and texture resources (https://www.vray-materials.de/ and https://textures.com/) can enhance the quality of renders by providing access to a variety of materials and textures for use in Vray.

Vectorworks Evening Training
By London Design Training Courses
Why choose Vectorworks Evening Training Course? Course Link. This course led by certified expert, this course offers flexibility for evening learning. Choose in-person or live online sessions to master Vectorworks in architecture, interior design, and landscaping. Enroll now even after business hours! Duration: 10 hrs. Method: 1-on-1, Personalized attention. Schedule: Tailor your own schedule by pre-booking a convenient hour of your choice, available from Mon to Sat between 9 am and 7 pm. The Vectorworks course provides comprehensive training in computer-aided design (CAD) and Building Information Modeling (BIM) using the powerful Vectorworks software. This hands-on, instructor-led course covers 2D drafting, technical drawing, and 3D modeling, enabling participants to apply Vectorworks effectively in real-world projects. Key Features: Hands-on, instructor-led classroom training. Practical Vectorworks CAD projects for real-world application. Part-time evening or weekend options available. 1-2-1 Private learning experience. Module 1: Grasping CAD and Vectorworks Understanding the Role of CAD in Design Getting Acquainted with Vectorworks Software Module 2: Configuring Your Workspace Customizing Your Workspace Essential Options and Preferences Module 3: Mastering Foundational Drawing Skills Techniques for Drawing Object Selection Methods Module 4: Advanced Object Manipulation Merging Shapes Reflecting Objects Rotating Objects Grouping Elements Module 5: Precision Drawing and Scaling Techniques Working with Scale Setting Preferences for Accuracy Creating and Saving Templates Module 6: Achieving Accurate Object Placement Ensuring Drawing Precision Precise Object Movement Module 7: Advanced Editing Methods Utilizing Fillet Tool Applying Offset Function Module 8: Understanding Object Attributes and Groups Basic Attribute Management Editing Object Groups Module 9: Object Duplication Techniques Linear Duplicates Rectangular Duplicates Circular Duplicates Module 10: Crafting Room Plans Designing Walls Incorporating Windows and Doors Module 11: Development of Room Plans Methods for Room Plan Drawing Module 12: Exploring Additional Attributes Hatch Patterns Gradients Image Fills Module 13: Creating Elevation Drawings Elevation Drawing Techniques Effective Approaches Module 14: Importing Images for Graphic Use Graphic Illustration Integrating Images Module 15: Symbols and Resource Handling Symbol Creation Introduction to Resource Browser Module 16: Organizing Drawings Using Design Layers Optimizing Design Layer Utilization Module 17: Labeling Drawings and Title Blocks Drawing Labels Title Block Text Placement Module 18: Plotting and Printing Methods User Interface Navigation and Terminology Printing Approaches Module 19: Generating Drawing Sheets A1, A2, and A3 Sheet Formats Module 20: Utilizing Viewports Effectively Managing Multiple Views Module 21: Professional Model Presentation Techniques Paper Space Presentation Conversion to PDF Formats Module 22: File and Project Management Module 23: Object Display and Terminology Module 24: Objects and Data Management Module 25: Precise Object Placement Object Snapping Quick Selection Module 26: Dividing and Measuring Objects Module 27: Dimensioning and Annotations Module 28: Working with Text Elements Module 29: Customizing Tool Palettes Module 30: Organizing Tool Palettes Module 31: Efficient Tool Palette Usage Module 32: Standard Views and Drawing Techniques Module 33: Drawing Curved Shapes Arcs, Donuts, and Ellipses Drawing Module 34: Real-World Units and Measurements Module 35: Object Manipulation Adjusting Object Angles Module 36: File Handling and Management Saving, Exiting, and Opening Projects Module 37: Creating Mirrored Images Module 38: Introduction to 3D Modeling By the end of the Vectorworks Evening Training Course, participants will: Demonstrate proficiency in using the Vectorworks interface, tools, and navigation. Create and edit 2D drawings, including walls, doors, windows, floors, ceilings, stairs, and railings. Effectively manage layers, classes, and views for organized and controlled object placement. Create and edit dimensions and annotations for accurate measurements and documentation. Develop skills in creating, modifying, and utilizing symbols for increased efficiency. Generate and edit 3D geometry, apply textures, and create sections and elevations from 3D models. Create polished presentation drawings using viewports, annotations, and text for clarity. Summarize course content and confidently apply learned skills in Vectorworks projects. Utilize available resources for further learning and professional development.
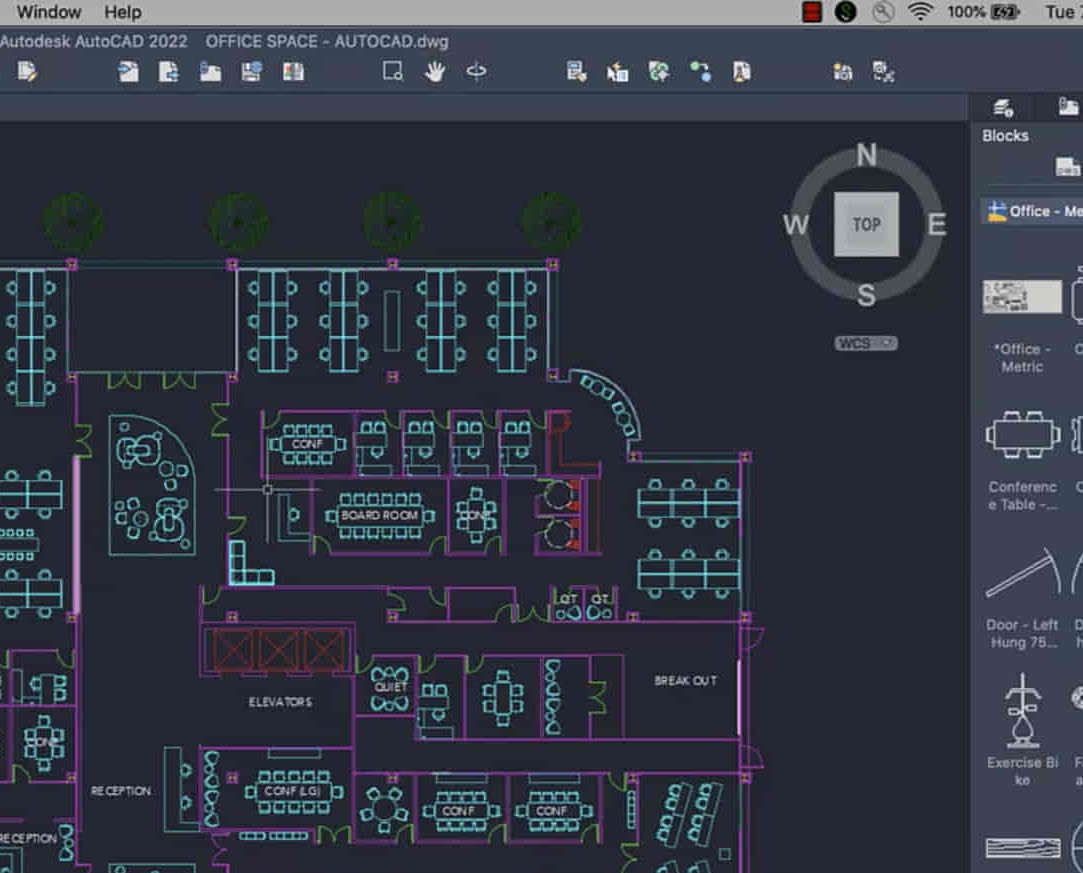
AutoCAD-Mac Introduction to Advanced Training Course
By ATL Autocad Training London
AutoCAD-Mac Introduction to Advanced Training Course This project-based course is tailored for AutoCAD Mac users, architecture and interior design students and professionals. Click here for more info: Website When Can I Book This Training Course? Personalized experience with 1-on-1 sessions designed to fit your unique needs. Available from Monday to Saturday, 9 am to 7 am Or Call to Book 02077202581. Duration of Training: 16 hours. Training Method: 1-on-1, providing the option for in-person sessions or live online training. Course Content Section 1: Introduction Course Overview Section 2: Basic Concepts Status Bar and The Units Drawing Commands Control Points - Vertex or Verteces Modifying Commands Snap Settings Drawing An Outline Section 3: Dimensions and Customization Adding Dimensions and Dimension Style Manager Importing Dimension Styles Customizing Shortcuts Section 4: Advanced Techniques Adding Walls Thickness with Offset Command Adding interior layout Cleaning Layout lines with Trim Section 5: Text and Styling Text Editing and Importing Text Styles Main File Formats in AutoCAD Section 6: Design Elements Creating Openings in the Floor Plan Adding Openings - Part 2 Adding Openings - Part 3 Drawing Doors & Windows Using Line Types & Linetype Scale Group and Ungroup Commands Using Blocks Using Blocks Library & Dynamic Blocks Section 7: Layers and Furnishing Layers - Part 2 Layers - Part 3 Furnishing Bedrooms & Bathrooms - Part 1 Adding Furniture, Fixtures, and Equipments | part 2 Adding Furniture, Fixtures, and Equipments | part 3 Drawing the Kitchen Drawing the Living Room Drawing Dining Room & Adding Casework Adding Steps and Railings Using Stretch Command Finishing Steps and patio areas Hatch command Hatch Customization Adding Plants & Finishing Floor Plan Section 8: Layout and Printing Paper Space & Page Setup Manager Working with Viewport & Using Print Command Scale & Using Multiple Viewports Locking Viewport Scale Drawing A Titleblock - Part 1 Drawing A Titleblock - Part 2 Copying the Titleblock Using Titleblock with Attributes Section 9: Roof Plan and Organization Drawing The Roof Plan Placing Roof Plan on Sheet Organizing Project Drawings & Using Layer Freeze AutoCAD Crashing And What To Do Section 10: Elevations Exterior elevations - Drawing the Outline Exterior elevations - Drawing the Openings Elevations - Detailing - Part 1 Elevations - Detailing - Part 2 Elevations - Repeating the workflow Elevations - Finishing 3rd Elevation Elevations - Drawing the final elevation Section 11: Sections Sections: Drawing Cut Lines & the Outline Sections: Placing 1st Section on Sheet Sections: Drawing Section #2 - Different Technique Sections: Adding Final Detail Section 12: Interior Elevations Interior Elevations: Drawing the Outline Interior Elevations: Placing on Sheet Interior Elevations: Using Block Clip Interior Elevations: Final Drawing Section 13: Conclusion Putting the Final Set Together Proficient AutoCAD Skills: Master essential tools for efficient drawing creation and manipulation. Accurate 2D Designs: Create precise and high-quality layouts with attention to detail. Effective Object Handling: Excel in selecting, moving, copying, and scaling objects. File Management: Organize drawings efficiently and understand different file formats. Precise Measurements: Utilize inquiry commands for accurate design analysis. Annotations and Hatching: Apply text, dimensions, and hatching to enhance drawings. Object Organization: Manage layers and object properties for organized designs. Reusable Content: Efficiently use blocks, tool palettes, and groups for productivity. Layout Optimization: Create layouts with viewports for optimal design presentation. Professional Output: Generate professional plots and PDF output for polished results. Enhanced Productivity: Explore AutoCAD toolsets and web/mobile apps for streamlined workflow. Course Overview: Learn versatile AutoCAD for Mac drawing techniques, applicable across all industries, enabling you to excel in the application. Our trainers incorporate exercises from various disciplines. Who Should Attend: Ideal for newcomers to AutoCAD for Mac, self-taught users seeking correct techniques, and those transitioning from other CAD tools. Requirements: A solid Mac OS understanding is essential, while prior CAD knowledge is not required. Pre-course preparation guidance is provided for new AutoCAD users. Highlights: Perfect for AutoCAD for Mac beginners. Gain skills for precise 2D layouts and designs. Versatile drawing techniques for all industries. Choose between in-class or live online training. Autodesk Certified Tutors: AutoCAD 1-2-1 courses. Hands-on learning with expert trainers. Lifetime post-course email support. Tailored on-request training available. Certificate: Digital certificate included. Tailored Mac Training: Excel in AutoCAD with specialized Mac training, leveraging its distinct features and interface for heightened efficiency. Comprehensive Skill Enhancement: Advance from fundamental to intermediate AutoCAD Mac proficiency, creating precise and professional 2D drawings. Industry-Relevant Expertise: Attain in-demand skills valued by employers in architecture, engineering, and design sectors. Hands-On Project Exposure: Immerse yourself in practical exercises mirroring real-world design scenarios, fostering practical competence. Lesson Recordings for Review: Access recorded lessons for reinforcement and deeper AutoCAD Mac comprehension. Ongoing Email Support: Benefit from lifetime email support, ensuring assistance beyond course completion."
Personalized AutoCAD Training for Interior Designers: Live Online and One-to-One
By Real Animation Works
Autocad face to face training customised and bespoke. In-person
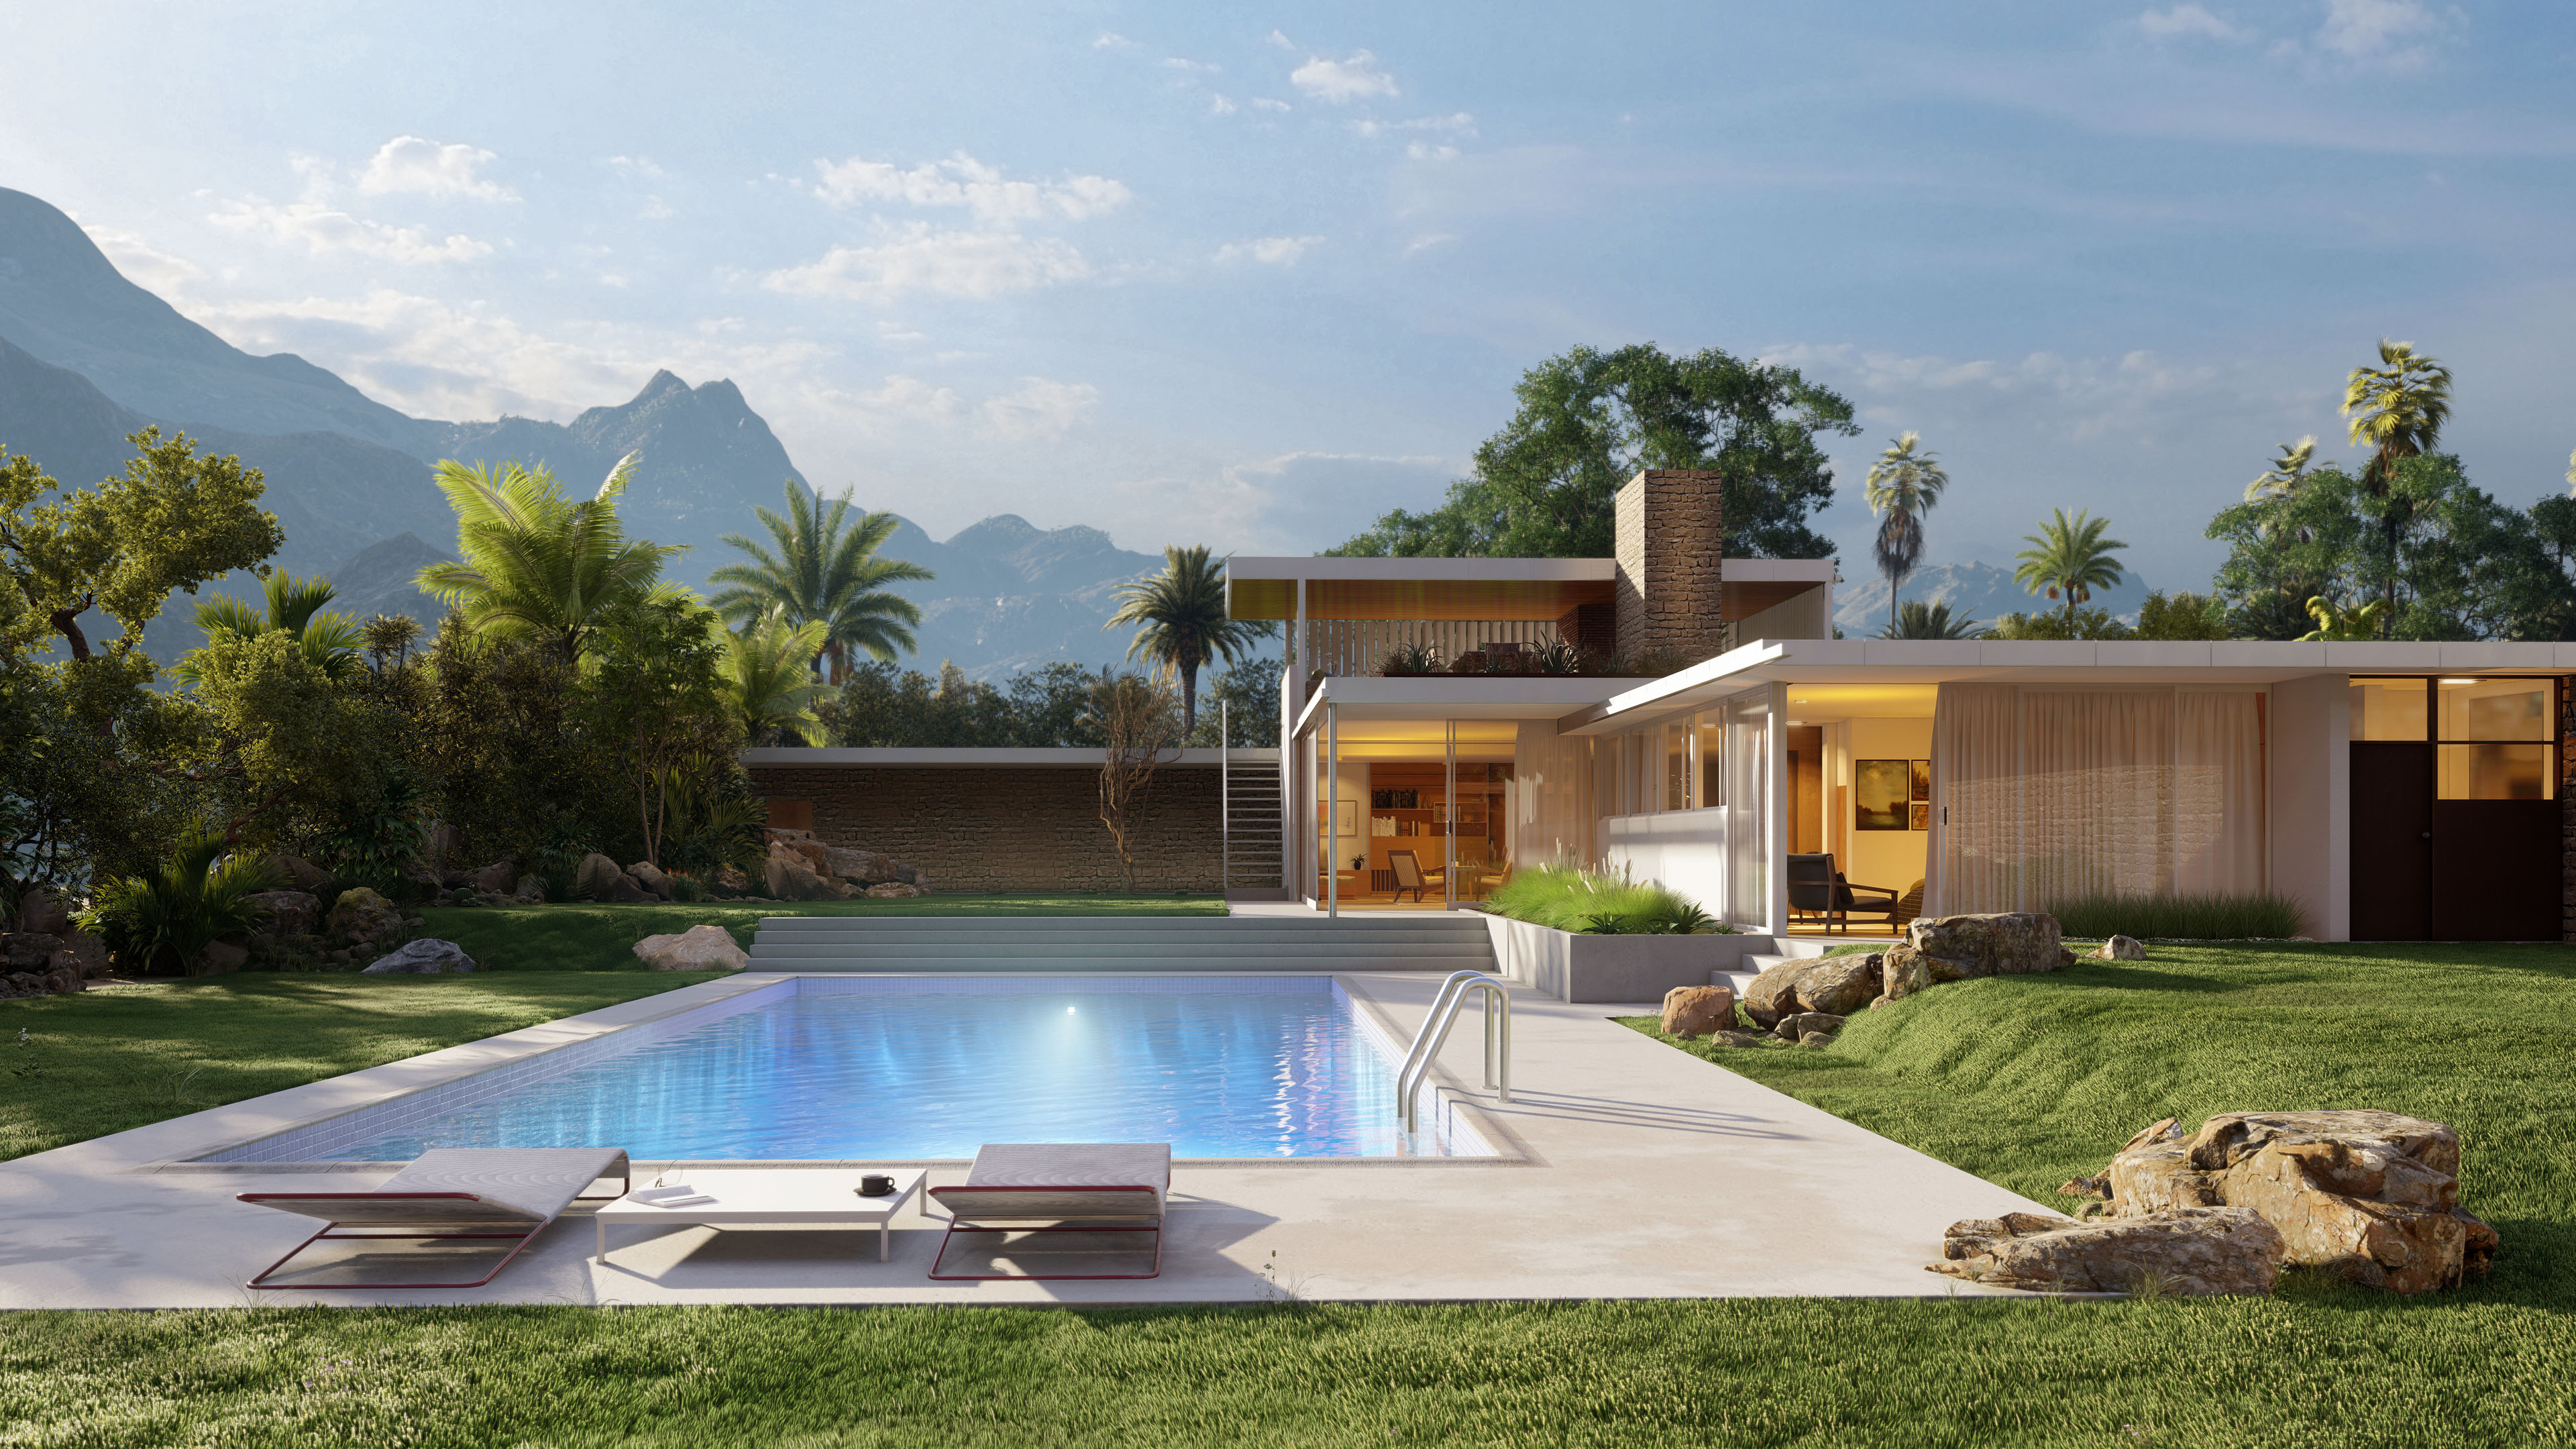
3ds Max and V-Ray Masterclass
By ATL Autocad Training London
Why Choose 3ds Max and V-Ray Masterclass? V-Ray for 3ds Max stands as a proven rendering software, offering unparalleled versatility. From dynamic scenes with thousands of lights to elegant still life compositions, best choice for artists and designers across various 3D industries. Check our Website Training Details: Duration: 10 hrs Method: 1-on-1, Personalized attention and Tailored content. Schedule: Customize your learning experience with our flexible 1-2-1 sessions, available Mon to Sat between 9 am and 7 pm. Module 1: Introduction to 3ds Max and Vray Get acquainted with 3ds Max interface and Vray's user interface. Explore workspace configuration and navigation techniques. Module 2: 3D Modeling Master fundamental shapes and advanced modeling methods. Understand polygonal modeling for organic and inorganic objects. Module 3: Materials and Textures Apply and modify textures, incorporating UVW mapping. Utilize the material editor for custom and Vray materials. Module 4: Lighting Explore diverse lighting techniques and light types. Configure lights for scenes, incorporating Vray lights. Module 5: Cameras Familiarize yourself with camera properties and setup. Create animations using both standard and Vray cameras. Module 6: Rendering Understand rendering basics and Vray Global Illumination. Implement Vray HDRI Lighting and the Rendering Workflow. Module 7: Projects Integrate learned skills in practical projects. Craft interior, exterior, and complex scenes with various objects and materials. Course Requirements: Computer with 3ds Max and Vray installed (trial versions available). Basic computer operation skills. Interest in 3D modeling and animation. Course Goals: Upon completion, you'll have a comprehensive grasp of 3ds Max and Vray, enabling you to create realistic 3D scenes. You'll possess the skills for compelling visual storytelling and be prepared for further advancement in 3D modeling and rendering. Upon completing the course, participants will: Master 3D Modeling: Create intricate 3D models using advanced techniques. Expert Material Application: Apply textures and materials for realistic effects. Advanced Lighting Skills: Set up diverse lighting, including Vray-specific techniques. Camera Mastery: Understand camera properties and animations for visual storytelling. Rendering Proficiency: Utilize Vray's capabilities for stunning visuals. Project Integration: Apply skills in practical projects, from interiors to complex scenes. Job Opportunities: Graduates can pursue roles like 3D Modeler, Texture Artist, Lighting Artist, Visualizer, 3D Animator, or Rendering Specialist in animation studios, architectural firms, game development, and film production. Opportunities exist as freelancers or within creative agencies. What You'll Learn: Comprehensive 3ds Max Mastery: From foundational concepts to advanced techniques, delve deep into 3ds Max's extensive toolkit for 3D modeling, animation, and rendering. V-Ray Expertise: Master the nuances of V-Ray, honing your skills in photorealistic rendering and lighting techniques to bring your creations to life. Portfolio-Ready Projects: Work on industry-aligned projects that enhance your skills and create a robust portfolio showcasing your abilities. Optimized Workflow: Learn efficient workflows, time-saving techniques, and industry best practices from experienced professionals. Career Opportunities: Upon completion of this course, you'll be equipped for various roles such as: 3D Modeler: Create detailed 3D models for gaming, animation, or architectural visualization. Rendering Artist: Specialize in creating realistic renderings using V-Ray for architectural projects or product design. Game Designer: Develop immersive game environments and assets using 3ds Max and Unity 3D. Visualization Specialist: Work in architectural firms, creating lifelike visualizations for clients. Recommended Websites for 3D Models: TurboSquid: A leading marketplace for high-quality 3D models. CGTrader: Offers a wide range of 3D models for games, VR, and architectural visualization. Sketchfab: An excellent platform for finding interactive 3D models for various purposes. 3D Warehouse (by SketchUp): A vast collection of user-created models suitable for architectural projects. Free3D: Provides a vast selection of free 3D models across different categories. Enroll in our course to unlock your 3D design potential and explore the world of limitless creativity! Highly Skilled Instructors: Learn from certified professionals with extensive 3ds Max expertise and real-world experience. Flexible Training Choices: Opt for either in-person or live online sessions tailored to your schedule and preferences. Comprehensive Learning: Master advanced 3ds Max techniques for creating exceptional 3D models, animations, and visual effects. Interactive Learning: Engage in hands-on projects and exercises to reinforce complex concepts and enhance practical skills. Lesson Recordings: Access recorded sessions at your convenience for reviewing crucial topics at your own pace. Lifetime Email Assistance: Receive continuous email support post-course completion, ensuring guidance whenever required. Expert Career Guidance: Access valuable insights and career advice from industry experts to make informed decisions in your field.
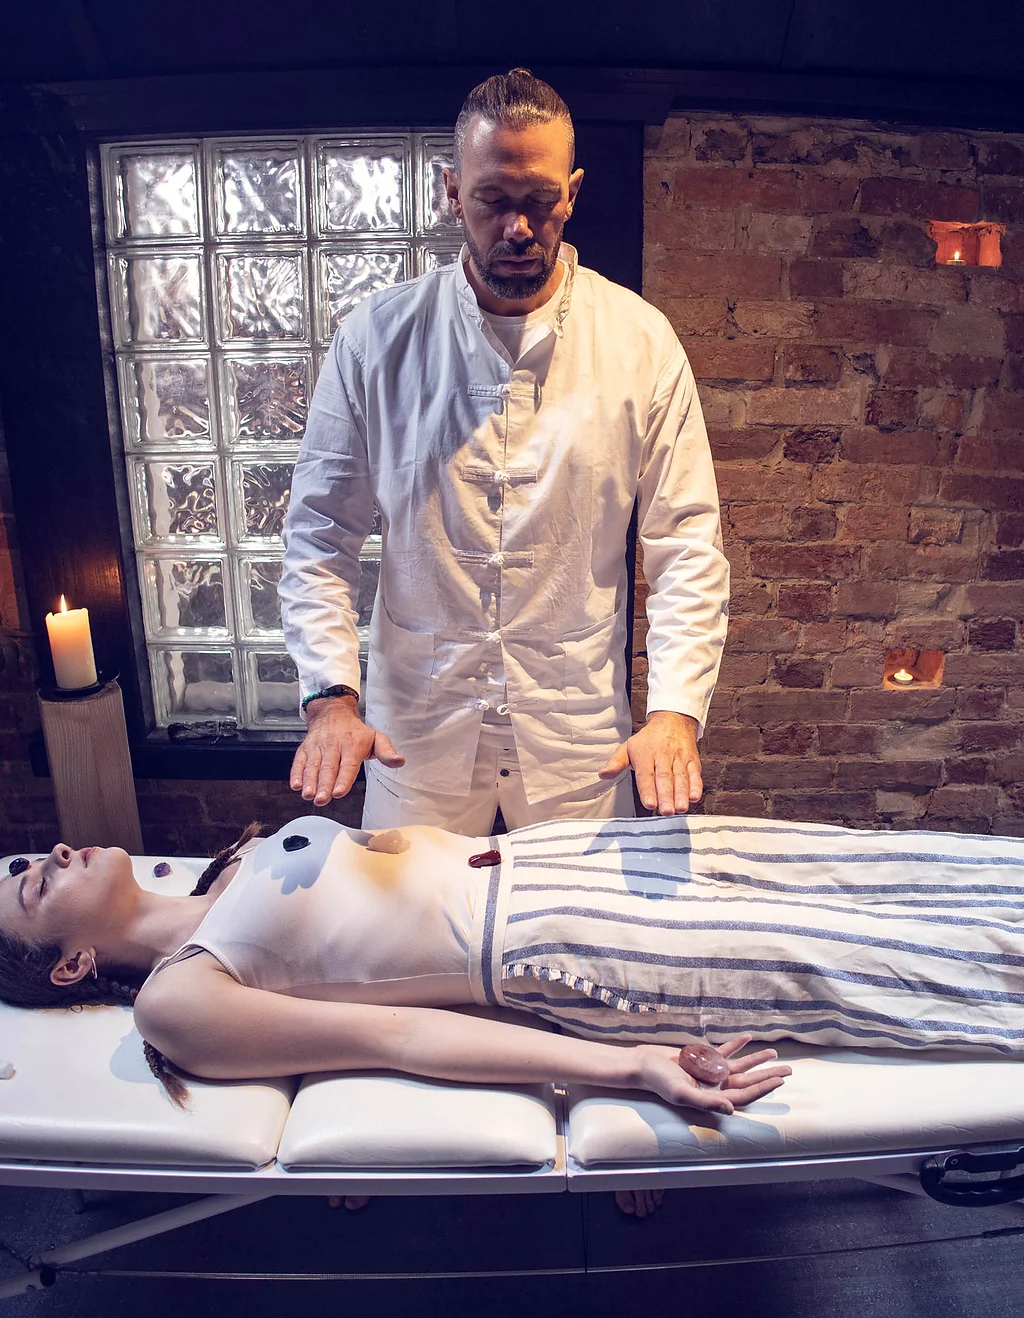
Private Reiki sessions within the comfort of your own home.
By Robin Freeman - Sacred Sound Healing
As a qualified Reiki master, I can come to your home and provide a 1hr Reiki healing session. We can work on any areas you may be aware of that require some attention. Or I can do a full body scan and assessment, free up an unbalanced energy flow within the body and bring everything back into alignment. These sessions are a fantastic way to relieve stress and promote healing. For more information or booking enquiries, please contact me here.
Enscape Rendering Training
By London Design Training Courses
Why Choose Enscape Rendering Training Course? Course info Best real-time visualization plugin, integrates with design tools like Revit, SketchUp, Rhino, ArchiCAD, and Vectorworks. Experience swift and real-time visualization within your preferred applications, eliminating extra costs and adjustments. Elevate your design projects effortlessly with Enscape. Duration: 5 hrs Method: 1-on-1, Personalized attention Schedule: Tailor your own hours of your choice, available from Mon to Sat between 9 am and 7 pm What does the Enscape Training & Interactive Workshop offer? The Enscape Training & Interactive Workshop is designed to help you get up and running with Virtual Reality (VR) in a cost-effective manner. It covers hardware and software setup, navigation techniques, real-time updates, material settings, and more. The workshop also allows participants to experience VR firsthand. What will I learn in the Enscape (VR) Training and Interactive Workshop? The workshop covers hardware setup, software installation, and configuration. You will learn how to migrate models from Revit and SketchUp into VR, navigate through designs, update objects and materials in real-time, and utilize various visual styles and settings. The course also includes interactive workshops with support from our expert tutors. Course Outline: Enscape Rendering Software Training (5 hours) Course 1: Enscape for Revit Hour 1: 1. Introduction to Enscape: Overview of Enscape rendering software, its features, and benefits. 2. Installing and Setting up Enscape: Step-by-step guidance on installing and configuring Enscape for Revit. 3. Enscape Interface: Familiarizing with the Enscape user interface and navigation controls within Revit. Hour 2: 4. Enscape Materials: Exploring material creation, application, and customization within Enscape for Revit. 5. Lighting in Enscape: Understanding different lighting options, adjusting light settings, and creating realistic lighting effects. Hour 3: 6. Enscape Camera Settings: Manipulating camera angles, perspectives, and settings for optimal visualization. 7. Enscape Rendering Settings: Exploring various rendering settings and techniques to enhance the quality of the final output. Hour 4: 8. Enscape Rendering Workflow: Demonstrating a step-by-step workflow for generating renderings and walkthroughs using Enscape in Revit. 9. Advanced Features: Introduction to advanced features such as creating panoramas, virtual reality (VR) walkthroughs, and creating animations in Enscape. Hour 5: 10. Tips and Tricks: Sharing tips and techniques for maximizing efficiency and achieving high-quality results in Enscape for Revit. 11. Q&A and Troubleshooting: Addressing participant questions, providing troubleshooting guidance, and discussing common challenges and solutions. OR Course Outline: Enscape Rendering Software Training (5 hours) Course 1: Enscape for Sketchup Hour 1: 1. Introduction to Enscape: Overview of Enscape rendering software, its features, and benefits for SketchUp users. 2. Installing and Setting up Enscape: Step-by-step guidance on installing and configuring Enscape for SketchUp. 3. Enscape Interface: Familiarizing with the Enscape user interface and navigation controls within SketchUp. Hour 2: 4. Enscape Materials: Exploring material creation, application, and customization within Enscape for SketchUp. 5. Lighting in Enscape: Understanding different lighting options, adjusting light settings, and creating realistic lighting effects. Hour 3: 6. Enscape Camera Settings: Manipulating camera angles, perspectives, and settings for optimal visualization in SketchUp. 7. Enscape Rendering Settings: Exploring various rendering settings and techniques to enhance the quality of the final output. Hour 4: 8. Enscape Rendering Workflow: Demonstrating a step-by-step workflow for generating renderings and walkthroughs using Enscape in SketchUp. 9. Advanced Features: Introduction to advanced features such as creating panoramas, virtual reality (VR) walkthroughs, and creating animations in Enscape. Hour 5: 10. Tips and Tricks: Sharing tips and techniques for maximizing efficiency and achieving high-quality results in Enscape for SketchUp. 11. Q&A and Troubleshooting: Addressing participant questions, providing troubleshooting guidance, and discussing common challenges and solutions.
SketchUp Pro Training Course For Kitchen Designers
By ATL Autocad Training London
Who is this course for? SketchUp Pro Training Course For Kitchen Designers. This course is designed for kitchen designers aiming to elevate their skills in SketchUp Pro. Learn creating stunning kitchen worktops, cabinets, and designs tailored to perfection. Perfect your skills and bring 3d kitchen to life. Click here for more info: Website Duration: 6 hours. Method: 1-on-1, available in-person or Live Online sessions. Monday to Saturday between 9 am and 7 pm Alternatively, contact us at 02077202581 to book over the phone. Course Outline: SketchUp Pro Training Course For Kitchen Designers (6 hours) Module 1: Exploring 3D Warehouse for Appliance Selection Navigating 3D Warehouse for Appliance Models Selecting and Importing Appliances for Your Kitchen Design Module 2: Cabinetry Layout Introduction to Cabinetry Layout Planning and Arranging Cabinets for Functional Kitchens Module 3: Innovative Approaches to Cabinet Design Creative Strategies for Unique Cabinet Designs Incorporating Special Features and Functions Module 4: Creating Countertops and Sink Arrangements Designing Functional Countertops Integrating Sinks and Faucets Effectively Module 5: Enhancing Kitchen Spaces with Backsplashes Utilizing Backsplashes for Aesthetic and Practical Purposes Designing Custom Backsplash Solutions Module 6: Designing Efficient Range Hoods Range Hood Design Principles Ensuring Proper Ventilation and Aesthetics Module 7: Crafting Upper Cabinet Solutions Maximizing Storage and Style with Upper Cabinets Incorporating Upper Cabinet Design Variations Module 8: Perfecting Crown Moulding Applications Enhancing Cabinet and Wall Transitions Achieving a Polished Look with Crown Moulding Module 9: Optimizing Kitchen Islands Designing Functional and Stylish Kitchen Islands Utilizing Islands for Storage and Dining Module 10: Elevating the Ambiance with Wall Design Details Enhancing Walls with Creative Design Elements Adding Character and Texture to Kitchen Spaces Module 11: Ensuring Precise Dimensions Mastering Dimensioning Techniques Achieving Accuracy in Your Kitchen Design Module 12: Mastering Shadows and Style Customization Controlling Shadows for Realistic Renderings Customizing Styles to Enhance Visualization Upon completing the SketchUp Pro Training Course for Kitchen Designers, you will: Master SketchUp for comprehensive kitchen design. Efficiently select appliances from 3D Warehouse. Plan innovative cabinet layouts. Design functional countertops and sinks. Enhance kitchens with stylish backsplashes. Create efficient range hoods. Maximize storage with upper cabinets. Perfect crown moulding applications. Optimize kitchen islands. Elevate ambiance with wall design details. Ensure precision in dimensions. Customize realistic renderings. Job Opportunities: Kitchen designers can pursue roles such as Kitchen Designer, Interior Designer, Cabinet Designer, CAD Specialist, 3D Modeler, Home Renovation Consultant, and more. Freelance opportunities are also available. Skills Acquired: Advanced Kitchen Modeling: Master the art of creating detailed kitchen worktops, cabinets, and layouts using SketchUp Pro. Texture Mapping and Material Application: Learn to apply realistic textures and materials to enhance kitchen designs. Lighting and Rendering Techniques: Explore lighting setups and rendering tools for lifelike visualizations. Collaborative Design: Enhance skills in collaborative design, enabling seamless communication with clients and colleagues. Job Opportunities: Kitchen Designer: Design custom kitchen spaces, work closely with clients, and bring their visions to life. Interior Designer: Specialize in kitchen interior design, working with a focus on functionality and aesthetics. Furniture Designer: Create bespoke kitchen furniture pieces and optimize space for practical use. Freelance Kitchen Design Consultant: Offer specialized kitchen design services on a freelance basis, catering to various clients and projects. Personalized Learning! Why Choose Us? Tailored One-on-One Training: Exclusive coaching from skilled architects and designers, in-person or live online, Monday to Saturday. Customized Tutorials: Enhance your skills with tailored video tutorials to take home. Comprehensive Learning: Receive digital resources for thorough understanding and revision. Free Ongoing Support: Enjoy continuous assistance via phone or email, ensuring your success beyond the course. Flexible Syllabus: Adapted to your needs for focused learning. Official Certificate: Validate your expertise with our prestigious certification. Why Us? Supported Individual Learning: Personalized guidance, homework assignments, and post-course assistance for mastery. Personal Attention: Experience one-on-one learning for focused and confident progress. Financial Flexibility: Explore payment options tailored to your budget. Expert Instructors: Learn from industry experts dedicated to your success.