- Professional Development
- Medicine & Nursing
- Arts & Crafts
- Health & Wellbeing
- Personal Development
3493 Arts courses
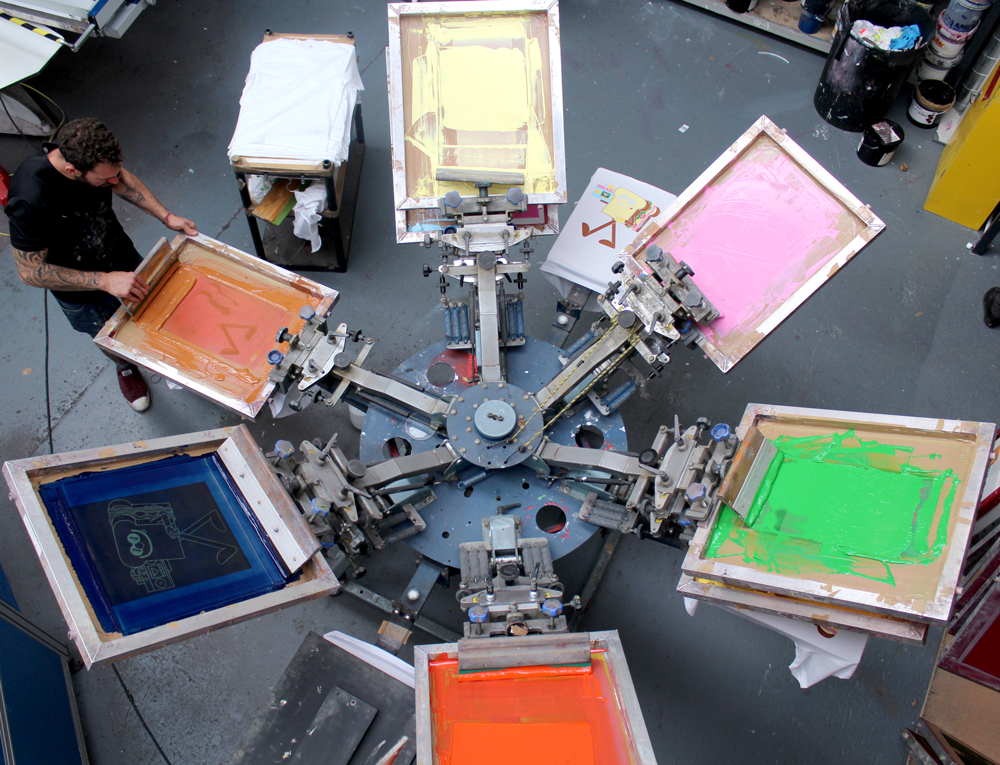
1 DAY SCREEN PRINTING TSHIRT COURSE
By 3rd Rail Print Space
1 DAY T-SHIRT PRINTING WORKSHOP £75.00 The perfect introduction to t-shirt screen printing, our beginner workshop is ideal for anyone interested in learning the complete screen printing process or simply looking to print some t-shirts with their own design for a special occasion. The sessions will run from 10am – 4pm with a 1 hour break for lunch. The day will be split as follows: Morning After a short intro into the studio and the process you’ll guided through how to coat and expose your design onto your screen. Afternoon After lunch we’ll cover ink mixing and the process of setting up the t-shirt carousel ready for printing. When the screens are dry and colours are chosen everyone will have a go at printing their t-shirts. Outcome You will take away x5 White Cotton T-shirt printed with your 1 colour graphic all created by you! — To book please scroll through the calendar and click the available date (highlighted in green) that you’d like to attend. All materials are provided including white t-shirts ranging in size from S-XL, if you’d like to supply you own garments please check with us first to make sure that they’re suitable for screen printing. Terms and conditions apply. Cancellation Policy: Please notice that we can’t reschedule or refund a workshop if it is requested 10 or less days before the date of the workshop. We regret we will not be able to replace or rearrange missed sessions either or exchange the price of the workshop for a voucher or another product. Please do not ask us to make exceptions and please understand we cannot accommodate everyones diary changes and sudden change of circumstances.
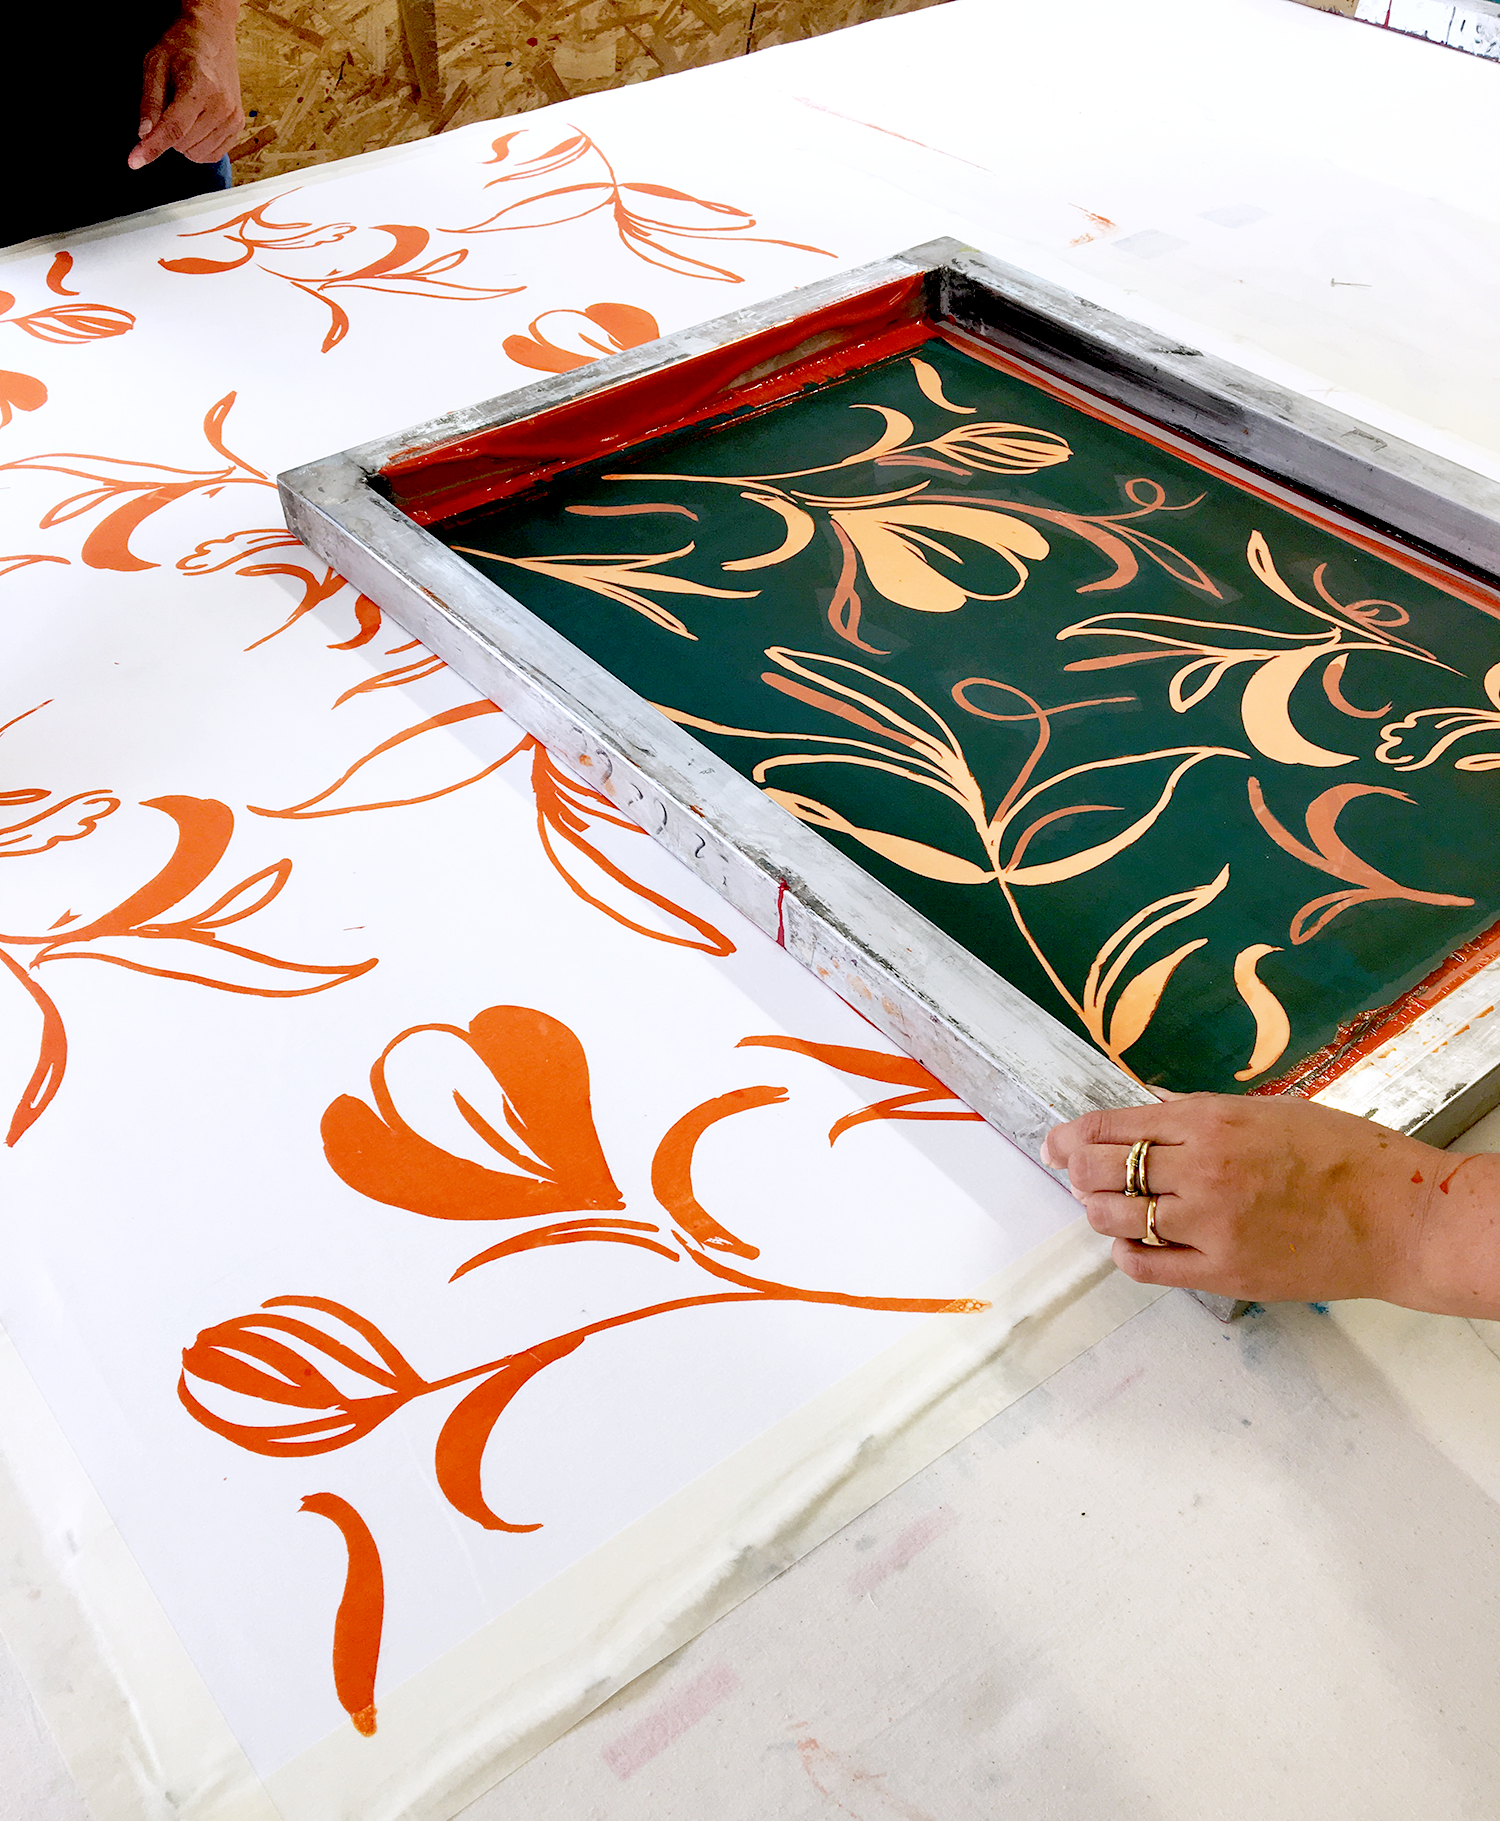
1 DAY SCREEN PRINTING FABRIC WORKSHOP
By 3rd Rail Print Space
1 DAY FABRIC PRINTING WORKSHOP £75.00 The perfect introduction to fabric screen printing, our beginner workshop is ideal for anyone interested in learning the complete screen printing process or simply looking to print some tea towels or cushion covers with their own design for a special occasion. The sessions will run from 10am – 4:00pm (subject to class size) with a 30 min break for lunch. The day will be split as follows: Morning After a short intro into the studio and the process you’ll guided through how to coat and expose your design onto your screen. Afternoon After lunch we’ll decide on colours and select print pastes and go through the process of setting up the fabric tables ready for printing. When the screens are dry everyone will have a go at printing their fabric. Each person will walk away with 1 metre of fabric printed with their own 1 or 2 colour design. Outcome You will take away 1 meter of fabric with an experimental 1 to 2 colour printed design. — To book please scroll through the calendar and click the available date (highlighted in green) that you’d like to attend. All materials are provided including white/natural fabric, if you’d like to supply you own fabric please check with us first to make sure that it’s suitable for screen printing with our inks. Terms and conditions apply. Cancellation Policy: Please notice that we can’t reschedule or refund a workshop if it is requested 10 or less days before the date of the workshop. We regret we will not be able to replace or rearrange missed sessions either or exchange the price of the workshop for a voucher or another product. Please do not ask us to make exceptions and please understand we cannot accommodate everyones diary changes and sudden change of circumstances.
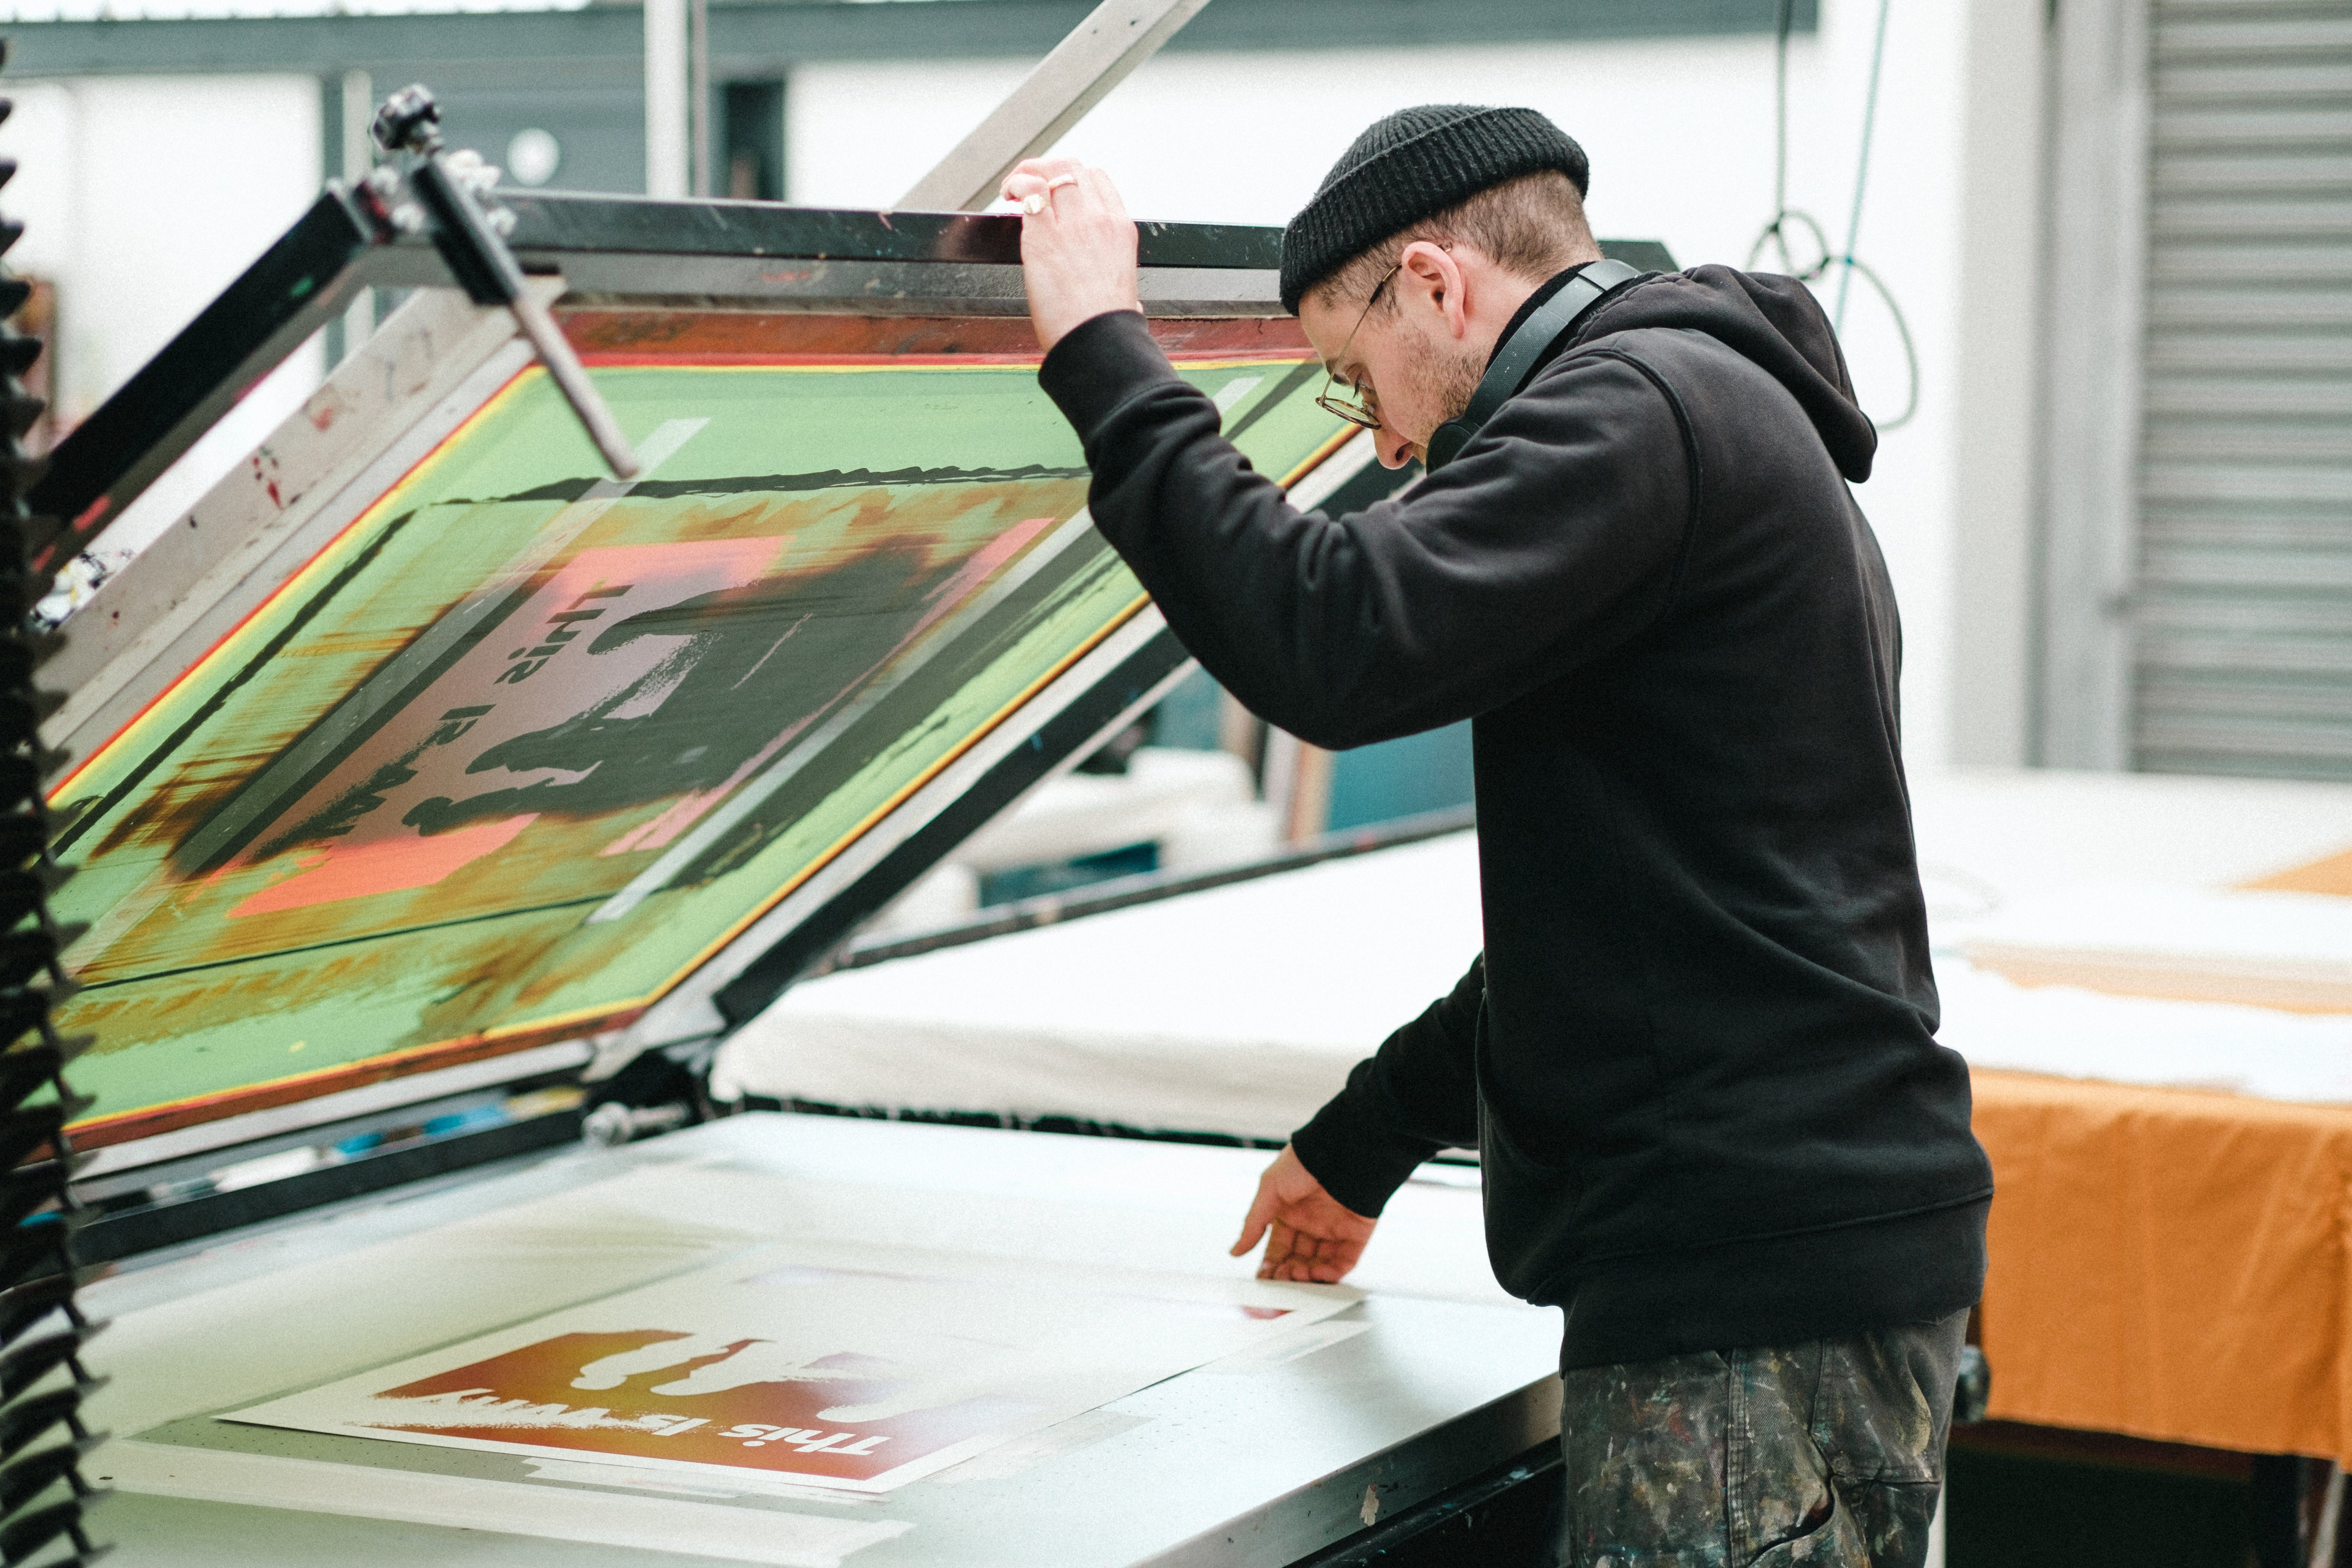
1 DAY PAPER SCREEN PRINTING COURSE
By 3rd Rail Print Space
1 DAY PAPER PRINTING WORKSHOP £75.00 The perfect introduction to paper screen printing, our beginner workshop is ideal for anyone interested in learning the complete screen printing process or simply looking to print an edition with their own design for a special occasion. The sessions will run from 10am – 4pm with a 1 hour break for lunch, a great opportunity to sample one of the many food kiosks located on levels 5 and 6 of the building. The day will be split as follows: Morning After a short intro into the studio and the process you’ll guided through how to coat and expose your design onto your screen. Afternoon After lunch we’ll cover ink mixing and the process of setting up the paper bed ready for printing. When the screens are dry everyone will have a go at printing. Outcome You will take away x10 A3 Prints all printed with your one colour design all created by you. — To book please scroll through the calendar and click the available date (highlighted in green) that you’d like to attend. All materials are provided including white 310gsm paper, if you’d like to supply you own paper please check with us first to make sure that it’s suitable for screen printing. Terms and conditions apply. Cancellation Policy: Please notice that we can’t reschedule or refund a workshop if it is requested 10 or less days before the date of the workshop. We regret we will not be able to replace or rearrange missed sessions either or exchange the price of the workshop for a voucher or another product. Please do not ask us to make exceptions and please understand we cannot accommodate everyones diary changes and sudden change of circumstances.

Life Drawing in Worcester
By Worcester Drawing School
life drawing worcester, a two hour life drawing class from a live nude model.

Level 7 Advanced Diploma in Professional Floristry - QLS Endorsed
(47)By Academy for Health and Fitness
48-Hour Knowledge Knockdown! Prices Reduced Like Never Before! This Advanced Diploma in Professional Floristry at QLS Level 7 course is endorsed by The Quality Licence Scheme and accredited by CPDQS (with 180 CPD points) to make your skill development & career progression more accessible than ever! Are you looking to improve your current abilities or make a career move? If yes, our unique Professional Floristry at QLS Level 7 course might help you get there! It is an expertly designed course which ensures you learn everything about the topic thoroughly. Expand your expertise with high-quality training from the Professional Floristry at QLS Level 7 course. Due to Professional Floristry at QLS Level 7's massive demand in the competitive market, you can use our comprehensive course as a weapon to strengthen your knowledge and boost your career development. Learn Professional Floristry at QLS Level 7 from industry professionals and quickly equip yourself with the specific knowledge and skills you need to excel in your chosen career. The Professional Floristry at QLS Level 7 course is broken down into several in-depth modules to provide you with the most convenient and rich learning experience possible. Upon successful completion of the Professional Floristry at QLS Level 7 course, an instant e-certificate will be exhibited in your profile that you can order as proof of your skills and knowledge. Add these amazing new skills to your resume and boost your employability by simply enrolling in this Professional Floristry at QLS Level 7 course. This Professional Floristry at QLS Level 7 training can help you to accomplish your ambitions and prepare you for a meaningful career. So, join us today and gear up for excellence! Why Prefer This Professional Floristry at QLS Level 7 Course? Opportunity to earn a certificate endorsed by the Quality Licence Scheme & another accredited by CPDQS which is completely free. Get a free student ID card! (£10 postal charge will be applicable for international delivery) Innovative and engaging content. Free assessments 24/7 tutor support. Take a step toward a brighter future! *** Course Curriculum *** Introduction Services Provided by Florists Introduction to the Course Flowers and Plants Flower Care and Treatment Choosing Popular Flowers and Fillers Elements and Principles of Design How to Make Floral Arrangements Making Bouquet, Corsage, Fruit Basket & Basket Garden Wedding Floristry Making Funeral Flower Arrangements Beautiful Floral Designs Getting a Job in the Floristry Industry Starting Your Own Floristry Business Bonus Materials Conclusion to the Course Assessment Process After completing an online module, you will be given immediate access to a specially designed MCQ test. The results will be immediately analysed, and the score will be shown for your review. The passing score for each test will be set at 60%. You will be entitled to claim a certificate endorsed by the Quality Licence Scheme after you have completed all of the Advanced Diploma in Professional Floristry at QLS Level 7 exams. CPD 180 CPD hours / points Accredited by CPD Quality Standards Who is this course for? This course is perfect for highly motivated people who want to improve their technical skills and prepare for the career they want! Requirements No prior background or expertise is required. Career path The course will boost your CV and aims to help you get the job or even the long-awaited promotion of your dreams. Certificates Advanced Diploma in Professional Floristry at QLS Level 7 Digital certificate - Included CPDQS Accredited Certificate Digital certificate - Included CPDQS Accredited Certificate Hard copy certificate - Included International students are subject to a £10 delivery fee for their orders, based on their location.
24-Hour Knowledge Knockdown! Prices Reduced Like Never Before Ever dream of transforming your living space with a fresh coat of paint or elegant wallpaper? Or perhaps you're looking to take your passion for painting and decorating to the next level? The Painting and Decorating industry in the UK is thriving, contributing significantly to the economy with over £6 billion annually. With home improvement and renovation projects on the rise, skilled painters and decorators are in high demand. This QLS Level 7 Painting and Decorating course equips you with the advanced techniques and knowledge to become a highly-sought-after decorator. Our course covers a wide range of topics essential for painting and decorating, from safety tips to intricate techniques. You'll learn about interior and exterior painting, product selection, and application methods. The curriculum also includes detailed modules on wallpapering, canvas painting, and advanced techniques like priming, staining, and brushwork. Through proper and expert guidance, you will gain the skills needed to excel in both residential and commercial settings. This Advanced Diploma in Painting and Decorating at QLS Level 7 course is endorsed by The Quality Licence Scheme and accredited by CPDQS (With 180 CPD points) to make your skill development & career progression more accessible than ever! Learning Outcomes of Painting and Decorating Implement advanced safety protocols for painting and decorating work. Apply expert techniques for interior and exterior painting projects Select appropriate products for various painting and decorating applications Utilise advanced priming priming and staining methods for optimal results Achieve refined brushwork skills for a flawless professional finish Understand and execute proper techniques for applying wallpaper Enrolling in this Painting and Decorating at QLS Level 7 course empowers you to launch a fulfilling career in the painting and decorating industry. You'll not only impress clients with your exceptional skills but also command a competitive salary. Take control of your future - enrol today! Learning Outcomes of the Advanced Diploma in Painting and Decorating at QLS Level 7 : Master essential safety practices for painting and decorating. Acquire proficiency in interior and exterior painting techniques. Learn the art of wallpaper application for stunning designs. Develop canvas painting skills using various mediums. Understand priming, staining, brushwork, and corrections and much more... Why Choose Us? Get a Free CPD Accredited Certificate upon completion of Painting and Decorating Get a free student ID card with Painting and Decorating Training program (£10 postal charge will be applicable for international delivery) The Painting and Decorating is affordable and simple to understand This course is entirely online, interactive lesson with voiceover audio Get Lifetime access to the Painting and Decorating course materials The Painting and Decorating comes with 24/7 tutor support Take a step toward a brighter future! The QLS Level 7 Painting and Decorating course provides comprehensive training, equipping learners with advanced techniques and practical skills essential for success in the industry. By mastering product selection, application methods, and safety practices, learners enhance their employability and become highly sought-after professionals for residential and commercial projects. The course boosts career opportunities, and increases earning potential. Overall, it prepares learners for a successful and rewarding career in painting and decorating. *** Course Curriculum *** Here is the curriculum breakdown of the Painting and Decorating at QLS Level 7 course: Painting Safety Tips for Painting Interior Painting Painting your Interiors Walls and Ceilings Windows and Doors Wallpapering Applying Wallpaper Exterior Painting Product Selection Application Tips & Techniques Canvas Painting Priming & Staining Working over a ground color Building Up: Oil & Acrylic Surface Mixing Corrections Brushwork How will I get my Certificate? After successfully completing the course, you will be able to order your Certificates as proof of your achievement. PDF Certificate: Free (Previously it was £12.99) CPD Hard Copy Certificate: Free ( Previously it was £29.99) QLS Endorsed Hard Copy Certificate: Free (For The Title Course: Previously it was £139) CPD 180 CPD hours / points Accredited by CPD Quality Standards Who is this course for? This Painting and Decorating at QLS Level 7 course is perfect for highly motivated people who want to improve their technical skills and prepare for the career they want! Painters changing careers Aspiring decorators Painting enthusiasts Business owners Trades Tradespeople DIY enthusiasts Requirements No prior background or expertise is required. Career path The Painting and Decorating at QLS Level 7 course will boost your CV and aims to help you get the job or even the long-awaited promotion of your dreams. Lead Painter Supervisor Project Manager Business Owner Consultant Trainer Certificates Advanced Diploma in Painting and Decorating at QLS Level 7 Hard copy certificate - Included Please note that International students have to pay an additional £10 as a shipment fee. CPD Accredited Digital Certificate Digital certificate - Included Upon passing the Course, you need to order a Digital Certificate for each of the courses inside this bundle as proof of your new skills that are accredited by CPD QS for Free.
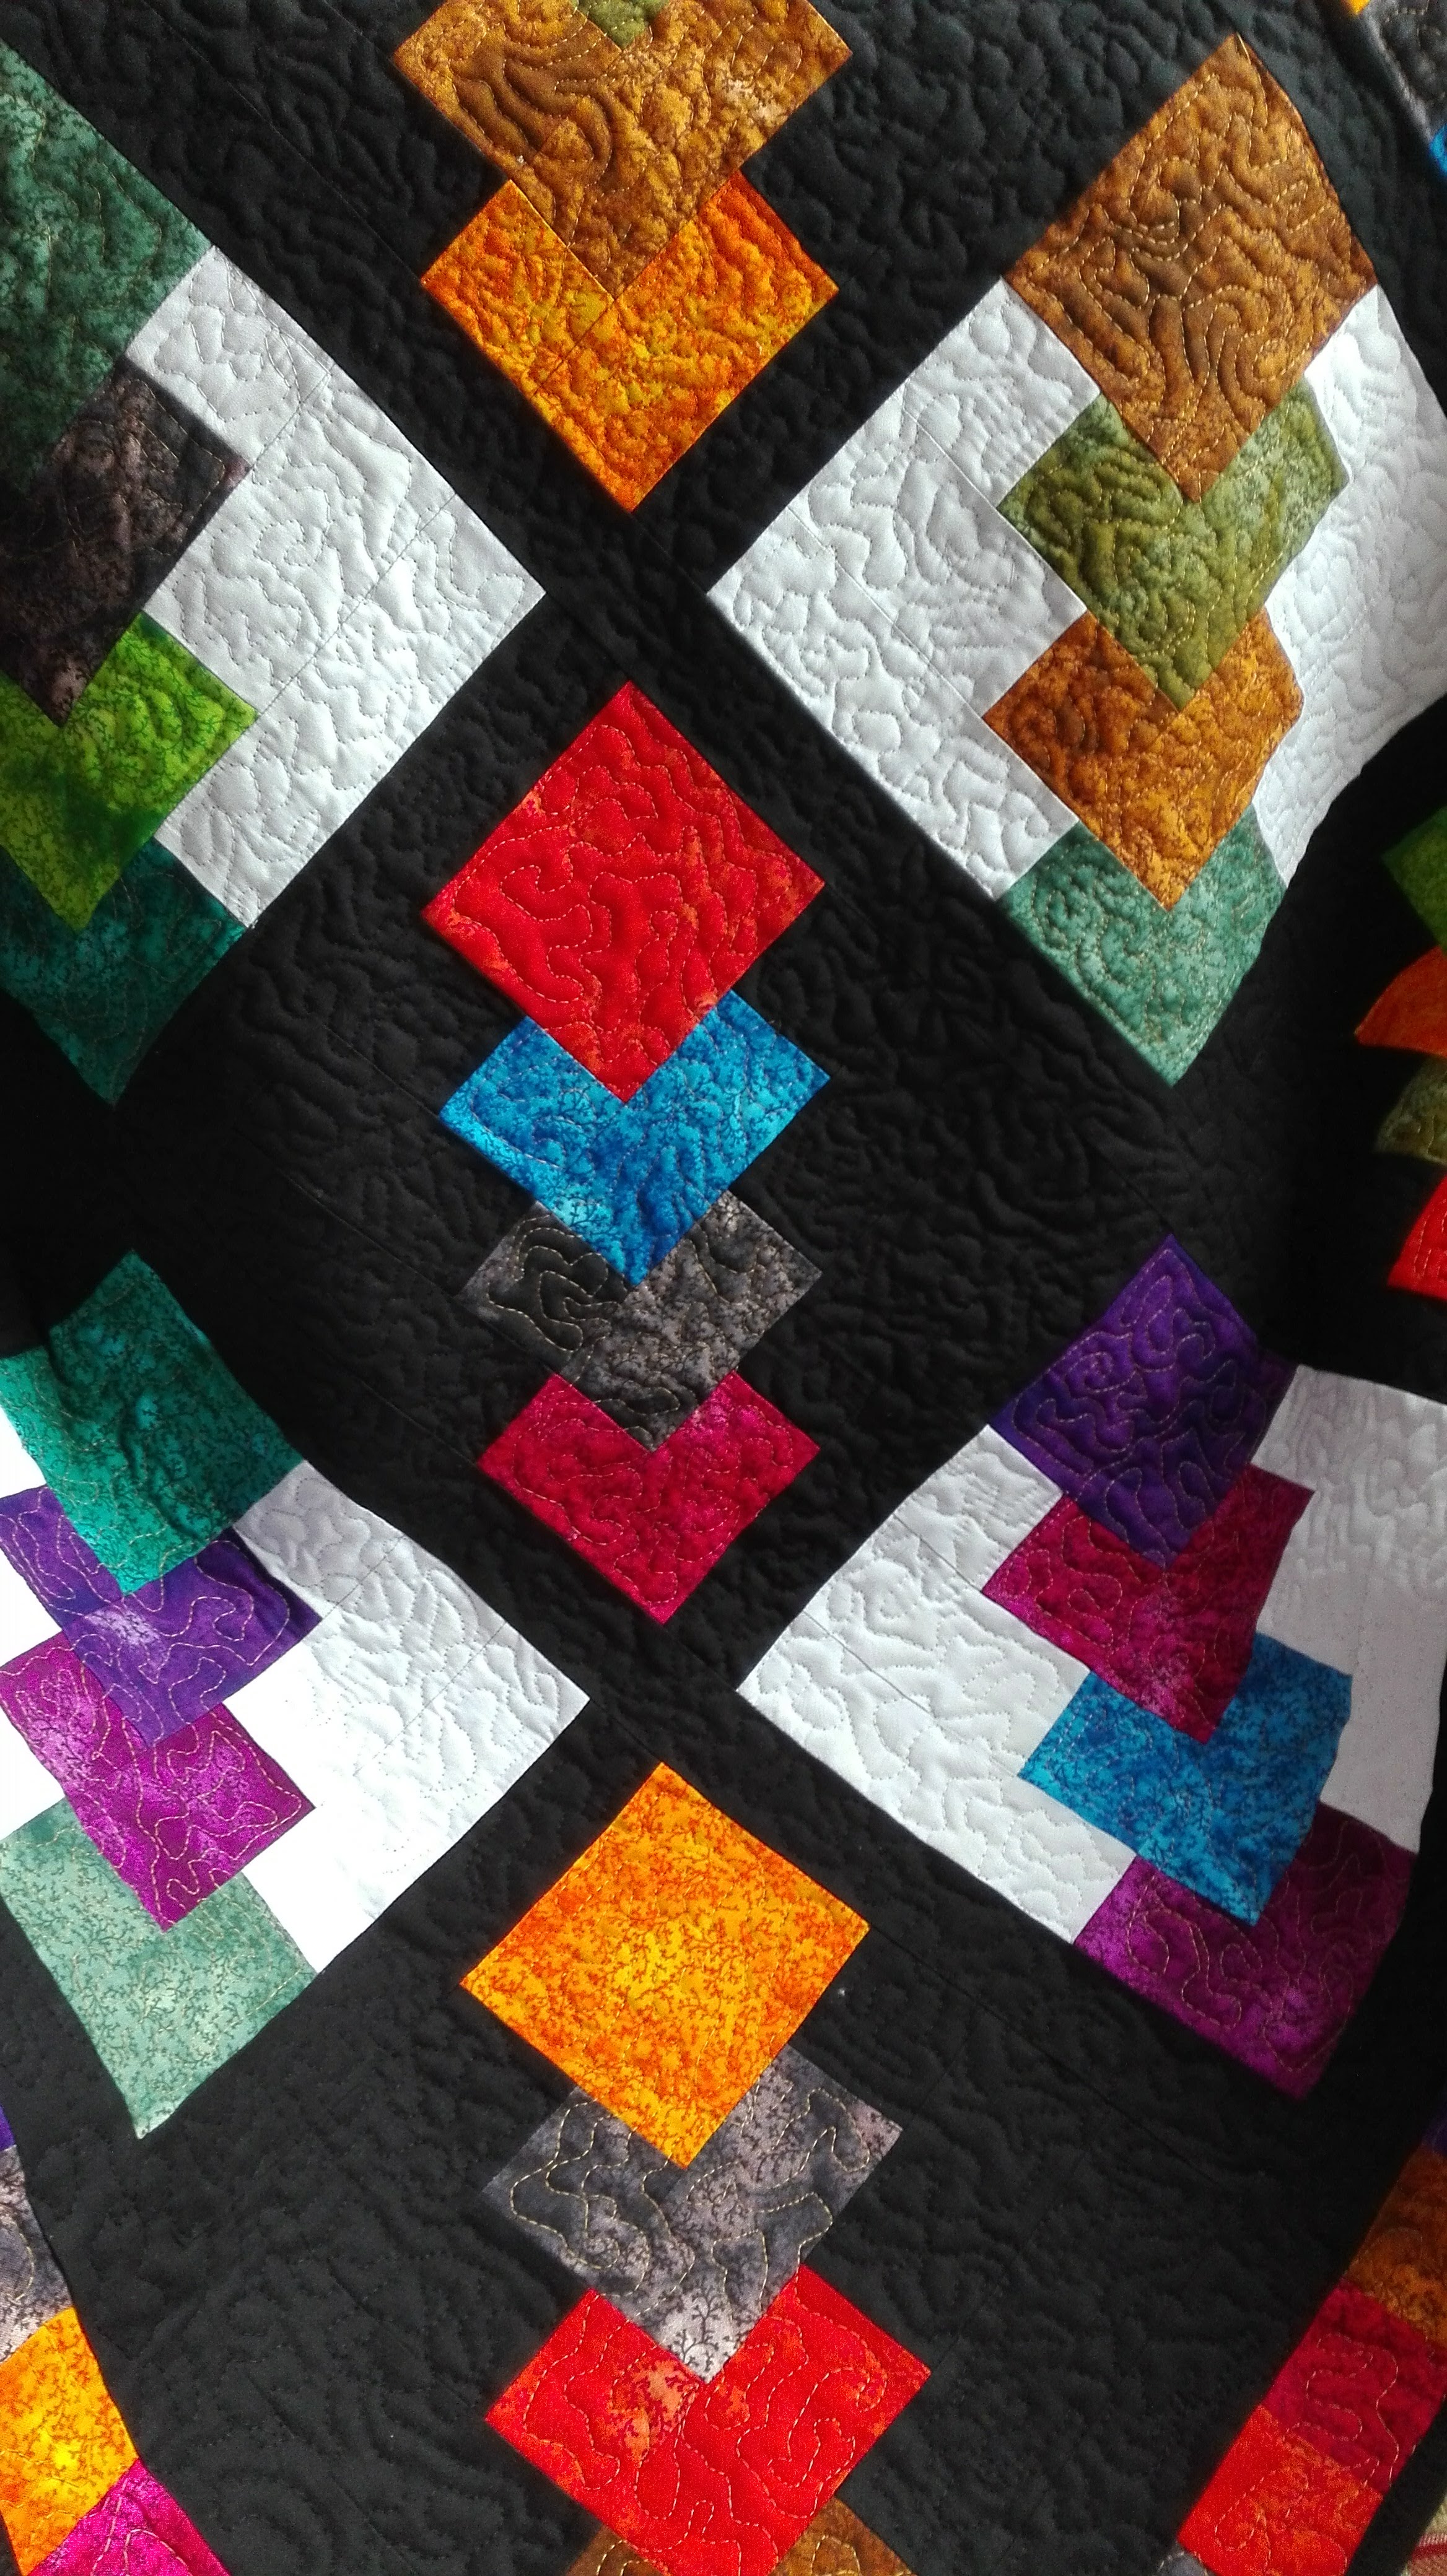
One to One Patchwork and Quilting Tuition - North Devon
By Alex O'Hara
One to One Tuition in Patchwork and Quilting in your own home.
Creative Lettering For Art Journals
By Wellbeing Journaling
Explore the beauty of imperfection in creative lettering, the art of drawing letters, which you can use in journaling, wall art and cards

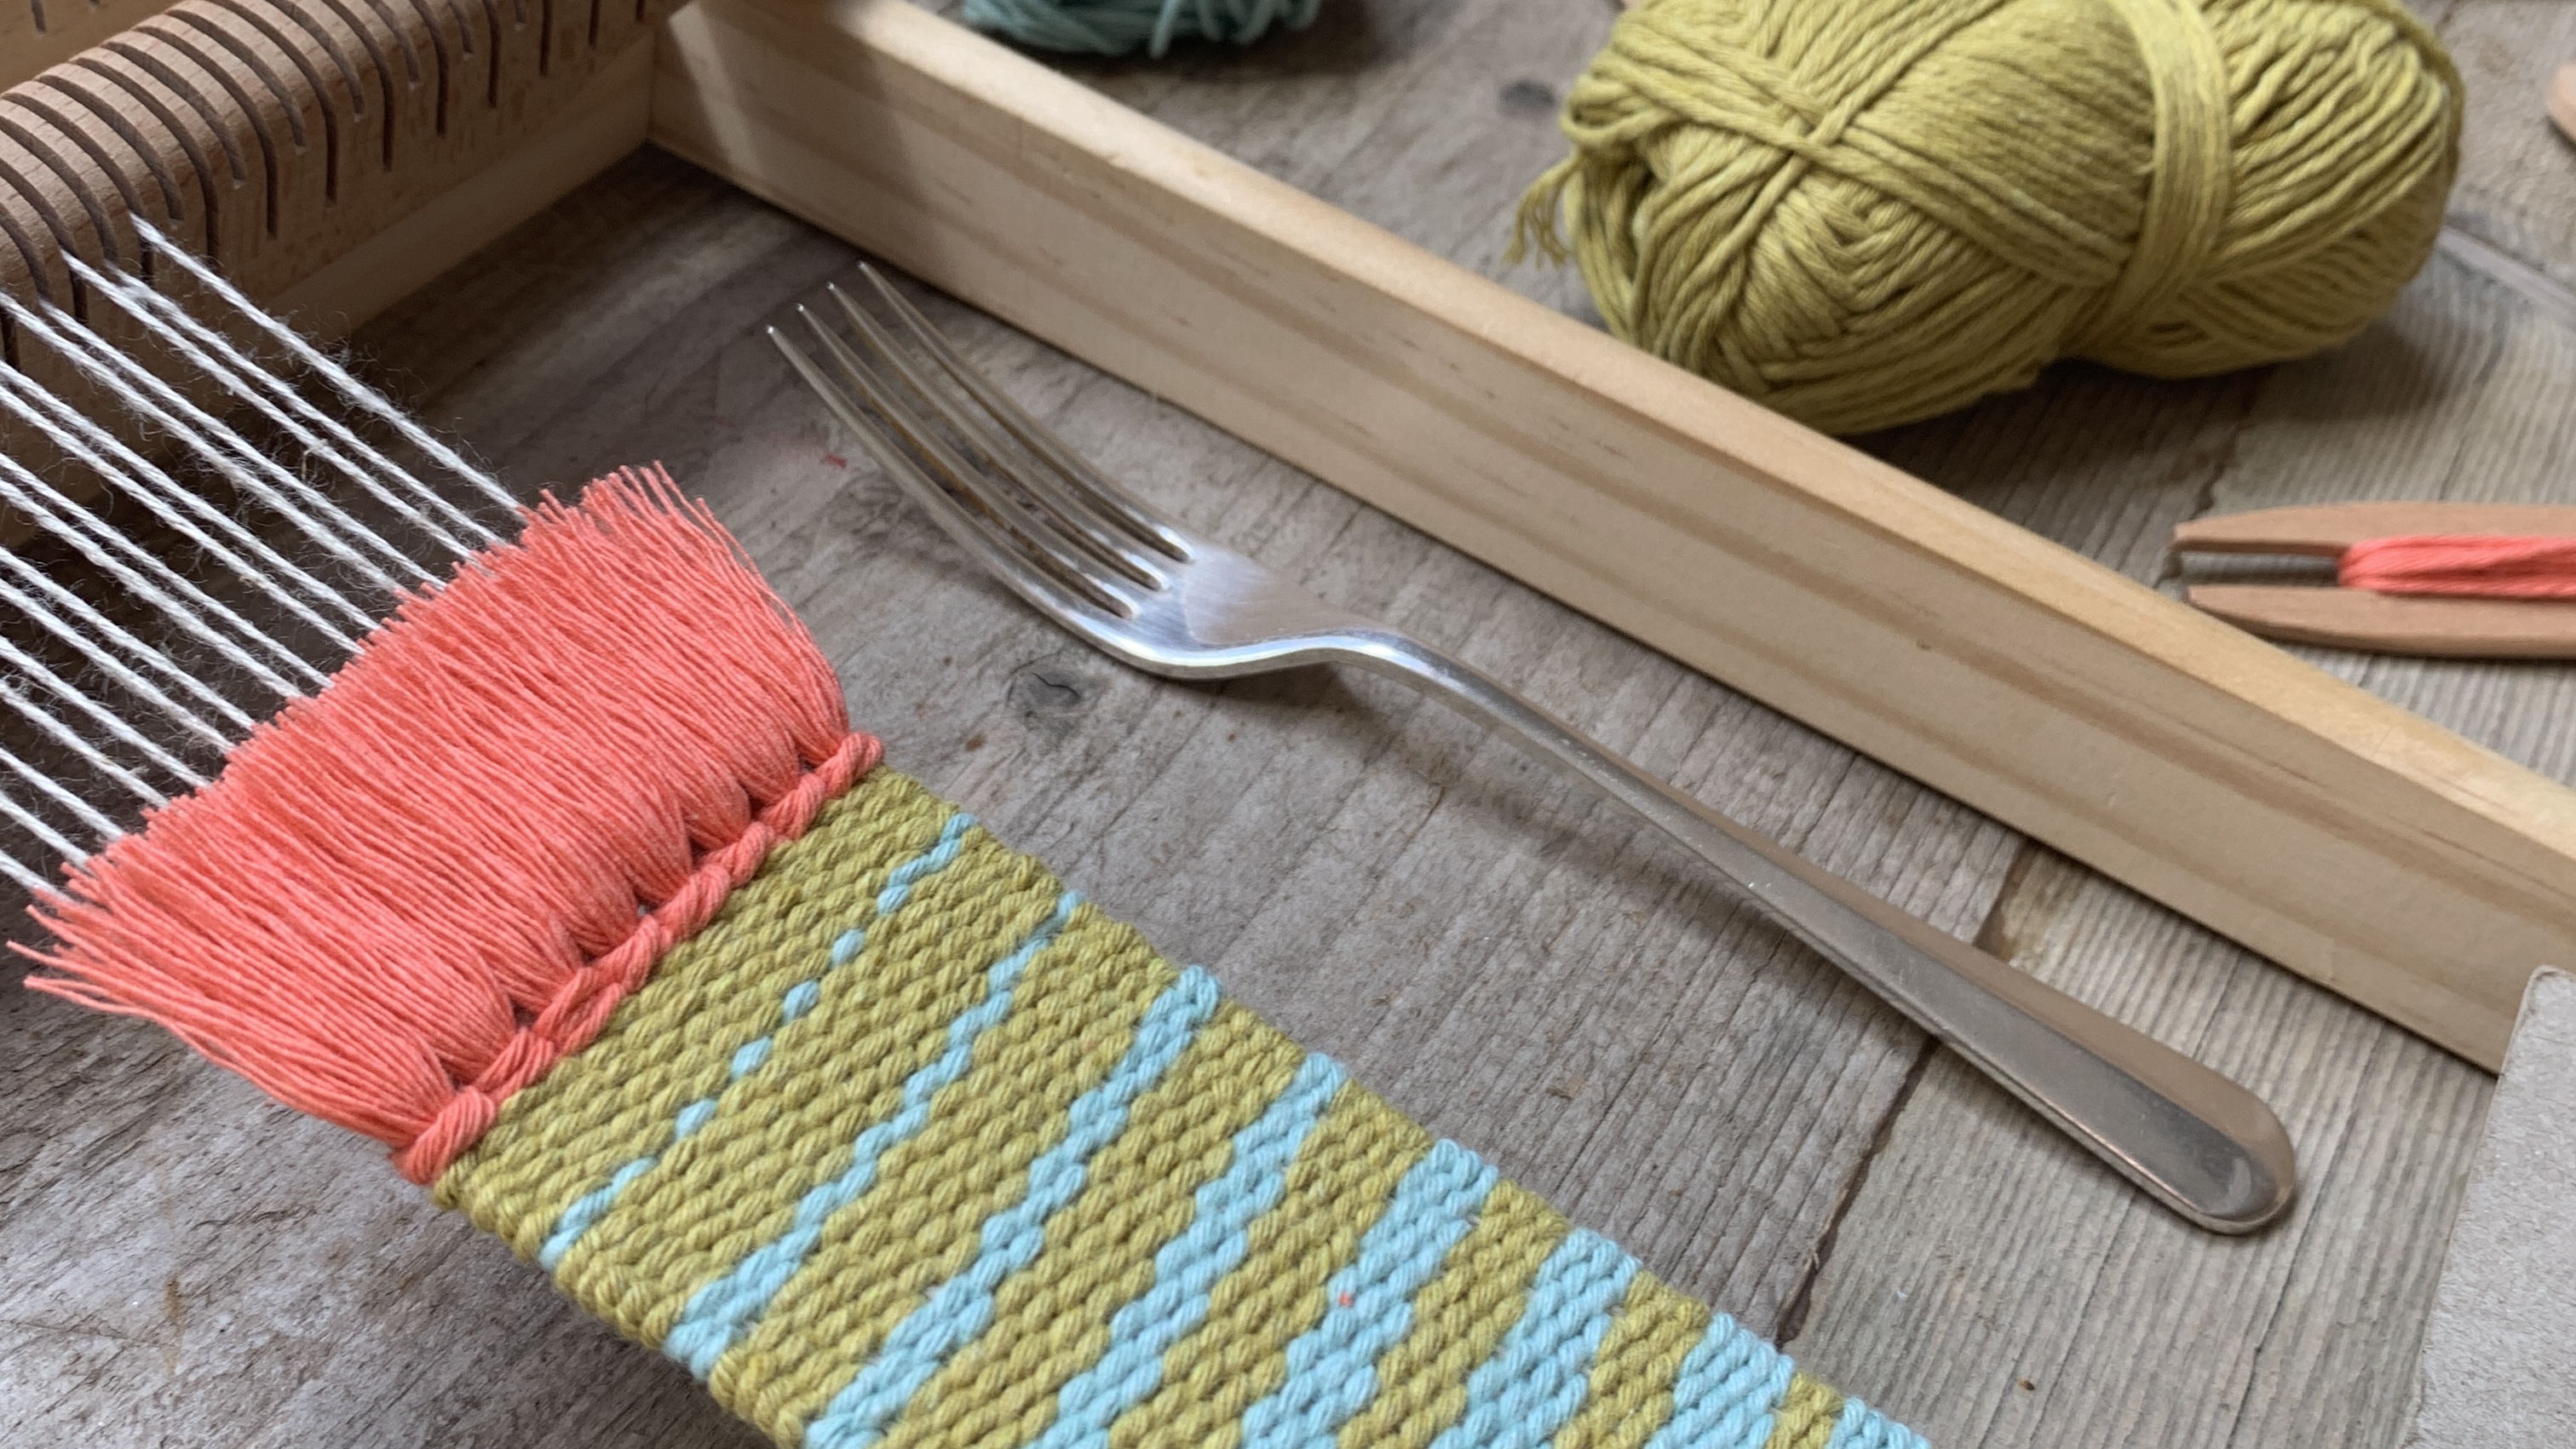
Introduction to Frame Loom Weaving - A Beginners Guide
By Elka
'An Introduction to Frame Loom Weaving' is a self-paced online course which will teach you everything you need to know to get set up and weaving from the comfort of your home. The course will guide you through materials and equipment, how to set up your loom for weaving, basic weaving techniques including techniques for creating texture, finishing and trouble shooting. On enrolment you gain lifetime access to the course.