- Professional Development
- Medicine & Nursing
- Arts & Crafts
- Health & Wellbeing
- Personal Development
985 Animation courses in Nottingham delivered Online
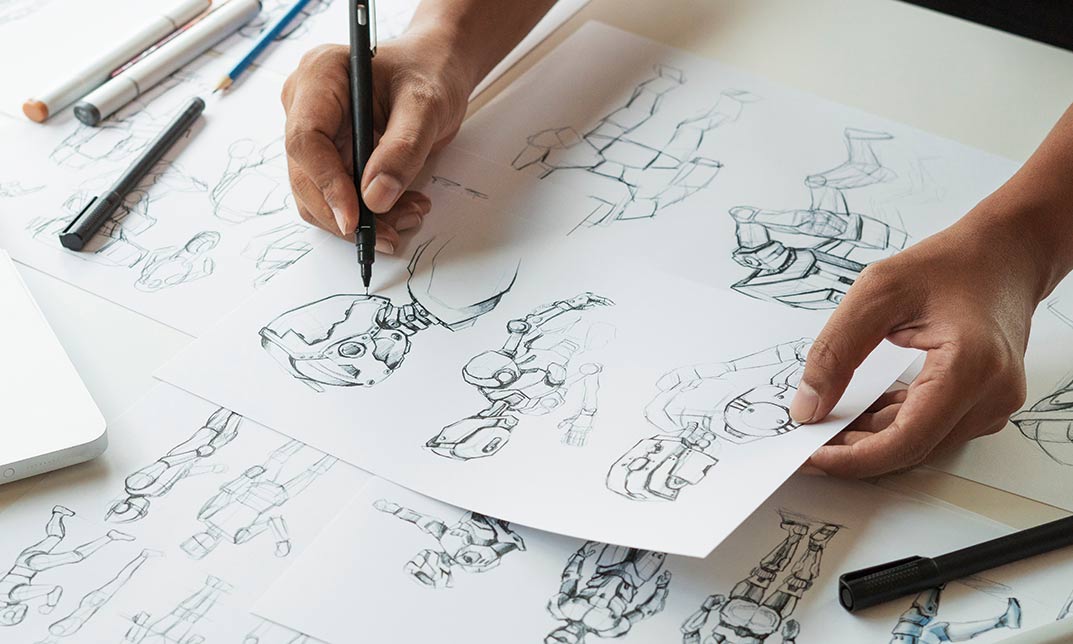
Cartoon Baby Animal in 3D
By Course Cloud
Course Overview Learn how to make an appealing character online by crafting a model in simple steps with this course for creating a Cartoon Baby Animal in 3D. Taking the process in easy stages, you will be shown how to conjure up a cute fictional creature in the digital universe, resulting in a figure that will impress others with its quality and detail. By taking this tailored 3D Modelling coaching, you will quickly learn the necessary skills needed to make an effective figure. From the first conception to sketching designs and then posing the pixels, everything is here to help you become a 3d cartoonist with a cool creation that others will love. Use your attained skills to sculpt many other models, using them for a wide variety of projects and additions to your portfolio. This best selling Cartoon Baby Animal in 3D has been developed by industry professionals and has already been completed by hundreds of satisfied students. This in-depth Cartoon Baby Animal in 3D is suitable for anyone who wants to build their professional skill set and improve their expert knowledge. The Cartoon Baby Animal in 3D is CPD-accredited, so you can be confident you're completing a quality training course will boost your CV and enhance your career potential. The Cartoon Baby Animal in 3D is made up of several information-packed modules which break down each topic into bite-sized chunks to ensure you understand and retain everything you learn. After successfully completing the Cartoon Baby Animal in 3D, you will be awarded a certificate of completion as proof of your new skills. If you are looking to pursue a new career and want to build your professional skills to excel in your chosen field, the certificate of completion from the Cartoon Baby Animal in 3D will help you stand out from the crowd. You can also validate your certification on our website. We know that you are busy and that time is precious, so we have designed the Cartoon Baby Animal in 3D to be completed at your own pace, whether that's part-time or full-time. Get full course access upon registration and access the course materials from anywhere in the world, at any time, from any internet-enabled device. Our experienced tutors are here to support you through the entire learning process and answer any queries you may have via email.
Level 2 Diploma in Blender 3D - Create a Cartoon Character (QLS Endorsed)
By Kingston Open College
QLS Endorsed + CPD QS Accredited - Dual Certification | Instant Access | 24/7 Tutor Support | All-Inclusive Cost
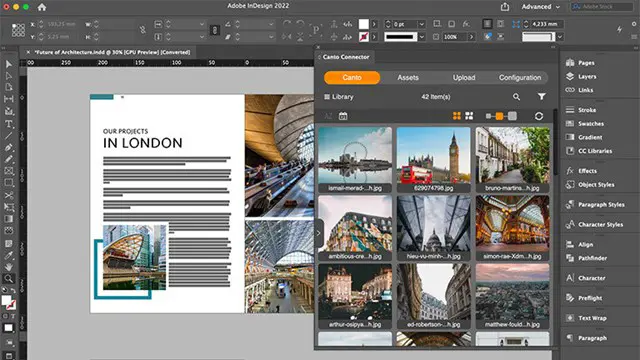
Vray for Architects and Interior Designers 3ds max or Sketchup Training
By London Design Training Courses
Why Choose Vray for Architects and Interior Designers 3ds max or Sketchup Training Course? Click here for info Achieve stunningly realistic renders with our tailored course in V-Ray. Designed for experienced SketchUp and 3ds max users, this advanced training covers model preparation and rendering techniques, customized to your skill level and preferences. Duration: 10 hrs. Method: 1-on-1, Personalized attention. Schedule: Tailor your own hours of your choice, available from Mon to Sat between 9 am and 7 pm. SketchUp is renowned for its user-friendly interface and widespread usage in 3D modeling. Now, with V-Ray for SketchUp, users can take advantage of a powerful rendering tool for unparalleled visualization quality and realism. V-Ray seamlessly integrates into the SketchUp environment, allowing for efficient rendering within your existing workflows. Our course is ideal for those seeking to enhance their SketchUp proficiency by incorporating V-Ray's potent rendering capabilities for 3D models. We adapt the training to your current skill levels in both SketchUp and V-Ray and tailor the content to your modeling requirements and desired rendering quality. V-Ray Rendering Training Course. Course Duration: 10 hours Course Description: This 10-hour course enhances rendering skills with V-Ray, a leading 3D visualization engine. Participants master photorealistic renders, focusing on lighting, materials, and post-production. Covering key concepts, workflow, lighting techniques, material creation, rendering settings, and post-processing, the course ensures stunning visual results. Course Outline: Module 1: Introduction to V-Ray Rendering (1 hour) Overview of V-Ray and its role in 3D rendering Understanding the rendering workflow Setting up V-Ray for your 3D software platform Module 2: Essential Rendering Concepts (1 hour) Understanding global illumination and its impact on renders Exploring image sampling and antialiasing techniques Introduction to render elements for post-processing Module 3: Lighting Techniques (2 hours) Mastering various lighting types in V-Ray Creating natural lighting with HDRI maps Implementing artificial lighting with V-Ray lights Achieving realistic daylight with V-Ray sun and sky Module 4: Material Creation (2 hours) Creating realistic materials using V-Ray material editor Applying textures and procedural maps for added realism Understanding material reflections and refractions Advanced techniques for materials like glass, metal, and fabric Module 5: Rendering Settings and Optimization (1.5 hours) Exploring V-Ray rendering settings for different scenarios Understanding render output options and resolution settings Efficiently using V-Ray distributed rendering for faster results Module 6: Post-Processing with Photoshop (1.5 hours) Enhancing renders through post-processing techniques Compositing render elements for added control Adjusting colors, contrast, and lighting in Photoshop Adding effects and final touches to achieve photorealism Module 7: Advanced Rendering Techniques (1 hour) Working with V-Ray proxies and instancing for complex scenes Utilizing V-Ray displacement for intricate detailing Understanding depth of field and motion blur effects Module 8: Real-World Project (1 hour) Applying the skills learned to complete a real-world rendering project Guidance and feedback from the instructor
CanvaCraft: Mastering Design and Branding
By Compete High
ð¨ Unleash Your Creative Genius with CanvaCraft: Mastering Design and Branding! ð Are you ready to elevate your design game and create eye-catching visuals that captivate your audience? Introducing CanvaCraft, the ultimate online course that will empower you to master the art of design and branding using the powerful tools of Canva. ð What You'll Learn: ⨠Design Fundamentals: Lay a solid foundation by understanding the principles of design, color theory, and composition. ⨠Canva Mastery: Navigate Canva like a pro! Unlock the full potential of this versatile tool to bring your creative visions to life effortlessly. ⨠Branding Magic: Learn the secrets of building a strong and memorable brand. From logos to color palettes, discover how to create a consistent and cohesive brand identity. ð¥ Course Highlights: ð Interactive Modules: Dive into engaging lessons that combine theory with hands-on practice, ensuring you apply what you learn immediately. ð Real-world Examples: Explore case studies of successful brands and campaigns to understand what works and why. ð Live Q&A Sessions: Get your burning questions answered by industry experts during live Q&A sessions. ð Who Is This Course For? Whether you're a budding entrepreneur, a marketing professional, or someone looking to enhance their creative skills, CanvaCraft is designed for you! No prior design experience needed-just bring your passion and eagerness to learn. ð Enroll Now and Get Exclusive Bonuses: ð Custom Canva Templates: Gain access to professionally designed templates that you can customize for your own projects. ð Private Community Access: Join a supportive community of fellow learners, share your work, and receive feedback from experts. ð¡ Transform your creative journey with CanvaCraft and watch your designs come to life! Don't miss out-enroll now and take the first step toward becoming a design and branding maestro. ð¨ Unleash Your Creative Potential with CanvaCraft! ð Course Curriculum Basic Overview 00:00 Pricing 00:00 Mobile Application 00:00 Profile and Settings 00:00 Brand Kit - Upgrade 00:00 Inviting Team Members 00:00 Template Designs 00:00 Designing From Scratch 00:00 Sharing Content 00:00 Editing Designs - Elements 00:00 Element Menu and Text Elements 00:00 Background 00:00 Upload Your Content 00:00 Editing Designs - Other Content 00:00 Content Output - Download 00:00 Content Output - Presentations 00:00 Output Direct to Social Media 00:00 Output Direct to PowerPoint 00:00 Output Direct To Website 00:00 Conclusion 00:00 Advanced Overview 00:00 Output to Business Cards 00:00 Output to Posters 00:00 Output To Flyer 00:00 Output to Postcards 00:00 Output to Invitations 00:00 Canva for Work Trial 00:00 Canva For Work Resize 00:00 Canva For Work - Brand Kit 00:00 Canva For Work - Animation 00:00 Canva For Work Images Accesss 00:00 Canva For Work - Folders and Storage 00:00 Canva For Work - Transparent Background 00:00 Canva For Work - Special Fonts 00:00 Live Example - Pinterest Pin 00:00 Live Example - Business Card 00:00 Live Example - Facebook Event Cover 00:00 Live Example - Instagram Post 00:00 Live Example - YouTube Thumbnail 00:00 Conclusion 00:00

‘The Writing Journey’ at the David Hall Arts Centre, TA13 5AA
By Rachel Godfrey
Taking the twelve stages of Joseph Campbell's 'Hero's Journey' structure as a loose framework, this course offers the chance to write about themes such as risk, desire for change, resistance to change, travel, and encounters with others through a variety of prompts. There are opportunities to share your work, but no obligation.

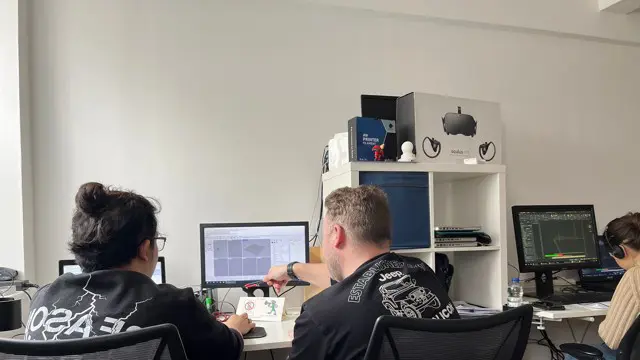
AUTOCAD Training for Both MAC and PC Users
By Real Animation Works
Face to Face Training Customised and Bespoke.
Adobe Photoshop Training course One to One Weekends
By Real Animation Works
Photoshop pay per hr training flexible time weekend evening
Rhino Introduction to Intermediate Training Course
By ATL Autocad Training London
Why Choose Rhino Introduction to Intermediate Training Course? Learn: 3D NURBS models. Master: Surfacing modeling. Interface: Rhino's navigation. Rendering Skills: Enhance presentations with Rhino renderings. Check our Website Flexible Scheduling: 1-on-1 training sessions according to your convenience. Choose any hour between 9 a.m. and 7 p.m., Mon to Sat. You can call us at 02077202581 to book over the phone. Duration: 10 hours. Methods: Personalized training either in-person, or live online. Introduction and Navigation Become acquainted with Rhino's interface, menus, and screen layout. Efficiently traverse through Rhino models, ensuring precision in 2D lines, polylines, and NURBS curves. Utilize modeling setup features, incorporating constraints like snap, ortho, and planar for accuracy. Leverage object snaps and Smart Track functionality to enhance precision. Solid and Surface Modeling Develop rapid 3D solids and surfaces, employing Rhino's organized layering system. Utilize coordinates and constraints for meticulous modeling, exploring 3D space and elevations. Create diverse shapes, such as rectangles, circles, arcs, ellipses, and polygon curves. Elevate models with Rhino render and render color, incorporating free-form curves, helix, and spiral curves. Efficiently handle model views with pan, zoom, and view management tools. Implement various editing commands for curve manipulation and transform curves into surfaces and solids. Utilize history tracking for advanced editing and execute general editing actions: move, copy, rotate, mirror, and scale. Create arrays with both polar and rectangular arrangements and employ boolean operations like union, difference, and intersection. Offset curves and surfaces effectively, ensuring meticulous detailing. Intermediate Edit and Surfacing Introduce key NURBS modeling concepts and terminologies. Edit curves and surfaces via control point manipulation and rebuild them for optimal refinement. Employ the nudge modeling aid for precise adjustments and generate deformable shapes. Create curves through projection techniques and split surfaces using curves and surfaces. Blend surfaces seamlessly, utilizing symmetry tools, lighting, and rendering effects. Convert intricate 3D objects into detailed 2D drawings, expertly crafting page layouts. Advanced Surfacing and Solid Modeling Construct model primitives and solid text, employing techniques such as pipe and extrusion. Modify solids efficiently using Boolean tools, expanding your surface modeling capabilities. Employ techniques like extrusion, lofting, and revolving for intricate surfaces. Create sweeps using 1 and 2 rail curves, mastering surface network techniques for complex shapes. Upon completion, you will: Master Rhino Tools: Navigate interfaces, utilize advanced tools for precise modeling, and employ features like object snaps and Smart Track. Expert Solid and Surface Modeling: Develop intricate 3D solids and surfaces, create diverse shapes, and use Rhino render effectively. Advanced Editing Skills: Apply intermediate and advanced editing techniques, including symmetry tools and realistic rendering. Precision Modeling: Utilize coordinates, constraints, and advanced aids for accurate detailing and problem-solving. Professional Project Execution: Create high-quality renderings, 2D drawings, and polished 3D models for real-world design scenarios. Upon completion, you'll be adept at 3D modeling, product design, and architecture, positioning you as a valuable asset in the design industry. Why Choose Our Rhino Courses? Rhino, also known as Rhinoceros, stands as a robust 3D computer graphics and computer-aided design software, utilized extensively in domains like architecture, industrial design, and multimedia. Our Rhino courses are meticulously crafted to empower you in mastering this software. Led by seasoned instructors, our courses provide a comprehensive understanding of Rhino, enabling you to create exceptional designs. Rhino 3D Training: Our Rhino 3D training caters to beginners and those seeking advanced techniques. Course Highlights: Precise 3D Modeling: Master free-form 3D NURBS models with precision. Advanced Functionality: Explore Rhino's features, including advanced surfacing commands. User Interface Mastery: Navigate Rhino's interface and hone skills in curves, surfaces, and solids. Expert Guidance: Acquire expertise in Rhino's modeling environment under expert guidance. Modeling Techniques: Learn free-form and precision modeling techniques. Modeling Aids: Utilize tools for accurate modeling and create basic Rhino renderings. Benefits of our Courses: Expert Guidance: Receive instruction from experienced architects and designers, providing practical, real-world insights for comprehensive learning. Comprehensive Resources: Access bespoke video tutorials for additional learning and reference, enhancing your understanding of the course materials. Digital Reference Material: Receive a digital reference book to support your revision efforts, providing a comprehensive resource for your studies. Ongoing Support: Enjoy free after-support through phone or email even after course completion, ensuring continuous assistance and guidance. Tailored Learning Experience: Customize your learning journey by adapting the syllabus and projects to align with your specific needs and interests, fostering a personalized educational experience. Certificate: Upon completion, earn a certificate from us, validating your achievement and recognizing your expertise in the field.
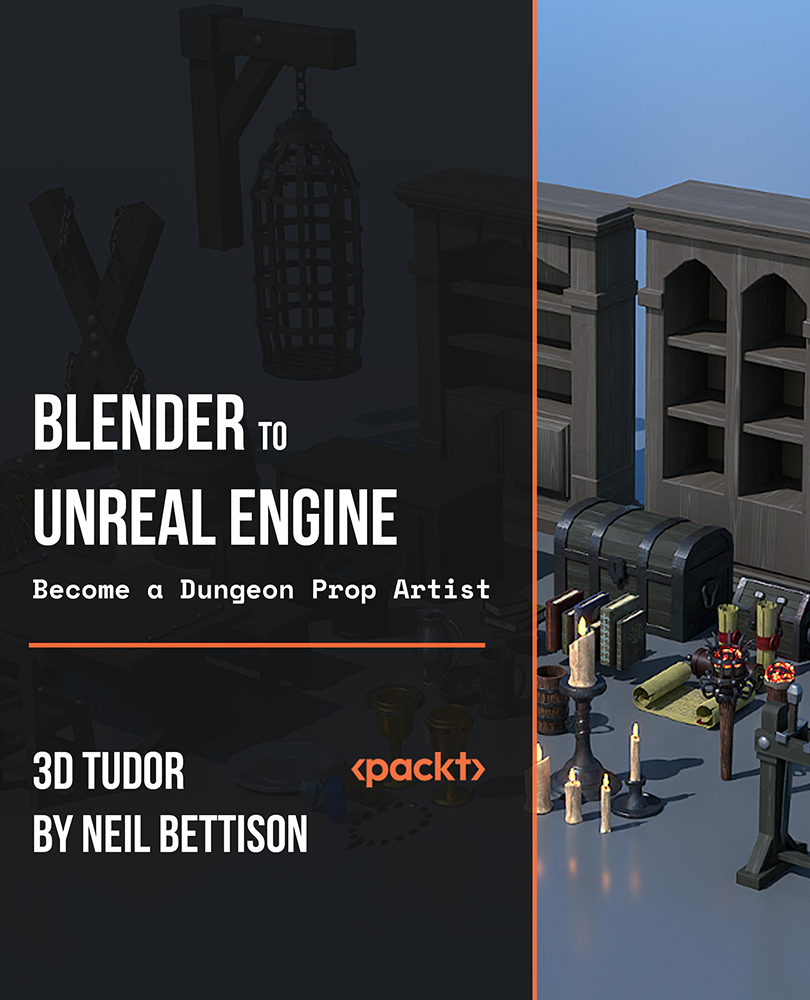
Blender to Unreal Engine - Become a Dungeon Prop Artist
By Packt
Join this course to take your 3D modeling skills up a notch! Graduate to the next level of game design by learning all about the Blender to Unreal Engine 5 (UE5) professional workflow for medieval dungeon props. You will learn how to build assets in Blender and then how to import them into Unreal Engine 5 for your project.
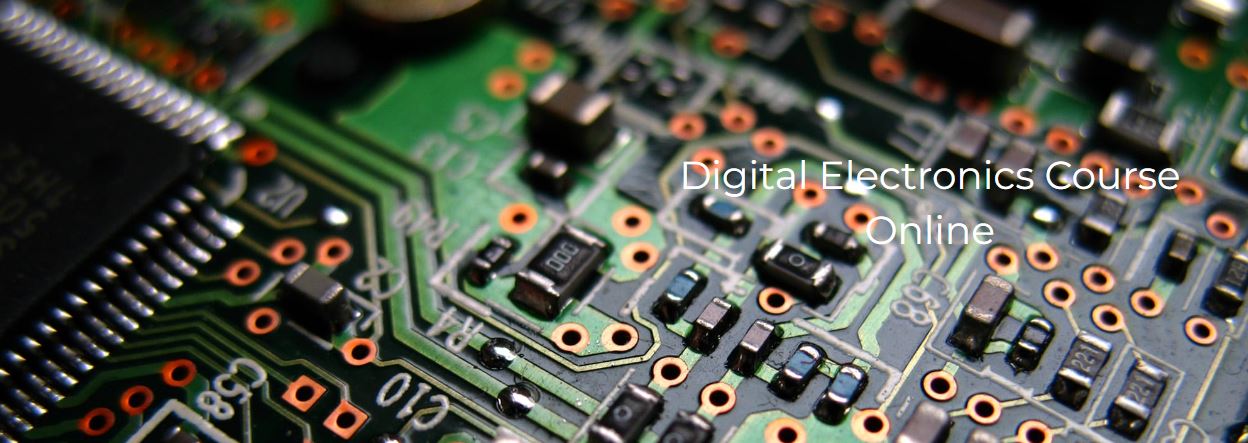
Digital Electronics
By Hi-Tech Training
The course will be delivered through 9 online virtual classroom sessions. The 10th and last session will involve the additional practical work for the course as well as the written examination (multiple choice for City & Guilds and written for Hi-Tech Training) which will take place at our training centre at 43 North Great Georges Street, Dublin 1 (completed online for non ROI learners). During the virtual classroom sessions, trainees will have a live video feed with their instructor talking to them, doing practical live demonstrations on equipment being involved actively in the learning. We will send out a practical kit so that trainees can complete assignments and practical work at home. The kit is the property of Hi-Tech Training and will be returned to Hi-Tech Training on the last day of the course. (The kits may also be purchased by the learner….see the Kits Page Link for more details). The kit consists of power supply unit breadboard, multimeter, cables, The kit consists of breadboard, multimeter, oscilloscope, battery and connectors, components including resistors, LEDs and ICs (AND, NAND, OR, NOR, X-OR, X-NOR, Inverter, Buffer, Latches, Flip-Flops, Timers, etc). Trainees will build various projects as part of the course. The kit forms an integral part of the course, so full course fees need to be paid at least 7 days prior to course commencement to allow time to ship the kit in time for the course.