- Professional Development
- Medicine & Nursing
- Arts & Crafts
- Health & Wellbeing
- Personal Development
101 3D Rendering courses
Sketchup Basic to Advance Training
By London Design Training Courses
Why Learn Sketchup Basic to Advance Training Course? Course info SketchUp mastery with our hands-on course go from basics to advanced 3D modeling, advanced rendering, and expert lighting techniques. Immerse yourself in transformative learning tailored for SketchUp excellence. Duration: 16 hrs. Method: 1-on-1 Online Over Zoom is also available. Schedule: Tailor your own schedule by pre-booking a convenient hour of your choice, available from Mon to Sat between 9 am and 7 pm. Course Benefits: Comprehensive Skills Development: Master SketchUp from basics to advanced, gaining a comprehensive skill set. Efficient 3D Modeling: Learn to navigate and create intricate designs effortlessly with AI-driven 3D modeling techniques. Stunning Visual Realism: Explore advanced rendering methods to bring your designs to life with stunning visual realism. Professional Lighting Mastery: Harness the power of lighting to add depth and dimension, achieving a polished and professional finish. Flexible Learning: Tailor your own schedule with the convenience of pre-booking hours between 9 am and 7 pm, Monday to Saturday. Personalized 1-on-1 Training: Receive personalized attention and guidance with our 1-on-1 training approach. Course Title: "Sketchup Basic to Advance Training Course" Module 1: SketchUp Fundamentals (4 hours) Explore the SketchUp Interface Learn Basic Drawing Tools and Techniques Create and Edit Components Utilize Groups and Layers for Organization Introduction to Scenes and Animation Module 2: Advanced SketchUp Techniques (4 hours) Precision Modeling with Measurements Dynamic Components and Interactivity Advanced 3D Modeling Techniques Importing and Managing 3D Assets Enhance Functionality with SketchUp Extensions Module 3: V-Ray Rendering Basics (4 hours) Navigate the V-Ray Interface Set up V-Ray Materials Master Basic Lighting Techniques Understand Camera Settings and Composition Optimize Rendering Settings and Output Module 4: Advanced V-Ray Rendering (4 hours) Global Illumination and Image-based Lighting Realistic Material Creation Post-Processing using V-Ray Frame Buffer Efficient Scene Management with V-Ray Proxy Rendering Animation Sequences Course Project (2 hours) Integrate SketchUp and V-Ray for a Final Project Receive Guidance on Creating Photorealistic Renderings Participate in a Review and Feedback Session Upon completing the SketchUp Basic to Advance Training Course, participants will: Master SketchUp Basics: Navigate the interface, use drawing tools, and manage components effectively. Advance 3D Modeling: Apply precision modeling, dynamic components, and advanced techniques. Explore Extensions: Enhance functionality with SketchUp extensions. V-Ray Rendering Introduction: Learn V-Ray basics, including materials, lighting, and rendering settings. Advanced V-Ray Techniques: Implement global illumination, realistic materials, post-processing, and animation. Course Project Proficiency: Integrate SketchUp and V-Ray for a final project with photorealistic renderings.
3ds max and Arnold Rendering one to one.
By Real Animation Works
Realistic rendering course with 3ds max and Arnold.

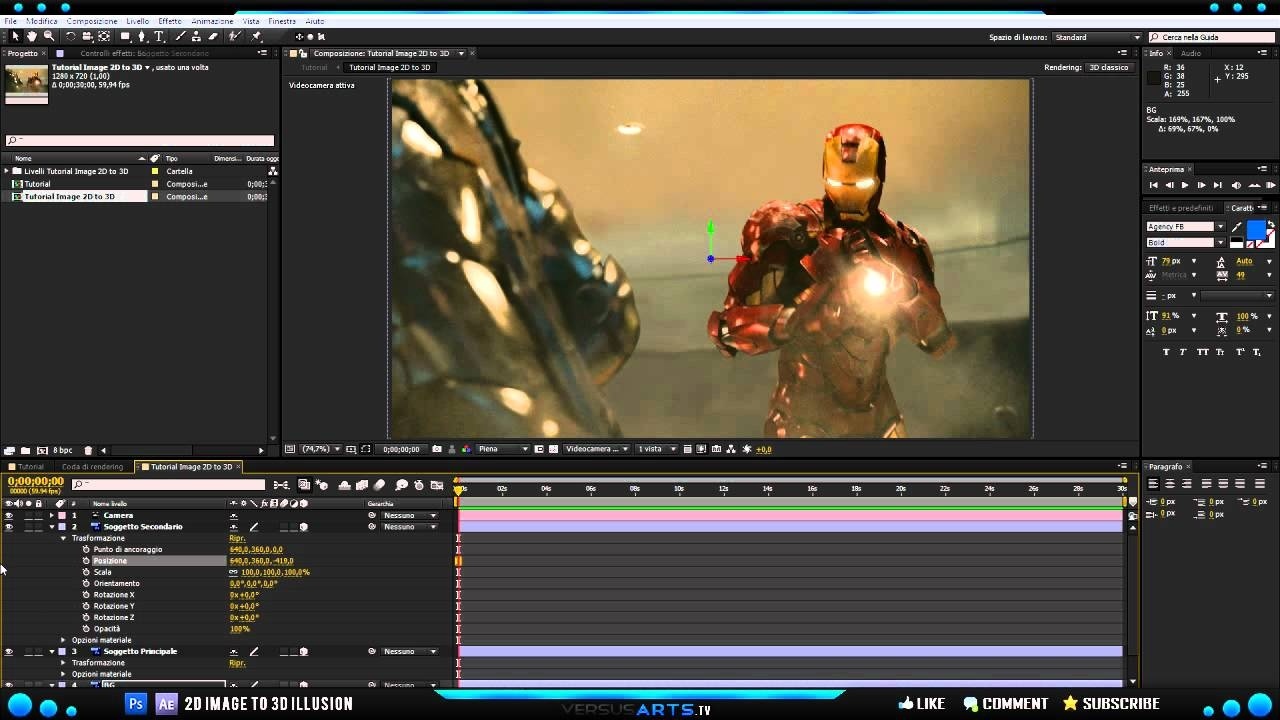
3ds max and After Effects Training Course (Live Online Only)
By London Design Training Courses
Why choose 3ds max and After Effects Training Course (Live Online Only)? Join our personalized "3ds Max and After Effects Training Course (Live Online Only)" for a focused learning experience. Develop expertise in production environments, 3D modeling, texturing, lighting, animations, VFX and cinematography. Check Our Website Duration: 10 hrs Method: 1-on-1, Personalized attention. Schedule: Tailor your own hours of your choice, available from Mon to Sat between 9 am and 7 pm. 3ds Max and After Effects Motion Graphics Course Duration: 10 hours Course Outline: Introduction to 3ds Max Familiarize yourself with the 3ds Max interface Create 3D objects and scenes Learn about cameras, lighting, materials, and textures Basic Animation Principles in 3ds Max Understand keyframes and interpolation Create animation cycles for 3D objects Apply animation principles using the graph editor Advanced Animation Techniques in 3ds Max Master custom controllers and expressions Animate with inverse kinematics Create dynamic particle systems and simulations Exporting 3D Scenes to After Effects Prepare 3D scenes for export Import 3D scenes into After Effects Explore 3D layer properties Basic Compositing in After Effects Navigate the After Effects interface Use keyframes and animation curves Compositing 2D and 3D elements Apply effects and filters Advanced Compositing Techniques in After Effects Harness masks and mattes for precision Utilize 3D camera tracking Work with green screen footage Create stunning special effects Integrating 3D and Live-Action Footage in After Effects Match camera angles and movement Incorporate 3D camera data into After Effects Add shadows and reflections for realism Rendering and Outputting Animations Render 3D scenes from 3ds Max Utilize the After Effects render queue Output animations for different formats Motion Graphics Projects Create a basic motion graphics sequence Design an animated logo Craft an engaging animated title sequence Course Requirements: Computer with 3ds Max and After Effects installed Basic knowledge of computer operations Passion for motion graphics
Arnold for 3dsMax Basic to Advanced Training
By London Design Training Courses
Training duration: 10 hrs. Click here for more info Method: 1-2-1, Personalized attention, Tailored content, Flexible pace, Individual support. Schedule: Personalized training experience with our flexible 1-2-1 sessions. Tailor your own schedule by pre-booking a convenient hour of your choice, available from Monday to Saturday between 9 am and 7 pm. Learn Arnold for 3ds Max and make breath-taking renders with our comprehensive training course. Led by certified tutors and industry experts, you'll master the basics to advanced techniques of creating stunning visual effects and lifelike renderings. Course Duration: 10 hours Course Outline: Session 1: Introduction to Arnold Renderer (1 hour) Unveiling Arnold Renderer's features and capabilities Understanding the benefits of Arnold in 3ds Max Setting up Arnold renderer and exploring its interface Mastering the workflow for exceptional results Session 2: Basic Arnold Shading (1 hour) Navigating the Arnold shading network Creating essential materials with Arnold shaders Working with diverse shader types (standard, Lambert, etc.) Elevating visuals with maps and textures in Arnold's materials Session 3: Arnold Lighting Techniques (1.5 hours) Embracing the art of lighting with Arnold Lights Implementing various light types (area lights, spotlights, etc.) Creating ambiance with Arnold skydome and environment lighting Illuminating scenes using physical sky and image-based lighting Session 4: Arnold Cameras and Rendering Settings (1.5 hours) Mastering Arnold cameras and their settings Achieving depth of field and motion blur effects in Arnold Configuring optimal rendering settings for superior results Fine-tuning rendering with the Arnold Render Setup dialog Session 5: Advanced Arnold Shading (1.5 hours) Creating intricate materials with advanced Arnold shaders Realistic surfaces with Arnold's procedural textures Harnessing the power of advanced shading nodes (bump, displacement, etc.) Unleashing specialized effects with Arnold shaders (subsurface scattering, hair, etc.) Session 6: Arnold Rendering Optimization (1 hour) Streamlining rendering settings for enhanced efficiency Leveraging Arnold features like adaptive sampling and denoising Noise reduction techniques for smoother Arnold renders Troubleshooting common rendering issues and their solutions Session 7: Advanced Lighting Techniques (1 hour) Crafting lifelike lighting setups with Arnold's prowess Exploring advanced lighting properties (exposure, color temperature, etc.) Enhancing lighting with Arnold light filters and modifiers Implementing captivating effects like volumetric lighting and caustics Session 8: Arnold AOVs and Compositing (1 hour) Understanding Arnold AOVs (Arbitrary Output Variables) Configuring and rendering AOVs for post-production control Compositing AOVs for artistic adjustments in post-production Leveraging AOVs for fine-tuning the final image Session 9: Arnold for Animation and Motion Graphics (1 hour) Integrating Arnold seamlessly into animation and motion graphics projects Rendering animation sequences with finesse Managing motion blur and time-based effects with Arnold Unveiling Arnold's potential for particle rendering and dynamic effects Session 10: Arnold Tips, Tricks, and Best Practices (1 hour) Exploring advanced techniques and workflows for exceptional results Optimizing scene setup for enhanced rendering performance Troubleshooting tips for common issues and errors in Arnold Q&A session and final review to consolidate knowledge
Autodesk Maya Evening Training
By London Design Training Courses
Training duration: 10 hrs Click here for info Method: 1-2-1, Personalized attention, Tailored content, Flexible pace, Individual support. Schedule: Personalized training experience with our flexible 1-2-1 sessions. Tailor your own schedule by pre-booking a convenient hour of your choice, available from Monday to Saturday between 9 am and 7 pm. Autodesk Maya Training Course with our flexible evening training course. Designed to accommodate busy schedules, this course allows you to learn Maya at your convenience, either in-person or through live online sessions. Master essential features and workflows to create captivating 3D models, animations, and visual effects. Benefit from expert guidance, hands-on projects, and lifetime email support, ensuring a rewarding learning experience. Enroll now to ignite your creativity and open doors to exciting opportunities in the animation and visual effects industry. The Autodesk Maya Evening Training Course offers a flexible learning option for busy professionals and students with daytime commitments. Master the powerful tools and capabilities of Autodesk Maya during convenient evening sessions. Participants will receive comprehensive training in 3D modeling, materials, animation, lighting, and rendering. The course progresses to advanced topics, including dynamics, character rigging, shading, and compositing. Enroll in this course to develop valuable skills in 3D computer graphics and animation. Benefit from interactive learning experiences and expert guidance, whether attending in-person or joining live online sessions. Maya Evening Training Courses Duration: 10 hours Course Outline: I. Introduction to Maya (1 hour) Gain insights into Maya's versatile applications and interface. Master navigation and project management. II. Creating 3D Models (2 hours) Learn polygon modeling basics and refine objects with precision. III. Texturing and Materials (1 hour) Apply and customize materials for enhanced visuals. IV. Lighting and Rendering (1.5 hours) Explore lighting techniques and rendering. V. Animation (2.5 hours) Understand animation principles and rig characters. VI. Special Effects (1 hour) Harness particle systems and create captivating effects. VII. Intermediate Modeling Techniques (1 hour) Venture into NURBS modeling and sculpting tools. VIII. Conclusion and Next Steps (0.5 hour) Recap and explore further learning resources. Autodesk Maya Evening Training Course Topics Covered: Modeling, Texturing, Animation, Lighting, Rendering, and more. Download Autodesk Maya! Create expansive worlds, characters, and effects. Subscribe now for a year and start your 3D model and animation journey. Visit https://www.autodesk.co.uk/maya for a free trial. Upon completing the Autodesk Maya Evening Training Course, participants will gain proficiency in 3D modeling, texturing, animation, lighting, and rendering using Autodesk Maya. They will acquire the skills to create captivating visuals and animations, opening up opportunities in diverse industries such as entertainment, gaming, and architectural visualization. The flexible evening schedule allows for convenient learning, accommodating busy professionals and students.

3ds Max Basics Training
By London Design Training Courses
Why Choose 3ds Max Basics Training Course? Click for more info What am I going to get from this course? Create your own models in 3ds Max; Use built in poly modelling tools to create basic 3D objects. Learn everything you need about 3ds Max with this guide, from the basics of modelling and animation to more advanced steps. Duration: 10 hrs Method: 1-on-1, Personalized attention. Schedule: Tailor your own schedule by pre-booking a convenient hour of your choice, available from Mon to Sat between 9 am and 7 pm. 3ds Max Basic Training Course: Course Name: 3ds Max Basics Training Course. Core Skills for 3D Modeling, Rendering, Animations, and Games. Target Audience: Beginners and new users from diverse industries, including architects, interior designers, engineers, game developers, artists, and animators.Course Outline: 3D Modeling and Animation with 3ds MaxI. Introduction to 3ds Max- Course overview and objectives - Navigating the user interface - Basic settings and preferencesII. Creating 3D Objects- Building simple shapes with primitive objects - Craft complex designs using Editable Poly - Enhancing objects with modifiers - Applying materials and textures for realistic effectsIII. Lighting Techniques- Illuminating scenes with different light sources - Exploring various types of lighting - Adjusting light properties for desired effects - Casting shadows to enhance realismIV. Camera Control- Creating and configuring camera views - Fine-tuning camera settings for optimal shots - Animating cameras for dynamic scenesV. Animation Fundamentals- Mastering keyframe animation techniques - Utilizing the time slider and track view - Animating object transformations - Adding movement to materials and texturesVI. Rendering Process- Configuring render settings for high-quality output - Selecting appropriate output formats - Streamlining rendering with batch processing - Enhancing final renders with post-processing effectsVII. Project-Based Learning- Applying acquired skills to complete a final project - Exercising creativity and problem-solving abilities - Integrating modeling, animation, lighting, and rendering into the projectIn-Depth Course Outline:1. Modeling- Edit Poly Modeling: Extrude, Chamfer, Cut, and Slices - Symmetry Mirror Modeling - Designing a Table and Chair - Creating a Basic House Model - Working with Lines and Shapes - Importing Plans from AutoCAD/Vectorworks - Crafting Interior Spaces - Adding Doors, Windows, Railings, and Trees - Implementing Stairs2. Modifiers- Exploring Compound Objects - Utilizing Connect, Scatter, Pro Boolean, Loft, and Terrain Modifiers - Manipulating Bend, Taper, Twist, Stretch, Skew, FFD, Wave, Ripple, and Lattice - Employing the Lathe Modifier for Curved Objects3. 3ds Max Basic Lights- Mastering Omni, Spot, and Direct Lights for Illumination4. 3ds Max Camera- Understanding Free and Target Cameras for Optimal Shots5. Texturing and Rendering- Applying Diffuse and Bump Mapping Techniques - Integrating Environment and Background Images - Configuring Render Settings for High-Quality Images - Lighting and Rendering Scenes in 3ds MaxAre you ready to take your 3D modeling and animation skills to the next level? Download the 30-day free trial of 3ds Max from Autodesk and embark on a transformative learning journey today. Explore the possibilities and unleash your creative potential!
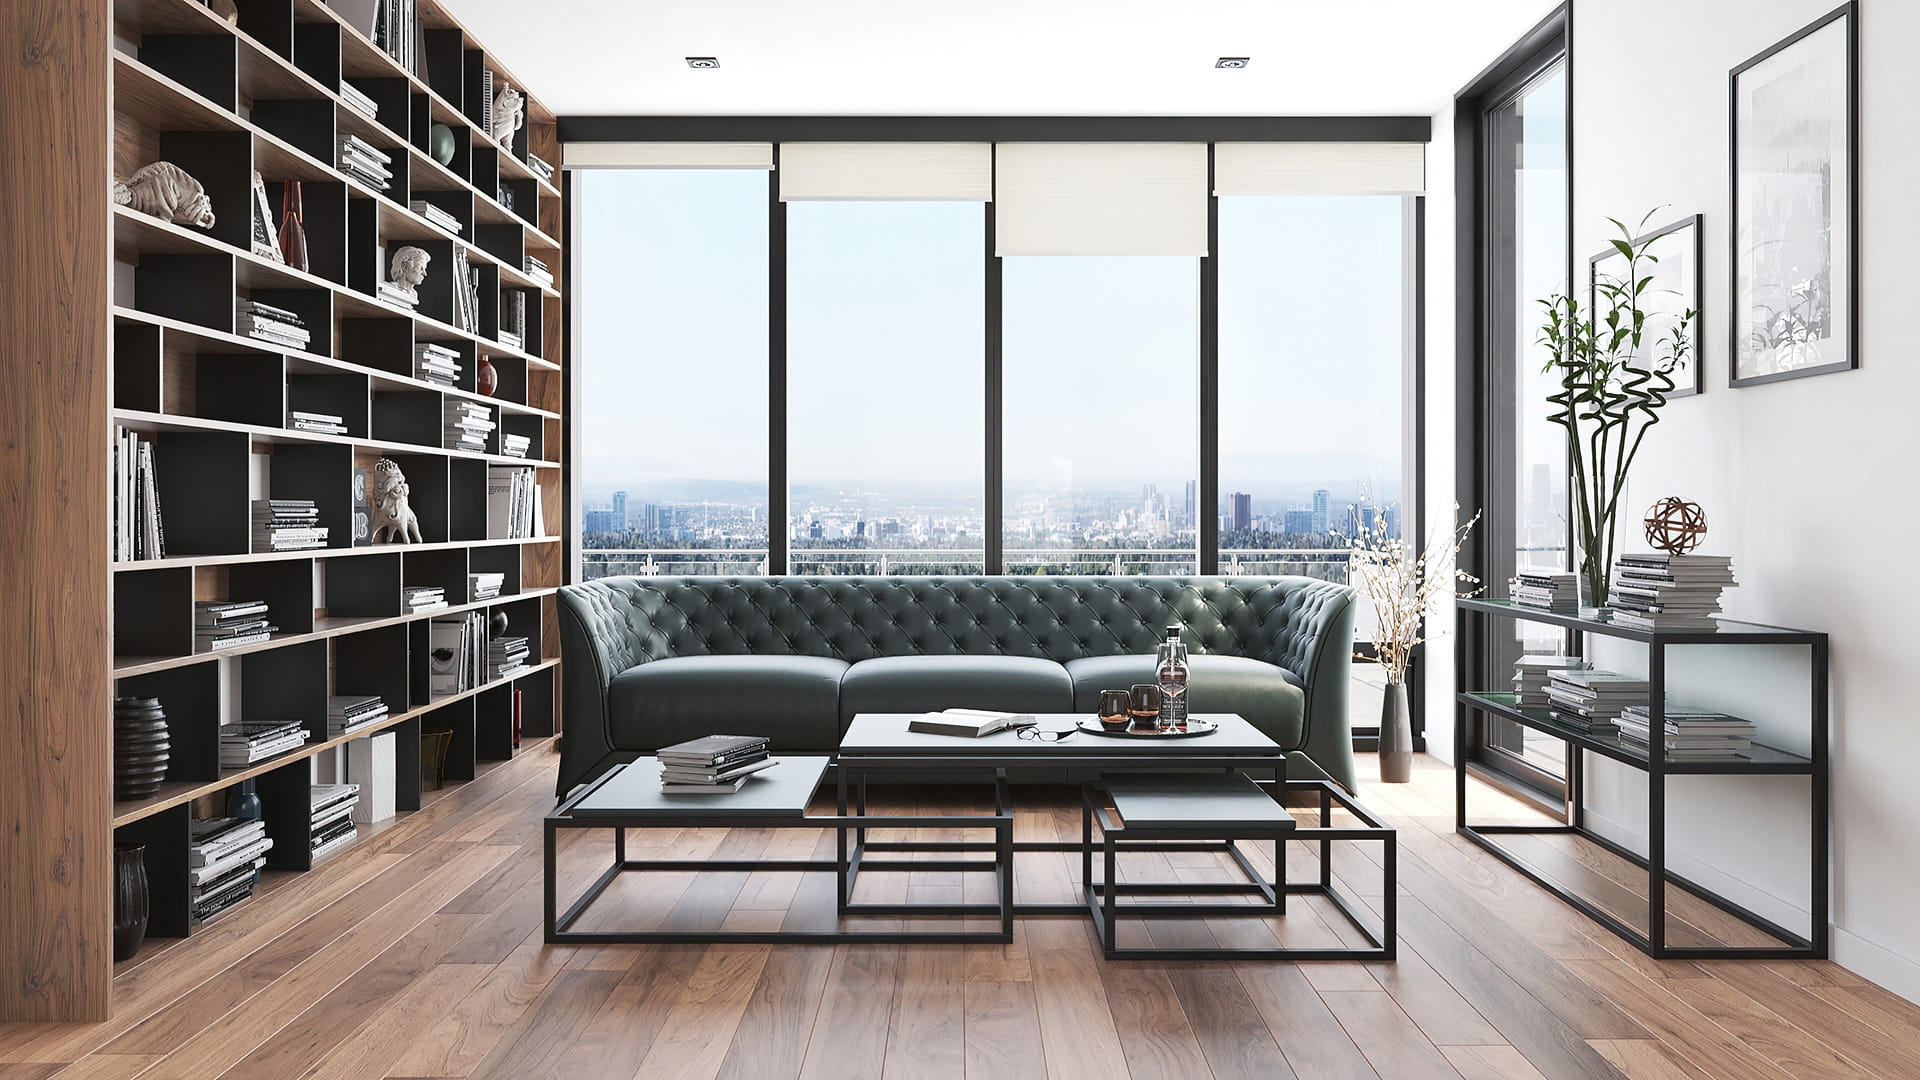
3ds Max and Vray Training
By London Design Training Courses
Why Choose 3ds Max and Vray Training Course? Click here for more info 3ds Max a valuable tool for architectural modeling, product design, and manufacturing across numerous industries. While widely utilized, mastering the software requires effort. Engaging in 3ds Max tutorials proves particularly advantageous for game designers, aiding in their career advancement. Duration: 10 hrs Method: 1-on-1, Personalized attention Schedule: Tailor your own hours, available from Mon to Sat between 9 am and 7 pm Our 3ds Max course consists of two main sections, covering architectural visualizations for both interior and exterior scenes. By the end of the training, you'll have the expertise to create professional projects independently. We begin with fundamental and advanced 3D modeling, starting from simple objects and progressing to complex buildings, interiors, and products. 3ds Max and Vray Comprehensive Course Course Duration: 10 hours Course Overview: This course is designed to offer a comprehensive introduction to 3ds Max and Vray. Throughout this program, you will acquire the knowledge necessary to proficiently create 3D models, apply materials and textures, configure lighting and camera systems, and produce high-quality Vray renders. This course is suitable for individuals with various levels of experience, from beginners to those with some prior exposure to 3D modeling and rendering. Course Outline: Module 1: Introduction to 3ds Max and Vray Familiarization with the 3ds Max interface Configuring the workspace Navigating within 3ds Max Introduction to Vray and its user interface Module 2: 3D Modeling Creating fundamental shapes Employing modifiers Crafting intricate shapes through advanced 3D modeling techniques Grasping the fundamentals of polygonal modeling Crafting both organic and inorganic models Module 3: Materials and Textures Application and modification of textures Understanding UVW mapping Utilizing the material editor Developing custom materials Leveraging Vray materials Module 4: Lighting Introduction to various lighting techniques Exploring different types of lights Comprehending light properties Configuring lights for a scene Employing Vray lights Module 5: Cameras Familiarization with camera systems Understanding camera properties Setting up camera views Creating animations using cameras Utilizing Vray cameras Module 6: Rendering Introduction to rendering Exploring Vray Global Illumination Utilizing Vray Physical Cameras Harnessing Vray HDRI Lighting Implementing the Vray Rendering Workflow Module 7: Projects Integrating all acquired knowledge Crafting a simple interior scene Constructing a basic exterior scene Developing a complex scene featuring multiple objects and materials Course Requirements: To participate in this course, you will need: A computer with 3ds Max and Vray installed (trial versions can be obtained from Autodesk and Chaos Group websites) Basic computer operation skills An interest in 3D modeling and animation Course Goals: Upon completing this course, you will have gained a comprehensive understanding of 3ds Max and Vray. You will possess the skills required to create realistic and visually captivating 3D scenes using Vray. Furthermore, you will be well-equipped to continue honing your 3D modeling and rendering abilities. Resources: Vray Trial Download: https://www.chaosgroup.com/vray/sketchup/free-trial Materials:https://www.vray-materials.de/ Textures: https://textures.com/ By completing the 3ds Max and Vray Training Course, participants will acquire proficiency in 3D modeling and rendering using 3ds Max. They will establish a solid foundation and essential skills, enabling them to create captivating visualizations. This expertise opens doors to various job opportunities in fields such as architectural visualization, game design, film production, and product modeling.

Vray for 3ds max Training
By London Design Training Courses
Why Learn Vray for 3ds max Training Course? Course Link 3ds Max - Rendering with V-Ray training offers an extensive master class in utilizing V-Ray, a widely used tool in architecture, interior design, film, and various industries. Topics covered include lighting techniques for interiors using both natural and artificial light sources. Duration: 10 hrs Method: 1-2-1, Personalized attention. Schedule: Tailor your own hours of your choice, available from Mon to Sat between 9 am and 7 pm. Module 1: Introduction to Vray for 3ds Max (2 hours) Learn the purpose and advantages of Vray for 3ds Max. Install and set up Vray for 3ds Max. Get familiar with the Vray interface and workflow. Understand Vray materials and their usage in 3ds Max. Module 2: Lighting with Vray (2 hours) Explore lighting techniques using Vray in 3ds Max. Work with different types of Vray lights and their settings. Create and control Vray sun and sky for outdoor scenes. Utilize Vray dome lighting for interior scenes. Learn about IES lights in Vray and their usage. Establish an efficient lighting workflow with Vray. Module 3: Vray Camera (2 hours) Understand Vray camera settings and their impact on renders. Control exposure and use Vray depth of field. Create camera animations with Vray for dynamic shots. Explore Vray frame buffer functionalities for post-processing. Module 4: Vray Materials (2 hours) Learn about properties and settings of Vray materials. Create realistic and visually appealing materials with Vray. Save and organize custom Vray material libraries. Use Vray material overrides for efficient material changes. Module 5: Vray Rendering and Post Production (2 hours) Get an overview of Vray rendering settings for high-quality output. Render still images and animations using Vray. Enhance Vray renders in Photoshop with post-production techniques. Utilize Vray frame buffer for fine-tuning renders. Composit Vray render elements in Photoshop for added control. Work with Vray denoiser for noise reduction in renders. You can access the free trial of Vray for 3ds Max here: (https://www.chaosgroup.com/vray/sketchup/free-trial), material libraries here: (https://www.vray-materials.de/), and textures here: (https://textures.com/).
Twinmotion Realtime Rendering Training
By London Design Training Courses
Why Choose Twinmotion Realtime Rendering Training Course? Click here for info Empower architects, designers, and visualization experts with our Twinmotion training. Learn tools, materials, lighting, animation, and rendering. Explore advanced techniques for lifelike landscape and special effects using Twinmotion's asset library. Opt for in-person or live online sessions. Duration: 10 hrs Method: 1-on-1, Personalized attention Schedule: Tailor your own hours of your choice, available from Mon to Sat between 9 am and 7 pm Twinmotion Real-time 3D Architecture Visualization Course Outline: Module 1: Introduction to Twinmotion Explore Twinmotion's real-time 3D visualization capabilities Master the Twinmotion interface for efficient scene manipulation Prepare 3D files for import and manage the workflow Module 2: Materials and Realism Enhance scenes with realistic materials and visual quality Utilize videos as materials and apply glow effects Create grunge materials for added texture and realism Employ the X-ray material for specific visualization needs Module 3: Landscape and Vegetation Integrate vegetation using Twinmotion's scatter, HQ trees, and growth features Customize grass and utilize HQ vegetation assets for realism Create time-lapse effects for vegetation growth Module 4: Library and Object Import Access the Twinmotion library for furniture and objects Seamlessly import external 3D objects Obtain high-quality 3D assets from the internet and add to the user library Utilize BIM-objects for additional assets Module 5: Lighting and Animation Work with various lighting options, including area light and volumetric light Add animated characters and vehicles for dynamism Incorporate construction vehicles and aircraft for realism Module 6: Volumes and Interactivity Utilize volumes and the animator feature for dynamic scenes Implement urban elements and measurement tools for accuracy Module 7: Nature and Weather Effects Utilize Twinmotion's nature features, including physical sky and weather effects Create realistic lighting for outdoor scenes Add ocean effects for water elements Module 8: Rendering Techniques Master rendering processes, from creating images to exporting panoramas and animations Implement depth of field improvements for captivating visuals Create BIM motion virtual reality phases for immersive experiences Utilize the Twinmotion presenter feature for streamlined presentations Module 9: Final Project Apply knowledge and skills to complete a final render project in Twinmotion Download Twinmotion https://www.twinmotion.com › download Learn how to download and install Twinmotion, the fast, easy real-time archvis tool.
Revit Basic to Fundamentals
By London Design Training Courses
Why Choose Revit Basic to Fundamentals Course Course Link In this course you will learn Revit skills for BIM modeling. In-person or live online. Autodesk Revit Architecture training for students to create full 3D architectural project models and set them up in working drawings. Duration: 10hours Method: 1-on-1 method with tailored content and flexible pace, backed by individual support. Schedule: Choose a convenient hour from Mon to Sat between 9 am and 7 pm to create your own schedule. Revit Essentials Training: Learn Revit fundamentals for architecture and structural design, supporting efficient building construction with BIM workflows. Delivery Options: In-class at our center Live online sessions I. Introduction to Revit Overview of Revit and its uses Revit interface and basic tools Navigation and viewport controls Creating and saving projects II. Setting up a Project Creating a new project Setting up project levels and grids Adding site and building information Setting up project units III. Creating Building Elements Creating and modifying walls Adding doors and windows Creating and modifying floors and ceilings Creating roofs and modifying roof shapes Creating stairs and railings IV. Views and Sheets Creating and managing views Creating and managing sheets Adding schedules and tags Creating construction documents V. Annotation and Detailing Adding text and dimensions Creating and modifying detail components Adding symbols and keynote legends Adding annotations to construction documents VI. Conclusion and Next Steps Review of course content Tips for further learning and resources Q&A and feedback Note: The above course outline is just a suggestion, and the course content and duration can be adjusted according to the needs and level of the learners. Detailed Course Outline. 1. Starting a Project Creating a new project and the importance of a template. Understanding project settings and scales Adding levels Adding grids Adding columns 2. Modeling Basics Adding walls Using snaps Wall properties and wall types Using the modified tools Adding doors and windows Using constraints See: Autodesk Seek and Revit City websites 3. Links, Imports, and Groups Working with DWG files Creating topography from a DWG link Understanding CAD inserts Using import tips Creating a group Working with Revit links Managing links 4. Sketch-Based Modeling Components Working with floors Working with roofs Adding openings Working with stairs Working with railings Working with ceilings 5. Complex Walls Creating a custom basic wall type Adding curtain walls Adding curtain grids and mullions 6. Visibility and Graphics Controls Using object styles Working with visibility/graphic overrides Using Hide/Isolate Understanding view range Using the Linework Using cutaway views 7. Rooms Adding rooms Controlling room numbering Understanding room bounding elements 8. Schedules and Tags Understanding tags Adding schedules Modifying schedules Creating a key schedule 9. Annotation and Details Adding text Adding dimensions Adding symbols Adding legend views Creating a detail callout Using detail components Adding filled and masking regions 10. The Basics of Families Understanding familiesUsing reference planes, parameters, and constraints Adding solid geometry Adding void geometry Completing the family 11. Sheets, Plotting, and Publishing Adding sheets Exporting to AutoCAD and JPG