- Professional Development
- Medicine & Nursing
- Arts & Crafts
- Health & Wellbeing
- Personal Development
759 Photography & Video courses
Don't miss this opportunity to capture the beauty of Snowdonia National Park through your lens. Embark on a photographic journey like no other with our 4 day and 3 night workshop in the breathtaking Snowdonia National Park. Surrounded by stunning landscapes, you will have the opportunity to capture the beauty of this national park through your lens. With a small group of just 12 students (max), you will receive personalized instruction and guidance from Lisa and myself. This ticket includes: > Photographic and Editing 3-day Weekend Workshop. > Side-by-side tuition in the field > short 1-2-1 session with students during the weekend. > Post processing tuition in-between shoots and evenings at the lodge > Three nights luxury accommodation. (Options for both shared and single occupancy) > Camera Craft sessions and tutorials for explaining best in-camera practices and camera functions and features > Breakfast on Days 2, 3 and 4 > 3-course gourmet evening

Outdoor Photography Course
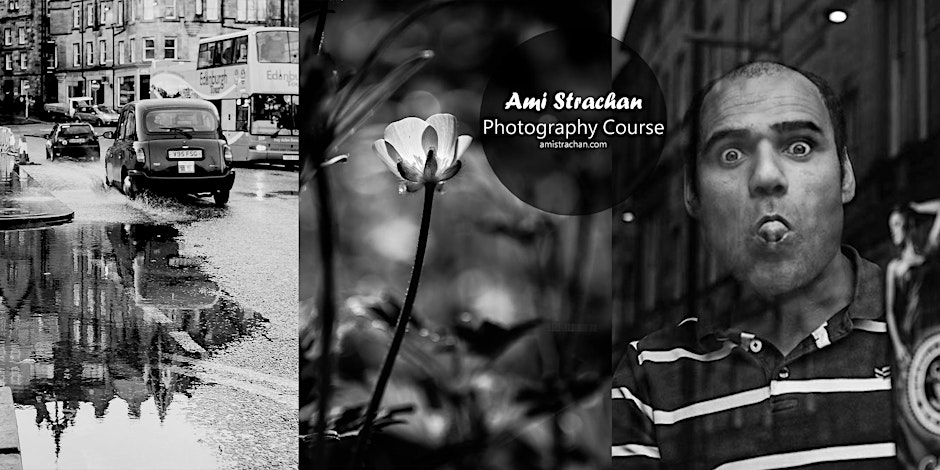
By Ami Strachan
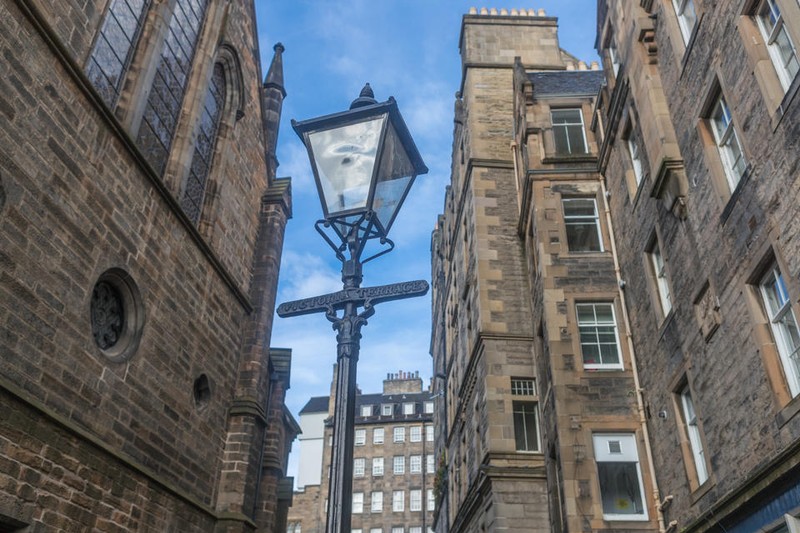
Learn how to capture stunning outdoor shots like a pro with our hands-on Outdoor Photography Course – join us and unleash your inner shutter Outdoor Photography Course Join us for an exciting Outdoor Photography Course where you can unleash your creativity and capture stunning moments outside your comfort zone! Whether you're a beginner or an experienced photographer, this in-person event is perfect for everyone. I will guide you through various techniques to enhance your skills and make your photos stand out. From composition to lighting, you'll learn how to create captivating images that truly tell a story. Don't miss this opportunity to explore the great outdoors while mastering the art of photography. Grab your camera and get ready to capture the beauty of the world around you! Location: Edinburgh - Scotland. The place to meet: We will confirm a week before the event date. We will learn: Macro Portrait Landscape Candid Indoor
Photography Course | For Beginners
By Gavin Jacob Power | Photographer
The essential course for those starting from zero who want a private lesson guidance. You will leave shooting in manual mode and composing a frame like a pro.
Switch To Manual Photography Workshop
By Rich Dyson
Switch to Manual is the introductory workshop for camera users who tend to leave their camera set to Automatic modes.
Night Photography
By Rich Dyson
When the sun sets it doesn’t mean that you need to stop taking photographs. The Night Time Experience is designed for photographers who understand the fundamentals of exposure and now want to explore creativity in a different way. A tripod is a must for night-time photography as we look at different ways you can use the available light from the street, vehicles or even the stars to illuminate a scene and create a terrific image that you would want to share. The workshop is very much reliant on the dry weather as we will usually be working with long exposures and some aspects, such as star trails, require a cloudless evening so whilst the agenda for the session isn’t fixed, the techniques you will learn can be applied to many other forms of low light photography. To get the most benefit from this workshop you will need to understand how to use the manual functions on your camera. If you are unsure, we would recommend you attend the Switch to Manual session first. About Ideal if you understand how to set the exposure of your camera manually. Look at different ways of using light to make exciting and interesting photographs as the daylight disappears. Experience level - Intermediate What to Bring You will need a camera that you can set the exposure manually A good sturdy tripod. It is helpful to have a wide-angle lens and a long zoom, although if you only have a kit-lens then that will still be fine for this workshop The timing for this workshop is flexible on the conditions, it will last somewhere between 3 and 4 hours. Ensure your camera batteries are fully charged and consider having a spare An empty memory card, we’ll take about 150 photographs during the session.
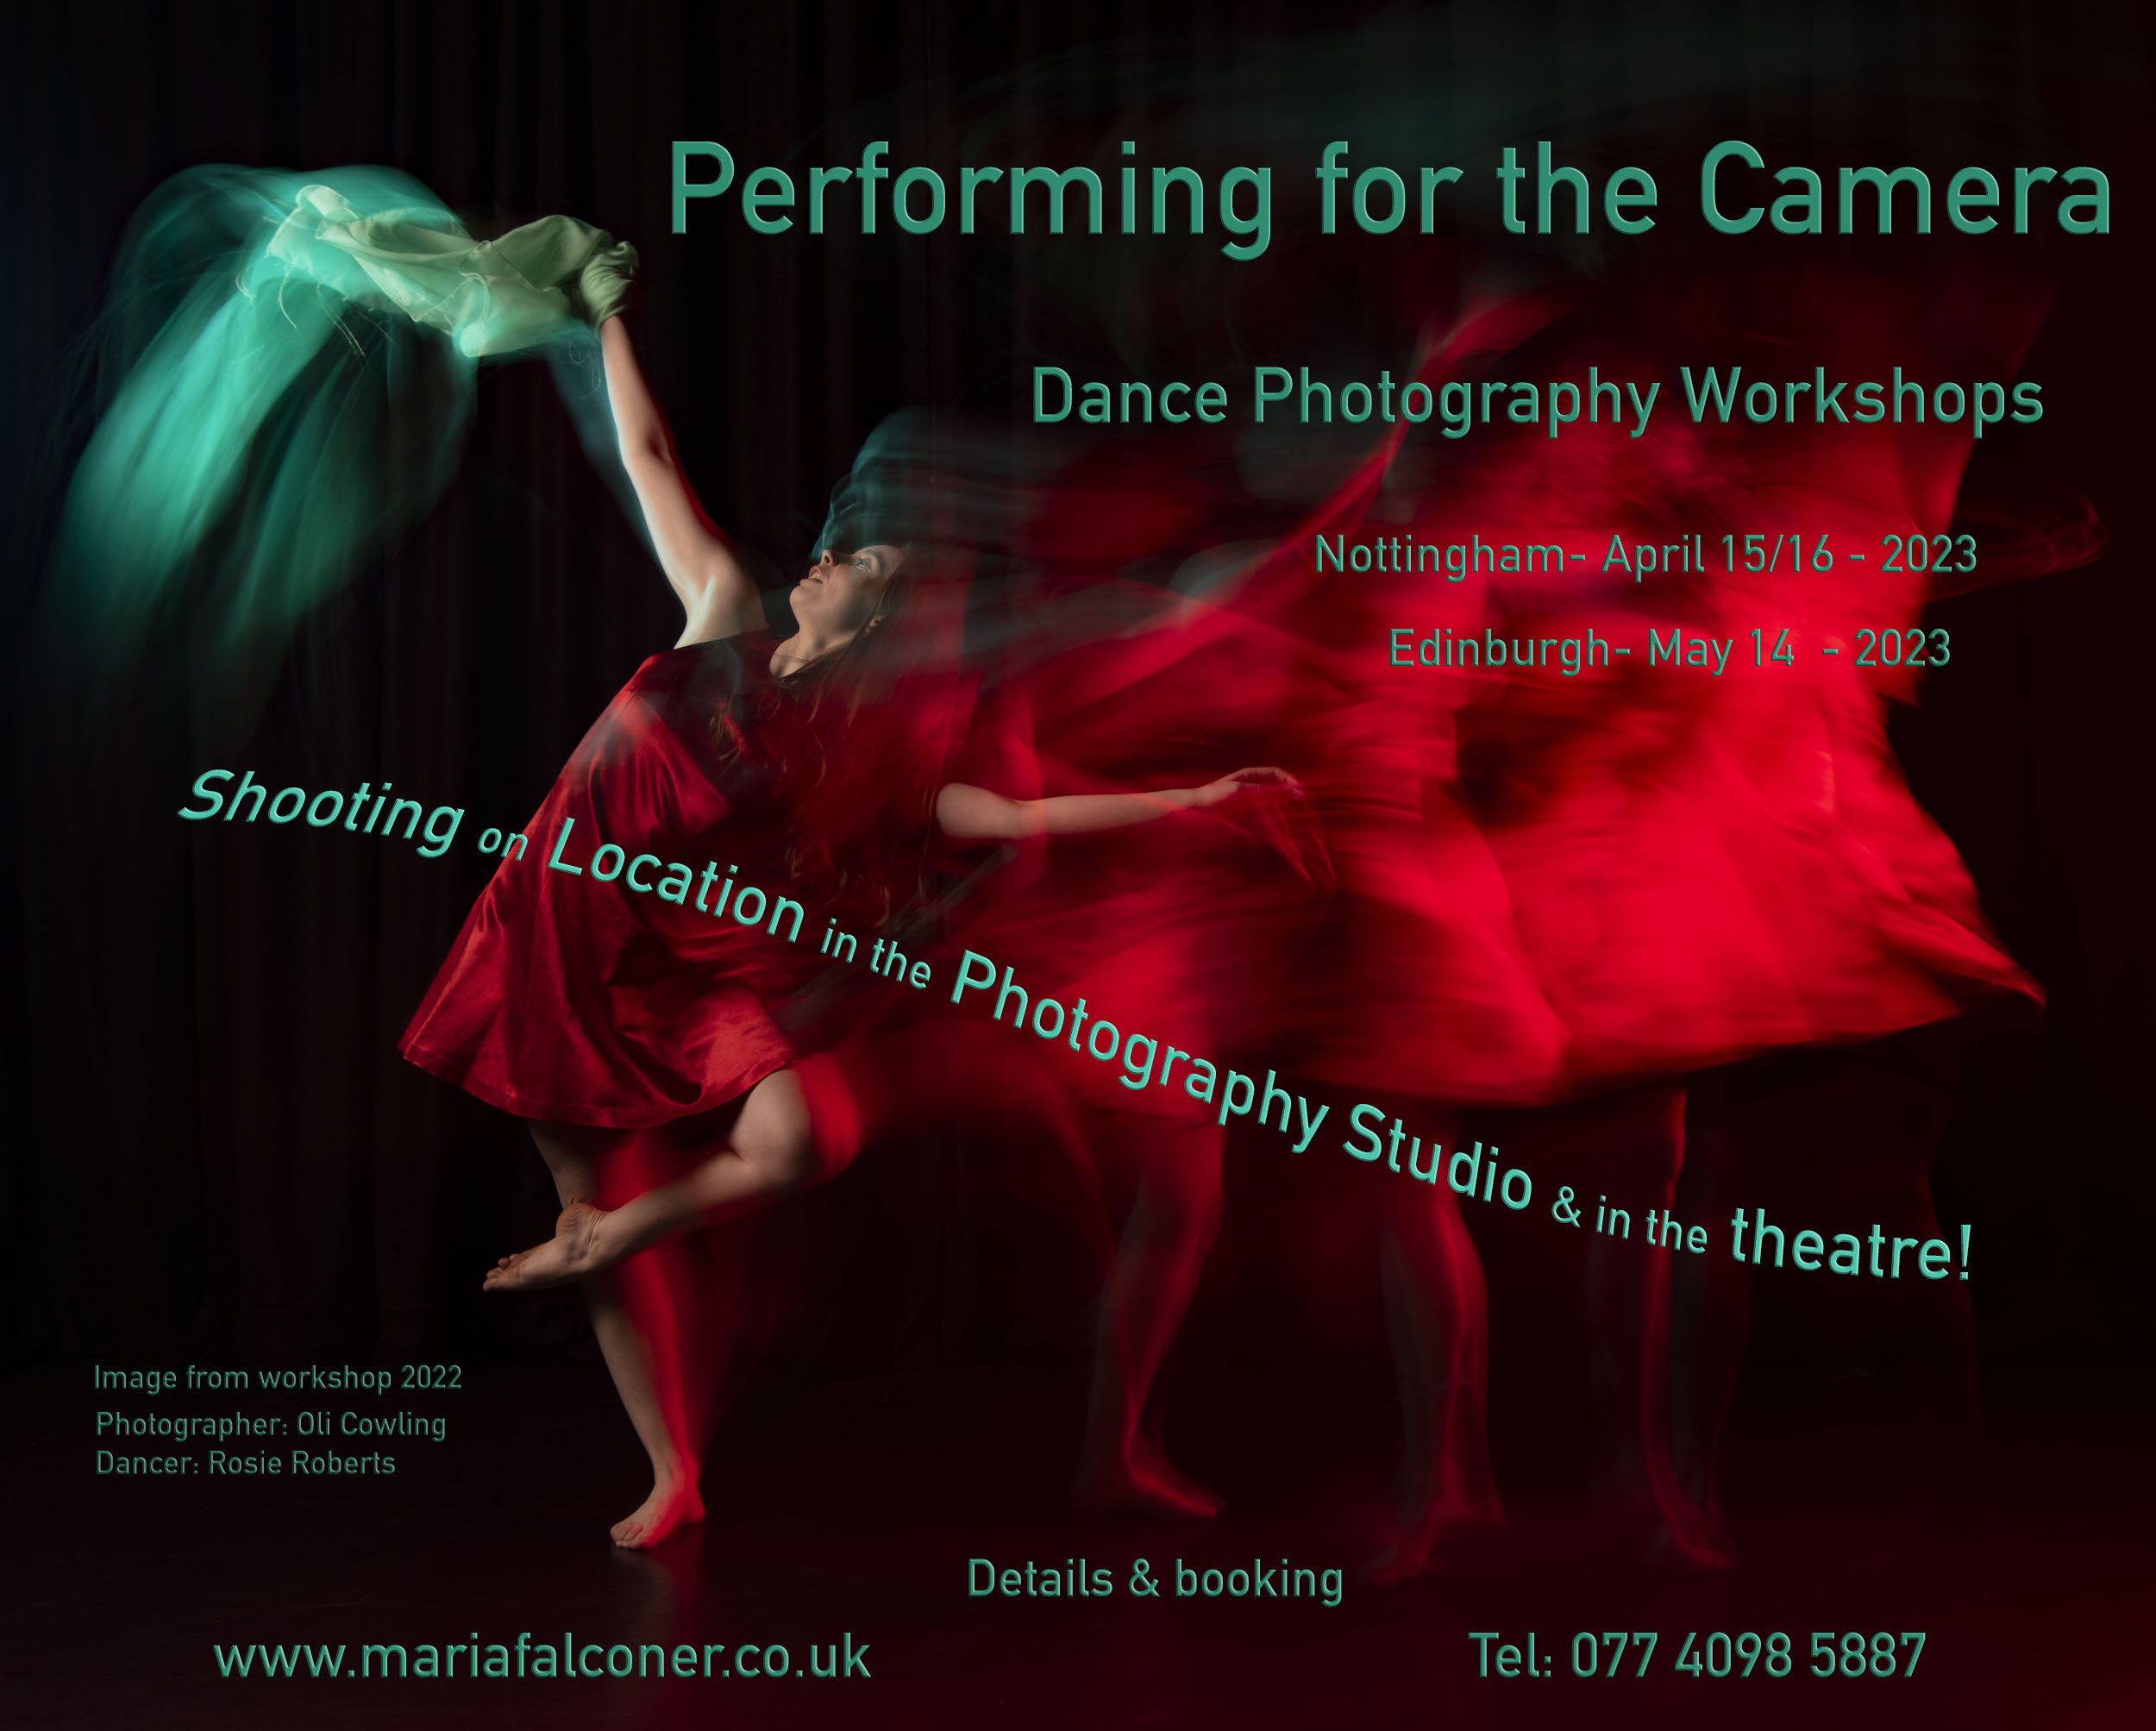
Dance Photography - 2 days - Nottingham
By Maria Falconer Photography
A truly UNIQUE Dance Photography Workshop 12 dancers, 12 photographers, working on location, in the photography studio and live in the theatre - you will come out buzzing!
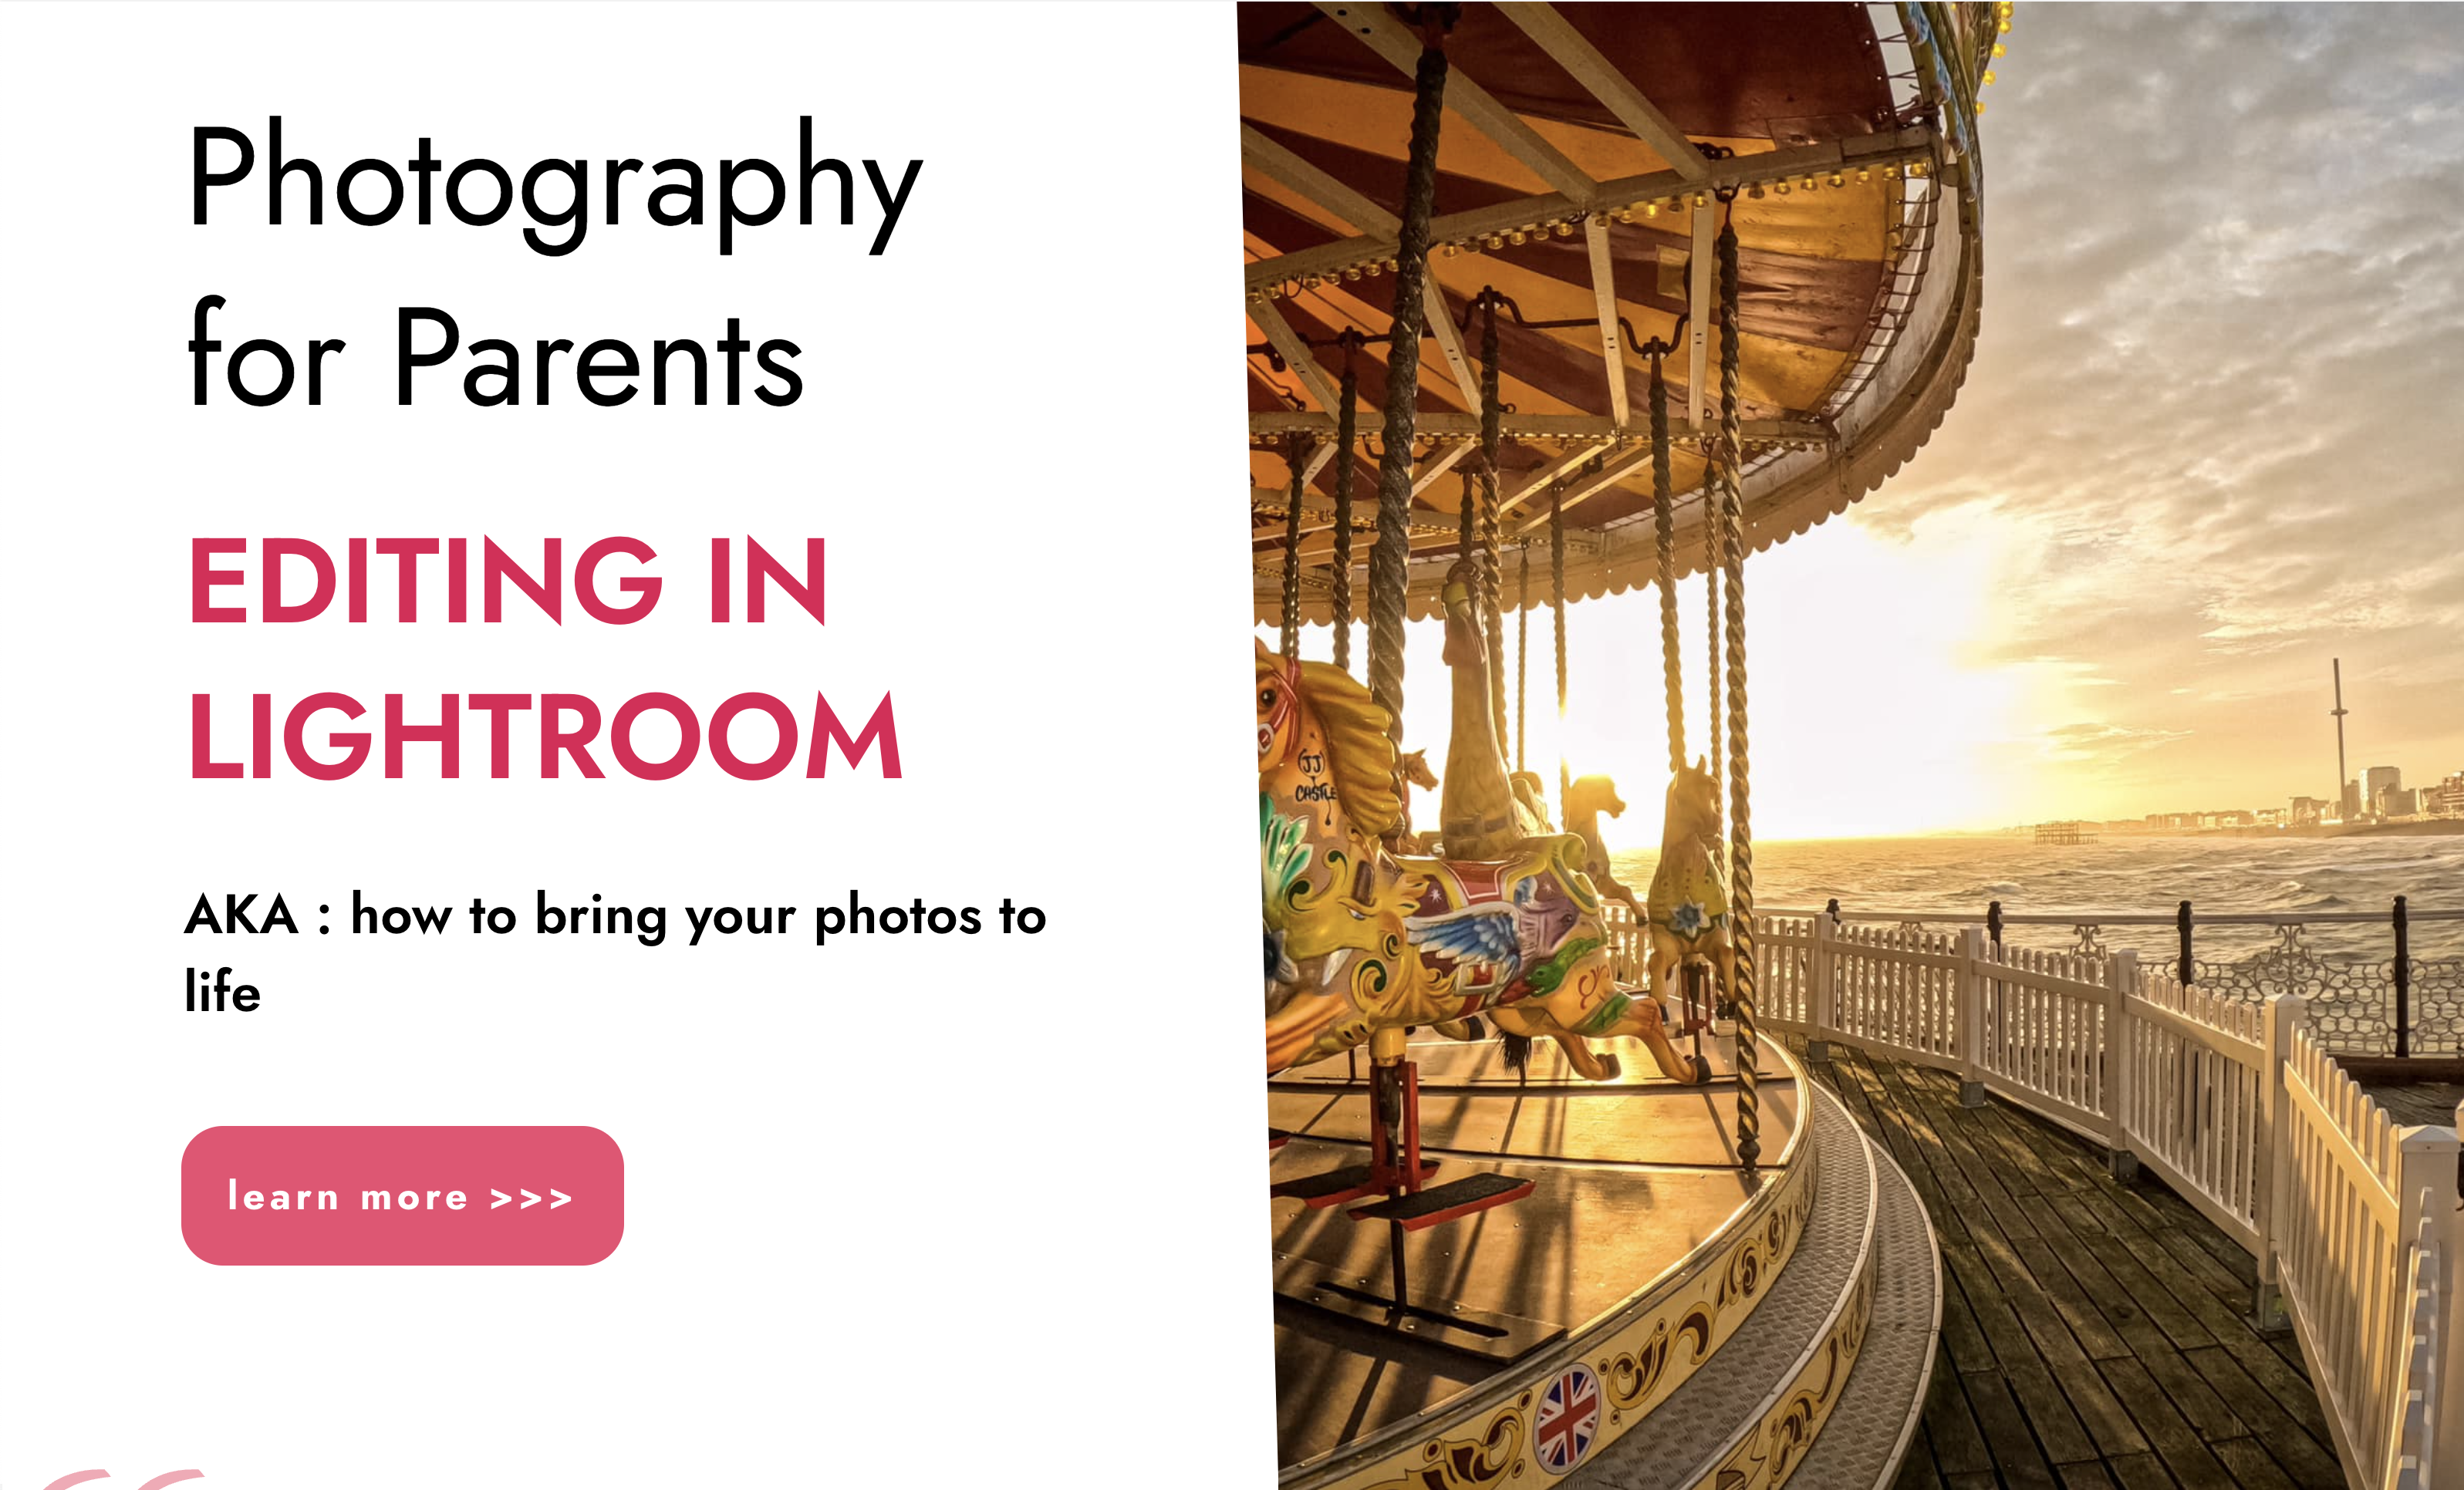
“You don't take a photograph. You make it" - Ansel Adams Photography For Parents - Editing In Lightroom Next course starts 11 March 2024 Editing is an essential skill for anyone with even just a passing interest in photography. Much as we try, we can't always get everything right in camera and editing tools help us bring our vision to life, help correct problems and allow our images to look beautifully polished. We teach how to do all these things in Adobe Lightroom because it's a powerful, intuitive and affordable tool used by Pros around the world for that very reason. KEY COURSE INFO: Course type: Instructor-led Course duration: 4 weeks + prep module Course format: Online course with interactive edit-along live classes, feedback on your learning and support group WHAT YOU LEARN: From being able to correct issues such as over/under exposure, issues with colour or graininess to bringing your vision to life, creating mood and tone to your images, knowing how to use editing software is a must. But good and purposeful editing goes way beyond just slapping on a preset or a filter - in our course we teach you all about the tools - not just what all of them do but how, and we teach you how to know what to use and when to achieve certain effects.everything you need to allow you to style your photos, confidently use the software and fix common problems. editing to correct common photo problems creating good editing workflow using powerful precision tools editing to achieve beautiful skin tones using light and colour creatively editing to bring out a mood of a feel THIS IS THE COURSE FOR YOU IF : Love taking photos but want them to look more polished - with colours that pop and light that's perfectly balanced You want to be able to fix common issues such as under- or overexposure, white balance or colour casts so that you never need to bin an image just because it wasn't right straight out of camera You want to get more creative with light and colour to make the images look just like the moment felt. Bring on the moody edits or sun soaked edits or light kissed skin tones or creative black and white conversions You want to confidently use the editing techniques so you can bring your vision to life every time, without guesswork You want to be able to prepare your images for print so that your walls can beam with pride at the beauty that you captured Next Editing in Lightroom course starts 11 March 2024 4 core course modules plus prep module Support Facebook group Weekly edit-along live webinar Practice files to learn on Feedback on your images HERE IS WHAT YOU WILL LEARN in this course : Our Photo Editing in Lightroom course guides you through the photo editing process in Adobe Lightroom from start to finish – from setting it up correctly, organising your collections and creating a workflow that works for you, through learning the capabilities of all the editing tools - such as adjusting exposure, colours, light or sharpening the images; all the way to printing and creating photo books. We’ll show you how to create specific artistic effects ( high impact Black and white, vintage, light and airy, dark and moody etc ), and how to fix common photography problems ( grainy images, underexposed images, wrong colours etc). At the end of the course you will be able to confidently manage your photo collection with Lightroom, achieve desired artistic effects and make your photos truly stand out. Getting around in Lightroom and Lightroom Classic - shooting in full manual - but with clarity and purpose Correcting common problems - whether your photo started too dark or too bright, your child's face was in a shade, the white balance and colours were off, the grain was heavy, the light looked dull - you can fix it all within a couple of clicks in Lightroom Using Lightroom's super powerful intelligent masking tools to quickly and efficiently edit specific parts of your image - from brightening up the eyes to rescuing overblown skies Enhancing and adding beautiful light - light makes images stand out, but it can be hard capturing the atmosphere it creates in camera at times. Lightroom is where you can bring light to life and make your images feel how what you saw in real life Knowing how to shoot in camera so you can get the most in editing - photographers will often purposefully under or overexpose images in camera so that they have more chance of balancing the image just they way they want in Lightroom. INSIDE THE MODULES - aka WHAT DO YOU LEARN? Module 0: Getting set up in Lightroom This module is released a week before the course starts to give you a chance to fully familiarise yourself with the layout, structure and the best way of working in Lightroom Classic, including guidance of creating a smooth selection and culling process that helps you see and keep the best of your images, without getting bogged down with 100s near duplicates. Module 1: Getting Started In Lightroom - Global Edits In this module we introduce you to Lightroom's most powerful tools - the global edits. We help you understand how to tweak your images to achieve the effects you're after quickly - from adjusting over and under exposure, to correcting white balance in a few different ways, to having a play with my favourite Lightroom tool - the tone curve. Major Takeaways: At the end of the module you will have gained full control of lightroom key global tools and will be able to use them to correct any global - as in affecting the whole image - issues with your images. This includes perfecting your exposure, balancing your colour and white balance, sharpening and creating clarity and more. Module 2: Targeted Edits - Masks! Lightroom allows us to apply edits to selected parts of the image through a range of its very powerful, intelligent and manual masks. This means you can now effortlessly select your subject from the photo to adjust them separately with just one click, you can pick only the sky, the subject's eyes or only colour green or any other element and treat them differently to the rest. Major Takeaways: You will be able to use the full range of masks in lightroom and apply your edits exactly where they are needed, and nowhere else. This includes working with with the new AI powered masks which can detect a person's individual features and allow you to selectively edit them in a few simple steps, as well as those more manual tools, that allow you to literally paint with light and colour on your photographs. Module 3: Creative Editing in Lightroom This is a brand new module in our course where we take all the tools introduced in Modules 1 and 2 and actually use them to achieve different effects on our photos. Wer show you how to be guided by light when editing, how to achieve a light and airy or a moody edit on your images, how to add light and how to convert to black and white, as well as how to edit skin in Lightroom! This module is all play! Major Takeaways: You will learn how to create yoru own editing process - from knowing where to start and to understanding what elements of your photograph may need or benefit from adjusting and knowing how you can do so to achieve different outcomes. You will also learn how to edit your skin tones so they look delightful - no matter what your subject's complexion. Module 4: After the edits We close the course with a module centered around all the things you might want to do after the edits - from preparation for print, creating photo books, but also sharing your images online and syncing them between different machines and adobe workplaces. PLUS there is a little Photoshop intro so you get a glimpse at how it's different and what it can do. Major Takeaways: You will learn how to connect all of your Adobe ecosystem and sync and share your images across multiple devices. You will learn how to prepare your images for print so they look their very best and how to create photobooks. Next course starts 11 March 2024 Absolutely, without a doubt book Editing. I was very unsure at first. My interest in photography is to capture those memories so it felt like it was 'cheating' to edit. I can honestly say it's like magic.To finish off the pictures you love and just give you complete control over the exposure, colours to make them perfect, to rescue the disasters etc. I learnt so much in those few weeks and it made the biggest difference to my photos. Kerry White Editing in LIGHTROOM Book your space now: COURSE STARTS : 11 March 2024 ( 4 weeks + 1 prep week)COURSE COST : £179 ( payment plans available ) What’s included: 4 weekly modules with step by step illustrated tutorials and videos + prep module weekly edit along class online class ( also recorded) - on Wednesday evenings feedback and advice on your edits private support group PDF workbook and downloadable videos Practice images to learn on Join our next group to really bring life to your images and make them look sleep, polished and full of light COURSE PREREQUISITES: Lightroom or Lightroom Classic CC software installed on your computer or tablet. RECOMENDED : Lightroom Photography Plan 25GB – a monthly subscription at approx £9pm – including Lightroom CC, Lightroom Classic CC and Photoshop. This plan can also be occasionally purchased at a lower price via Amazon or Groupon if you purchase a year’s worth of subscription in one go ( average savings – around 2-4 months worth depending on the deal) Please note that Adobe also has a Lightroom Plan with 1TB of storage – we do not recommend this plan as it restricts you to one version of software only. The increased Cloud storage can always be purchased as an add on or your plan can be switched from Photographer plan to CC only at a later stage if you prefer.
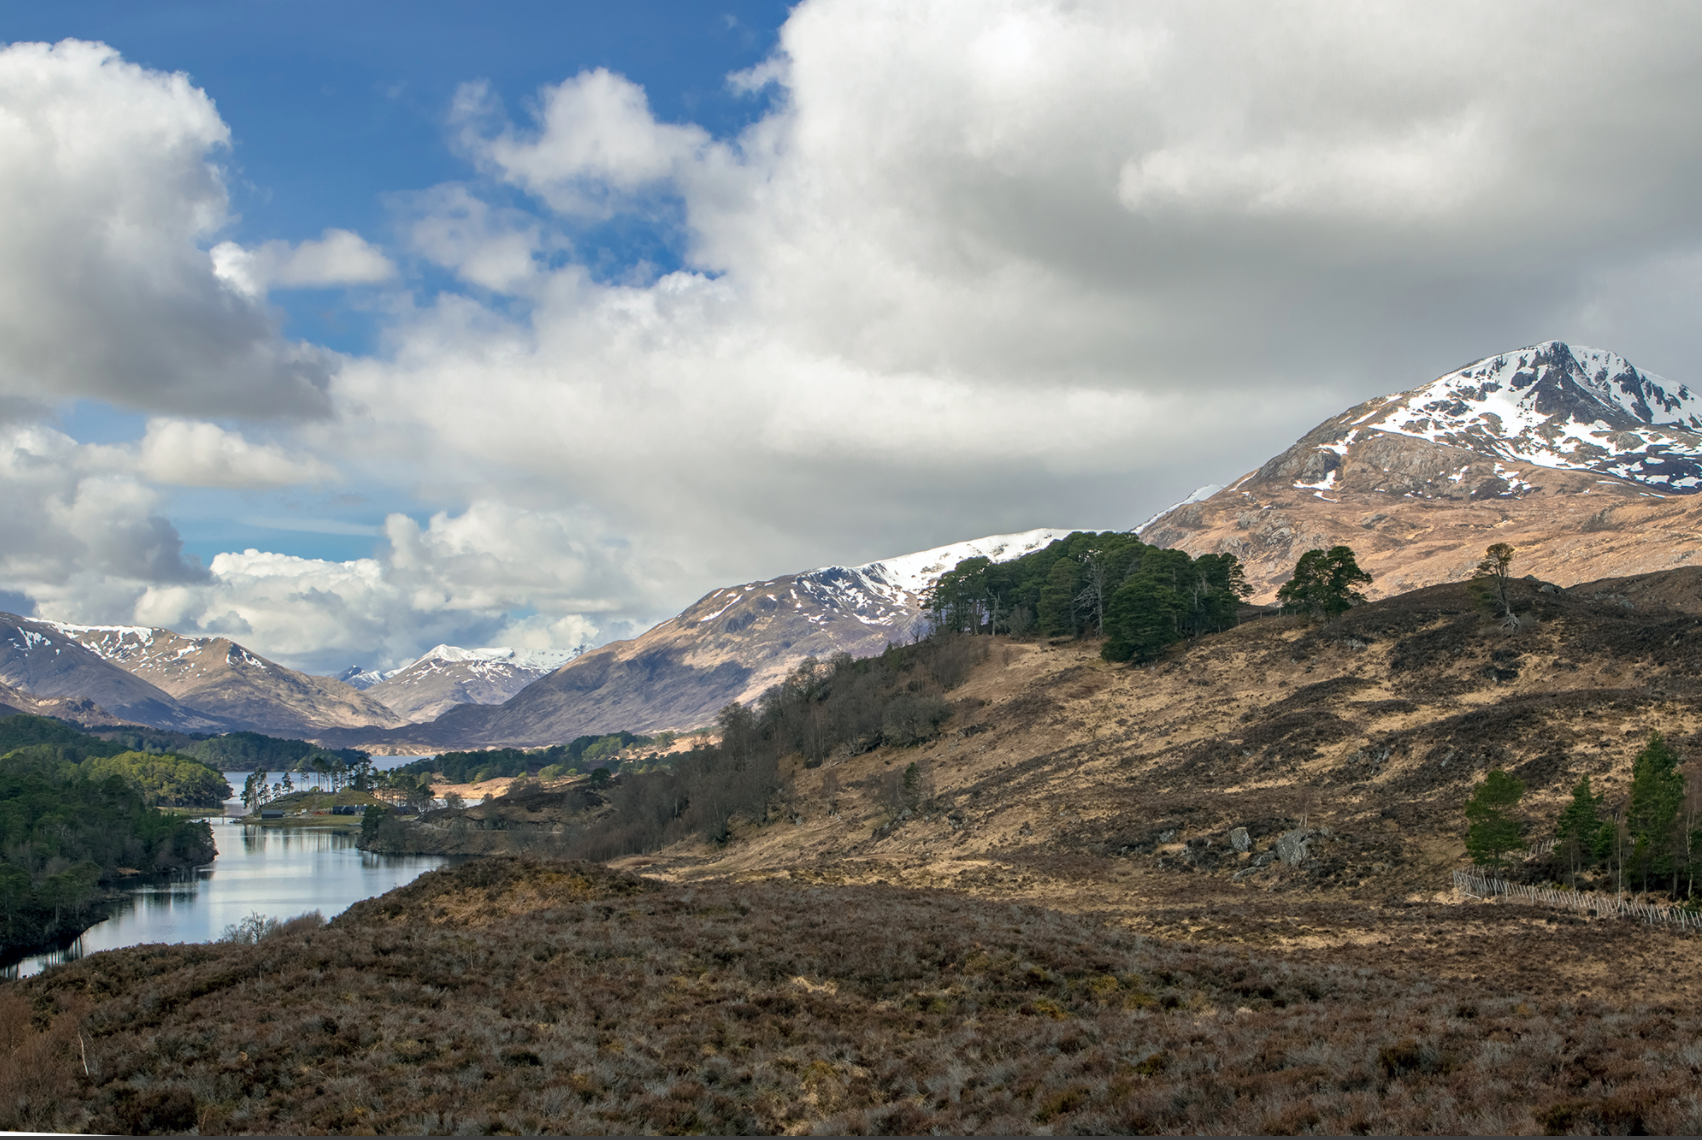
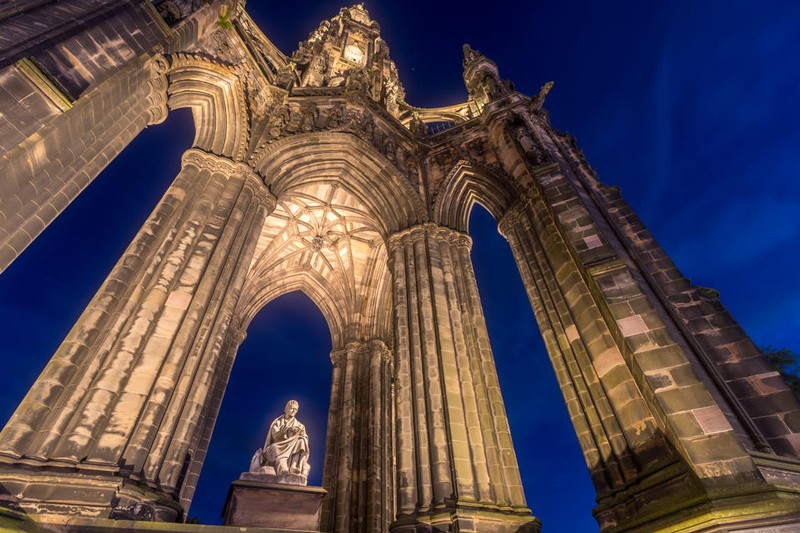
Introduction to Landscapes & Seascapes
By Rich Dyson
The Firth of Forth is a stunning and diverse location for photography. During this full-day session we will travel across both the North and South banks of the River Forth to capture some amazing locations from characterful old jetties to the Forth Bridges; from the smallest port in Scotland to hidden bays. This is designed for people who know the basics of their camera and want to learn how to take stunning landscape and seascapes images whilst discovering the beautiful scenery around the Forth estuary. Attendees on the session will learn how to create stunning images in-camera through the use of filters and more advanced composition techniques. The full-day session commences from first light and will last until sunset so there are many opportunities to practice your skills. During the day we will also spend some time looking at how we can use editing software to enhance your images. The workshop will have a minimum of two and a maximum of six attendees to ensure that everyone receives individual attention from a professional photographer. About Ideal if you understand how to set the exposure of your camera manually and want to learn how to use filters to improve your photographs. We visit several locations along the banks of the Forth River to capture sunrise and sunset, panoramas and change the way we see movement in water. This is a full-day workshop, picking up from Edinburgh a couple of hours before sunrise and returning about an hour after sunset. Lunch is not included Experience level – intermediate and advanced What to Bring A camera that you can set the exposure manually A good sturdy tripod. It is helpful to have a wide-angle lens and a long zoom, although if you only have a kit-lens then that will still be fine for this workshop. You will need a filter system such as Lee, Nisi or Cokin with ND and ND graduated filters Ensure your camera batteries are fully charged and strongly consider having a spare An empty memory card, we’ll take about 150 photographs during the session. Duration 12 hours

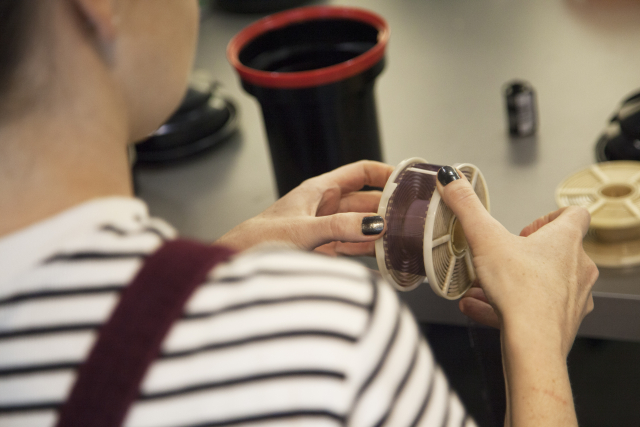
“Any good photography is a successful synthesis of technique and art.” – Andreas Feininger Discover the magic of Black & White Photography and learn some of the secrets the masters use to make stunning photographs. Explore the fundamentals of light and time and no longer be a slave to the Auto setting. Master the manual functions of your 35mm SLR film camera and unlock its true potential. Get to grips with the complete darkroom workflow from processing film to printing your own black & white photographs. Perfect for those with no experience or those looking for a full refresher. If you don’t have a 35mm SLR camera we have a limited number available for use during the course – please make your selection from the dropdown at time of booking. Week 1 Capture, technical notes, discussions, art context Understand the fundamentals of light and time in balancing an accurate exposure; No longer be a slave to the Auto setting! Learn how to utilise the Manual functions of your 35mm SLR camera including aperture, shutter speed, film speed and metering. Understand depth of field, composition and creative photo-making techniques; Appreciate photography within an art context – Begin to look at the work of other photographers Assignment: You will be given one roll of B&W film to be shot for the second week Week 2 Film processing Learn how to process B&W film by hand in Stills’ darkrooms. We will discuss different film types and chemistry, as well as best practice procedures for film handling. Appreciating photography within an art context-Sally Mann. Week 3 Contact Printing Gain an appreciation of general darkroom procedures;understand how to set up your enlarger and make a contact print using the traditional analogue method; learn how to make 8×10″ work prints using the single filter printing method. All paper and chemistry will be provided. Week 4 Darkroom printing This last session will allow participants to keep on printing with some one to one attention. We will also explore some basic dodging and burning and other printing techniques to get the most from your negatives and make a series of final prints. Courses are subject to minimum enrolment. Please register early, within five days of the start date, to reduce the likelihood of course cancellation. Please read our cancellation policy before booking. Students, anyone over the age of 65, and those in receipt of any form of benefits can claim the concessionary price, offering a 10% discount on the full course price. Valid proof of eligibility must be produced on the first day of the course. Please use the code CONCESSION when prompted at checkout. Stills uses ILFORD PHOTO chemicals on this course that can potentially pose a risk to pregnant and breast feeding women and asthmatics. We take every care to ensure good working practices and adequate ventilation in our darkrooms. If you feel you may be adversely affected, please visit the Health and Safety section of Ilford’s website for further information. General Guidance Notes for Pregnant and Breast Feeding Women and Asthmatics: From a risk assessment standpoint, provided all necessary control measures (such as good working practices, adequate ventilation, and the use of appropriate PPE) are in place then pregnant and breastfeeding women should be able to continue to work safely with photochemical products.Inhalation is the main route by which fumes and gases enter the body, making good ventilation a high priority. Exposure to irritant chemicals that would not affect most people may provoke an asthma attack in a person who already has asthma. For example, low levels of the gas sulphur dioxide can be produced by some ILFORD PHOTO processes. Most individuals would be unaffected but asthmatics may suffer adverse affects. ILFORD PHOTO products include no known human carcinogens, and no substances to which phrase R46 (May cause heritable genetic damage) or R64 (May cause harm to breastfed babies) applies. Most ILFORD PHOTO developers use hydroquinone, and their classification therefore includes R40 (Limited evidence of a carcinogenic effect) and R68 (Possible risk of irreversible effects). Some ILFORD PHOTO chemicals use boric acid or borates. These substances are classified as toxic for reproduction. As a result, the classification of some of the powder developers includes R60 (May impair fertility) and R61 (May cause harm to the unborn child).