- Professional Development
- Medicine & Nursing
- Arts & Crafts
- Health & Wellbeing
- Personal Development
NPORS Excavator as a Crane (N100)
By Dynamic Training and Assessments Ltd
NPORS Excavator as a Crane (N100)

NPORS Slinger / Signaller (N402)
By Dynamic Training and Assessments Ltd
NPORS Slinger / Signaller (N402)
NPORS Telescopic Handler (N010)
By Dynamic Training and Assessments Ltd
NPORS Telescopic Handler (N010)
NPORS Marine Knuckle Boom Crane (N014)
By Dynamic Training and Assessments Ltd
NPORS Marine Knuckle Boom Crane (N014)
NPORS Crane / Lift Supervisor (N405)
By Dynamic Training and Assessments Ltd
NPORS Crane / Lift Supervisor (N405)
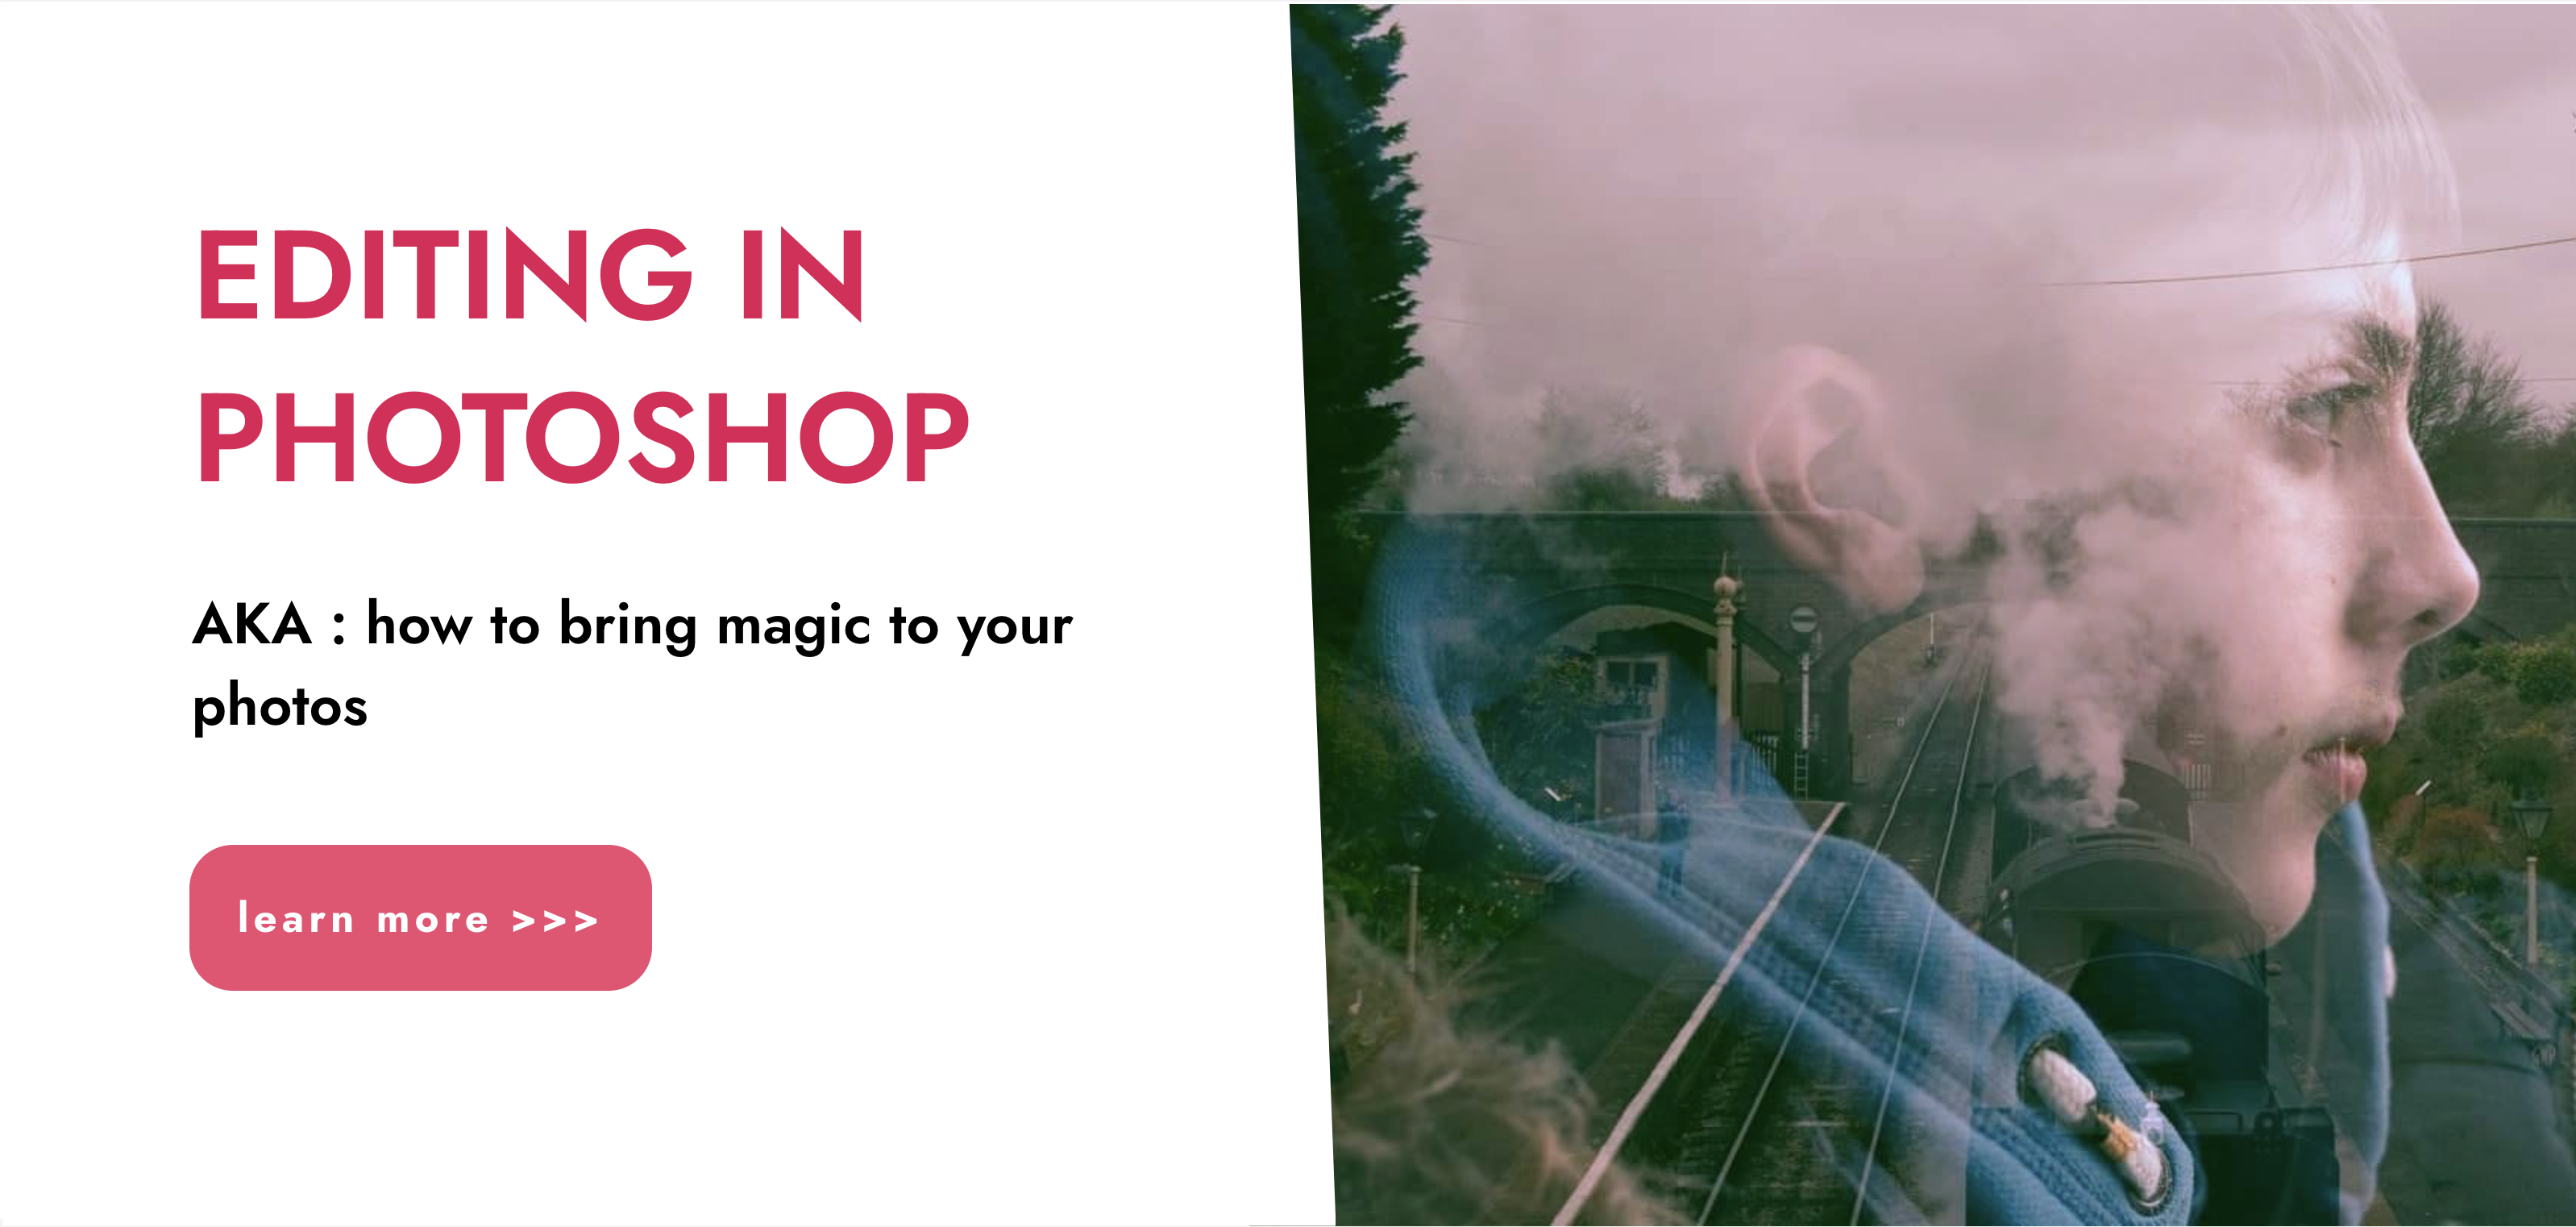
“Photography is more than a medium for factual communication of ideas. It is a creative art" - Ansel Adams Photoshop For Photographers When you're ready to take the next step in your photo-education and learn to use Photoshop - our Photoshop for Photographers course will take you from Photoshop novice to someone who can confidently navigate it and use its super powerful tools to take your photos beyond what you thought was possible! So if you've ever dreamt about being able to use Photoshop, maybe even got as far as opening it and quickly get overwhelmed with all that's packed inside - we've got you. KEY COURSE INFO: Course type: Instructor-led Course level: 2 levels - Essential Photoshop ( L1) and Creative Photoshop (L2) Course duration: each course level consists of 4 weeks + prep module Course format: Online course with step by step tutorials, instructional videos and interactive edit-along live classes, feedback on your learning and support group WHAT YOU LEARN: Our Photoshop for Photographers is a 2 level course - the first one covering all the key aspects of understanding how to navigate and work in Photoshop along with its most widely used tools and techniques, the second one building on top of that to really boost the creative uses you can apply it to. This incredibly in-depth course has everything you need as a photographer who wants to harness this amazing tool. What you learn: from basic Photoshop tools to more complex photo manipulations, from playing with colour to portrait retouching, from adding light to removing any unwanted object from your photos and lots, lots more. key photoshop tools object removal and placements - face / sky swaps Overlays & blending modes The art of adding light Skin editing and retouching introduction to compositing THIS IS THE COURSE FOR YOU IF : You you already know basics of editing (in Lightroom) but want to take them further into Photoshop ( where more fun happens) You tried using Photoshop before only to close it immediately after opening due to all the overwhelmingly unfamiliar tools and options You followed youtube tutorials before but beside replicating what the person did exactly, you still don't really have a good idea of how to use Photoshop - or why you should!? You want to be able to take advantage of the tools that are missing in Lightroom or do not give you sufficient control over them to do the job seamlessly - such as precise ways of removing unwanted objects in your image - Photoshop's powerful tools, such as the Content-Aware Fill and Clone Stamp enable you to remove distracting objects or people from your photos, ensuring the focus remains on the subject You want to be able to manipulate or replace elements in your images - from turning your background blurry to replacing blank skies, doing face swaps and more You want to be able to bring beautiful light into your images - from haze to sun rays, from - with colours that pop and light that's perfectly balanced You want to be able to take yoru portraits to a new level - remove blemishes, retouch skin,and correct imperfections, giving your images a polished and professional finish. You desire to create stunning composites: With Photoshop, you can combine multiple images seamlessly to create captivating composite photos. This skill is particularly useful for photographers who want to tell stories or create imaginative and surreal images. ONE COURSE - 2 LEVELS ESSENTIAL PHOTOSHOP Pick this course if you're new to Photoshop or do not have a lot of experience in Photoshop In this course you learn to : Navigate the software and set it up for a proper, smart, non-destructive workflow Discover all the essential tools and techniques that take your images way beyond what you could do in Lightroom Learn the key skills : from masks to brushes, from blending modes to selections, from cloning to canvas extensions, from face swaps to sky swaps - and more!! CREATIVE PHOTOSHOP Pick this course if you're already familiar with the basic tools and ways of working in Photoshop In this course you take all that you learned in the Essentials course and turbo boost it for creativity. You'll learn : How to play with light, colour and blur for unique creative outcomes How to get more out of the familiar tools - so advanced brushes, advanced selections, advanced blending More fun skills : from skin edits to retouching, from stitching photos to involved composites, from creating effects such as neon glow to turning your photos into comics and more! Learn more about Creative Photoshop WHAT'S INCLUDED IN EACH OF OUR PHOTOSHOP COURSES: 4 core modules - each with detailed step by step tutorials, downloadable videos and PDF workbooks Support Facebook group Weekly edit-along live webinar Practice files to learn on Feedback on your images ESSENTIAL PHOTOSHOP Next Essential Photoshop course starts 15 January 2024 The way you work in Photoshop is very different compared to Lightroom and a big learning curve for anyone who begins learning it for the first time. It's also a big reason why a lot of photographers open it for the first time, find it hard to recognise any familiar tools or make them work on the image and the give up. In this course we take you through it step by step. We show you around this tool and teach you how to use it in a way that's smart, non-destructive, flexible and making the most of its amazing features. Here is a non-exhaustive list of what you will learn: A thorough understanding of Layers, masks and brushes - you cannot really work effectively in Photoshop if you do not know how to use these tools. An absolute must! Key Photoshop tools - Photoshop is a hugely vast tool used by lots of different creative professions and depending on what you use it for, you will be using different tools. We introduce you to the ones that are key for a photographer! Working with Adjustment layers - these fantastic tools allow you to change colours, adjust tone and mood of images Removing and replacing parts of your photos - powerful selection, healing, cloning, content aware tools and more to allow you to clean up your images of everything that's undesirable or distracting in your images Simple composites ( Face swaps / Sky swaps) - while composites can be hugely complex and challenging, we show you how to get started with a few simple - but effective ones!Understanding Precision tools and filters for blurring and sharpening Blending modes and their immense potential for transforming your images with the tools you already know - from working with overlays to CREATIVE PHOTOSHOP Next Creative Photoshop course starts 15 April 2024 In Level 2 we build on the foundation we establish in Level 1 and start applying what you have learned more creatively - as well as learning more tools, more techniques and starting more fun projects. This is where we really get to have fun with those powerful tools - we learn not just how to fix and clean up undesirable elements from the photos, but how to creatively treat them so that they reflect your creative vision and imagination. The magic of Colour and blur - adding mood and softness to images to transform the images . We use several creative techniques to completel;y transform the images Adding and creating light effects in Photoshop - from light beams to sun burtsts to rainbows! Step by step skin editing and portrait retouching - from adjusting skin tones, removing unwanted colour casts, disappearing blemishes and creating highend, polished portraits that still retain healthy skin texture Using smart filters and creative adjustment layers to achieve effects such as turning your images into cartoons, watercolours or neon effects Working with and creating your own custom brushes, overlays etc - the power of photoshop brushes has to be experienced to be believed - from adding light rays to Playing with composites - adding magic to your images or creating new scenes and stories from scratch PHOTOSHOP For Photographers Photoshop courses - KEY INFO Essential Photoshop ( Level 1) - 4 week course, starts 15 Jan 2024 Creative Photoshop ( Level 2) - 4 week course, 15 April 2024 Course cost: BOOKING A SINGLE COURSE: £179 ( payment plans available ) BOOKING A BUNDLE: Book Level 1 and Level 2 together : £259 (payment plans available ) PHOTOSHOP FOR PHOTOGRAPHERS Each course consists of 4 weekly modules with step by step illustrated tutorials and videos + prep module weekly edit along class online class ( also recorded) feedback and advice on your edits private support group PDF workbook and downloadable videos Practice images to learn on COURSE PREREQUISITES: Adobe Photoshop software installed on your computer or tablet.This can be purchased either as a standalone Photoshop Subscription or as part of the Photography Plan which includes also access to Lightroom and Lightroom Classic. Please note that you need to ensure that your computer can run Photoshop - please follow Adobe minimum system requirements guidelines
Level 2 Award in End of Life Care (RQF)
By Guardian Angels Training
Gain a comprehensive understanding of end-of-life care principles and effective communication strategies with the Level 2 Award in End of Life Care (RQF). Ideal for healthcare professionals, caregivers, and individuals seeking to enhance their skills in providing compassionate care.