- Professional Development
- Medicine & Nursing
- Arts & Crafts
- Health & Wellbeing
- Personal Development
572 Mac courses in Yeadon delivered Live Online
Vectorworks Intermediate Training Course
By ATL Autocad Training London
Who is this course for? Vectorworks Intermediate Training Course. This intermediate course empowers designers with Vectorworks skills, enhancing productivity and enabling the creation of intricate, high-quality designs. Design career with this essential training. Vectorworks courses cater to individuals of all skill levels. Click here for more info: Website Scheduling: 1-on-1 training, your schedule. Book any hour, Mon to Sat, 9 am - 7 pm. Call 02077202581 to reserve. Duration: 16 hours. Method: In-person sessions and live online. Comprehensive Course Outline Please note that the following is a general outline, and the specific topics covered during your training will be tailored to your student level, available time, and course preferences. Essential Foundations Navigating the Interface and User-Friendly Navigation Document Settings Adjustment and Template File Creation Effective File Navigation: Zooming, Panning, and Page Fitting Object Selection Techniques and Deletion Creating Basic Drawings with Precision Utilizing Object Snaps for Accurate Drawing Understanding the Object Info Palette Exploring Fundamental 2D Tools and Tool Modes Crafting Complex Lines and Shapes Project Organization Efficiently Organizing Your Drawings Using Classes Customizing Colors, Line Types, and Line Thickness Views Management: Saving and Editing Views Annotating and Printing Your Designs Adding Text and Annotations Incorporating Dimensions for Clarity Preparing and Printing Your Drawings Advanced Presentation Techniques Leveraging the Power of Sheets and Viewports Creating Standard and Cropped Viewports Annotating and Editing Viewports Exploring Viewport Display Overrides and Sheet Layer Printing Streamlining Workflows Between Viewports and Design Layers Efficiently Saving and Editing Views for Navigation Enhancement Importing DWG and File Formats Importing and Effectively Working with DWG Files Integrating Sketches and Photos into Your Drawings Enhancing Efficiency Creating and Editing Symbols Resource Browser: Management and Organization of Symbols Maximizing Productivity with Worksheets, Schedules, and Reports Custom Attribute Creation and Management (Hatches, Gradients, and Image Fills) Designing Custom Title Blocks Free 30-day Trial Vectorworks https://www.vectorworks.net/trial After completing this course, you will: Master Vectorworks: Gain proficiency in Vectorworks software, including its interface and essential design tools. Precise Drawing: Create accurate drawings with dimensions and object snaps. Project Management: Efficiently organize and manage design projects using classes and views. Clear Presentation: Annotate and dimension your drawings for professional presentations and printing. Advanced Presentation: Learn advanced presentation techniques, including sheets and viewports. File Integration: Work with DWG files, sketches, and photos to enhance your designs. Efficiency Boost: Discover time-saving workflows, symbol creation, and customization. Top Job Opportunities for Designers: Architectural Drafter Interior Designer Landscape Designer CAD Technician Graphic Designer Construction Estimator Product Designer Set Designer Event Planner Urban Planner These roles span various industries and offer career growth for Vectorworks-trained designers in fields like architecture, engineering, entertainment, and more. Tailored Vectorworks Training Our Vectorworks courses are customized to your needs, offering 1-2-1 sessions that adapt content to your expertise, experience, and project requirements. Whether in class, onsite, or via live online sessions, these bespoke courses ensure optimal learning outcomes. Course Overview Begin your journey into Vectorworks, unlocking the potential for digital 2D and 3D visualization in interior design, architecture, 3D modeling, and landscaping. Vectorworks, a user-friendly industry-standard software, is suitable for both PC and Mac users. Course Highlights Master proper drawing setup and utilize 2D drawing tools for professional plans and elevations. Navigate and leverage the built-in symbol library effectively. Transform 2D plans into fully rendered 3D perspectives with textures and lighting. Create a comprehensive project presentation print. (Note: This course does not cover complex curved shapes.) Tailored Training | Vectorworks Personalized One-on-One Guidance Flexible Learning Schedule Ongoing Post-Course Support Access to Extensive Learning Materials Recognition with a Certificate of Attendance Affordable Training Rates Assistance with Software Configuration Rewards for Referrals Special Group Training Discounts Convenient Hours to Suit Your Schedule Customized Courses for Your Animation Needs

AutoCAD Night Training Course
By ATL Autocad Training London
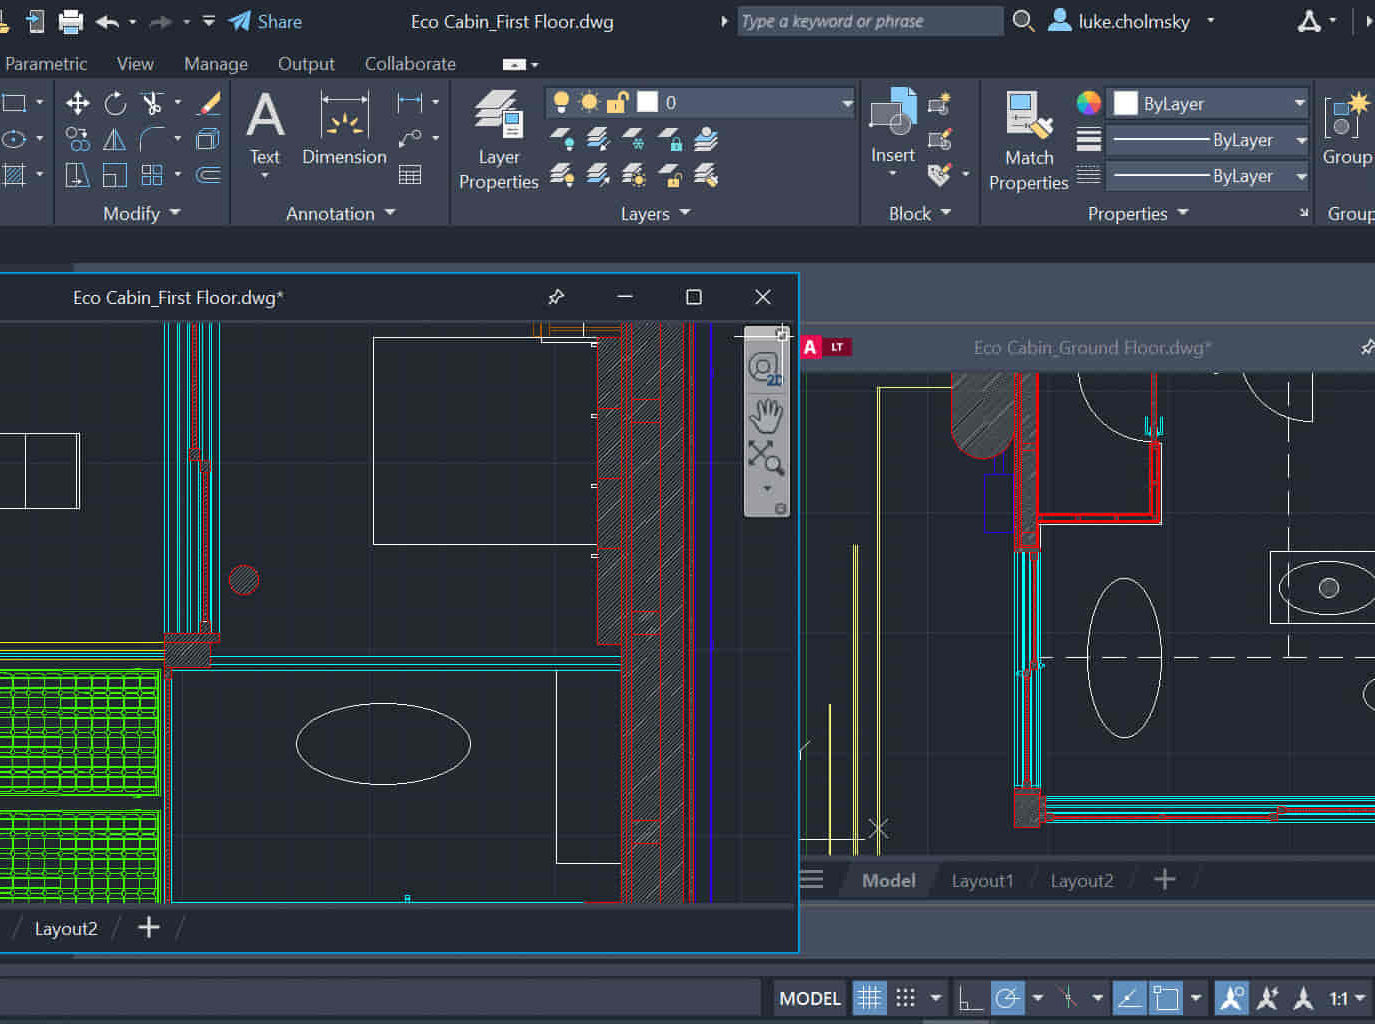
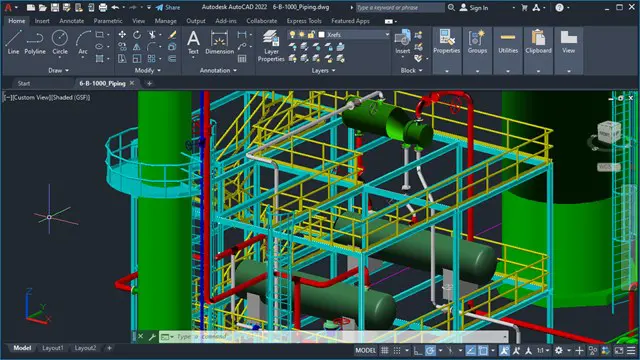
Why AutoCAD Night Training Course? This Autodesk AutoCAD 2D Evening Course, 10 hours, is perfect for beginners aiming to create 2D plans, elevations, sections. It covers all tools in AutoCAD 2D, making it valuable for both newcomers and those aspiring to enhance their skills. Click here for more info: Website When: Personalized 1-on-1 sessions. Available from Mon to Sat 9 am to 7 pm. Book over the phone, call 02077202581 Duration: 10 hours (Split 10 hrs over as many as days you want) Method: In-person or live online training Course Content: Foundational Shape Construction Manipulating Lines, Arcs, and Polylines Optimizing Object Alignment with Grip Tools Data Management and Backup Protocols File Format Exploration and Understanding Disaster Recovery Strategies Advanced Object Creation Techniques Precision Measurement Unit Handling Dynamic Input Methods Utilizing Inquiry Commands and Measurement Tools Effective Object Visualization and Navigation Zoom, Pan, and Object Manipulation Swift Object Management Strategies Object Transformation and Alteration Techniques Functions for Trimming, Extending, and Offsetting Objects Creating Various Geometric Shapes Object Editing, Joining, and Filleting Stretching and Organizing Objects Layer Management and Customization Configuring Object Properties and Linetypes Designing Layouts and Efficient Page Configurations Scaling Drawing Views and Adding Annotations Text Creation, Styling, and Editing Dimensioning Principles and Customization Implementing Multileaders for Annotations Object Hatching and Editing Techniques Managing Reusable Content: Blocks and Symbols Utilizing Tool Palettes and Working with Groups Understanding Model Space and Paper Space Creating Layouts and Viewports Scaling Viewports and Plotting/PDF Output Managing Multiple Sheet Drawings Optimizing Plotstyles for Printing Creating Custom Drawing Templates To download AutoCAD, visit Autodesk's official website. Advantages: AutoCAD stands as the industry-leading computer-aided design (CAD) software, widely adopted for creating architectural, engineering, and construction drawings. Acquire essential skills applicable across a diverse spectrum of industries. Assessment: Evaluation will occur informally during classes, which comprehensively cover specific topics, complemented by practical drawing exercises to reinforce skills and knowledge. Additionally, we offer longer, independent drawing tasks that encompass multiple acquired skills, evaluated against professional benchmarks. Requirements: Prospective participants should possess basic computer literacy and engagement in professions where CAD is utilized. English Proficiency: Applicants are expected to demonstrate proficiency in both written and spoken English. Why Opt for This Course? Our AutoCAD course is your gateway to mastering the essential skills for creating top-notch technical drawings. Designed with beginners in mind, this course is perfect for individuals who have little to no prior experience with AutoCAD. If your work or studies involve CAD drawings, gaining a solid grasp of the program is crucial for confidence and proficiency. Upon enrollment, students gain access to a free 30 days trial. While classes are conducted using AutoCAD on PC, it's worth noting that the course is compatible with AutoCAD on Mac, albeit with slight interface variations. Who Should Attend? This course caters to those eager to acquire the skills necessary for creating and interpreting drawings produced in AutoCAD. Our diverse system hails from various industries, including engineering, architecture, landscape architecture, construction, electronics, and product design. Why Opt for CAD Training? Practical Learning Experience: Immerse yourself in hands-on training. Personalized One-to-One AutoCAD Classes: Benefit from individualized attention. Expert and Knowledgeable Instructors: Learn from skilled and experienced teachers. Online Training Recordings: Access recorded AutoCAD training sessions online. Best Price Guarantee: Enjoy competitive pricing with a satisfaction guarantee. Pre and Post-Training Support: Receive lifetime free support before and after completing your training. Flexible Schedule: Choose your class timings and dates-weekdays, weekends, or evenings. Tailored Course Content: Customize the AutoCAD course to align with your specific needs. Access Anywhere: Access AutoCAD training and support from any location.
Sketchup One to One Basic to Intermediate Level
By Real Animation Works
Sketchup face to face training customised and bespoke.

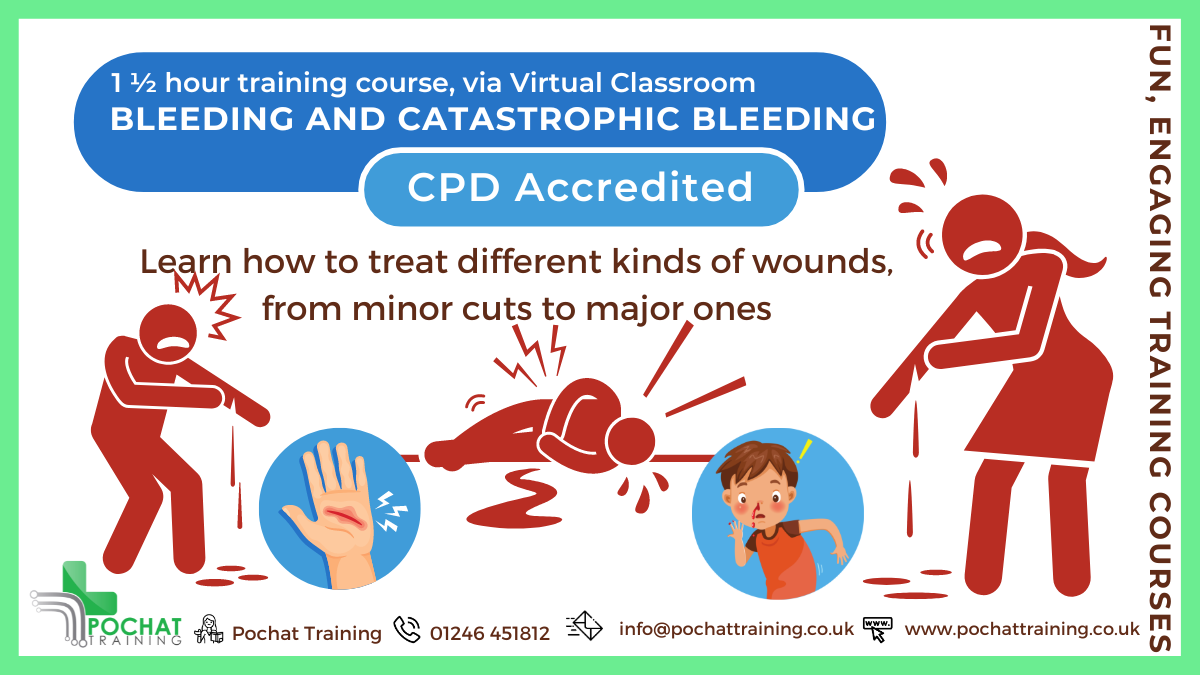
CPD Accredited, Interactive Short Course 1½ hr session Learn to deal with bleeding, from minor bleeds to catastrophic bleeds Become a life-saving hero if ever someone is seriously injured Course Contents: How to treat minor bleeding How to treat major bleeding Types of bleeding How to treat catastrophic bleeding Tourniquets Why to use a tourniquet How to use a tourniquet How to make an improvised tourniquet How to use a Tourni-Key Wound packing How to use Celox Z-Gauze How to improvise packing a wound How to treat gunshot wounds Practical elements: There is an option of learning how to deal with catastrophic bleeding in person, so you get to practice these skills (and play about with fake blood 😀). For that, see our Catastrophic Bleeding course module. Benefits of this Short Course: We all have regular injuries which cause us to bleed If not properly cared for, even a small cut can turn septic and kill or maim Serious car accidents, machinery accidents at work, weapon wounds, terrorist attacks and more can also lead to catastrophic bleeding Did you know that a person could bleed out in just five minutes..? You're got to act quick, decisive and correctly Please don't do what you see in the movies - you will kill the person even quicker...
iMovie Essentials
By Nexus Human
Duration 1 Days 6 CPD hours This course is intended for Anyone who wants to learn how to create movies - from a home movie to professional looking films using iMovie. This one-day hands-on course will teach the participant the full functionality of iMovie. The course will begin with how to import video and photographs into iMovie; how to review and organize the footage; how to shape a story using the editing and trimming tools; how to add music and sound and other video effects and overlays. Lastly, the class will explore sharing your completed movies with your Mac computer, YouTube and other streaming outlets. Introduction to iMovie Adding Media from Photo Library Other Ways to Import Media From iPad, iPhone, or iPod Touch Record Video Directly into iMovie Importing Media from Mac Playing or Skimming Video Sorting and Searching for Clips Marking Clips as Favorite or Rejected Creating Movies Creating a New Movie Viewing and Managing Projects Setting Movie Themes Selecting Clips Adding and Trimming Clips Moving and Splitting Clips Adding and Modifying Transitions Adding and Editing Titles Adding Music and Sound Clips Working with Trailers (If required) Creating Trailer Adding Video Adding Titles and Credits Converting Trailer to Movie Adding Video Effects Enhancing Clip Adjusting Clip?s Order Cropping and Rotating Clips Stabilizing Shaky Clips Adding Video Effects Adding Freeze Frame Creating Effects with Multiple Clips Slow Down and Speed Up Clips Adding Instant Replay or Rewind Effect Copy Effects and Adjustments Sharing Video Clips and Projects Email Movie, Trailer, and Clip Exporting Quick Time File Exporting an Image Share Online Customizing iMovie iMovie Preferences Customizing Project Settings Changing iMovie Window Layout Changing How Clips are Displayed Organizing Media Organizing Media and Events Working with Multiple Libraries Consolidating Projects and Events Keyboard Shortcuts and Gestures Overview of Keyboard Shortcuts Keyboard Shortcuts Multi-Touch Gestures Force Touch Trackpad Gestures

Arnold for 3dsMax Basic to Advanced Training Course
By ATL Autocad Training London
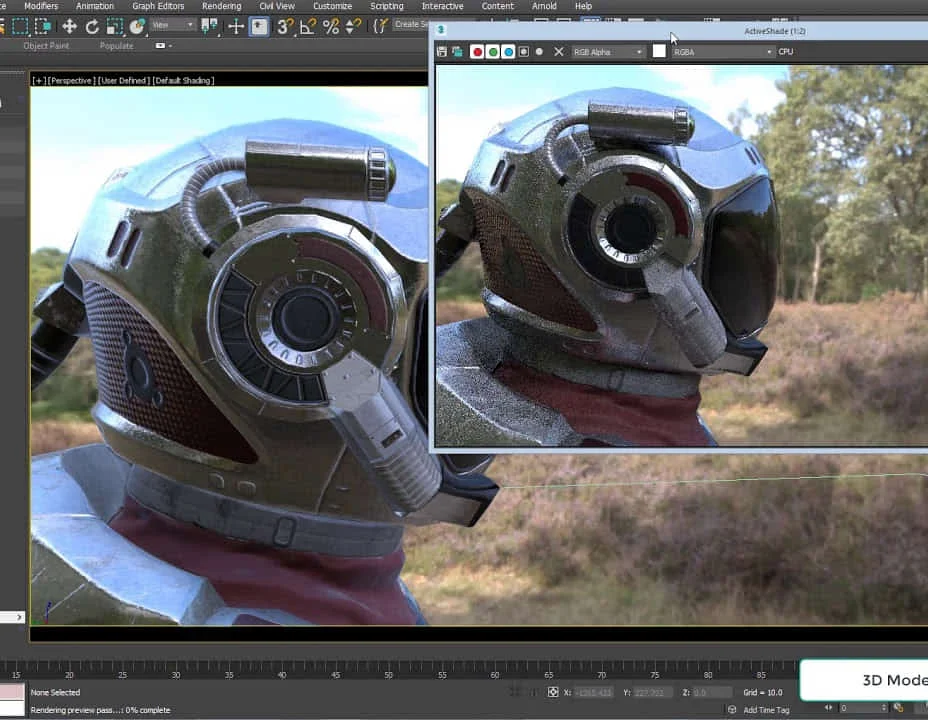
Learn 3ds Max + Arnold Photo Realistic Rendering Workflow. Enhance your skills with our Arnold renderer training for 3ds Max users. Learn to create lifelike 3D scenes and animations, mastering accurate light simulation. Explore essential Arnold features in lighting, materials, and rendering. Click here for more info: Website Training duration: 10 hrs. Method: 1-on-1 and Personalized attention. Schedule: Choose a convenient time from Monday to Saturday, 9 am to 7 pm, and book your slot. Course Duration: 10 hours Course Outline: Session 1: Introduction to Arnold Renderer (1 hour) Unveiling Arnold Renderer's features and capabilities Understanding the benefits of Arnold in 3ds Max Setting up Arnold renderer and exploring its interface Mastering the workflow for exceptional results Session 2: Basic Arnold Shading (1 hour) Navigating the Arnold shading network Creating essential materials with Arnold shaders Working with diverse shader types (standard, Lambert, etc.) Elevating visuals with maps and textures in Arnold's materials Session 3: Arnold Lighting Techniques (1.5 hours) Embracing the art of lighting with Arnold Lights Implementing various light types (area lights, spotlights, etc.) Creating ambiance with Arnold skydome and environment lighting Illuminating scenes using physical sky and image-based lighting Session 4: Arnold Cameras and Rendering Settings (1.5 hours) Mastering Arnold cameras and their settings Achieving depth of field and motion blur effects in Arnold Configuring optimal rendering settings for superior results Fine-tuning rendering with the Arnold Render Setup dialog Session 5: Advanced Arnold Shading (1.5 hours) Creating intricate materials with advanced Arnold shaders Realistic surfaces with Arnold's procedural textures Harnessing the power of advanced shading nodes (bump, displacement, etc.) Unleashing specialized effects with Arnold shaders (subsurface scattering, hair, etc.) Session 6: Arnold Rendering Optimization (1 hour) Streamlining rendering settings for enhanced efficiency Leveraging Arnold features like adaptive sampling and denoising Noise reduction techniques for smoother Arnold renders Troubleshooting common rendering issues and their solutions Session 7: Advanced Lighting Techniques (1 hour) Crafting lifelike lighting setups with Arnold's prowess Exploring advanced lighting properties (exposure, color temperature, etc.) Enhancing lighting with Arnold light filters and modifiers Implementing captivating effects like volumetric lighting and caustics Session 8: Arnold AOVs and Compositing (1 hour) Understanding Arnold AOVs (Arbitrary Output Variables) Configuring and rendering AOVs for post-production control Compositing AOVs for artistic adjustments in post-production Leveraging AOVs for fine-tuning the final image Session 9: Arnold for Animation and Motion Graphics (1 hour) Integrating Arnold seamlessly into animation and motion graphics projects Rendering animation sequences with finesse Managing motion blur and time-based effects with Arnold Unveiling Arnold's potential for particle rendering and dynamic effects Session 10: Arnold Tips, Tricks, and Best Practices (1 hour) Exploring advanced techniques and workflows for exceptional results Optimizing scene setup for enhanced rendering performance Troubleshooting tips for common issues and errors in Arnold Q&A session and final review to consolidate knowledge Upon completing this course, you will: Gain a solid understanding of Arnold, its rendering concepts, and its integration into 3D projects. Master the setup of Arnold renderer, optimizing performance, and ensuring compatibility with various platforms. Effectively create and manage materials for Arnold, enabling you to produce realistic and visually appealing scenes. Demonstrate proficiency in working with different shapes, lighting techniques, cameras, and shaders to enhance the visual quality of your 3D projects. Harness the power of textures to add depth and realism to your rendered scenes. Utilize Arnold scene sources efficiently, empowering you to streamline your workflow and achieve desired results in a faster and more organized manner. Overall, this course equips you with the necessary skills to confidently utilize Arnold in your projects and achieve exceptional rendering outcomes. Arnold is an advanced Monte Carlo ray tracing renderer designed for feature-length animation and visual effects. This comprehensive course equips you with the skills to produce photo-realistic 3D rendered scenes and animations. Learn accurate light simulation, artistic style techniques, and more. Our 3ds Max - Rendering with Arnold training is customizable, offering one-to-one sessions. Whether in-class or live online, our Autodesk Certified Instructors with vast rendering experience will guide you through hands-on exercises and provide a training guide for future reference. Upon completing the course, you'll receive an e-certificate and liftime email support from your Arnold trainer. Prior experience with 3ds Max is recommended, but no prior Arnold knowledge is required. Choose the Arnold version that suits your needs for this training course. Lifetime email support provided. Comprehensive handouts and useful documents included. Flexible financial support options available, including installment packages and funding through job center plus and DWP (Contact us for details). Money-back guarantee: Unsatisfied after your first session? We address your concerns and offer a refund if needed (Terms and conditions may apply). Assistance with computer optimization for improved software performance in Autocad, 3ds Max, and Photoshop on both MAC and PC platforms. Industry connections for portfolio promotion and job opportunities.
AutoCAD 3D modeling course
By Real Animation Works
Autocad face to face training customised and bespoke.
Rhino 3d and V-ray for Rhino Basic to Intermediate Training
By London Design Training Courses
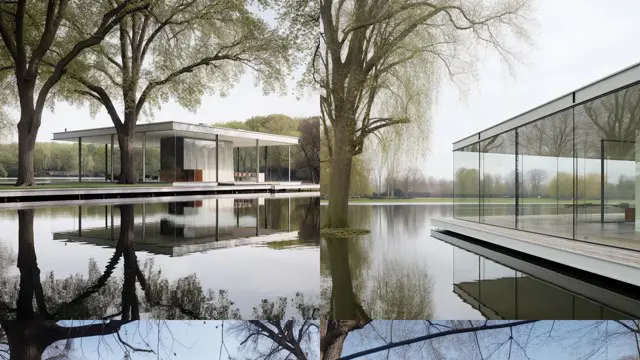
Why Learn Rhino 3d and V-ray for Rhino Basic to Intermediate Training Course? Course Link Learn Rhino 3D and V-Ray for Rhino Basic to Intermediate Training Course. Designed for beginners and experienced users, this course empowers you with essential modeling and rendering techniques. Choose between in-person or live online sessions. Duration: 16 hrs. Method: 1-on-1, Personalized attention. Schedule: Tailor your own schedule by pre-booking hours of your choice, available from Mon to Sat between 9 am and 7 pm. London Design Training Course Certified tutors for Rhino 3D and Vray Training - Online, On-Site, or In-Class one to one. Choose from a diverse range of Rhino courses conducted by expert trainers with extensive production experience. Rhino 3D and V-Ray Comprehensive Training Course Duration: 16 hours Course Overview: Learn Rhino 3D and V-Ray with our Basic to Intermediate Training Course. Perfect for beginners, this course equips you with the skills to navigate Rhino's interface, create captivating 3D models, apply textures, and utilize V-Ray for stunning renders. Course Outline: I. Introduction to Rhino 3D and V-Ray (1 hour) Get familiar with Rhino 3D and V-Ray interfaces and essential tools Master viewport navigation with expert controls Understand units and tolerance for precise designs Customize your workspace for seamless workflow II. Creating Basic 3D Objects (3 hours) Craft captivating 3D shapes and objects Edit objects and work with curves for refined designs Explore surfaces and solids for advanced modeling Utilize transformations and copying techniques for enhancements III. Materials and Textures (2 hours) Unleash the power of materials and textures on your designs Apply stunning materials to bring your creations to life Enhance your designs with custom materials for an aesthetic boost IV. Basic Lighting Techniques in V-Ray (2 hours) Discover the magic of lighting with V-Ray for impactful renders Utilize V-Ray lights and HDRI maps for striking lighting effects Adjust lighting settings for impeccable results V. Enhancing Renders with V-Ray Settings (3 hours) Optimize V-Ray render settings for the best output Adjust global illumination and reflection settings for desired looks Elevate renders with dynamic effects like depth of field and motion blur VI. Advanced Modeling Techniques (2 hours) Master advanced modeling tools for intricate shapes Refine curve and surface creation and editing skills Handle solids with Boolean operations and trimming techniques VII. Advanced Lighting Techniques in V-Ray (2 hours) Create and adjust artificial lights for perfect illumination Utilize V-Ray's Sun and Sky system for realism Craft custom HDR images for enhanced lighting VIII. Exporting and Importing (1 hour) Learn file formats for seamless sharing and collaboration Prepare models for 3D printing with best practices Integrate models from other software for a unified workflow IX. Conclusion and Next Steps (30 minutes) Recap course knowledge and highlights Access valuable tips and resources for continuous learning Engage in interactive Q&A for feedback and support Resources: Explore V-Ray with a free trial at: https://www.chaosgroup.com/vray/sketchup/free-trial Access material library at: https://www.vray-materials.de/ Discover textures at: https://textures.com/ Downloads: Download Rhino 7 for Windows for a full 90-day evaluation at: https://www.rhino3d.com Experience Rhino 7 for Mac Evaluation with a user-friendly interface and seamless performance for 90 days. Upon completing the Rhino 3D and V-Ray Basic to Intermediate Training Course, participants can expect to achieve the following learning outcomes: Proficiency in Rhino 3D and V-Ray: Develop a comprehensive understanding of Rhino 3D and V-Ray interfaces, tools, and functionalities, enabling participants to navigate and utilize the software effectively. 3D Modeling Skills: Master the art of creating captivating 3D objects and shapes using Rhino 3D, including editing, transforming, and refining designs for diverse applications. Material Application: Acquire the ability to apply and customize materials and textures to enhance the visual appeal and realism of 3D models, elevating the quality of designs. Lighting Techniques: Gain expertise in utilizing V-Ray lighting tools, such as V-Ray lights and HDRI maps, to achieve striking lighting effects in rendered scenes. Rendering Excellence: Learn to optimize V-Ray render settings, control global illumination, and apply dynamic effects like depth of field and motion blur for high-quality and impressive renders. Advanced Modeling: Develop skills in advanced modeling techniques, including handling curves, surfaces, and solids, enabling participants to tackle complex design challenges. Lighting Mastery: Acquire the knowledge and expertise to create and adjust artificial lights, utilize the Sun and Sky system, and craft custom HDR images for realistic lighting setups. Seamless File Management: Understand various file formats for exporting and importing 3D models, facilitating efficient collaboration and preparation for 3D printing. Creative Problem-Solving: Enhance creative thinking and problem-solving abilities through hands-on practice and exploration of diverse design scenarios. Professional Presentation: Learn post-production techniques in Photoshop to enhance renders and create visually appealing design presentations for effective communication. Continuous Learning: Access valuable resources and tips to encourage continuous learning and professional growth in Rhino 3D and V-Ray.

Personalized AutoCAD Training for Interior Designers: Live Online and One-to-One
By Real Animation Works
Autocad face to face training customised and bespoke. In-person