- Professional Development
- Medicine & Nursing
- Arts & Crafts
- Health & Wellbeing
- Personal Development
721 Link courses in Cardiff delivered Live Online
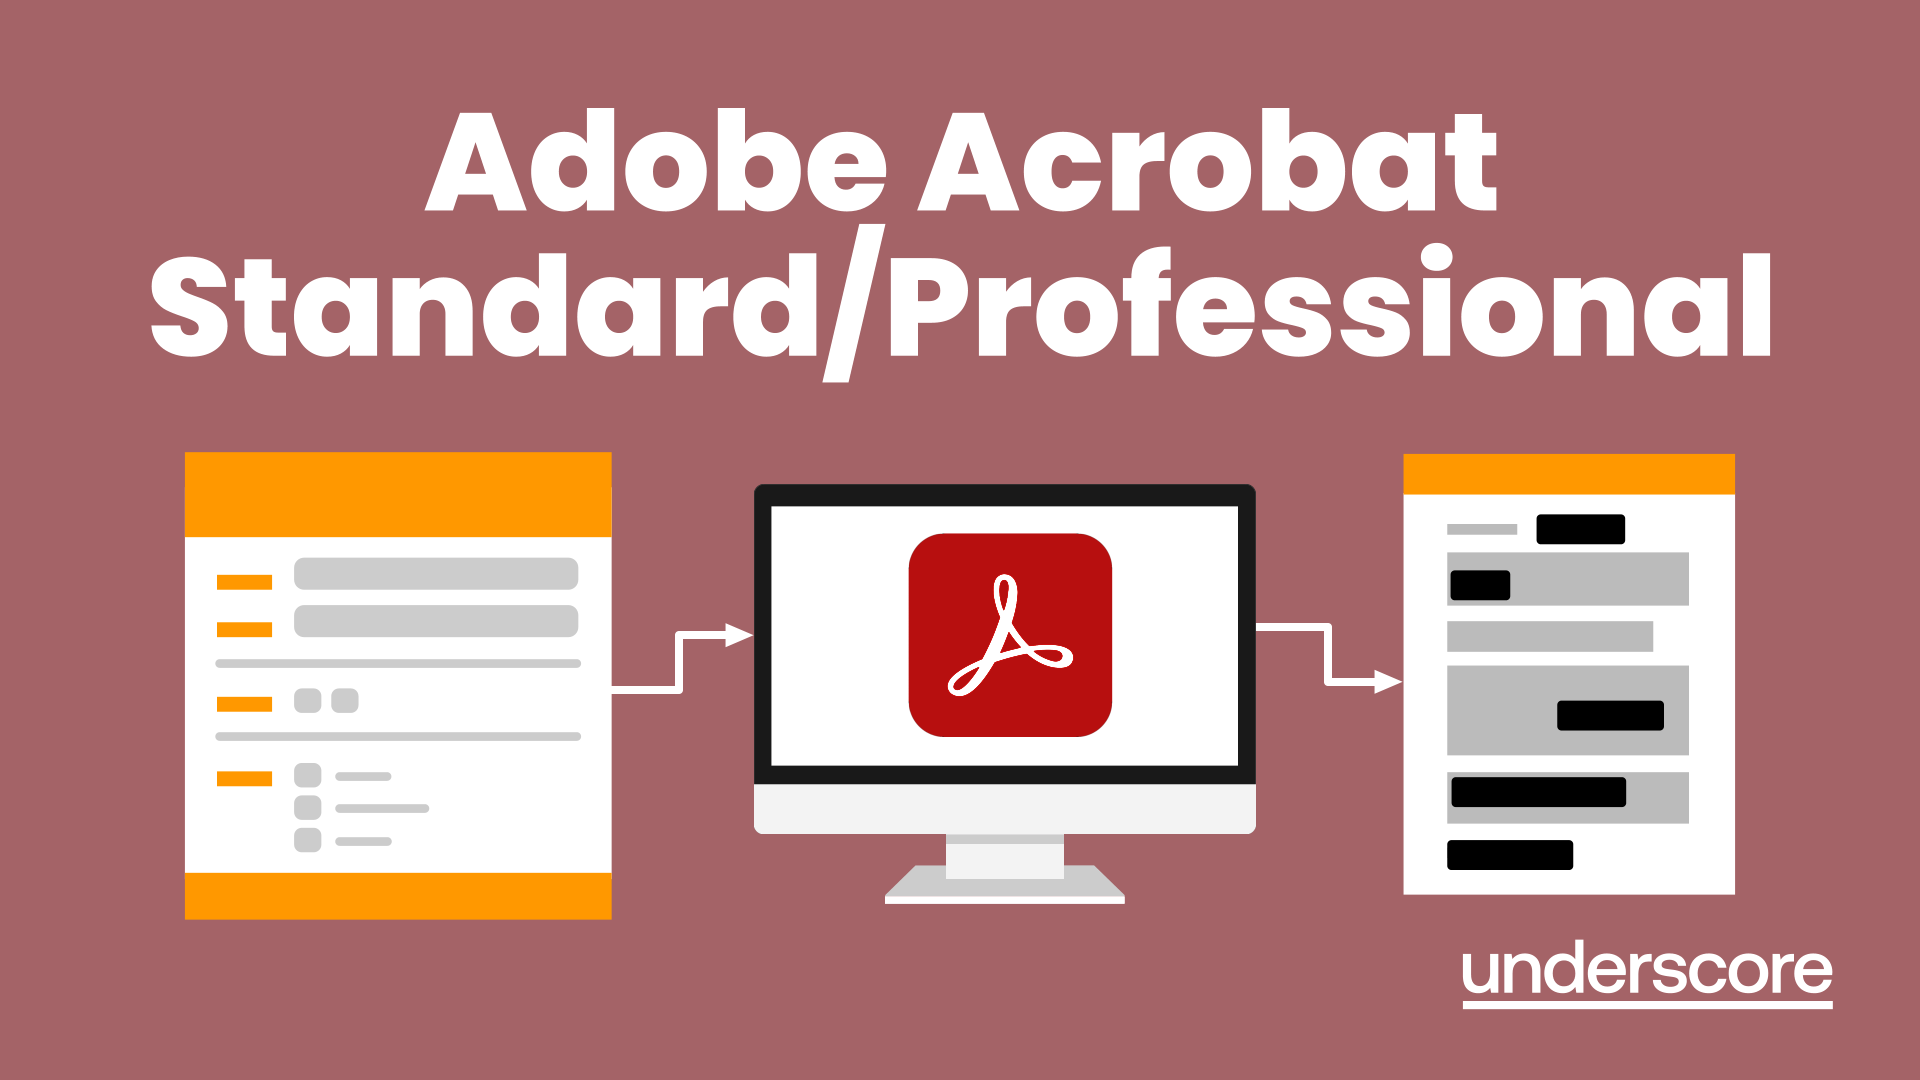
Adobe Acrobat (Standard or Professional)
By Underscore Group
Discover the amazing features this tool has to offer in combining, collating and editing documents and the forms, markups and redaction techniques available. Duration 1 day (6.5 hours) Overview This Adobe Acrobat course looks at the powerful features of the tool quite often overlooked. The course requires the use of either the Standard or Professional versions of Acrobat as the free Acrobat Reader only has limited functionality. Learn how to combine documents into a single file, edit and mark up PDFs, compare documents, redact data from documents and create fillable forms. Objectives By the end of the course you will be able to: Create PDFs from other tools Set security Collate and combine files into a single PDF Edit PDF files Complete and sign documents Create fillable forms Mark up PDF documents Compare files Redact data Content Creating PDFs Building PDF documents from Word, Excel and PowerPoint Setting PDF options for print, image quality and security Working in Acrobat Home, Tools and Document Views Using the Navigation Panel and Pane Floating toolbar and Contextual menus Collating and Combining Files Combining multiple files into a single PDF Adding extra files Deleting pages and reorganising pages Editing Files Editing text and graphics Adding text and images Adding headers and footers, watermarks and backgrounds Adding Links Adding manual links Automatic links Completing and signing documents Using fill and sign to complete forms Adding signatures Creating Fillable and Signable Forms Prepare a form Autodetect fillable fields Add manual fillable fields Adding drop downs, check boxes, etc. Naming fields Setting field properties Previewing the form Marking Up Documents Marking up changes Using sticky notes Using the highlighter pen Adding stamps Attaching documents and audio Replying to comments Comparing Files Selecting settings Comparison report Reviewing differences Using the changes pane Redacting Data (Acrobat Professional only) Setting redaction options Redacting chosen text Searching and redacting words, phrases or patterns Redacting whole pages Applying redaction
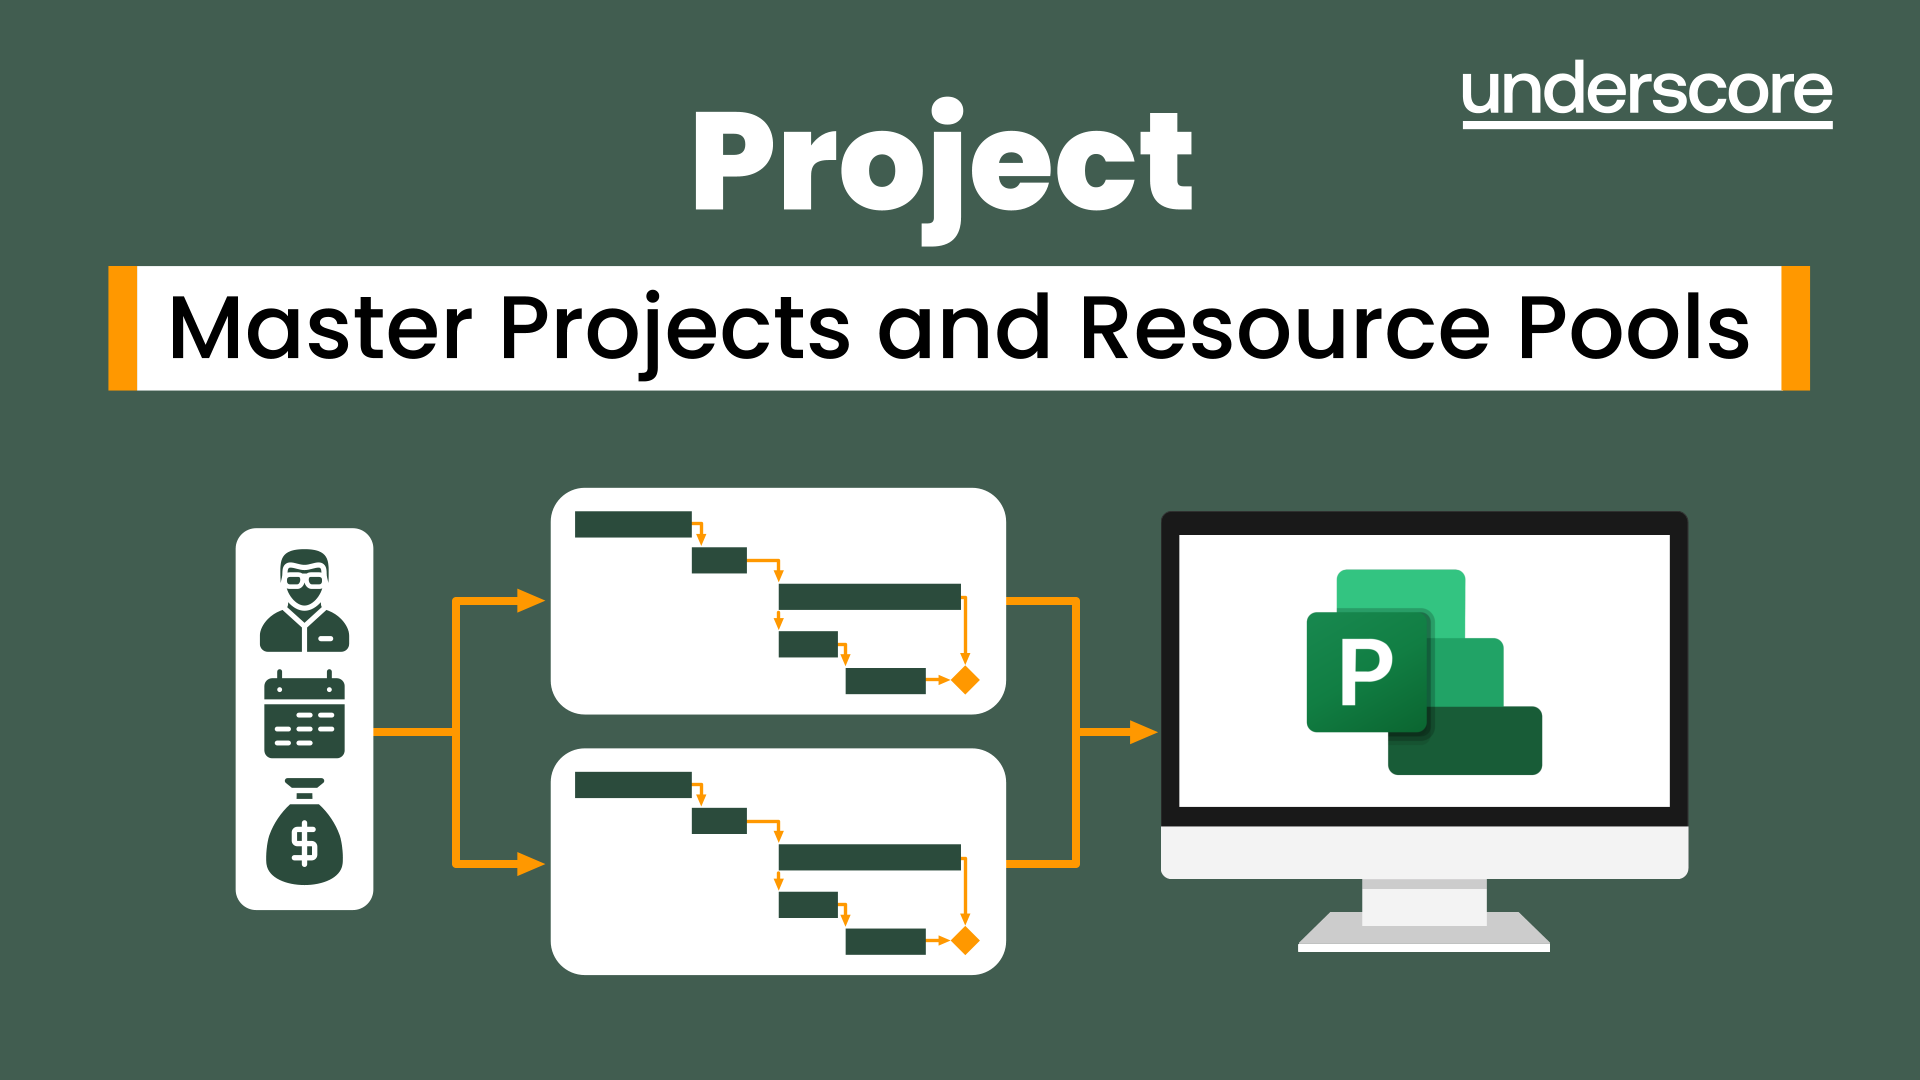
Master Projects and Resource Pools
By Underscore Group
Learn how to use Master Projects and Resource Pools to create better visibility across projects. Course overview Duration: 4 hours This course shows you how to create Master Projects allowing you to roll several sub projects into a master view. It also shows techniques to create resource pools to share resources between projects to enable you to better manage your resource teams and check resource loading. This half day course looks at how to practically do this and setup both elements. This is aimed at existing users of Microsoft Project who need to create master schedules and share resources and loadings. Objectives By the end of the course you will be able to: Create master projects Insert and update sub projects Create a resource pool Share resources between projects Check resource loadings between projects Content Working with multiple projects Consolidating projects Linking to sub projects Setting the master project as read only Saving consolidated projects Working on consolidated projects Setting task links between projects Getting source project information Removing projects from the consolidation Sharing resources Creating a resource pool Sharing resources Opening projects that share resources Updating the resource pool Refreshing the resource pool Opening a resource pool Removing resource sharing
Primavera P6 Planning and Control
By Underscore Group
Learn how create and structure enterprise projects and programmes. Course overview Duration: 2 days (13 hours) Our P6 Project Planning and Controls Fundamentals course is an intensive two day course aimed at experienced planners and project controllers who need to use Primavera to create and manage detailed plans. It includes creating EPS levels, projects, WBS levels and detailed activity and resource planning. Experience of project planning and scheduling techniques is essential. Objectives By the end of the course you will be able to: Create a programme structure Create projects and set project properties Create programme milestones Create a Work Breakdown Structure (WBS) Create detailed plans including activities, links and resources Progress the schedule Manage actuals Customise layouts Use the reporting tools in Primavera Content Programme Management Creating EPS elements Defining the programme structure Navigating the EPS structure Finding programmes Project Management and WBS Creating projects Setting project properties Validating projects Assigning project codes Building a work breakdown structure Creating a WBS structure Creating WBS elements Work package management Top Down budgets Allocating top down budgets Budget change Programming milestones and activity planning Creating programme milestones Setting constraints Linking milestones Scheduling Using the schedule function Detailed activity planning Creating activities Relationship types Creating relationships Adding milestones Assigning activity codes Resourcing, workloads and baselining Resource types Creating resources Resource attributes Assigning resources Switching resources Split load resource assignment Reduced hours resource assignment Checking workload Reviewing workload Dealing with resource conflicts Assignments view Baselining Creating baselines Assigning baselines Working with layouts Creating layouts Customising columns Setting filters Sorting and grouping Changing the timescale Customising the Gantt Creating activity code breakdown structures Progressing the schedules Updating task status and remaining duration Setting the data date Monitoring and reporting Exporting and importing information Primavera standard reports Creating custom reports Creating portfolios Printing Printing your schedule Printing to other packages

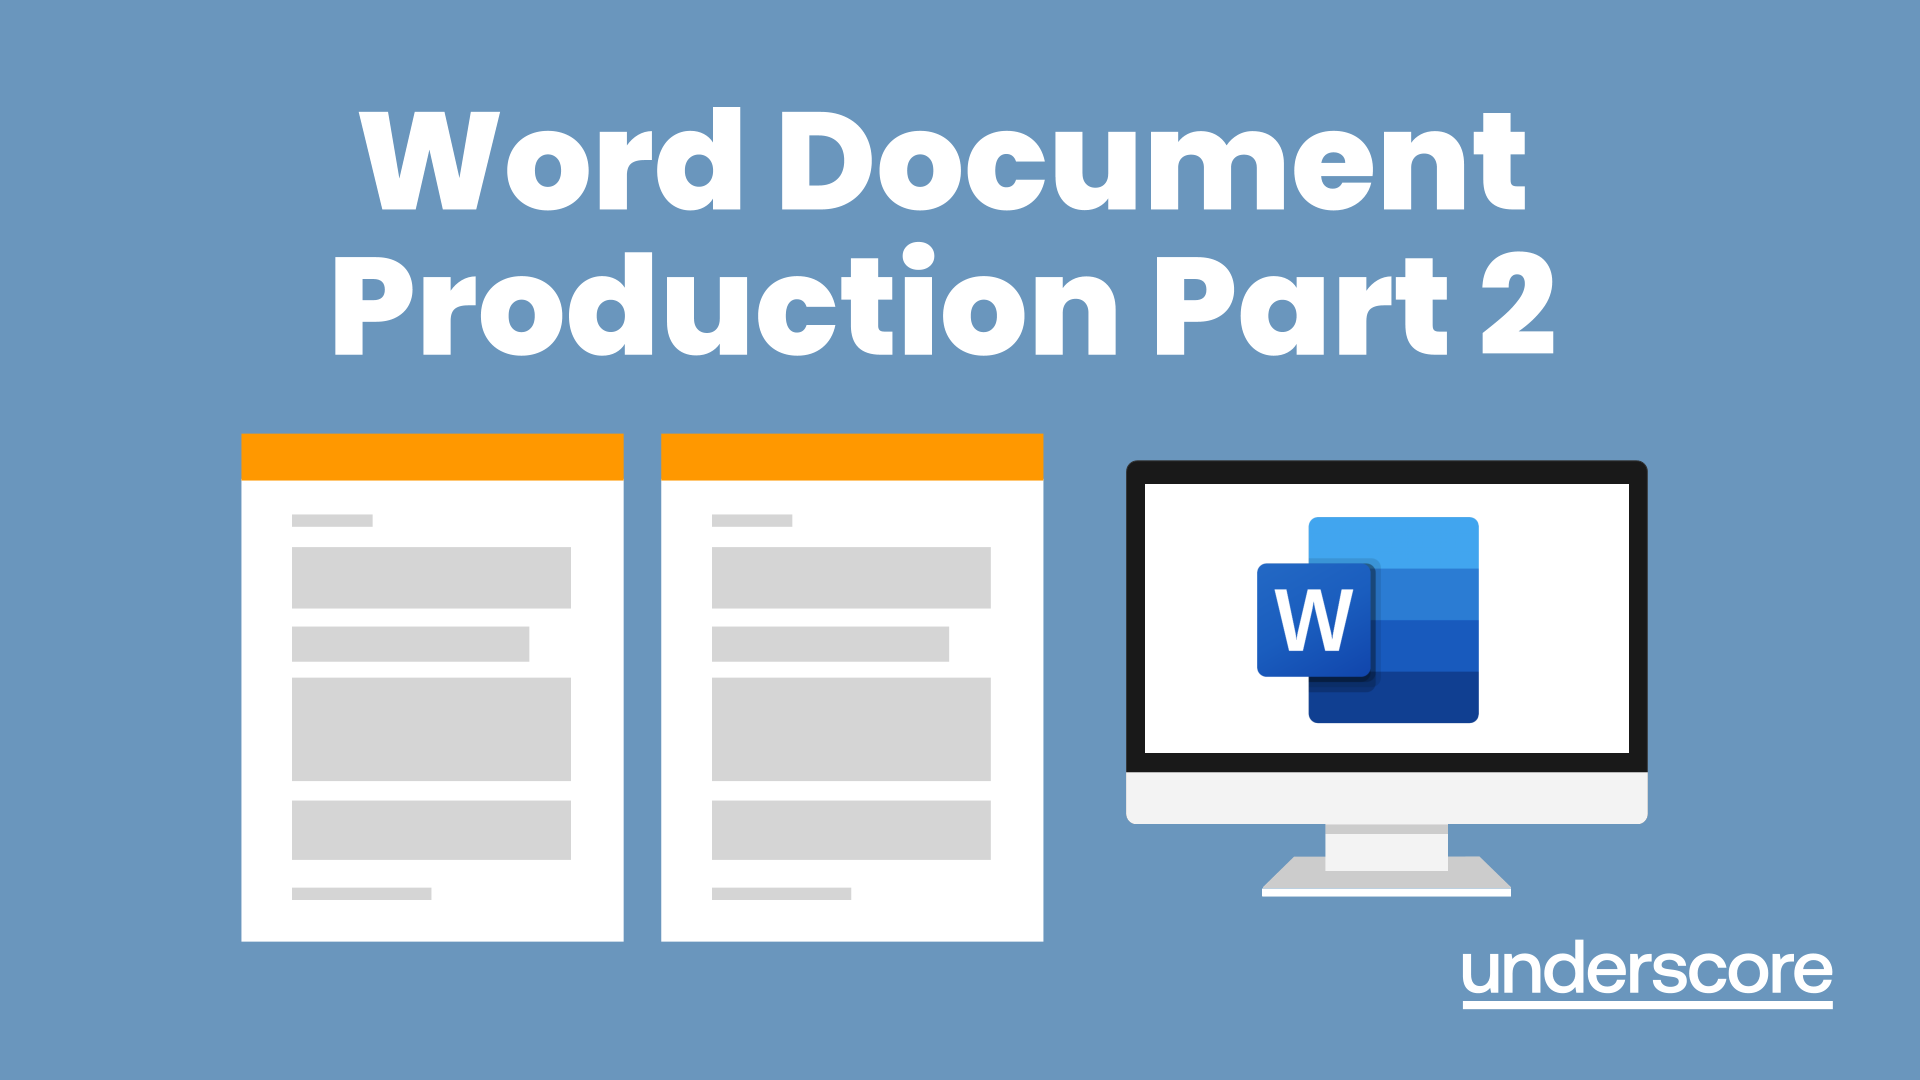
Microsoft Word - Document Production Part 2
By Underscore Group
Discover the more complex features of Word for long document creation. Course overview Duration: 1 day (6.5 hours) Our Word Document Production (Part 2) course shows you some of the more advanced features of Word that are key for long document creation. This course will enable you to create longer, more complex documents with ease, including adding cross references, headers and footers and a table of contents. This course is aimed at existing Word users who have attended our Word Document Production (Part 1) course or have equivalent knowledge and who want to extract the most out of the package. Objectives By the end of the course you will be able to: Create, amend and use templates Use styles for easy formatting Work with section breaks Manage linked headers and footers Insert pictures and objects Add cross references Create a table of contents Use tracked changes Content Creating templates Creating templates Using templates Amending templates Using styles in templates Adding styles to a template Using Heading Styles Managing Styles Applying template style changes directly from a document Copying styles between templates Working with different types of section break Next page section breaks Odd and even section breaks Inserting page numbers, headers and footers Creating custom headers and footers Inserting fields Using Section breaks Dynamic linking between Sections Page numbering in Sections Graphics Inserting pictures Inserting objects from other packages Object text wrapping options Picture options Adding cross references Creating cross references Creating a table of contents Generating a table of contents Setting table of contents styles Updating a table of contents Track changes Setting track changes Accepting and rejecting changes Viewing comments The reviewing pan
SAP SD Training
By Osborne Training
SAP SD Training SAP SD (Sales & Distribution) module is a logistics module part which is a very important component of the SAP Business suite. SAP SD module empowers you to manage customer relationship starting from raising a quotation to sales order and billing of the product or service. This module is highly linked to other SAP modules like SAP Material Management and PP (Production Planning). Powered with an understanding and knowledge of the comprehensive functionality in SAP SD, you can easily manage the entire customer life cycle efficiently and intelligently. SAP SD Introductions and Master Data Document Types for Pre sales and Sales Documents Pricing Process and Determination Sales Cycles - sales processes Free goods Processing Revenue Account Determination SD Basic Functions Special Sales - Special Processes Invoicing Plan Variant Configuration Special Sales- Special Processes Case Study - business case Integration with Other Modules and support

Microsoft Excel training | Excel Courses for Accountants
By Osborne Training
Microsoft Excel training | Excel Courses for Accountants: Excel Courses Overview Microsoft Excel is the world's most popular spreadsheet program, learning how to use the software with Osborne Training shows that you've taken one of the best Excel training courses available. Comprehensive excel courses come with up to date material to practice at home and during your class. Excel courses for accountants This course is a highly recognised excel course for accountants. We will also provide a step by step manual of all the tricks you can do using Excel spreadsheets to gain better management reporting and budgeting skills. It is a fundamental program for professional Accountants. Excel spreadsheets are the most powerful tool, extensively used for reporting and analysis. Having advanced skills in excel can excel your career and help you to stand ahead of the competitive job market. Advanced skills in Excel is a must for any potential professional accountants and who are already running a practice or considering opening a practice. Certificate of Attendance Excel Course Content Creating worksheets, formatting text Simple and complex formulas Handling rows and columns Average, max and min functions and using charts. Use of IF Formula Summing Techniques Cell References Formula Linking Tables and Bordering Look up References (Vlookup, Hlookup, etc) Data Validation Conditional Formatting Date & Time Formulas Charts & Graphs Protection & Security Creating Pivot Table Pivot Table Analysis
OISC Level 3 (Fast Track) Course
By Immigration Advice Service
Our Fast Track Level 3 training course is tailor-made for immigration advisors and legal professionals seeking a targeted, time-efficient course focusing on essential OISC Level 3 syllabus fundamentals. This course is 1 day. Our fast track OISC Level 3 one day course is specifically designed for those interested in progressing to the next OISC level. This course focuses on 3 main areas which are introduced at Level 3: Preparation and conduct of appeals, Bail applications to the First-tier Tribunal and Pre Action-Protocol Letters. Throughout this training, you will acquire a comprehensive understanding of the intricate structures and frameworks governing UK immigration law at an advanced level. Our expert instructors will provide in-depth insights, practical knowledge, and invaluable tips to equip you with the necessary skills and confidence to handle complex immigration cases. Course joining links, materials and instructions are sent out 24hours before the course starts. Why Study with Immigration Advice Service? Immigration Advice Service has been providing professional immigration services for over 10 years in the public, private and corporate sectors. Our OISC Level 3 (Fast Track) preparation course is thoughtfully crafted to equip participants with a comprehensive understanding of the essential knowledge needed at OISC level 3. Our fully qualified and OISC regulated trainer will guide you through the process and ensure you are competent with elements covered within the course. Course Content: This fast track course is specifically designed to covers the following key areas. Introduction: The OISC Level 3 assessment The preparation and conduct of appeals Bail applications to the First-tier Tribunal Pre Action Protocol Letters Prior to judicial review Looking for a more in-depth training session? Why not check out our standard Level 3 training course which recaps and builds on from knowledge learnt at OISC Level 2 and delivered over a 2-day period.

Memory skills and mind-mapping (In-House)
By The In House Training Company
This is an incredibly practical programme which has been developed to enable participants to improve their memory skills. The session focuses on specific techniques that can be used to improve retention of information. It also introduces the principles of mind-mapping By the end of this programme participants will be able to: Explain how our brain processes and stores information Describe the difference between short-term and long-term memory Use specific techniques to improve retention Explain the principles of mind mapping Be able to use mind maps to plan and order information Each participant, no matter how poor they believe their memory to be, will by the close of the session have learnt techniques that enable them to memorise 53 items in a prescriptive order - a massive boost to their confidence in their memory skills. 1 An introduction to the brain's functions Introductory brain-training How the brain works Left / right brain function Short-term and long-term memory Barriers to a good memory 2 Memory techniques Tips and techniques for improving memory Basic word association Chaining and linking Touchstone techniques Use of mnemonics Memory hooks Remembering names 3 Maximising memory Minimising barriers The importance of sleep and diet Supplements which may affect memory 4 Mind-mapping Purpose and principles Creating a mind map Use of colour to delight the eye and tickle the brain How to use the output from a map

Outlook - advanced (In-House)
By The In House Training Company
This one-day workshop is intended for participants who have a basic understanding of Outlook but who want to know how to use its advanced features to manage their email communications, calendar events, contact information and other communication tasks. This course will help participants: Gain confidence using Outlook and its advanced features Organise and prioritise email messages Archive messages for safe-keeping Use rules to process received or sent messages automatically Manage scheduled meetings with others Give others permission to view and manage their folders and items Use contacts and commands to find out more about a person or company Prioritise work-flow using tasks and assigning tasks to others 1 Email messages Combining multiple clicks with quick steps Following up flag options Saving multiple attachments Attaching a folder of files Recalling and replacing a message Categorising messages with conditional formatting 2 Message options Adding options to messages Marking a message as private Receiving quick responses with voting buttons Directing replies to specific users Delaying sent messages Inserting links in messages 3 Stay organised with rules Using rules to automate message flow Moving messages with rules Using the rules wizard Setting up rules with conditions Using rules that work whilst you are away 4 Message clean-up Using conversation clean-up Using mailbox clean-up Moving messages to the archive folder Archiving folder properties Auto-archiving properties 5 Managing calendars Creating calendar groups Sharing calendars with permissions Setting up working days and times Managing time zones Categorise appointments with conditional formatting Publishing a calendar 6 Schedule meetings Scheduling a meeting Managing meeting responses Proposing new meeting times Adding attendees to a meeting Viewing multiple appointments 7 Using contacts Merging contacts to letters Merging contacts to labels Mail merging contacts in Word Exporting contacts to Excel 8 Managing tasks Organising your workload with tasks Categorising tasks Assigning tasks to others Sending a task status report Allocating time for tasks Regenerating a new task Viewing your tasks in the calendar 9 Adding message items Adding calendars to messages Adding business cards to messages 10 Email accounts Adding multiple user accounts Adding account permissions
Networking skills for sales professionals (In-House)
By The In House Training Company
Many people have a misconception about networking events, and lose out on new business opportunities as a result. They either don't appreciate the real benefits and techniques of networking and don't attend events, or they attempt to 'sell on the first date', causing resentment. You can either attempt to make a sale for a quick buck (which is particularly likely to backfire at a networking event), or you can try to open a long-term relationship, creating new opportunities and a high lifetime value customer (which is how it's meant to be done). Networking, when done properly, is an excellent tool for referrals. But you have to appreciate that it's done on the basis of giving rather than receiving and this doesn't always come naturally to sales professionals. The old saying that it's about getting to 'know, like and trust' is still true. This workshop is about having your prospects and customers getting to know, like and trust you, and building that lifetime value as a result. By the end of this programme, participants will be able to: Understand what networking is - networking etiquette Know how and where to network Clarify their objectives - why network Use the 4 basic questions to start a conversation Build rapport quickly and easily Answer the question 'What do you do?' effectively in a few seconds Deliver a 60-second pitch Break into a group Prepare for a network meeting Identify opportunities Use tools to assist in networking 1 Introduction Aims and objectives 2 What is networking? Why network - objectives and goal setting Networking etiquette Preparation - online and offline tools to use Identify networking opportunities - where to network Know what you have to offer 'Know, like and trust' - the process 3 What do you do? Answer in 5-10 seconds Create and deliver a 60-second pitch Who is your target market? 4 Starting a conversation Breaking into a group Building rapport The 4 questions to start a conversation Moving on 5 Communicate and engage LISTEN - 4 types of listening skill Ask powerful questions Influence - don't sell What can you do to help others - give to get 6 Power of referrals Who can give you referrals? When to give or ask for referrals Have a referral system Showing appreciation 7 Social media and other online tools Using LinkedIn and other social media Online directories 8 Next steps Following up Arranging one-to-one meetings Developing relationships