- Professional Development
- Medicine & Nursing
- Arts & Crafts
- Health & Wellbeing
- Personal Development
Vray for Rhino Training
By London Design Training Courses
Why Choose Vray for Rhino Training Course? Click for more info. Become skilled in photorealistic rendering with V-Ray for Rhino through our course. Led by certified tutors, you'll learn lighting, materials, and rendering, as well as advanced techniques like textures and global illumination. In-person or live online sessions and receive a Certificate of Completion. Duration: 10 hrs Method: 1-on-1, Personalized attention Schedule: Tailor your own hours of your choice, available from Mon to Sat between 9 am and 7 pm. Why Enroll in Our Vray for Rhino Training Course? Elevate your skills in the art of photorealistic rendering with our comprehensive V-Ray for Rhino training program. Led by certified experts, this course delves into the nuances of lighting, materials, rendering, and advanced techniques such as textures and global illumination. Whether you're a beginner or looking to enhance your proficiency, our course caters to all skill levels. What Sets Our Course Apart? Expert Guidance: Learn from our certified tutors who provide personalized attention in 1-on-1 sessions, ensuring you grasp every concept thoroughly. Flexible Learning: Tailor your own learning schedule at your convenience. Our in-person and live online sessions are available from Monday to Saturday, between 9 am and 7 pm, accommodating various time zones and commitments. Comprehensive Curriculum: Master the intricacies of Rhino and V-Ray rendering, progressing seamlessly from beginner to advanced levels. Dive into the exclusive realm of architectural exterior rendering with V-Ray 6 for Rhino and Rhino 7 in our specialized London Design Training Course. Course Highlights: Duration: 10 hours of intensive training to hone your skills and gain expertise in V-Ray for Rhino. Method: Personalized 1-on-1 attention ensures focused and effective learning, allowing you to ask questions and receive immediate feedback. Certification: Upon completion, receive a prestigious Certificate of Completion, validating your mastery of V-Ray for Rhino. Why Enroll in Our Vray for Rhino Training Course? Elevate your skills in the art of photorealistic rendering with our comprehensive V-Ray for Rhino training program. Led by certified experts, this course delves into the nuances of lighting, materials, rendering, and advanced techniques such as textures and global illumination. Whether you're a beginner or looking to enhance your proficiency, our course caters to all skill levels. What Sets Our Course Apart? Expert Guidance: Learn from our certified tutors who provide personalized attention in 1-on-1 sessions, ensuring you grasp every concept thoroughly. Flexible Learning: Tailor your own learning schedule at your convenience. Our in-person and live online sessions are available from Monday to Saturday, between 9 am and 7 pm, accommodating various time zones and commitments. Comprehensive Curriculum: Master the intricacies of Rhino and V-Ray rendering, progressing seamlessly from beginner to advanced levels. Dive into the exclusive realm of architectural exterior rendering with V-Ray 6 for Rhino and Rhino 7 in our specialized London Design Training Course. Course Highlights: Duration: 10 hours of intensive training to hone your skills and gain expertise in V-Ray for Rhino. Method: Personalized 1-on-1 attention ensures focused and effective learning, allowing you to ask questions and receive immediate feedback. Certification: Upon completion, receive a prestigious Certificate of Completion, validating your mastery of V-Ray for Rhino. Join our 10-hour Vray for Rhino 3D training course for a comprehensive understanding of Vray's integration with Rhino 3D. Learn lighting, camera settings, materials, rendering, and post-production techniques. Master the skills to create realistic and high-quality renders with Vray for Rhino 3D. Module 1: Introduction to Vray for Rhino 3D (2 hours) Discover the purpose and advantages of Vray for Rhino 3D. Successfully install and set up Vray for Rhino 3D. Navigate the Vray interface and explore its workflow. Gain insights into Vray materials and their effective application. Module 2: Lighting with Vray (2 hours) Master techniques for achieving compelling lighting with Vray in Rhino 3D. Familiarize yourself with various types of Vray lights and their settings. Create and control Vray sun and sky for outdoor scenes. Utilize Vray dome lighting for captivating interior renderings. Employ IES lights to achieve lifelike lighting effects. Understand the lighting workflow with Vray in Rhino 3D. Module 3: Vray Camera (2 hours) Gain proficiency in Vray camera settings and their impact on the final render. Control exposure using Vray camera settings. Explore Vray depth of field for captivating focusing effects. Create dynamic visual presentations with Vray camera animations. Harness the features and functionalities of Vray frame buffer. Module 4: Vray Materials (2 hours) Unveil the intricacies of Vray materials and their properties. Create visually stunning and realistic materials using Vray. Organize and save custom Vray material libraries for efficient workflow. Optimize productivity with Vray material overrides for quick material changes. Module 5: Vray Rendering and Post Production (2 hours) Delve into Vray rendering settings for optimal results. Master the art of rendering high-quality images and animations using Vray. Enhance Vray renders through post-production techniques in Photoshop. Fine-tune the output using Vray frame buffer. Gain control by compositing Vray render elements in Photoshop. Utilize Vray denoiser for noise reduction in renders. Chaos Group https://www.chaos.com ⺠vray ⺠rhino ⺠free-trial V-Ray for Rhino. Powerful rendering for product design and architecture. Try free for 30 days. Download trial. Overview; What's new; Download trial. Why Learn V-Ray for Rhino? V-Ray is a widely acclaimed photorealistic renderer, renowned for its precision and fast raytracing capabilities. While some may find V-Ray to be complex, our course simplifies the process, allowing you to create, adjust, and render architectural scenes with ease. V-Ray for Rhino Basics Acquire essential V-Ray knowledge, including default engine render, V-Ray camera usage, VRay editor, progressive rendering, V-Ray sun and camera settings, lighting techniques with V-Ray lights and IES lights, color mapping, and working with V-Ray materials and HDRI. Join us for this comprehensive London Design Training Course on V-Ray for Rhino and elevate your architectural rendering skills to the next level.

Basic Facials
By Glow Academy London
Learn how to provide effective facial & skincare treatments to clients, learning both the knowledge and practical skills to successfully perform an effective facial treatment. You will learn the essential skills to effectively cleanse, tone, perform a skin analysis, exfoliate, apply mask and moisturise your client’s skin. Also included is a step by step routine for facial massage that will add value for money to your skincare treatments and provide your clients with an added luxurious bonus.

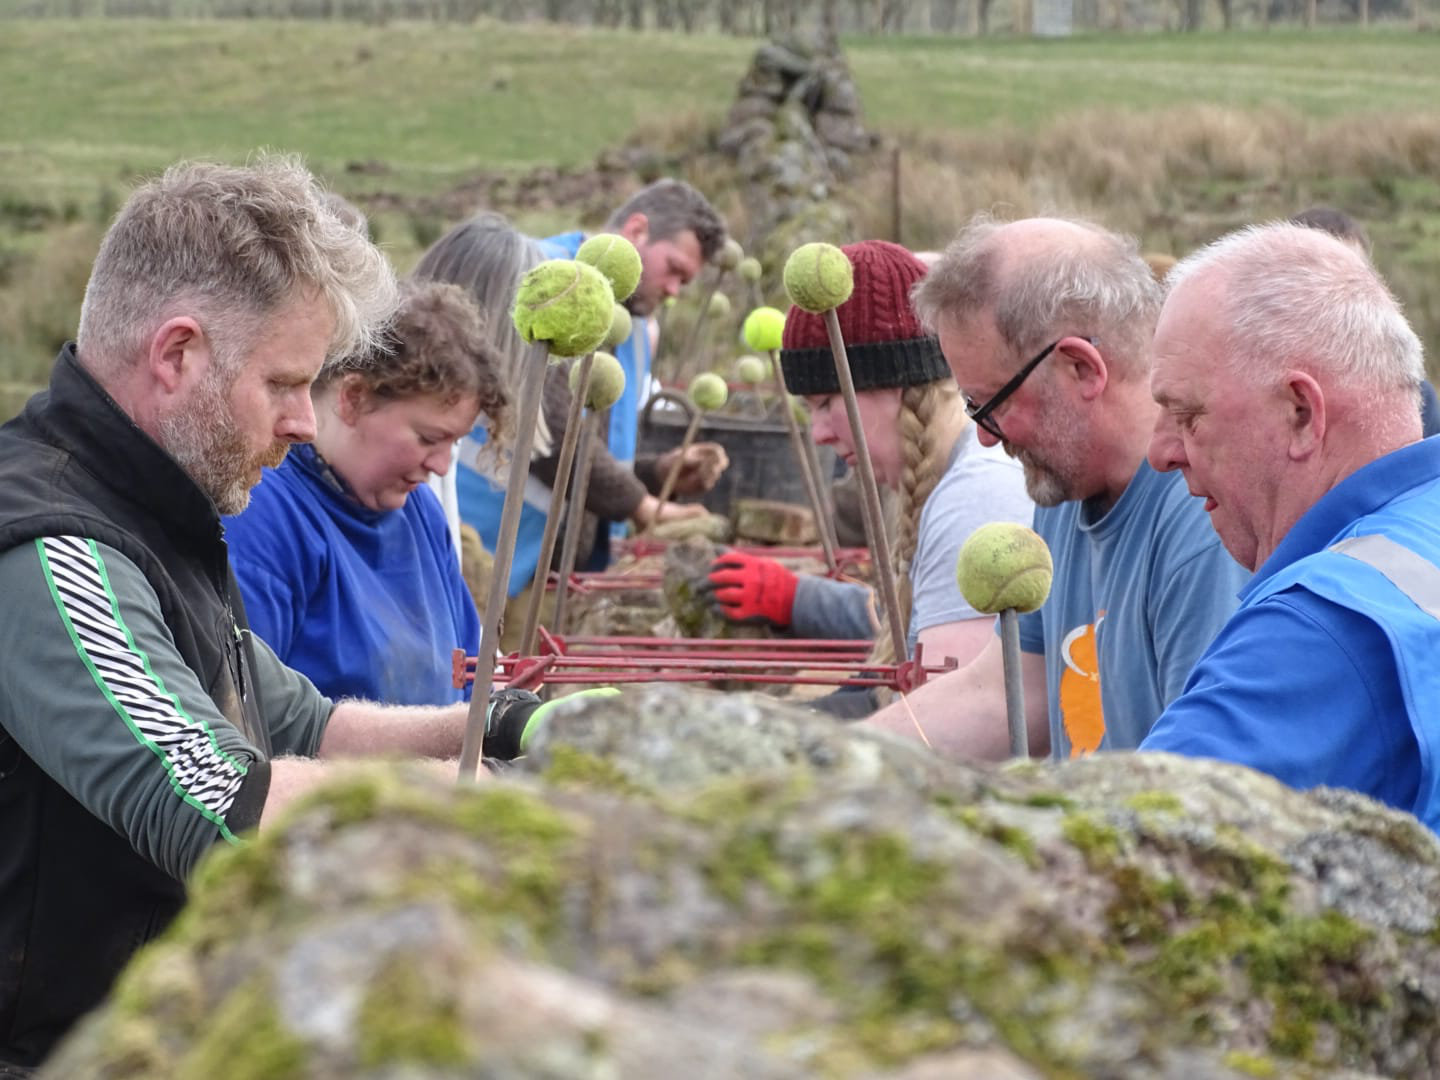
Intro to DryStone Walling - Auchenfoyle, April
By West of Scotland Dry Stone Walling Association
A two-day, beginner, hands-on course to rebuild a section of dry-stone wall, learning the age old techniques of this satisfying craft
Rhinoceros 3D Night Training Course
By ATL Autocad Training London
Why Choose Rhinoceros 3D Night Training Course? Learning Rhino 3D opens doors to advanced 3D modeling, making it essential for architects, designers, and engineers. Its versatility, ease of use, and powerful features make it an industry favorite for creating intricate designs, from architecture to product design. Click here for more info: Website Personalized Learning: 1-on-1 sessions tailored to your needs Flexible Timing: Convenient evening classes (5 pm - 7 pm) Mon to Sat Duration: 10 hours. Choose your own day and time Rhino 3D Training Overview Our Rhino 3D Training offers in-person or live sessions suitable for beginners and those aiming to optimize their workflow in Rhinoceros 3D. Course Highlights: Master precise free-form 3D NURBS modeling. Explore advanced surfacing commands and the Rhino interface. Develop skills in curve, surface, and solid modeling. Learn effective modeling practices for various industries, from industrial design to jewelry and graphic design. Who Should Attend? This course is perfect for individuals starting their Rhino journey or aiming to refine their modeling skills. If jewelry modeling is your focus, check out our specialized Rhino Training for Jewelry Design Course. Why Choose Us? Hands-on, instructor-led sessions with flexible scheduling (weekdays, evenings, or weekends from 9 am to 7 pm). Expert instruction from Rhino professionals. Real-time practice with industry-aligned projects. Comprehensive electronic notes and course completion certificate. Ongoing support and career advice from experienced trainers. Benefits of Rhino Training Ideal for enthusiasts in animation, modeling, NURBS curves, surfaces, or solids, Rhino Training empowers you with industry-standard skills. No prerequisites are required, ensuring accessibility for all learners. Upon completing this course, you will: Master Rhino's Interface: Gain proficiency in Rhino's commands, toolbars, and menus, enabling efficient 3D modeling. Create Complex 3D Models: Develop the skills to create intricate 3D objects using curves, surfaces, and solids with various techniques like lofts, sweeps, and revolves. Refine Modeling Techniques: Learn advanced editing methods, such as filleting, chamfering, and curve Booleans, to refine and modify objects. Navigate the 3D Space: Understand 3D navigation, viewports, and construction planes, enabling precise modeling in a virtual space. Prepare Models for Production: Master techniques for analyzing and preparing 3D models for manufacturing, prototyping, and 3D printing. Enhance Rendering and Visualization: Learn rendering techniques to create realistic visuals of your models for presentations and proofs. Job Opportunities: After completing this course, you can pursue a variety of careers, including: 3D Modeler: Create detailed 3D models for industries like gaming, animation, or virtual reality. Product Designer: Design and visualize products for manufacturing using 3D modeling software. Architectural Visualization Specialist: Develop detailed architectural models for presentations and client approvals. Industrial Designer: Design consumer products, furniture, or appliances for manufacturing companies. Jewelry Designer: Craft intricate jewelry designs with precise detailing using 3D modeling techniques. Prototyping Specialist: Work in industries like aerospace or automotive, creating prototypes for testing and development. Freelance 3D Artist: Offer your skills on platforms like Upwork or Fiverr, creating custom 3D models for clients worldwide. Rhino 3D Training Overview Our Rhino 3D Training offers in-person or live sessions suitable for beginners and those aiming to optimize their workflow in Rhinoceros 3D. Course Highlights: Master precise free-form 3D NURBS modeling. Explore advanced surfacing commands and the Rhino interface. Develop skills in curve, surface, and solid modeling. Learn effective modeling practices for various industries, from industrial design to jewelry and graphic design. Who Should Attend? This course is perfect for individuals starting their Rhino journey or aiming to refine their modeling skills. If jewelry modeling is your focus, check out our specialized Rhino Training for Jewelry Design Course. Why Choose Us? Hands-on, instructor-led sessions with flexible scheduling (weekdays, evenings, or weekends from 9 am to 7 pm). Expert instruction from Rhino professionals. Real-time practice with industry-aligned projects. Comprehensive electronic notes and course completion certificate. Ongoing support and career advice from experienced trainers. Benefits of Rhino Training Ideal for enthusiasts in animation, modeling, NURBS curves, surfaces, or solids, Rhino Training empowers you with industry-standard skills. No prerequisites are required, ensuring accessibility for all learners. Advantages: Personalized Rhino 3D Evening Training with individual attention. Flexibility to select your preferred time and day for the training. Access to free online support even after completing the course. Comprehensive PDF notes and handouts provided for effective learning. Receive a certificate upon completing the Rhino 3D Evening Training Course. Affordable pricing options tailored to your budget. Assistance in computer configuration for seamless software installation. Referral benefits: Recommend a friend and enjoy exclusive discounts. Special discounts available for group training sessions. Operating hours from Monday to Saturday, extending into the evening for convenience. Tailored training programs designed to meet your specific needs and requirements.
LEARN WITH THE DOWN SYNDROME TRAINING & SUPPORT SERVICE - Training Package
(5)By Down Syndrome Training & Support Service Ltd
It is vitally important that all adults working with a child with Down syndrome understands their learning needs and how to meet these needs. All teaching staff are welcome to join our Introduction to Down syndrome course for FREE. It will run at the beginning of each term. To enhance your practice further we suggest staff working closely with the child are also trained in signing, using visuals to support language development and teaching basic number skills. Each term these additional three courses will follow on from the Introduction to Down syndrome course over several weeks.
Manual Handling full-day Train The Trainer course Aim of the course: To equip Team Leaders and Co-ordinators in Care Homes with the knowledge, skills, and confidence to deliver engaging and safe manual handling training to their own staff — including practical techniques, training methods, and peer teaching practice. Learning Objectives: By the end of this course, delegates will be able to: Outline the legal and professional responsibilities related to manual handling in care. Identify manual handling risks and describe common injuries and incidents. Demonstrate safe manual handling techniques, including hoist use, slide sheets, and repositioning methods. Plan and structure a complete manual handling training session. Select and adapt training materials and equipment to suit different learners and settings. Deliver clear, confident explanations and demonstrations of manual handling techniques. Support learners during practical sessions, including correcting unsafe practice. Facilitate discussions and reflective learning with care staff. Evaluate learners’ understanding and performance through observation and questioning. Maintain accurate training records and identify when refresher training is needed. Deliver a short theoretical and practical training activity to peers, receiving feedback. Reflect on their own strengths and areas for development as a trainer.
2D and 3D Russian Volume eyelash extension course
By Penelope Academy Ltd
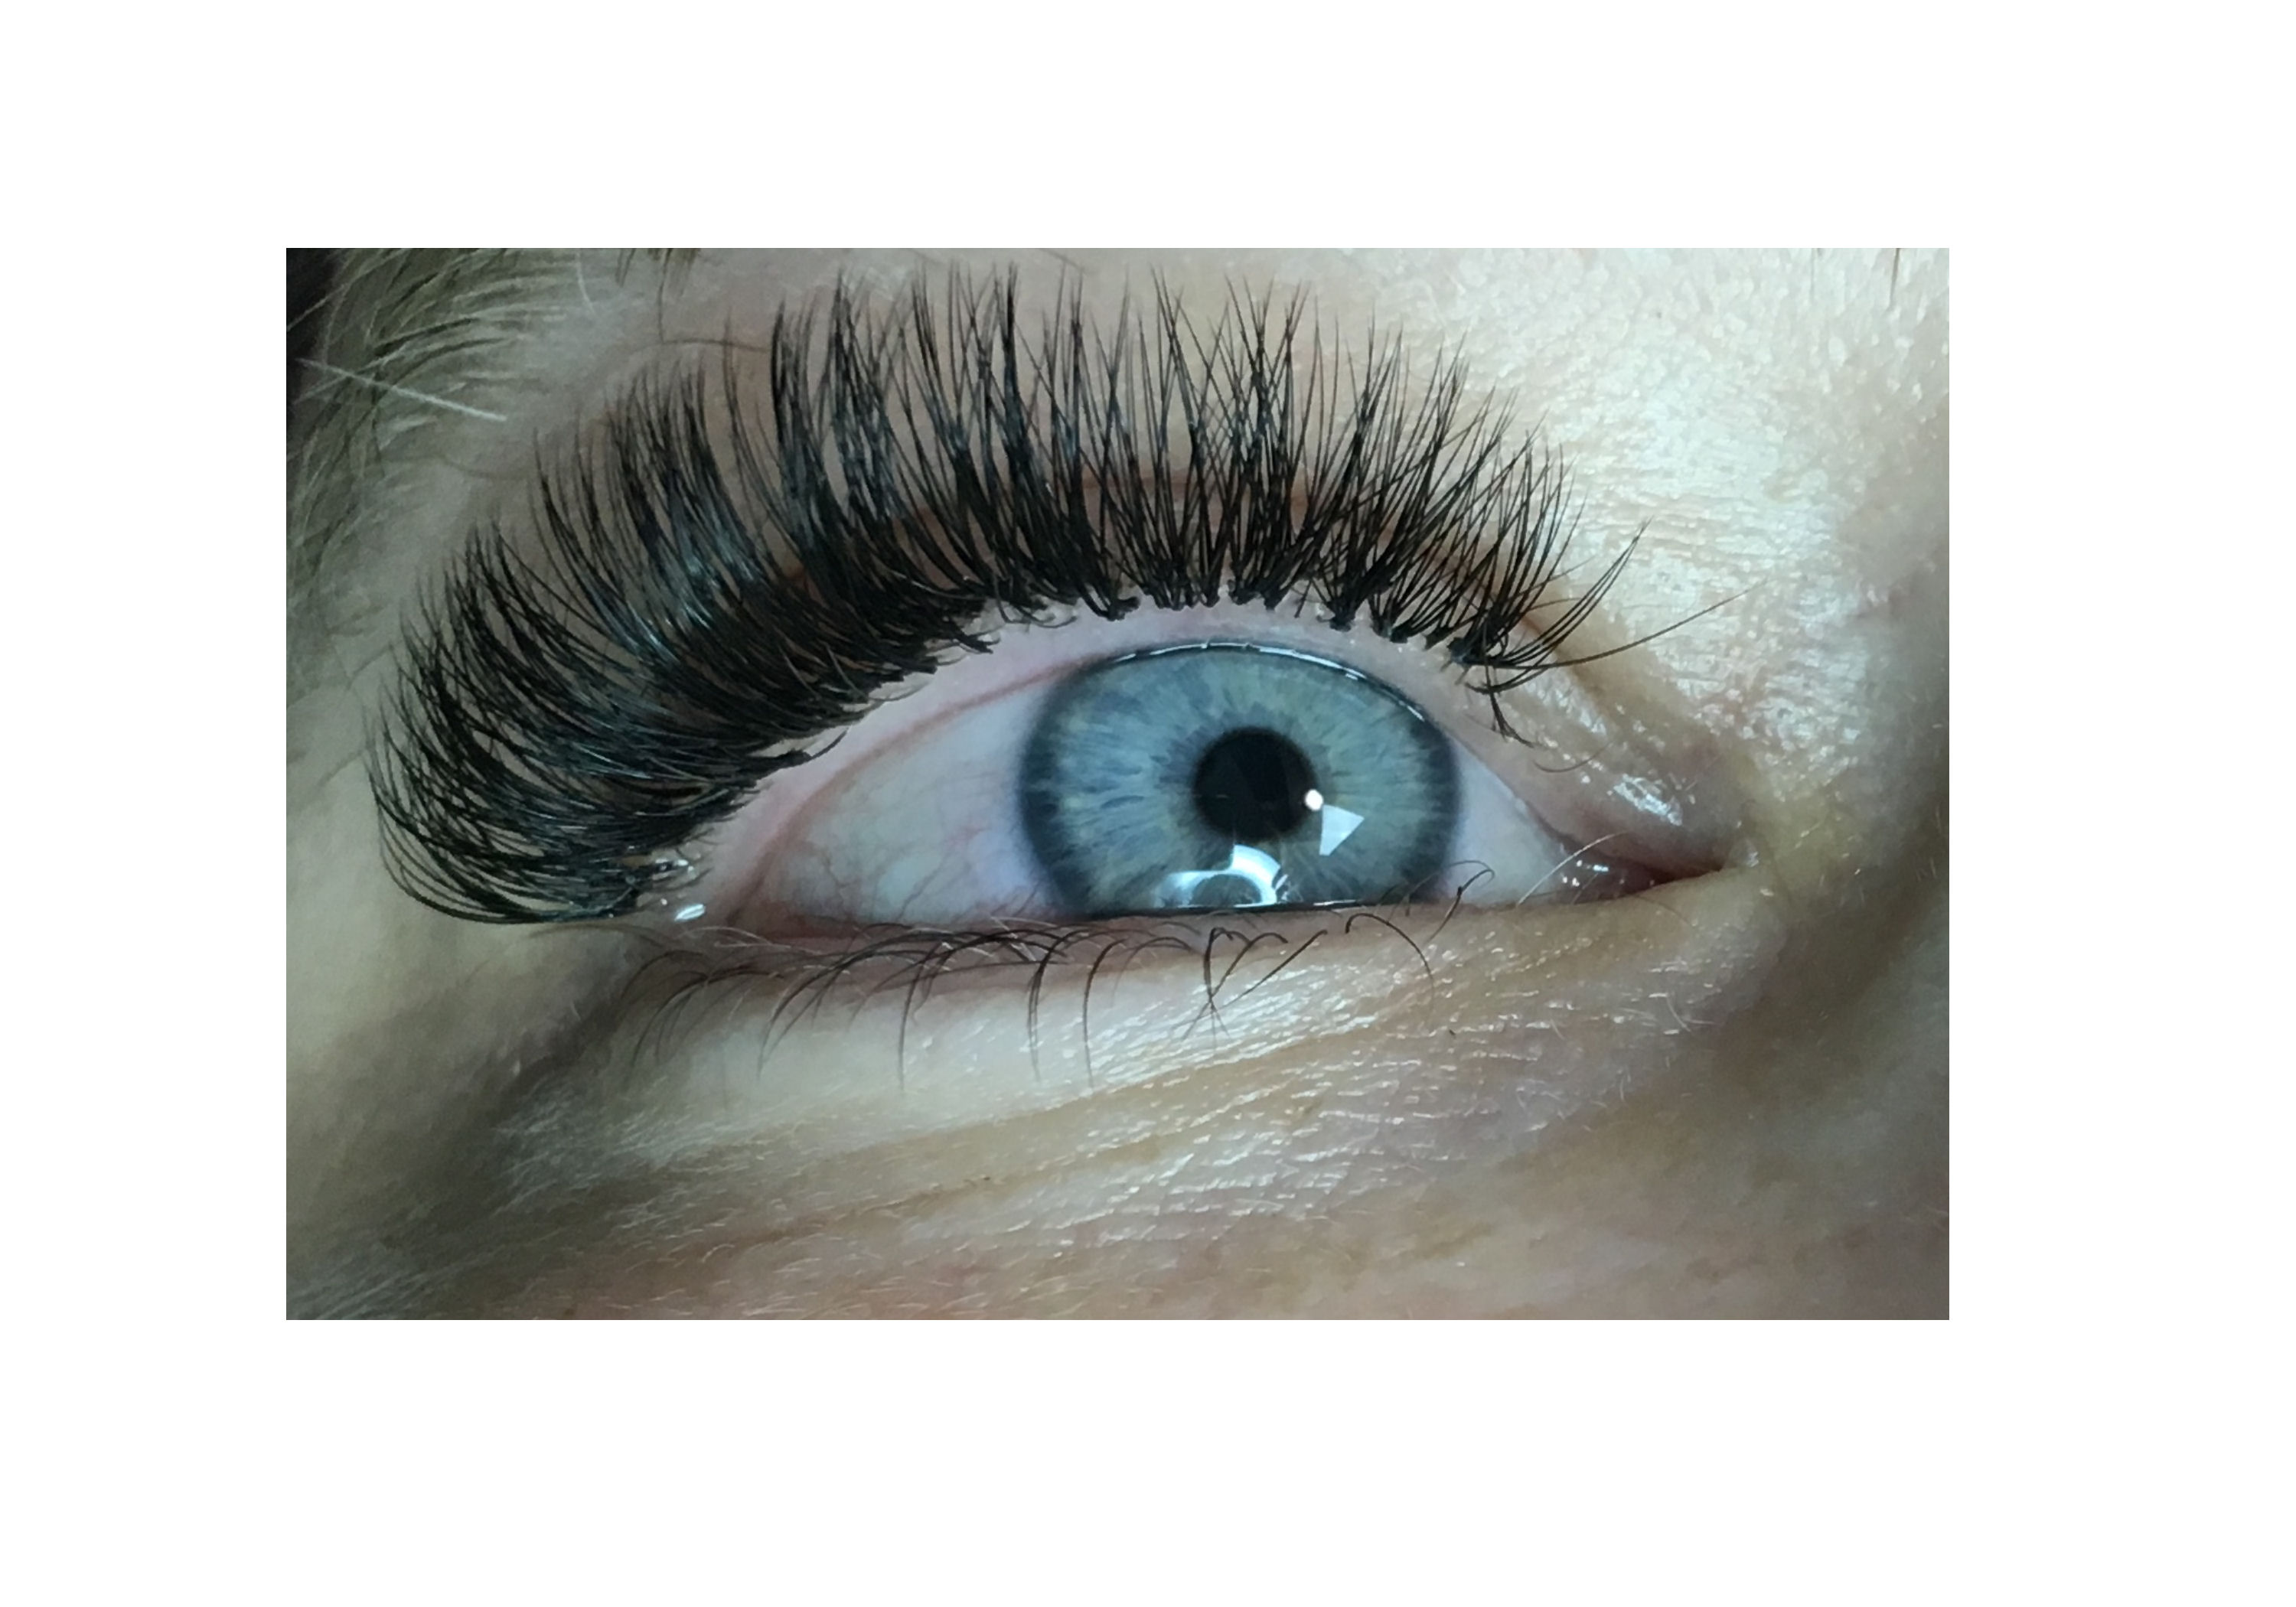
This one day course will teach students how to extend their knowledge of eyelash extensions by adding the 2D and 3D technique to their previous qualification.The Russian Volume technique is the most popular method used today!
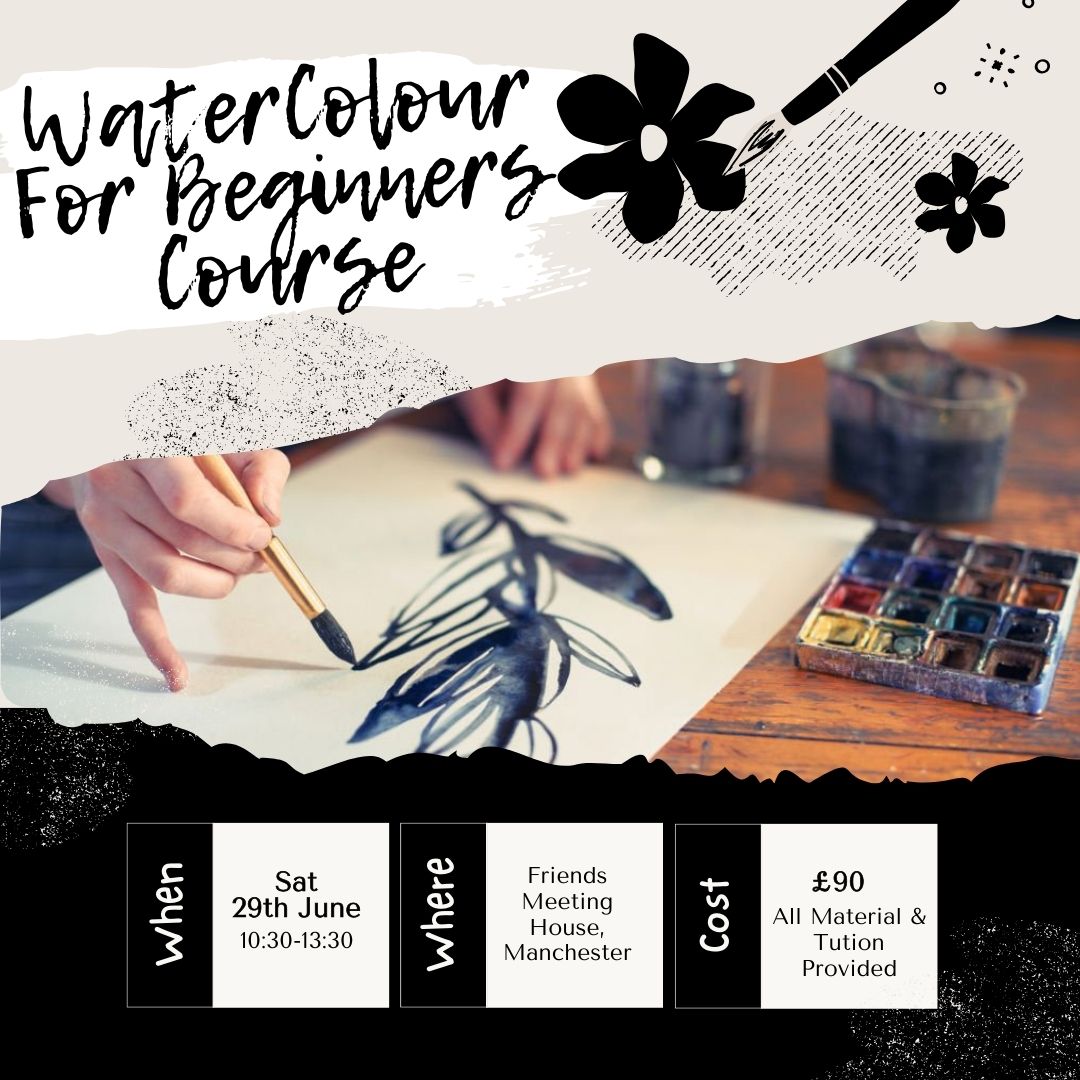
Watercolour for Beginners – Saturday 8th June – 10:30-13:30- Friends Meeting House Manchester During this course, you will discover how a deeper understanding of painting techniques can equip you with the practical methods and skills to help you with any future paintings you want to attempt. Suitable for people of all levels of experience; from those who are new to watercolour painting, to more experienced artist, this foundational course in watercolour painting, unites primary techniques so that you can expand your creativity in one coherent approach. This fully guided course covers topics such as: · Seeing shape: Translating three-dimensional objects into simple shapes before painting. · Mark Making: Exploring different types of marks and developing good brush control. · Understanding Basic Techniques: Learning fundamental techniques such as creating washes, wet-on-wet, wet -on-dry, glazing, lifting, and blending. · Colour Mixing: Learning how to mix colours to create a wide range of hues and values. · Composition: Exploring the principals of composition and design to create visually interesting drawings. · Subject Matter Exploration: Experimenting with different subjects such as still life and flowers. General Info: ⏳ Duration: 3 Hours 📍 Location : Friends Meeting House, Mount Street, Manchester , M2 5NS 👤 Age required: 16+ with a valid ID ♿ Accessibility: This venue is wheelchair accessible What We Will Provide: · Watercolour Paper & Drawing board · Drawing pencils, eraser, and sharpener · A range of watercolour paints . Tuition from our resident watercolour artist .Instructional handbook
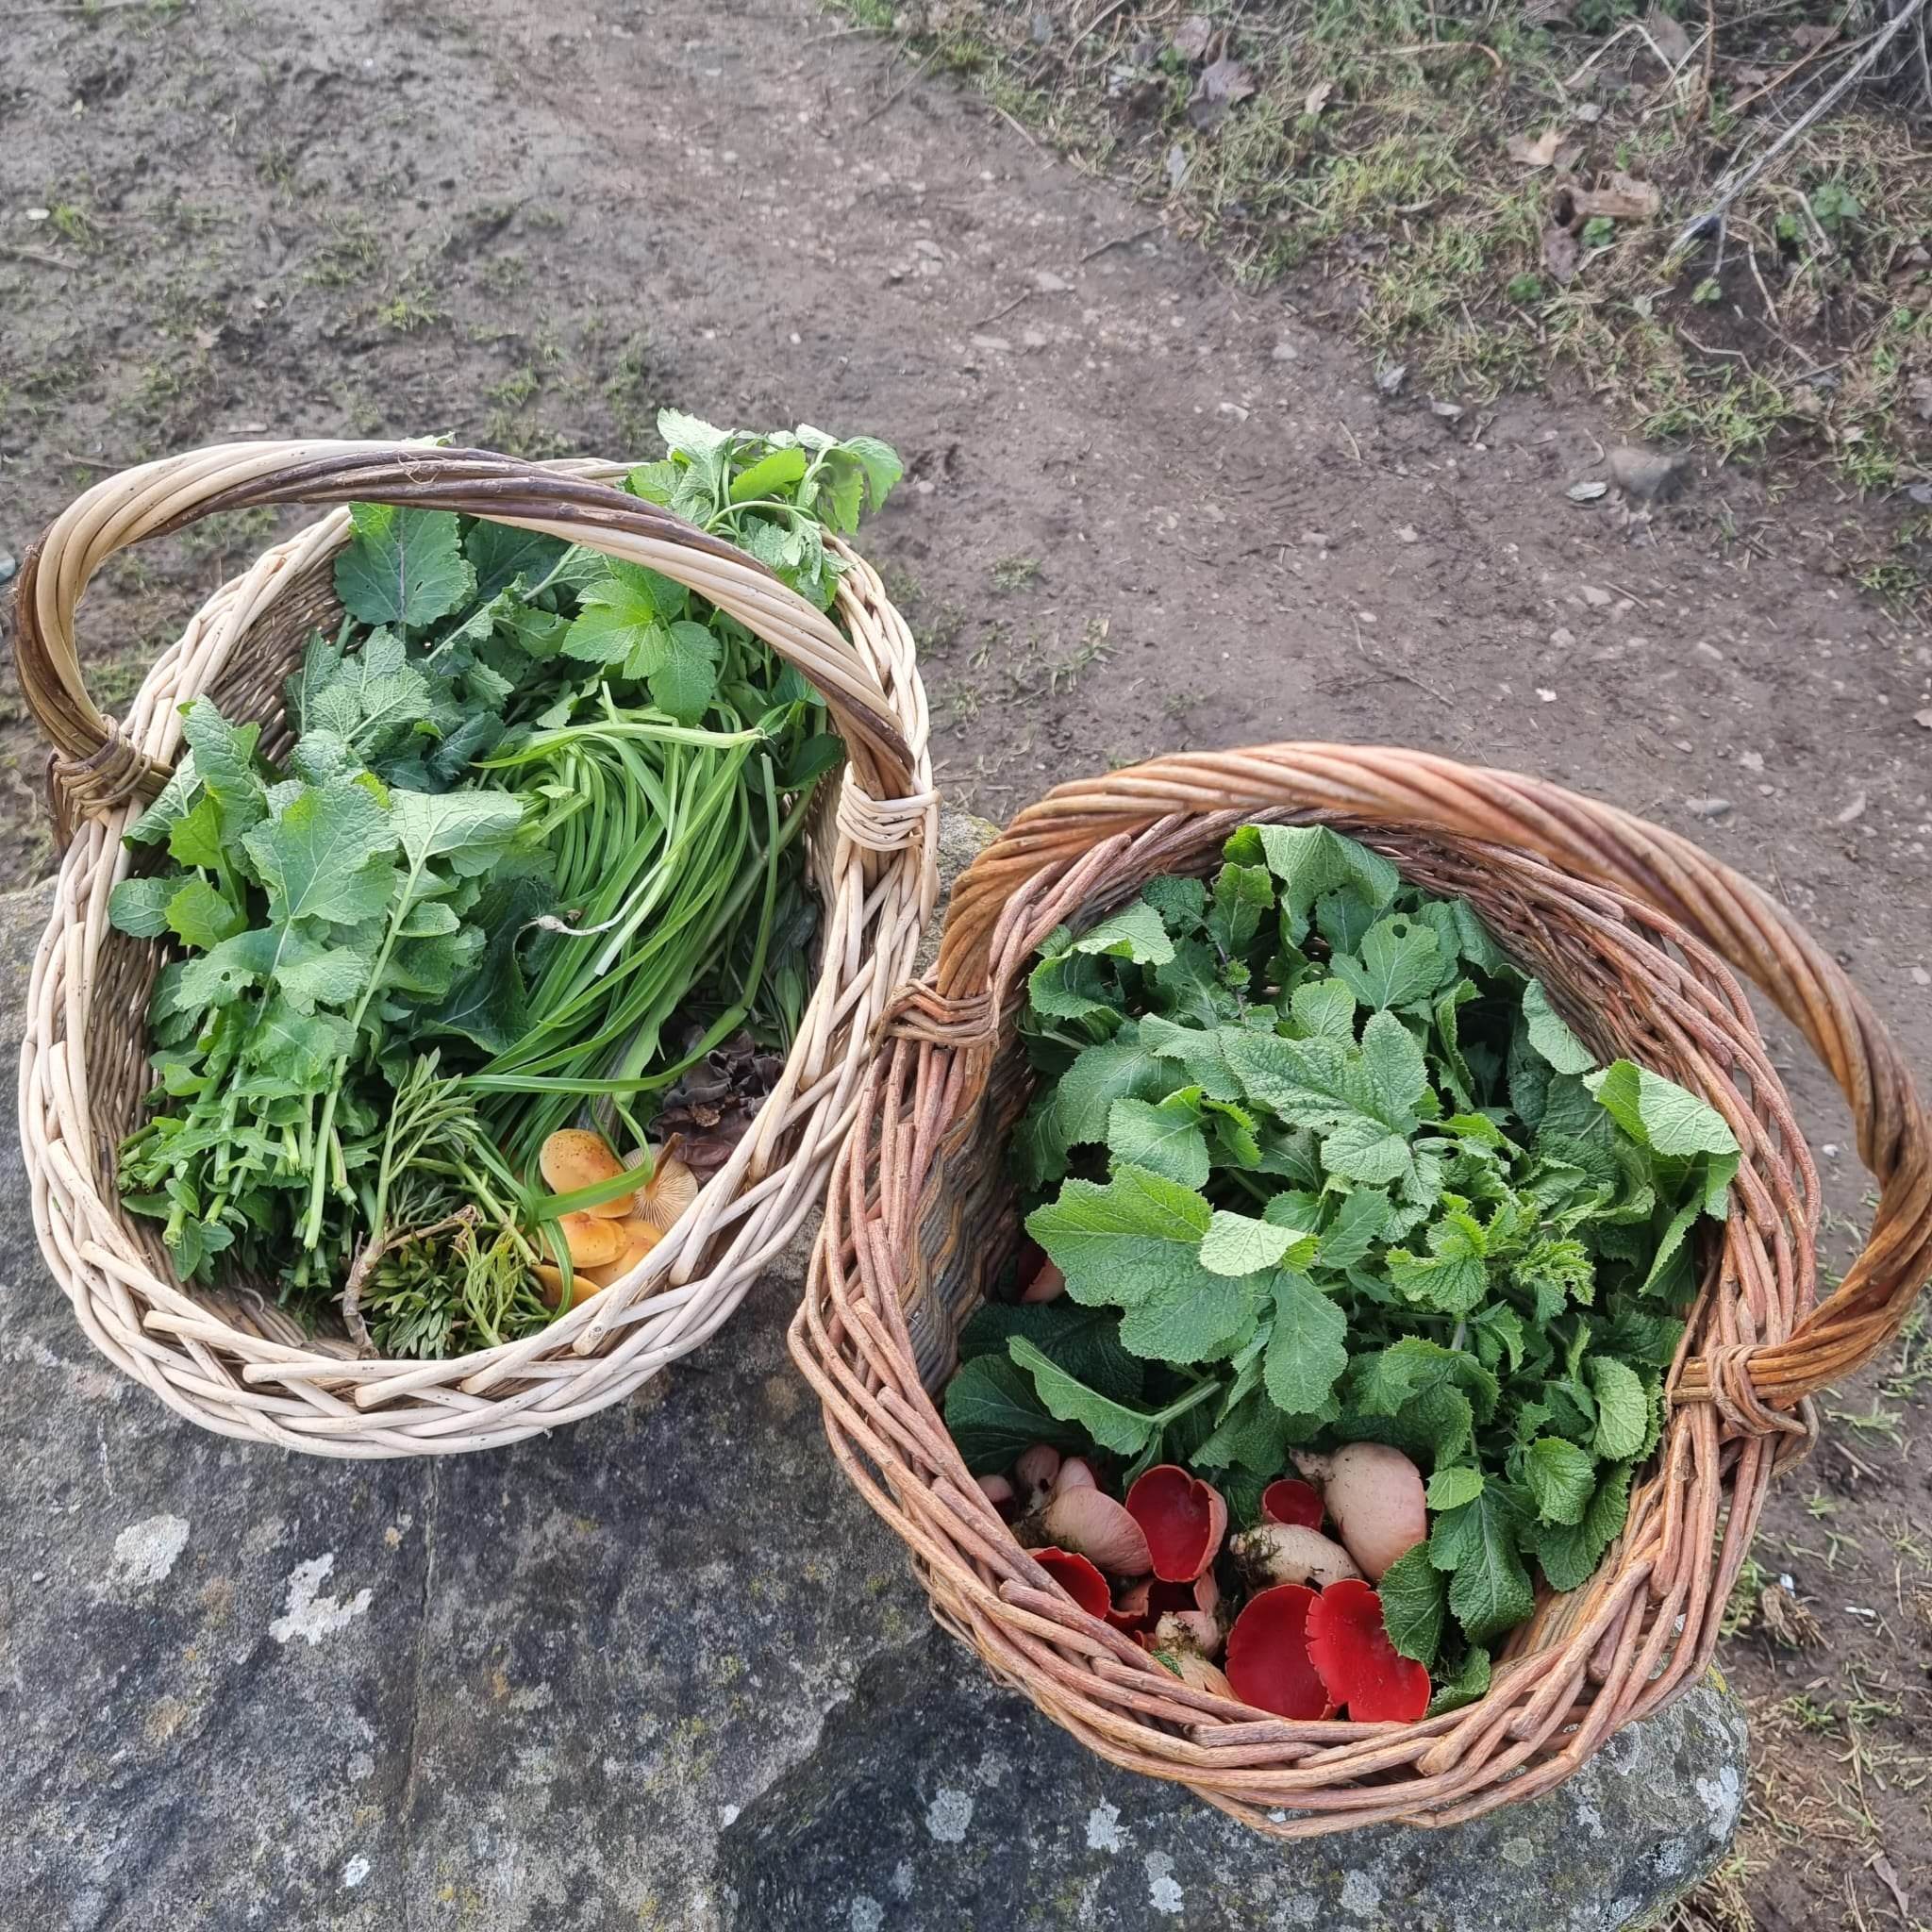
Join us for a unique afternoon of foraging with expert forager Chloe from Gourmet Gatherings, near Chepstow. Learn to identify wild ingredients and use them in delicious fermentation recipes, including a wild kimchi and a fermented soft drink. Perfect for food enthusiasts looking to explore sustainable harvesting and ancient preservation techniques!
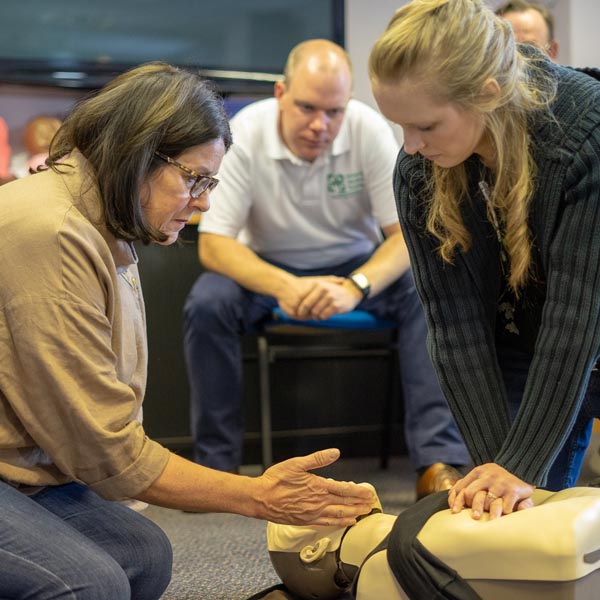
Basic Life Support and Safe Use on AEDs
By Immerse Medical
This 4 hour course outlines a range of knowledge and practical skills in providing basic life support (BLS) and using an automated external defibrillator (AED) safely. Learners will practise assessing and managing a casualty who needs BLS and the safe use of an AED. Our course outlines a range of knowledge and practical skills in providing basic life support (BLS) and using an automated external defibrillator (AED) safely. Learners will practise assessing and managing a casualty who needs BLS and the safe use of an AED. For more information click on the tabs below, or get in touch, we’d be more than happy to answer any queries. At Immerse Training we pride ourselves on offering First Aid and Pre-Hospital Care Training that meets your specific needs. All our courses meet the requirements of the relevant awarding body. On top of that, we are more than happy to create bespoke elements that tailor each programme to suit your first aid or care responsibilities. Qualification Information This qualification and learning outcomes are based on the recommendations of: The Resuscitation Council (UK) Skills for Health Assessment Principles for First Aid Qualifications Course Content Following this course students will: Be able to manage an unresponsive casualty who is breathing normally. Be able to manage an unresponsive casualty who is not breathing normally. Know how to safely use an automated external defibrillator. Be able to safely use an automated external defibrillator. Who should attend? This qualification is for people who have a specific interest or responsibility at work, or in voluntary and community activities, in being able to provide BLS when dealing with an emergency situation which may involve using an AED. Pre-requisites Students must be at least 16 years old on the first day of training. Assessment and Certifications Assessment for this course is continuous. Successful students will receive an Immerse Training Certificate, which is valid for one year. This certificate will be issued by Qualsafe, the awarding body for Immerse Training. Additional Information Completion of the Level 2 Award in Basic Life Support and Safe Use of an Automated External Defibrillator includes 1 credit at Level 2 of the Qualification Credit Framework (QCF). The Level 2 Award in Basic Life Support and Safe Use of an automated External Defibrillator is also recommended as an annual refresher for student who have successfully completed the QA Level 3 Award in First Aid at Work (QCF). Workplace First Aid Courses First Aid courses for employers and employees. Our workplace courses are fully accredited, registered and meet Health and Safety Executive (HSE) guidelines. From 1 day Emergency First Aid at Work (previously appointed person) to 3 day First Aid at Work courses. We specialise in on-site courses at your workplace, tailored to the specific risks associated with your business. All courses can be delivered at our training centre in Poole, Dorset or we can deliver on-site across Bournemouth, Poole, Dorset, Hampshire and the South of England.