- Professional Development
- Medicine & Nursing
- Arts & Crafts
- Health & Wellbeing
- Personal Development
243 Installation courses
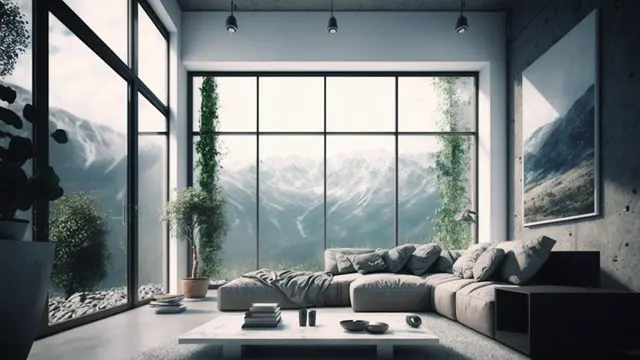
Vray for Maya Essentials Course
By ATL Autocad Training London
Why Choose Vray for Maya Essentials Course? Learn V-Ray's power for stunning 3D visualizations. In design and architecture, it's essential for effective idea communication, offering an intuitive interface and efficient rendering, ensuring faster images and animations. Click here for more info: Website Duration: 10 hours Training Approach: 1-To-1 Sessions. Schedule: Customize your schedule by pre-booking a convenient hour of your choice, available Mon to Sat between 9 am and 7 pm. Module 1: Introduction to Vray for Maya (2 hours) Understand the significance of Vray and its integration with Maya. Installation and setup of Vray for Maya. Familiarize with the Vray interface, workflow, and materials overview. Module 2: Lighting with Vray (2 hours) Explore various lighting techniques in Vray. Understand different Vray lights and their settings. Master the creation and control of Vray sun, sky, dome lighting, and IES lights. Learn efficient lighting workflows with Vray. Module 3: Vray Camera (2 hours) Grasp Vray camera settings and exposure control. Work with Vray depth of field and create camera animations. Understand Vray frame buffer functionalities. Module 4: Vray Materials (2 hours) Explore Vray materials, realistic material creation, and custom material libraries. Utilize Vray material overrides for enhanced customization. Module 5: Vray Rendering and Post Production (2 hours) Dive into Vray rendering settings and techniques for both images and animations. Enhance post-production skills using Photoshop and Vray frame buffer. Learn the art of compositing Vray render elements and utilizing Vray denoiser. Additional Topics Covered: Global Illumination in VRay: Exploring techniques such as Irradiance Map, Light Cache, Quasi-Monte Carlo/Brute Force, and Environmental Lighting. Image Sampling: Understanding Fixed, Adaptive QMC, and Adaptive Subdivisions for optimal rendering quality. VRay Lights: Mastering Plane Light, Dome Light, Sphere Light, VRay Sun, VRay Shadow, Image-Based Lighting HDRI, and Object-Based Lighting. VRay Camera: Manipulating Focal Length, Film Speed, and Shutter Speed for precise camera control. VRay Materials: Customizing Diffuse Color, Reflection, Refraction, and Blurry Reflections for lifelike material creation. Rendering Test Scenes: Practical application by rendering interior and exterior scenes for a hands-on learning experience. V-Ray-Maya Trial https://www.chaos.com Master Vray for Maya to create high-quality renders. Apply various lighting techniques for realistic and visually appealing scenes. Control Vray camera settings and create dynamic shots. Create and customize realistic Vray materials for 3D scenes. Optimize rendering settings for high-quality output. Enhance renders with post-production techniques in Photoshop. Establish an efficient workflow with Vray in Maya. Gain hands-on experience and access valuable resources for further practice. Vray Proficiency: Master Vray tools, interface, and workflows in Maya for advanced 3D visualization. Advanced Lighting Skills: Expertise in diverse lighting techniques, including Vray sun, sky, and IES lights. Camera Control: Proficient manipulation of Vray camera settings, exposure, and animations. Material Customization: Create and customize realistic materials, utilizing custom libraries and overrides. Rendering Excellence: Skills in rendering images and animations, post-production, and compositing techniques. Global Illumination Mastery: Understand advanced global illumination methods for realistic scene lighting. Potential Jobs: 3D Lighting Artist: Specialize in illuminating scenes for films, games, or animations. 3D Visualization Specialist: Create realistic architectural or product visualizations. 3D Rendering Specialist: Focus on rendering high-quality images and animations. 3D Animator: Animate scenes within the context of realistic lighting. 3D Modeler: Develop detailed 3D models, ensuring realistic rendering. Visualization Consultant: Provide expert advice on visualization techniques. Freelance Vray Artist: Work independently on diverse projects, rendering scenes with exceptional realism. Expert Guidance: Receive guidance from certified tutors and industry professionals, benefitting from their deep expertise and practical insights. They will share valuable tips and techniques to enhance your rendering skills. Flexible Learning: Choose between in-person or live online sessions, tailored to your preference and location. Schedule training at your convenience, available Monday to Sunday, 9 am to 8 pm. Lifetime Assistance: Access lifetime email support, ensuring continuous guidance even after course completion. Our dedicated team is committed to addressing your queries and helping you overcome challenges. Unlock Your Potential: Enroll in our V-Ray for Maya Training Course to harness the power of this industry-leading rendering engine. Elevate your visual effects and animation skills, unleashing your creativity with stunning and lifelike renders.

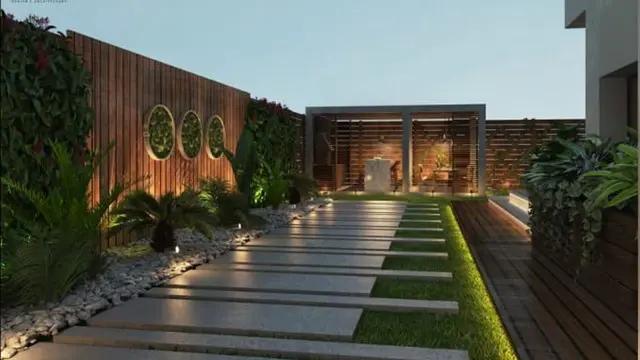
GARDEN DESIGN TRAINING (BEGINNER TO ADVANCE LEVEL)
By Real Animation Works
Garden design face to face training customised and bespoke.
AutoCAD One to One Training Course
By Real Animation Works
Autocad face to face training customised and bespoke Online or Face to Face
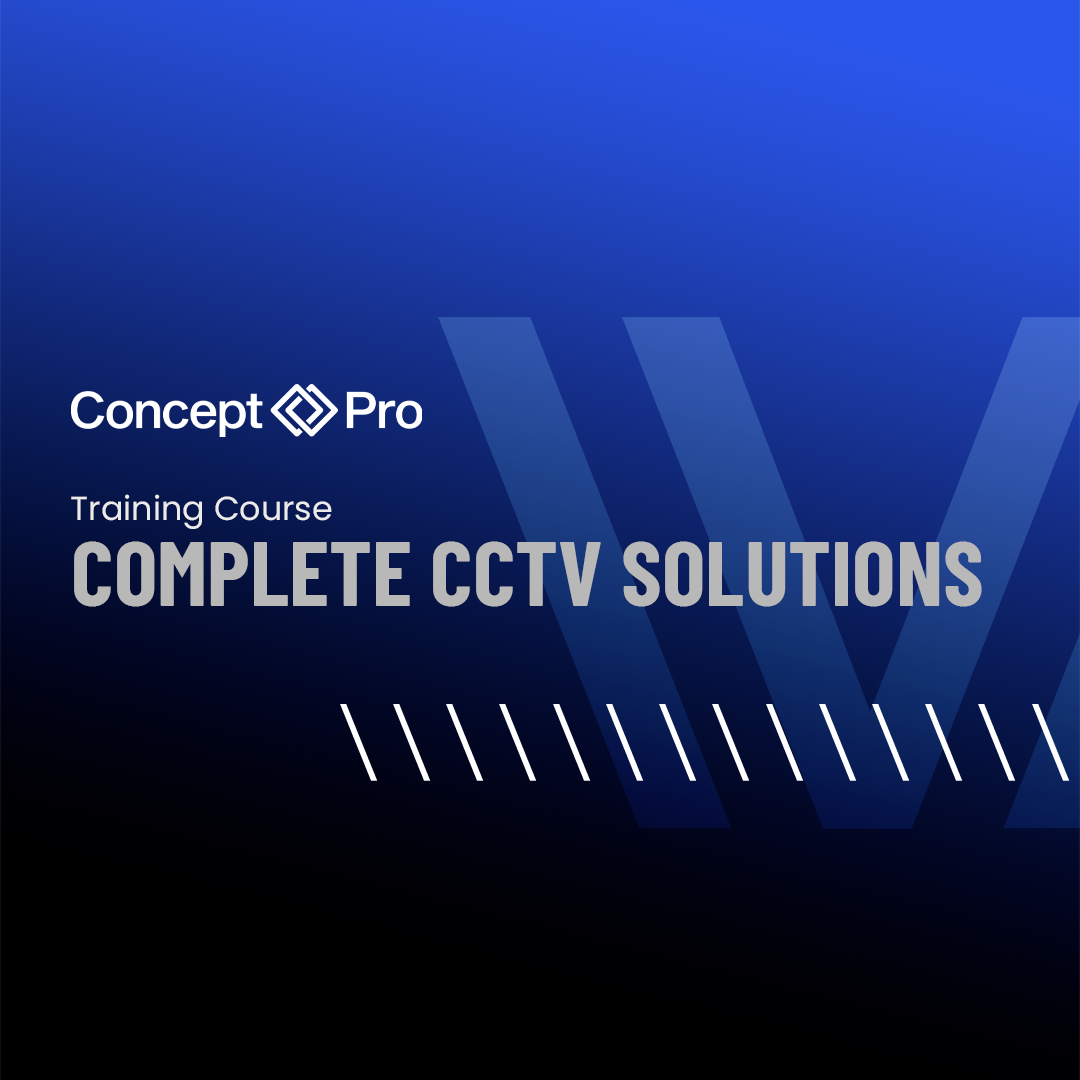
Concept Pro - Complete CCTV Solutions (Welwynn Garden Branch)
By Videcon Training
Assessment and Planning: Survey the area where you want to install CCTV cameras. Identify key areas that need surveillance such as entry points, blind spots, and valuable assets. Determine the number of cameras needed and their types (e.g., dome, bullet, PTZ) based on the coverage required and environmental conditions. Plan the placement of cameras considering factors like lighting conditions, obstructions, and the angle of view required. Selecting Equipment: Choose high-quality CCTV cameras and other necessary equipment such as DVRs (Digital Video Recorders) or NVRs (Network Video Recorders), cables, connectors, power supplies, and storage devices. Ensure compatibility between cameras and recording devices. Consider features like resolution, night vision capability, and weather resistance. Mounting Cameras: Install cameras at the planned locations using appropriate mounting brackets or housings. Ensure cameras are securely fixed to prevent tampering or theft. Adjust the angle and direction of each camera to cover the desired area effectively. Running Cables: Plan the route for cables connecting cameras to the recording device. Use weatherproof cables suitable for outdoor installation. Conceal cables where possible to prevent tampering and maintain aesthetics. Connecting Components: Connect cameras to the DVR/NVR using appropriate cables and connectors. Ensure proper power supply to cameras and recording devices. Configure network settings if using an IP-based CCTV system for remote viewing. Configuring Settings: Access the DVR/NVR interface and configure settings such as recording schedule, motion detection, and video quality. Set up user accounts and passwords to restrict access to the system. Test the system to ensure cameras are capturing footage and recording properly. Remote Viewing (Optional): Set up remote viewing capabilities to access live or recorded footage from smartphones, tablets, or computers. Configure port forwarding on your router if accessing the system from outside the local network. Install and configure the necessary software or mobile apps provided by the CCTV system manufacturer. Testing and Maintenance: Test the system thoroughly to ensure all cameras are functioning correctly and recording as expected. Regularly check and clean cameras to maintain optimal performance. Update firmware and software periodically to patch security vulnerabilities and access new features.
Concept Pro - Complete CCTV Solutions (Head Office)
By Videcon Training
Assessment and Planning: Survey the area where you want to install CCTV cameras. Identify key areas that need surveillance such as entry points, blind spots, and valuable assets. Determine the number of cameras needed and their types (e.g., dome, bullet, PTZ) based on the coverage required and environmental conditions. Plan the placement of cameras considering factors like lighting conditions, obstructions, and the angle of view required. Selecting Equipment: Choose high-quality CCTV cameras and other necessary equipment such as DVRs (Digital Video Recorders) or NVRs (Network Video Recorders), cables, connectors, power supplies, and storage devices. Ensure compatibility between cameras and recording devices. Consider features like resolution, night vision capability, and weather resistance. Mounting Cameras: Install cameras at the planned locations using appropriate mounting brackets or housings. Ensure cameras are securely fixed to prevent tampering or theft. Adjust the angle and direction of each camera to cover the desired area effectively. Running Cables: Plan the route for cables connecting cameras to the recording device. Use weatherproof cables suitable for outdoor installation. Conceal cables where possible to prevent tampering and maintain aesthetics. Connecting Components: Connect cameras to the DVR/NVR using appropriate cables and connectors. Ensure proper power supply to cameras and recording devices. Configure network settings if using an IP-based CCTV system for remote viewing. Configuring Settings: Access the DVR/NVR interface and configure settings such as recording schedule, motion detection, and video quality. Set up user accounts and passwords to restrict access to the system. Test the system to ensure cameras are capturing footage and recording properly. Remote Viewing (Optional): Set up remote viewing capabilities to access live or recorded footage from smartphones, tablets, or computers. Configure port forwarding on your router if accessing the system from outside the local network. Install and configure the necessary software or mobile apps provided by the CCTV system manufacturer. Testing and Maintenance: Test the system thoroughly to ensure all cameras are functioning correctly and recording as expected. Regularly check and clean cameras to maintain optimal performance. Update firmware and software periodically to patch security vulnerabilities and access new features.
Our one-day Park Tool School Basic: Ride with Confidence Course is perfect for anyone looking to learn how to address common issues while out riding. It is suitable for people with little to no knowledge of bike maintenance. This course is intended to ensure that participants leave at the end of the day with the confidence to fix common problems with their bikes. The maximum group size is 7. Our fully trained mechanic will be on hand to answer questions as they come up, and there is plenty of opportunity for practice. This course is fully endorsed by the Bikeabillity Trust for mechanic certification! For those participants seeking a Bikeability accreditation, there will be an assessment after the training. Please note for all other participants there is no assessment. Course Detail Basic Mechanical Skills – tools, stands, home shop set-up, tension & torquing bolts, lubrication, threadlockers & cleaners, health & safety Safety “M” check Tyres, tube & puncture repair (innertube replacement), with wheel removal and installation Looking after your drivetrain: lubrication, cleaning and wear of chains, rear sprockets and chainrings Disc brake systems – differences of cable vs hydraulic, rotors, basics of brake alignment, pad replacement Caliper rim brake adjustment and pad replacement for v-brake, dual pivot road caliper and cantilever Field repairs – what tools to take and tips & tricks to get you home! Please note that we will be concentrating on standard derailleur geared bikes. If you have a bike with hub brakes and hub gears you may find some parts of this course less relevant to your bike, though most things are transferable. If you have any questions or worries, please ask. Price The course costs £96 per person and includes: All tools and equipment A bicycle for you to work on if required (although we encourage you to bring your own where possible) Participants taking the course for a Bikeability accreditation will have an additional £20 fee for assessment and administration. When booking please tick the box in ‘Section 1: Choose Appointment’ to add this to your order. Please choose a course date below and fill out the form, you’ll then be able to pay online and further instructions for the course will be emailed to you. Refunds for courses are only given under exceptional circumstamces and never within 7 days of the advertised course. If we cancel the course for any reason a full refund will be given and a choice of alternative dates offered. If you have any further questions, do please get in touch. Finally, if you’re a Cambridge Cycling Campaign Member, we offer a 15% discount to support the good work that they do. Please get in touch for further details. Assessment For Bikeability Instructors The Bikeability assessment will include: Conduct an “M” check Check and correct tyre pressure Check and correct loose wheels, handlebars, or other parts Correct saddle orientation Identify poor braking and correct pad placement and cable tension Checking and correcting bike fit, including saddle and handlebar height, and brake/shift lever orientation Further Details Course participants must be 18 years or above. We do welcome younger participants 16+ but we accept these on a case by case basis based on their prior experience. Please contact us to discuss prior to booking. Our scheduled courses are run at our training workshop in Cambridge. If you have any further questions, do please get in touch. For more information, please read our Terms & Conditions.

Rhinoceros 3D Night Training Course
By ATL Autocad Training London
Why Choose Rhinoceros 3D Night Training Course? Learning Rhino 3D opens doors to advanced 3D modeling, making it essential for architects, designers, and engineers. Its versatility, ease of use, and powerful features make it an industry favorite for creating intricate designs, from architecture to product design. Click here for more info: Website Personalized Learning: 1-on-1 sessions tailored to your needs Flexible Timing: Convenient evening classes (5 pm - 7 pm) Mon to Sat Duration: 10 hours. Choose your own day and time Rhino 3D Training Overview Our Rhino 3D Training offers in-person or live sessions suitable for beginners and those aiming to optimize their workflow in Rhinoceros 3D. Course Highlights: Master precise free-form 3D NURBS modeling. Explore advanced surfacing commands and the Rhino interface. Develop skills in curve, surface, and solid modeling. Learn effective modeling practices for various industries, from industrial design to jewelry and graphic design. Who Should Attend? This course is perfect for individuals starting their Rhino journey or aiming to refine their modeling skills. If jewelry modeling is your focus, check out our specialized Rhino Training for Jewelry Design Course. Why Choose Us? Hands-on, instructor-led sessions with flexible scheduling (weekdays, evenings, or weekends from 9 am to 7 pm). Expert instruction from Rhino professionals. Real-time practice with industry-aligned projects. Comprehensive electronic notes and course completion certificate. Ongoing support and career advice from experienced trainers. Benefits of Rhino Training Ideal for enthusiasts in animation, modeling, NURBS curves, surfaces, or solids, Rhino Training empowers you with industry-standard skills. No prerequisites are required, ensuring accessibility for all learners. Upon completing this course, you will: Master Rhino's Interface: Gain proficiency in Rhino's commands, toolbars, and menus, enabling efficient 3D modeling. Create Complex 3D Models: Develop the skills to create intricate 3D objects using curves, surfaces, and solids with various techniques like lofts, sweeps, and revolves. Refine Modeling Techniques: Learn advanced editing methods, such as filleting, chamfering, and curve Booleans, to refine and modify objects. Navigate the 3D Space: Understand 3D navigation, viewports, and construction planes, enabling precise modeling in a virtual space. Prepare Models for Production: Master techniques for analyzing and preparing 3D models for manufacturing, prototyping, and 3D printing. Enhance Rendering and Visualization: Learn rendering techniques to create realistic visuals of your models for presentations and proofs. Job Opportunities: After completing this course, you can pursue a variety of careers, including: 3D Modeler: Create detailed 3D models for industries like gaming, animation, or virtual reality. Product Designer: Design and visualize products for manufacturing using 3D modeling software. Architectural Visualization Specialist: Develop detailed architectural models for presentations and client approvals. Industrial Designer: Design consumer products, furniture, or appliances for manufacturing companies. Jewelry Designer: Craft intricate jewelry designs with precise detailing using 3D modeling techniques. Prototyping Specialist: Work in industries like aerospace or automotive, creating prototypes for testing and development. Freelance 3D Artist: Offer your skills on platforms like Upwork or Fiverr, creating custom 3D models for clients worldwide. Rhino 3D Training Overview Our Rhino 3D Training offers in-person or live sessions suitable for beginners and those aiming to optimize their workflow in Rhinoceros 3D. Course Highlights: Master precise free-form 3D NURBS modeling. Explore advanced surfacing commands and the Rhino interface. Develop skills in curve, surface, and solid modeling. Learn effective modeling practices for various industries, from industrial design to jewelry and graphic design. Who Should Attend? This course is perfect for individuals starting their Rhino journey or aiming to refine their modeling skills. If jewelry modeling is your focus, check out our specialized Rhino Training for Jewelry Design Course. Why Choose Us? Hands-on, instructor-led sessions with flexible scheduling (weekdays, evenings, or weekends from 9 am to 7 pm). Expert instruction from Rhino professionals. Real-time practice with industry-aligned projects. Comprehensive electronic notes and course completion certificate. Ongoing support and career advice from experienced trainers. Benefits of Rhino Training Ideal for enthusiasts in animation, modeling, NURBS curves, surfaces, or solids, Rhino Training empowers you with industry-standard skills. No prerequisites are required, ensuring accessibility for all learners. Advantages: Personalized Rhino 3D Evening Training with individual attention. Flexibility to select your preferred time and day for the training. Access to free online support even after completing the course. Comprehensive PDF notes and handouts provided for effective learning. Receive a certificate upon completing the Rhino 3D Evening Training Course. Affordable pricing options tailored to your budget. Assistance in computer configuration for seamless software installation. Referral benefits: Recommend a friend and enjoy exclusive discounts. Special discounts available for group training sessions. Operating hours from Monday to Saturday, extending into the evening for convenience. Tailored training programs designed to meet your specific needs and requirements.
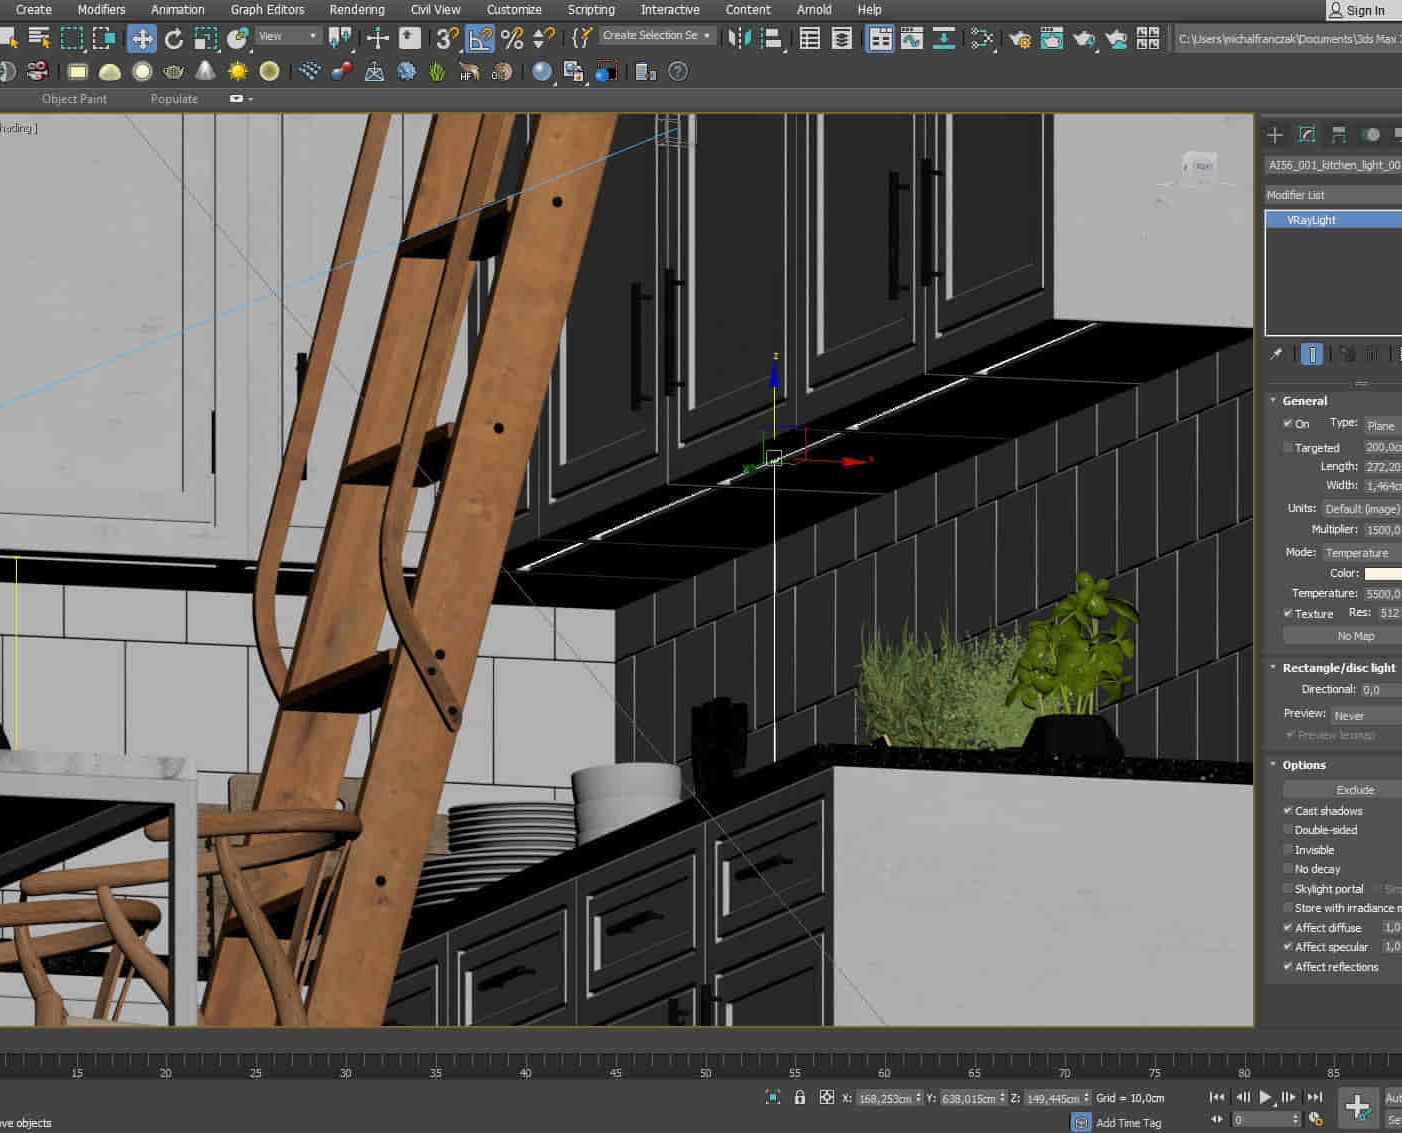
3D Studio Max and CAD Courses 1 on 1
By ATL Autocad Training London
These courses are designed for aspiring 3D artists, students, graduates, creative professionals, CAD designers, and anyone passionate about 3D art. Whether you're looking to launch a career, enhance existing skills, or explore new creative avenues, our courses provide comprehensive training tailored to various skill levels and interests. Check our Website Duration: 16 hours Method: 1-on-1 and Tailored content Dates and Times: Select your preferred hour from Monday to Saturday, available between 9 am and 7 pm. CAD and 3D Studio Max Training Course Duration: 16 hours Course Outline: Introduction to AutoCAD Familiarizing yourself with the AutoCAD interface Navigating the drawing environment Mastering fundamental 2D geometry creation Exploring essential drawing tools and commands Introduction to blocks and symbols for efficient design Advanced AutoCAD Techniques Delving into advanced drawing methods Proficiently manipulating and editing 2D geometry Crafting custom symbols and blocks for enhanced productivity Working with text and annotations for clear communication Utilizing layers and line types for organized design 3D Modeling in AutoCAD Venturing into the world of 3D modeling Precision crafting of 3D solids and surfaces Seamless modification and manipulation of 3D geometry Crafting custom materials and textures for realistic designs Effective utilization of AutoCAD's lighting and camera systems Introduction to 3ds Max Embracing the 3ds Max interface and configuring the workspace Proficiency in navigating within 3ds Max Understanding the viewport for optimized design Exploring basic 3D modeling techniques in 3ds Max Materials and Textures in 3ds Max Application and modification of textures for enhanced designs Mastering the art of UVW mapping for precise texturing Utilizing the material editor for creative freedom Crafting custom materials aligned with your design vision Harnessing the power of Vray materials for lifelike renders Lighting in 3ds Max Introduction to various lighting techniques Grasping light properties for impactful designs Strategic setup of lights to enhance scenes Illuminating scenes with Vray lights Cameras in 3ds Max Mastery of camera systems in 3ds Max Exploring camera properties for cinematic effects Creating animations with cameras for dynamic scenes Utilizing Vray cameras for stunning renders Rendering in 3ds Max Unveiling the art of rendering Utilizing Vray Global Illumination for realistic lighting Leveraging Vray Physical Cameras for precise control Enhancing scenes with Vray HDRI Lighting Following a Vray Rendering Workflow for professional results Advanced Modeling Techniques Proficiency in crafting complex geometry Utilizing modifiers for intricate designs Exploring polygonal modeling for versatile creations Creating both organic and inorganic models with expertise Unleashing the potential of advanced modeling techniques Projects Application of acquired skills to create real-world scenes Designing a detailed interior scene with meticulous attention Crafting a visually impactful exterior scene Creating a complex scene featuring multiple objects and materials Course Requirements: A computer with AutoCAD and 3ds Max installed Basic knowledge of computer operations A keen interest in 2D and 3D modeling and design Course Goals: Upon course completion, you will possess a comprehensive understanding of AutoCAD and 3ds Max, enabling you to craft intricate 3D scenes enriched with advanced materials, textures, lighting, and rendering. These newfound skills empower you to advance your capabilities in both 2D and 3D modeling and rendering. Upon successful completion of this comprehensive AutoCAD and 3ds Max training, participants will attain the following skills: AutoCAD Proficiency: Mastery of 2D geometry, drawing tools, and symbols. Advanced AutoCAD Techniques: Expertise in editing, custom blocks, text, and layers. 3D Modeling in AutoCAD: Competence in crafting 3D solids, textures, and lighting. Introduction to 3ds Max: Proficient navigation of the interface and fundamental 3D modeling. Materials and Textures: Application and customization of textures using Vray. Lighting and Cameras: Mastery of lighting and camera systems within 3ds Max. Rendering: Production of high-quality renders through Vray. Advanced Modeling: Proficiency in handling complex geometry and creating organic models. Real-World Projects: Capability to design interiors, exteriors, and intricate scenes. Skills Acquired: Mastering 3D Modeling Techniques in 3D Studio Max Advanced Texturing and Material Application Skills Proficiency in Lighting and Rendering Techniques Expertise in Animation and Keyframe Techniques Comprehensive Scene Composition and Camera Setup Knowledge Career Opportunities: Senior 3D Modeler Experienced CAD Designer Lighting and Rendering Specialist Animation Director Architectural Visualization Expert Upon completing our 3D Studio Max and CAD Courses, students will acquire advanced 3D modeling, animation, and CAD design skills, paving the way for rewarding careers in roles such as Senior 3D Modeler, CAD Designer, Lighting Specialist, Animation Director, and Architectural Visualization Expert. You will gain access to the following benefits: An Autocad and 3ds Max Certificate of Attendance. A comprehensive PDF training guide for 3ds Max and CAD. Real-time feedback during sessions, with the option to record them as video archives. We offer the following advantages: Price guarantee to ensure the best value for your investment. Personalized one-on-one training for focused learning. Flexible scheduling options available seven days a week, from 9 am to 7 pm. Lifetime email and phone support for ongoing assistance. Assistance with software installation and computer setup. Referral discounts and special offers on group training courses.
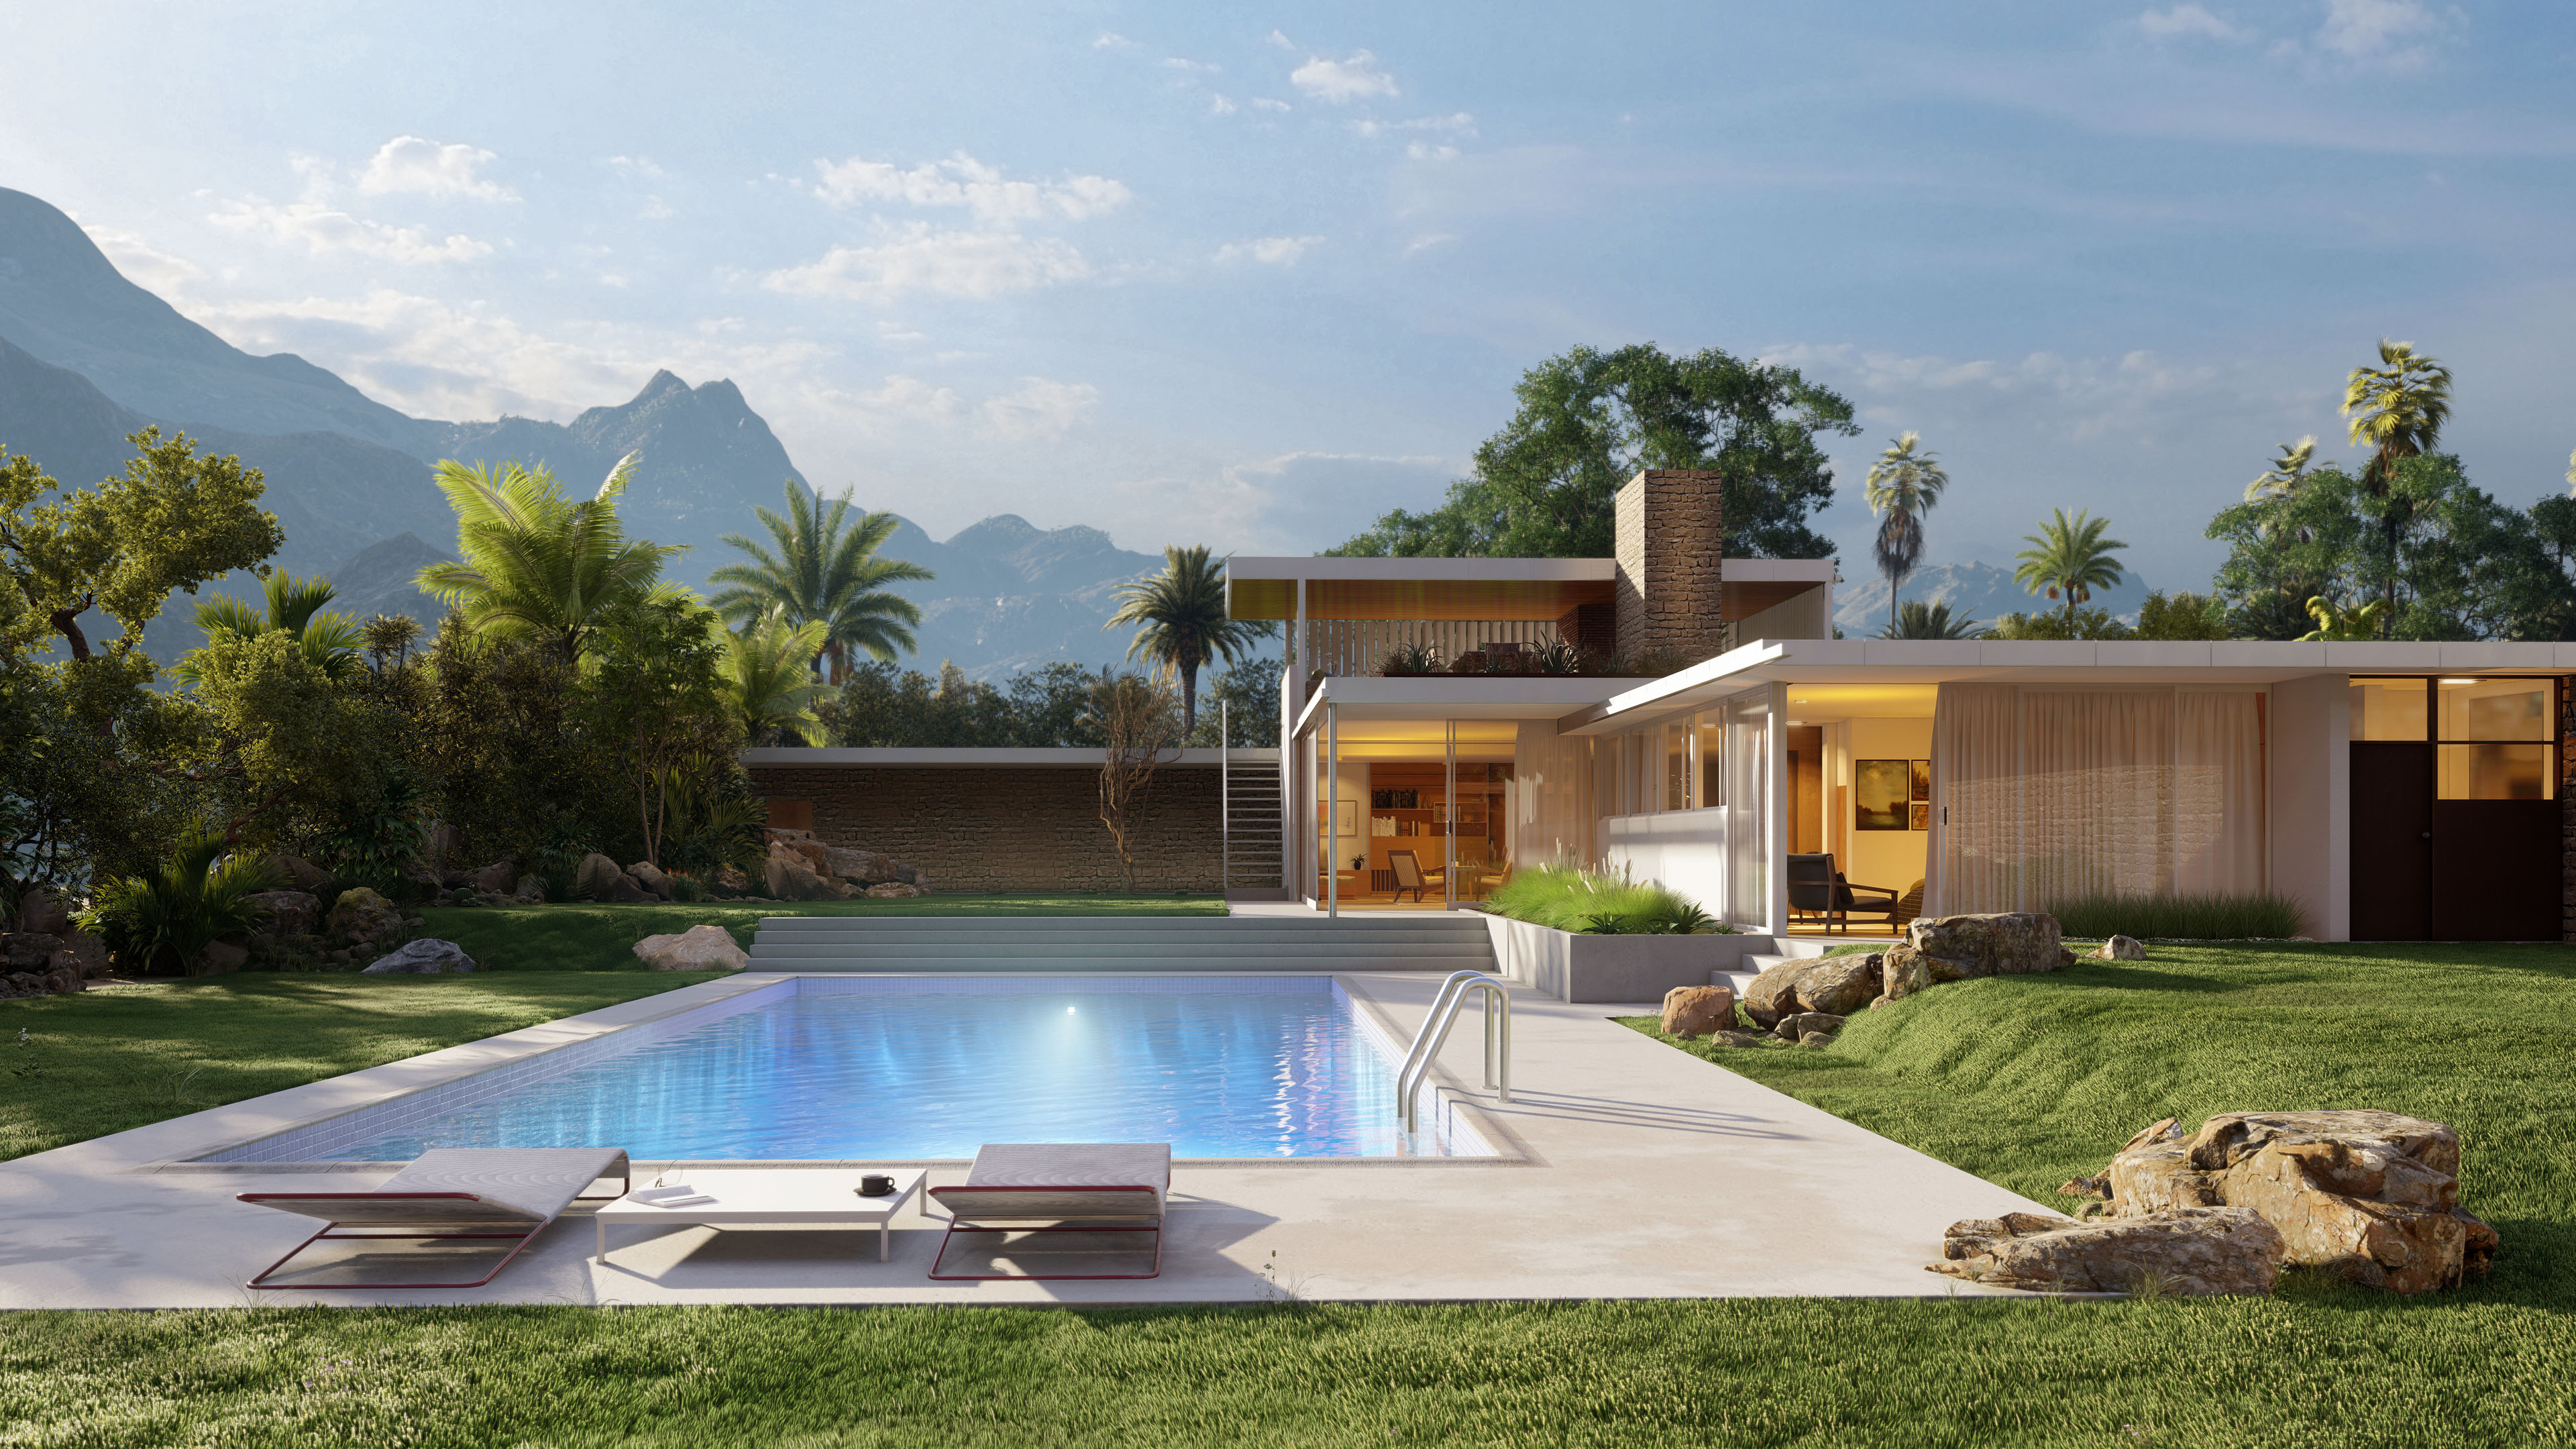
Enscape Rendering Training
By London Design Training Courses
Why Choose Enscape Rendering Training Course? Course info Best real-time visualization plugin, integrates with design tools like Revit, SketchUp, Rhino, ArchiCAD, and Vectorworks. Experience swift and real-time visualization within your preferred applications, eliminating extra costs and adjustments. Elevate your design projects effortlessly with Enscape. Duration: 5 hrs Method: 1-on-1, Personalized attention Schedule: Tailor your own hours of your choice, available from Mon to Sat between 9 am and 7 pm What does the Enscape Training & Interactive Workshop offer? The Enscape Training & Interactive Workshop is designed to help you get up and running with Virtual Reality (VR) in a cost-effective manner. It covers hardware and software setup, navigation techniques, real-time updates, material settings, and more. The workshop also allows participants to experience VR firsthand. What will I learn in the Enscape (VR) Training and Interactive Workshop? The workshop covers hardware setup, software installation, and configuration. You will learn how to migrate models from Revit and SketchUp into VR, navigate through designs, update objects and materials in real-time, and utilize various visual styles and settings. The course also includes interactive workshops with support from our expert tutors. Course Outline: Enscape Rendering Software Training (5 hours) Course 1: Enscape for Revit Hour 1: 1. Introduction to Enscape: Overview of Enscape rendering software, its features, and benefits. 2. Installing and Setting up Enscape: Step-by-step guidance on installing and configuring Enscape for Revit. 3. Enscape Interface: Familiarizing with the Enscape user interface and navigation controls within Revit. Hour 2: 4. Enscape Materials: Exploring material creation, application, and customization within Enscape for Revit. 5. Lighting in Enscape: Understanding different lighting options, adjusting light settings, and creating realistic lighting effects. Hour 3: 6. Enscape Camera Settings: Manipulating camera angles, perspectives, and settings for optimal visualization. 7. Enscape Rendering Settings: Exploring various rendering settings and techniques to enhance the quality of the final output. Hour 4: 8. Enscape Rendering Workflow: Demonstrating a step-by-step workflow for generating renderings and walkthroughs using Enscape in Revit. 9. Advanced Features: Introduction to advanced features such as creating panoramas, virtual reality (VR) walkthroughs, and creating animations in Enscape. Hour 5: 10. Tips and Tricks: Sharing tips and techniques for maximizing efficiency and achieving high-quality results in Enscape for Revit. 11. Q&A and Troubleshooting: Addressing participant questions, providing troubleshooting guidance, and discussing common challenges and solutions. OR Course Outline: Enscape Rendering Software Training (5 hours) Course 1: Enscape for Sketchup Hour 1: 1. Introduction to Enscape: Overview of Enscape rendering software, its features, and benefits for SketchUp users. 2. Installing and Setting up Enscape: Step-by-step guidance on installing and configuring Enscape for SketchUp. 3. Enscape Interface: Familiarizing with the Enscape user interface and navigation controls within SketchUp. Hour 2: 4. Enscape Materials: Exploring material creation, application, and customization within Enscape for SketchUp. 5. Lighting in Enscape: Understanding different lighting options, adjusting light settings, and creating realistic lighting effects. Hour 3: 6. Enscape Camera Settings: Manipulating camera angles, perspectives, and settings for optimal visualization in SketchUp. 7. Enscape Rendering Settings: Exploring various rendering settings and techniques to enhance the quality of the final output. Hour 4: 8. Enscape Rendering Workflow: Demonstrating a step-by-step workflow for generating renderings and walkthroughs using Enscape in SketchUp. 9. Advanced Features: Introduction to advanced features such as creating panoramas, virtual reality (VR) walkthroughs, and creating animations in Enscape. Hour 5: 10. Tips and Tricks: Sharing tips and techniques for maximizing efficiency and achieving high-quality results in Enscape for SketchUp. 11. Q&A and Troubleshooting: Addressing participant questions, providing troubleshooting guidance, and discussing common challenges and solutions.
Introduction to Sketchup Course 1-2-1
By Real Animation Works
Sketchup face to face training customised and bespoke.