- Professional Development
- Medicine & Nursing
- Arts & Crafts
- Health & Wellbeing
- Personal Development
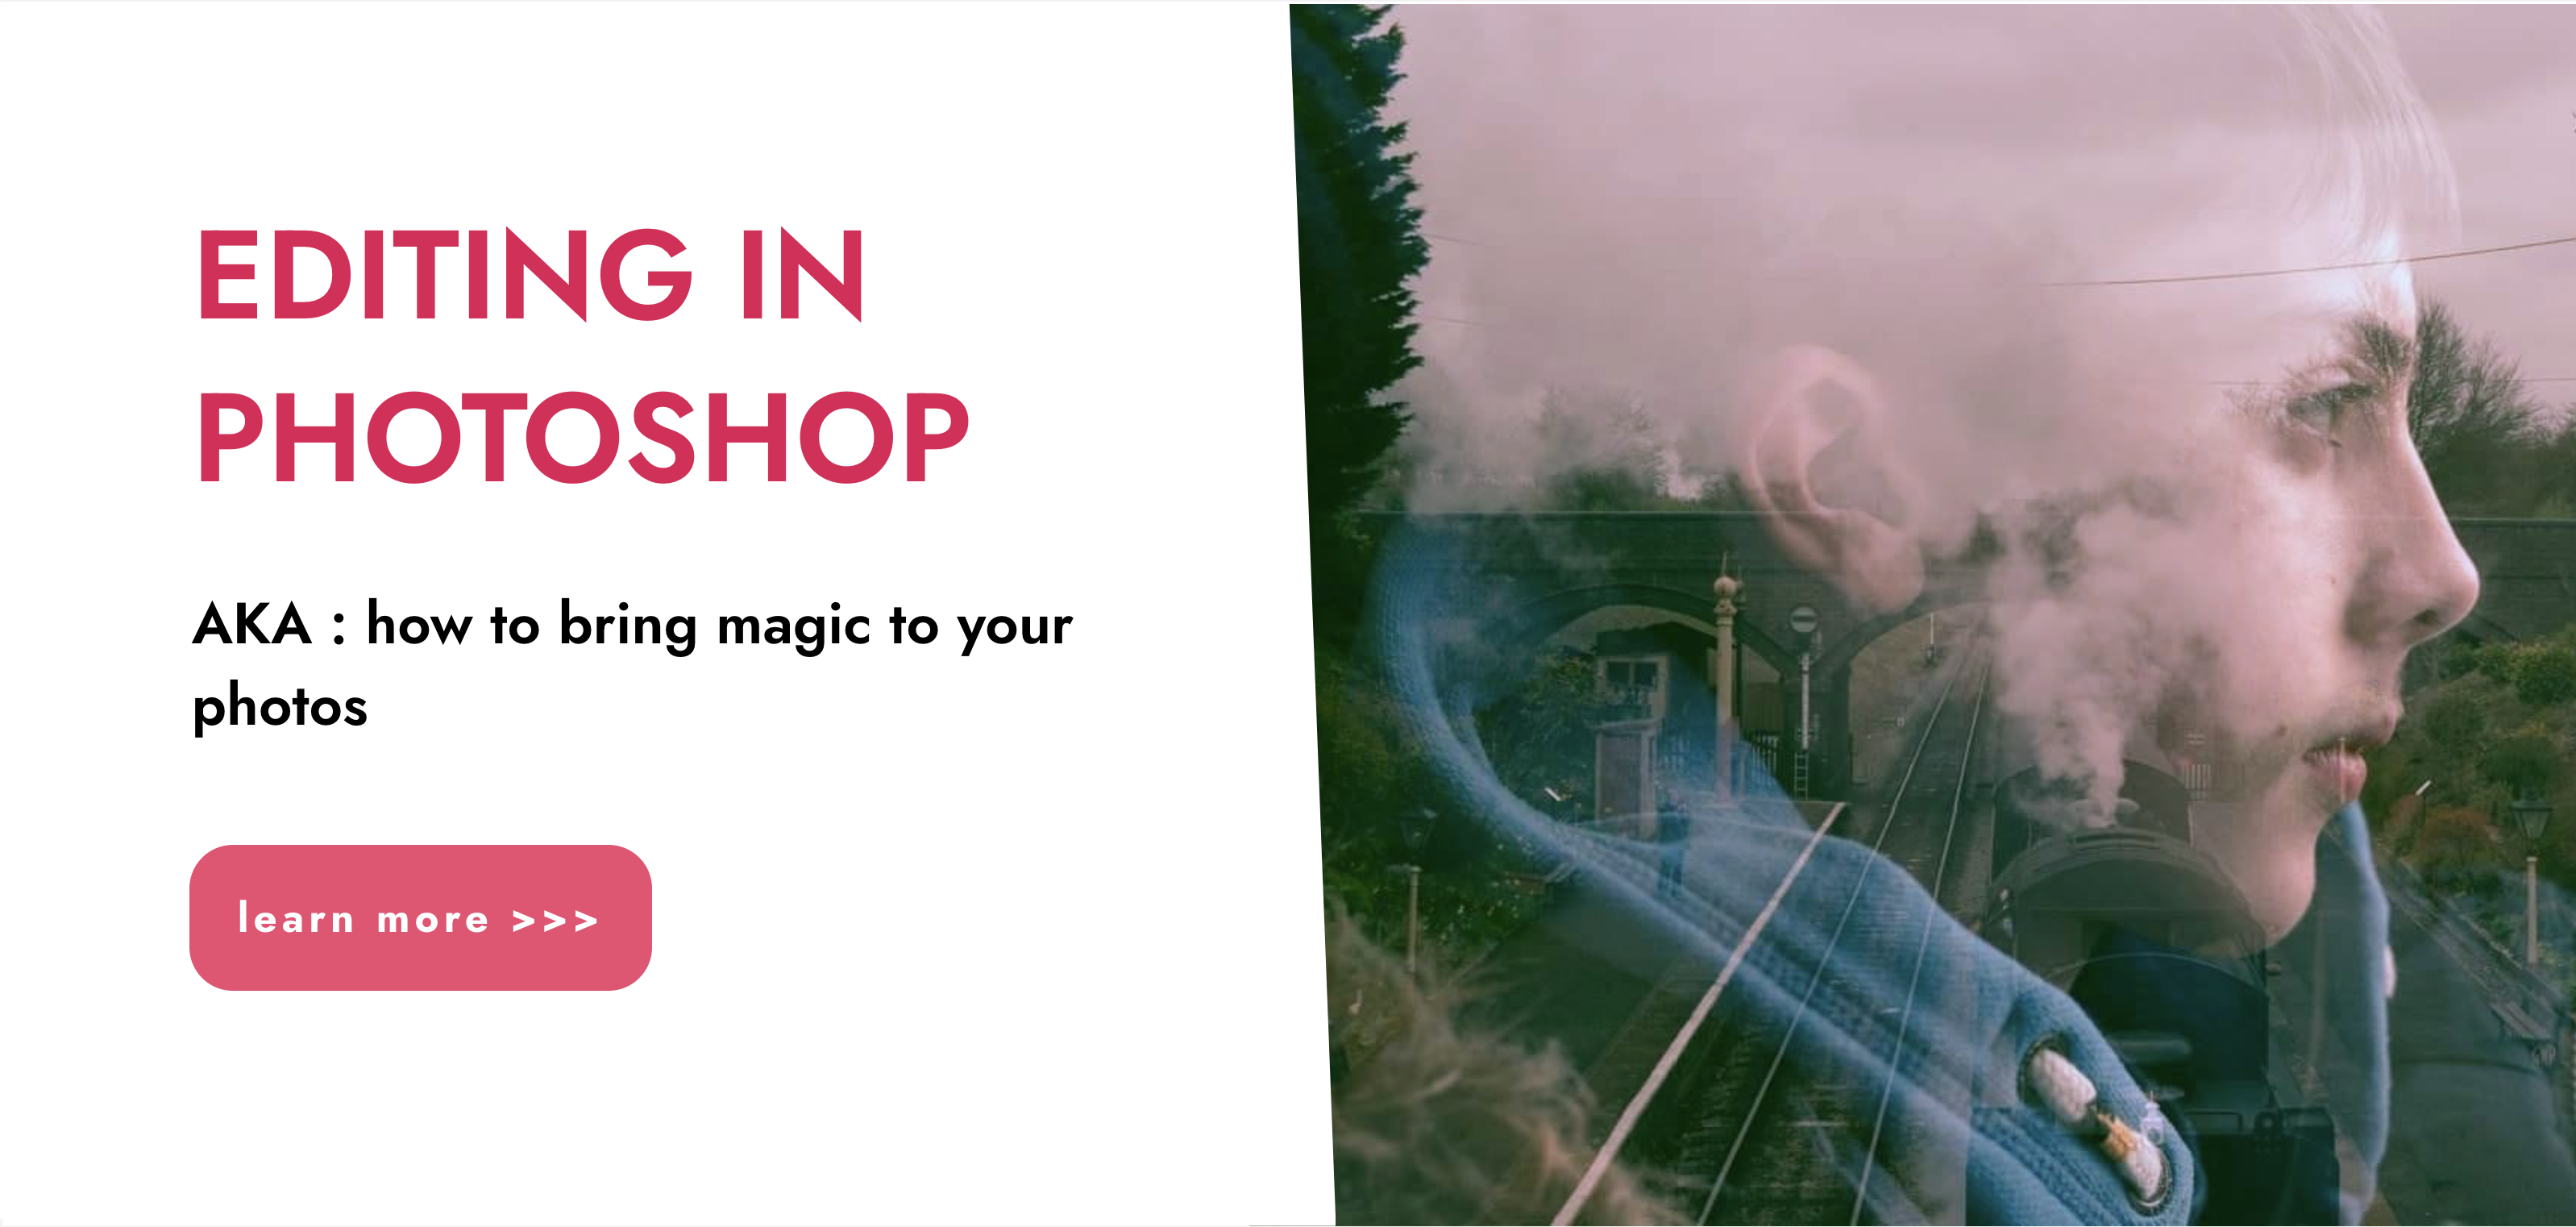
“Photography is more than a medium for factual communication of ideas. It is a creative art" - Ansel Adams Photoshop For Photographers When you're ready to take the next step in your photo-education and learn to use Photoshop - our Photoshop for Photographers course will take you from Photoshop novice to someone who can confidently navigate it and use its super powerful tools to take your photos beyond what you thought was possible! So if you've ever dreamt about being able to use Photoshop, maybe even got as far as opening it and quickly get overwhelmed with all that's packed inside - we've got you. KEY COURSE INFO: Course type: Instructor-led Course level: 2 levels - Essential Photoshop ( L1) and Creative Photoshop (L2) Course duration: each course level consists of 4 weeks + prep module Course format: Online course with step by step tutorials, instructional videos and interactive edit-along live classes, feedback on your learning and support group WHAT YOU LEARN: Our Photoshop for Photographers is a 2 level course - the first one covering all the key aspects of understanding how to navigate and work in Photoshop along with its most widely used tools and techniques, the second one building on top of that to really boost the creative uses you can apply it to. This incredibly in-depth course has everything you need as a photographer who wants to harness this amazing tool. What you learn: from basic Photoshop tools to more complex photo manipulations, from playing with colour to portrait retouching, from adding light to removing any unwanted object from your photos and lots, lots more. key photoshop tools object removal and placements - face / sky swaps Overlays & blending modes The art of adding light Skin editing and retouching introduction to compositing THIS IS THE COURSE FOR YOU IF : You you already know basics of editing (in Lightroom) but want to take them further into Photoshop ( where more fun happens) You tried using Photoshop before only to close it immediately after opening due to all the overwhelmingly unfamiliar tools and options You followed youtube tutorials before but beside replicating what the person did exactly, you still don't really have a good idea of how to use Photoshop - or why you should!? You want to be able to take advantage of the tools that are missing in Lightroom or do not give you sufficient control over them to do the job seamlessly - such as precise ways of removing unwanted objects in your image - Photoshop's powerful tools, such as the Content-Aware Fill and Clone Stamp enable you to remove distracting objects or people from your photos, ensuring the focus remains on the subject You want to be able to manipulate or replace elements in your images - from turning your background blurry to replacing blank skies, doing face swaps and more You want to be able to bring beautiful light into your images - from haze to sun rays, from - with colours that pop and light that's perfectly balanced You want to be able to take yoru portraits to a new level - remove blemishes, retouch skin,and correct imperfections, giving your images a polished and professional finish. You desire to create stunning composites: With Photoshop, you can combine multiple images seamlessly to create captivating composite photos. This skill is particularly useful for photographers who want to tell stories or create imaginative and surreal images. ONE COURSE - 2 LEVELS ESSENTIAL PHOTOSHOP Pick this course if you're new to Photoshop or do not have a lot of experience in Photoshop In this course you learn to : Navigate the software and set it up for a proper, smart, non-destructive workflow Discover all the essential tools and techniques that take your images way beyond what you could do in Lightroom Learn the key skills : from masks to brushes, from blending modes to selections, from cloning to canvas extensions, from face swaps to sky swaps - and more!! CREATIVE PHOTOSHOP Pick this course if you're already familiar with the basic tools and ways of working in Photoshop In this course you take all that you learned in the Essentials course and turbo boost it for creativity. You'll learn : How to play with light, colour and blur for unique creative outcomes How to get more out of the familiar tools - so advanced brushes, advanced selections, advanced blending More fun skills : from skin edits to retouching, from stitching photos to involved composites, from creating effects such as neon glow to turning your photos into comics and more! Learn more about Creative Photoshop WHAT'S INCLUDED IN EACH OF OUR PHOTOSHOP COURSES: 4 core modules - each with detailed step by step tutorials, downloadable videos and PDF workbooks Support Facebook group Weekly edit-along live webinar Practice files to learn on Feedback on your images ESSENTIAL PHOTOSHOP Next Essential Photoshop course starts 15 January 2024 The way you work in Photoshop is very different compared to Lightroom and a big learning curve for anyone who begins learning it for the first time. It's also a big reason why a lot of photographers open it for the first time, find it hard to recognise any familiar tools or make them work on the image and the give up. In this course we take you through it step by step. We show you around this tool and teach you how to use it in a way that's smart, non-destructive, flexible and making the most of its amazing features. Here is a non-exhaustive list of what you will learn: A thorough understanding of Layers, masks and brushes - you cannot really work effectively in Photoshop if you do not know how to use these tools. An absolute must! Key Photoshop tools - Photoshop is a hugely vast tool used by lots of different creative professions and depending on what you use it for, you will be using different tools. We introduce you to the ones that are key for a photographer! Working with Adjustment layers - these fantastic tools allow you to change colours, adjust tone and mood of images Removing and replacing parts of your photos - powerful selection, healing, cloning, content aware tools and more to allow you to clean up your images of everything that's undesirable or distracting in your images Simple composites ( Face swaps / Sky swaps) - while composites can be hugely complex and challenging, we show you how to get started with a few simple - but effective ones!Understanding Precision tools and filters for blurring and sharpening Blending modes and their immense potential for transforming your images with the tools you already know - from working with overlays to CREATIVE PHOTOSHOP Next Creative Photoshop course starts 15 April 2024 In Level 2 we build on the foundation we establish in Level 1 and start applying what you have learned more creatively - as well as learning more tools, more techniques and starting more fun projects. This is where we really get to have fun with those powerful tools - we learn not just how to fix and clean up undesirable elements from the photos, but how to creatively treat them so that they reflect your creative vision and imagination. The magic of Colour and blur - adding mood and softness to images to transform the images . We use several creative techniques to completel;y transform the images Adding and creating light effects in Photoshop - from light beams to sun burtsts to rainbows! Step by step skin editing and portrait retouching - from adjusting skin tones, removing unwanted colour casts, disappearing blemishes and creating highend, polished portraits that still retain healthy skin texture Using smart filters and creative adjustment layers to achieve effects such as turning your images into cartoons, watercolours or neon effects Working with and creating your own custom brushes, overlays etc - the power of photoshop brushes has to be experienced to be believed - from adding light rays to Playing with composites - adding magic to your images or creating new scenes and stories from scratch PHOTOSHOP For Photographers Photoshop courses - KEY INFO Essential Photoshop ( Level 1) - 4 week course, starts 15 Jan 2024 Creative Photoshop ( Level 2) - 4 week course, 15 April 2024 Course cost: BOOKING A SINGLE COURSE: £179 ( payment plans available ) BOOKING A BUNDLE: Book Level 1 and Level 2 together : £259 (payment plans available ) PHOTOSHOP FOR PHOTOGRAPHERS Each course consists of 4 weekly modules with step by step illustrated tutorials and videos + prep module weekly edit along class online class ( also recorded) feedback and advice on your edits private support group PDF workbook and downloadable videos Practice images to learn on COURSE PREREQUISITES: Adobe Photoshop software installed on your computer or tablet.This can be purchased either as a standalone Photoshop Subscription or as part of the Photography Plan which includes also access to Lightroom and Lightroom Classic. Please note that you need to ensure that your computer can run Photoshop - please follow Adobe minimum system requirements guidelines
SketchUp Evening Training
By London Design Training Courses
Why Learn SketchUp Evening Training Course? You will learn how to create and edit 3D models to a professional standard, ensuring you leave with the skills and confidence to fully take advantage of SketchUp and Layout software. You can book this course after work we are open 9 am to 7 pm. Course info Duration: 10 hrs. Method: 1-on-1, Personalized attention. Schedule: Tailor your own schedule by pre-booking a convenient hour of your choice, available from Mon to Sat between 9 am and 7 pm. SketchUp Evening Training Course Course Duration: 10 hours I. Introduction to SketchUp (1 hour) - Overview of SketchUp for interior design and architecture - Familiarization with the user interface and essential tools - Mastering navigation and viewport controls - Efficiently creating and managing interior design and architectural projects II. Creating Floor Plans (1 hour) - Importing floor plans and site plans for reference - Precision in drawing walls, windows, and doors - Effective management of floor levels - Organizing designs using Layers and Scenes III. Adding Furniture and Fixtures (2 hours) - Accessing and importing furniture and fixtures from the extensive 3D Warehouse - Crafting custom furniture and fixtures to suit specific design needs - Strategically placing and arranging elements within the space - Crafting and customizing materials to achieve the desired visual impact IV. Advanced Modeling Techniques (2 hours) - Employing advanced tools for creating intricate 3D models - Enhancing model organization using groups and components - Adding exquisite details and finishes to elevate design quality V. Layout for Construction Documents (2 hours) - Creating construction documents in Layout for clear communication - Seamlessly importing SketchUp models into Layout - Crafting detailed floor plans, elevations, and sections - Adding annotations and dimensions to facilitate construction VI. Introduction to Vray (1 hour) - Understanding the capabilities of Vray for SketchUp - Familiarization with the basic Vray interface and tools - Exploring Vray materials and textures for enhanced rendering VII. Advanced Rendering Techniques (1 hour) - Applying advanced rendering techniques to elevate SketchUp models - Creating artificial and natural lighting for realistic visualizations - Enhancing designs with entourage and landscaping elements VIII. Importing and Exporting (30 minutes) - Seamlessly importing and exporting files for versatile workflows - Ensuring file format compatibility with other software - Preparing models for 3D printing as required IX. Conclusion and Next Steps (30 minutes) - Comprehensive review of course content and key takeaways - Suggested further learning resources and avenues for improvement - Interactive Q&A session and feedback collection Download SketchUp | Free Trial of 3D Modeling Software SketchUp https://www.sketchup.com SketchUp's Intuitive Interface Helps You Communicate Ideas In 3D Fast. Subscribe Today!
Rhino 3D Basic to Intermediate Training
By London Design Training Courses
Why Choose Rhino 3D Basic to Intermediate Training Course? Course Link Learn NURBS modeling, curves, and 3D printing prep in our Rhino 3D Course. Master materials, textures, and lighting for 2D & 3D modeling. A basic understanding of Rhino is valuable for creative professionals pursuing careers in product, furniture, architectural, or jewelry design. Duration: 10 hrs Method: 1-on-1, Personalized attention Schedule: Tailor your own hours of your choice, available from Mon to Sat between 9 am and 7 pm. Supported Learning Approach: Personalized Support: No matter the course duration, our team is dedicated to supporting you every step of the way. From homework assignments to video tutorials and free after-support, we ensure a supportive path to software expertise. One to One Course Advantage: The One-to-One Course Advantage offers personalized learning, flexible scheduling, focused feedback, and a private environment to boost confidence and achieve your specific objectives. Rhino 3D Basic to Intermediate Training Course Course Duration: 10 hours Course Description: 3D modeling journey with our Rhino 3D Basic to Intermediate Training Course. Ideal for beginners, master the powerful Rhino 3D software used by architects and designers. Explore the interface, create captivating 3D models, and enhance your designs with comprehensive tools and techniques. Course Outline: I. Introduction to Rhino 3D (1 hour) - Explore the Rhino 3D interface and discover essential tools for 3D modeling - Master seamless navigation and viewport controls - Grasp the significance of units and tolerance for precise creations - Customize your workspace for an efficient and personalized workflow II. Creating Basic 3D Objects (3 hours) - Unleash your creativity by crafting simple yet captivating 3D shapes - Gain expertise in editing objects and working with curves for refinement - Dive into the world of surfaces and solids, refining your skills - Effortlessly use transformations and copying techniques to enhance your designs III. Organizing and Enhancing Models (2 hours) - Streamline your projects with smart organization using groups and layers - Elevate the visual appeal of your models with vibrant colors, materials, and textures - Illuminate your creations with fundamental lighting techniques IV. Advanced Modeling Techniques (2 hours) - Master the art of tackling complex shapes with advanced modeling tools - Explore the nuances of creating and editing curves and surfaces - Enhance your proficiency in handling solids and understand Boolean operations and trimming techniques V. Introduction to Rendering (1 hour) - Gain an overview of rendering and its role in visualizing your designs - Understand Rhino's powerful render engine and its capabilities - Apply basic materials to elevate the quality of your renderings VI. Exporting and Importing (1 hour) - Acquire a comprehensive understanding of file formats for seamless sharing - Prepare your models for 3D printing using best practices - Integrate models from other software into Rhino 3D for a unified workflow VII. Conclusion and Next Steps (30 minutes) - Recapitulate the knowledge gained throughout the course - Access valuable tips and resources for continuous learning and growth - Engage in an interactive Q&A session to receive feedback and support Note: The above course outline is flexible, ensuring it meets the unique needs and skill levels of learners. Download - Rhino

AutoCAD Basic-Intermediate Training Courses 1 on 1
By London Design Training Courses
Why choose AutoCAD Basic-Intermediate Training Courses 1 on 1? Course info. Designed for absolute beginners, this practical and interactive course offers comprehensive AutoCAD1-2-1 training, enabling participants to create 2D plans and elevations proficiently. "Call 02077202581 or WhatsApp 07970325184 to reserve your preferred dates and times. Duration: 10 hrs. Method: 1-2-1, Personalized attention. Schedule: Tailor your own schedule available from Mon to Sat between 9 am and 7 pm. Upon completion, you'll confidently navigate various AutoCAD features. Comprehensive beginners' course covering basics. Personalized attention, ample room for inquiries. Accomplished trainers, one-to-one sessions. All-inclusive course materials provided. Lifetime email support post-training. Gain the ability to: Effectively use AutoCAD features. Create, edit, manipulate plans and drawings. Utilize layers, templates, and dimensions efficiently. No prior AutoCAD experience needed. Basic computer skills are required. You'll receive a detailed PDF manual, free AutoCAD Blocks, and a Certificate of Attendance. AutoCAD Basic to Intermediate Training Course: Session 1: 1. Introduction to AutoCAD Interface, Commands, and Tools - Familiarization with the AutoCAD user interface on Mac - Overview of essential commands and tools 2. Creating and Managing Drawings - Starting a new drawing and setting up units - Saving, opening, and managing drawing files 3. Drawing Basic Shapes and Objects - Drawing lines, circles, arcs, rectangles, ellipses, and other basic shapes - Exploring the creation of precise geometries 4. Basic Modification Techniques - Erasing unwanted objects - Moving objects to new locations - Rotating objects to specific angles - Scaling objects uniformly Session 2: 5. Working with Layers and Properties - Creating layers and organizing objects - Assigning properties to objects based on layers 6. Creating and Modifying Text and Dimensions - Adding text annotations to the drawing - Inserting and customizing dimensions for accurate measurements 7. Introduction to Blocks and Attributes - Understanding the concept of blocks and their benefits - Adding attributes to blocks for dynamic data input Session 3: 8. Advanced Object Modification Techniques - Using fillet and chamfer to create smooth transitions - Trimming and extending objects to desired endpoints 9. Using Grips to Modify Objects - Leveraging grips for easy and intuitive object editing 10. Creating and Modifying Polylines and Splines - Drawing and editing complex shapes using polylines and splines Session 4: 11. Creating and Editing Tables - Generating tables to organize and present data - Modifying table content and appearance 12. Creating and Working with Layouts and Viewports - Setting up layout sheets for plotting and printing - Managing multiple viewports to display different parts of the drawing 13. Printing and Exporting Drawings - Configuring printing options and settings for output - Exporting drawings in different file formats Throughout the course, participants will actively engage in hands-on exercises and projects to practice their skills and reinforce their understanding of AutoCAD 2D for Mac. The training will also provide ample time for Q&A and troubleshooting to address specific concerns and challenges. Download AutoCAD 2024 | AutoCAD Free Trial Autodesk https://www.autodesk.co.uk › products › free-trial Download a free 30-day trial of AutoCAD or any of the toolsets that are included when you subscribe. Note: each trial must be downloaded separately.
Photoshop Basics to Fundamentals Training
By London Design Training Courses
Why Choose Photoshop Basics to Fundamentals Training Course? Our Photoshop Basics to Fundamentals Training Course offers a strong skills in Adobe Photoshop, equipping with essential skills. Learn to use layers, selection tools, layer effects, layers, masking, photos, typography, filters, and color theory. Learn features for confident Photoshop usage. Course Link Duration: 10 hrs Method: 1-on-1, Personalized attention Schedule: Tailor your own hours of your choice, available from Mon to Sat between 9 am and 7 pm Course Highlights: Master Advanced Photoshop Skills: Develop expertise in professional image editing, retouching, and manipulation techniques. Hands-on Creative Projects: Engage in practical exercises to enhance real-world design skills. Explore Special Effects: Dive into advanced topics like layer effects, filters, and blending modes for stunning visual creations. Typography and Design Mastery: Learn typography styles, layout design, and color theory for compelling compositions. Build a Professional Portfolio: Receive guidance on crafting a portfolio showcasing your Photoshop expertise. Job Opportunities: Graphic Designer: Create captivating visuals for print and digital media. Digital Artist: Craft digital artwork for various applications, from illustrations to ads. UI/UX Designer: Design user interfaces and experiences for websites and apps. Web Designer: Develop visually engaging websites with expertise in Photoshop. Marketing Content Creator: Produce marketing materials, including banners and social media visuals. Freelance Designer: Offer design services independently to diverse clients. Advertising Creative: Design impactful ad visuals for creative campaigns. Print Production Specialist: Prepare print-ready materials, ensuring high-quality results. Photography Post-Processing Specialist: Enhance and retouch photographs for professional use. Module 1: Interface and Preferences Familiarize with the Photoshop Interface Customize Panels and Toolbars to suit your workflow Explore Photoshop Preferences for optimal settings Discover different Photoshop CC Workspaces for various tasks Get started with essential Keyboard Shortcuts Module 2: Image File Formats Understand various image file formats, including PSD, JPEG, PNG, and PDF Explore File Compression and its impact on image quality Module 3: Creating a New Document Set dimensions and size for new documents Understand media units for precise design specifications Explore Color Profiles and their importance Save presets for quick document setups Module 4: Placing Images Learn about Embedded vs. Linked images Introduction to Smart Objects for non-destructive editing Master the Selection tool for precise image placement Module 5: Image Size and Resolution Save images in different formats and compression settings Learn about Image Size and Resolution for various output requirements Module 6: Layers Introduction Organize your work using Layer management Master layer tasks such as reordering, renaming, grouping, locking, and hiding Module 7: Selection Tools Explore various Selection Tools like Marquee, Magic Wand, Quick Selection, and Lasso Understand Inverse Selection and Deselect for efficient editing Module 8: Layer Effects Apply captivating Layer Effects like Drop Shadow, Stroke, and Outer Glow Save and clone Effects Styles for quick application Combine multiple effects for creative designs Module 9: Introduction to Shapes Utilize the Shapes tool for basic design elements Create Custom Shapes for unique designs Understand Color principles and use the Properties Panel for adjustments Master the Direct Selection tool for precise shape editing Create a basic poster using provided examples Module 10: Type and Typography Work with Type and explore the Character and Paragraph Panel Utilize Styles Panel for consistent text formatting Save favorite fonts for easy access Apply Effects and Layer Styles on Type for impactful typography Learn about Leading, Tracking, and Kerning for optimal text spacing Module 11: Colors Understand RGB vs. CMYK color modes Select colors using the Eyedropper tool Save colors as Swatches for reuse Create gradients using the Gradient Tool Module 12: Creating a Clipping Mask Master the concept of Clipping Masks and its usage Apply Clipping Masks to Type, Images, and Shapes Combine Layer Effects with Clipping Masks for creative designs Module 13: Introduction to Masking Understand Masking and its importance in image editing Utilize the Brush tool for creating masks Learn Masking shortcuts and use Gradient Mask for smooth transitions Module 14: Adjustment Layers Explore Color and Gradient Adjustment Layers for image enhancements Master Curves, Levels, and Hue/Saturation Adjustment Layers for precise color control Convert images to Black and White using Adjustment Layers Combine Adjustment Layer Masks for targeted edits Module 15: Image Touch Up Master various touch-up techniques, including Red Eye Removal, Spot Healing Brush, and Patch Tool Utilize Content Aware Removal for seamless object removal Restore an old photo using Clone Stamp and Dodge/Burn tools Improve portraits by removing blemishes and whitening teeth Module 16: Filters Introduction Understand Smart Objects and Filter usage for non-destructive editing Explore the Filters Gallery and experiment with Blur and Vantage filters Module 17: Blending Modes Introduction Master the concept of Blending Modes and their impact on layer overlays Understand different types of Blending Modes, including Darken, Lighten, and Overlay Master the art of working with layers in Adobe Photoshop. Skillfully utilize various selection tools for precise editing and manipulation. Apply captivating Layer Effects to enhance your designs and visuals. Understand the functionality of Adjustment Layers, Masking, and Clipping Masks for advanced editing and compositing. Acquire the techniques to touch up and restore photographs effectively. Explore typography techniques to create visually appealing text designs. Gain an introductory understanding of Filters and their creative applications. Grasp the principles of Color Theory and its practical application in design.

SketchUp - Rendering with V-Ray Course
By ATL Autocad Training London
Who is this course for? SketchUp - Rendering with V-Ray Course This course is tailored for architects, designers, 3D artists, and anyone interested in enhancing their rendering skills using SketchUp and V-Ray. Whether you're a beginner or an experienced user, this course provides in-depth training to create stunning visualizations and realistic renders in SketchUp using V-Ray. Check our Website Course Duration: 6 hours Training Method: 1-on-1, (Face to Face) or Live Online session. Personalized to your needs. Course Content Overview: SketchUp and V-Ray: Exploring Intermediate Modeling Techniques Mastering V-Ray Materials: Textures, Sources, and Editing Managing and Optimizing Textures for Graphics and Bitmaps Illuminate Your Designs: Delving into Lighting: Types, Placement, and Scene Enhancement Understanding V-Ray Camera: Exposure, White Point, and Efficient Setup Achieve Stunning Renderings: Rendering Scenes: Digital Output, File Formats, and Best Practices Optimizing Quality Settings for Efficient Scene Creation Transitioning from 2D to 3D: Modeling Essentials for Visualization Utilizing Follow-Me and Push-Pull Techniques Enhancing Designs with Components: Choosing Between Groups and Components Mastering V-Ray Frame Buffer: Automatic 2D Graphic Saving File Types, Properties, and Effective Usage Perfecting V-Ray Materials: Materials Editor: Layering, Previews, and Shiny Surfaces Incorporating Bumps and Bitmaps for Realism Exploring Advanced Techniques: Unveiling Ambient Occlusion Effects Advanced Modeling, including Magic Box and Polygon Techniques Optimizing Texturing: Projected UVW Mapping Fine-Tuning Mapping Size and Position Locking Mapping for Consistency Alpha Channels: Preparing Graphics with Alpha Channels Integrating Rendered Output with Photoshop Hands-On Learning: Practical Exercises: From Concept to Stunning Renderings Vray for SketchUp Trial. https://www.chaosgroup.com/vray/sketchup/free-trial. Texture resources https://www.vray-materials.de/ and https://textures.com After completing the SketchUp and Vray course, participants will: Gain expertise in creating realistic 3D architectural and interior design scenes using Vray for SketchUp. Master lighting, camera settings, and composition for visually striking renders. Excel in applying Vray materials and textures for enhanced design quality. Produce high-quality renderings and refine them with post-production techniques. Receive a certification of attendance and 30 days of post-course email support. Job opportunities include roles in architectural visualization, interior design, real estate marketing, product design, and more. Skills Acquired: Advanced SketchUp Proficiency: Master advanced techniques for modeling and designing in SketchUp. V-Ray Rendering Skills: Learn how to use V-Ray to create realistic, high-quality renders in SketchUp. Texture Mapping and Material Application: Understand the art of texturing and applying materials for lifelike renders. Lighting Techniques: Explore various lighting setups to enhance the realism of your renders. Post-Processing: Gain skills in enhancing renders further through post-processing techniques. Job Opportunities: Architectural Visualizer: Create detailed and realistic architectural visualizations for projects. Interior Designer: Develop compelling interior visualizations for residential or commercial spaces. 3D Artist: Work in the gaming or animation industry, creating 3D models and environments. Visualization Specialist: Provide visualization services for real estate, marketing, or design agencies. Freelance Renderer: Offer your rendering services on a freelance basis to various clients. Why Choose Our Training? Personalized Coaching: Benefit from one-on-one training sessions conducted either Face to Face (SW96DE) or Live online, ensuring a tailored experience with practicing architects and designers. Flexible Hours: Our training is available Monday to Saturday from 9 am to 7 pm, accommodating your schedule for a seamless learning experience. Tailored Tutorials: Take advantage of custom video tutorials designed specifically for you, providing additional resources to enhance your learning journey. Comprehensive Reference: Receive a digital reference book to support thorough revision, ensuring a comprehensive understanding of each concept covered. Ongoing Support: Enjoy free and continuous support via phone or email even after the course concludes, ensuring your success beyond the classroom. Adaptable Syllabus: We customize the syllabus and projects to meet your specific needs, ensuring a focused learning experience on what matters most to you. Official Certification: Receive a certificate upon completing your course, recognizing your achievement in mastering the content. Why Us? Individualized Learning Support: Our courses, ranging from 10 hours to 120 hours Diploma training Courses, provide consistent support. With personalized assignments and post-course assistance, we guide you towards mastering software with dedicated help. Personal Attention, No Crowds: Say goodbye to crowded classrooms. Experience the intimacy of one-on-one learning, ensuring you receive the focused attention necessary for a confident and comfortable learning environment. Financial Flexibility: We understand the financial aspects of education. We offer various payment plans tailored to your needs, making your learning journey accessible and affordable. Expert Instructors, Real-world Knowledge: Our instructors are industry experts chosen for their extensive knowledge and teaching passion. Dedicated to imparting invaluable skills, they provide real-world insights to anyone eager to learn.

Adobe illustrator 1-2-1 Training Course
By Real Animation Works
Illustrator face to face training customised and bespoke Online or Face to Face
Introduction to Sketchup Course 1-2-1
By Real Animation Works
Sketchup face to face training customised and bespoke.

Confident Career Conversations - CV Writing & Interview Skills
By Mpi Learning - Professional Learning And Development Provider
This course is for anyone wishing to understand their strengths and development areas and those who are seeking assistance to progress their careers and convey their abilities confidently.

Adobe After Effects Basic Level Training course 1-2-1
By Real Animation Works
Aftereffects face to face training customised and bespoke.