- Professional Development
- Medicine & Nursing
- Arts & Crafts
- Health & Wellbeing
- Personal Development
63 Hair courses in Waltham Abbey
Photoshop Basics to Essentials Training
By London Design Training Courses
Why Choose Photoshop Basics to Essentials Training Course? Course Link Mastering Photoshop is crucial for securing positions in creative fields such as graphic design, digital design, and user interface (UI) design. Acquiring this skill serves as a foundation to excel in various design programs essential for creative professionals. Duration: 16 hrs. Method: 1-on-1, Personalized attention. Schedule: Tailor your own hours of your choice, available from Monday to Saturday between 9 am and 7 pm. Photoshop Course: Total 16 hrs Module 1: Keyboard and Toolbar Shortcuts Customize toolbars and keyboard shortcuts for efficient workflow Learn essential keyboard shortcuts for faster navigation Module 2: Advanced Layer Management Filter, search, and color code layers for better organization Group and merge layers to streamline your design process Explore Blending Modes for creative effects Module 3: Blending Modes Understand Blending Modes and their usage within layers and effects Apply Blending Modes to enhance your designs Module 4: Layer Comps Discover Layer Comps and their benefits in managing complex designs Create, edit, and update Layer Comps for different design versions Export Layer Comps to PSD, PDF, and JPEG formats Module 5: Drawing Vectors Work with Vector images using shapes and the Pen Tool Use the Direct Selection Tool for precise editing Apply colors and create Clipping Masks with vectors Module 6: Advanced Type Techniques Convert text into Shapes and utilize font style changes with the Pen Tool Use text as a Clipping Mask and create text Outlines Design 3D text for impactful typography Module 7: Advanced Adjustment Layers Master advanced adjustments like Curves, Levels, and Black and White Utilize Selective Color and Gradient Maps for creative color control Module 8: Advanced Selection Techniques Use Smart Radius and Select and Mask for precise selections Learn to select complex objects like hair using Color Range and the Pen Tool Save and manage selections using the Path Panel Module 9: Colorizing Black and White Images Module 10: Displacement Maps Module 11: Advanced Filters Create Trees, Frames, Clouds, and Fire with filters Use Polarized, Wave, and Extrusion for artistic effects like "Japanese Sun" Explore Vanishing Point Filter, Camera RAW, Blur for depth of field, and Filter Gallery Combine 3D text with Vanishing Point for stunning designs Use Liquify for image manipulation Module 12: Introduction to Actions Automate tasks using Photoshop's preset Actions Create your own Actions to save time and effort Module 13: Creating an Animated GIF Learn frame by frame animation Utilize the Timeline to create engaging animated GIFs Learning Outcomes: Master advanced selection techniques, including the Path and Pen Tool, for precise editing. Gain proficiency in advanced layer management and utilize Layer Comps for efficient design organization. Enhance your designs with a deeper understanding and application of Blending Modes. Create visually appealing 3D text and text outlines to add depth and impact to your artwork. Explore advanced Filters like Displacement Maps, Blurs, and Distortion for creative effects. Automate tasks with actions and batch processing, streamlining your workflow. Craft engaging animated GIFs to add dynamic elements to your designs. Skillfully set project requirements by identifying the purpose, target audience, copyright considerations, and project management tasks for successful project execution.
Arnold for 3dsMax Basic to Advanced Training
By London Design Training Courses
Training duration: 10 hrs. Click here for more info Method: 1-2-1, Personalized attention, Tailored content, Flexible pace, Individual support. Schedule: Personalized training experience with our flexible 1-2-1 sessions. Tailor your own schedule by pre-booking a convenient hour of your choice, available from Monday to Saturday between 9 am and 7 pm. Learn Arnold for 3ds Max and make breath-taking renders with our comprehensive training course. Led by certified tutors and industry experts, you'll master the basics to advanced techniques of creating stunning visual effects and lifelike renderings. Course Duration: 10 hours Course Outline: Session 1: Introduction to Arnold Renderer (1 hour) Unveiling Arnold Renderer's features and capabilities Understanding the benefits of Arnold in 3ds Max Setting up Arnold renderer and exploring its interface Mastering the workflow for exceptional results Session 2: Basic Arnold Shading (1 hour) Navigating the Arnold shading network Creating essential materials with Arnold shaders Working with diverse shader types (standard, Lambert, etc.) Elevating visuals with maps and textures in Arnold's materials Session 3: Arnold Lighting Techniques (1.5 hours) Embracing the art of lighting with Arnold Lights Implementing various light types (area lights, spotlights, etc.) Creating ambiance with Arnold skydome and environment lighting Illuminating scenes using physical sky and image-based lighting Session 4: Arnold Cameras and Rendering Settings (1.5 hours) Mastering Arnold cameras and their settings Achieving depth of field and motion blur effects in Arnold Configuring optimal rendering settings for superior results Fine-tuning rendering with the Arnold Render Setup dialog Session 5: Advanced Arnold Shading (1.5 hours) Creating intricate materials with advanced Arnold shaders Realistic surfaces with Arnold's procedural textures Harnessing the power of advanced shading nodes (bump, displacement, etc.) Unleashing specialized effects with Arnold shaders (subsurface scattering, hair, etc.) Session 6: Arnold Rendering Optimization (1 hour) Streamlining rendering settings for enhanced efficiency Leveraging Arnold features like adaptive sampling and denoising Noise reduction techniques for smoother Arnold renders Troubleshooting common rendering issues and their solutions Session 7: Advanced Lighting Techniques (1 hour) Crafting lifelike lighting setups with Arnold's prowess Exploring advanced lighting properties (exposure, color temperature, etc.) Enhancing lighting with Arnold light filters and modifiers Implementing captivating effects like volumetric lighting and caustics Session 8: Arnold AOVs and Compositing (1 hour) Understanding Arnold AOVs (Arbitrary Output Variables) Configuring and rendering AOVs for post-production control Compositing AOVs for artistic adjustments in post-production Leveraging AOVs for fine-tuning the final image Session 9: Arnold for Animation and Motion Graphics (1 hour) Integrating Arnold seamlessly into animation and motion graphics projects Rendering animation sequences with finesse Managing motion blur and time-based effects with Arnold Unveiling Arnold's potential for particle rendering and dynamic effects Session 10: Arnold Tips, Tricks, and Best Practices (1 hour) Exploring advanced techniques and workflows for exceptional results Optimizing scene setup for enhanced rendering performance Troubleshooting tips for common issues and errors in Arnold Q&A session and final review to consolidate knowledge
Wet Shaving
By Alan d Hairdressing Education
Learn the classic Wet Shave in this intermediate barbering course. Ideal for qualified men’s hairdressers and barbers wanting to add Wet Shaving to their services. You’ll learn skin theory, skin tensioning, lathering techniques, skin preparation and more.
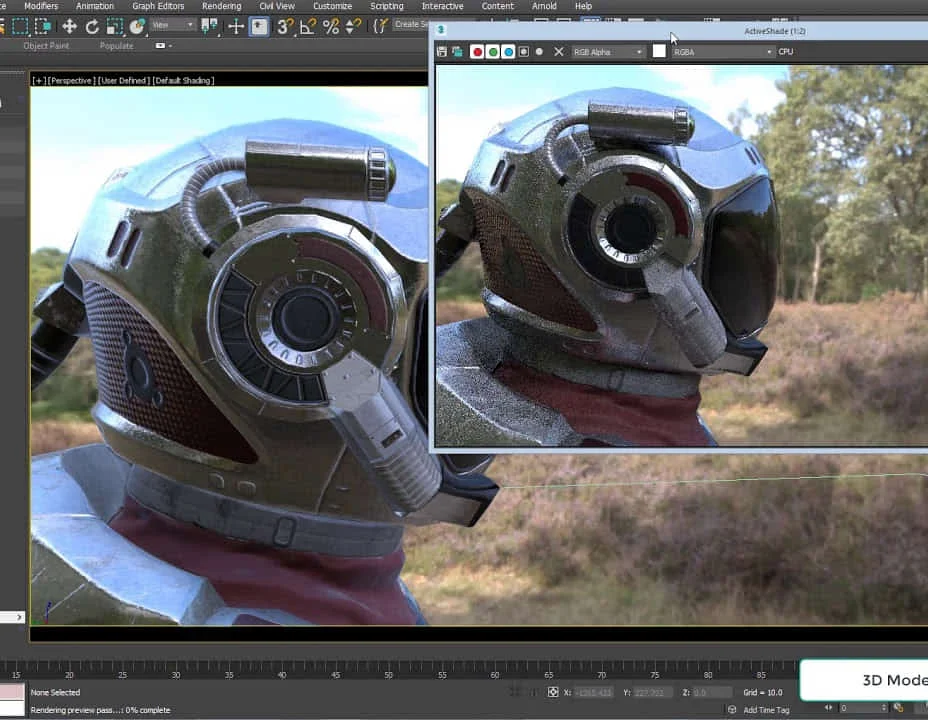
Arnold for 3dsMax Basic to Advanced Training Course
By ATL Autocad Training London
Learn 3ds Max + Arnold Photo Realistic Rendering Workflow. Enhance your skills with our Arnold renderer training for 3ds Max users. Learn to create lifelike 3D scenes and animations, mastering accurate light simulation. Explore essential Arnold features in lighting, materials, and rendering. Click here for more info: Website Training duration: 10 hrs. Method: 1-on-1 and Personalized attention. Schedule: Choose a convenient time from Monday to Saturday, 9 am to 7 pm, and book your slot. Course Duration: 10 hours Course Outline: Session 1: Introduction to Arnold Renderer (1 hour) Unveiling Arnold Renderer's features and capabilities Understanding the benefits of Arnold in 3ds Max Setting up Arnold renderer and exploring its interface Mastering the workflow for exceptional results Session 2: Basic Arnold Shading (1 hour) Navigating the Arnold shading network Creating essential materials with Arnold shaders Working with diverse shader types (standard, Lambert, etc.) Elevating visuals with maps and textures in Arnold's materials Session 3: Arnold Lighting Techniques (1.5 hours) Embracing the art of lighting with Arnold Lights Implementing various light types (area lights, spotlights, etc.) Creating ambiance with Arnold skydome and environment lighting Illuminating scenes using physical sky and image-based lighting Session 4: Arnold Cameras and Rendering Settings (1.5 hours) Mastering Arnold cameras and their settings Achieving depth of field and motion blur effects in Arnold Configuring optimal rendering settings for superior results Fine-tuning rendering with the Arnold Render Setup dialog Session 5: Advanced Arnold Shading (1.5 hours) Creating intricate materials with advanced Arnold shaders Realistic surfaces with Arnold's procedural textures Harnessing the power of advanced shading nodes (bump, displacement, etc.) Unleashing specialized effects with Arnold shaders (subsurface scattering, hair, etc.) Session 6: Arnold Rendering Optimization (1 hour) Streamlining rendering settings for enhanced efficiency Leveraging Arnold features like adaptive sampling and denoising Noise reduction techniques for smoother Arnold renders Troubleshooting common rendering issues and their solutions Session 7: Advanced Lighting Techniques (1 hour) Crafting lifelike lighting setups with Arnold's prowess Exploring advanced lighting properties (exposure, color temperature, etc.) Enhancing lighting with Arnold light filters and modifiers Implementing captivating effects like volumetric lighting and caustics Session 8: Arnold AOVs and Compositing (1 hour) Understanding Arnold AOVs (Arbitrary Output Variables) Configuring and rendering AOVs for post-production control Compositing AOVs for artistic adjustments in post-production Leveraging AOVs for fine-tuning the final image Session 9: Arnold for Animation and Motion Graphics (1 hour) Integrating Arnold seamlessly into animation and motion graphics projects Rendering animation sequences with finesse Managing motion blur and time-based effects with Arnold Unveiling Arnold's potential for particle rendering and dynamic effects Session 10: Arnold Tips, Tricks, and Best Practices (1 hour) Exploring advanced techniques and workflows for exceptional results Optimizing scene setup for enhanced rendering performance Troubleshooting tips for common issues and errors in Arnold Q&A session and final review to consolidate knowledge Upon completing this course, you will: Gain a solid understanding of Arnold, its rendering concepts, and its integration into 3D projects. Master the setup of Arnold renderer, optimizing performance, and ensuring compatibility with various platforms. Effectively create and manage materials for Arnold, enabling you to produce realistic and visually appealing scenes. Demonstrate proficiency in working with different shapes, lighting techniques, cameras, and shaders to enhance the visual quality of your 3D projects. Harness the power of textures to add depth and realism to your rendered scenes. Utilize Arnold scene sources efficiently, empowering you to streamline your workflow and achieve desired results in a faster and more organized manner. Overall, this course equips you with the necessary skills to confidently utilize Arnold in your projects and achieve exceptional rendering outcomes. Arnold is an advanced Monte Carlo ray tracing renderer designed for feature-length animation and visual effects. This comprehensive course equips you with the skills to produce photo-realistic 3D rendered scenes and animations. Learn accurate light simulation, artistic style techniques, and more. Our 3ds Max - Rendering with Arnold training is customizable, offering one-to-one sessions. Whether in-class or live online, our Autodesk Certified Instructors with vast rendering experience will guide you through hands-on exercises and provide a training guide for future reference. Upon completing the course, you'll receive an e-certificate and liftime email support from your Arnold trainer. Prior experience with 3ds Max is recommended, but no prior Arnold knowledge is required. Choose the Arnold version that suits your needs for this training course. Lifetime email support provided. Comprehensive handouts and useful documents included. Flexible financial support options available, including installment packages and funding through job center plus and DWP (Contact us for details). Money-back guarantee: Unsatisfied after your first session? We address your concerns and offer a refund if needed (Terms and conditions may apply). Assistance with computer optimization for improved software performance in Autocad, 3ds Max, and Photoshop on both MAC and PC platforms. Industry connections for portfolio promotion and job opportunities.
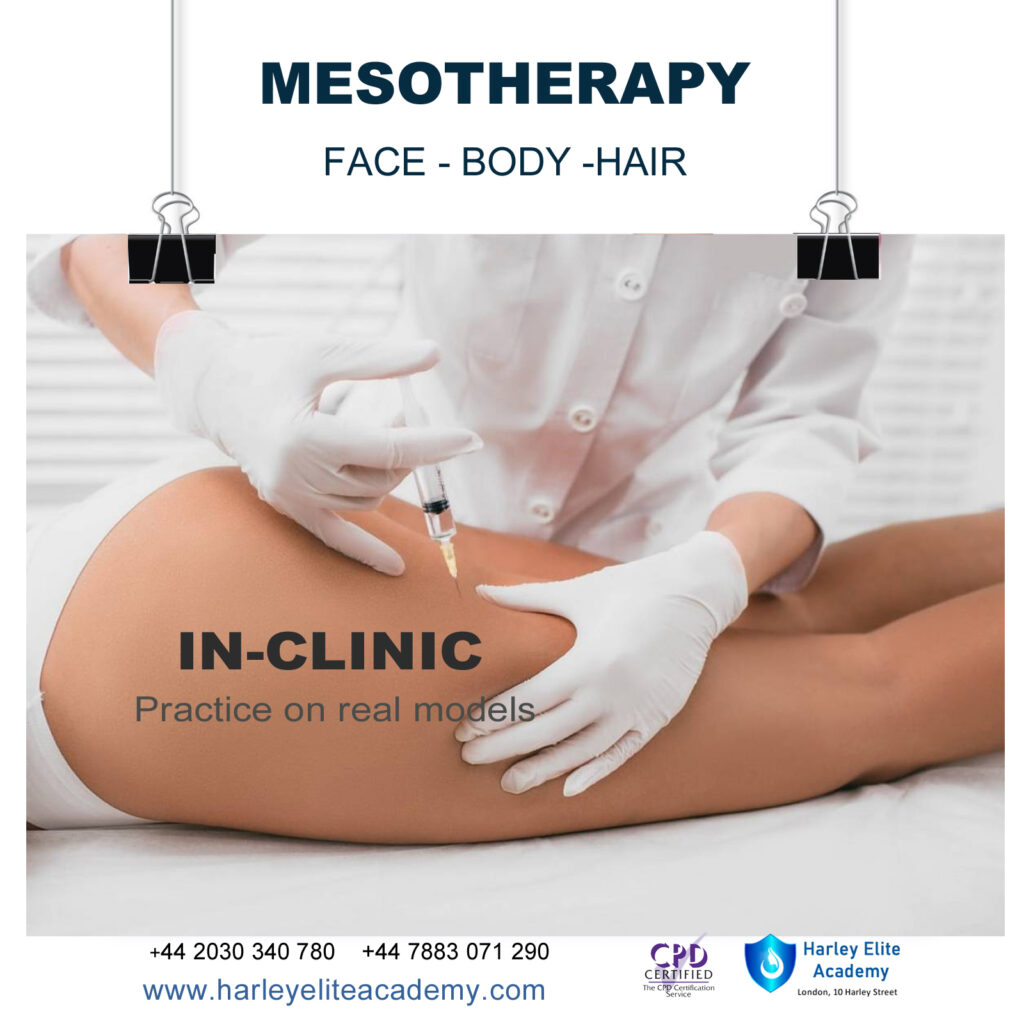
MESOTHERAPY, FACE, BODY, HAIR COURSE
By Harley Elite Academy (HeLa)
MASTERCLASS 8 CPD POINTS 1 DAY INTENSIVE COURSE ONLINE or IN-CLINIC NOTE! After booking we will contact you for scheduling the exact course date! Courses dates are subject to change due to mentors availability. We will inform you via email if a date becomes available! Nose Job Masterclass You will perform this procedure on live models under the supervision and guidance of highly experienced aesthetic practitioners. You will be trained under ENT specialist. We will give you all the knowledge you need for a safe technique in your practice. A certification of training will be provided upon completion of the course. Practice will enable you to learn in 1-day ONE-TO-ONE Training You will also have the opportunity to view a mesotherapy treatment demonstration at the conclusion of the training. Upon successful completion of the course, you will receive a certificate and title of Mesotherapy Certified Practitioner. You need to be medically qualified as a doctor, dentist, nurse, pharmacist or paramedic with full governing body registration and have completed a Foundation Filler Course and to have administered a number of cases. Additional information ATTENDANCE ONLINE (Theory), IN CLINIC (Practice) COURSE LEVEL EXPERT | Masterclass Course
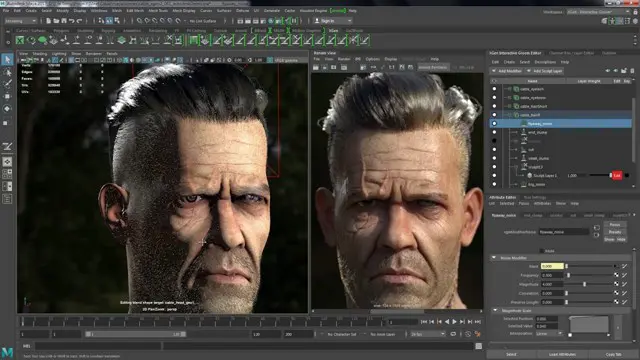
Autodesk Maya 10 hrs One to One training
By Real Animation Works
Autodesk face to face training customised and bespoke. Certified Tutors.
#OntheFloor
By Alan d Hairdressing Education
Our Fast-Track Barbering Course allows you to choose what you learn. Aimed at those who have Barbering experience but don’t feel confident enough on the salon floor, or those looking to brush up on a specific skill. You choose what you learn – cutting, fading, beard/moustache work or focusing on a specific style/technique – and the number of days you want to train.
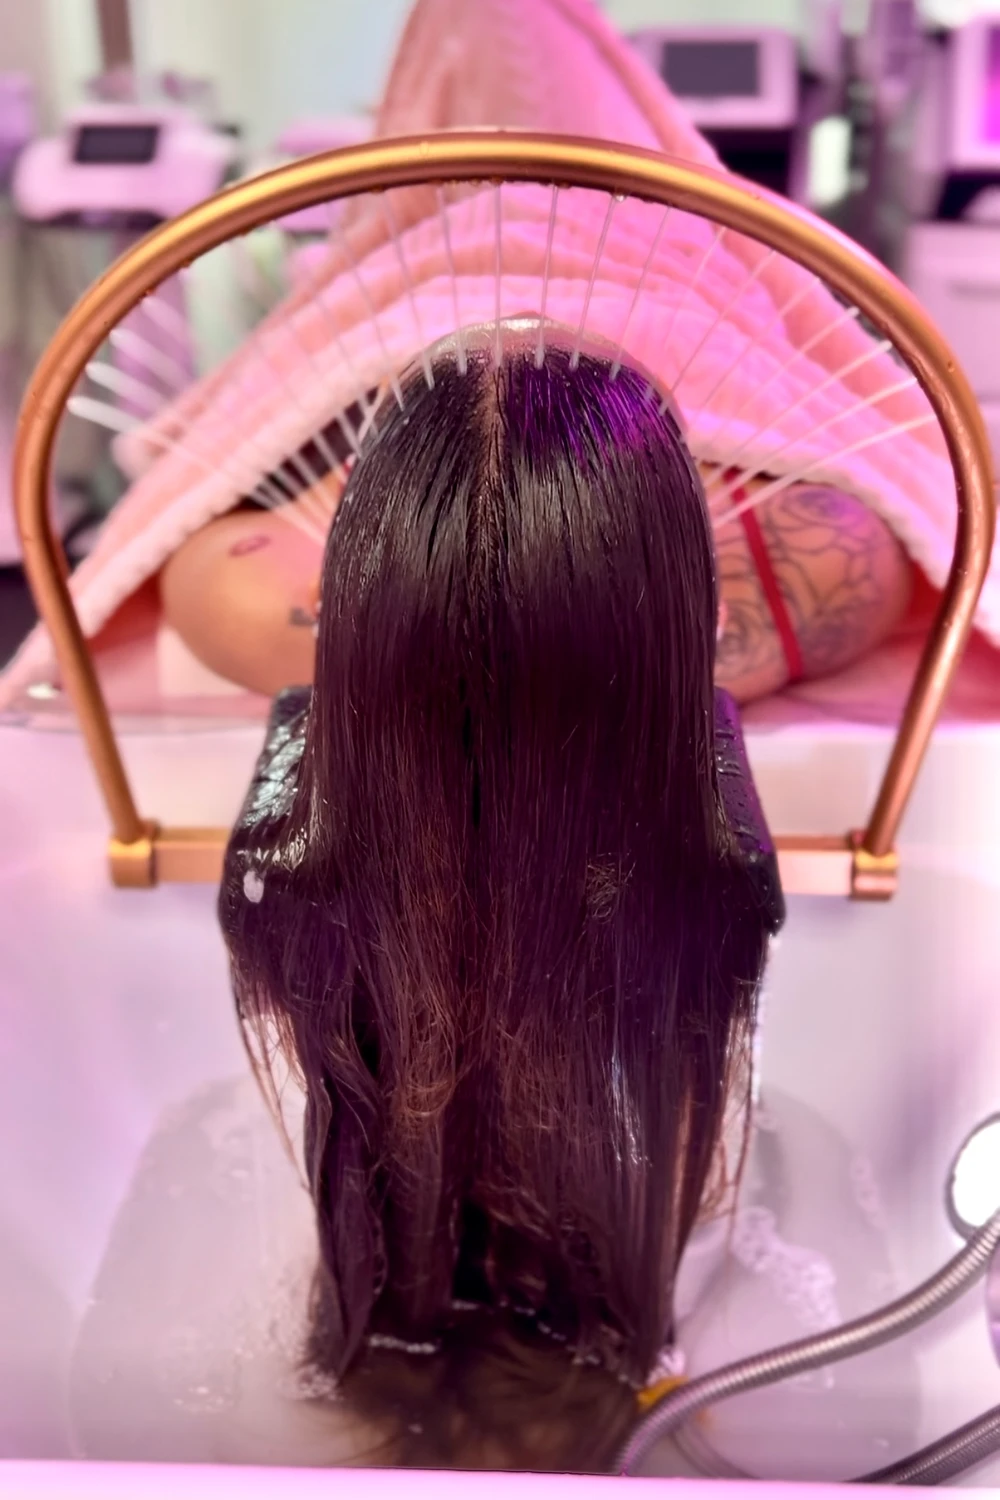
In Person Japanese Head Scalp Spa
By KBH Training Academy
What is a Japanese Head spa? Japanese head spa is another term for scalp treatment. Generally, you can expect some variation of treatment to detoxify the scalp, and massage to stimulate circulation and relieve tension. Course Content: History of Japanese head spa culture and theory Importance of scalp health including anatomy of the scalp Benefits of head spa Head spa techniques Products and Tools Acupressure points and massage techniques for relaxation- Consultation forms Contraindications and precautions Aftercare Hair and scalp conditions Hair types Essential Oils Scalp analysis Microcurrent, high frequency and oxygen treatment(only if the scalp analysis machine is purchased from us) Cancer patients, scalp conditions Step-by-step on how to offer Japanese head spa treatment Tools: scalp oil, brush, scalp brush, guasha tools, tunning fork, scalp claw, guasha comb, shampoo, conditioner, aromatherapy... Head spa sink and scalp analyser: please visit our "Shop product section" for details. Certificate You will receive an accredited end-of-course completion certificate. How does in-person training work? Once you place your order, you can access your course content online. We will message you with some training dates to arrange your practical day. We teach Monday to Saturday so we always have many dates to choose from. You will have access to training material online and have to study the content and complete the theoretical part of training before your practical assignment. You will then come to our venue in Leyton E10 6RA where we will spend 2-4 hours learning and practising the Japanese head spa. Training Options: Training Course only: Home study + 2-3 hours practical assignment Training Course + sink: Home study + 3-4 hours practical assignment Training Course +sink+skin analysis machine: Home study +3-4 hours practical assignment Will I require a model? Yes, usually you will be required to bring 1 model. Is it a group course? Our Japanese Head spa Training is 1:1 course, however, if you have more friends, family member or employes that want to join on the same day that is absolutely possible. Are there video tutorials? Yes, you will have links to YouTube and training videos to watch the treatment being performed so you can refer back to it after the course. Are there any pre requisites? The course is available for complete begginers and advanced professionals.
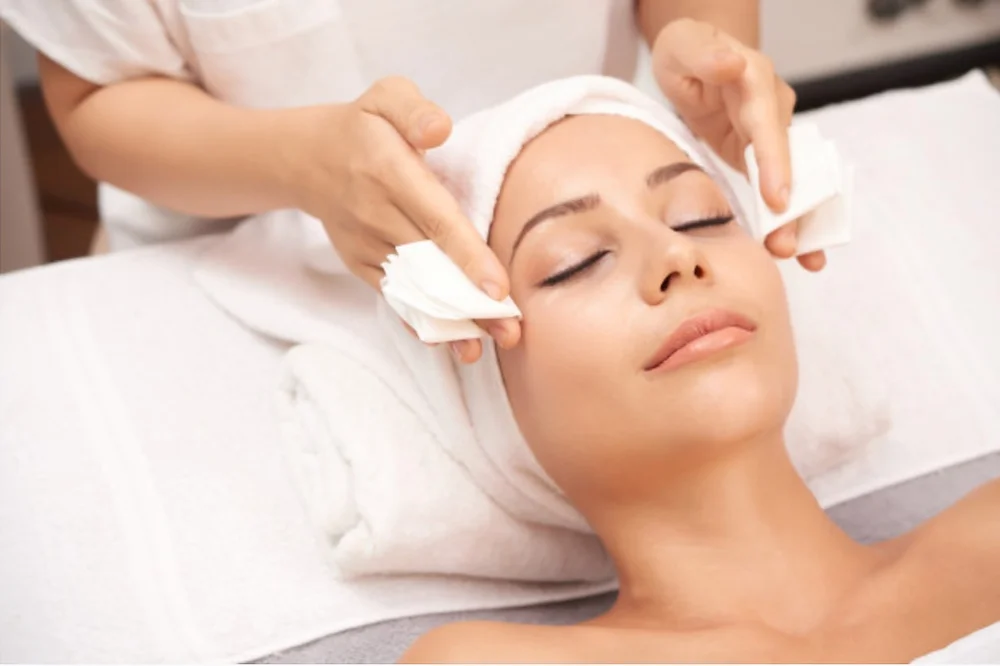
Dermaplaning Course in person
By KBH Training Academy
Dermaplaning Course in Person What is Dermaplaning? Dermaplaning is a skin treatment that uses an exfoliating blade to skim dead skin cells and hair from your face. It's also called micro planing or blading. Dermaplaning aims to make your skin's surface smooth, youthful, and radiant. ... It's also used to remove “peach fuzz,” the short, soft hairs on your face. Course content * Health and safety * Code of practice for hygiene in beauty salons * The appearance of the therapist * Sterilisation and disinfection * Ergonomics * The environmental protection act 1990 * Safe disposal of sharps * The local authority licensing application * Types of cleaning agents * Blood borne pathogens * Gloves * Hand washing techniques * Blood borne pathogens policy and procedure * Skin anatomy * Skin analysis and skin types * Fitzpatrick scale * What is derma planing * Safe use of blades * Waste disposal * Sterilisation * Contraindications * Frequency of treatments * Treatment protocol * Client pre and aftercare Training kit * Facial cleanser * Surgical blades * Face mask How does the course work? The course is divided into 2 parts, the first part is theoretical which you have to complete before you come for your practical training, and the second one is a practical assignment. The practical assignment is done on the day which will be agreed upon course purchase. You will spend around 2-3 hours practising on a model in our venue in London E106RA. We will call you to arrange date once you sign up for the course. Will I require a model? Yes, usually 1 model is required Do I Need Experience Before Booking a Course? We’re pleased to offer courses to people with lots of different experiences. However, previous experience nor qualifications are not necessary if you would like to enrol on our Course. Certificate You will receive an end of course certificate which is accredited by the cpd group and allows you to work on public Payment By paying for the course you agree to our Terms and Conditions
Baby Proofing - Private Class
By Mini First Aid North Nottinghamshire, Grantham & Sleaford
Our *NEW* Mini First Aid Baby Proofing class is our second class, designed for parents and carers of babies and children over 3 months. It can be taken after our 2 hour Baby and Child First Aid class, or in isolation for those parents who are starting their weaning journey, or have a baby on the move!
