- Professional Development
- Medicine & Nursing
- Arts & Crafts
- Health & Wellbeing
- Personal Development
Learn to make a patchwork quilt
By cheekyhandmades
Learn how to measure, cut and stitch accurate patchwork quilt blocks in this one day workshop. Part of a 4 day quilt course, but suitable as a stand alone class too. This class is a great class to take after the beginners class as the sewing will be mostly straight lines and it will allow you to practice more seams and other skills learned in the beginners class. You will need to know how to handle a sewing machine for this class but it's very much still a class that's achievable for beginners. You will cover design, measuring, cutting, the use of various tools, and stitching.

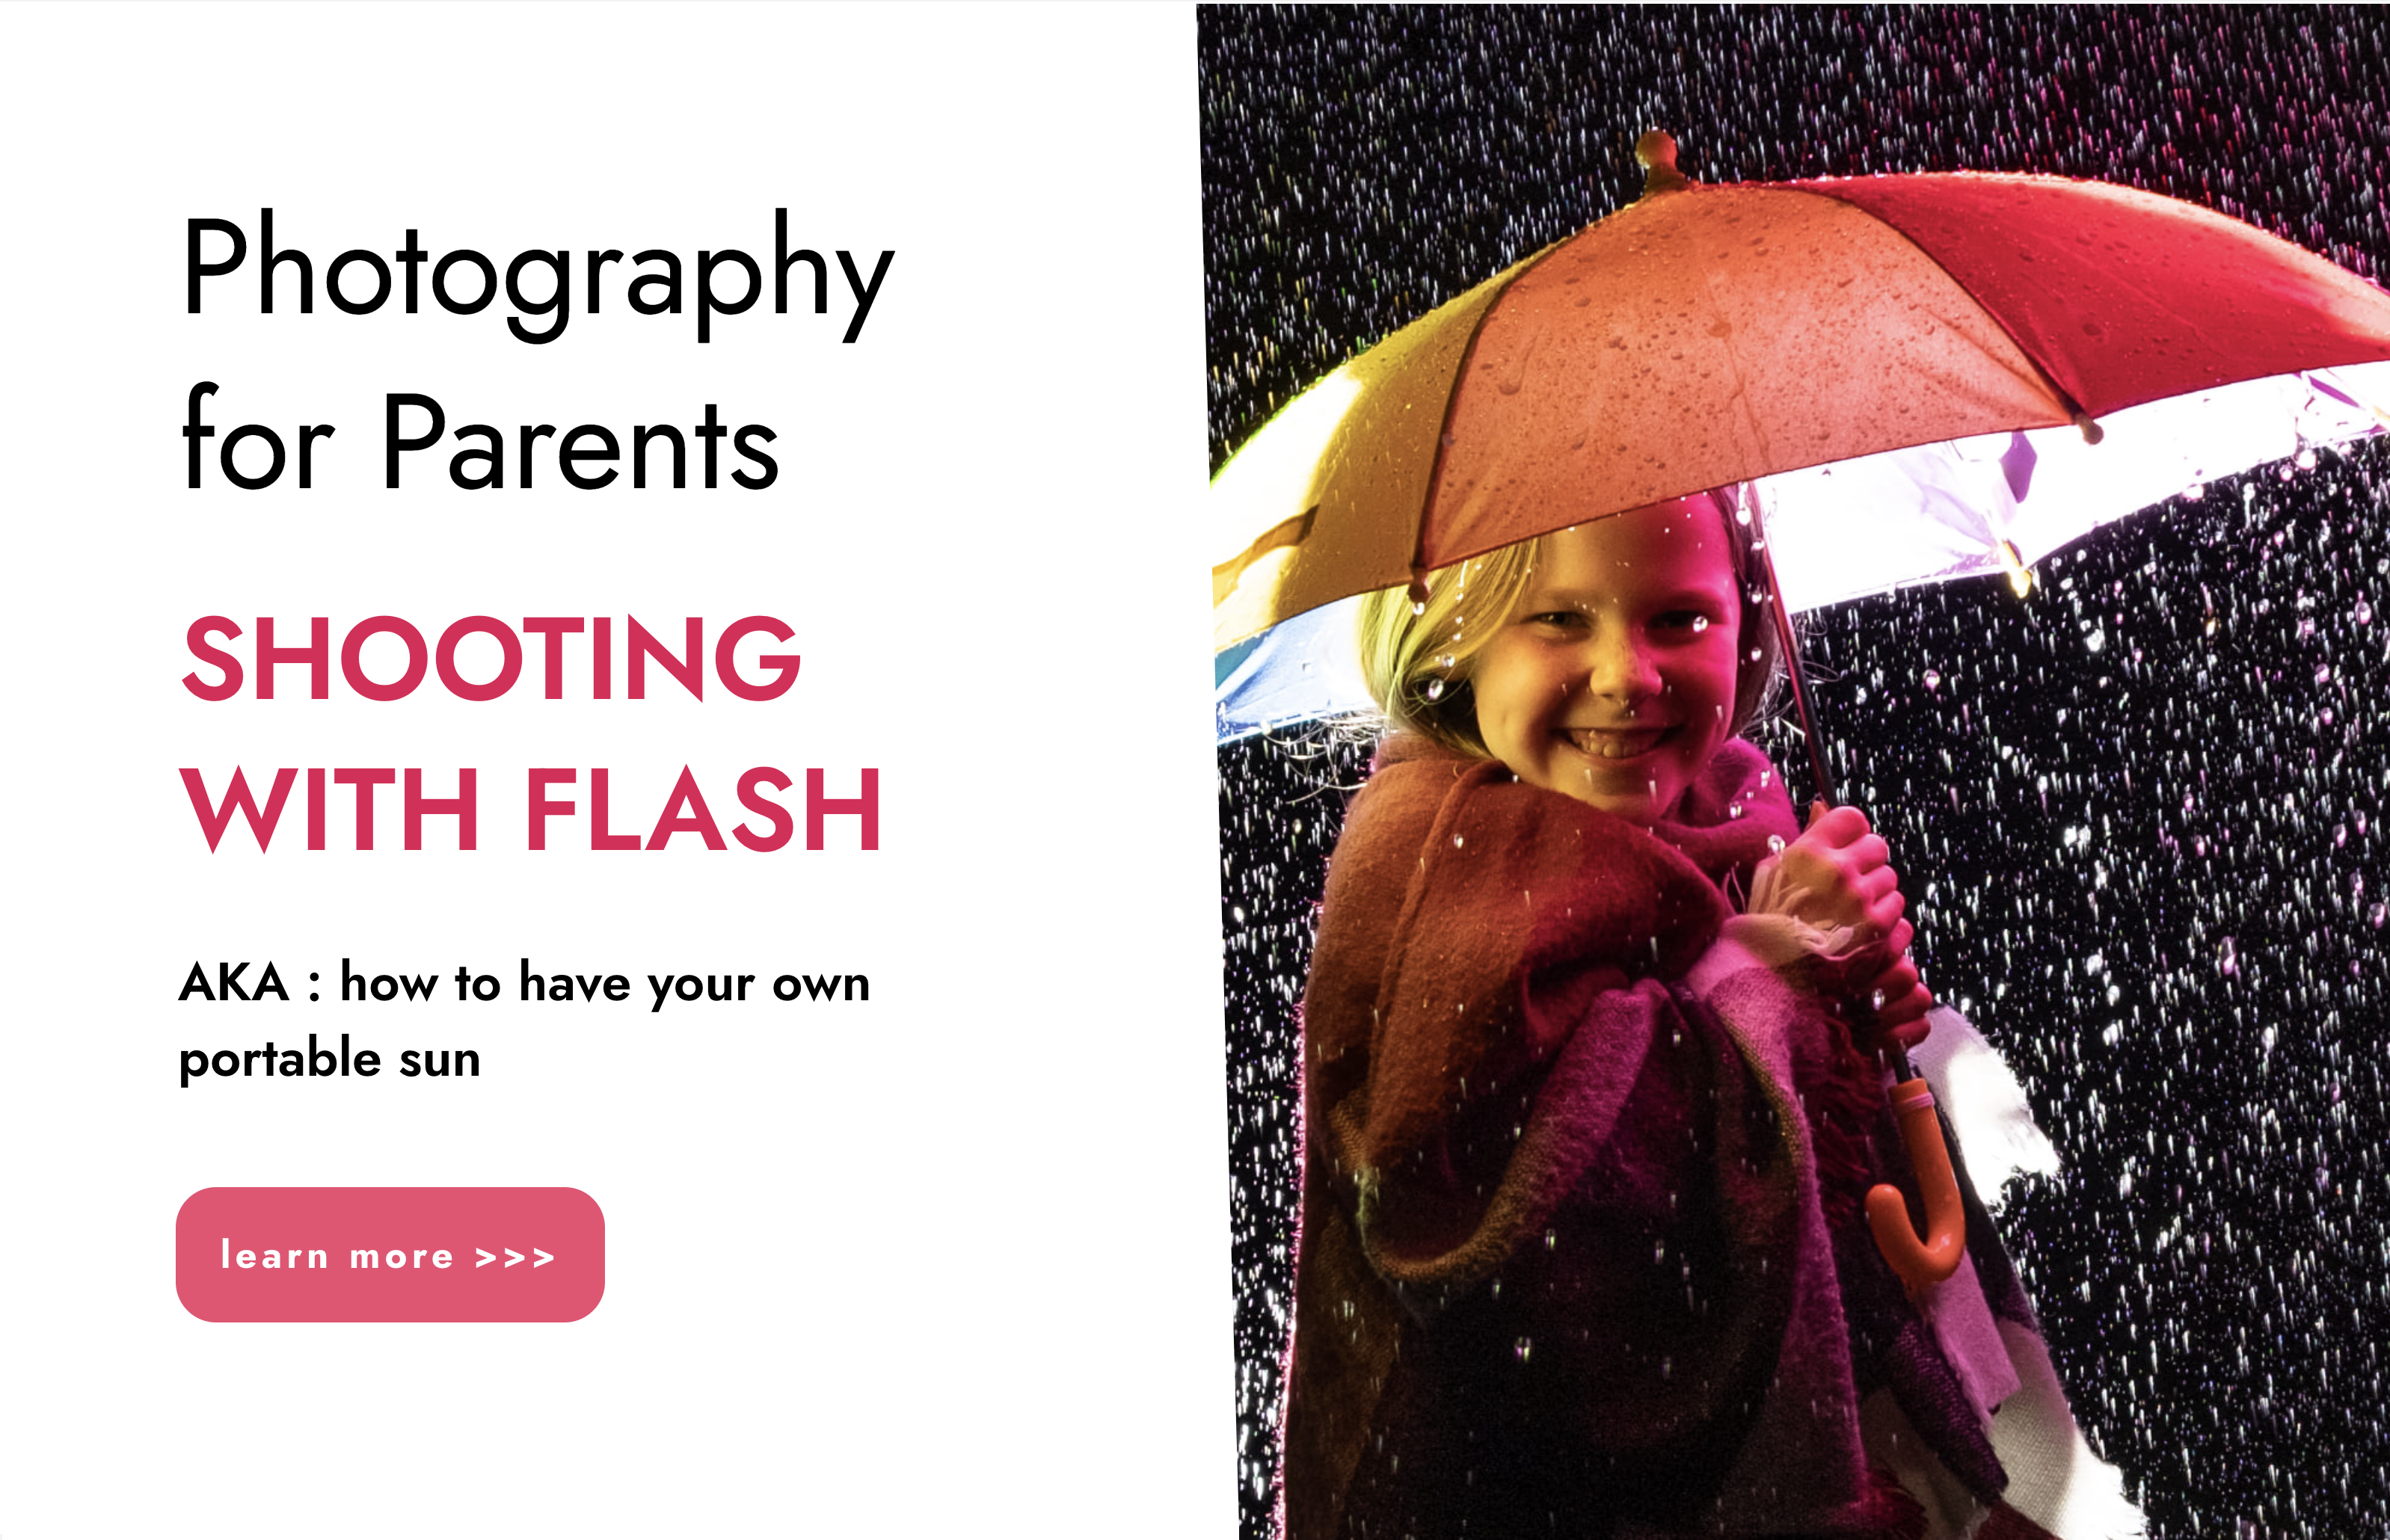
“Light makes photography. Embrace light. Admire it. Love it. But above all, know light. Know it for all you are worth, and you will know the key to photography.” – George Eastman" - Photography For Parents - Shooting With Flash Next course starts on Monday 12th Feb 2024 Scared of Flash? Never got good results from it? Not sure how it works with your camera? Thinking it’s bound to be complicated and just for studio work? This is the course for you! We show you how to work your flash and your camera – on and off camera! - to get great, natural looking results. In this course you'll discover how to use flash not just to supplement light in dim spaces, but to use it creatively, to help you create images you wouldn't be able to capture with just natural light. KEY COURSE INFO: Course type: Instructor-led Course duration: 4 weeks Course format: Online course with interactive live webinar classes, feedback on your learning and support group WHAT YOU LEARN: You will learn how to make your flash work with your camera and how to control it so that it gives you beautiful, natural looking light You will learn to work with the flash off camera - giving you the freedom to position your light wherever it will most suit your subject rather than relying on what you have with natural or indoor light You will learn to play with flash to capture a variety of creative outcomes and apply it to lots of shooting situations - from learning to fake pretty window light to freezing motion with Flash understanding flash equipment learning to shoot with on-camera flash earning to shoot with off-camera flash learning to bounce the light for natural looking results using flash as a sole or supplementary light source freezing movement with flash where the shutter speed wont allow it THIS IS THE COURSE FOR YOU IF : You find yourself struggling with light especially in the darker autumn / winter months, and there never seems to be enough ISO or aperture to get you what you want You can already use your camera in manual and want to add mastery of detachable flash to your skillset - so you can never worry about insufficient or poor light wherever you are, or whatever unknown space you go into You want to be able to make flash images look natural rather than sporting that famous 'deer in the headlights look. A good flash image never 'looks' like a flash image You want to learn how to capture creative images using a flash - such as freezing motion, creating dramatic shadows, or adding a splash of light to specific areas of the frame. You want to add this versatile skill to your toolbox so you can adapt it to different shooting scenarios. ESPECIALLY if you're considering taking up photography professionally or semi professionally, this is an immensely useful skill to have. Next Shooting with Flash course starts on 12 Feb 2024 4 core course modules Support Facebook group Weekly live webinar Weekly practice assignment Feedback on your images Why shoot with flash in the first place? “Don’t use Flash – it will wash out your child”“Flash will make your photos look horrible”‘You can’t control flash – no control over what your photos will look like” You may have heard those statements, maybe even uttered them yourself. And to a degree – they can be true – but only because, if you don’t know how to control and work any tool, it’s likely to give you terrible outcomes – remember how much poorer your photos were when you first started with your camera on full auto? Here is how I see Flash, and what this course is about: Flash lets me bring light where there would normally be not enough light available to take a well exposed photo – and let me tell you – in glorious British weather, that’s more often that I would like! Flash lets me shape the light to suit my needs – I can make it moody or bright, I can even make it look like natural light ( yes really) Flash lets me neutralise ugly light and make it look good ( anybody else cursed with ugly spotlight lights in their home? no? just me? ) Flash lets me be in control, especially in unknown venues and locations, spaces where I won’t get a chance at that second shot. Flash helps me fill in shadows when shooting in very bright light – the goal is not to stop using natural light, but to help create a balanced image where natual light alone can't cut it COURSE PREREQUISITES YOUR SKILLS: We recommend that you are comfortable in shooting in full manual mode. It's possible to use flash in priority modes of course, but you don't have full control of its strength and level. YOUR EQUIPMENT: You will need to have a detachable flash for your camera make. This could be the same brand as your camera or a compatible third party flash manufacturer. You will also need a way of triggering your flash OFF camera - in some cases, you may be able to do this directly from camera or via an additional remote trigger / controller. Click here to see our Flash buying guide below Shooting with FLASH Book your space now: COURSE STARTS : 12th Feb 2024 ( 4 weeks)COURSE COST : £179 ( payment plans available )What’s included: 4 weekly modules with step by step tutorials weekly live class online class ( also recorded) - on Tuesday evenings feedback and advice on your photos private support group PDF workbook Join our next group to learn how to never have to deal with insufficient light and discover a whole new area of photography! INSIDE THE MODULES - aka WHAT DO YOU LEARN? Module 1: Getting Started with Flash In this module we introduce you to the principles of making your flash work with your camera. We show you how the two work together in layering exposures, how you can control both the flash and natural light side and how to achieve predictable outcomes from your flash. This is the biggest learning curve because the way you work your camera with flash is very different to how you do this with just natural light and understanding the control side of things will let you get creative afterwards. Major Takeaways: At the end of the module you will have gained an understanding of how to work your flash ON your camera. With that, you will have learned how to balance your key light and your fill light, how to combine flash exposure with a natural light exposure, how to supplement or even replace light with flash light. You will also make first steps into bouncing the light to give it a more natural appearance. Module 2: Taking your flash OFF camera In this module we teach you how to make your flash work when detached from your camera. We look at different techniques and methods or shooting off camera as well as any additional equipment you may need for this. We teach you how to use that off camera flash for a number of practical and creative examples Major Takeaways: You will be able to use the flash off camera - whatever your preferred off camera methos. We will explore using off camera flash as the key light - creating low key and high key images, as fill light and as a supplementary light to provide additional dimension to the images. Module 3: Making flash look natural In this module we learn to recognise how you can adjust the very quality of your flash to create natural looking images. We learn how to bend - or bounce the light - on and off camera, to create the kind of images that noone would ever suspect of being taken with flash. We also introduce you to a number of light modifiers and show you what you can expect from them as well as what might work in the way you take the photos. Major Takeaways: Learn how to modify your flash to achieve soft or hard light look. Discover how to bounce your flash and where from and how the angle of those flash bounces will give your subject very different looks. Learn about light fall-off and how to apply this principle to achieve more or less contrast filled images when using flash/ Module 4:Flash and motion In this module we show you how to use flash when trying to freeze your subject - whether it is your child bouncing on the soufe in dim Novemeber light or an inanimate object making a splash. We also introduce you to a few way you can play with flash and your shutter speed to achieve fun and creative outcomes. Major Takeaways: You will learn how to freeze movement with flash - even on very slow shutter speeds or in very poor light. You will learn how shutter and flash work together and how you can achieve great creative outcomes such as high speed photography or freezing rain. Next course starts on 12 Feb 2024
Guided imagery and visualisation for therapeutic change
By Human Givens College
Essential skills for successfully treating a wide range of conditions – such as trauma, addictions, anxiety and depression – as well as making long-lasting behaviour changes and much more… Accredited CPD Certificate : 6 hours Length 1 day (9.30am - 4.00pm) This has been a priceless experience. Life-changing. Brilliant, simply brilliant!COUNSELLOR / EX IT SERVICE MANAGER Why take this course Strong emotions focus and lock attention – keeping people trapped in problem behaviours. Therapeutic change cannot happen until the emotional arousal is reduced. This is why all health and welfare professionals need to know how to induce the relaxation response in their clients. Guided imagery and visualisation not only reduce emotional arousal quickly but can be used to reframe life circumstances through metaphor and to rehearse in the imagination any required changed behaviours and/or feelings, which dramatically increases the likelihood of those changes taking place in ‘real life’. If you want to be able to help people effectively, this is a key course to attend – guided imagery is an essential skill required for removing phobias, curing PTSD, lifting depression and overcoming addictions or self-harm, and is also useful for raising self-confidence and increasing motivation. When you become confident in using these skills, you can begin to bring patients out of the emotionally-driven trance states of a wide range of conditions such as anxiety disorders, addiction, anger, stress overload, trauma, depression, chronic pain and much more. That is why guided imagery is one of the most powerful psychotherapeutic tools available to us – and one you need in your ‘toolkit’. Fascinating way of working with clients – relaxation techniques very powerful. Extremely relevant to practice. Good techniques and strategies learnt to use with clients to help them problem solve and move forward.HEALTH VISITOR What will you learn Powerful new ways to improve treatment outcomes Training and practice in using one of the most effective psycho- therapeutic tools available for treating a wide range of emotional and physical conditions Invaluable ways to motivate people, reframe life circumstances and instigate changes in behaviour Insight into how the mind/body communication system works Greater confidence when working with a wide variety of conditions Supervised practise in generating healing trances The core skills you need to acquire for the rewind technique for treating PTSD and phobias A variety of ways to help people relax Ways to reduce pain, including in childbirth Increased understanding of trance states and their role in everyday life Effective skills for helping people improve their performance – sports, public speaking etc. The opportunity to experience relaxation, guided imagery and visualisation yourself A scientifically-sound knowledge of why the various techniques and skills you will gain are so valuable And much more Good to know The skills you will learn on this course are an essential pre-requisite for taking the The Rewind Technique – Effective treatment for trauma (PTSD) and phobias course. You will also need them for the following courses too: Brief Therapy for Stopping Addictions How to Lift Depression Overcoming Self-harm Further guided imagery techniques can be learnt and practised on our NEW workshop: Guided Imagery 2 – essential techniques Course Programme The ‘Guided imagery and visualisation for therapeutic change’ course starts at 9.30am and runs until 4.00pm. From 8.30am Registration (Tea and coffee served until 9.25am) 9.30am What guided imagery is and why it works 11.00am Discussion over tea/coffee 11.30am The essence of all relaxation inductions: an easy way to start 1.00pm Lunch (included) 1.45pm Why it is important to be flexible: a range of techniques 2.45pm Discussion over tea/coffee 3.00pm Guided imagery and counselling: the essential steps 4.00pm Day ends Who is this course suitable for? Anyone who wants to help people effectively and for the long-term, particularly those involved in mental and physical healthcare would benefit from attending Psychotherapists, counsellors and mental health workers – these skills are essential to have to work with a wide range of conditions and for ensuring long-term behaviour change (see list below) Trained hypnotherapists looking to extend and build on their existing skillset and understanding The information and skills taught are extremely useful for dealing with: Stress; addictions; agoraphobia; allergies; anorexia; anger; asthma; bed wetting; blood pressure; bulimia; depression; lack of confidence; chronic pain; eczema; frustration; guilt; grief; hay fever; inhibition; insomnia; irritable bowel (IBS); relationship/marital difficulties; migraine; nightmares; obsessions (OCD); pain control; panic attacks; phobias (all kinds); sexual difficulties (impotence, premature ejaculation and vaginismus); shyness; skin disorders and trauma (PTSD); flashbacks; ulcers; warts and worrying. You can also control blood pressure, stimulate the immune system, promote healing of damaged skin tissue and bones and give birth easier using guided imagery and visualisation. This course has been independently accredited by the internationally recognised CPD Standards Office for 6 hours of CPD training. On completion of this training you’ll receive CPD certificates from the College and the CPD Standards Office.

Working with Eating Difficulties
By Human Givens College
Discover practical ways you can help using the core skills and concepts of human givens therapy – early intervention and ‘treating the whole person’ can be crucial… Accredited CPD: 6 hours Length: 1 day (9.30am - 4.00pm) Excellent trainer, very engaging, invaluable insights and knowledge This new course for HG therapists builds on the online Understanding Eating Difficulties introductory webinar. It will deepen your understanding of working with clients experiencing eating difficulties and give you practical guidance on the most appropriate ways to support them, whether they have an official diagnosis or not. You will leave the workshop with a much better understanding of how to apply the skills and concepts encompassed in human givens therapy in this area. Jo Baker has a wealth of experience in this area; she has previously worked as a volunteer for BEAT and other local eating disorder charities and helped people with eating difficulties in both private practice and university settings. NEXT DATE: This course is part of our new range of recommended CPD for HG therapists. We don’t currently have another date for it, if you are interested in attending please register here so we can let you know when one becomes available. Why take this course The numbers of people experiencing eating difficulties are hitting an all time high – in the UK, 1.25 million people are estimated to have a diagnosable eating disorder¹ with hospital admissions more than doubling from 10,318 to 22,000 in the four years between 2016 and 2020². The early stages (or ‘subthreshold’ stages i.e. when symptoms do not meet full diagnostic criteria for an eating disorder as defined by the DSM-5 or the ICD-11) have been identified as a critical period for preventing progression of an eating disorder³. However, stigma directed towards those experiencing eating difficulties that aren’t believed to be ‘serious enough’ to warrant support⁴ can present a barrier to seeking help. With its deliberate use of non-clinical language Jo Baker’s new workshop for HG therapists considers all difficulties around eating worthy of help, understanding and support, irrespective of whether or not these difficulties have been diagnosed or meet the criteria for a diagnosable eating disorder. In this regard, the human givens approach takes a step forward towards early intervention, and treating the whole person. As well as having been a practising Human Givens therapist for 12 years, and teaching the HG Diploma, Jo has previously worked as a volunteer for BEAT and other local eating disorder charities and brings to the day a wealth of practical experience of working with eating difficulties both in private practice and in university settings. What will you learn The nuance of language – how to avoid causing unintentional distress The causes of most eating disorders and difficulties Creating space for the client’s story How to help your client identify and challenge destructive thought processes Therapeutic tools to get to the root of the problem – we look at which techniques can be useful, and what to be careful of The barriers created by clinical language and diagnostic criteria Diversity in eating difficulties – a greater understanding of the impact of cultural and contextual factors around eating How to help your client meet their needs and use their resources in a healthy way Eating difficulties and neurodiversity An increased awareness of complicating conditions – such as alcohol / substance abuse and medical conditions The important role of sleep in recovery Accessing resources and helping the individual to develop a nurturing self Ethical practice Understanding the boundaries of your role and your own limitations And more… Course Programme The ‘The Mind-Body Connection in depth: Movement, Emotion and Calm’ course starts at 9.30am and runs until 4.00pm. From 8.30am Registration (Tea and coffee served until 9.25am) 9.30am Eating difficulties: an overview 11.00am Discussion over tea/coffee 11.30am Understanding and resolving difficulties 1.00pm Lunch (included) 1.45pm Group discussion – questions from the day so far 3.00pm Discussion over tea/coffee 3.15pm Bringing it all together 4.00pm Day ends Who is this course suitable for? This course is for experienced, qualified HG therapists and counsellors who would like to understand more about eating difficulties, eating disorders and the different ways they can affect people. It is an invitation to recognise that all experiences of eating difficulties are equally valid and worthy of care and support. It is hoped that the learner develops further depth and breadth to their understanding and feels an increased confidence to support clients with eating difficulties however they present. The course combines trainer input, discussion and small group activities. All training is limited by time constraints and whilst we have done our utmost to include a diversity of perspectives there will inevitably be topics that have not been covered. This course is an invitation to recognise that all experiences of eating difficulties are equally valid and worthy of care and support. It is hoped that the learner develops further depth and breadth to their understanding and feels an increased confidence to support clients with eating difficulties however they present. This course has been independently accredited by the internationally recognised CPD Standards Office for 6 hours of CPD training. On completion of this training you’ll receive CPD certificates from the College and the CPD Standards Office.

Guided Imagery II – 3 essential techniques
By Human Givens College
The guided imagery and visualisation techniques you will learn on this workshop are essential for helping people successfully overcome depression, addictions, anxiety and more…. Accredited CPD Certificate : 6 hours Length 1 day (9.30am - 4.00pm) Why take this course This new workshop delves deeper into this essential therapeutic skill’s power and flexibility – you will learn a variety of guided imagery techniques that are highly effective at helping people move on from problem behaviours, reframe life circumstances, lower emotional arousal, make therapeutic lifestyle changes, increase resilience and more. Building on the skills learnt on Guided Imagery and Visualisation for therapeutic change (‘Day 1’), this second workshop focuses specifically on the techniques that allow clients to move forward from depression, overcome anxiety and combat addiction. We also look at how to introduce helpful new understandings to clients in a way that overcomes resistance. Strong emotions focus and lock attention keeping people trapped or stuck – so this hands-on training also gives you the opportunity to further develop your therapeutic abilities to help people rehearse in their imagination any desired change to their behaviours and/or feelings, which dramatically increases the likelihood of those changes taking place in ‘real life’, and then being maintained in the future. Guided imagery, as taught on Day 1 is one of the most powerful psychotherapeutic tools available to us; Day 2 will allow you to develop your ability to use it flexibly and successfully in a range of different client presentations. These are essential skills to have in your therapeutic ‘toolkit’. * Please Note: counter-conditioning was previously taught on our pre-2023 Stopping Addictions workshop. Ros has a lovely delivery style that’s very inspiring and left me with so many ideas going forward...MARY FLYNN, GUIDED IMAGERY AND VISUALISATION FOR THERAPEUTIC CHANGE What will you learn How to use the brain’s powerful internal ‘reality generator’ to enable clients to make desired change in their lives Invaluable ways to enable a client to approach situations with confidence and overcome situational anxiety Powerful ways of using this skill to help a client take the ‘first steps’ out of depression An effective technique (counter-conditioning*) which increases likelihood of success when working with clients struggling with addiction Understanding of how to use guided imagery effectively when supporting a client with behaviour change of any kind The use of metaphor within guided imagery; how to craft powerful extended metaphors which take into account a client’s individual model of reality Training and practice in using these techniques Greater confidence in working flexibly with this technique so as to respect each individual client’s model of reality Powerful ways to introduce helpful ideas to a resistant client without breaking rapport Supervised practice in specific techniques for work with a range of presentations How to use healing trance states to reframe difficult life circumstances and build hope using the client’s own resources Specific techniques that can be used to manage pain, or work with anxiety or any other strong state of distress Increased understanding of trance states and their role in everyday life A scientifically-sound knowledge of why the various techniques and skills you will gain are so valuable A range of ways to help people improve their performance – sports, public speaking etc. The opportunity to experience for yourself specific new techniques within guided imagery and visualisation Dates and venues Good to know To attend this course you need to have plenty of experience in using guided imagery and visualisation for relaxing clients or to have completed our Guided Imagery and visualisation for therapeutic change (Day 1) course. (If you are taking the HG Diploma, you will need to attend both days, as both count towards Part 1 of the Human Givens Diploma.) The additional skills you will learn on this second day are introduced on the following courses as integral to effective treatment for the conditions they cover: Stopping Addictions: effective treatment and recovery How to Lift Depression Overcoming Self-harm Please note: The counter-conditioning technique was previously taught on our ‘Stopping Addictions’ workshop. This changed from January 2023. Course Programme The ‘Guided Imagery and Visualisation Additional Techniques’ course starts at 9.30am and runs until 4.00pm. From 8.30am Registration (Tea and coffee served until 9.25am) 9.30am Reality Generator: a powerful way of rehearsing new behaviours and feelings 11.00am Discussion over tea/coffee 11.30am Introducing new, more helpful patterns and overcoming resistance 1.00pm Lunch (included) 1.45pm Working with addiction and behaviour change 2.45pm Discussion over tea/coffee 3.00pm Working with addiction and behaviour change – continued 4.00pm Day ends Who is this course suitable for? Anyone who has already attended Guided Imagery and Visualisation for Therapeutic Change (Day 1) or who has experience in using guided imagery and visualisation to induce a relaxed state in their clients Anyone, with the above skills, who wants to help people effectively and for the long-term, particularly those working in mental and physical healthcare, or with addictions or self harm Psychotherapists, counsellors and mental health workers (who also have the above skills) who work with a wide range of conditions and would like to ensure long-term behaviour change Trained hypnotherapists looking to add these techniques to their existing skillset. This course has been independently accredited by the internationally recognised CPD Standards Office for 6 hours of CPD training. On completion of this training you’ll receive CPD certificates from the College and the CPD Standards Office.

Dressmaking course - Sew with stretch fabrics!
By cheekyhandmades
Runs on Sundays 25th Februrary and 2nd March 10:30-3:30 Make the fab Tilly and the Buttons Coco or Billy dress in this one day class. These dresses are made from knitted fabric and therefor a great pattern to make in a short time - No zips or buttonholes! It should just fit straight out of the envelope. This is a good class to learn about using stretch fabrics on a domestic sewing machine. For a more in-depth class covering fitting please join the 3 day dressmaking course instead. The pattern for this garment is included in the class fee, as are the machines, haberdashery, endless tea and coffee. All you'll need to bring is the fabric for your dress, I will discuss the exact amount and what kind is suitable once the class is booked. This is a small class so you will get lots of time with me. I will have a maximum of 4 students in the class but usually we just have 2 or 3. Event Terms & Conditions Classes need to be paid for at the time of booking. They will only run once the minimum number of students is met. My studio sadly isn’t accessible to those with mobility issues. I have cats but no soft furnishings or carpets in the studio so most people with allergies are fine with antihistamines.

“You don't take a photograph. You make it" - Ansel Adams Photography For Parents - Editing In Lightroom Next course starts 11 March 2024 Editing is an essential skill for anyone with even just a passing interest in photography. Much as we try, we can't always get everything right in camera and editing tools help us bring our vision to life, help correct problems and allow our images to look beautifully polished. We teach how to do all these things in Adobe Lightroom because it's a powerful, intuitive and affordable tool used by Pros around the world for that very reason. KEY COURSE INFO: Course type: Instructor-led Course duration: 4 weeks + prep module Course format: Online course with interactive edit-along live classes, feedback on your learning and support group WHAT YOU LEARN: From being able to correct issues such as over/under exposure, issues with colour or graininess to bringing your vision to life, creating mood and tone to your images, knowing how to use editing software is a must. But good and purposeful editing goes way beyond just slapping on a preset or a filter - in our course we teach you all about the tools - not just what all of them do but how, and we teach you how to know what to use and when to achieve certain effects.everything you need to allow you to style your photos, confidently use the software and fix common problems. editing to correct common photo problems creating good editing workflow using powerful precision tools editing to achieve beautiful skin tones using light and colour creatively editing to bring out a mood of a feel THIS IS THE COURSE FOR YOU IF : Love taking photos but want them to look more polished - with colours that pop and light that's perfectly balanced You want to be able to fix common issues such as under- or overexposure, white balance or colour casts so that you never need to bin an image just because it wasn't right straight out of camera You want to get more creative with light and colour to make the images look just like the moment felt. Bring on the moody edits or sun soaked edits or light kissed skin tones or creative black and white conversions You want to confidently use the editing techniques so you can bring your vision to life every time, without guesswork You want to be able to prepare your images for print so that your walls can beam with pride at the beauty that you captured Next Editing in Lightroom course starts 11 March 2024 4 core course modules plus prep module Support Facebook group Weekly edit-along live webinar Practice files to learn on Feedback on your images HERE IS WHAT YOU WILL LEARN in this course : Our Photo Editing in Lightroom course guides you through the photo editing process in Adobe Lightroom from start to finish – from setting it up correctly, organising your collections and creating a workflow that works for you, through learning the capabilities of all the editing tools - such as adjusting exposure, colours, light or sharpening the images; all the way to printing and creating photo books. We’ll show you how to create specific artistic effects ( high impact Black and white, vintage, light and airy, dark and moody etc ), and how to fix common photography problems ( grainy images, underexposed images, wrong colours etc). At the end of the course you will be able to confidently manage your photo collection with Lightroom, achieve desired artistic effects and make your photos truly stand out. Getting around in Lightroom and Lightroom Classic - shooting in full manual - but with clarity and purpose Correcting common problems - whether your photo started too dark or too bright, your child's face was in a shade, the white balance and colours were off, the grain was heavy, the light looked dull - you can fix it all within a couple of clicks in Lightroom Using Lightroom's super powerful intelligent masking tools to quickly and efficiently edit specific parts of your image - from brightening up the eyes to rescuing overblown skies Enhancing and adding beautiful light - light makes images stand out, but it can be hard capturing the atmosphere it creates in camera at times. Lightroom is where you can bring light to life and make your images feel how what you saw in real life Knowing how to shoot in camera so you can get the most in editing - photographers will often purposefully under or overexpose images in camera so that they have more chance of balancing the image just they way they want in Lightroom. INSIDE THE MODULES - aka WHAT DO YOU LEARN? Module 0: Getting set up in Lightroom This module is released a week before the course starts to give you a chance to fully familiarise yourself with the layout, structure and the best way of working in Lightroom Classic, including guidance of creating a smooth selection and culling process that helps you see and keep the best of your images, without getting bogged down with 100s near duplicates. Module 1: Getting Started In Lightroom - Global Edits In this module we introduce you to Lightroom's most powerful tools - the global edits. We help you understand how to tweak your images to achieve the effects you're after quickly - from adjusting over and under exposure, to correcting white balance in a few different ways, to having a play with my favourite Lightroom tool - the tone curve. Major Takeaways: At the end of the module you will have gained full control of lightroom key global tools and will be able to use them to correct any global - as in affecting the whole image - issues with your images. This includes perfecting your exposure, balancing your colour and white balance, sharpening and creating clarity and more. Module 2: Targeted Edits - Masks! Lightroom allows us to apply edits to selected parts of the image through a range of its very powerful, intelligent and manual masks. This means you can now effortlessly select your subject from the photo to adjust them separately with just one click, you can pick only the sky, the subject's eyes or only colour green or any other element and treat them differently to the rest. Major Takeaways: You will be able to use the full range of masks in lightroom and apply your edits exactly where they are needed, and nowhere else. This includes working with with the new AI powered masks which can detect a person's individual features and allow you to selectively edit them in a few simple steps, as well as those more manual tools, that allow you to literally paint with light and colour on your photographs. Module 3: Creative Editing in Lightroom This is a brand new module in our course where we take all the tools introduced in Modules 1 and 2 and actually use them to achieve different effects on our photos. Wer show you how to be guided by light when editing, how to achieve a light and airy or a moody edit on your images, how to add light and how to convert to black and white, as well as how to edit skin in Lightroom! This module is all play! Major Takeaways: You will learn how to create yoru own editing process - from knowing where to start and to understanding what elements of your photograph may need or benefit from adjusting and knowing how you can do so to achieve different outcomes. You will also learn how to edit your skin tones so they look delightful - no matter what your subject's complexion. Module 4: After the edits We close the course with a module centered around all the things you might want to do after the edits - from preparation for print, creating photo books, but also sharing your images online and syncing them between different machines and adobe workplaces. PLUS there is a little Photoshop intro so you get a glimpse at how it's different and what it can do. Major Takeaways: You will learn how to connect all of your Adobe ecosystem and sync and share your images across multiple devices. You will learn how to prepare your images for print so they look their very best and how to create photobooks. Next course starts 11 March 2024 Absolutely, without a doubt book Editing. I was very unsure at first. My interest in photography is to capture those memories so it felt like it was 'cheating' to edit. I can honestly say it's like magic.To finish off the pictures you love and just give you complete control over the exposure, colours to make them perfect, to rescue the disasters etc. I learnt so much in those few weeks and it made the biggest difference to my photos. Kerry White Editing in LIGHTROOM Book your space now: COURSE STARTS : 11 March 2024 ( 4 weeks + 1 prep week)COURSE COST : £179 ( payment plans available ) What’s included: 4 weekly modules with step by step illustrated tutorials and videos + prep module weekly edit along class online class ( also recorded) - on Wednesday evenings feedback and advice on your edits private support group PDF workbook and downloadable videos Practice images to learn on Join our next group to really bring life to your images and make them look sleep, polished and full of light COURSE PREREQUISITES: Lightroom or Lightroom Classic CC software installed on your computer or tablet. RECOMENDED : Lightroom Photography Plan 25GB – a monthly subscription at approx £9pm – including Lightroom CC, Lightroom Classic CC and Photoshop. This plan can also be occasionally purchased at a lower price via Amazon or Groupon if you purchase a year’s worth of subscription in one go ( average savings – around 2-4 months worth depending on the deal) Please note that Adobe also has a Lightroom Plan with 1TB of storage – we do not recommend this plan as it restricts you to one version of software only. The increased Cloud storage can always be purchased as an add on or your plan can be switched from Photographer plan to CC only at a later stage if you prefer.

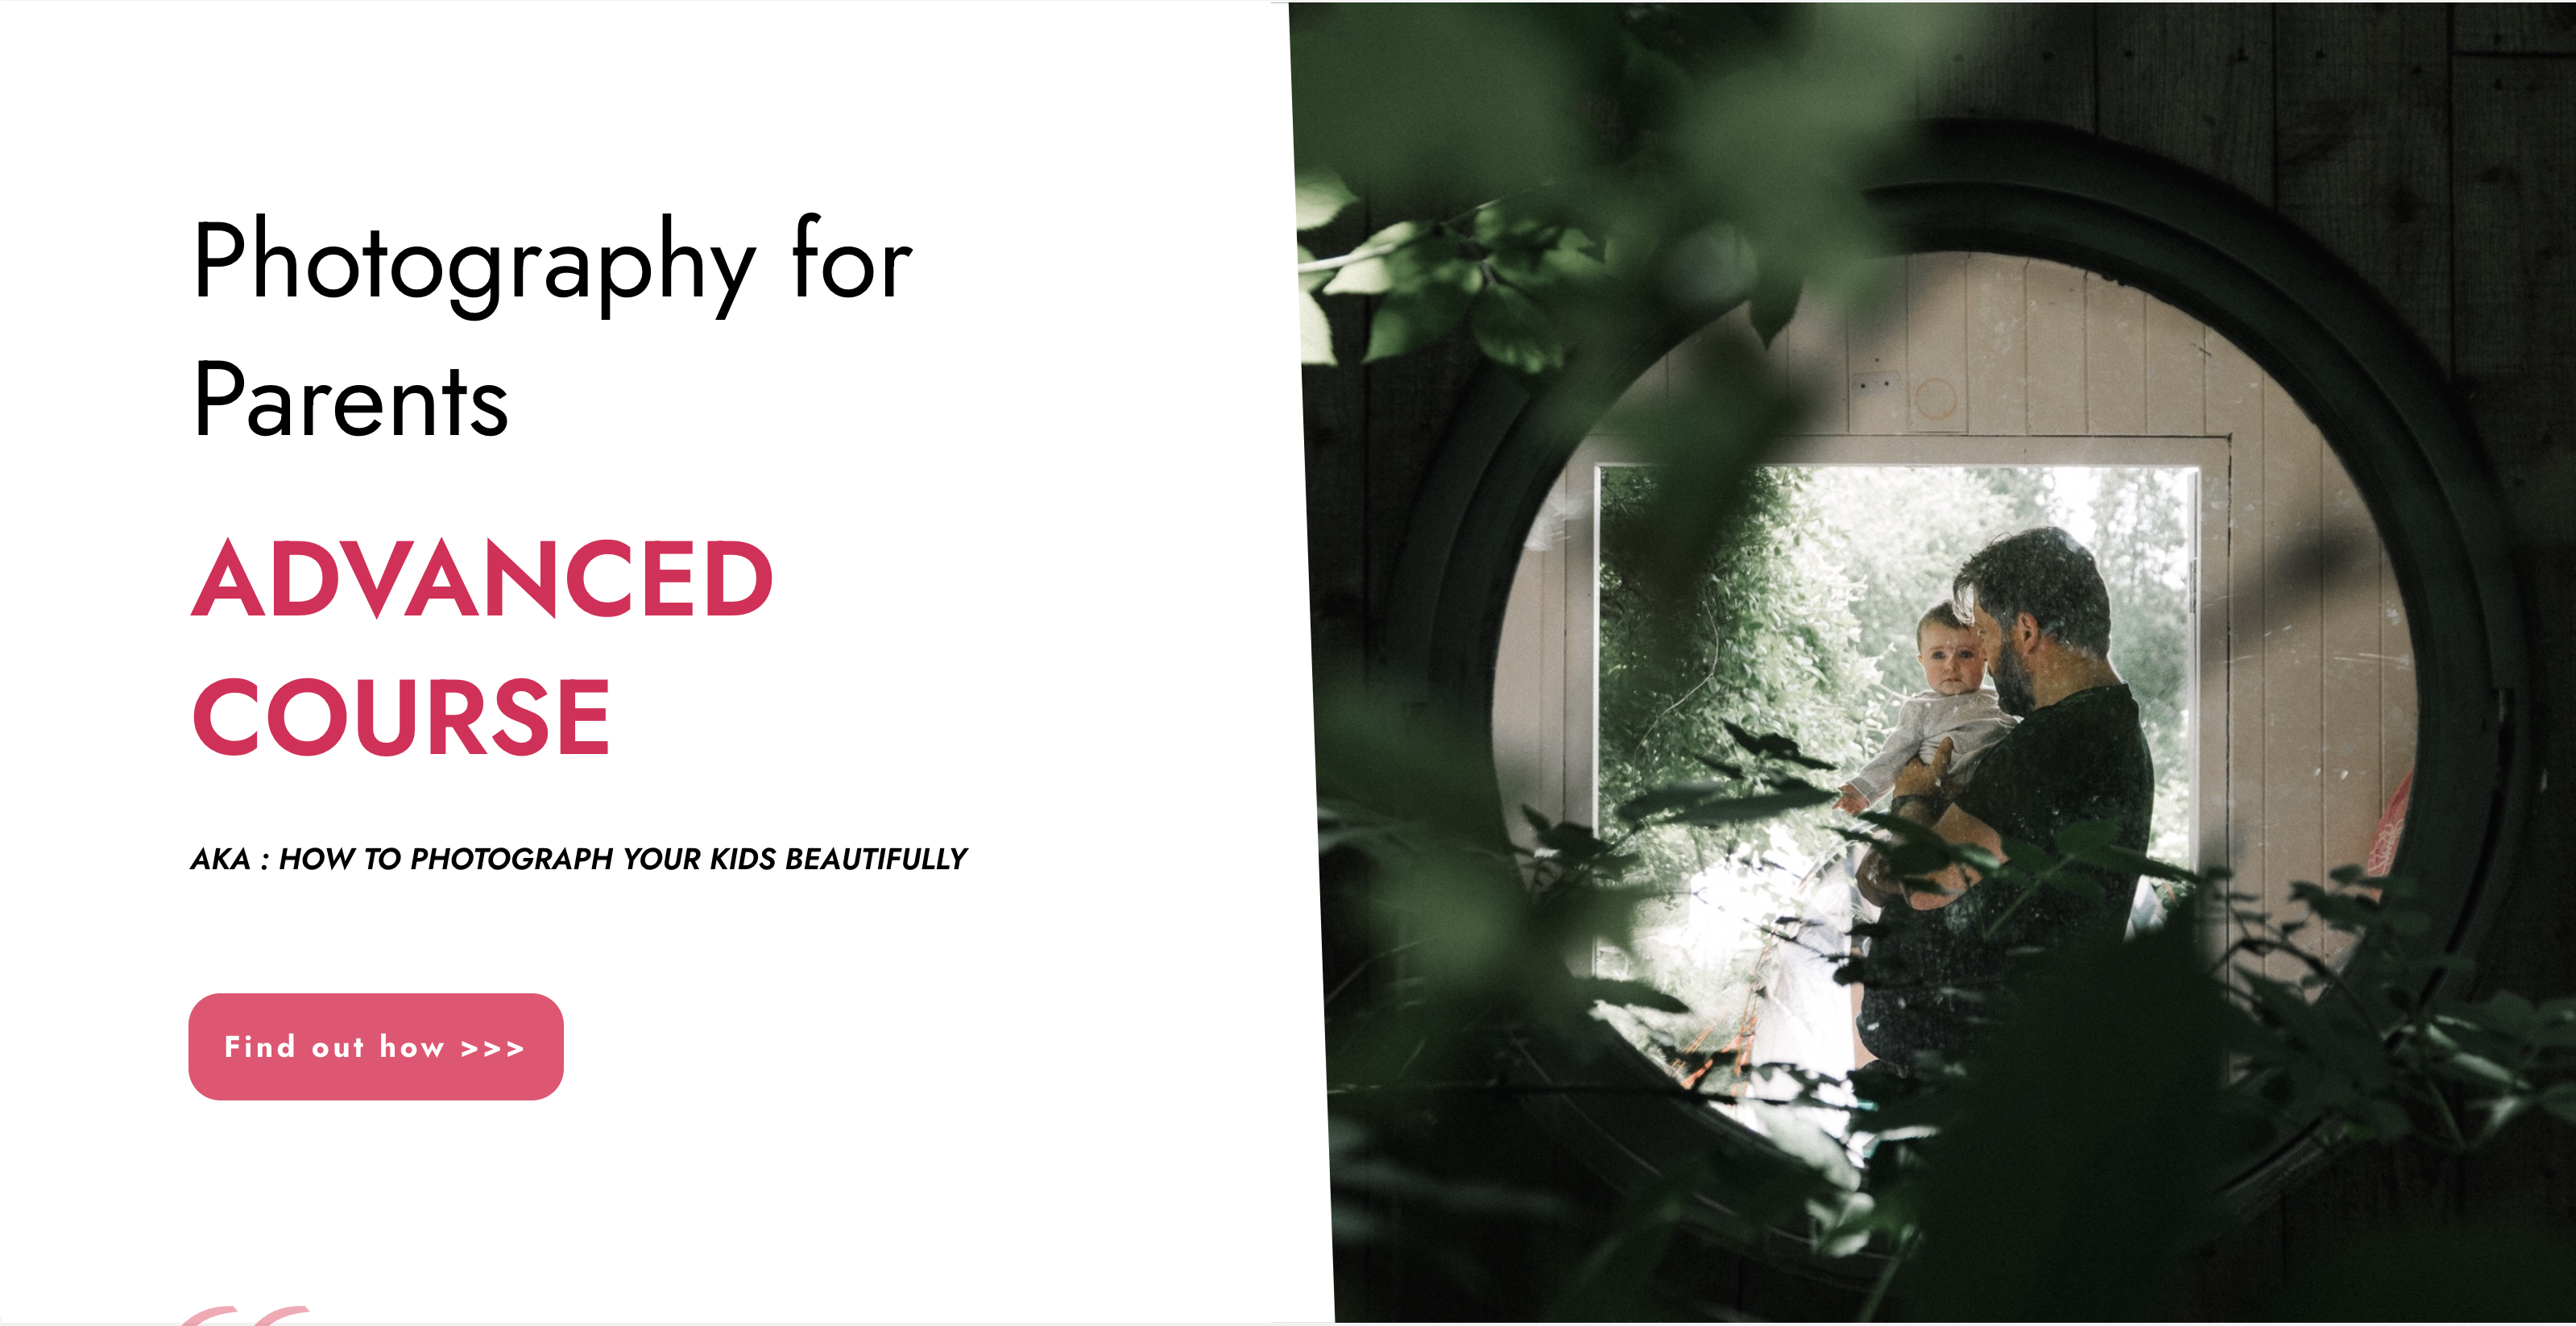
Photography is a way of feeling, of touching, of loving. ... it remembers little things, long after you have forgotten everything. - Aaron Sisking For the kind of photos that are worthy of the memories Because we just don't get do-overs with kids. There is no such thing as second-first steps. Because all their little quirks, all the big and little moments that shape their lives and their childhoods are something that only YOU as parents see and appreciate fully. And they are the thing that make them who they are. There is simply no outside photographer who can come in and capture those unique things because nobody knows your children like you do. Photography For Parents Fundamentals Our flagship 6 week Photography course designed to help you learn all the key photography skills that you will need to drastically improve your children's photos. KEY COURSE INFO: Course type: Instructor-led or self paced Course duration: 6 weeks Course format: Online course with Interactive weekly live classes, personal photo feedback and support group WHAT YOU LEARN: Our hands-on online instructor-led approach helps guarantee that you will quickly learn the key camera and photographic storytelling skills while keeping the focus on photographing children. From camera know-how, light and composition, specific recipes to help you capture typical situations and getting it all right on the fly - yeah, our kids don't sit still either LEARN WHAT'S INCLUDED IN EACH MODULE Key Camera skills Working with natural light Capturing kids on the move Photo composition Portraits and details Photo storytelling HERE IS HOW YOU LEARN WITH US: If you have bought an online course before, then gave up half way through because ... life.. - well, we are a bit different. This is A LOT more than a bunch of random tutorials. This is a proper, well designed, supported and paced course that genuinely delivers. HERE ARE THE INGREDIENTS THAT MAKE OUR COURSE DELIVER The one with all the materials: 5 core course modules, introduced on a weekly basis, plus a bonus wraparound module ( more on that below) - courses accessible online and in pdf version The one with all the people: You're not going through the course on your own - as part of the course you join an online peer support group, moderated daily by the instructor, where you connect, get help and go through this journey together with other parents like you. The one with all the answers: Every week we run an live online class which is where your instructor goes through the key parts of your course, answers live questions and demonstrates techniques and additional illustration photos. The Live classes are run in the evening ( after the kids are in bed) and are always recorded in case you couldn't join in live The one that's all about you: Every week comes with homework to help you practice the elements we introduce in the modules. You submit those images to your instructor on a weekly basis and receive thorough, photo-by-photo, video feedback from your instructor - so it's all about you and your progress, nobody else's The one with the bonuses: A PDF workbook to help you go through the materials and practice the skills, handy cheat sheets formatted for your phone so you can whip them out on the go plus a Bonus wrap-up module with swipe files of photo ideas for children at different ages, handy checklists and more! The one after it's over: We don't just leave you on your lonesome after the course is over - you get access to a=our Alumni group - a Photography for Parents Clique if you will - which is where we continue supporting you, answering your questions, encouraging you to take photos through weekly and monthly challenges and peer support Next Fundamentals course starts on 15th January 2024 5 core course modules Support Facebook group Weekly online Live class Personal Feedback on your images BONUS: extra module with ideas bank for photographing children of all ages BONUS: PDF course workbook BONUS: Printable and mobile friendly Pocket Guides HERE IS WHAT YOU WILL LEARN WITH US: How to finally, actually, properly use your camera - no more cryptic buttons and the 'oh no! what have I pressed now?!' panic. Life's too short to be intimidated by your camerant The precise steps and 'recipes' to help you capture all sorts of different situations - whether your kids are indoors on a dark and dreary day or tearing through the park in the sun How to see the world and your children through a photographers eyes and learn to compose your photographs on the fly so they truly reflect the beauty you see How to get great photos CONSISTENTLY - I mean the spray and pray method is fine, but wouldn't it be nice to have confidence your images will turn out the way you want them? How to learn to notice and capture the little details, the big picture, the whole story of your children growing up. BEAUTIFULLY. "Absolutely, without a doubt, the best money I have ever spent on anything kid related. I so wish i had done these courses 6 years ago, just before my 1st was born. My photography has improved significantly and I'm just sad the course are over, I have loved everything about them!" Hannah Slater "The most enjoyable online course I ever done" I cannot recommend this course highly enough, and I am so grateful for Ania for creating this amazing course and community, teaching busy parents how to document their family storied beautifully! DALIA SEABORNE "I'm amazed at how much my photography has improved " I have learned so much and am amazed at how much my photography has improved - they are brilliant value for money considering the level of personal attention you receive! I've come away with a whole lot more technical knowledge as well as a heap of inspiration and ideas. LUCY GRIFFITH "The most wonderful entry into the incredible photography world" I am seeing things that I have never noticed before, I am using the DSLR to capture precious moments with my family and am signed up to two further courses because the instructors, modules and supportive community are amazing and I think I might be addicted KIRSTY FINNIE Photography for Parents FUNDAMENTALS Next course starts on 15th Jan 2024 All the learning resources, all the community, all the support, all the personal help. Virtually failproof 5 core course modules Bonus Idea Bank module PDF course workbook Pocket reference guide Support group Weekly online live class Personal Feedback on your images Access to Photography For Parents Alumni community But will it work for me? - our guarantee: GUARANTEE We know our course works. We have seen a few thousands of students go through our courses and really improve. BUT, if you find that after the first couple of modules that it just doesn't work for you, you haven't learnt anything new, it's the wrong level for you, you haven't improved, or you simply don't get on or engage with it - we will simply refund you in full. Simple as that! INSIDE THE MODULES - aka WHAT DO YOU LEARN? Module 1: See what your camera sees Our first module is dedicated to breaking you our of the snapping habit and giving you a fresh perspective. We show you how your camera sees the world differently than what you might expect in three major ways - the optics. the focus and the light. Major Takeaways: At the end of the module you will have gained full control of your focus - no more guessing game and kids turning out all blurry, you will also gain an insight of how to use your lens ( there is a skill to it) and how to let the light help make your subjects stand out. What's included: The importance of focus and what it does to our brain Taking control of your focus - the Where and HOW your camera focuses Mastering focus formula - a process to help you determine what settings to use for each occasion To zoom or not to zoom and how it changes what and how your camera sees Learning how your camera sees the light and how to make it better, especially with tricky light Learning how to shoot against the light - like a bright window and NOT end up with the person looking all dark Module 2: On exposure and all things sharp and blurry In our second module we take you off the auto setting and dive deep into learning about exposure - i.e. making sure that your images are not too dark or bright or blurry. But not only that, we pay special attention to how to make some of the things in your image sharp and others blurry through the use of specific combinations of settings Major Takeaways: How to work your camera in priority ( semi-manual) modes, how to capture detail or portraits with a great separation of sharp and blurry to make these elements stand out. What's included: Understanding the mechanics of your camera - how does a photo actually happen inside Taking your camera firmly OFF the Auto settings - learning the key factors ( aperture, shutter speed and ISO) and how they interact with one another How to capture portraits and those precious detail shots beautifully Switching to Aperture priority and controlling your aperture - the how and the why Taking control of what in your image will be sharp and what will be blurry - hello full control over blurry backgrounds, blurry foregrounds and pin sharp subjects in between. Module 3: Capturing movement One of my favourite modules, dedicated to helping you capture your kids in motion - whether they're wriggling babies, speedy crawlers, wobbly toddlers or perpetual-motion-machines that most children are. We learn how to match your focus settings, your shutter settings and your composition to capture great movement photos. Major Takeaways: Learn how to capture your children on the move, SHARP but also how to use blur and speed to really showcase and highlight movement. Big AH-HA moments here! What's included: Switching your camera to shutter priority and mastering MOVEMENT Learning how to capture moving things SHARP - yes, that includes those fast movingbaby arms and legs Learning how to capture moving things BLURRY - and why would you want to do it? Learning how to highlight action and energy and speed in your images and how to help yourself with composition Creative techniques like night time light trails or panning or creative blur How to use your focus settings on top of your shutter settings to help capture things sharp Module 4: See what your camera sees Although we introduce elements of photographic composition throughout the course, this is the module entirely dedicated to it. We look at composition not just as a set of arbitrary rules, but more as something that helps you express what you really see and feel. We look at photographic storytelling and helping your images get look more impactful and stronger Major Takeaways: Good photographic composition principles to help you really show the magic you are seeing. At the end of this module you will say goodbye to boring flat photos and will instead start taking rich images with lots of depth and eye catching composition. What's included: understanding how we 'read' photographs and how to compose so that the magic YOU see translates into what the others see when they pick up that photo fundamental rules of photo composition - we started you off with the rule of thirds but there is MORE Good crops, bad crops, crazy crops and everything in between storytelling through your photographs - how to make your images mean something and show something real, beyond 'my child looks cute here' getting creative and expressing yourself through photographs learning to go beyond your usual compositions and discovering different styles Module 5: Photographic composition and storytelling Although we introduce elements of photographic composition throughout the course, this is the module entirely dedicated to it. We look at composition not just as a set of arbitrary rules, but more as something that helps you express what you really see and feel. We look at photographic storytelling and helping your images get look more impactful and stronger Major Takeaways: Good photographic composition principles to help you really show the magic you are seeing. At the end of this module you will say goodbye to boring flat photos and will instead start taking rich images with lots of depth and eye catching composition. What's included: Understanding how we 'read' photographs and how to compose so that the magic YOU see translates into what the others see when they pick up that photo Fundamental rules of photo composition - we started you off with the rule of thirds but there is MORE Good crops, bad crops, crazy crops and everything in between Storytelling through your photographs - how to make your images mean something and show something real, beyond 'my child looks cute here' Getting creative and expressing yourself through photographs Learning to go beyond your usual compositions and discovering different styles BONUS Module 6: Idea Bank : Photographing children at different ages This last module is a bit different. We us it to give you lots of ideas for photos with children of different ages - from photographing milestones to capturing what's unique about them at a particular stage and really getting into their world to capture where they're at. The module is packed with ready to take ideas and will let you take all that you have learned in the first 5 modules and apply it in real life sitautions. We also help you think ahead to the next steps in your photography education - should you want to continue.
Wudang Taiji Sword - London
By Taiji & Qigong (London & Kent)
Notes on the Wudang Taiji Sword Class Both the Monday 6.05pm class in Euston, and the Thursday 6.35pm class in Sevenoaks will be continuing the Wudang Taiji (Tai Chi) Sword. The set of movements falls into ‘Sections’ and we have only done Sections 1 & 2 (out of 6). If you’d like to join, we will be mainly working on the 2nd & 3rd Sections but will also constantly be revising Section 1. It’s therefore not too late to join. This uses the double-edged sword (‘jian’), and if you’d like to try the class out you are welcome to borrow a sword. We’ll be taking time in getting through the set of movements, and if you’ve never tried any weapon form before, this is a great one to try out to expand your repertoire. The Wudang Taiji Sword Form is a lively form with both slow and fast movements. This is a 13-week term.

Intermediate Adobe Illustrator Online
By Platform Training
Adobe authorised live online course with study materials and certificate of completion included During this 1 day intermediate level Adobe Illustrator course you will learn how to use Illustrator's tools to create stunning illustrations and type effects. Building on our Introduction to Illustrator (or your exisiting basic knowledge) you will learn how to work with colours, create printable documents, use gradients, layers, fonts, text effects, work with page and product design along with many other more advanced features. Description Professional Drawing with Illustrator Scale and Resizing Use Guides and Rulers Work with Colours in Illustrator Work with Clipping Masks Use Text copy and Typography in Illustrator Modify Objects Import and work with Textures Work with Opacity Work with 3D Elements Output your Artwork Bring a Fluorescent Transparency to Life Create Layouts for Product Placement and Packaging Save for Web & Devices For the full course content please download the course information pdf listed above. Who is this course for? This is a great course for existing Adobe Illustrator users who want to learn how to make use of more of the applications powerful features and improve their workflow. Requirements Attendees should have a basic knowledge of Illustrator. You will need a broadband internet connection to participate in this live online course. Certificates Certificate of completion Digital certificate - Included