- Professional Development
- Medicine & Nursing
- Arts & Crafts
- Health & Wellbeing
- Personal Development
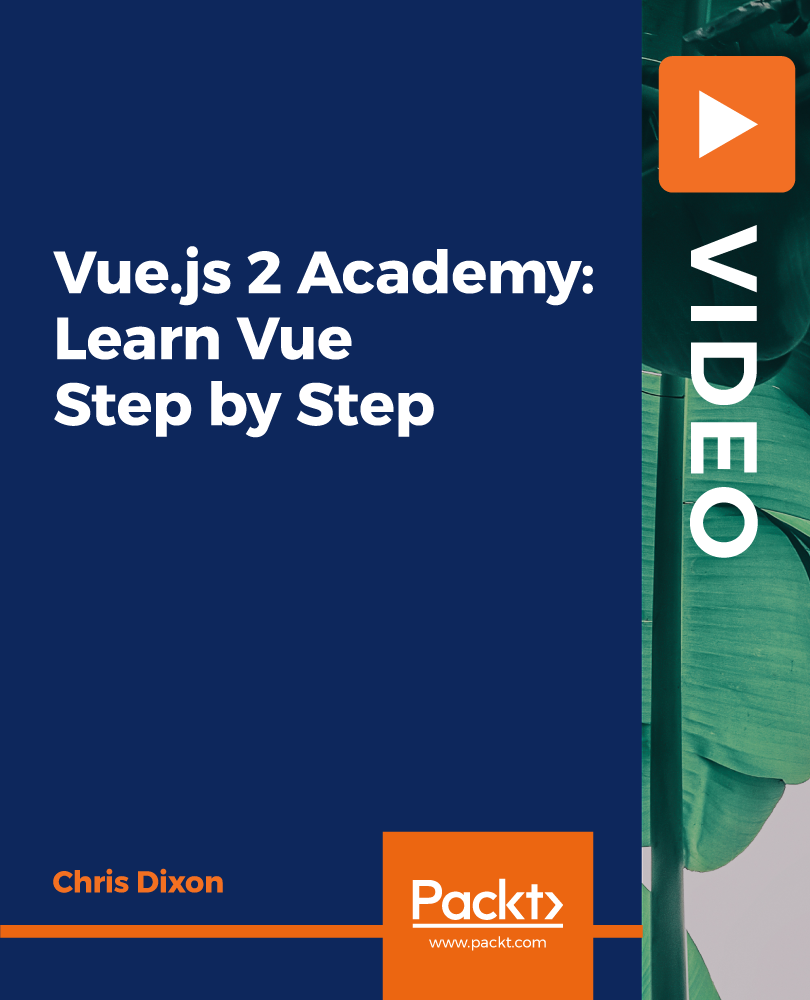
Vue.js 2 Academy: Learn Vue Step by Step
By Packt
Learn Vue.js through a practical, project-based approach, along with understanding how to use the Vue CLI and Firebase storage
Vectorworks One to One training course for interior designers
By Real Animation Works
Vectorworks Evening Course face to face One to one
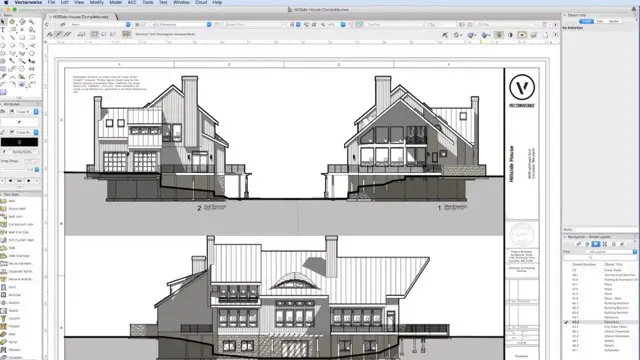
Vectorworks Basic to Intermediate Course
By Real Animation Works
Revit face to face training customised and bespoke.
Master the advanced features and techniques of the powerful presentation making program with the Microsoft PowerPoint 2016 Advanced course. The course is for the people who have basic knowledge of Microsoft PowerPoint. Throughout the course, you will learn how to customise the user-interface, how to customise the design templates, adding SmartArt to a presentation, adding media such as audio and video, use animation in the presentation, and more. Upon completion, you will be able to create mind blowing presentation and slide show. Why choose this course Earn an e-certificate upon successful completion. Accessible, informative modules taught by expert instructors Study in your own time, at your own pace, through your computer tablet or mobile device Benefit from instant feedback through mock exams and multiple-choice assessments Get 24/7 help or advice from our email and live chat teams Full Tutor Support on Weekdays Course Design The course is delivered through our online learning platform, accessible through any internet-connected device. There are no formal deadlines or teaching schedules, meaning you are free to study the course at your own pace. You are taught through a combination of Video lessons Online study materials Mock exams Multiple-choice assessment Certification After the successful completion of the final assessment, you will receive a CPD-accredited certificate of achievement. The PDF certificate is for £9.99, and it will be sent to you immediately after through e-mail. You can get the hard copy for £15.99, which will reach your doorsteps by post. Course Content Modifying the PowerPoint Environment Customize the User Interface 01:30:00 Set PowerPoint 2016 Options 00:45:00 Customizing Design Templates Create and Manage Sections 01:00:00 Modify Slide Masters and Slide Layouts 01:15:00 Add Headers and Footers 00:30:00 Modify the Notes Master and the Handout Master 00:45:00 Adding SmartArt to a Presentation Create SmartArt 00:45:00 Modify SmartArt 01:00:00 Working with Media and Animations Add Audio to a Presentation 00:45:00 Add Video to a Presentation 01:00:00 Customize Animations and Transitions 01:00:00 Collaborating on a Presentation Add Comments to a Presentation 00:45:00 Review a Presentation 00:45:00 Store and Share Presentations on the Web 01:30:00 Customizing a Slide Show Annotate a Presentation 00:45:00 Set Up a Slide Show 00:45:00 Create a Custom Slide Show 00:30:00 Add Hyperlinks and Action Buttons 00:45:00 Record a Presentation 00:15:00 Securing and Distributing a Presentation Secure a Presentation 01:30:00 Present a Slide Show Online 01:00:00 Create a Video or a CD 00:45:00 Activities Activities - Microsoft PowerPoint 2016 Advanced 00:00:00 Mock Exam Mock Exam- Microsoft PowerPoint 2016 Advanced 00:20:00 Final Exam Final Exam- Microsoft PowerPoint 2016 Advanced 00:20:00 Order your Certificates & Transcripts Order your Certificates & Transcripts 00:00:00 Frequently Asked Questions Are there any prerequisites for taking the course? There are no specific prerequisites for this course, nor are there any formal entry requirements. All you need is an internet connection, a good understanding of English and a passion for learning for this course. Can I access the course at any time, or is there a set schedule? You have the flexibility to access the course at any time that suits your schedule. Our courses are self-paced, allowing you to study at your own pace and convenience. How long will I have access to the course? For this course, you will have access to the course materials for 1 year only. This means you can review the content as often as you like within the year, even after you've completed the course. However, if you buy Lifetime Access for the course, you will be able to access the course for a lifetime. Is there a certificate of completion provided after completing the course? Yes, upon successfully completing the course, you will receive a certificate of completion. This certificate can be a valuable addition to your professional portfolio and can be shared on your various social networks. Can I switch courses or get a refund if I'm not satisfied with the course? We want you to have a positive learning experience. If you're not satisfied with the course, you can request a course transfer or refund within 14 days of the initial purchase. How do I track my progress in the course? Our platform provides tracking tools and progress indicators for each course. You can monitor your progress, completed lessons, and assessments through your learner dashboard for the course. What if I have technical issues or difficulties with the course? If you encounter technical issues or content-related difficulties with the course, our support team is available to assist you. You can reach out to them for prompt resolution.

Unreal Engine 5 - Blueprints Game Developer Masterclass
By Packt
Using Blueprints in UE5, you can learn game development without coding. This beginner-friendly course will teach you how to use Unreal Engine's visual coding system. There is no prior experience required, and each lesson will gradually increase your knowledge.
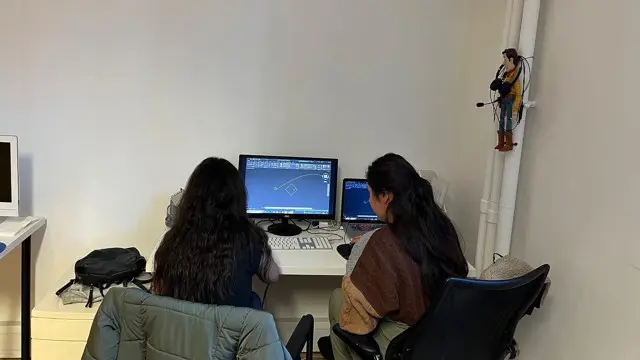
Autodesk AutoCAD Course 1-2-1 Evening and Weekends.
By Real Animation Works
Autocad face to face training customised and bespoke. Online or Face to Face

Create a Cartoon Owl with Blender 3D
By Course Cloud
Course Overview Learn how to create an animated 3D cartoon owl in Blender 3D, with our step-by-step guide. The Create a Cartoon Owl with Blender 3D course will walk you through the process of creating a simple low poly owl character from scratch. You will start from the very basics, from downloading and setting up the program, to starting your first project. It will introduce you to Blender's essential tools and features which you will learn about in-depth to create 3D films, animations, applications, and 3D models. By the end of the course, you will have a valuable set of industry skills, from 3D rendering to modelling. You will also be able to work efficiently with the camera view, and use Boolean modifiers. This best selling Create a Cartoon Owl with Blender 3D has been developed by industry professionals and has already been completed by hundreds of satisfied students. This in-depth Create a Cartoon Owl with Blender 3D is suitable for anyone who wants to build their professional skill set and improve their expert knowledge. The Create a Cartoon Owl with Blender 3D is CPD-accredited, so you can be confident you're completing a quality training course will boost your CV and enhance your career potential. The Create a Cartoon Owl with Blender 3D is made up of several information-packed modules which break down each topic into bite-sized chunks to ensure you understand and retain everything you learn. After successfully completing the Create a Cartoon Owl with Blender 3D, you will be awarded a certificate of completion as proof of your new skills. If you are looking to pursue a new career and want to build your professional skills to excel in your chosen field, the certificate of completion from the Create a Cartoon Owl with Blender 3D will help you stand out from the crowd. You can also validate your certification on our website. We know that you are busy and that time is precious, so we have designed the Create a Cartoon Owl with Blender 3D to be completed at your own pace, whether that's part-time or full-time. Get full course access upon registration and access the course materials from anywhere in the world, at any time, from any internet-enabled device. Our experienced tutors are here to support you through the entire learning process and answer any queries you may have via email.

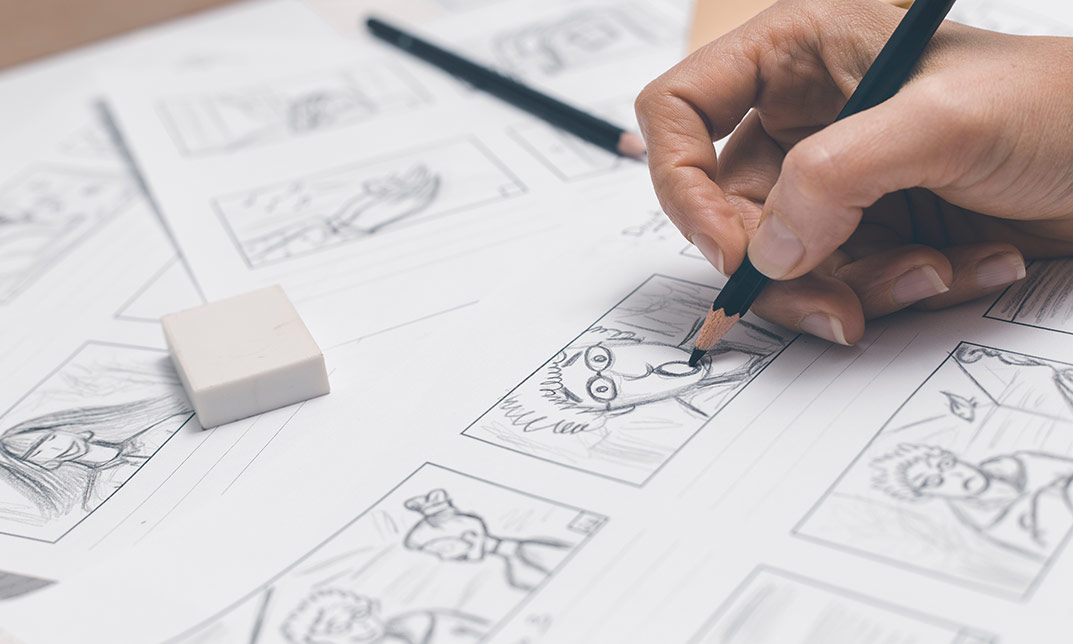
Create A Character From The Post-Apocalypse
By Course Cloud
Course Overview Make a dynamic image of a fictional figure from a far-off future by taking this course on how to Create a Character from The Post-Apocalypse. Exploring the years ahead of humanity has never been more popular in the media and provides plenty of artistic potentials. This tutorial will guide you in visually conceptualising a resident from a distant possible reality. By taking this Character Creation coaching, you can follow the steps to produce a drawing of a fictional figure that might be able to survive and thrive in any circumstance. From blank paper to the final image, you will be guided in seeking inspiration and bringing your ideas to the page. By creating this character and producing an eye-catching image, you will learn how to populate a post-apocalypse world with more of your creations. This best selling Create A Character From The Post-Apocalypse has been developed by industry professionals and has already been completed by hundreds of satisfied students. This in-depth Create A Character From The Post-Apocalypse is suitable for anyone who wants to build their professional skill set and improve their expert knowledge. The Create A Character From The Post-Apocalypse is CPD-accredited, so you can be confident you're completing a quality training course will boost your CV and enhance your career potential. The Create A Character From The Post-Apocalypse is made up of several information-packed modules which break down each topic into bite-sized chunks to ensure you understand and retain everything you learn. After successfully completing the Create A Character From The Post-Apocalypse, you will be awarded a certificate of completion as proof of your new skills. If you are looking to pursue a new career and want to build your professional skills to excel in your chosen field, the certificate of completion from the Create A Character From The Post-Apocalypse will help you stand out from the crowd. You can also validate your certification on our website. We know that you are busy and that time is precious, so we have designed the Create A Character From The Post-Apocalypse to be completed at your own pace, whether that's part-time or full-time. Get full course access upon registration and access the course materials from anywhere in the world, at any time, from any internet-enabled device. Our experienced tutors are here to support you through the entire learning process and answer any queries you may have via email.
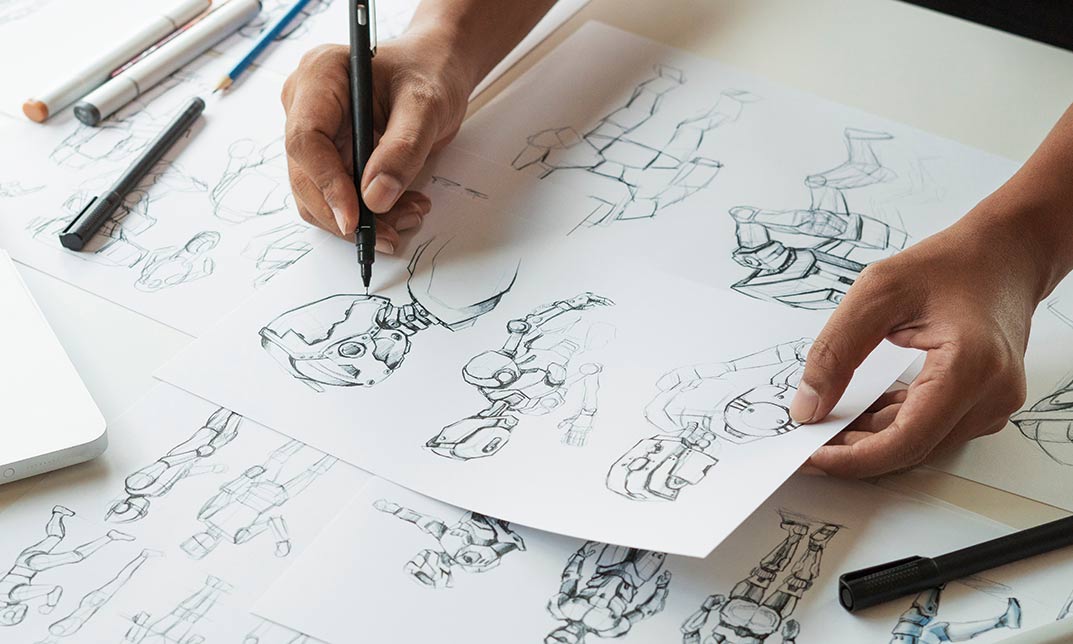
Cartoon Baby Animal in 3D
By Course Cloud
Course Overview Learn how to make an appealing character online by crafting a model in simple steps with this course for creating a Cartoon Baby Animal in 3D. Taking the process in easy stages, you will be shown how to conjure up a cute fictional creature in the digital universe, resulting in a figure that will impress others with its quality and detail. By taking this tailored 3D Modelling coaching, you will quickly learn the necessary skills needed to make an effective figure. From the first conception to sketching designs and then posing the pixels, everything is here to help you become a 3d cartoonist with a cool creation that others will love. Use your attained skills to sculpt many other models, using them for a wide variety of projects and additions to your portfolio. This best selling Cartoon Baby Animal in 3D has been developed by industry professionals and has already been completed by hundreds of satisfied students. This in-depth Cartoon Baby Animal in 3D is suitable for anyone who wants to build their professional skill set and improve their expert knowledge. The Cartoon Baby Animal in 3D is CPD-accredited, so you can be confident you're completing a quality training course will boost your CV and enhance your career potential. The Cartoon Baby Animal in 3D is made up of several information-packed modules which break down each topic into bite-sized chunks to ensure you understand and retain everything you learn. After successfully completing the Cartoon Baby Animal in 3D, you will be awarded a certificate of completion as proof of your new skills. If you are looking to pursue a new career and want to build your professional skills to excel in your chosen field, the certificate of completion from the Cartoon Baby Animal in 3D will help you stand out from the crowd. You can also validate your certification on our website. We know that you are busy and that time is precious, so we have designed the Cartoon Baby Animal in 3D to be completed at your own pace, whether that's part-time or full-time. Get full course access upon registration and access the course materials from anywhere in the world, at any time, from any internet-enabled device. Our experienced tutors are here to support you through the entire learning process and answer any queries you may have via email.
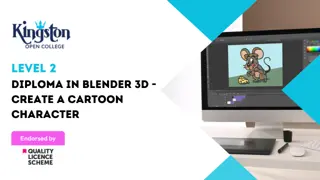
Level 2 Diploma in Blender 3D - Create a Cartoon Character (QLS Endorsed)
By Kingston Open College
QLS Endorsed + CPD QS Accredited - Dual Certification | Instant Access | 24/7 Tutor Support | All-Inclusive Cost