- Professional Development
- Medicine & Nursing
- Arts & Crafts
- Health & Wellbeing
- Personal Development
3967 Courses in Cardiff delivered Live Online
Autodesk AutoCAD | 3ds Max Training
By London Design Training Courses
Why Learn Autodesk AutoCAD | 3ds Max Training Course? Course Link 3ds Max serves as a powerful tool in architectural modeling, product design, games and films. Engaging with 3ds Max tutorials proves invaluable, particularly for game designers, as it can significantly enhance their professional growth and career prospects. Duration: 16 hrs Method: 1-on-1, Personalized attention. Schedule: Tailor your own schedule by pre-booking a convenient hour of your choice, available from Mon to Sat between 9 am and 7 pm. AutoCAD and 3ds Max Training Course: Tailored Learning Experience: Benefit from personalized, one-on-one training tailored to your individual needs and learning pace. Flexibility in Learning: Choose between attending in-person sessions or participating in live online classes, granting you the flexibility to learn from anywhere at your convenience. Accessible Lesson Recordings: Access recorded lessons to revisit concepts, practice techniques, and reinforce your understanding whenever you need. Ongoing Email Support: Receive continuous assistance and expert guidance through lifetime email support, ensuring you never feel left behind in your learning journey. Learn from Certified Tutors and Industry Experts: Be educated by experienced professionals proficient in both Autodesk AutoCAD and 3ds Max, providing valuable insights into industry best practices. Complimentary Career Advice: Take advantage of our career advisory services to receive valuable guidance in navigating your professional path and making informed decisions. Download Autodesk Autocad and 3ds max AutoCAD and 3ds Max Training Course. Course Duration: 16 hours Course Overview: Join our training program to master AutoCAD and 3ds Max. Suitable for beginners and experienced 2D/3D modelers, this course equips you with essential skills to create stunning designs in both 2D and 3D. Course Outline: Part 1: Introduction to AutoCAD Familiarizing with the AutoCAD interface Understanding the drawing environment Mastering basic 2D geometry creation Exploring essential drawing tools and commands Introduction to blocks and symbols for efficient design Part 2: Advanced AutoCAD Techniques Delving into advanced drawing techniques Manipulating and editing 2D geometry like a pro Creating custom symbols and blocks for enhanced productivity Working with text and annotations for clear communication Utilizing layers and line types for organized design Part 3: Plans sections and Elevations Entering the realm of Plans sections and Elevations Crafting Plans and 2D construction detailing precision Modifying and manipulating 2D seamlessly Crafting custom materials and textures for realistic designs Part 4: Introduction to 3ds Max Embracing the 3ds Max interface and workspace setup Mastering navigation within 3ds Max Understanding the viewport for optimized design Exploring basic 3D modeling techniques in 3ds Max Part 5: Materials and Textures in 3ds Max Applying and modifying textures to elevate designs Unraveling the art of UVW mapping for precise texturing Utilizing the material editor for creative freedom Crafting custom materials to suit your design vision Harnessing the power of Vray materials for realistic renders Part 6: Lighting in 3ds Max Introducing various lighting techniques Understanding light properties for impactful designs Setting up lights strategically to enhance scenes Illuminating scenes using Vray lights Part 7: Cameras in 3ds Max Mastering camera systems in 3ds Max Exploring camera properties for cinematic effects Creating animation with cameras for dynamic scenes Utilizing Vray cameras to achieve stunning renders Part 8: Rendering in 3ds Max Unveiling the art of rendering Utilizing Vray Global Illumination for realistic lighting Leveraging Vray Physical Cameras for precise control Enhancing scenes with Vray HDRI Lighting Following a Vray Rendering Workflow for professional results Part 9: Advanced Modeling Techniques Crafting complex geometry with finesse Utilizing modifiers for intricate designs Exploring polygonal modeling for versatile creations Creating organic and inorganic models with expertise Unleashing the potential of advanced modeling techniques Part 10: Projects Applying all learned skills to create real-world scenes Designing a simple interior scene with attention to detail Crafting a captivating exterior scene for visual impact Creating a complex scene with multiple objects and materials Course Requirements: A computer with AutoCAD and 3ds Max installed Basic knowledge of computer operations An interest in 2D and 3D modeling and design
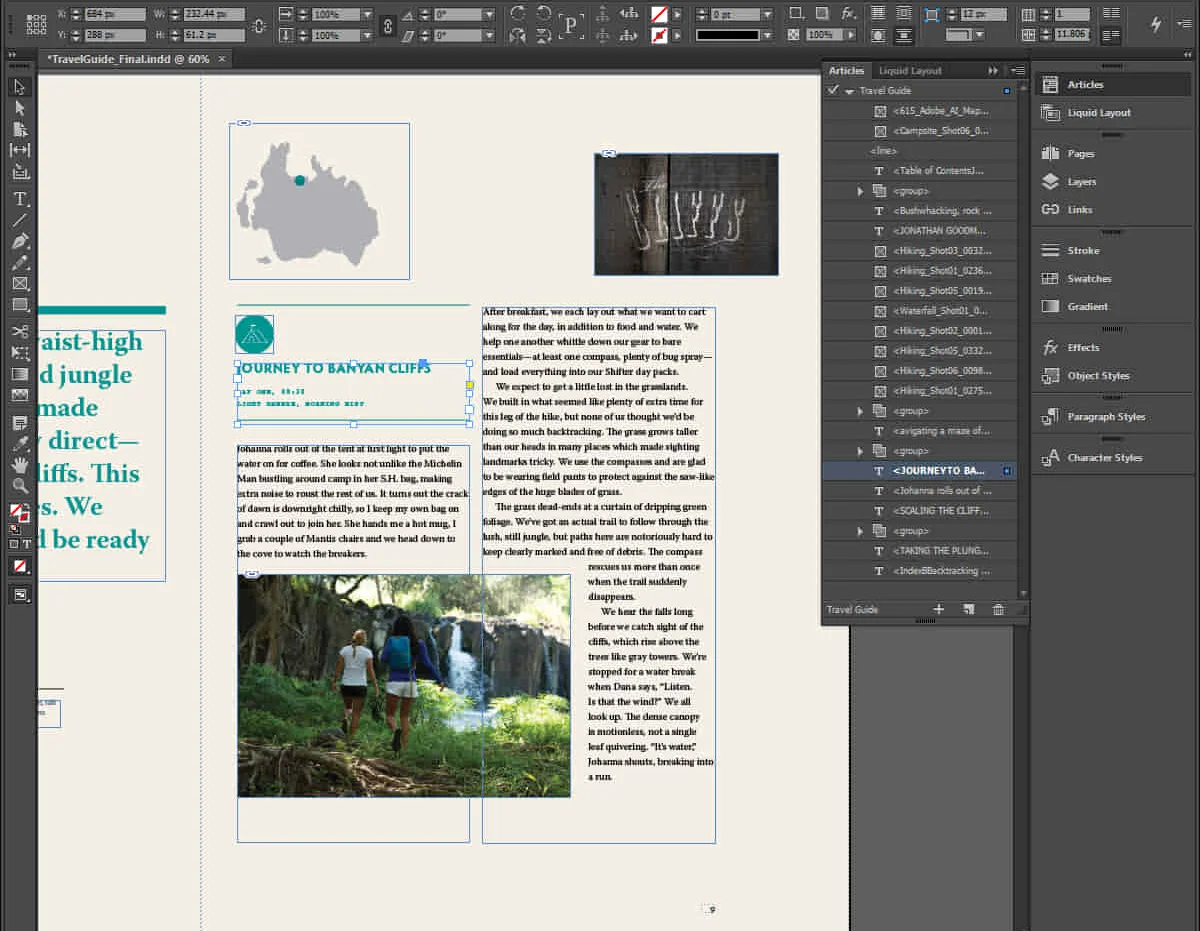
Advanced Adobe InDesign Training Program
By ATL Autocad Training London
Advanced Adobe InDesign Training Program Learn InDesign with a course at Real Animation Works. Choose from Weekend, Weekday or Evening Courses and learn from expert tutors. Benefit from professional InDesign training conducted by Adobe Certified Instructors with extensive graphic design expertise. Check our Website Duration: 10 hours. Approach: 1-on-1 and personalized attention. Schedule: 1-on-1 sessions, available Monday to Saturday from 9 am to 7 pm. Course Title: Comprehensive Adobe InDesign Training Duration: 10 Hours Session 1: Introduction to Adobe InDesign (1 hour) Overview of InDesign interface and tools Document setup: page size, margins, and columns Basic text formatting and paragraph styles Introduction to working with images and graphics Session 2: Advanced Text Formatting and Styles (1 hour) In-depth exploration of character and paragraph styles Advanced text composition techniques Managing text flow with threaded frames Incorporating special characters for typographic control Session 3: Mastering Images and Graphics (1 hour) Advanced image manipulation: resizing, cropping, and effects Text wrap options and integrating text with images Creating image frames and working with transparency Interactive elements: buttons and hyperlinks Session 4: Layout Design Techniques (1.5 hours) Grids and guides: precise alignment and spacing Working with layers for efficient design management Advanced object arrangement and distribution Utilizing master pages for consistent layout elements Session 5: Advanced Document Features (1.5 hours) Tables and data merge: organizing and automating data Interactive PDFs: forms, multimedia, and navigation Advanced print preparation: color management and preflighting Exporting for various digital and print outputs Session 6: Advanced Special Effects (1 hour) Creating drop shadows, gradients, and blending modes Working with typography on a path Advanced text and image effects Integrating Adobe Illustrator and Photoshop files Session 7: Project-Based Learning (1 hour) Participants work on a comprehensive project applying learned skills Instructor-guided project review and feedback Session 8: Tips, Tricks, and Time-Saving Techniques (1 hour) Productivity hacks and shortcuts Troubleshooting common issues and errors Best practices for efficient workflow and collaboration Session 9: Portfolio Building and Career Guidance (0.5 hour) Creating a professional portfolio showcasing InDesign projects Career advice and industry insights from the instructor Session 10: Q&A, Certification, and Course Completion (0.5 hour) Addressing participant questions and concerns Certificate of Completion distribution and course review Celebrating the completion of the Adobe InDesign training journey Upon completion of the Comprehensive Adobe InDesign Training course, participants will: Master Core Skills: Develop proficiency in essential InDesign tools, functions, and techniques for effective layout design. Advanced Text and Typography: Understand advanced text formatting, paragraph styles, and typographic controls for professional typography. Image Manipulation Expertise: Acquire skills in advanced image manipulation, text wrapping, transparency, and integration of multimedia elements. Advanced Layout Design: Learn precise layout techniques using grids, guides, layers, and master pages for consistency and visual appeal. Interactive Document Creation: Create interactive PDFs, forms, multimedia-rich content, and navigation elements for digital publications. Data Management and Automation: Master tables, data merge, and automation features for organized data presentation and streamlined workflow. Print and Export Proficiency: Understand color management, preflighting, and export settings for high-quality print and digital output. Special Effects and Integration: Apply advanced effects, gradients, blending modes, and integrate InDesign with Illustrator and Photoshop files seamlessly. Project-Based Expertise: Develop a comprehensive portfolio-worthy project, showcasing a range of InDesign skills and creativity. Efficient Workflow and Troubleshooting: Implement time-saving techniques, shortcuts, and troubleshoot common design challenges effectively. Career Readiness: Gain valuable insights into industry practices, portfolio building, and career guidance for pursuing opportunities in graphic design and desktop publishing. Versatile Learning Choices: Opt for either in-person sessions at our London center or engage in interactive online learning. Both options offer hands-on experience, detailed demonstrations, and ample chances for inquiries. Compatibility and Assistance: InDesign operates smoothly on Windows and Mac systems. Participants receive a comprehensive InDesign training manual for reference and an electronic certificate upon course completion. Additionally, enjoy lifelong email assistance from your InDesign instructor. Entry Requirements: No prior InDesign expertise is necessary. The training concentrates on InDesign 2023, relevant to recent software updates. Guarantees: We ensure exceptional value for your investment, guaranteeing your acquisition of essential skills and concepts during the training. Course Highlights: Master advanced typography techniques, including paragraph styles, character styles, and nested styles. Explore multi-page layout design, long document management, and advanced table formatting. Acquire skills to create and manipulate complex shapes, vector graphics, and custom illustrations. Learn efficient workflows for data merging, interactive documents, and digital/print output. Collaborate seamlessly with other Adobe Creative Cloud applications. Upon completion, receive a Certificate of Completion and access recorded lessons for self-paced learning. Expert Instruction: Learn from certified tutors and industry experts, gaining valuable insights, tips, and best practices for professional-level designs. Flexible Learning Options: Choose between in-person or live online sessions based on your schedule. Sessions are available Monday to Sunday, from 9 am to 8 pm, accommodating your convenience. Lifetime Support: Benefit from lifetime email support for continuous assistance. Our dedicated team is available to address your queries and challenges. Explore Adobe InDesign - Free Trial: https://www.adobe.com/uk/products/indesign/free-trial-download.html
Project Management Fundamentals
By Nexus Human
This course is intended for This course is intended for anyone who wants to learn the fundamentals of project management. No prior experience required. Overview Goals and benefits of implementing project management Key project management terminology, frameworks, and tools How to apply the approaches and processes to better manage and complete a project Important interpersonal interactions needed for successful projects This 1-Day virtual Project Management Best-Practices course provides an overview of fundamental elements of the project lifecycle ? from project initiation through project close. With a focus on traditional project management concepts, students will complete this course with an improved ability to understand the best path forward for bringing projects to successful completion. Students will benefit from this course by understanding the foundational principles of project management, improving their project management skills, utilizing tools and techniques to effectively manage projects, gaining a common project management language to improve communication, and learning frameworks to identify, manage, and mitigate risk. Concepts learned in this course are immediately applicable to ongoing projects. Note: This course has been approved by PMI for 8 PDUs. 1 - Introduction What are Projects? What is Project Management? Basic Project Management Process Project Selection How Projects Further Organizational Goals What Factors can Influence Projects? Documentation Project Management Tools Role of the Project Manager The Language of Project Management 2 - Starting a Project Authorizing the Project (Project Selection) Assigning the PM Identifying and Documenting the High-Level Scope Gathering a Planning Team Identifying and Documenting the Impacted Parties 3 - Planning a Project Adapting to the Needs of the Project (Planning Level) Identifying the Work Required Estimating Time, Cost and Resources Required Developing a Schedule Developing a Budget Planning Communications and Quality Risk Management Purchases and Outside Vendors for a Project 4 - Executing the Project Baselines Managing Participants in the Project Managing Interested and Impacted Parties Performing the Planned Work Negotiating and Signing Contracts Managing Communications, Risk and Quality 5 - Overseeing and Controlling the Project Controlling the Scope, Schedule and Budget Controlling Change to the Project (Scope, Schedule, Cost and Final Product) Quality Assurance and Control Contract Administration 6 - Ending a Project Overseeing and Controlling the Project Executing the Project Closing Contracts Transferring the Final Product Lessons Learned and Archiving Records

Level 4 Award in Learning & Development
By Panda Education and Training Ltd
This qualification is made up of one mandatory and one optional unit. There are 2 x 1 day workshops that will help develop knowledge of the principles, theories and practices in Learning and Development The course is aimed at practitioners such as tutors, trainers, assessors and quality assurers who want to develop their skills and knowledge in their own area of learning delivery. You will meet other practitioners who are responsible for process, people or practice within Learning and Development. You will get to share good practices and ideas for improvement and will be able to apply these in your workplace. You will be expected to carry out research, complete assignments and implement change in your organisation, with the mentoring support of our Learning Advisor.

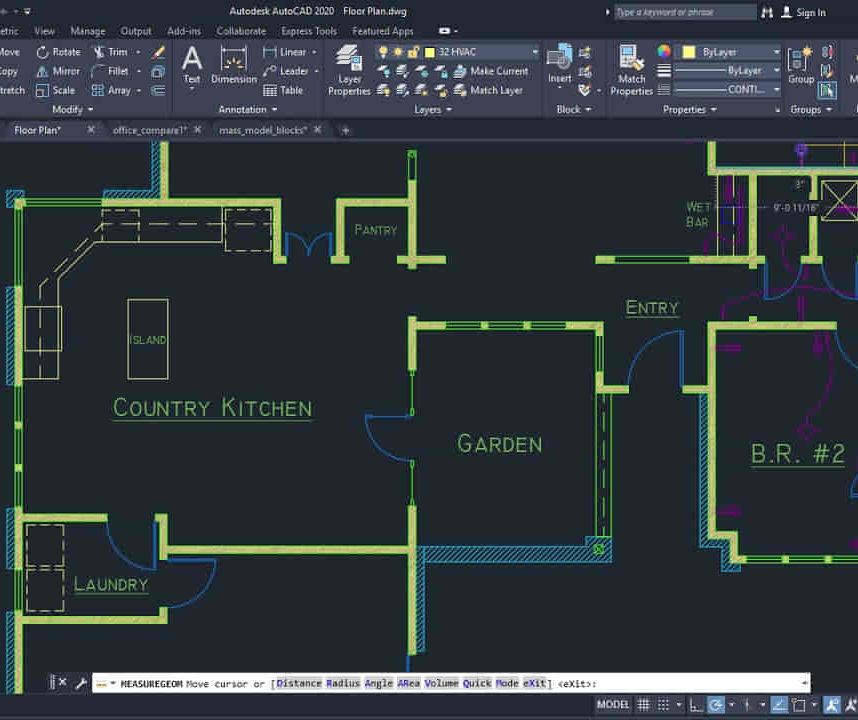
AutoCAD 2D Introduction to Intermediate Course
By ATL Autocad Training London
Why Learn AutoCAD 2D Introduction to Intermediate Course? Click here for more info: Website Whether you're starting a career, enhancing skills, or exploring creativity, this course is tailored for you. Learn on Windows or Mac, transform into a confident AutoCAD user. Transition to our Intermediate to Advanced Course post-completion. Duration: 10 hrs. Personalized 1-on-1 training. Perfect for beginners, this course offers flexible scheduling (Mon-Sat, 9 am-7 pm) and covers 2D plan and elevation creation in AutoCAD. AutoCAD 2D Course Outline Workspace Exploring the working environment Managing files Displaying objects Constructing fundamental drawings Inputting data Constructing basic objects Utilizing object snaps Utilizing Polar Tracking and PolarSnap Implementing object snap tracking Handling units Manipulating objects Selecting objects in the drawing Adjusting an object's position Generating new objects based on existing ones Modifying an object's orientation Creating mirrored versions of existing objects Designing object patterns Altering an object's dimensions Organizing and querying drawings Utilizing layers Modifying object attributes Matching object attributes Utilizing the properties palette Applying linetypes Using inquiry commands Modifying objects Trimming and extending objects to specified boundaries Generating parallel and offset geometries Merging objects Dividing an object into two separate entities Applying rounded corners to objects Producing angled corners between objects Modifying an object's shape Layouts and viewports Harnessing layouts Creating layout configurations Modifying layouts and employing page setups Working with viewports Creating layout viewports Managing layout viewports Controlling object visibility within layout viewports Annotating a drawing Generating multiline text Creating single-line text Implementing text styles Editing text Dimensioning Creating dimensions Utilizing dimension styles Adjusting dimensions Implementing multileaders Hatching objects Hatching elements Editing hatch patterns Managing reusable content Working with blocks Exploring DesignCenter Utilizing tool palettes Designing additional drawing elements Managing polylines Generating splines Crafting ellipses Working with tables Producing plotted drawings Employing page setups Utilizing plotter configuration files Creating and applying plot styles Plotting drawings Plot style tables Publishing drawings Generating drawing templates Leveraging drawing templates Download AutoCAD AutoCAD Trial https://www.autodesk.co.uk After completing the AutoCAD 2D Introduction to Intermediate Course, you will: Master Fundamentals: Understand AutoCAD basics, including navigation and terminology. Create Precise Drawings: Develop the skills to create accurate 2D drawings like plans and elevations. Manipulate Objects: Learn object selection, modification, and pattern creation. Dimension Proficiency: Create and edit dimensions and use text styles effectively. Layer Control: Organize drawings with layer management. Annotation Skills: Handle text and annotations with ease. Layouts and Viewports: Work with layouts and viewports for presentation. Plotting Expertise: Plot and publish drawings confidently. Customization Options: Explore advanced features for efficiency. Intermediate-Level Competency: Transition from beginner to an intermediate level of AutoCAD proficiency. This course equips you with essential skills for various industries, including architecture and engineering. This one-on-one CAD course is perfect for students who are either entirely new to the software or possess limited self-taught knowledge. Regardless of your starting point, our goal is to get you drawing plans within the very first hour of your class. We'll begin by building a strong foundation in AutoCAD, ensuring that you understand its core principles before delving into more advanced topics. If you have specific preferences, we can customize your AutoCAD learning experience to align with your goals. On the initial day of the course, we'll cover fundamental aspects such as user interface and terminology. Subsequently, you'll engage in a diverse range of lessons designed to deepen your understanding of AutoCAD and its creative processes. Topics covered will include introductory drawing techniques, editing functions, drawing aids, working with layers, managing text, and handling dimensions. Throughout the course, you'll practice through various drawing exercises and explore the intricacies of plotting. By the course's conclusion, you'll possess the skills needed to create your own simple drawings, suitable for applications in architectural, interior, engineering, events, furniture, or product design. Included in the course price are the following: Lifetime Email Support: Enjoy unlimited access to our support via email throughout your learning journey. Expert Instruction: Benefit from expert teaching provided by practicing architects, designers, and software professionals. Hands-On Learning: Engage in practical, hands-on lessons that can be customized to match your project requirements. Comprehensive Resources: Access video recordings and a digital reference PDF book for revision and continuous development. Certification: Receive a certificate of completion from us to enhance your CV and LinkedIn profile. Career Guidance: Gain valuable insights into pursuing design roles or establishing a creative business. Our experienced tutors will help you acquire the technical skills needed to make your CV and portfolio stand out. Our instructors, who are accomplished interior designers, animators, architects, and software experts, will not only impart technical expertise but also provide guidance on achieving success in the design industry or entrepreneurial endeavors.
Presentation skills for salespeople (In-House)
By The In House Training Company
We've all sat through far more bad presentations than good ones, but knowing what 'good' looks like is easier than successfully replicating it. Sales presentations are a performance and, as salespeople, fluffing our lines can cost us a lot more than hurt pride. Having discovered and understood the specific needs and burning issues our prospect has, then this course will help any salesperson avoid dropping the ball and instead wowing their prospects with a high-impact, tailored and compelling case for purchase. This course will help participants: Prepare mentally and physically for stand-up presentations Use voice modulation and bullet-pointing to demand attention Avoid boring their prospects Master the do's and don'ts of PowerPoint Deal more effectively with technical hitches and prospect's interruptions Use eye contact and engagement to avoid prospects 'tuning out' Deploy best practice essentials for presenting with colleagues Steer through the toughest Q&A 1 Preparing your presentation Mindset Knowing your objective(s) Vocal warm-up techniques Assembling pre-agreed benefits Time management Room set-up Technical preparation 2 How to open your presentation Vocal energy Summary and agreement of prospect's needs How to have posture and confidence Use of humour What to do with those dreaded hands Confident v non-confident body language 3 How to get and keep people's attention Bullet pointing Linking benefits to specific, stated needs Practical exercise - formulating and delivering tailored benefits Being selective with features Third party reinforcement and case studies 'Watering the garden' eye contact technique Practical exercise - participants practise 'sharing out' eye contact to audience How to handle a prospect's negative body language Handling interruptions 4 Presenting in groups Credentialing all participants Role delineation for group presentations Edifying other participants' messages - do's and don'ts How to maintain energy when not speaking Practical exercise - good and bad practice when not speaking Teamwork in Q&A sessions How to hand over professionally 5 PowerPoint do's and don'ts Use of visual aids Good and bad PowerPoint slides How to make PowerPoint work for you Classic PowerPoint errors Avoiding and handling technical problems Good and bad flipchart practice 6 Closing and / or achieving next action steps Power of summary Good Q&A practice Handling objections Practical exercise - handling objections on one's feet Creating consensus among prospect panel What to do when prospects disagree with each other When to trial close How to close on next action steps 7 Wrap-up Key learning points from each participant Action steps to be implemented on next presentations

Intensive Screen Acting
By Actors Studio
With Acting Coach Mel Churcher Introduction This Zoom course will offer ways to tap into your confident, powerful self; preparation for filming challenging self-tapes; new thoughts on screen work. Resist the idea of typecasting! You can play the roles you find difficult, or have never had the chance to work on. You can surprise yourself; find the joy of stepping into an unfamiliar self. Let’s open the gates and explore the deep or wild unknown – in a positive way. This course offers guidance, tips and exercises to enable your unique charisma to shine through in any role you play. Suitable both emerging talent and working professionals looking to improve. Meet Your Tutor Mel Churcher A-Lister Coach Mel Churcher is an international acting, dialogue and voice coach who has worked with companies including the Royal National Theatre, Royal Shakespeare Company and coaches a wide range of professionals from budding newcomers to top film stars like Daniel Craig, Angelina Jolie, Keira Knightley and Jet Li; from presenters like Raymond Blanc and Goldie to singers like Tricky and Joss Stone. Mel's Work Course Outline This course will increase your confidence with all aspects of screen work and with self-taping scenes for auditions. We’ll also work on a monologue that you film yourself during the course. This course will offer guidance, tips and exercises to enable your charisma to shine through in any role you play. All sessions are recorded and students expected to watch any filming done of themselves each evening. Also, during the course, to self-film a monologue, and work on a scene to self tape and submit to Mel at conclusion of the course. Day 1 -Monday | Time (UK) 10:30am – 1.00pm & 2:30pm – 5.15pm You will be introduced to the course, discuss screen acting, self-taping and talk about the actors’ toolbox. Mel will then invite you to each share a real-life story and do your given monologue. Here you will observe how specific you are, and how much muscle memory you still have in your body from your real experiences. You will explore games and techniques that allow you to find the same life and truth when you are using learned lines. Homework: Students to watch their work on playback. Day 2 -Tuesday | Time (UK) 10:30am – 1.00pm & 2:30pm – 5.15pm On day two you will continue on your real life stories and monologues. Continuing work on real stories/ monologues. Each actor will get individual time within the group. (all present can see but participant is filmed as solo performance to watch later.) Homework: Students to watch their work on playback. Scenes sent after class; partners chosen – these to be learned and self-taped after the course. Day 3 -Wednesday | Time (UK) 10:30am – 1.00pm & 2:30pm – 5.30pm On day three you will complete your individual monologue. Mel will also give you self-tape technical tips, elements toolbox and scenes read with partners. Homework: Studio watch their work on playback. Day 4 – Thursday | SELF WORK DAY – MEL NOT PRESENT Actors to film their monologues and send to Mel by 2pm latest! Scenes to be worked on in pairs (if possible) or explored alone. Day 5 – Friday | Time (UK) 10.30am – 1:00pm & 2.30pm – 5.15pm Watching filmed monologues together, with feedback. Toolbox, any remaining thoughts and games, feedbacks. roundup of the course. Homework: Students to film their scenes and send self-tapes within the next fortnight. (If no reader, course partner (or someone else) can read in remotely.) Every participant will have individual feedback on these self-tapes via a personal recording. Additional Information Features Intensive Short Course Small Class Size Held online via Zoom Suitable for all levels of ability Suitable if you are (17 yrs+) and committed to improving your screen acting skills Attracts a varied age range from 17 yrs+. International Students Welcome The course is taught in English, so it is important that you have proficient English language skills Learning Outcomes Increase your chances of getting work Add real life experiences to your acting performance Experience of working with an A-Lister Acting Coach Course Location Live Online Course Via Zoom Stable Internet Connection Required Webcam and Microphone Required Please log in at least 10 minutes before each session begins. A strong internet connection is required to join our live online courses and workshops. Please test your internet connection before booking as we cannot refund due to technical issues. Please familiarise yourself with Zoom before attending your workshop. Your camera will be required to be switched on during the workshop.Students will receive a Zoom link via email to join the workshop. Please log on at least 10 mins before the workshop begins.

AI Coaching for Executives: Empowering Leaders in the Age of Generative AI
By AECS
Executive AI Coaching: Boost Your Leadership with Generative AI Unlock the power of AI for your business with personalised executive coaching. Paul Addicott-Evans, founder of AECS, offers bespoke 1-on-1 sessions to transform leaders into AI champions. Enhance productivity, drive innovation, and stay ahead in the AI revolution. 20+ years of tech and business expertise. Tailored for C-suite, senior leaders, and entrepreneurs. Elevate your leadership—master generative AI today!

Introduction to Contraception for Healthcare Professionals (CPD Accredited)
By BBO Training
We are delighted to invite you to BBO Training's 'Accredited Introduction to Contraception for Healthcare Professionals' training, a comprehensive 2-day course designed to enhance your knowledge and skills in the field of contraception. During this training, we will cover all contraception methods, including long-acting reversible contraceptives (LARC's), emergency contraception, and basic asymptomatic sexually transmitted infection (STI) screening. This course is specifically tailored for Nurse Associates, Practice Nurses, Pharmacists, Paramedics, and other allied health professionals who are seeking to expand their understanding of basic contraceptive advice. By the end of the training, you can expect to achieve the following learning outcomes: 1. Gain a comprehensive understanding of various contraception methods, including their efficacy, benefits, and limitations. 2. Develop the ability to provide basic contraceptive advice and guidance to patients, taking into account their individual needs and preferences. 3. Acquire the skills necessary to perform simple pill checks and administer repeat Depo injections confidently. 4. Learn how to effectively discuss and recommend long-acting reversible contraceptives (LARC's) to patients, considering their suitability and effectiveness. 5. Understand the importance of asymptomatic STI screening and learn how to offer this service appropriately, following a period of supervised practice.

Vectorworks Garden Design Training
By London Design Training Courses
Why choose Vectorworks Garden Design Training Course? Vectorworks, a user-friendly industry-standard software, is perfect for interior design, architectural planning, 3D modeling, and landscaping projects. Its versatility makes it suitable for both home enthusiasts and professionals. Course Info Scheduling: 1-on-1 training, your schedule. Book any hour, Mon to Sat, 9 am - 7 pm. Call 02077202581 to reserve. Duration: 16 hours. Method: In-person face-to-face sessions and live online instruction. Vectorworks Garden Design Training Course: Master the art of garden design with Vectorworks software in our specialized training program. Led by certified tutors and industry experts, this course equips you with comprehensive skills and techniques tailored to garden design. Create stunning 2D layouts and 3D landscapes, visualize designs, and produce professional documentation for your projects. Benefits: In-Person and Live Online Options: Choose between in-person or live online sessions for flexible learning. Certified Tutors and Experts: Learn from experienced tutors passionate about garden design. Comprehensive Curriculum: Cover essential aspects of garden design using Vectorworks. Lesson Recordings: Access valuable session recordings for review and reinforcement. Lifetime Email Support: Receive ongoing assistance from industry experts for continuous growth. Course Duration: 16 hours Course Description: This advanced Vectorworks course is tailored for individuals who already possess basic knowledge of the software and wish to enhance their skills to become proficient users. Participants will learn more advanced 2D and 3D techniques, including advanced 3D modeling, rendering, visualization, and customizing Vectorworks to suit their specific needs and workflows. The course will cover topics such as creating custom tools, working with planting plans, and integrating with AutoCAD. Course Outline: Module 1: Vectorworks Interface and Basic Concepts - Understanding the Vectorworks interface and palettes - Opening, saving, and managing files - Creating and editing objects and shapes - Utilizing Undo/Redo and Snaps for precision - Applying graphic attributes and working with dimensions Module 2: Modeling and Drawing Techniques - Exploring advanced tools and commands in detail - Integrating with AutoCAD and data exchange - Creating, modifying, and editing text - Utilizing callout text tool for annotations - Organizing information using design layers and classes Module 3: Working with Buildings and Models - Utilizing design layers and sheet layers for architectural projects - Assigning objects to layers and classes - Working with viewports and sheet layers for presentation - Drawing buildings, including walls and roofs - Setting up and rendering perspective views Module 4: Creating Site and Landscape Plans - Importing land surveys or architects' files - Drawing site surveys and working with hard landscape elements - Adding and customizing plantings using the plant tool - Editing plant definitions and creating custom plant symbols - Generating plant schedules and reports Module 5: Vectorworks Architect Features - Setting up files and scaling the drawing - Customizing text styles and dimension standards - Working with scanned images and creating site models - Designing floors, doors, and windows using standard Vectorworks elements - Creating and managing title blocks, labels, notes, and keynotes Module 6: Working Drawings and Final Project - Developing the final project with 2D and 3D elements - Applying site modifiers and stairs to the design - Generating printing layouts for presentations - Creating working drawings with detailed plans and elevations Download Vectorworks Trial https://www.vectorworks.net/trial Proficiently use Vectorworks software for garden design, including creating accurate site plans and garden layouts. Apply 2D and 3D modeling techniques to visualize garden designs and present them professionally. Incorporate plants, hardscape elements, and other design elements into garden layouts effectively. Generate detailed construction drawings for seamless implementation of garden projects. Understand the key features and functionalities of Vectorworks specific to garden design. Demonstrate proficiency in utilizing Vectorworks tools for various garden design tasks. Interact collaboratively in face-to-face or online learning environments, engaging with instructors and peers. Utilize lesson recordings to review and reinforce course concepts for continuous learning. Seek personalized guidance and assistance through lifetime email support from certified tutors and industry experts. Transform creative garden design ideas into practical and stunning real-world projects using Vectorworks software.