- Professional Development
- Medicine & Nursing
- Arts & Crafts
- Health & Wellbeing
- Personal Development
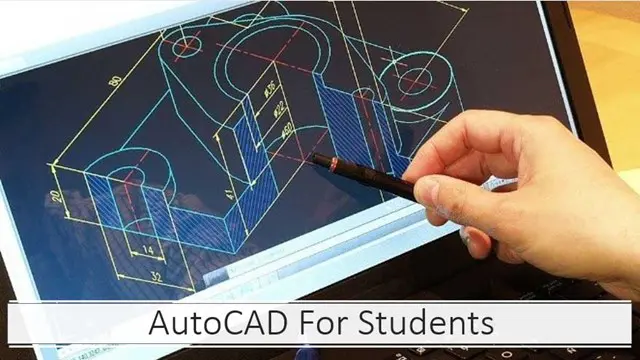
AutoCAD Basics to Intermediate Level Course Bespoke and 1-2-1
By Real Animation Works
Autocad face to face training customised and bespoke.
Personalized AutoCAD Training for Interior Designers: Live Online and One-to-One
By Real Animation Works
Autocad face to face training customised and bespoke. In-person

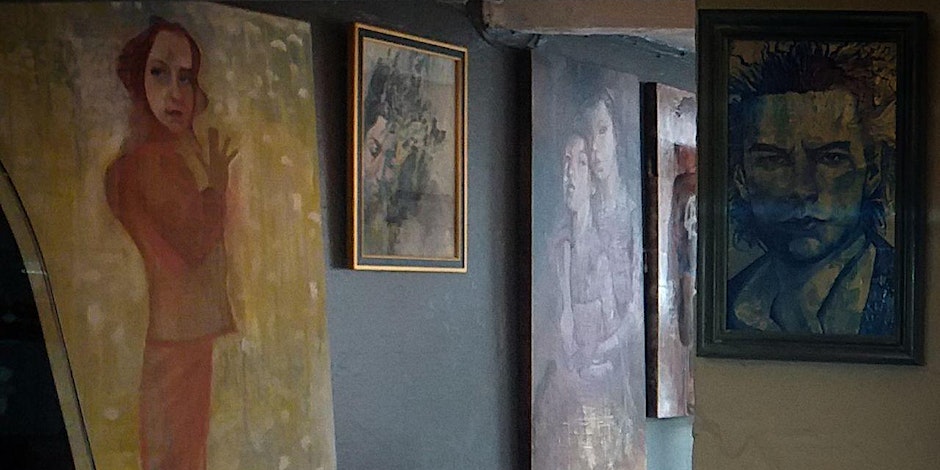
Become an exhibiting artist.
By Worcester Drawing School
About this event This is a 2 month program during which you will make a body of work, advertising and publicity during the first month and exhibit it during the second month. Includes 4 weekly tutorials, flyer design, help with hanging, private view, a 4 week exhibition, no commission on sales, and help taking the exhibition down. You can book this as a group of any size. Refund Policy Contact the organiser to request a refund.

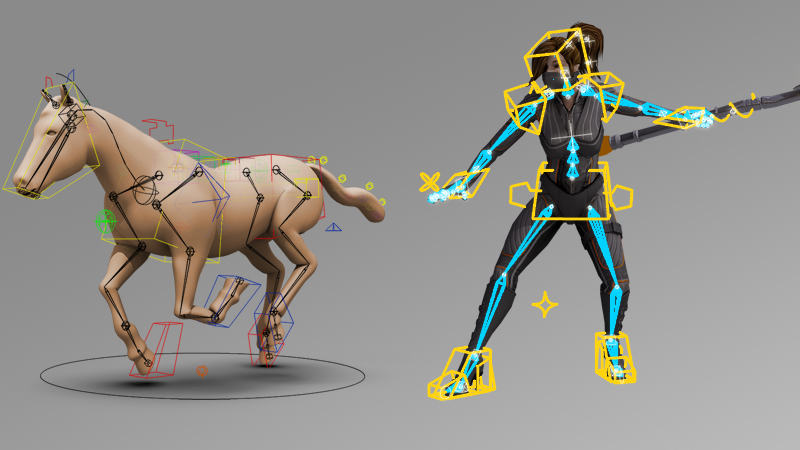
Character Animation in 3ds Max Training
By London Design Training Courses
Why Choose Character Animation in 3ds Max Training Course? Click here for more info. Top character animation course in 3ds Max, this course provides an accessible learning experience. Learning character animation enables you to create your own short films. It's not just a means of income; it evolves into a passion. Duration: 20 hrs Method: 1-on-1, Personalized attention. Schedule: Tailor your own hours of your choice, available from Monday to Saturday between 9 am and 7 pm. Enroll in our exclusive "Character Animation Fundamentals in 3ds Max" course at London Design Training, guided by experienced tutors Sitwat Ali, Qasim Ali, and Jess. Gain in-depth insights into animating 3D characters, covering essential techniques like character rigging, pose creation, and seamless pose-to-pose animation. 3ds Max Character Animation Course Duration: 20 hours Course Overview: Master the art of character animation in 3ds Max with our comprehensive course. Ideal for beginners and those with some 3D modeling and animation experience, this course covers everything you need to know to bring characters to life. Course Outline: Introduction to Character Animation Explore animation principles Get familiar with 3ds Max animation tools Learn to create character rigs and manage the timeline Basic Animation Principles Understand keyframes and animation cycles Apply the 12 principles of animation Work with the graph editor and ease-in/out techniques Advanced Animation Techniques Utilize the reaction manager for complex animations Master non-linear animation methods Animate with inverse kinematics, custom controllers, expressions, and scripts Creating Characters Craft a character model with proper topology Create UV maps and apply textures Prepare characters for rigging Facial Animation Learn facial animation principles Create blend shapes and morph targets Master lip syncing techniques Body Animation Animate walk cycles and character motion Achieve believable character poses Implement character physics Advanced Character Animation Work with motion capture data Use CAT and Biped tools Understand motion blur and create special effects Render and output animations Character Animation Projects Bring all skills together in practical projects Create basic and complex character animations Course Requirements: Computer with 3ds Max installed Basic computer operations knowledge Passion for character animation Course Goals: Upon completion, you'll have a thorough grasp of character animation in 3ds Max, capable of creating realistic and sophisticated character animations using advanced techniques. You'll be equipped with the skills to continue honing your character animation abilities independently.
One to One Candle Making Business One Day Course in Bexley (Kent) - London
By Old Bexley Soap & Candle Co.
Serious about starting your own candle business? Set yourself up for success from the very beginning, in a private course with Paula Mateo, award winning founder of Old Bexley Soap & Candle Co.

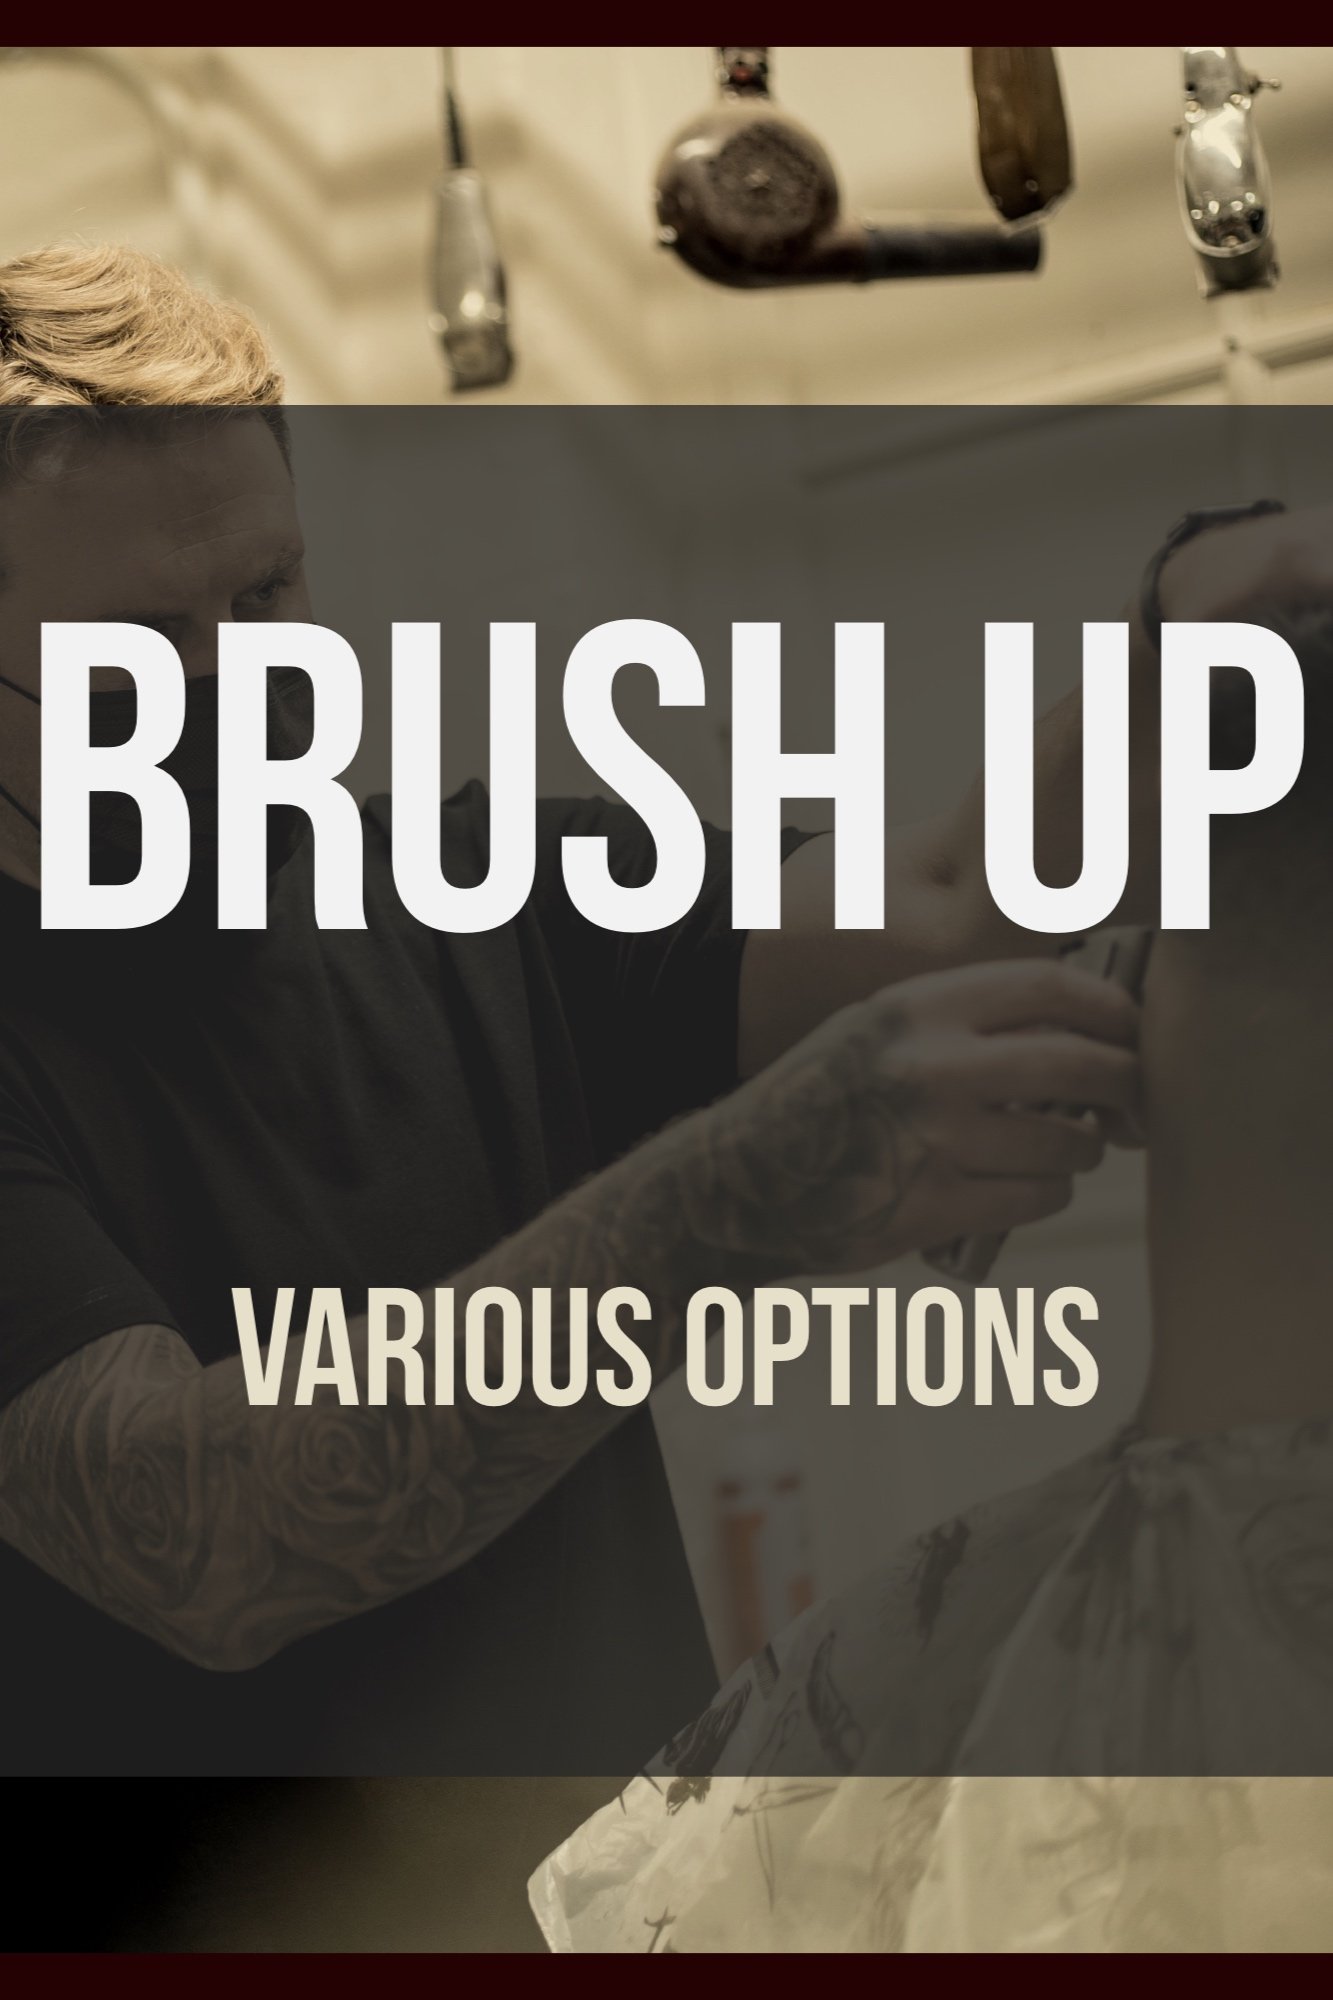
Brush up courses - Barbering
By TotalBarber Academy Limited
Need a day or two to brush up on some skills? We can offer you help and tutoring for any barbering skills you need.