- Professional Development
- Medicine & Nursing
- Arts & Crafts
- Health & Wellbeing
- Personal Development
PRINCE2® Foundation and Practitioner
By London School of Science and Technology
PRINCE2® Foundation and Practitioner are process-based project management approaches that can be easily customised and scaled. PRINCE2® Foundation and Practitioner course aim to provide delegates with a comprehensive knowledge of project management methodologies. Course Overview PRINCE2 Foundation and Practitioner are process-based project management approaches that can be easily customised and scaled. PRINCE2® Foundation and Practitioner course aim to provide delegates with a comprehensive knowledge of project management methodologies. At the end of this PRINCE2® Foundation and Practitioner course, delegates will be able to delegate tolerances and report actual and forecast progress effectively. They will also be able to quickly prepare the risk management, change control, quality management, and communication management approaches. Attaining this PRINCE2® certification enables candidates to demonstrate and enhance their project management proficiency – contributing to elevated business acumen and career prospects. Concepts covered: • Project management • Levels of management • Authorise initiation • Tailoring the IP process • Project and stage plans • Analysing risks to a plan • Escalate issues and risks PRINCE2® Foundation Training: This introductory PRINCE2® certification will help candidates understand the fundamentals of the PRINCE2® project management methodology and develop an appreciation of the constituents that contribute to a project’s success – underpinned by the PRINCE2® principles, processes, and themes. The foundation element of the combined course lasts for 3 days. During the course, candidates will gain a basic understanding of how to work in part of a PRINCE2® team. PRINCE2® Practitioner Training: The PRINCE2® Practitioner element of the combined course forms the final part of the training where the candidate learns to apply their acquired knowledge. Candidates will be educated on how to apply the methodology to a set of scenarios and how to efficaciously lead a project. What’s Included in this PRINCE2® Course? The following is included in this PRINCE2® Course: • The PRINCE2® Foundation Examination • The PRINCE2® Practitioner Examination • Pre-course material • PRINCE2® Workbook • PDUs • Experienced PRINCE2® Instructor • Certificate • Refreshments • PRINCE2 Homework – Set by your PRINCE2 Instructor at the end of each day. Prerequisites for PRINCE2® Course: In this PRINCE2® Foundation and Practitioner course, there are no formal prerequisites. This PRINCE2® Course is designed for anyone who wants to gain in-depth knowledge about project management methodologies. This Course is more beneficial for: • Project Managers • Aspiring Project Managers • Team Leaders • Directors • Senior Responsible Owners PRINCE2® Foundation and Practitioner 6th Edition Training Course Outline: Module 1: Introduction to Projects and the PRINCE2® Methodology: • PRINCE2® “Project” Definition • Project Characteristics • Project Management • What is PRINCE2®? • Four Integrated Elements • What PRINCE2® Does Not Provide • What Makes a Project a PRINCE2® Project? Module 2: Project Manager Activities: • Customer/Supplier Environment • Projects in Context • Commercial Environment • Applying PRINCE2® • Delivery Approaches • Measuring Success • Organisational Capability • Seven Processes Module 3: Seven Themes: • Business Case • Organisation • Quality • Plans • Risk • Change • Progress Module 4: Seven Principles: • Continued Business Justification • Learn from Experience • Defined Roles and Responsibilities • Manage by Stages • Manage by Exception • Focus on Products • Tailor to Suit the Project Module 5: Organisation Theme: • Four Levels of Management • PRINCE2® Organisation Requirements • Project Management Team • Project Management Team Roles • Project Board • Project Assurance • Change Authority • Project Support • Communication Management Approach Module 6: Starting Up a Project (SU): • Process Overview • Feasibility Study and Mandate • Appoint the Executive and the Project Manager • Capture Previous Lessons • Design and Appoint the Project Management Team • Prepare the Outline Business Case • Project Product Description • Select the Project Approach and Assemble the Project Brief • Plan the Initiation Stage • Tailoring the SU Process Module 7: Directing a Project (DP): • Authorise Initiation • Authorise the Project • Authorise a Stage or Exception Plan • Authorise Project Closure • Give Ad Hoc Direction • Tailoring the DP Process • Theme Overview • Balance of Justification • Continued Business Justification • PRINCE2® Requirements • Contents of a Business Case • Business Case Development • Benefits Management Approach • Key Responsibilities Module 8: Initiating a Project (IP): • Agree to the Tailoring Requirements • Prepare the Risk Management Approach • Prepare the Change Control Approach • Prepare the Quality Management Approach • Prepare the Communication Management Approach • Set up the Project Controls • Create the Project Plan • Prepare the Benefits Management Approach • Assemble the Project Initiation Documentation • Tailoring the IP Process Module 9: Risk Theme: • Risk Definition • Effective Risk Management • PRINCE2® Risk Requirements • Risk Management Approach • Probability/Impact Grid • Risk Register • Risk Management Procedure • Identify Step • Risk Budget • Key Responsibilities Module 10: Quality Theme: • Quality Definitions • Quality Management • Quality Planning and Control • What is Quality Assurance? • PRINCE2® Quality Requirements • PRINCE2® Quality Documentation Requirements • Quality Management Approach • Quality Audit Trail • Project Product Description • Product Description • Quality Review Technique • Quality Review Roles/Responsibilities • Quality Review Meeting • Off-Specifications and Concessions • Review Follow-Up • Quality Review Benefits • Key Responsibilities • Communication Management Approach Module 11: Plans Theme: • Dealing with the Planning Horizon • PRINCE2® Planning Requirements • Documentation Requirements • Project and Stage Plans • Team Plans and Work Packages • Plans Relationship • What is in a Plan? • PRINCE2® Approach to Plans • Designing a Plan • Delivery Approaches • Defining and Analysing the Products • Product Breakdown Structures • Product Description • Product Flow Diagram • Identify the Activities and Dependencies • Preparing Estimates • Preparing a Schedule • Documenting the Plan • Analysing Risks to a Plan • Gantt Chart and Tailoring • Key Responsibilities Module 12: Progress Theme: • Progress Definition • PRINCE2® Requirements • Progress Control • Management by Exception • Delegating Tolerances and Reporting Actual and Forecast Progress • Types of Control • Management Products and Progress Control Module 13: Change Theme: • Issue Definition • PRINCE2® Approach to Change • PRINCE2® Change Documentation • Issue Register • Change Control Approach • Change Budget • Issue and Change Control Procedure • Issue Report • Exception Report Module 14: Controlling a Stage (CS): • Activity Breakdown • Authorise a Work Package • Work Package • Review Work Package Status • Receive Completed Work Packages • Review the Management Stage Status • Report Highlights • Highlight Report • Capture and Assess Issues and Risks • Escalate Issues and Risks • Take Corrective Action • Tailoring CS Module 15: Managing Product Delivery (MP): • Accept a Work Package • Execute a Work Package • Checkpoint Report • Deliver a Work Package • Tailoring MP Module 16: Managing a Stage Boundary (SB): • Plan the Next Management Stage • What is in a Plan? • Update the Project Plan • Update the Business Case • Report the Management Stage End • End-Stage Report • Produce an Exception Plan • Tailoring SB Module 17: Closing a Project (CP): • Prepare Planned Closure • Hand Over Products • Evaluate the Project • End Project Report • Recommend Project Closure • Tailoring CP Module 18: Considerations for Organisational Adoption: • Creating a PRINCE2® Based Project Management Method • Creating Tailoring Rules and Guidelines • Rating the Complexity of Projects • Embedding PRINCE2® • Tailoring • What Should Be Tailored? • Tailoring Constraints and Influences • Creating an Organisation’s Method DURATION 6 days WHATS INCLUDED Course Material Case Study Experienced Lecturer Refreshments Certificate

AutoCAD Night Training Course
By ATL Autocad Training London
Why AutoCAD Night Training Course? This Autodesk AutoCAD 2D Evening Course, 10 hours, is perfect for beginners aiming to create 2D plans, elevations, sections. It covers all tools in AutoCAD 2D, making it valuable for both newcomers and those aspiring to enhance their skills. Click here for more info: Website When: Personalized 1-on-1 sessions. Available from Mon to Sat 9 am to 7 pm. Book over the phone, call 02077202581 Duration: 10 hours (Split 10 hrs over as many as days you want) Method: In-person or live online training Course Content: Foundational Shape Construction Manipulating Lines, Arcs, and Polylines Optimizing Object Alignment with Grip Tools Data Management and Backup Protocols File Format Exploration and Understanding Disaster Recovery Strategies Advanced Object Creation Techniques Precision Measurement Unit Handling Dynamic Input Methods Utilizing Inquiry Commands and Measurement Tools Effective Object Visualization and Navigation Zoom, Pan, and Object Manipulation Swift Object Management Strategies Object Transformation and Alteration Techniques Functions for Trimming, Extending, and Offsetting Objects Creating Various Geometric Shapes Object Editing, Joining, and Filleting Stretching and Organizing Objects Layer Management and Customization Configuring Object Properties and Linetypes Designing Layouts and Efficient Page Configurations Scaling Drawing Views and Adding Annotations Text Creation, Styling, and Editing Dimensioning Principles and Customization Implementing Multileaders for Annotations Object Hatching and Editing Techniques Managing Reusable Content: Blocks and Symbols Utilizing Tool Palettes and Working with Groups Understanding Model Space and Paper Space Creating Layouts and Viewports Scaling Viewports and Plotting/PDF Output Managing Multiple Sheet Drawings Optimizing Plotstyles for Printing Creating Custom Drawing Templates To download AutoCAD, visit Autodesk's official website. Advantages: AutoCAD stands as the industry-leading computer-aided design (CAD) software, widely adopted for creating architectural, engineering, and construction drawings. Acquire essential skills applicable across a diverse spectrum of industries. Assessment: Evaluation will occur informally during classes, which comprehensively cover specific topics, complemented by practical drawing exercises to reinforce skills and knowledge. Additionally, we offer longer, independent drawing tasks that encompass multiple acquired skills, evaluated against professional benchmarks. Requirements: Prospective participants should possess basic computer literacy and engagement in professions where CAD is utilized. English Proficiency: Applicants are expected to demonstrate proficiency in both written and spoken English. Why Opt for This Course? Our AutoCAD course is your gateway to mastering the essential skills for creating top-notch technical drawings. Designed with beginners in mind, this course is perfect for individuals who have little to no prior experience with AutoCAD. If your work or studies involve CAD drawings, gaining a solid grasp of the program is crucial for confidence and proficiency. Upon enrollment, students gain access to a free 30 days trial. While classes are conducted using AutoCAD on PC, it's worth noting that the course is compatible with AutoCAD on Mac, albeit with slight interface variations. Who Should Attend? This course caters to those eager to acquire the skills necessary for creating and interpreting drawings produced in AutoCAD. Our diverse system hails from various industries, including engineering, architecture, landscape architecture, construction, electronics, and product design. Why Opt for CAD Training? Practical Learning Experience: Immerse yourself in hands-on training. Personalized One-to-One AutoCAD Classes: Benefit from individualized attention. Expert and Knowledgeable Instructors: Learn from skilled and experienced teachers. Online Training Recordings: Access recorded AutoCAD training sessions online. Best Price Guarantee: Enjoy competitive pricing with a satisfaction guarantee. Pre and Post-Training Support: Receive lifetime free support before and after completing your training. Flexible Schedule: Choose your class timings and dates-weekdays, weekends, or evenings. Tailored Course Content: Customize the AutoCAD course to align with your specific needs. Access Anywhere: Access AutoCAD training and support from any location.
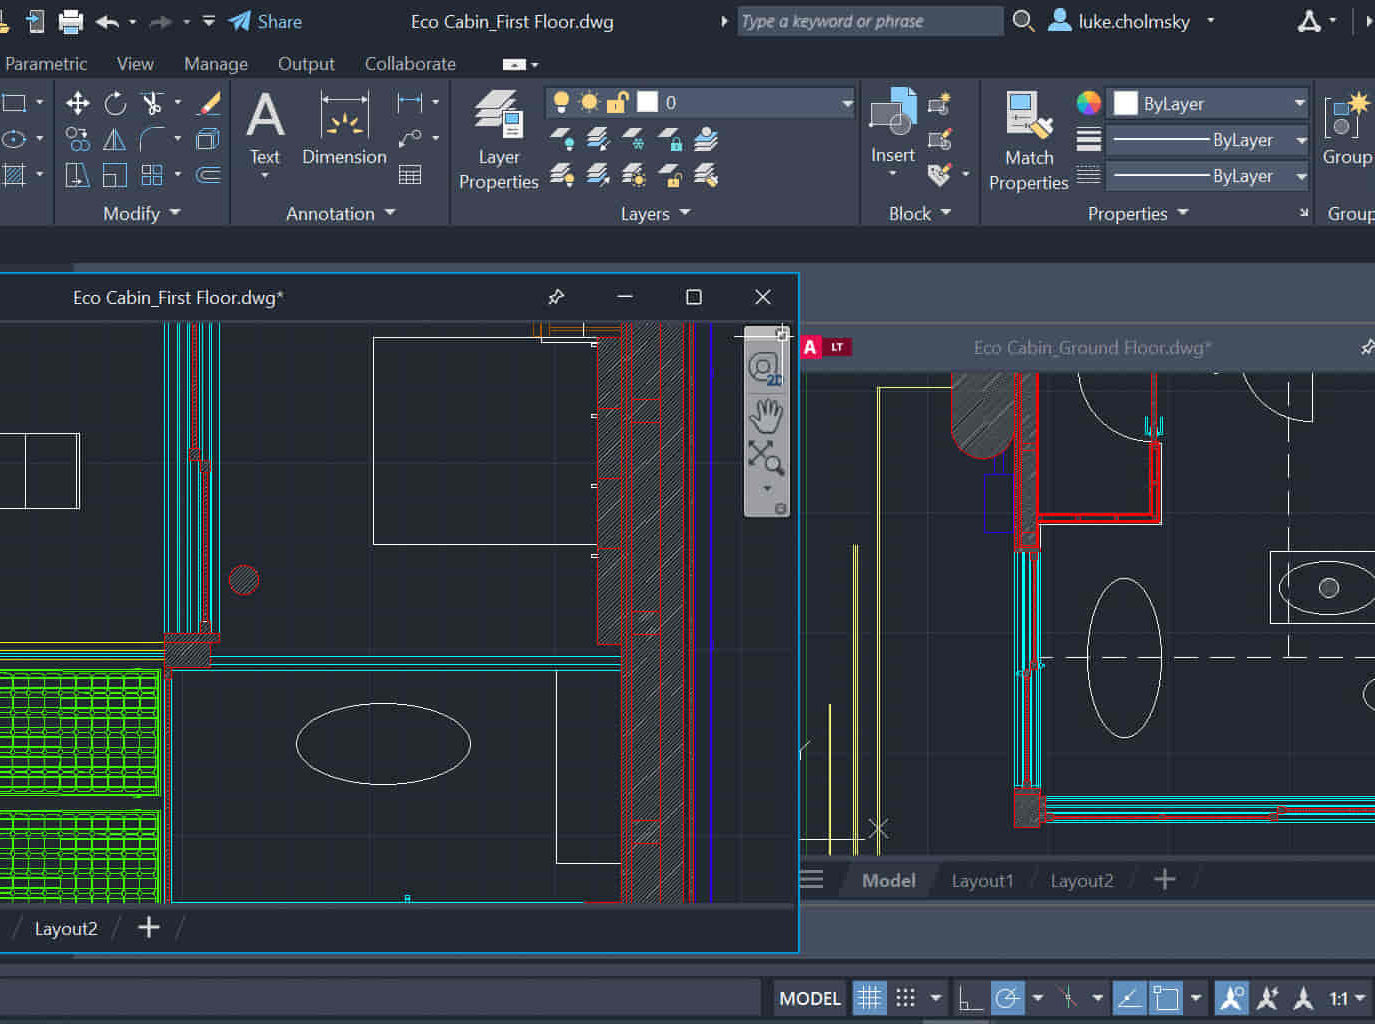
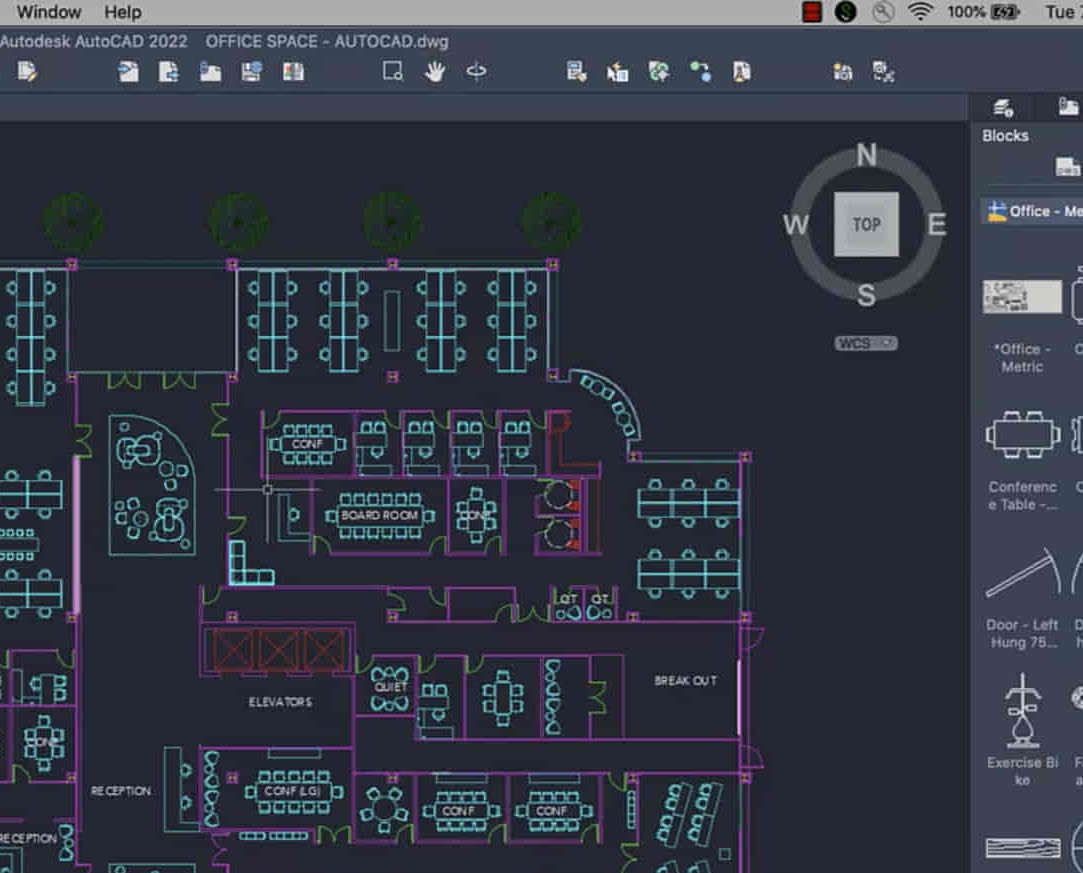
AutoCAD-Mac Introduction to Advanced Training Course
By ATL Autocad Training London
AutoCAD-Mac Introduction to Advanced Training Course This project-based course is tailored for AutoCAD Mac users, architecture and interior design students and professionals. Click here for more info: Website When Can I Book This Training Course? Personalized experience with 1-on-1 sessions designed to fit your unique needs. Available from Monday to Saturday, 9 am to 7 am Or Call to Book 02077202581. Duration of Training: 16 hours. Training Method: 1-on-1, providing the option for in-person sessions or live online training. Course Content Section 1: Introduction Course Overview Section 2: Basic Concepts Status Bar and The Units Drawing Commands Control Points - Vertex or Verteces Modifying Commands Snap Settings Drawing An Outline Section 3: Dimensions and Customization Adding Dimensions and Dimension Style Manager Importing Dimension Styles Customizing Shortcuts Section 4: Advanced Techniques Adding Walls Thickness with Offset Command Adding interior layout Cleaning Layout lines with Trim Section 5: Text and Styling Text Editing and Importing Text Styles Main File Formats in AutoCAD Section 6: Design Elements Creating Openings in the Floor Plan Adding Openings - Part 2 Adding Openings - Part 3 Drawing Doors & Windows Using Line Types & Linetype Scale Group and Ungroup Commands Using Blocks Using Blocks Library & Dynamic Blocks Section 7: Layers and Furnishing Layers - Part 2 Layers - Part 3 Furnishing Bedrooms & Bathrooms - Part 1 Adding Furniture, Fixtures, and Equipments | part 2 Adding Furniture, Fixtures, and Equipments | part 3 Drawing the Kitchen Drawing the Living Room Drawing Dining Room & Adding Casework Adding Steps and Railings Using Stretch Command Finishing Steps and patio areas Hatch command Hatch Customization Adding Plants & Finishing Floor Plan Section 8: Layout and Printing Paper Space & Page Setup Manager Working with Viewport & Using Print Command Scale & Using Multiple Viewports Locking Viewport Scale Drawing A Titleblock - Part 1 Drawing A Titleblock - Part 2 Copying the Titleblock Using Titleblock with Attributes Section 9: Roof Plan and Organization Drawing The Roof Plan Placing Roof Plan on Sheet Organizing Project Drawings & Using Layer Freeze AutoCAD Crashing And What To Do Section 10: Elevations Exterior elevations - Drawing the Outline Exterior elevations - Drawing the Openings Elevations - Detailing - Part 1 Elevations - Detailing - Part 2 Elevations - Repeating the workflow Elevations - Finishing 3rd Elevation Elevations - Drawing the final elevation Section 11: Sections Sections: Drawing Cut Lines & the Outline Sections: Placing 1st Section on Sheet Sections: Drawing Section #2 - Different Technique Sections: Adding Final Detail Section 12: Interior Elevations Interior Elevations: Drawing the Outline Interior Elevations: Placing on Sheet Interior Elevations: Using Block Clip Interior Elevations: Final Drawing Section 13: Conclusion Putting the Final Set Together Proficient AutoCAD Skills: Master essential tools for efficient drawing creation and manipulation. Accurate 2D Designs: Create precise and high-quality layouts with attention to detail. Effective Object Handling: Excel in selecting, moving, copying, and scaling objects. File Management: Organize drawings efficiently and understand different file formats. Precise Measurements: Utilize inquiry commands for accurate design analysis. Annotations and Hatching: Apply text, dimensions, and hatching to enhance drawings. Object Organization: Manage layers and object properties for organized designs. Reusable Content: Efficiently use blocks, tool palettes, and groups for productivity. Layout Optimization: Create layouts with viewports for optimal design presentation. Professional Output: Generate professional plots and PDF output for polished results. Enhanced Productivity: Explore AutoCAD toolsets and web/mobile apps for streamlined workflow. Course Overview: Learn versatile AutoCAD for Mac drawing techniques, applicable across all industries, enabling you to excel in the application. Our trainers incorporate exercises from various disciplines. Who Should Attend: Ideal for newcomers to AutoCAD for Mac, self-taught users seeking correct techniques, and those transitioning from other CAD tools. Requirements: A solid Mac OS understanding is essential, while prior CAD knowledge is not required. Pre-course preparation guidance is provided for new AutoCAD users. Highlights: Perfect for AutoCAD for Mac beginners. Gain skills for precise 2D layouts and designs. Versatile drawing techniques for all industries. Choose between in-class or live online training. Autodesk Certified Tutors: AutoCAD 1-2-1 courses. Hands-on learning with expert trainers. Lifetime post-course email support. Tailored on-request training available. Certificate: Digital certificate included. Tailored Mac Training: Excel in AutoCAD with specialized Mac training, leveraging its distinct features and interface for heightened efficiency. Comprehensive Skill Enhancement: Advance from fundamental to intermediate AutoCAD Mac proficiency, creating precise and professional 2D drawings. Industry-Relevant Expertise: Attain in-demand skills valued by employers in architecture, engineering, and design sectors. Hands-On Project Exposure: Immerse yourself in practical exercises mirroring real-world design scenarios, fostering practical competence. Lesson Recordings for Review: Access recorded lessons for reinforcement and deeper AutoCAD Mac comprehension. Ongoing Email Support: Benefit from lifetime email support, ensuring assistance beyond course completion."
Sushi Masterclass. Cover all the fundamental techniques to become a Sushi Pro
(177)By London Cookery School
Sushi Masterclass taught by London Cookery School. Cover all the fundamentals to become a Sushi Pro. Make a full tray of beautiful Sushi and eat like royalty.


This 2 - 2-5 hour course is designed is designed to provide parents and carers with the opportunity to: Develop the basic skills and knowledge needed to deal with a wide range of emergency paediatric First Aid situations, which could arise when looking after babies and children. The course can take place in in a community group or in the comfort of your home, with family and friends who maybe caring for your child or they may have children of their own. The course can be booked during the week, week nights or weekends, with or without children present. The idea is to bring the skills and knowledge to you, in your normal routine.

Vectorworks Spotlight Training Courses
By ATL Autocad Training London
Why Learn Vectorworks Spotlight Training Courses? VectorWorks Spotlight Course offers strong 2D drawing tools and lighting skills. while. Spotlight goes beyond fundamentals, offering solution for designing, modeling, and sharing entertainment projects. It's the industry standard for lighting, scenery, sets, corporate events, theater, and exhibits. Click here for more info: Website When can I book this course? 1-on-1 training. Duration: 16 hrs, Flexible scheduling (Mon to Sat, 9 am - 7 pm). Choose your own day and time. Training Course: Vectorworks Spotlight Duration: 16 hours Course Overview: I. Introduction to Vectorworks (1 hour) Overview of Vectorworks software and its diverse applications Familiarization with the user interface and navigation Customizing preferences and settings to optimize workflow II. 2D Drawing Tools (2 hours) Utilizing basic drawing tools for creating lines, rectangles, circles, and polygons Implementing text and dimension tools for annotations Applying modify tools for object editing and transformation Organizing elements using layers and classes III. 3D Modeling Tools (3 hours) Introduction to extrude, revolve, sweep, and loft tools for 3D modeling Creating 3D objects from 2D shapes for spatial representation Modifying and refining 3D models Exploration of the 3D modeling environment IV. Advanced 3D Modeling Tools (2 hours) Utilization of solid modeling tools for complex geometry creation Performing Boolean operations to combine or subtract shapes Creation and use of symbols for efficient workflow V. Introduction to Spotlight (1 hour) Overview of the Spotlight workspace and its features Adding and configuring lighting devices for stage and event design Creation and modification of lighting positions for precise placement VI. Spotlight Tools and Techniques (3 hours) Creation and editing of lighting instruments for customized setups Use of visualization tools for lighting simulations Creation and application of labels and legends for documentation Generation of worksheets and reports for lighting analysis VII. Advanced Spotlight Techniques (2 hours) Utilization of video and projection tools for multimedia presentations Incorporation of audio and sound systems for immersive experiences Understanding rigging and hoisting for stage setup Management of paperwork and documentation for effective planning VIII. Integration with Other Software (1 hour) Importing and exporting files for collaborative work with other software Utilizing Vectorworks in CAD and BIM workflows for seamless interoperability Exploration of plugins and add-ons for expanded functionality IX. Project-based Exercises (1 hour) Application of learned techniques to real-world scenarios Creation of a lighting plan for a concert or theater production Designing a 3D model of a building or interior space Free 30-day BIM & CAD Software Trial Request: Vectorworks After completing Vectorworks 2D | 3D and Spotlight Training Course? Vectorworks Proficiency: Master Vectorworks software, including interface and tools. 2D Drafting: Create precise technical drawings using fundamental 2D tools. 3D Modeling: Develop skills in 3D modeling, modification, and spatial representation. Spotlight Expertise: Learn stage and event design tools, focusing on lighting setups. Advanced Techniques: Explore complex 3D modeling and Spotlight features. Interdisciplinary Integration: Integrate Vectorworks with other software in CAD and BIM workflows. Project Application: Apply skills to real-world scenarios, creating plans and models. Job Opportunities: CAD Technician: Draft detailed plans for architecture and engineering firms. Stage Designer: Plan lighting, sound, and multimedia setups for events. Event Planner: Design event layouts with lighting and audio-visual setups. Architectural Drafter: Create accurate architectural plans and models. Interior Designer: Visualize interior spaces in 2D and 3D for clients. Lighting Designer: Specialize in various lighting applications, from buildings to stages. BIM Specialist: Work with architectural firms on Building Information Modeling projects. Freelance Designer: Offer services in 2D/3D modeling, event planning, or architectural visualization. What is Vectorworks Spotlight? Vectorworks Spotlight is a specialized package tailored for entertainment design professionals, offering both 2D and 3D capabilities. It is the industry-standard CAD software for entertainment design, ideal for lighting, scenery, sets, events, theater, and exhibits. Training Details: Duration: 16 hrs (flexible scheduling) Method: Personalized 1-on-1 training (In-person or Live Online over Zoom) Tailored content, adaptable pace, individual support Differences from Vectorworks Fundamentals: Vectorworks Fundamentals serves general modeling and drawing needs, while Spotlight provides comprehensive solutions for design, modeling, documentation, and collaborative project sharing, catering specifically to industry experts. Applications of Spotlight: Spotlights have diverse uses, including emergency situations and when a powerful light source surpassing a flashlight is required. Interior Designers and Vectorworks: Yes, interior designers use Vectorworks software, particularly Vectorworks Architect, for efficient workflow and effective realization of creative visions. Course Structure: Individualized Instruction (1-2-1) Customized Content Adaptable Learning Pace Flexible Scheduling: Monday to Saturday, 9 am to 7 pm Get Vectorworks: For more information and to download Vectorworks, visit Vectorworks Website. Individualized Training: Get personalized attention and tailored guidance during your training sessions. Flexible Timings: Select your preferred schedule and training days to fit your convenience. Post-Training Assistance: Access complimentary online support even after course completion. Comprehensive Resources: Receive detailed PDF notes and handouts for effective learning. Certification of Completion: Receive a recognition certificate upon successfully finishing the course. Affordable Pricing: Take advantage of budget-friendly training rates. Software Setup Support: Receive assistance in configuring the software on your device. Referral Benefits: Recommend a friend and enjoy discounts on upcoming courses. Group Training Offers: Benefit from special discounts for group training programs. Convenient Hours: Attend sessions from Monday to Sunday, with extended operating hours. Tailored Learning: Experience customized training designed to meet your specific requirements.


Rhino Introduction to Intermediate Training Course
By ATL Autocad Training London
Why Choose Rhino Introduction to Intermediate Training Course? Learn: 3D NURBS models. Master: Surfacing modeling. Interface: Rhino's navigation. Rendering Skills: Enhance presentations with Rhino renderings. Check our Website Flexible Scheduling: 1-on-1 training sessions according to your convenience. Choose any hour between 9 a.m. and 7 p.m., Mon to Sat. You can call us at 02077202581 to book over the phone. Duration: 10 hours. Methods: Personalized training either in-person, or live online. Introduction and Navigation Become acquainted with Rhino's interface, menus, and screen layout. Efficiently traverse through Rhino models, ensuring precision in 2D lines, polylines, and NURBS curves. Utilize modeling setup features, incorporating constraints like snap, ortho, and planar for accuracy. Leverage object snaps and Smart Track functionality to enhance precision. Solid and Surface Modeling Develop rapid 3D solids and surfaces, employing Rhino's organized layering system. Utilize coordinates and constraints for meticulous modeling, exploring 3D space and elevations. Create diverse shapes, such as rectangles, circles, arcs, ellipses, and polygon curves. Elevate models with Rhino render and render color, incorporating free-form curves, helix, and spiral curves. Efficiently handle model views with pan, zoom, and view management tools. Implement various editing commands for curve manipulation and transform curves into surfaces and solids. Utilize history tracking for advanced editing and execute general editing actions: move, copy, rotate, mirror, and scale. Create arrays with both polar and rectangular arrangements and employ boolean operations like union, difference, and intersection. Offset curves and surfaces effectively, ensuring meticulous detailing. Intermediate Edit and Surfacing Introduce key NURBS modeling concepts and terminologies. Edit curves and surfaces via control point manipulation and rebuild them for optimal refinement. Employ the nudge modeling aid for precise adjustments and generate deformable shapes. Create curves through projection techniques and split surfaces using curves and surfaces. Blend surfaces seamlessly, utilizing symmetry tools, lighting, and rendering effects. Convert intricate 3D objects into detailed 2D drawings, expertly crafting page layouts. Advanced Surfacing and Solid Modeling Construct model primitives and solid text, employing techniques such as pipe and extrusion. Modify solids efficiently using Boolean tools, expanding your surface modeling capabilities. Employ techniques like extrusion, lofting, and revolving for intricate surfaces. Create sweeps using 1 and 2 rail curves, mastering surface network techniques for complex shapes. Upon completion, you will: Master Rhino Tools: Navigate interfaces, utilize advanced tools for precise modeling, and employ features like object snaps and Smart Track. Expert Solid and Surface Modeling: Develop intricate 3D solids and surfaces, create diverse shapes, and use Rhino render effectively. Advanced Editing Skills: Apply intermediate and advanced editing techniques, including symmetry tools and realistic rendering. Precision Modeling: Utilize coordinates, constraints, and advanced aids for accurate detailing and problem-solving. Professional Project Execution: Create high-quality renderings, 2D drawings, and polished 3D models for real-world design scenarios. Upon completion, you'll be adept at 3D modeling, product design, and architecture, positioning you as a valuable asset in the design industry. Why Choose Our Rhino Courses? Rhino, also known as Rhinoceros, stands as a robust 3D computer graphics and computer-aided design software, utilized extensively in domains like architecture, industrial design, and multimedia. Our Rhino courses are meticulously crafted to empower you in mastering this software. Led by seasoned instructors, our courses provide a comprehensive understanding of Rhino, enabling you to create exceptional designs. Rhino 3D Training: Our Rhino 3D training caters to beginners and those seeking advanced techniques. Course Highlights: Precise 3D Modeling: Master free-form 3D NURBS models with precision. Advanced Functionality: Explore Rhino's features, including advanced surfacing commands. User Interface Mastery: Navigate Rhino's interface and hone skills in curves, surfaces, and solids. Expert Guidance: Acquire expertise in Rhino's modeling environment under expert guidance. Modeling Techniques: Learn free-form and precision modeling techniques. Modeling Aids: Utilize tools for accurate modeling and create basic Rhino renderings. Benefits of our Courses: Expert Guidance: Receive instruction from experienced architects and designers, providing practical, real-world insights for comprehensive learning. Comprehensive Resources: Access bespoke video tutorials for additional learning and reference, enhancing your understanding of the course materials. Digital Reference Material: Receive a digital reference book to support your revision efforts, providing a comprehensive resource for your studies. Ongoing Support: Enjoy free after-support through phone or email even after course completion, ensuring continuous assistance and guidance. Tailored Learning Experience: Customize your learning journey by adapting the syllabus and projects to align with your specific needs and interests, fostering a personalized educational experience. Certificate: Upon completion, earn a certificate from us, validating your achievement and recognizing your expertise in the field.