- Professional Development
- Medicine & Nursing
- Arts & Crafts
- Health & Wellbeing
- Personal Development
1787 AI courses in Glasgow delivered Live Online

DP-100T01 Designing and Implementing a Data Science Solution on Azure
By Nexus Human
Duration 4 Days 24 CPD hours This course is intended for This course is designed for data scientists with existing knowledge of Python and machine learning frameworks like Scikit-Learn, PyTorch, and Tensorflow, who want to build and operate machine learning solutions in the cloud. Overview Learn how to operate machine learning solutions at cloud scale using Azure Machine Learning. This course teaches you to leverage your existing knowledge of Python and machine learning to manage data ingestion and preparation, model training and deployment, and machine learning solution monitoring in Microsoft Azure. Learn how to operate machine learning solutions at cloud scale using Azure Machine Learning. This course teaches you to leverage your existing knowledge of Python and machine learning to manage data ingestion and preparation, model training and deployment, and machine learning solution monitoring with Azure Machine Learning and MLflow. Prerequisites Creating cloud resources in Microsoft Azure. Using Python to explore and visualize data. Training and validating machine learning models using common frameworks like Scikit-Learn, PyTorch, and TensorFlow. Working with containers AI-900T00: Microsoft Azure AI Fundamentals is recommended, or the equivalent experience. 1 - Design a data ingestion strategy for machine learning projects Identify your data source and format Choose how to serve data to machine learning workflows Design a data ingestion solution 2 - Design a machine learning model training solution Identify machine learning tasks Choose a service to train a machine learning model Decide between compute options 3 - Design a model deployment solution Understand how model will be consumed Decide on real-time or batch deployment 4 - Design a machine learning operations solution Explore an MLOps architecture Design for monitoring Design for retraining 5 - Explore Azure Machine Learning workspace resources and assets Create an Azure Machine Learning workspace Identify Azure Machine Learning resources Identify Azure Machine Learning assets Train models in the workspace 6 - Explore developer tools for workspace interaction Explore the studio Explore the Python SDK Explore the CLI 7 - Make data available in Azure Machine Learning Understand URIs Create a datastore Create a data asset 8 - Work with compute targets in Azure Machine Learning Choose the appropriate compute target Create and use a compute instance Create and use a compute cluster 9 - Work with environments in Azure Machine Learning Understand environments Explore and use curated environments Create and use custom environments 10 - Find the best classification model with Automated Machine Learning Preprocess data and configure featurization Run an Automated Machine Learning experiment Evaluate and compare models 11 - Track model training in Jupyter notebooks with MLflow Configure MLflow for model tracking in notebooks Train and track models in notebooks 12 - Run a training script as a command job in Azure Machine Learning Convert a notebook to a script Run a script as a command job Use parameters in a command job 13 - Track model training with MLflow in jobs Track metrics with MLflow View metrics and evaluate models 14 - Perform hyperparameter tuning with Azure Machine Learning Define a search space Configure a sampling method Configure early termination Use a sweep job for hyperparameter tuning 15 - Run pipelines in Azure Machine Learning Create components Create a pipeline Run a pipeline job 16 - Register an MLflow model in Azure Machine Learning Log models with MLflow Understand the MLflow model format Register an MLflow model 17 - Create and explore the Responsible AI dashboard for a model in Azure Machine Learning Understand Responsible AI Create the Responsible AI dashboard Evaluate the Responsible AI dashboard 18 - Deploy a model to a managed online endpoint Explore managed online endpoints Deploy your MLflow model to a managed online endpoint Deploy a model to a managed online endpoint Test managed online endpoints 19 - Deploy a model to a batch endpoint Understand and create batch endpoints Deploy your MLflow model to a batch endpoint Deploy a custom model to a batch endpoint Invoke and troubleshoot batch endpoints

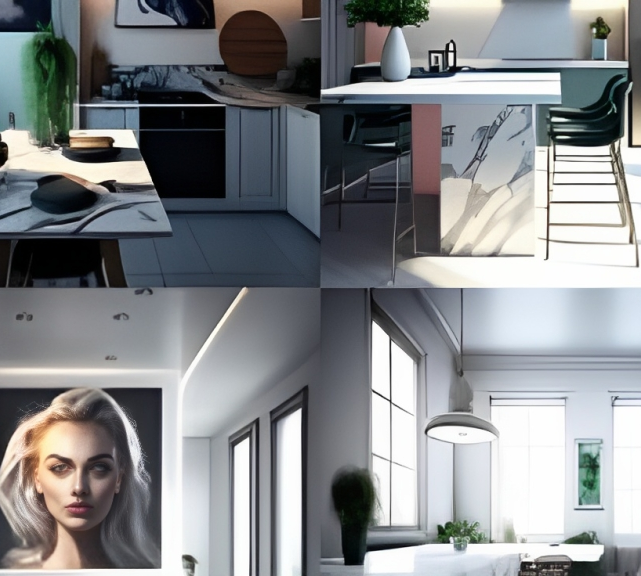
Sketchup and Stable Diffusion Rendering
By London Design Training Courses
Why Learn Sketchup and Stable Diffusion Rendering Course? Course Link SketchUp and Stable Diffusion Rendering Course. An AI image creation course designed to explore AI image creation techniques and master the use of advanced AI technology. You'll learn Ai 3D modeling, advanced rendering, and lighting techniques. Duration: 16 hrs. Method: 1-on-1 Online Over Zoom is also available. Schedule: Tailor your own schedule by pre-booking a convenient hour of your choice, available from Mon to Sat between 9 am and 7 pm. The Sketchup and Stable Diffusion Rendering Course equips students with comprehensive skills for visually stunning Ai (Artificial intelligence) 3D models and renderings. Master Sketchup's user-friendly interface, advanced rendering techniques, and stable diffusion rendering. Hands-on exercises and real-world projects enhance learning. Ideal for architecture, interior design, product development, and visualization careers. The Sketchup and Stable Diffusion Rendering Course equips students with comprehensive skills for visually stunning Ai (Artificial intelligence) 3D models and renderings. Master Sketchup's user-friendly interface, advanced rendering techniques, and stable diffusion rendering. Hands-on exercises and real-world projects enhance learning. Ideal for architecture, interior design, product development, and visualization careers. Sketchup and Stable Diffusion Rendering Course (16 hours) Module 1: Introduction to Sketchup (2 hours) Overview of Sketchup software and interface navigation Basic drawing tools and geometry creation techniques Module 2: Texturing and Materials (2 hours) Applying textures and customizing materials Exploring texture mapping and material libraries Module 3: Lighting and Shadows (2 hours) Understanding lighting principles and light placement Creating realistic shadows and reflections Module 4: Advanced Modeling Techniques (3 hours) Creating complex shapes and utilizing advanced tools Working with groups, components, and modifiers Module 5: Stable Diffusion Rendering (2 hours) Introduction to stable diffusion rendering Configuring rendering settings for optimal results Module 6: Scene Composition and Camera Setup (2 hours) Exploring composition principles and camera perspectives Managing scenes and creating walkthrough animations Module 7: Rendering Optimization (2 hours) Optimizing models for faster rendering Using render passes and post-processing techniques Module 8: Project Work and Portfolio Development (1 hour) Applying skills to complete a real-world project Showcasing work in a professional portfolio Optional: Installing Stable Diffusion and Python (Additional 10 hours) Module 1: Introduction to Stable Diffusion and Python Overview of Stable Diffusion and Python's significance Module 2: System Requirements Hardware and software prerequisites for installation Module 3: Installing Python Step-by-step installation process for different OS Module 4: Configuring Python Environment Setting up environment variables and package managers Module 5: Installing Stable Diffusion Downloading and installing the Stable Diffusion package Module 6: Setting Up Development Environment Configuring IDEs for Python and Stable Diffusion Module 7: Troubleshooting and Common Issues Identifying and resolving common installation errors Module 8: Best Practices and Recommendations Managing Python and Stable Diffusion installations Module 9: Practical Examples and Projects Hands-on exercises demonstrating usage of Stable Diffusion and Python Module 10: Advanced Topics (Optional) Exploring advanced features and techniques Stable Diffusion UI v2 | A simple 1-click way to install and use https://stable-diffusion-ui.github.io A simple 1-click way to install and use Stable Diffusion on your own computer. ... Get started by downloading the software and running the simple installer. Learning Outcomes: Upon completing the Sketchup and Stable Diffusion Rendering Course, with a focus on AI image rendering, participants will: Master AI Image Rendering: Gain expertise in using AI-powered rendering techniques to create realistic and high-quality visualizations. Utilize Sketchup for 3D Modeling: Navigate the software, proficiently use drawing tools, and create detailed 3D models. Optimize Renderings: Apply AI-based rendering to optimize model visuals, achieving faster rendering times and superior image quality. Implement AI-driven Lighting and Shadows: Utilize AI algorithms for lighting placement, shadows, and reflections, enhancing realism in renderings. Create Professional Portfolio: Showcase AI-rendered projects in a professional portfolio, highlighting advanced image rendering skills. Note: The course focuses on AI image rendering using Sketchup and Stable Diffusion techniques, empowering participants with cutting-edge skills for creating exceptional visual representations.
[Data Bites for Comms Pros] #5 Using AI for instant actionable insight from difficult data (1 hour BONUS session)
By Alex Waddington
Whetstone Communications and comms2point0 are pleased to bring you the Data Bites series of free webinars. Our aim is to boost interest and levels of data literacy among not-for-profit communicators.
![[Data Bites for Comms Pros] #5 Using AI for instant actionable insight from difficult data (1 hour BONUS session)](https://cademy-images-io.b-cdn.net/96a2bc7f-1dad-4e9d-8836-561e90b80cb1/3cca69e5-1f2d-4a95-a8c4-d9108be712cd/original.png?width=3840)
This Level 4 course aims to equip professionals with the knowledge about the skills and practical behaviours which are required for them to step into a leadership/management role. The demand for management roles is expected to grow in the coming years. This is due to a number of factors, including: The ageing population, which is leading to a shortage of skilled workers. The increasing complexity of businesses requires more managers to oversee operations. The growing importance of technology is creating new opportunities for managers to lead and innovate.

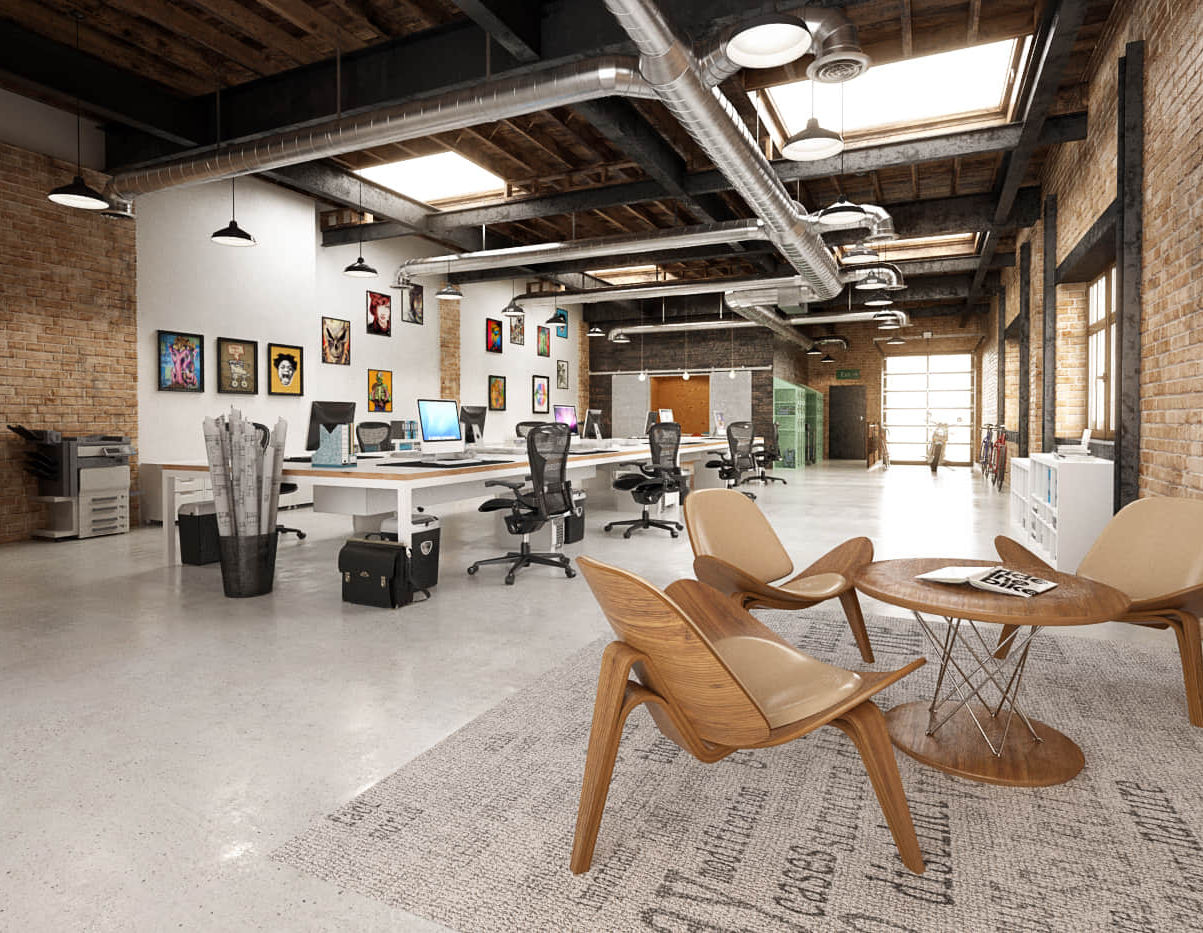
Sketchup Artificial Intelligence Training Course
By ATL Autocad Training London
Who is this course for? Sketchup Artificial Intelligence Training Course. Mastering SketchUp Artificial Intelligence (AI) is essential for designers, offering automation, efficiency, and innovative solutions. It saves time, enhances visualizations, fosters collaboration, and future-proofs skills, ensuring a competitive edge in the design industry. Click here for more info: Website How to Book? 1-on-1 training. Customize your schedule from Mon to Sat from 9 am to 7 pm Call to book Duration: 16 hours. Method: In-person or Live Online Sketchup and (Artificial Intelligence) Stable Diffusion Rendering Course (16 hours) Module 1: Sketchup Fundamentals (2 hours) Sketchup software overview and interface navigation Introduction to basic drawing tools and fundamental geometry creation techniques Module 2: Texturing and Material Mastery (2 hours) Application of textures and customization of materials Exploration of texture mapping and comprehensive material libraries Module 3: Illumination and Shadows (2 hours) Comprehending lighting principles and strategic light placement Crafting realistic shadows and reflections Module 4: Advanced Modeling Techniques (3 hours) Creating intricate shapes and harnessing advanced modeling tools Efficiently managing groups, components, and modifiers Module 5: Stable Diffusion Rendering (2 hours) Initiating stable diffusion rendering Optimizing rendering settings for superior outcomes Module 6: Scene Composition and Camera Configuration (2 hours) Exploring composition principles and camera perspectives Scene management and creation of captivating walkthrough animations Module 7: Rendering Optimization Strategies (2 hours) Techniques for optimizing models to expedite rendering Application of render passes and post-processing methods Module 8: Real-World Projects and Portfolio Building (1 hour) Application of acquired skills in completing authentic projects Professional portfolio presentation techniques Optional: Stable Diffusion and Python Installation (Additional 10 hours) Module 1: Introduction to Stable Diffusion and Python Comprehensive understanding of Stable Diffusion and Python's significance Module 2: System Prerequisites Hardware and software requirements for successful installation Module 3: Python Installation Guide Step-by-step installation process for various operating systems Module 4: Configuring Python Environment Configuration of environment variables and package managers Module 5: Stable Diffusion Installation Downloading and installing the Stable Diffusion package Module 6: Setting Up the Development Environment Configuration of integrated development environments (IDEs) for Python and Stable Diffusion Module 7: Troubleshooting and Common Issues Identification and resolution of common installation errors Module 8: Best Practices and Recommendations Effective management of Python and Stable Diffusion installations Module 9: Practical Applications and Projects Hands-on exercises exemplifying the practical usage of Stable Diffusion and Python Module 10: Advanced Topics (Optional) Exploration of advanced features and techniques Stable Diffusion https://stablediffusionweb.com https://stable-diffusion-ui.github.io https://stability.ai/stable-diffusion Upon successful completion of the Sketchup and Stable Diffusion Rendering Course with a focus on AI image rendering, participants will achieve the following: 1. Mastery of AI Image Rendering: Attain expertise in employing AI-powered rendering techniques to produce realistic and top-quality visualizations. 2. Proficiency in Sketchup for 3D Modeling: Navigate the software adeptly, utilize drawing tools with proficiency, and craft intricate 3D models. 3. Enhanced Rendering Optimization: Implement AI-based rendering to enhance model visuals, resulting in faster rendering times and superior image quality. 4. Application of AI-driven Lighting and Shadows: Employ AI algorithms for precise lighting placement, shadows, and reflections, elevating the realism of renderings. 5. Development of a Professional Portfolio: Present AI-rendered projects within a polished professional portfolio, highlighting advanced image rendering capabilities. 1. Mastering Sketchup: Attain proficiency in Sketchup, a renowned and user-friendly 3D modeling software, equipping you with the skills needed to adeptly create and manipulate 3D models. 2. Advanced Rendering Expertise: Explore stable diffusion rendering, an avant-garde technique that simplifies the creation of realistic and high-quality renderings. Broaden your rendering capabilities, producing visually stunning representations of your designs. 3. Practical Industry Applications: Cultivate practical skills relevant to diverse industries, encompassing architecture, interior design, product development, and visualization. Elevate your professional portfolio with captivating renderings that showcase your design prowess. 4. Interactive Learning: Participate in hands-on exercises and projects that promote active learning and the practical application of concepts. Benefit from personalized feedback and expert guidance, ensuring your continuous progress throughout the course. 5. Career Advancement: Elevate your career prospects by adding valuable skills to your toolkit. Proficiency in crafting detailed 3D models and impressive renderings through stable diffusion techniques opens doors to diverse job opportunities within the design and visualization sector. 6. Flexibility and Convenience: Access course materials online and learn at your own pace. Enjoy the flexibility of tailoring the coursework to your schedule, allowing you to harmonize your learning journey with other commitments. Course Advantages: Tailored Learning: Enjoy personalized 1-on-1 sessions, accommodating your schedule from Monday to Saturday, 9 am to 7 pm. Mastery of Sketchup: Develop proficiency in the widely-used and user-friendly 3D modeling software, enabling efficient creation and manipulation of 3D models. Advanced Rendering Proficiency: Acquire expertise in stable diffusion rendering for producing realistic, high-quality renderings that enhance the visual appeal of your designs. Practical Applicability: Develop practical skills applicable across diverse domains, including architecture, interior design, product development, and visualization, enriching your professional portfolio. Interactive Practical Experience: Engage in hands-on exercises with personalized guidance from seasoned instructors, ensuring consistent progress in your skillset. Career Progression: Boost your career opportunities by gaining valuable skills in 3D modeling and generating impressive renderings through stable diffusion techniques. Comprehensive Support: Benefit from free portfolio reviews, mock interviews, and career advice, providing additional resources to enhance your professional journey.

We have an extensive range of PLC training courses available covering all PLC manufacturers and levels of expertise from the complete novice to the advanced. ALL of our training courses can be tailoured to your own requirements. ALL our courses will be based on the relevant software and hardware. We aim to make ALL our courses as practical as possible, leading to ‘real world’ skills and not just theoretical skills. No prior knowledge is required for this course as it starts from scratch and assumes no previous experience, you will reach the skilled level where you can look at becoming a programmer, get into engineering maintenance in an industrial environment, fault find or make amendments to programs, this is the course for you. The ‘Typical’ 5 day course usually covers 2 or 3 of the major manufacturers, Siemens S7, Allen Bradley and Mitsubishi (This can be amended to other manufacturers if you have a particular requirement). The course aims to be 90% practical, as we believe the easiest way to learn is to do it! Every student works on their own dedicated training rig and computer, enabling you to get the most from the course. A full set of course notes and a USB drive full of other manuals is provided at the end of the course. We can also cover a wide range of manufacturers including : Siemens Step 5 PLC Training (Using Step 5, Quadriga or Others) Allen Bradley PLC 3 & 5 Training (AB6200 Software) RSLogix 5 PLC Training SLC PLC Training (RSLogix 500) ControlLogix PLC Training (RS Logix5000) MicroLogix PLC Training (RSLogix 500) S7-200 PLC Training (Step 7 Micro) S7-300 PLC Training (Step 7 or TIA Portal) S7-400 PLC Training (Step 7 or TIA Portal) Kuhnke PLC Training (Kubes) Omron PLC Training (Syswin) Modicon PLC Training (ProWorx and Others) Mitsubishi PLC Training (Medoc, GX Developer, GPP & Others) Toshiba PLC Training GE Fanuc PLC Training GEM 80 PLC Training Telemecanique PLC Training Most other PLC manufacturer training undertaken. We also cover a wide range of SCADA Systems to enable engineers to modify and add to existing screens, fault find through systems, set up communications etc.

We have an extensive range of PLC training courses available covering all PLC manufacturers and levels of expertise from the complete novice to the advanced. ALL of our training courses can be tailoured to your own requirements. ALL our courses will be based on the relevant software and hardware. We aim to make ALL our courses as practical as possible, leading to ‘real world’ skills and not just theoretical skills. No prior knowledge is required for this course as it starts from scratch and assumes no previous experience, you will reach the skilled level where you can look at becoming a programmer, get into engineering maintenance in an industrial environment, fault find or make amendments to programs, this is the course for you. The ‘Typical’ 10 day level 3 course usually covers 2 or 3 of the major manufacturers, Siemens S7, Allen Bradley and Mitsubishi (This can be amended to other manufacturers if you have a particular requirement). The course aims to be 90% practical, as we believe the easiest way to learn is to do it! Every student works on their own dedicated training rig and computer, enabling you to get the most from the course. A full set of course notes and a USB drive full of other manuals is provided at the end of the course. We can also cover a wide range of manufacturers including : Siemens Step 5 PLC Training (Using Step 5, Quadriga or Others) Allen Bradley PLC 3; 5 Training (AB6200 Software) RSLogix 5 PLC Training SLC PLC Training (RSLogix 500) ControlLogix PLC Training (RS Logix5000) MicroLogix PLC Training (RSLogix 500) S7-200 PLC Training (Step 7 Micro) S7-300 PLC Training (Step 7 or TIA Portal) S7-400 PLC Training (Step 7 or TIA Portal) Kuhnke PLC Training (Kubes) Omron PLC Training (Syswin) Modicon PLC Training (ProWorx and Others) Mitsubishi PLC Training (Medoc, GX Developer, GPP & Others) Toshiba PLC Training GE Fanuc PLC Training GEM 80 PLC Training Telemecanique PLC Training Most other PLC manufacturer training undertaken. We also cover a wide range of SCADA Systems to enable engineers to modify and add to existing screens, fault find through systems, set up communications etc.