- Professional Development
- Medicine & Nursing
- Arts & Crafts
- Health & Wellbeing
- Personal Development
38431 Courses
Project Risk Management: On-Demand
By IIL Europe Ltd
Project Risk Management: On-Demand Have you been surprised by unplanned events during your projects? Are you and your project team frequently fighting fires? Well, you are not alone. Uncertainty exists in any project environment. While it's impossible to predict project outcomes with 100% certainty, you can influence the outcome, avoid potential risks, and be ready to respond to challenges that arise. In this course, you'll gain the proper knowledge needed to identify, assess, plan for, and monitor risk in your projects. You'll learn how to set up and implement risk management processes, helping you to minimize uncertainty and achieve more consistent, predictable outcomes as a result. What You Will Learn You'll learn how to: Demonstrate to others how the risk management processes in A Guide to the Project Management Body of Knowledge (PMBOK® Guide) apply to your project's environment, especially for high-risk projects Adapt these processes for a particular high-risk project team's operating principles Explain the importance of using risk management best practices at single and enterprise project levels Lead an initiative to implement risk management best practices in your project environment Foundation Concepts Risk-related definitions The risk management process High-risk projects and project failures Classical failures in implementing risk management Plan Risk Management Project risk management and governance Risk management planning for high-risk projects High-risk variations on a risk management plan Identify Risk Adapting the risk identification process for high-risk projects Recognizing risks spontaneously Confirming and structuring risk events for treatment Wrapping up risk identification for high-risk projects Perform Qualitative Risk Analysis Adapting qualitative risk analysis for high-risk projects Accelerating risk analysis Clearing risk action Wrapping up qualitative risk analysis for the next level Perform Quantitative Risk Analysis Adapting quantitative risk analysis for high-risk projects Ensuring effective risk analyses with data quality assessments Building a foundation for quantitative risk analysis Using discrete quantitative tools Using continuous quantitative tools Wrapping up quantitative risk analysis for high-risk projects Plan Risk Responses Adapting risk response planning for high-risk projects Optimizing active risk response strategies Leveraging contingencies for high project performance Wrapping up risk response planning for high-risk projects Implement Risk Responses Implementing Risk Responses Process Executing Risk Response Plans Tools and Techniques Best Practices Continuous Risk Management Monitor Risks Adapting risk monitoring for high-risk projects Optimizing risk plan maintenance Weaving risk reassessment into the project's progress Maintaining a continuous 'vigil' in high-risk project environments

Management of Portfolios (MoP) Foundations
By IIL Europe Ltd
The purpose of the Foundation certification is to confirm that you have sufficient knowledge and understanding to work as an informed member of a Portfolio Office or in a range of portfolio management roles. In this MoP Foundation course, participants will acquire the sufficient knowledge and understanding of the principles, cycles, practices, techniques, roles, responsibilities, documents, and organizational context within which portfolio management operates. MoP helps organizations ensure if the investments are done in the right change initiatives and implementing them correctly. This is achieved by: Prioritizing the programs and projects in terms of their contribution to the organization's strategic objectives and overall level of risk Managing the programs and projects consistently to ensure efficient and effective delivery Maximizing the benefit by providing the greatest return from the investment made
ISO 37301 Foundation
By Training Centre
In this training course, you will learn about the various aspects of a CMS, including the compliance policy, compliance culture, compliance risk assessment, operational controls, performance measurements, leadership and commitment, internal audit, management review, and continual improvement. After completing the training course, you can sit for the exam. If you successfully pass the exam, you can gain the 'Certified ISO 37301 Foundation' credential. By gaining this Credential, you can demonstrate that you have the necessary professional capabilities to be part of an ISO 37301 CMS implementation project About This Course By participating in this training course, you will: Understand the basic compliance management concepts, definitions, and approaches Get acquainted with the ISO 37301 requirements for a compliance management system Develop a general understanding of how an organization can meet the requirements of ISO 37301 Course Agenda Day 1: Introduction to compliance concepts, CMS, and clauses 4-6 of ISO 37301 Day 2: Clauses 7-10 of ISO 37301 and certification exam Assessment Delegates sit a combined exam, consisting of in-course quizzes and exercises, as well as a final 40 question, multiple choice type exam on Day 2 of the course. The overall passing score is 70%, to be achieved within the 60 minute time allowance. Exam results are provided within 24 hours, with both a Certificate and a digital badge provided as proof of success. What's Included? Certification fees are included in the exam price. Training material containing over 200 pages of information and practical examples will be given to each participant. An attestation of course completion worth 14 CPD (Continuing Professional Development) credits will be issued to participants who have attended the training course. In case participant(s) fail to pass the exam, they can retake the exam once for free within 12 months of the initial exam date. Prerequisites There are no prerequisites to participate in this training course. Accreditation Provided by This course is Accredited by NACS and Administered by the IECB.

Plumber - Plumbing Training Courses
By Imperial Academy
Level 3 Diploma(FREE QLS Endorsed Certificate)| 11 CPD Courses+11 PDF Certificates| 145 CPD Points|CPD & CiQ Accredited

An Understanding of Verification of Expected Death (Adult or Child as applicable) for Registered Nurses
By Guardian Angels Training
This verification of expected death training is suitable for nurses who are interested in taking on the extended role of verification of expected death within various healthcare settings.

An Understanding of Urinary Catheterisation and Catheter Care
By Guardian Angels Training
Our Urinary Catheterisation and Catheter Care training course, facilitated by registered nurses with first-hand clinical experience, are blended learning courses that allow participants to demonstrate theoretical and practical simulation within a classroom environment.

200 Hours Yoga Teacher Training
By Kranti Yoga
Embark on a transformative journey with Kranti Yoga's 200-Hour Workshop, a soul-enriching experience designed to deepen your understanding of yoga, nurture self-discovery, and enhance overall well-being. Whether you're a seasoned practitioner or a novice, this immersive workshop invites you to explore the profound teachings of yoga in a supportive and tranquil environment.

Project Management Office: Virtual In-House Training
By IIL Europe Ltd
Project Management Office: Virtual In-House Training The goal of this course is to equip the participant with the necessary knowledge and skills to establish, improve, and support a project management office (PMO) that is the catalyst for portfolio and delivery management excellence. This course addresses the complexities of both understanding and choosing the correct PMO framework from among several alternatives. Additionally, the typical PMO supporting elements: domains of work, maturity level, and performance metrics, are elaborated. These elements position a PMO to realize and sustain the business value anticipated by the organization.
Sketchup Artificial Intelligence Training Course
By ATL Autocad Training London
Who is this course for? Sketchup Artificial Intelligence Training Course. Mastering SketchUp Artificial Intelligence (AI) is essential for designers, offering automation, efficiency, and innovative solutions. It saves time, enhances visualizations, fosters collaboration, and future-proofs skills, ensuring a competitive edge in the design industry. Click here for more info: Website How to Book? 1-on-1 training. Customize your schedule from Mon to Sat from 9 am to 7 pm Call to book Duration: 16 hours. Method: In-person or Live Online Sketchup and (Artificial Intelligence) Stable Diffusion Rendering Course (16 hours) Module 1: Sketchup Fundamentals (2 hours) Sketchup software overview and interface navigation Introduction to basic drawing tools and fundamental geometry creation techniques Module 2: Texturing and Material Mastery (2 hours) Application of textures and customization of materials Exploration of texture mapping and comprehensive material libraries Module 3: Illumination and Shadows (2 hours) Comprehending lighting principles and strategic light placement Crafting realistic shadows and reflections Module 4: Advanced Modeling Techniques (3 hours) Creating intricate shapes and harnessing advanced modeling tools Efficiently managing groups, components, and modifiers Module 5: Stable Diffusion Rendering (2 hours) Initiating stable diffusion rendering Optimizing rendering settings for superior outcomes Module 6: Scene Composition and Camera Configuration (2 hours) Exploring composition principles and camera perspectives Scene management and creation of captivating walkthrough animations Module 7: Rendering Optimization Strategies (2 hours) Techniques for optimizing models to expedite rendering Application of render passes and post-processing methods Module 8: Real-World Projects and Portfolio Building (1 hour) Application of acquired skills in completing authentic projects Professional portfolio presentation techniques Optional: Stable Diffusion and Python Installation (Additional 10 hours) Module 1: Introduction to Stable Diffusion and Python Comprehensive understanding of Stable Diffusion and Python's significance Module 2: System Prerequisites Hardware and software requirements for successful installation Module 3: Python Installation Guide Step-by-step installation process for various operating systems Module 4: Configuring Python Environment Configuration of environment variables and package managers Module 5: Stable Diffusion Installation Downloading and installing the Stable Diffusion package Module 6: Setting Up the Development Environment Configuration of integrated development environments (IDEs) for Python and Stable Diffusion Module 7: Troubleshooting and Common Issues Identification and resolution of common installation errors Module 8: Best Practices and Recommendations Effective management of Python and Stable Diffusion installations Module 9: Practical Applications and Projects Hands-on exercises exemplifying the practical usage of Stable Diffusion and Python Module 10: Advanced Topics (Optional) Exploration of advanced features and techniques Stable Diffusion https://stablediffusionweb.com https://stable-diffusion-ui.github.io https://stability.ai/stable-diffusion Upon successful completion of the Sketchup and Stable Diffusion Rendering Course with a focus on AI image rendering, participants will achieve the following: 1. Mastery of AI Image Rendering: Attain expertise in employing AI-powered rendering techniques to produce realistic and top-quality visualizations. 2. Proficiency in Sketchup for 3D Modeling: Navigate the software adeptly, utilize drawing tools with proficiency, and craft intricate 3D models. 3. Enhanced Rendering Optimization: Implement AI-based rendering to enhance model visuals, resulting in faster rendering times and superior image quality. 4. Application of AI-driven Lighting and Shadows: Employ AI algorithms for precise lighting placement, shadows, and reflections, elevating the realism of renderings. 5. Development of a Professional Portfolio: Present AI-rendered projects within a polished professional portfolio, highlighting advanced image rendering capabilities. 1. Mastering Sketchup: Attain proficiency in Sketchup, a renowned and user-friendly 3D modeling software, equipping you with the skills needed to adeptly create and manipulate 3D models. 2. Advanced Rendering Expertise: Explore stable diffusion rendering, an avant-garde technique that simplifies the creation of realistic and high-quality renderings. Broaden your rendering capabilities, producing visually stunning representations of your designs. 3. Practical Industry Applications: Cultivate practical skills relevant to diverse industries, encompassing architecture, interior design, product development, and visualization. Elevate your professional portfolio with captivating renderings that showcase your design prowess. 4. Interactive Learning: Participate in hands-on exercises and projects that promote active learning and the practical application of concepts. Benefit from personalized feedback and expert guidance, ensuring your continuous progress throughout the course. 5. Career Advancement: Elevate your career prospects by adding valuable skills to your toolkit. Proficiency in crafting detailed 3D models and impressive renderings through stable diffusion techniques opens doors to diverse job opportunities within the design and visualization sector. 6. Flexibility and Convenience: Access course materials online and learn at your own pace. Enjoy the flexibility of tailoring the coursework to your schedule, allowing you to harmonize your learning journey with other commitments. Course Advantages: Tailored Learning: Enjoy personalized 1-on-1 sessions, accommodating your schedule from Monday to Saturday, 9 am to 7 pm. Mastery of Sketchup: Develop proficiency in the widely-used and user-friendly 3D modeling software, enabling efficient creation and manipulation of 3D models. Advanced Rendering Proficiency: Acquire expertise in stable diffusion rendering for producing realistic, high-quality renderings that enhance the visual appeal of your designs. Practical Applicability: Develop practical skills applicable across diverse domains, including architecture, interior design, product development, and visualization, enriching your professional portfolio. Interactive Practical Experience: Engage in hands-on exercises with personalized guidance from seasoned instructors, ensuring consistent progress in your skillset. Career Progression: Boost your career opportunities by gaining valuable skills in 3D modeling and generating impressive renderings through stable diffusion techniques. Comprehensive Support: Benefit from free portfolio reviews, mock interviews, and career advice, providing additional resources to enhance your professional journey.

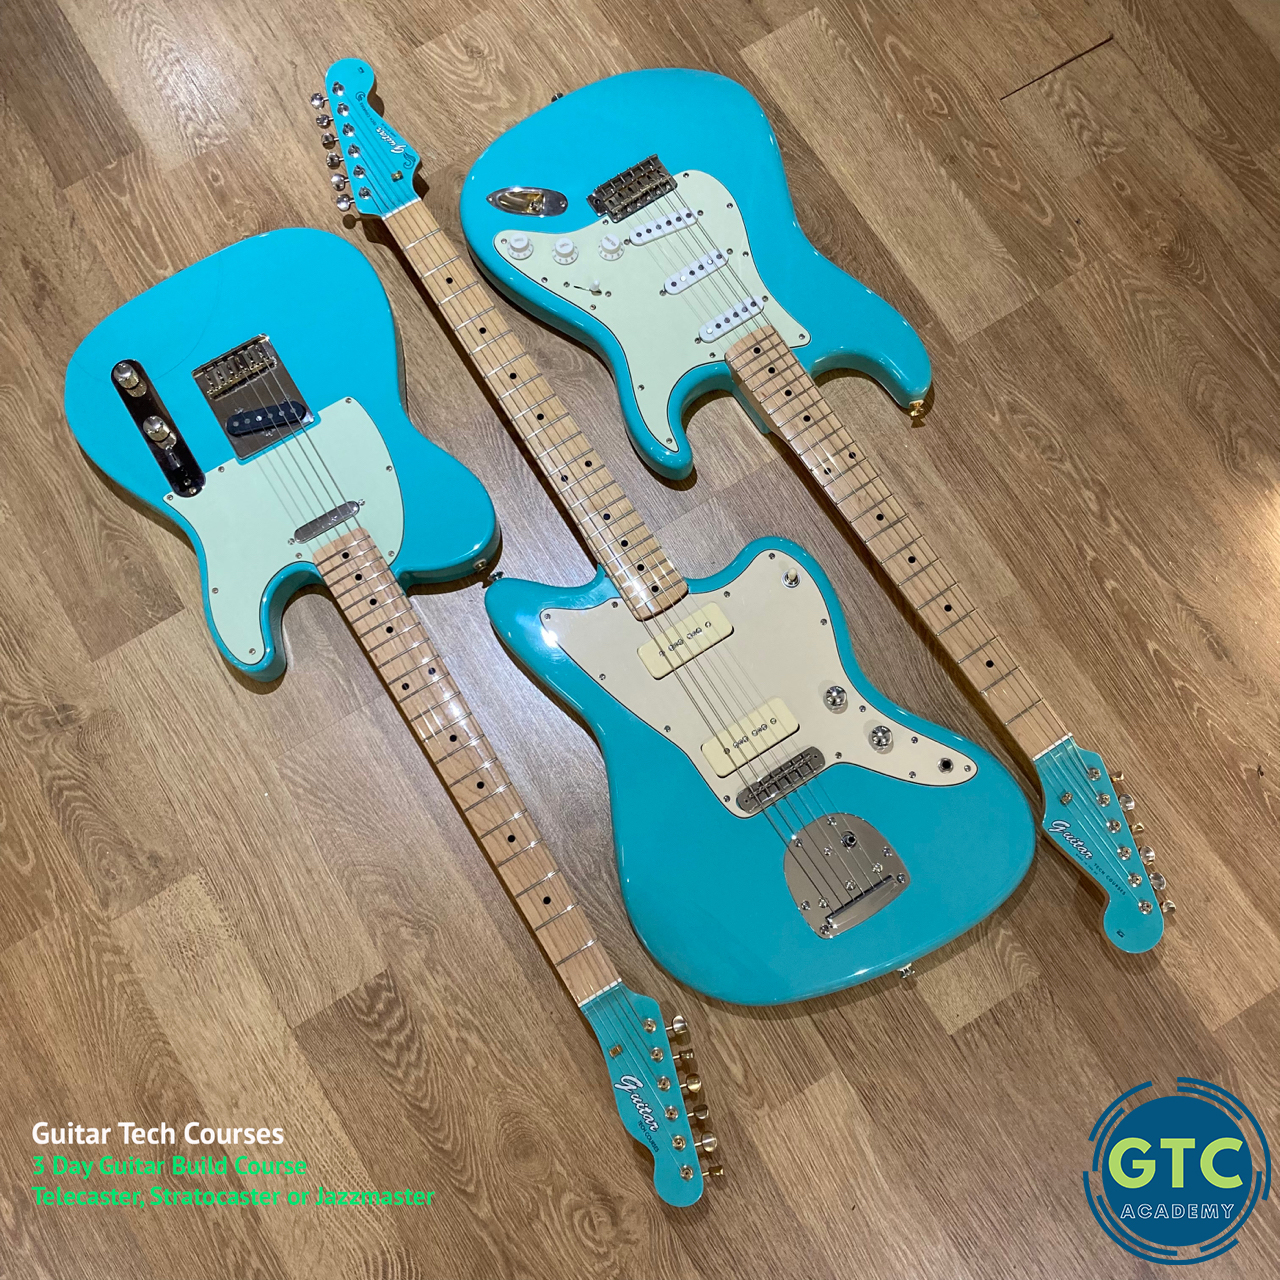
Guitar Building Course The Aim The aim of this electric guitar building course is teach you how to assemble a Stratocaster, Telecaster or Jazzmaster style bolt-on-neck design electric guitar to a very high standard as well as gain understanding and knowledge in not only the assembly but also a good understanding of its inner workings and overall function. What to Expect In this electric guitar building course you’ll focus on making the most successful electric guitar of all time: the bolt-on-neck design. In almost any music store, these guitars outnumber others five-to-one. The course will cover Body & Neck assembly, Pickup Installation & Installation of all Electronics and the Professional Setting up of an Electric Guitar The course will commence daily at 09:30 with lectures & discussions on topics relating to each part of the guitar construction and then followed by the practical application of these topics under supervision, finishing at 17:30. The course and workshop located in Cross in Hand, East Sussex, designed for a maximum of 4 people per course enabling a very close learning experience. All Lutherie tools needed to complete the course are supplied. NO Experience necessary! Upon Completion Upon completion of the build your own guitar course you will leave with a great Custom made Guitar! The end product will be a Custom Tele, Strat or Jazzmaster that You will have made and one that will give many standard models a run for their money in tone and feel. Personal attention The course does have a set agenda but we often meander around topics and are happy to do so, most of us have had many different guitars and they nearly always have some curious tales and they are always good to discuss. Break down of guitar course topics by day DAY 1 Body & Neck Wood choice and body design play a large part in the tone of an electric guitar. If you were to play several solid body guitars unamplified you’ll notice distinct differences between various wood types. A solid body that sounds good acoustically generally will sound good amplified. We’ll discuss the different woods used to make electric guitars and the effect of different body styles on tone and sustain. Just as wood affects the body, when making a neck you have to pay attention to wood choice in order to have a good sounding guitar. The hardware that goes into making a great guitar also plays a large role, not only the quality in the parts but also their fitting. You will be instructed on how best to fit all the component parts with skill and accuracy enabling you to create a great custom made guitar.. Topics covered: Body & Neck styles Wood choices Neck joints Adjustable Truss Rods Fitting neck to body Scale lengths Tremolo Bridge placement (Incl Claw & Springs) Fretboard radius Machine head installation Preparing the Nut Slot Making & Cutting a Bone Nut (Requires working with the belt sander) All the hardware fitted to the guitar will be quality Japanese Gotoh vintage parts, these are particularly well made; tuners hold tune well and the Gotoh bridge is of very good quality, all of this goes together to make a great custom built guitar. DAY 2 Electronics & Fret Dressing Once you’ve learnt why and how a great guitar goes together as well as practically applying the previous topics, you now learn to install the best pickups and wiring. For these custom built guitars we will be using Bare Knuckle Boot Camp pickups: very high quality pickups designed to suit our specifications of wood choice and body style. These pickups are hand wound in the UK and are widely regarded as the best pickups on the market today. Choose between Old Guard, True Grit or Brute Force. The key to having a great sounding electric is not just down to the Pickups but also the choice of components that go with it, often overlooked with most mass manufactured guitars, the guitar you make will have highest quality components and will subsequently sound great and work extremely well. Custom CTS Pots, Sprague Capacitor and a CRL (USA) switch as well as vintage cloth wiring all go together to make a very well appointed loaded scratchplate! Topics covered: Schematics Pickup installation Wiring volume & tone pots Wiring 5 way selector switch Wiring output jack Bridge and string grounding Fret Dressing both Theory & Practise DAY 3 Final Assembly The guitar will now be ready for final assembly. Today you will learn how to fully assemble and set up your electric guitar to a professional standard. The topics covered will be very useful for your regular maintenance of the guitar you have made as well as any others that you may have. Topics covered: Professional Setups Theory Fitting and filing the Bone Nut Pickguard placement Installing strap buttons Installing Decals (Personalised custom Decals) Final Setting and fitting the neck Stringing up String tree placement Bridge set up Action height adjustment and setting Pick up height Intonation Customising Your Guitar Build inclusive from £999 We are more than happy to work with you in order to get the custom build you want, so please contact us if you have a specific body colour scheme or neck choice, which Bare Knuckle pickups you want as well as hardware and we will try help achieve exactly that. If you’re unsure what works best, just get in touch and we will advise where we can. All custom options are subject to availability and it is always best to have a 1st & 2nd choice, there are some colours/parts etc that may incur additional cost. Tweed hard cases are available for an additional £75, £90 for the Jazzmaster. (Soft gig bag included) Some additional charges can apply for custom colours or specs or if you would like specific made to order Bare Knuckle Pickups