- Professional Development
- Medicine & Nursing
- Arts & Crafts
- Health & Wellbeing
- Personal Development
13334 Courses
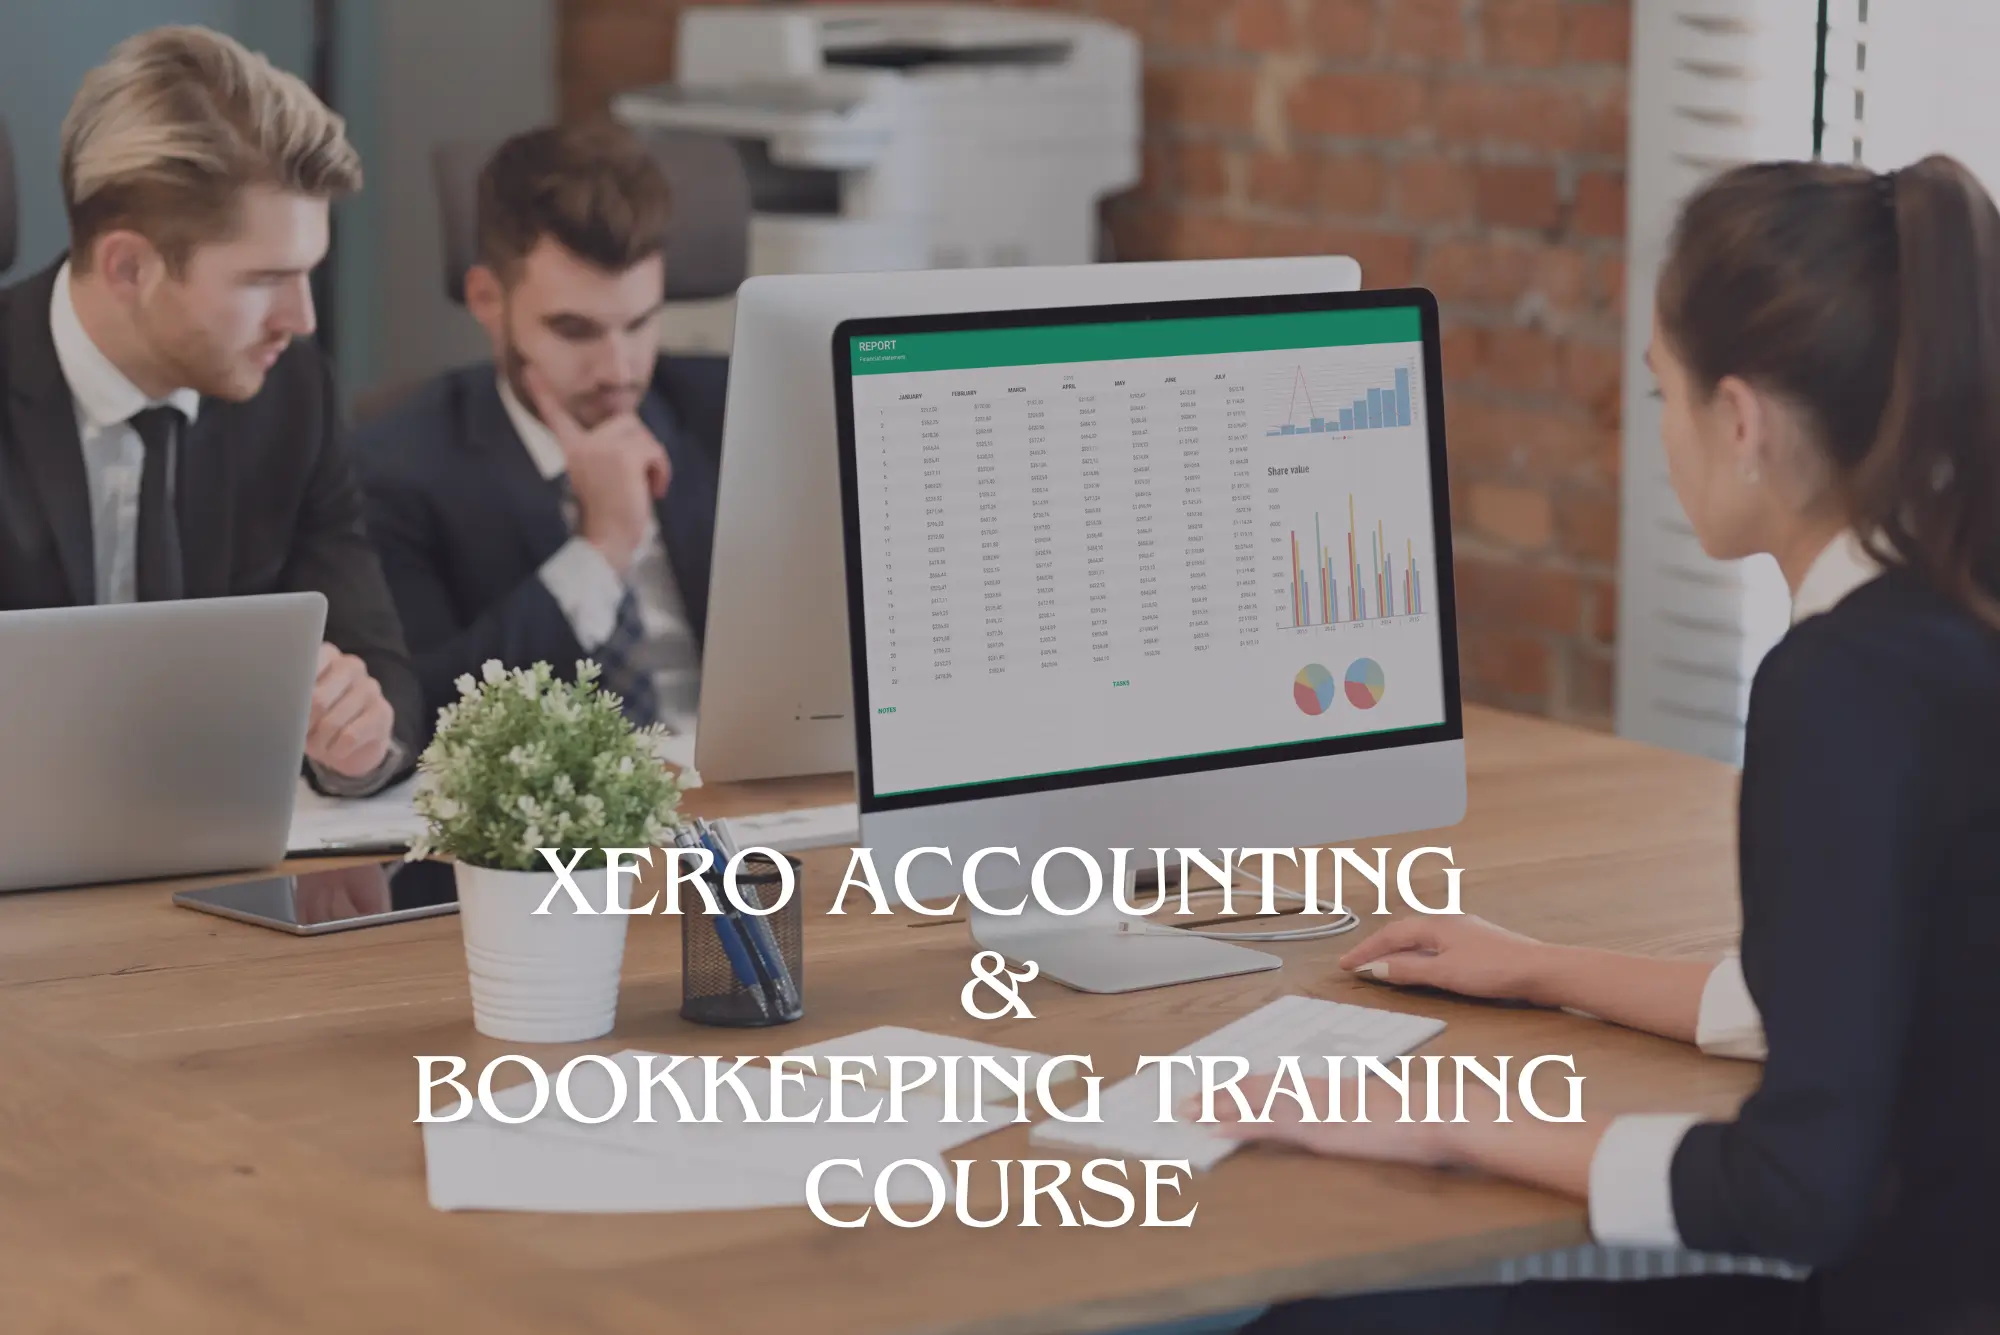
Xero Accounting and Bookkeeping Training Course
By IOMH - Institute of Mental Health
Overview of Xero Accounting and Bookkeeping Join our Xero Accounting and Bookkeeping Training Course course and discover your hidden skills, setting you on a path to success in this area. Get ready to improve your skills and achieve your biggest goals. The Xero Accounting and Bookkeeping Training Course course has everything you need to get a great start in this sector. Improving and moving forward is key to getting ahead personally. The Xero Accounting and Bookkeeping Training Course course is designed to teach you the important stuff quickly and well, helping you to get off to a great start in the field. So, what are you looking for? Enrol now! This Xero Accounting and Bookkeeping Course will help you to learn: Learn strategies to boost your workplace efficiency. Hone your skills to help you advance your career. Acquire a comprehensive understanding of various topics and tips. Learn in-demand skills that are in high demand among UK employers This course covers the topic you must know to stand against the tough competition. The future is truly yours to seize with this Xero Accounting and Bookkeeping Training Course. Enrol today and complete the course to achieve a certificate that can change your career forever. Details Perks of Learning with IOMH One-To-One Support from a Dedicated Tutor Throughout Your Course. Study Online - Whenever and Wherever You Want. Instant Digital/ PDF Certificate. 100% Money Back Guarantee. 12 Months Access. Process of Evaluation After studying the course, an MCQ exam or assignment will test your skills and knowledge. You have to get a score of 60% to pass the test and get your certificate. Certificate of Achievement Certificate of Completion - Digital / PDF Certificate After completing the Xero Accounting and Bookkeeping Training Course course, you can order your CPD Accredited Digital / PDF Certificate for £5.99. Certificate of Completion - Hard copy Certificate You can get the CPD Accredited Hard Copy Certificate for £12.99. Shipping Charges: Inside the UK: £3.99 International: £10.99 Who Is This Course for? This Xero Accounting and Bookkeeping Training Course is suitable for anyone aspiring to start a career in relevant field; even if you are new to this and have no prior knowledge, this course is going to be very easy for you to understand. On the other hand, if you are already working in this sector, this course will be a great source of knowledge for you to improve your existing skills and take them to the next level. This course has been developed with maximum flexibility and accessibility, making it ideal for people who don't have the time to devote to traditional education. Disclaimer Please be aware that this Xero Accounting and Bookkeeping Training Course is not certified or endorsed by Xero. Completing this course will not grant you any Xero certificate, certification, or badge. However, you will receive a CPD QS certificate upon completion of the course. Requirements You don't need any educational qualification or experience to enrol in the Xero Accounting and Bookkeeping Training Course course. Do note: you must be at least 16 years old to enrol. Any internet-connected device, such as a computer, tablet, or smartphone, can access this online course. Career Path The certification and skills you get from this Xero Accounting and Bookkeeping Training Course Course can help you advance your career and gain expertise in several fields, allowing you to apply for high-paying jobs in related sectors. Course Curriculum Introduction Introduction 00:02:00 Getting Started Introduction - Getting Started 00:01:00 Signing up to Xero 00:04:00 Quick Tour of Xero 00:12:00 Initial Xero Settings 00:13:00 Chart of Accounts 00:14:00 Adding a Bank Account 00:08:00 Demo Company 00:04:00 Tracking Categories 00:07:00 Contacts 00:12:00 Invoices and Sales Introduction - Invoices and Sales 00:01:00 Sales Screens 00:04:00 Invoice Settings 00:13:00 Creating an Invoice 00:17:00 Repeating Invoices 00:07:00 Credit Notes 00:10:00 Quotes Settings 00:03:00 Creating Quotes 00:07:00 Other Invoicing Tasks 00:03:00 Sending Statements 00:03:00 Sales Reporting 00:05:00 Bills and Purchases Introduction - Bills and Purchases 00:01:00 Purchases Screens 00:04:00 Bill Settings 00:02:00 Creating a Bill 00:13:00 Repeating Bills 00:05:00 Credit Notes 00:06:00 Purchase Order Settings 00:02:00 Purchase Orders 00:08:00 Batch Payments 00:12:00 Other Billing Tasks 00:02:00 Sending Remittances 00:03:00 Purchases Reporting 00:05:00 Bank Accounts Introduction - Bank Accounts 00:01:00 Bank Accounts Screens 00:07:00 Automatic Matching 00:04:00 Reconciling Invoices 00:06:00 Reconciling Bills 00:03:00 Reconciling Spend Money 00:05:00 Reconciling Receive Money 00:04:00 Find and Match 00:04:00 Bank Rules 00:09:00 Cash Coding 00:03:00 Remove and Redo vs Unreconcile 00:04:00 Uploading Bank Transactions 00:07:00 Automatic Bank Feeds 00:06:00 Products and Services Introduction - Products and Services 00:01:00 Products and Services Screen 00:02:00 Adding Services 00:03:00 Adding Untracked Products 00:03:00 Adding Tracked Products 00:07:00 Fixed Assets Introduction - Fixed Assets 00:01:00 Fixed Assets Settings 00:05:00 Adding Assets from Bank Transactions 00:06:00 Adding Assets from Spend Money 00:05:00 Adding Assets from Bills 00:02:00 Depreciation 00:04:00 Payroll Introduction - Payroll 00:01:00 Payroll Settings 00:15:00 Adding Employees 00:18:00 Paying Employees 00:10:00 Payroll Filing 00:04:00 VAT Returns Introduction - VAT Returns 00:01:00 VAT Settings 00:02:00 VAT Returns - Manual Filing 00:06:00 VAT Returns - Digital Filing 00:02:00
Sage 50 Accounting
By IOMH - Institute of Mental Health
Overview of Sage 50 Accounting Sage 50 Accounting helps make business finance simple and clear. In the UK, more than half of small and medium-sized businesses use Sage 50 Accounting for their day-to-day accounts. This has created a steady demand for people who know how to use this software well. This course will guide you through all the important parts of Sage 50 Accounting — from setting up the system to preparing detailed financial reports. You will learn how to manage customers and suppliers, do bank reconciliations, handle fixed assets, and process VAT. The course also includes Sage 50 Payroll, where you will be shown how to handle employee records, run payroll, make online submissions, and complete year-end tasks. These skills are used every day in UK businesses and are important for keeping company finances on track. This course is designed to help you understand each feature step by step. With the UK accounting industry growing by 5% every year, learning Sage 50 Accounting gives you a strong advantage. Many employers look for people who can confidently use Sage 50 Accounting in real work settings. Whether you are just starting or want to build on your current skills, this course will help you manage a full range of accounting tasks. By the end, you’ll feel ready to support businesses with practical and valuable Sage 50 Accounting knowledge. Learning Outcomes By the end of this course, you will be able to: Set up the Sage 50 Accounting system and add customer and supplier details Handle invoices, credit notes, and payments quickly and accurately Reconcile bank accounts, including different account types Complete VAT returns and carry out year-end tasks Run payroll, including adding new employees and sending online submissions Create budgets and prepare management reports for better business decisions Who is this course for? Accountants who want to build confidence using Sage 50 Accounting, widely used in UK businesses Bookkeepers wanting to offer more services with strong Sage 50 skills Business owners who wish to manage their own accounts with trusted software Office staff who deal with company accounts and need to understand both the Accounts and Payroll features of Sage 50 Finance team members who want to be confident with everyday tasks like bank reconciliation, VAT, and payroll Process of Evaluation After studying the Sage 50 Accounting Course, your skills and knowledge will be tested with an MCQ exam or assignment. You have to get a score of 60% to pass the test and get your certificate. Certificate of Achievement Certificate of Completion - Digital / PDF Certificate After completing the Sage 50 Accounting Course, you can order your CPD Accredited Digital / PDF Certificate for £5.99. (Each) Certificate of Completion - Hard copy Certificate You can get the CPD Accredited Hard Copy Certificate for £12.99. (Each) Shipping Charges: Inside the UK: £3.99 International: £10.99 Requirements You don't need any educational qualification or experience to enrol in the Sage 50 Accounting course. Career Path The Sage 50 Accounts course can prepare individuals for a variety of job titles, including: Bookkeeper Accountant Financial Manager Financial Analyst Business Accountant Financial Advisor Tax Specialist Payroll Manager These career opportunities can provide you with a salary ranging from £20,000 to £65,000 in the UK. Course Curriculum Sage 50 Accounts Sage 50 Bookkeeper - Course book 00:00:00 Introduction and TASK 1 00:17:00 TASK 2 Setting up the System 00:23:00 TASK 3 a Setting up Customers and Suppliers 00:17:00 TASK 3 b Creating Projects 00:05:00 TASK 3 c Supplier Invoice and Credit Note 00:13:00 TASK 3 d Customer Invoice and Credit Note 00:11:00 TASK 4 Fixed Assets 00:08:00 TASK 5 a and b Bank Payment and Transfer 00:31:00 TASK 5 c and d Supplier and Customer Payments and DD STO 00:18:00 TASK 6 Petty Cash 00:11:00 TASK 7 a Bank Reconnciliation Current Account 00:17:00 TASK 7 b Bank Reconciliation Petty Cash 00:09:00 TASK 7 c Reconciliation of Credit Card Account 00:16:00 TASK 8 Aged Reports 00:14:00 TASK 9 a Payroll 00:07:00 9 b Payroll Journal 00:10:00 TASK 10 Value Added Tax - Vat Return 00:12:00 Task 11 Entering opening balances on Sage 50 00:13:00 TASK 12 a Year end journals - Depre journal 00:05:00 TASK 12 b Prepayment and Deferred Income Journals 00:08:00 TASK 13 a Budget 00:05:00 TASK 13 b Intro to Cash flow and Sage Report Design 00:08:00 TASK 13 c Preparation of Accountants Report & correcting Errors (1) 00:10:00 Sage 50 Payroll Payroll Basics 00:10:00 Company Settings 00:08:00 Legislation Settings 00:07:00 Pension Scheme Basics 00:06:00 Pay Elements 00:14:00 The Processing Date 00:07:00 Adding Existing Employees 00:08:00 Adding New Employees 00:12:00 Payroll Processing Basics 00:11:00 Entering Payments 00:12:00 Pre-Update Reports 00:09:00 Updating Records 00:09:00 e-Submissions Basics 00:09:00 Process Payroll (November) 00:16:00 Employee Records and Reports 00:13:00 Editing Employee Records 00:07:00 Process Payroll (December) 00:12:00 Resetting Payments 00:05:00 Quick SSP 00:09:00 An Employee Leaves 00:13:00 Final Payroll Run 00:07:00 Reports and Historical Data 00:08:00 Year-End Procedures 00:09:00
Sage 50 Accounting
By IOMH - Institute of Mental Health
Overview of Sage 50 Accounting Sage 50 Accounting is the perfect course for anyone looking to master the art of bookkeeping and accounting. With over 6.1 million users globally, it's no secret that Sage 50 is a market leader. In fact, 96% of Sage 50 Accounts users have reported increased productivity and accuracy in their financial records. This comprehensive course covers everything you need to know about bookkeeping, from creating invoices and managing bank accounts to preparing financial reports and analysing business performance. With step-by-step tutorials and expertly designed Sage 50 Accounting course materials, you'll develop the skills you need to succeed in your financial career. So if you're looking to take your career to the next level, don't wait any longer. Enrol in Sage 50 Accounting course today and start building your financial expertise! With our 100% satisfaction guarantee, you have nothing to lose and everything to gain. Start your journey toward financial success today. Enrol right now! Get a quick look at the course content: This Sage 50 Accounting Course will help you to learn: Master bookkeeping concepts and techniques Gain experience with Sage 50 Accounting software Learn to manage invoices, bank accounts, and financial reports Develop skills in analysing business performance Learn how to prepare accurate financial records Increase productivity and accuracy in financial tasks Enhance career opportunities in the financial industry. This course covers the topic you must know to stand against the tough competition. The future is truly yours to seize with this Sage 50 Accounting. Enrol today and complete the course to achieve a certificate that can change your career forever. Details Perks of Learning with IOMH One-to-one support from a dedicated tutor throughout your course. Study online - whenever and wherever you want. Instant Digital/ PDF certificate 100% money back guarantee 12 months access Process of Evaluation After studying the course, an MCQ exam or assignment will test your skills and knowledge. You have to get a score of 60% to pass the test and get your certificate. Certificate of Achievement Certificate of Completion - Digital / PDF Certificate After completing the Sage 50 Accounting course, you can order your CPD Accredited Digital / PDF Certificate for £5.99. Certificate of Completion - Hard copy Certificate You can get the CPD Accredited Hard Copy Certificate for £12.99. Shipping Charges: Inside the UK: £3.99 International: £10.99 Who Is This Course for? This Sage 50 Accounting is suitable for anyone aspiring to start a career in relevant field; even if you are new to this and have no prior knowledge, this course is going to be very easy for you to understand. The course is ideal for: Entrepreneurs and small business owners Bookkeepers and accountants Aspiring financial professionals Individuals seeking to improve their financial skills Employees in finance and accounting departments Requirements There is no prerequisite to enrol in this course. You don't need any educational qualification or experience to enrol in the Sage 50 Accounting course. Do note: you must be at least 16 years old to enrol. Any internet-connected device, such as a computer, tablet, or smartphone, can access this online course. Career path The Sage 50 Accounts course can prepare individuals for a variety of job titles, including: Bookkeeper Accountant Financial Manager Financial Analyst Business Accountant Financial Advisor Tax Specialist Payroll Manager These career opportunities can provide you with a salary ranging from £20,000 to £65,000 in the UK. Course Curriculum Sage 50 Accounts Sage 50 Bookkeeper - Coursebook 00:00:00 Introduction and TASK 1 00:17:00 TASK 2 Setting up the System 00:23:00 TASK 3 a Setting up Customers and Suppliers 00:17:00 TASK 3 b Creating Projects 00:05:00 TASK 3 c Supplier Invoice and Credit Note 00:13:00 TASK 3 d Customer Invoice and Credit Note 00:11:00 TASK 4 Fixed Assets 00:08:00 TASK 5 a and b Bank Payment and Transfer 00:31:00 TASK 5 c and d Supplier and Customer Payments and DD STO 00:18:00 TASK 6 Petty Cash 00:11:00 TASK 7 a Bank Reconnciliation Current Account 00:17:00 TASK 7 b Bank Reconciliation Petty Cash 00:09:00 TASK 7 c Reconciliation of Credit Card Account 00:16:00 TASK 8 Aged Reports 00:14:00 TASK 9 a Payroll 00:07:00 9 b Payroll Journal 00:10:00 TASK 10 Value Added Tax - Vat Return 00:12:00 Task 11 Entering opening balances on Sage 50 00:13:00 TASK 12 a Year end journals - Depre journal 00:05:00 TASK 12 b Prepayment and Deferred Income Journals 00:08:00 TASK 13 a Budget 00:05:00 TASK 13 b Intro to Cash flow and Sage Report Design 00:08:00 TASK 13 c Preparation of Accountants Report & correcting Errors (1) 00:10:00 Sage 50 Payroll Payroll Basics 00:10:00 Company Settings 00:08:00 Legislation Settings 00:07:00 Pension Scheme Basics 00:06:00 Pay Elements 00:14:00 The Processing Date 00:07:00 Adding Existing Employees 00:08:00 Adding New Employees 00:12:00 Payroll Processing Basics 00:11:00 Entering Payments 00:12:00 Pre-Update Reports 00:09:00 Updating Records 00:09:00 e-Submissions Basics 00:09:00 Process Payroll (November) 00:16:00 Employee Records and Reports 00:13:00 Editing Employee Records 00:07:00 Process Payroll (December) 00:12:00 Resetting Payments 00:05:00 Quick SSP 00:09:00 An Employee Leaves 00:13:00 Final Payroll Run 00:07:00 Reports and Historical Data 00:08:00 Year-End Procedures 00:09:00

Barista Online Training
By IOMH - Institute of Mental Health
Overview of Barista Online Training Join our Barista Online Training course and discover your hidden skills, setting you on a path to success in this area. Get ready to improve your skills and achieve your biggest goals. The Barista Online Training course has everything you need to get a great start in this sector. Improving and moving forward is key to getting ahead personally. The Barista Online Training course is designed to teach you the important stuff quickly and well, helping you to get off to a great start in the field. So, what are you looking for? Enrol now! Get a Quick Look at The Course Content: This Barista Online Training Course will help you to learn: Learn strategies to boost your workplace efficiency. Hone your skills to help you advance your career. Acquire a comprehensive understanding of various topics and tips. Learn in-demand skills that are in high demand among UK employers This course covers the topic you must know to stand against the tough competition. The future is truly yours to seize with this Barista Online Training. Enrol today and complete the course to achieve a certificate that can change your career forever. Details Perks of Learning with IOMH One-To-One Support from a Dedicated Tutor Throughout Your Course. Study Online - Whenever and Wherever You Want. Instant Digital/ PDF Certificate. 100% Money Back Guarantee. 12 Months Access. Process of Evaluation After studying the course, an MCQ exam or assignment will test your skills and knowledge. You have to get a score of 60% to pass the test and get your certificate. Certificate of Achievement Certificate of Completion - Digital / PDF Certificate After completing the Barista Online Training course, you can order your CPD Accredited Digital / PDF Certificate for £5.99. Certificate of Completion - Hard copy Certificate You can get the CPD Accredited Hard Copy Certificate for £12.99. Shipping Charges: Inside the UK: £3.99 International: £10.99 Who Is This Course for? This Barista Online Training is suitable for anyone aspiring to start a career in relevant field; even if you are new to this and have no prior knowledge, this course is going to be very easy for you to understand. On the other hand, if you are already working in this sector, this course will be a great source of knowledge for you to improve your existing skills and take them to the next level. This course has been developed with maximum flexibility and accessibility, making it ideal for people who don't have the time to devote to traditional education. Requirements You don't need any educational qualification or experience to enrol in the Barista Online Training course. Do note: you must be at least 16 years old to enrol. Any internet-connected device, such as a computer, tablet, or smartphone, can access this online course. Career Path The certification and skills you get from this Barista Online Training Course can help you advance your career and gain expertise in several fields, allowing you to apply for high-paying jobs in related sectors. Course Curriculum Section 01: Introduction to Coffee Coffee Tree and Brief History of Coffee 00:15:00 Coffee Varieties 00:20:00 Coffee Growing and Harvest 00:06:00 Coffee Processing Methods 00:08:00 Coffee Grading 00:09:00 First, Second and Third Wave of Coffee 00:11:00 Coffee Defects and Sorting 00:06:00 Section 02: Espresso Machine Introduction to Espresso Machine 00:21:00 Manual, Semi-Auto and Full Auto (Volumetric) Espresso Machines 00:05:00 Working Principles of Volumetric Machines 00:02:00 Espresso Machines Boiler Types 00:05:00 Section 03: Espresso Grinder Espresso Grinder 00:10:00 Grinder Burrs 00:03:00 How to Adjust the Grinder? 00:03:00 Section 04: Introduction to Espresso & Espresso Mechanics Dosing 00:02:00 Distribution 00:02:00 Tamping and Tampers 00:13:00 Inserting the Portafilter 00:03:00 Starting the Pump 00:01:00 Flushing the Group and Cleaning the Portafilter 00:02:00 What is Naked Portafilter? Why is it used? 00:02:00 The Importance of Water 00:04:00 Section 05: Let's Wrap Up Understanding Time Concept and Practices 00:15:00 Under and Over Extraction 00:10:00 Chanelling 00:11:00 Section 06: Milk Frothing Steam Boiler and Steam Wand 00:04:00 Milk Selection 00:06:00 Milk Frothing and Heat Targets 00:17:00 Milk Splitting 00:04:00 The Difference Between Cappuccino and Latte Foam 00:05:00 Section 07: Latte Art First Half 00:05:00 Second Half 00:07:00 Maneuvers 00:04:00 Heart - Positioning and Cutting 00:01:00 Pouring Workouts 00:07:00 Section 08: Menu Espresso Variations 00:04:00 Espresso with Water 00:03:00 Espresso with Milk 00:15:00 Espresso with Ice 00:03:00 Section 09: Behind The Bar Coffee Bar Layout 00:07:00 Work Flow 00:06:00 Clothing & Apparel 00:04:00 Hygiene 00:03:00 Real Life Scenarios and Simulation 00:07:00 Espresso Machine Cleaning and Maintenance 00:11:00

Support Worker (Legislation, Policy and Guidance)
By IOMH - Institute of Mental Health
Overview of Support Worker (Legislation, Policy and Guidance) Join our Support Worker (Legislation, Policy and Guidance) course and discover your hidden skills, setting you on a path to success in this area. Get ready to improve your skills and achieve your biggest goals. The Support Worker (Legislation, Policy and Guidance) course has everything you need to get a great start in this sector. Improving and moving forward is key to getting ahead personally. The Support Worker (Legislation, Policy and Guidance) course is designed to teach you the important stuff quickly and well, helping you to get off to a great start in the field. So, what are you looking for? Enrol now! Get a quick look at the course content: This Support Worker (Legislation, Policy and Guidance) Course will help you to learn: Learn strategies to boost your workplace efficiency. Hone your skills to help you advance your career. Acquire a comprehensive understanding of various topics and tips. Learn in-demand skills that are in high demand among UK employers This course covers the topic you must know to stand against the tough competition. The future is truly yours to seize with this Support Worker (Legislation, Policy and Guidance). Enrol today and complete the course to achieve a certificate that can change your career forever. Details Perks of Learning with IOMH One-To-One Support from a Dedicated Tutor Throughout Your Course. Study Online - Whenever and Wherever You Want. Instant Digital/ PDF Certificate. 100% Money Back Guarantee. 12 Months Access. Process of Evaluation After studying the course, an MCQ exam or assignment will test your skills and knowledge. You have to get a score of 60% to pass the test and get your certificate. Certificate of Achievement Certificate of Completion - Digital / PDF Certificate After completing the Support Worker (Legislation, Policy and Guidance) course, you can order your CPD Accredited Digital / PDF Certificate for £5.99. Certificate of Completion - Hard copy Certificate You can get the CPD Accredited Hard Copy Certificate for £12.99. Shipping Charges: Inside the UK: £3.99 International: £10.99 Who Is This Course for? This Support Worker (Legislation, Policy and Guidance) is suitable for anyone aspiring to start a career in relevant field; even if you are new to this and have no prior knowledge, this course is going to be very easy for you to understand. On the other hand, if you are already working in this sector, this course will be a great source of knowledge for you to improve your existing skills and take them to the next level. This course has been developed with maximum flexibility and accessibility, making it ideal for people who don't have the time to devote to traditional education. Requirements You don't need any educational qualification or experience to enrol in the Support Worker (Legislation, Policy and Guidance) course. Do note: you must be at least 16 years old to enrol. Any internet-connected device, such as a computer, tablet, or smartphone, can access this online course. Career Path The certification and skills you get from this Support Worker (Legislation, Policy and Guidance) Course can help you advance your career and gain expertise in several fields, allowing you to apply for high-paying jobs in related sectors. Course Curriculum Module 01: Introduction to Family Support Work Module 01: Introduction to Family Support Work 00:24:00 Module 02: Legislation, Policy and Guidance Module 02: Legislation, Policy and Guidance 00:51:00 Module 03: Solving Family Issues - Part 1 Module 03: Solving Family Issues - Part 1 00:49:00 Module 04: Solving Family Issues - part 2 Module 04: Solving Family Issues - part 2 00:45:00 Module 05: Safeguarding - Assessing need and providing help (Part 1) Module 05: Safeguarding - Assessing need and providing help (Part 1) 00:33:00 Module 06: Safeguarding - Assessing Need and Providing Help (Part 2) Module 06: Safeguarding - Assessing Need and Providing Help (Part 2) 00:37:00 Module 07: Building Relationships Module 07: Building Relationships 00:36:00

Video Editing - DaVinci Resolve
By IOMH - Institute of Mental Health
Overview of Video Editing - DaVinci Resolve Join our Video Editing - DaVinci Resolve course and discover your hidden skills, setting you on a path to success in this area. Get ready to improve your skills and achieve your biggest goals. The Video Editing - DaVinci Resolve course has everything you need to get a great start in this sector. Improving and moving forward is key to getting ahead personally. The Video Editing - DaVinci Resolve course is designed to teach you the important stuff quickly and well, helping you to get off to a great start in the field. So, what are you looking for? Enrol now! Get a Quick Look at The Course Content: This Video Editing - DaVinci Resolve Course will help you to learn: Learn strategies to boost your workplace efficiency. Hone your skills to help you advance your career. Acquire a comprehensive understanding of various topics and tips. Learn in-demand skills that are in high demand among UK employers This course covers the topic you must know to stand against the tough competition. The future is truly yours to seize with this Video Editing - DaVinci Resolve. Enrol today and complete the course to achieve a certificate that can change your career forever. Details Perks of Learning with IOMH One-To-One Support from a Dedicated Tutor Throughout Your Course. Study Online - Whenever and Wherever You Want. Instant Digital/ PDF Certificate. 100% Money Back Guarantee. 12 Months Access. Process of Evaluation After studying the course, an MCQ exam or assignment will test your skills and knowledge. You have to get a score of 60% to pass the test and get your certificate. Certificate of Achievement Certificate of Completion - Digital / PDF Certificate After completing the Video Editing - DaVinci Resolve course, you can order your CPD Accredited Digital / PDF Certificate for £5.99. Certificate of Completion - Hard copy Certificate You can get the CPD Accredited Hard Copy Certificate for £12.99. Shipping Charges: Inside the UK: £3.99 International: £10.99 Who Is This Course for? This Video Editing - DaVinci Resolve is suitable for anyone aspiring to start a career in relevant field; even if you are new to this and have no prior knowledge, this course is going to be very easy for you to understand. On the other hand, if you are already working in this sector, this course will be a great source of knowledge for you to improve your existing skills and take them to the next level. This course has been developed with maximum flexibility and accessibility, making it ideal for people who don't have the time to devote to traditional education. Requirements You don't need any educational qualification or experience to enrol in the Video Editing - DaVinci Resolve course. Do note: you must be at least 16 years old to enrol. Any internet-connected device, such as a computer, tablet, or smartphone, can access this online course. Career Path The certification and skills you get from this Video Editing - DaVinci Resolve Course can help you advance your career and gain expertise in several fields, allowing you to apply for high-paying jobs in related sectors. Course Curriculum Unit 01: Introduction Module 01: Introduction 00:02:00 Module 02: Downloading DaVinci Resolve 00:02:00 Unit 02: Overview Module 01: Importing media in the Media Page 00:05:00 Module 02: Working in the Cut Page 00:10:00 Module 03: Overview of the Edit Page 00:15:00 Module 04: The Colour Page Part 1 00:08:00 Module 05: The Colour Page Part 2 00:06:00 Module 06: The Fairlight Page 00:05:00 Module 07: The Fusion Page 00:05:00 Module 08: The Deliver Page 00:07:00 Module 09: The Menu 00:03:00 Unit 03: Editing techniques Module 01: Reconnecting Media 00:01:00 Module 02: Adding Titles 00:03:00 Module 03: Adjustment Layers 00:03:00 Module 04: Fade ins and Overlays 00:03:00 Module 05: Stabilising Footage 00:02:00 Module 06: Adding Blurs 00:02:00 Module 07: Right Click 00:05:00 Module 08: Crop 00:02:00 Module 09: Audio - Mono to Stereo 00:01:00 Module 10: Review Video 00:01:00 Module 11: Speed Adjustment 00:03:00 Module 12: Creative Effects part 1 00:05:00 Module 13: Creative Effects part 2 00:02:00 Module 14: Creative Effects part 3 00:01:00 Module 15: Subtitling 00:03:00 Module 16: Exporting an Alpha Channel 00:03:00 Module 17: Highlighting an area 00:03:00 Module 18: Recording Audio in Fairlight 00:02:00 Module 19: Countdown timer 00:04:00 Module 20: Green Screen Chroma Key 00:06:00 Module 21: Green Screen Delta Key 00:02:00 Module 22: Masking in the Colour Page 00:03:00 Module 23: Make you footage look like VHS 00:04:00 Module 24: Mask Tracking 00:03:00 Module 25: Moving Masks 00:04:00 Module 26: Recording a podcast 00:09:00 Module 27: Importing an XML file 00:02:00 Module 28: Multicam Edit 00:04:00 Module 29: Auto Scene Cut Detect 00:02:00 Unit 04: Editing a Dance Film Module 01: Editing a Dance Film part 1 00:02:00 Module 02: Editing a Dance Film part 2 00:13:00 Unit 05: Final thoughts Module 01: Final Thoughts 00:01:00 Resources Resources - Video Editing 00:00:00

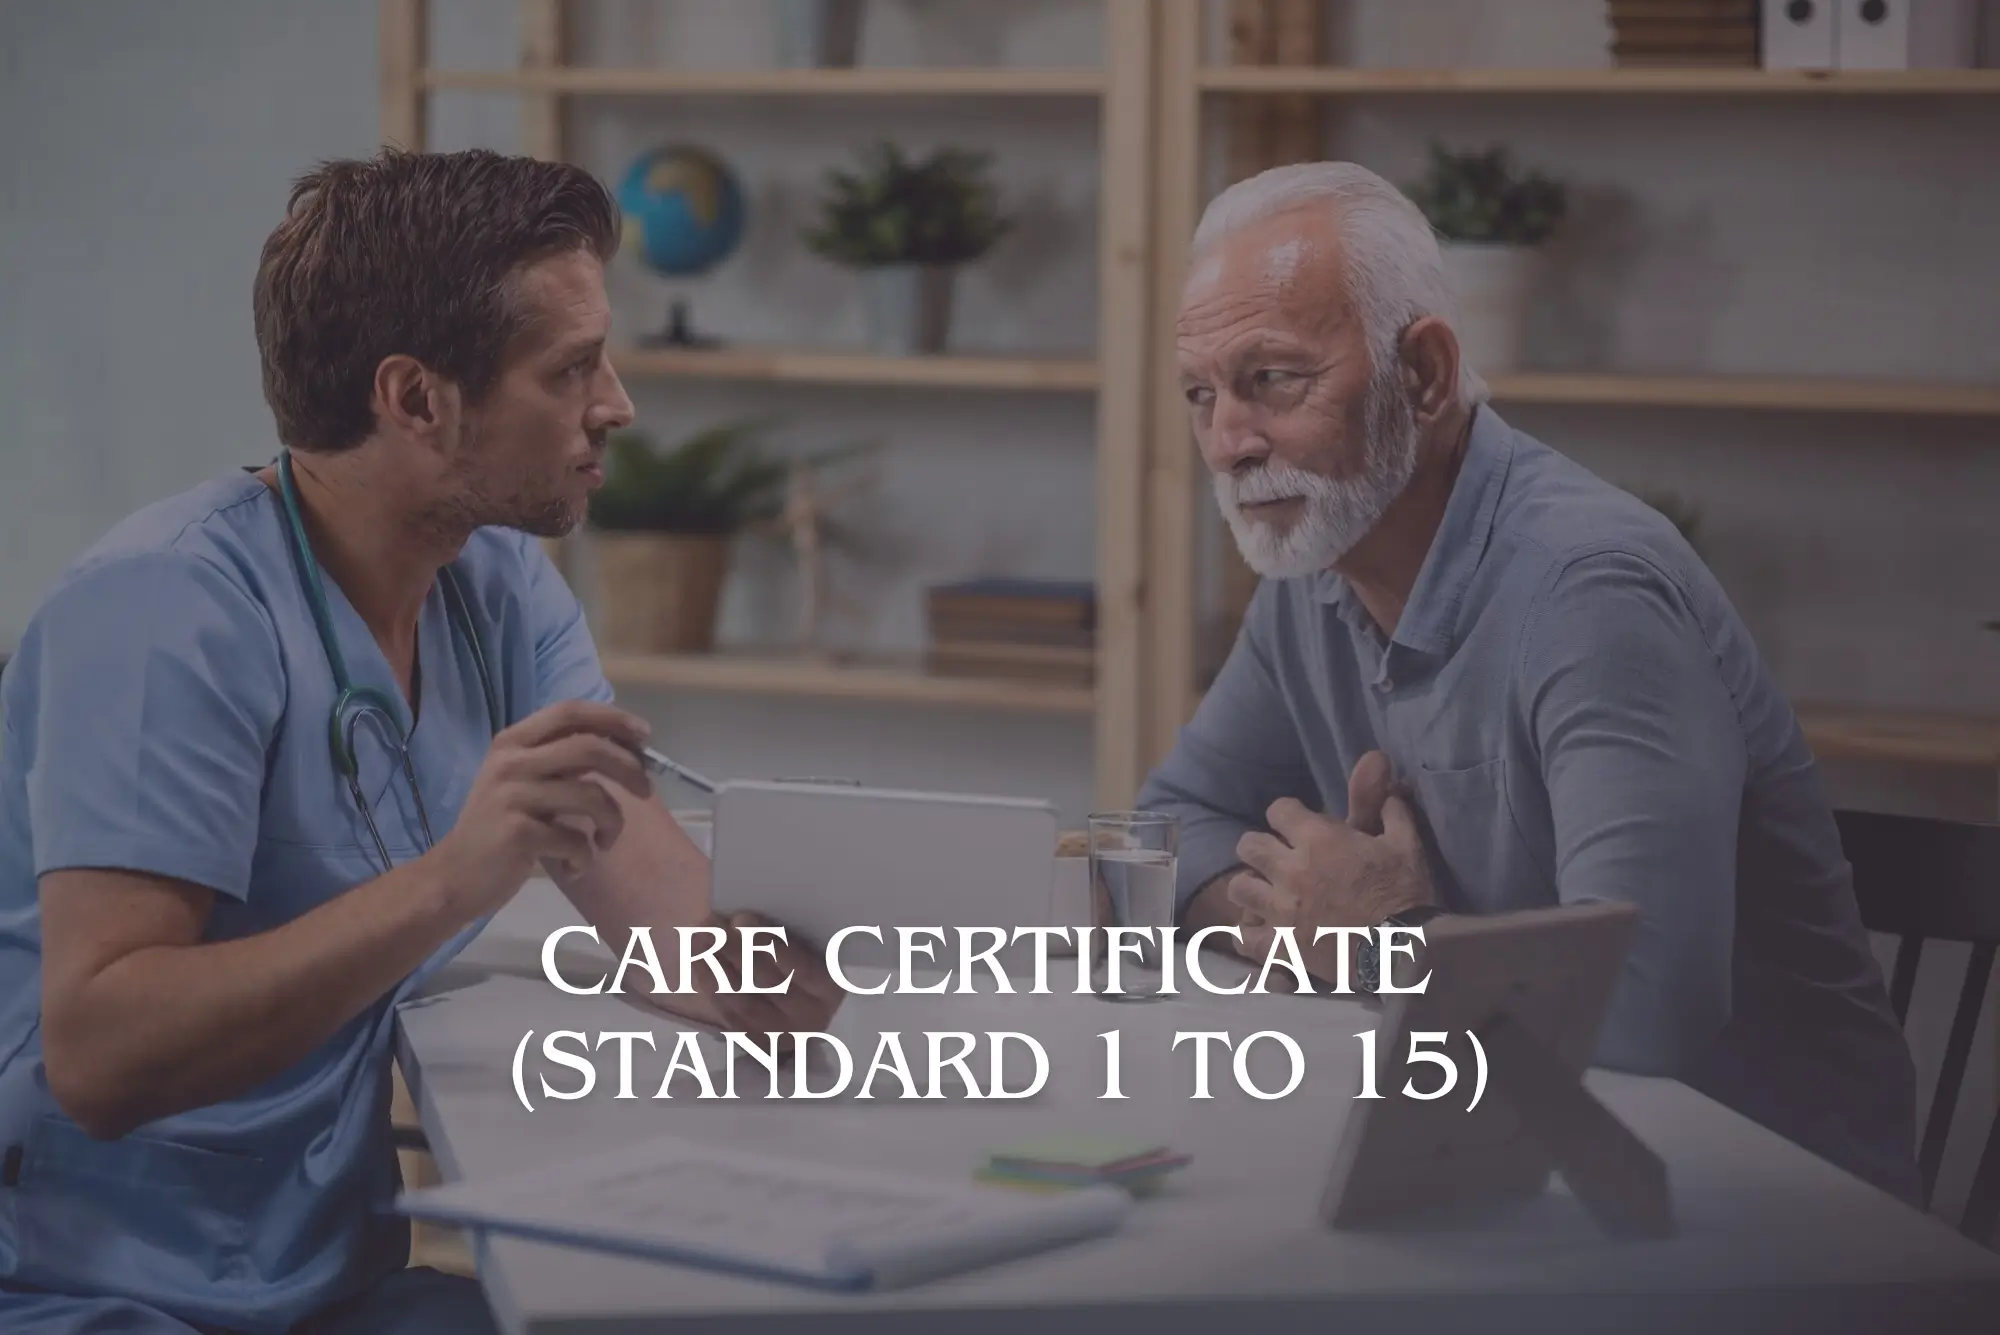
Care Certificate (Standard 1 to 15)
By IOMH - Institute of Mental Health
Overview of Care Certificate (Standard 1 to 15) Join our Care Certificate (Standard 1 to 15) course and discover your hidden skills, setting you on a path to success in this area. Get ready to improve your skills and achieve your biggest goals. The Care Certificate (Standard 1 to 15) course has everything you need to get a great start in this sector. Improving and moving forward is key to getting ahead personally. The Care Certificate (Standard 1 to 15) course is designed to teach you the important stuff quickly and well, helping you to get off to a great start in the field. So, what are you looking for? Enrol now! Get a quick look at the course content: This Care Certificate (Standard 1 to 15) Course will help you to learn: Learn strategies to boost your workplace efficiency. Hone your skills to help you advance your career. Acquire a comprehensive understanding of various topics and tips. Learn in-demand skills that are in high demand among UK employers This course covers the topic you must know to stand against the tough competition. The future is truly yours to seize with this Care Certificate (Standard 1 to 15). Enrol today and complete the course to achieve a certificate that can change your career forever. Details Perks of Learning with IOMH One-To-One Support from a Dedicated Tutor Throughout Your Course. Study Online - Whenever and Wherever You Want. Instant Digital/ PDF Certificate. 100% Money Back Guarantee. 12 Months Access. Process of Evaluation After studying the course, an MCQ exam or assignment will test your skills and knowledge. You have to get a score of 60% to pass the test and get your certificate. Certificate of Achievement Certificate of Completion - Digital / PDF Certificate After completing the Care Certificate (Standard 1 to 15) course, you can order your CPD Accredited Digital / PDF Certificate for £5.99. Certificate of Completion - Hard copy Certificate You can get the CPD Accredited Hard Copy Certificate for £12.99. Shipping Charges: Inside the UK: £3.99 International: £10.99 Who Is This Course for? This Care Certificate (Standard 1 to 15) is suitable for anyone aspiring to start a career in relevant field; even if you are new to this and have no prior knowledge, this course is going to be very easy for you to understand. On the other hand, if you are already working in this sector, this course will be a great source of knowledge for you to improve your existing skills and take them to the next level. This course has been developed with maximum flexibility and accessibility, making it ideal for people who don't have the time to devote to traditional education. Requirements You don't need any educational qualification or experience to enrol in the Care Certificate (Standard 1 to 15) course. Do note: you must be at least 16 years old to enrol. Any internet-connected device, such as a computer, tablet, or smartphone, can access this online course. Career Path The certification and skills you get from this Care Certificate (Standard 1 to 15) Course can help you advance your career and gain expertise in several fields, allowing you to apply for high-paying jobs in related sectors. Course Curriculum The Care Certificate Preparation Framework and Information Leaflet 00:00:00 Standard 01: Understand Your Role 00:32:00 Standard 02: Your personal development 00:13:00 Standard 03: Duty of Care 00:35:00 Standard 04: Equality and Diversity 00:27:00 Standard 05: Work in a Person Centred Way 00:36:00 Standard 06: Communication 00:36:00 Standard 07: Privacy and dignity 00:27:00 Standard 08: Fluids and nutrition 00:15:00 Standard 09: Mental Health, Dementia and Learning Disabilities 00:41:00 Standard 10: Safeguarding Adults 00:40:00 Standard 11: Safeguarding Children 00:07:00 Standard 12: Basic life support 00:08:00 Standard 13: Health and Safety 00:51:00 Standard 14: Handling information 00:18:00 Standard 15: Infection control 00:13:00
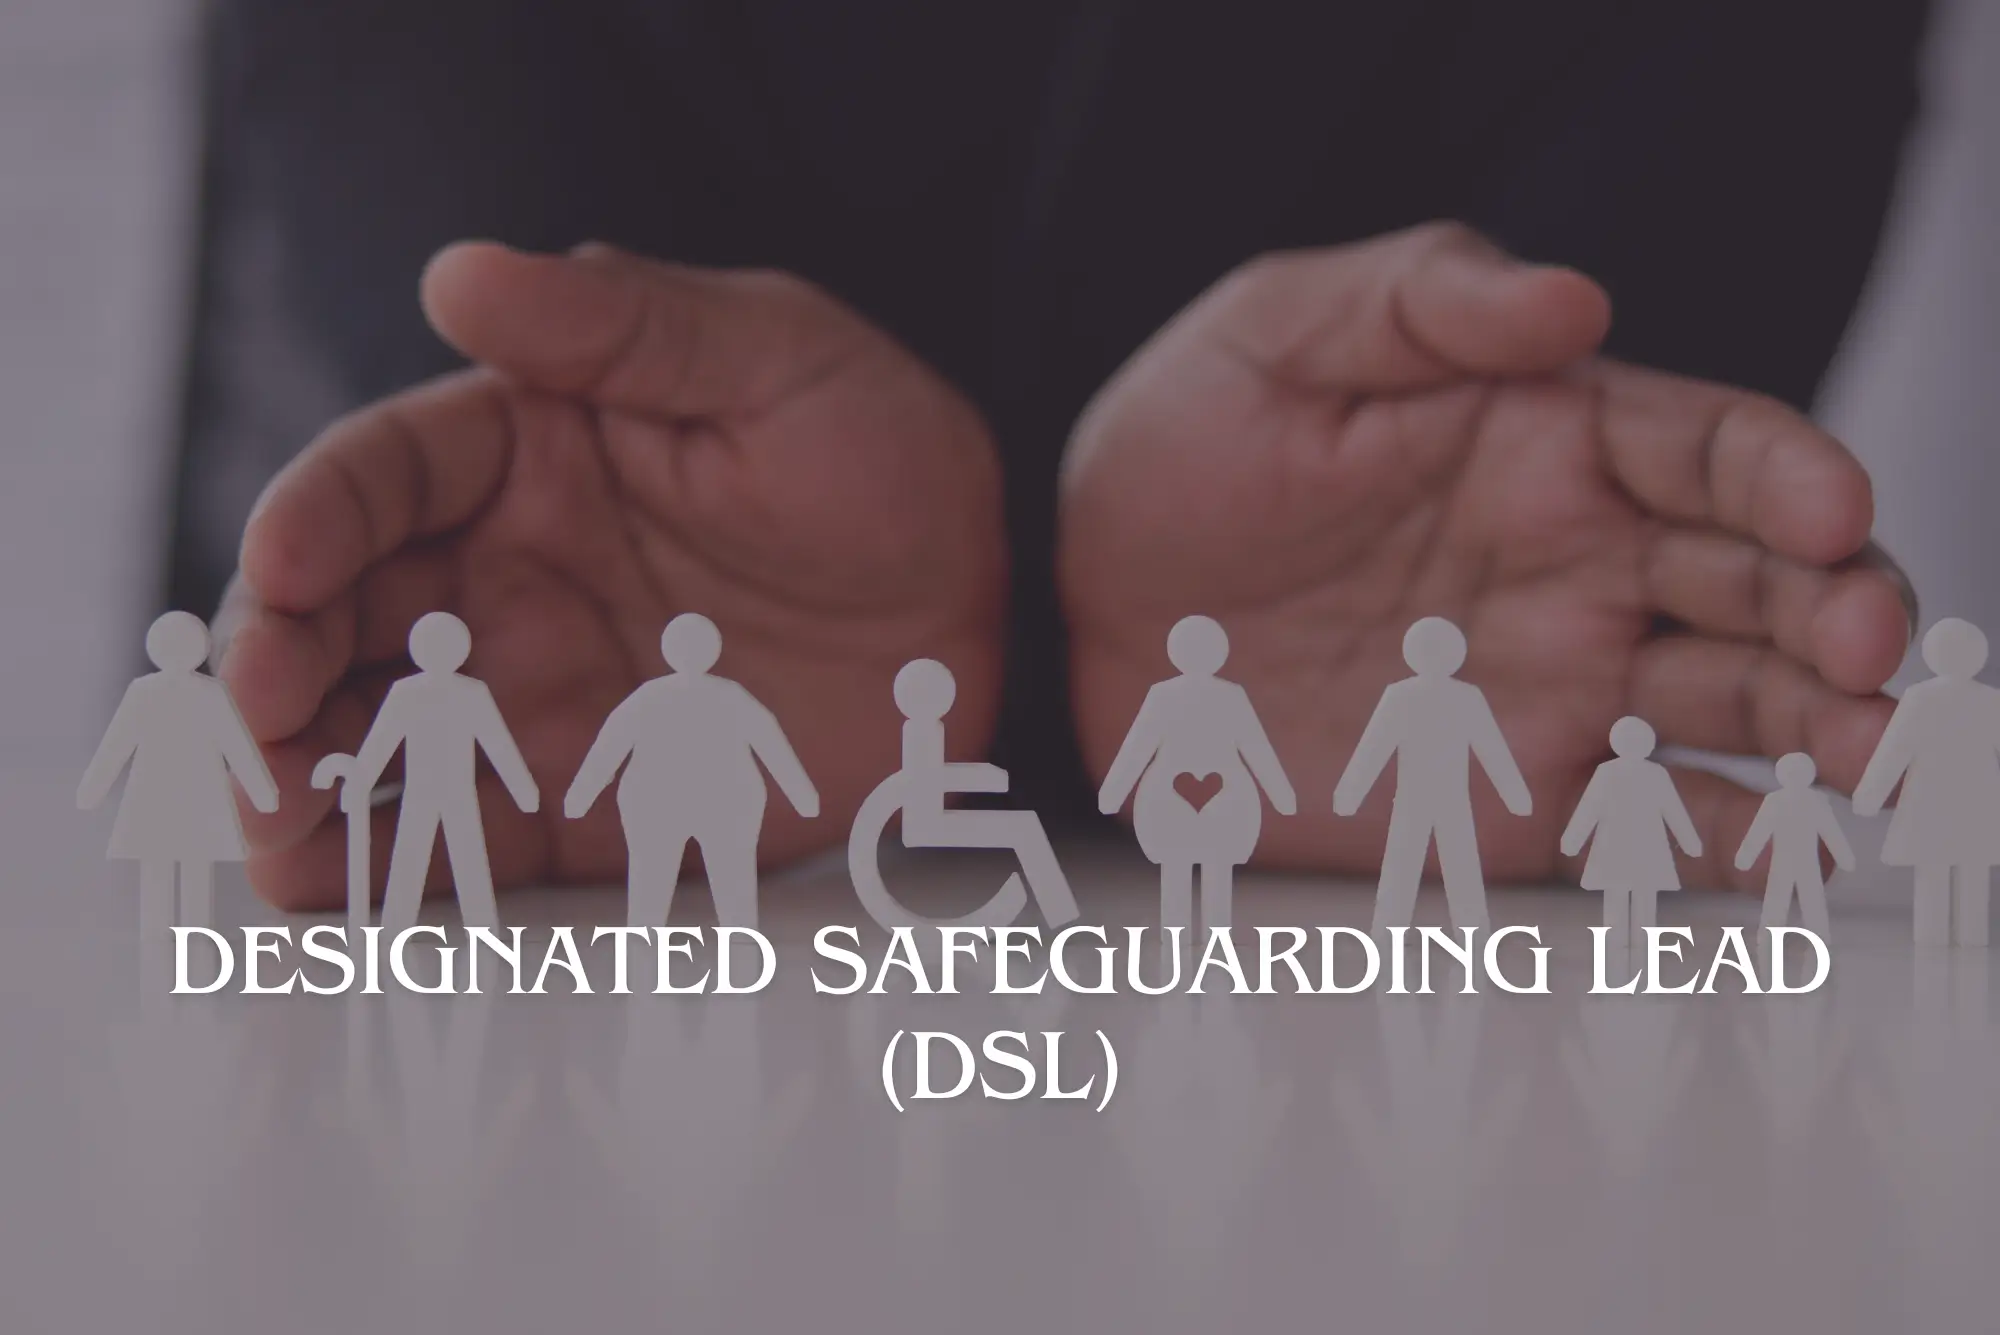
Designated Safeguarding Lead (DSL)
By IOMH - Institute of Mental Health
Overview of Designated Safeguarding Lead (DSL) Join our Designated Safeguarding Lead (DSL) course and discover your hidden skills, setting you on a path to success in this area. Get ready to improve your skills and achieve your biggest goals. The Designated Safeguarding Lead (DSL) course has everything you need to get a great start in this sector. Improving and moving forward is key to getting ahead personally. The Designated Safeguarding Lead (DSL) course is designed to teach you the important stuff quickly and well, helping you to get off to a great start in the field. So, what are you looking for? Enrol now! Get a quick look at the course content: This Designated Safeguarding Lead (DSL) Course will help you to learn: Learn strategies to boost your workplace efficiency. Hone your skills to help you advance your career. Acquire a comprehensive understanding of various topics and tips. Learn in-demand skills that are in high demand among UK employers This course covers the topic you must know to stand against the tough competition. The future is truly yours to seize with this Designated Safeguarding Lead (DSL). Enrol today and complete the course to achieve a certificate that can change your career forever. Details Perks of Learning with IOMH One-To-One Support from a Dedicated Tutor Throughout Your Course. Study Online - Whenever and Wherever You Want. Instant Digital/ PDF Certificate. 100% Money Back Guarantee. 12 Months Access. Process of Evaluation After studying the course, an MCQ exam or assignment will test your skills and knowledge. You have to get a score of 60% to pass the test and get your certificate. Certificate of Achievement Certificate of Completion - Digital / PDF Certificate After completing the Designated Safeguarding Lead (DSL) course, you can order your CPD Accredited Digital / PDF Certificate for £5.99. Certificate of Completion - Hard copy Certificate You can get the CPD Accredited Hard Copy Certificate for £12.99. Shipping Charges: Inside the UK: £3.99 International: £10.99 Who Is This Course for? This Designated Safeguarding Lead (DSL) is suitable for anyone aspiring to start a career in relevant field; even if you are new to this and have no prior knowledge, this course is going to be very easy for you to understand. On the other hand, if you are already working in this sector, this course will be a great source of knowledge for you to improve your existing skills and take them to the next level. This course has been developed with maximum flexibility and accessibility, making it ideal for people who don't have the time to devote to traditional education. Requirements You don't need any educational qualification or experience to enrol in the Designated Safeguarding Lead (DSL) course. Do note: you must be at least 16 years old to enrol. Any internet-connected device, such as a computer, tablet, or smartphone, can access this online course. Career Path The certification and skills you get from this Designated Safeguarding Lead (DSL) Course can help you advance your career and gain expertise in several fields, allowing you to apply for high-paying jobs in related sectors. Course Curriculum Safeguarding Children Module 01: Introduction to Safeguarding 00:21:00 Module 02: Laws and Guidance 00:43:00 Module 03: Child Abuse 00:49:00 Module 04: Child Sexual Exploitation 00:38:00 Module 05: Responding to Disclosure and Reporting 00:25:00 Module 06: Risks and Risk Assessment 00:16:00 Module 07: Things to Do after Referral 00:24:00 Module 08: Record Keeping 00:18:00 Safeguarding Vulnerable Adults Module 01: An Introduction to Safeguarding of Vulnerable Adults 00:15:00 Module 02: Safeguarding Legislations 00:25:00 Module 03: Understanding Abuse and Neglect 00:25:00 Module 04: Safeguarding Vulnerable AdultsPolicy, Roles and Responsibilities 00:23:00 Module 05: Understanding the Importance of Communication in Care 00:20:00 Module 06: Sharing Information and Responding To a Disclosure 00:20:00 Module 07: Reporting Your Concern 00:17:00
Speech & Language Therapy for Children
By IOMH - Institute of Mental Health
Overview of Speech & Language Therapy for Children Unearthing a Child's Voice: Opportunities in Speech & Language Therapy Imagine a child's laughter cascading like wind chimes, weaving stories with every syllable. But for some children, words are elusive butterflies, just out of reach. This is where the magic of Speech & Language Therapy comes in. In the UK alone, millions of children experience communication challenges, hindering their academic and social development. Yet, the demand for skilled therapists far outpaces the supply. This presents a unique opportunity for you to become a champion, a bridge builder, helping children unlock their voices and unleash their full potential. This comprehensive Speech & Language Therapy for Children course , equips you with the knowledge and tools to navigate this rewarding field. From understanding the intricate science of speech to mastering therapeutic techniques, you'll delve into the fascinating world of child development, language acquisition, and joint disorders like stuttering and dyslexia. Empower a child's voice. Shape a brighter future. Enroll in 'Speech & Language Therapy for Children' today! Get a quick look at the course content: This Speech & Language Therapy for Children Course will help you to learn: Comprehend the theoretical underpinnings of speech & language development. Analyse the anatomical and physiological systems supporting speech production. Identify and diagnose various speech & language disorders in children. Develop and implement effective intervention strategies for diverse needs. Evaluate the impact of therapy and collaborate with families and educators. Promote literacy and language acquisition through engaging, evidence-based practices. This course covers the topics you must know to stand against the tough competition. The future is truly yours to seize with this Speech & Language Therapy for Children. Enrol today and complete the course to achieve a certificate that can change your career forever. Details Perks of Learning with IOMH One-to-one support from a dedicated tutor throughout your course. Study online - whenever and wherever you want. Instant Digital/ PDF certificate 100% money back guarantee 12 months access Process of Evaluation After studying the course, your skills and knowledge will be tested with an MCQ exam or assignment. You have to get a score of 60% to pass the test and get your certificate. Certificate of Achievement Certificate of Completion - Digital / PDF Certificate After completing the Speech & Language Therapy for Children course, you can order your CPD Accredited Digital / PDF Certificate for £5.99. Certificate of Completion - Hard copy Certificate You can get the CPD Accredited Hard Copy Certificate for £12.99. Shipping Charges: Inside the UK: £3.99 International: £10.99 Who Is This Course for? Aspiring speech & language therapists Teachers, child care professionals, and early years practitioners Parents and caregivers seeking to support their child's communication development Anyone passionate about child development and language acquisition Requirements You don't need any educational qualification or experience to enrol in the Speech & Language Therapy for Children course. Do note: you must be at least 16 years old to enrol. Any internet-connected device, such as a computer, tablet, or smartphone, can access this online course. Career Path Speech & Language Therapist - £28K to £50K/year Educational Psychologist - £30K to £55K/year SEN (Special Educational Needs) Teacher - £27K to £45K/year Early Years Practitioner - £22K to £35K/year Language Assistant - £20K to £30K/year Course Curriculum Module 01: An Overview Of Speech Therapy An Overview Of Speech Therapy 00:13:00 Module 02: The Science Of Speech The Science Of Speech 00:20:00 Module 03: The Anatomy Of Speech The Anatomy of Speech 01:00:00 Module 04: Characteristic Of Speech: Linguistic Discipline Characteristic of Speech: Linguistic Discipline 00:27:00 Module 05: Literacy And Language Development Literacy and Language Development 00:22:00 Module 06: Child Speech & Language Disorders Child Speech & Language Disorders 00:32:00

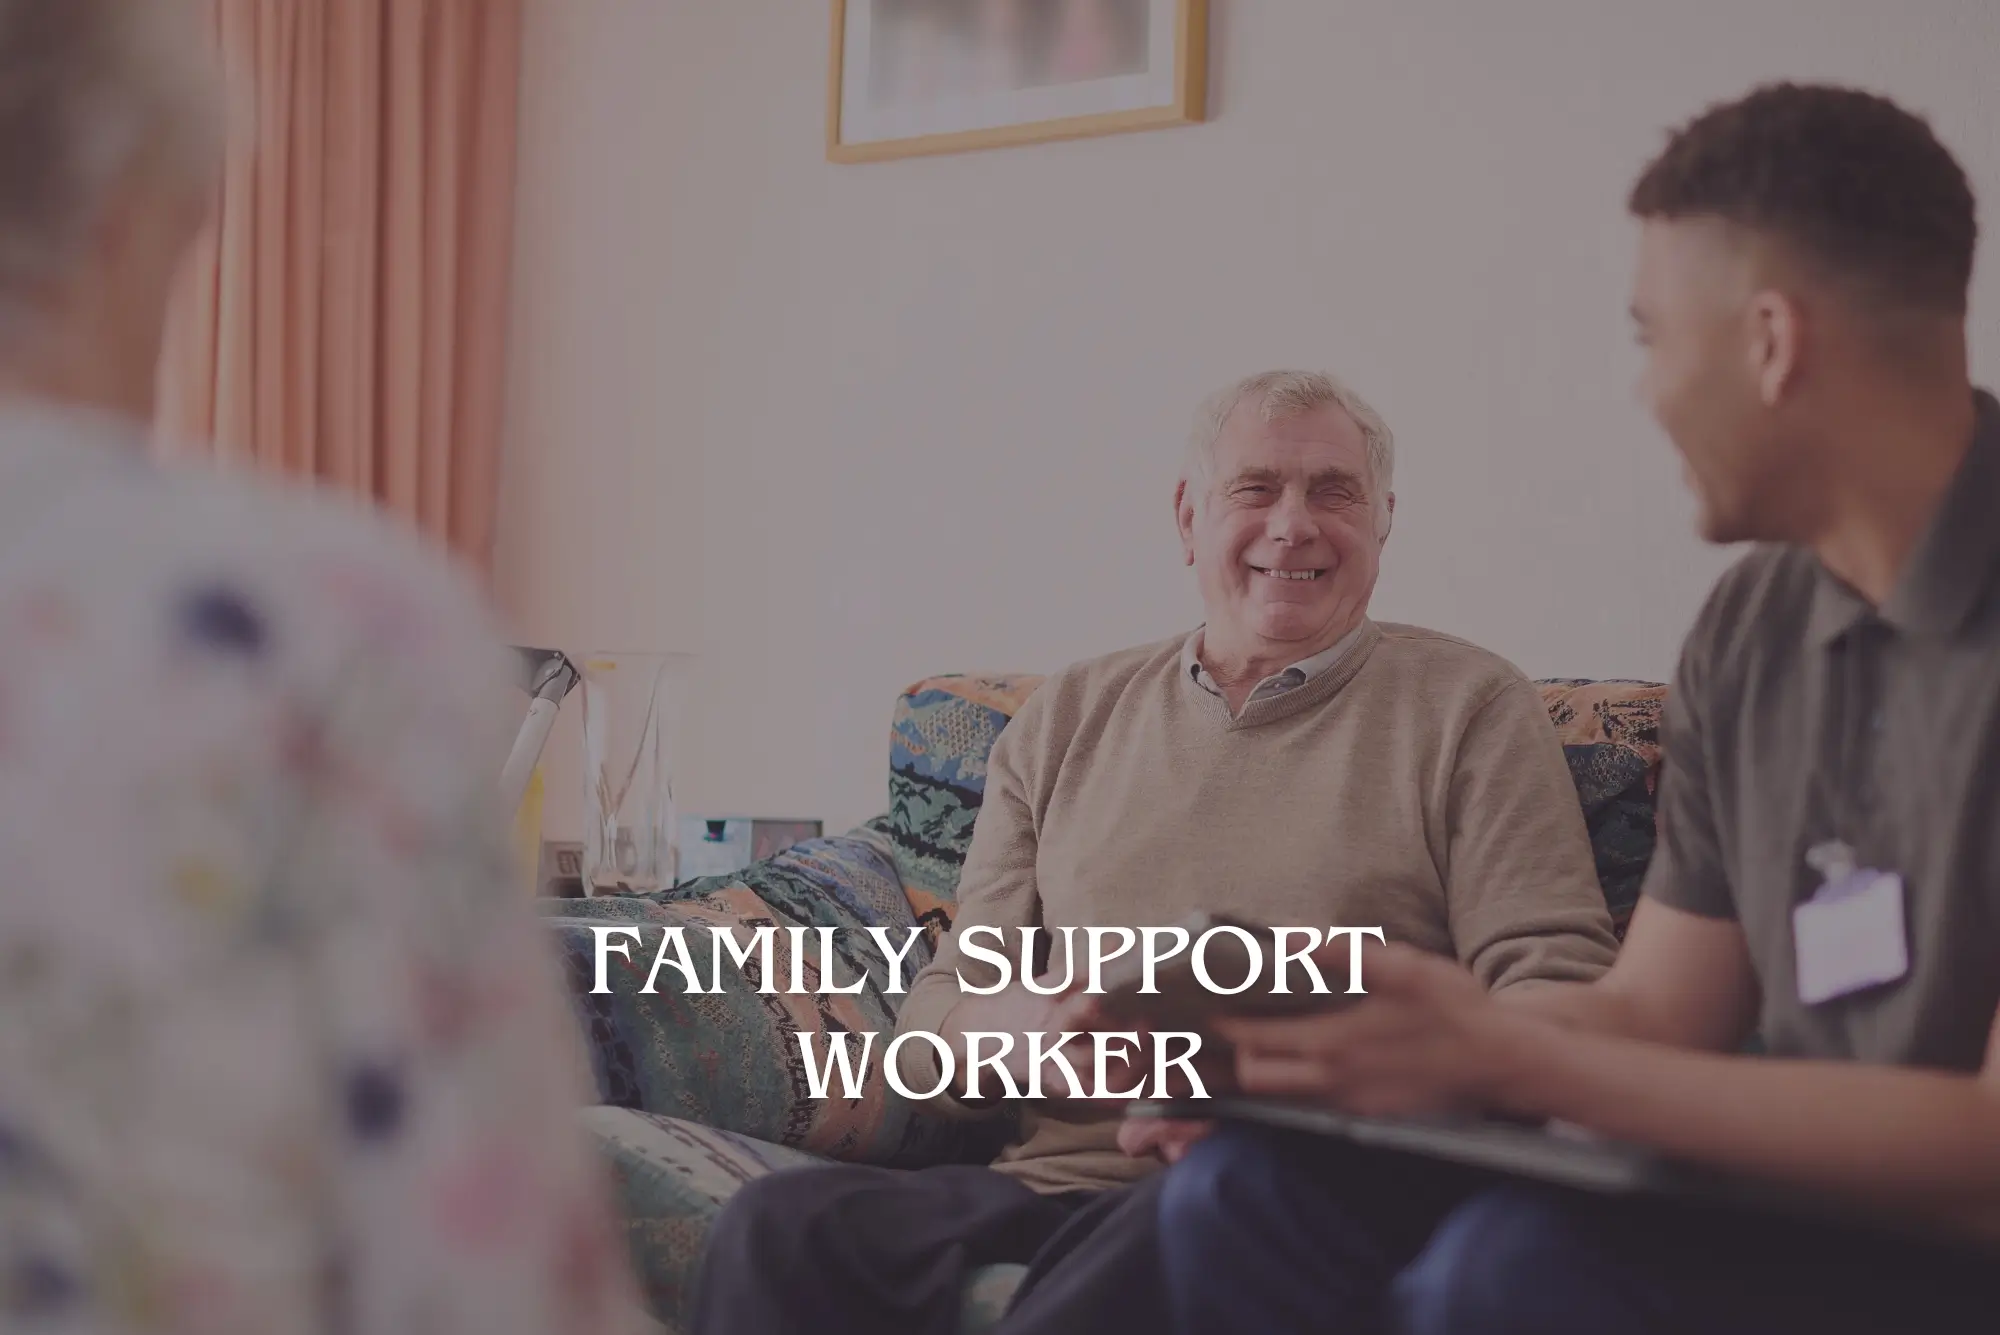
Family Support Worker
By IOMH - Institute of Mental Health
Overview of Family Support Worker The family support worker role has become increasingly pivotal in the ever-evolving landscape of family dynamics. Statistics indicate that 1 in 9 families in the UK need support. This course offers a gateway to a rewarding career dedicated to empowering families and fostering resilience. With a focus on practical strategies, legislative frameworks, and effective communication, you'll gain the expertise to navigate complex family situations. From addressing sensitive issues to safeguarding vulnerable individuals, this family support worker course equips you with the tools to make a meaningful impact. Explore the nuances of building trust, resolving conflicts, and providing comprehensive support tailored to each family's needs. Seize the opportunity to become a catalyst for positive change, one family at a time. UK statistics reveal a growing demand for skilled professionals in this field, making this course a valuable investment in your future. Unlock your potential and start on a journey that transcends mere education - it's a calling to uplift communities, one family at a time. Get a quick look at the course content: This Family Support Worker Course will help you to learn: Explain the role and responsibilities of a Family Support Worker. Analyse relevant legislation, policy, and guidance frameworks. Identify and explore strategies for addressing family issues. Apply safeguarding procedures to ensure the well-being of children and adults. Develop effective communication skills for building trust with families. Implement approaches to empower families and promote positive change. This course covers the topic you must know to stand against the tough competition. The future is truly yours to seize with this Family Support Worker. Enrol today and complete the course to achieve a certificate that can change your career forever. Details These are Few Family Support Worker Duties: Assess Family Needs: This involves understanding the unique challenges each family faces, such as financial hardship, disability, or relationship difficulties. Develop Support Strategies: Family support workers help families address their needs by offering guidance on budgeting, parenting skills, accessing resources, and communication techniques. Safeguard Children: Identifying and reporting potential threats to children's well-being is crucial. This includes recognising signs of abuse or neglect and following procedures for reporting concerns. Build Trusting Relationships: Establishing rapport and trust with families from diverse backgrounds is essential for adequate support. Collaborate With Professionals: Family support workers work alongside social workers, teachers, and mental health practitioners to ensure families receive comprehensive support. Family support workers are crucial in strengthening family relationships, improving parenting skills, and helping families overcome obstacles. Their duties involve direct support, referrals, advocacy, education, and collaboration with community services. Perks of Learning with IOMH One-To-One Support from a Dedicated Tutor Throughout Your Course. Study Online - Whenever and Wherever You Want. Instant Digital/ PDF Certificate. 100% Money Back Guarantee. 12 Months Access. Process of Evaluation After studying the course, an MCQ exam or assignment will test your skills and knowledge. You have to get a score of 60% to pass the test and get your certificate. Certificate of Achievement Certificate of Completion - Digital / PDF Certificate After completing the Family Support Worker course, you can order your CPD Accredited Digital / PDF Certificate for £5.99. Certificate of Completion - Hard copy Certificate You can get the CPD Accredited Hard Copy Certificate for £12.99. Shipping Charges: Inside the UK: £3.99 International: £10.99 Who Is This Course for? Individuals interested in pursuing a career as a Family Support Worker. Social workers are looking to enhance their skills in family support. Counsellors are seeking to expand their expertise in family dynamics. Educators and school staff who interact with families regularly. Community workers are dedicated to improving the well-being of families. Requirements You don't need any educational qualification or experience to enrol in the Family Support Worker course. Do note: you must be at least 16 years old to enrol. Any internet-connected device, such as a computer, tablet, or smartphone, can access this online course. Career Path As you complete this course, you'll gain a solid foundation in Family Support Work, opening doors to various fulfilling career opportunities. Consider few potential career paths in the UK, along with their average family support worker salary: Youth Worker: £18K to £28K/year. Social Worker: £25K to £40K/year. Family Support Worker: £20K to £30K/year. Parenting Support Advisor: £22K to £30K/year. Community Outreach Coordinator: £20K to £35K/year. Course Curriculum Family Support Worker Module 01: Introduction to Family Support Work Module 01: Introduction to Family Support Work 00:24:00 Module 02: Legislation, Policy and Guidance Module 02: Legislation, Policy and Guidance 00:51:00 Module 03: Solving Family Issues - Part 1 Module 03: Solving Family Issues - Part 1 00:49:00 Module 04: Solving Family Issues - part 2 Module 04: Solving Family Issues - part 2 00:45:00 Module 05: Safeguarding - Assessing need and providing help (Part 1) Module 05: Safeguarding - Assessing need and providing help (Part 1) 00:33:00 Module 06: Safeguarding - Assessing Need and Providing Help (Part 2) Module 06: Safeguarding - Assessing Need and Providing Help (Part 2) 00:37:00 Module 07: Building Relationships Module 07: Building Relationships 00:36:00 Optional Assignment Optional Assignment - Family Support Worker 00:00:00