- Professional Development
- Medicine & Nursing
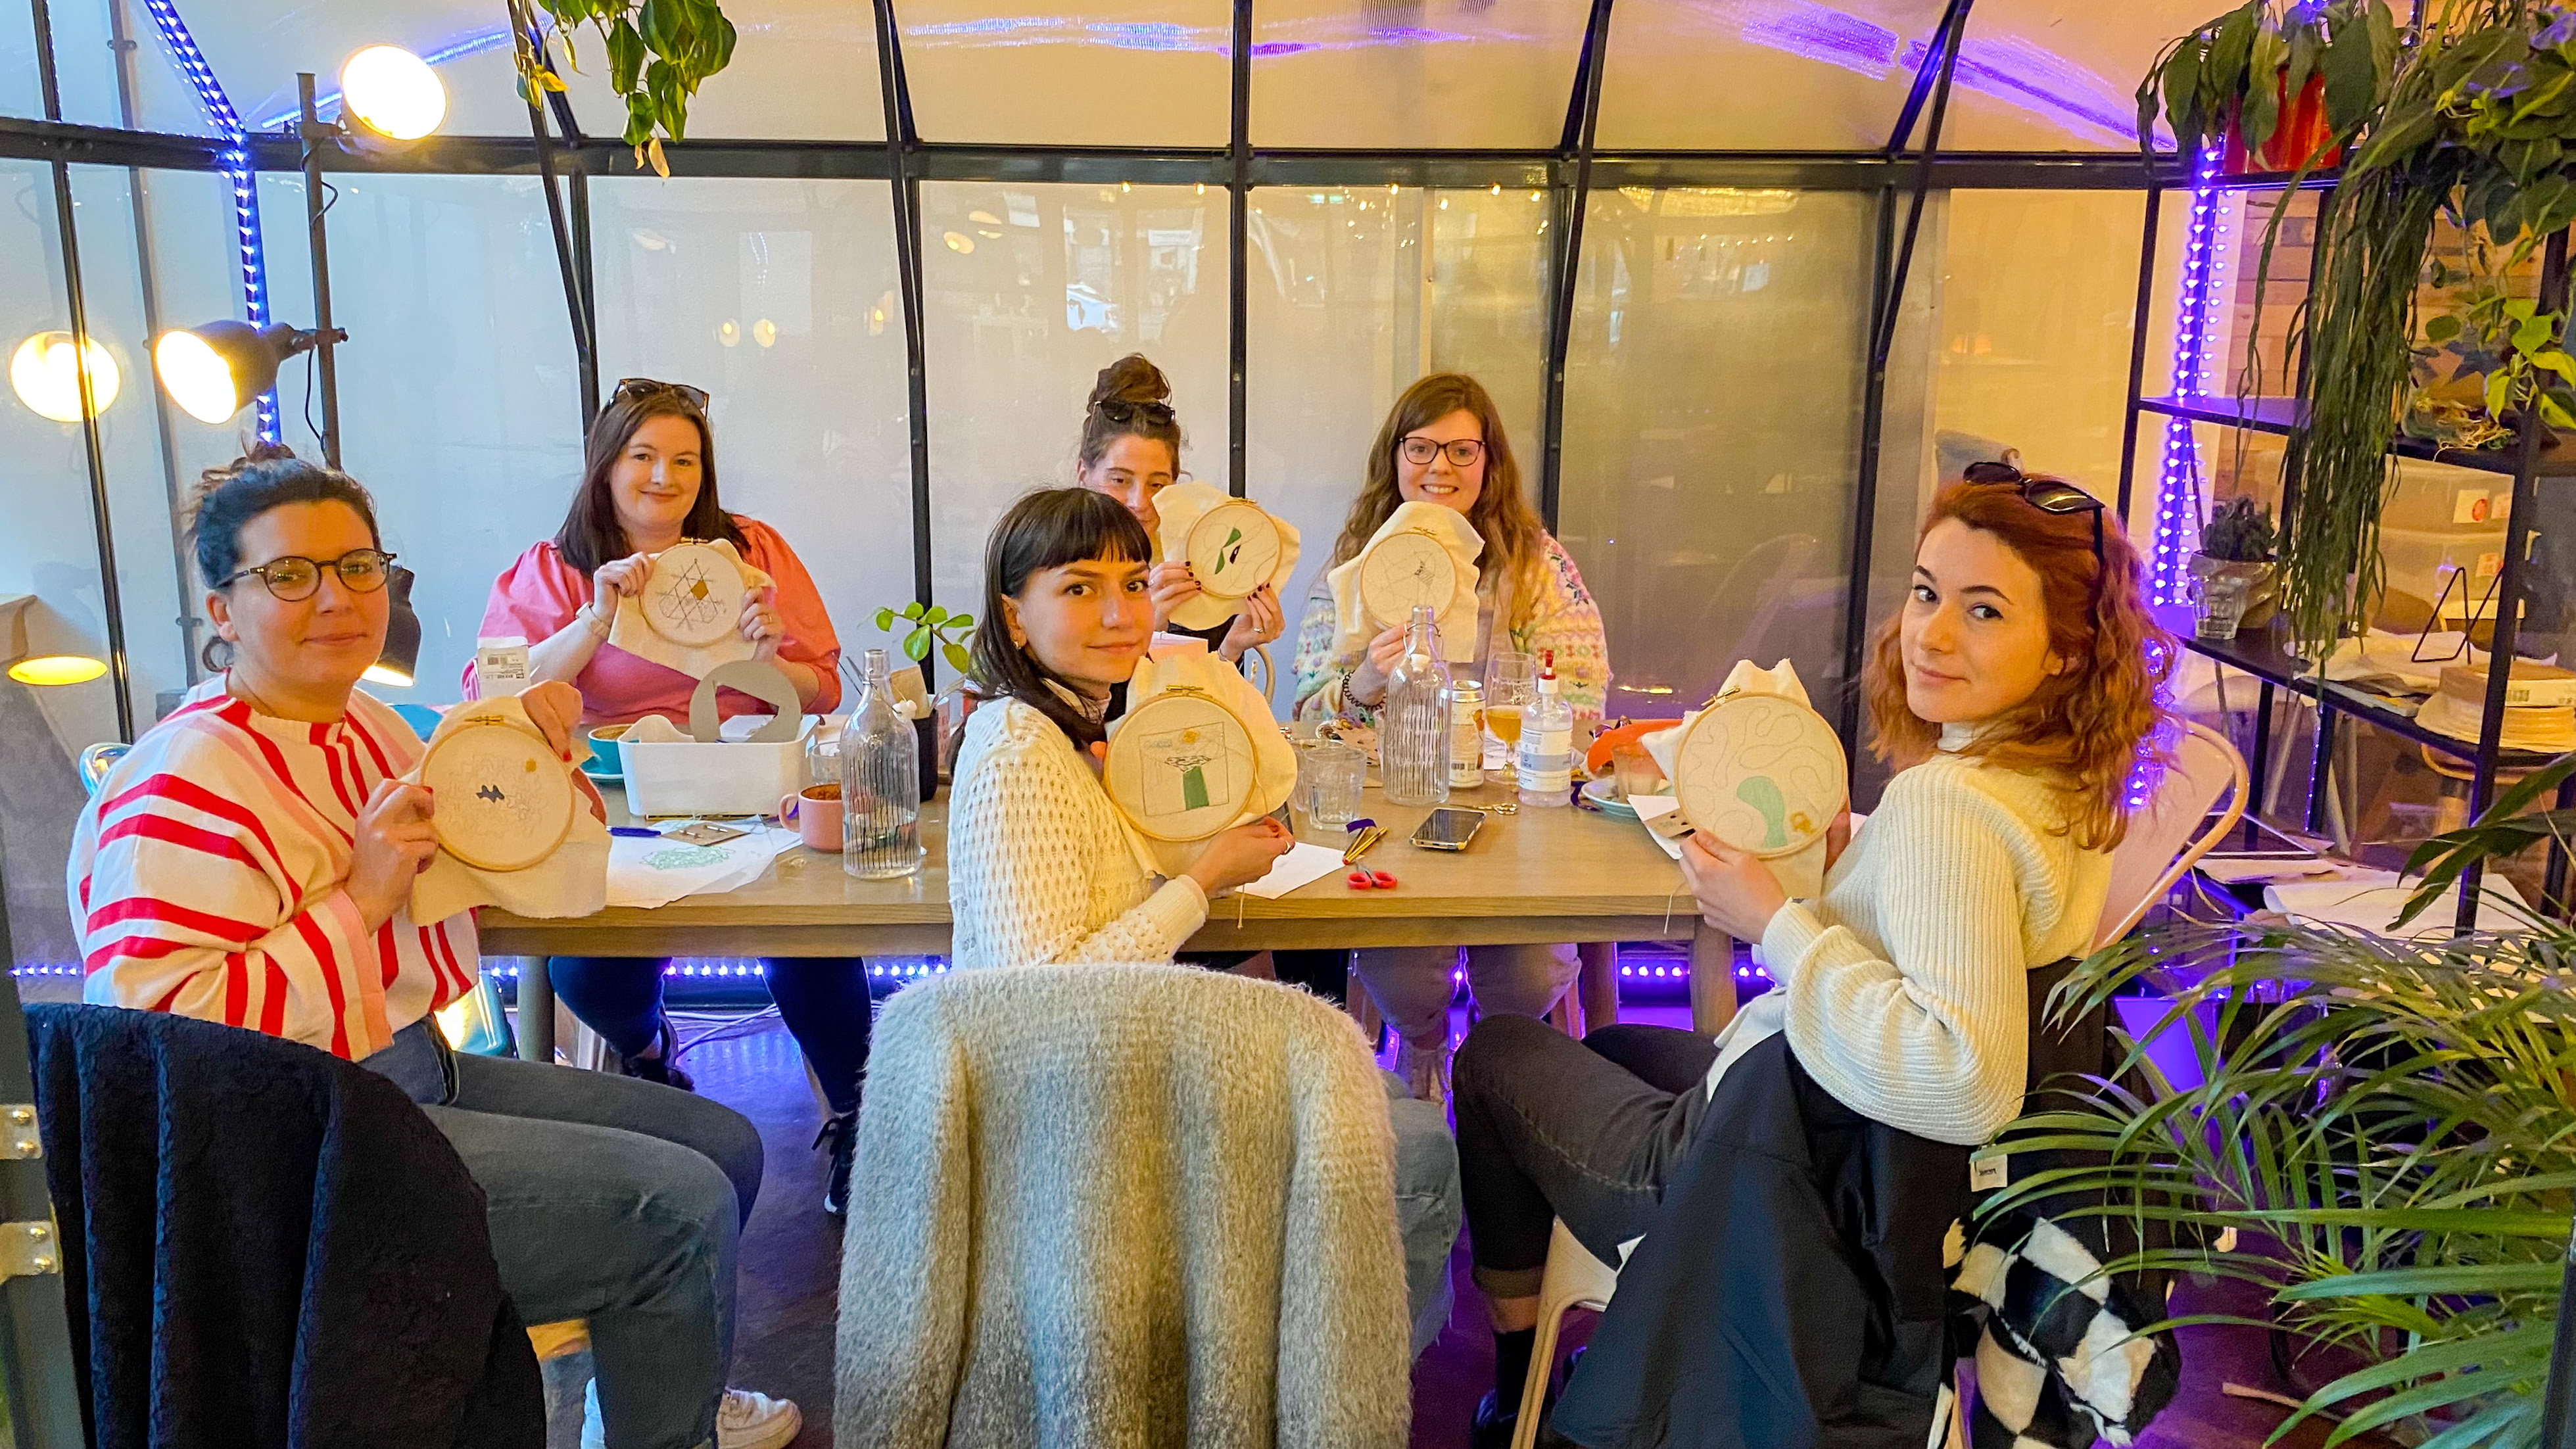
- Arts & Crafts
- Health & Wellbeing
- Personal Development
626 Courses in Edinburgh
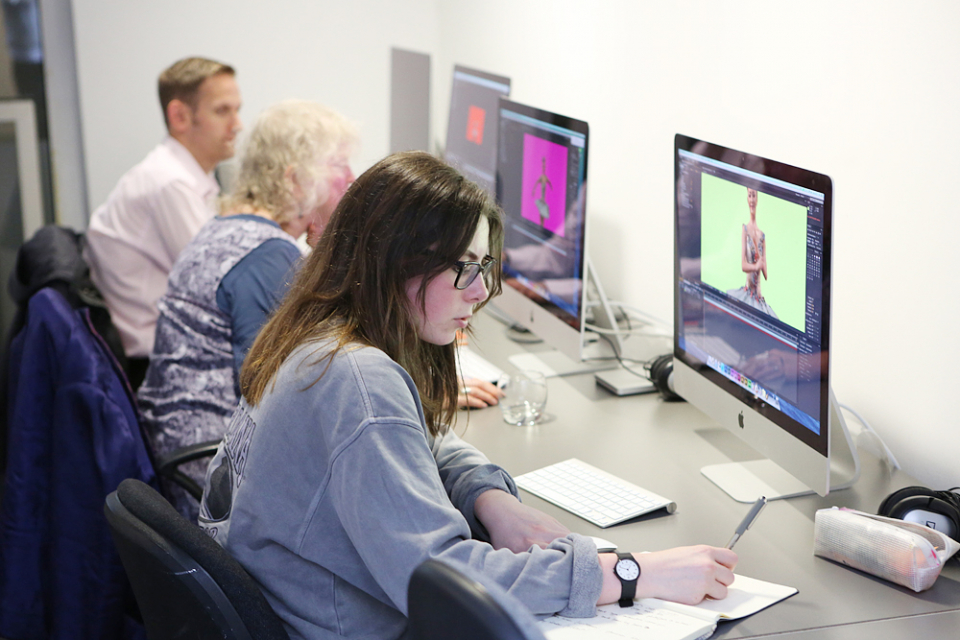
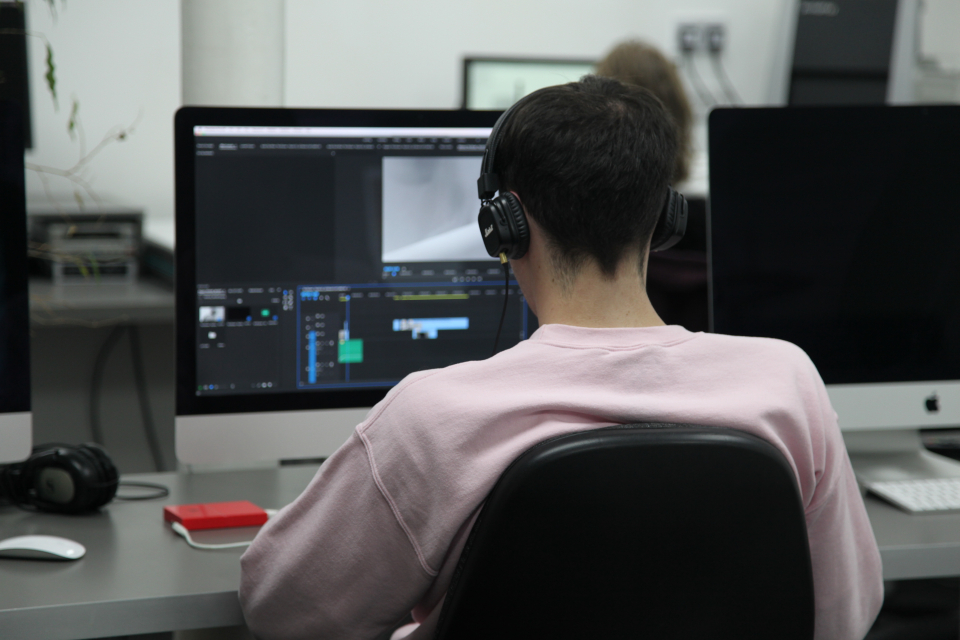
Adobe After Effects CC is the industry leader in video compositing software, offering an exciting and versatile array of applications for the creation of professional moving image work. On this course you will learn a range of visual effects and animation techniques, working between Photoshop and After Effects to create videos which explore text based motion graphics, character animation, green-screen compositing, 3D landscapes, motion tracking and lots more in-between. Alongside technical exercises the tutor will screen and discuss relevant artists, designers and filmmakers, providing both the technical skills and inspiration to create your own professional motion graphics work, filmic special effects or experimental artists video. Computer experience is required. Week 1 This week we will create a short video that combines text, still image and video layers. Through this exercise you will learn how to: Navigate the workspace on After Effects Set up a project and select a video format Introduce video to the timeline and split layers Change the position and scale of layers Introduce basic text Use selections in Photoshop to create a still image composition Import this composition into After Effects to create a composite video. Week 2 This week we will look at basic animation techniques. Through a series of exercises, you will learn how to: Use Photoshop to great multi-layered elements for animation Import these Photoshop elements into After Effects Work with key-frames and interpolation Add motion blur Duplicate and pre-compose animated elements Create a parallax effect to give the illusion of depth Apply blending modes Work with the puppet tool to create moving joints for an animated character Week 3 This week we will look at converting 2D photographs into a 3D virtual space to provide depth and movement. Through a series of exercises, you will learn how to: Convert a 2D image into a 3D space Set up a multi-layered diorama in Photoshop Import this into After Effects and position the layers within 3D space Create an animated camera move through 3D space Apply depth of field Week 4 This week we will look at working with green-screen compositing to place a live action figure within an animated backdrop. Through a series of exercises, you will learn how to: Work with the Keylight filter Adjust colour balance and tone Composite the figure against an animated background Introduce shadows and highlights Use the green-screen figure to create a silhouette Week 5 This week we will look at applying masks to footage to create cutouts, as well as exploring different applications for effects. Through a series of exercises, you will learn how to: Work with masks Use the Roto-mask tool Apply time re-mapping Work with ‘Particle Playground’ and similar effects Week 6 This week we will look at working with the paint panel to create animated drawings, as well as using motion tracking to attach a text element to a moving point within a video clip. Finally, we will cover how to output your final project, adding sound effects and applying a basic edit. Through a series of exercises, you will learn how to: Create text based motion graphics (kinetic typography) Apply motion tracking to live action footage Render your project Add sound to your video Courses are subject to minimum enrolment. Please register early, within five days of the start date, to reduce the likelihood of course cancellation. Please read our cancellation policy before booking. Students, anyone over the age of 65, and those in receipt of any form of benefits can claim the concessionary price, offering a 10% discount on the full course price. Valid proof of eligibility must be produced on the first day of the course. Please use the code CONCESSION when prompted at checkout.
Iconic Edinburgh Photo Tour
By Iconic Tours
Tour start from St Giles Cathedral or your hotel and last approx 3 hours This photo tour usually starts in Edinb8rgh Old Town but as it is a private tour this can be adjusted to suit your needs. It starts off by instructing you how to get the best out of your camera if you require this (and skipping it if you don't) and then the emphasis is on capturing stunning photographs of Edinburgh rather than the usual tourist snaps that most people will capture. You really get to see Edinburgh in a different way and with the help and advice of Will who has worked as press photographer, covered humanitarian crises in Iraq, shot covers and content for Lonely Planet guidebooks, covered Fashion week for many years but now concentrates on teaching from his vast skill set. If you prefer the tour to take place in the New Town, Dean Village etc we can do that too. We want you to see the best of Edinburgh, hear some amazing stories about our city and leave with great photos regardless of your skill level before your tour or the equipment you use. We will teach you how to get the best out of your camera or smart phone, explain everything in easy to understand language and help you "see" how to get a great photo. * We welcome people of all levels and have catered for absolute beginners to professionals. * As well as photography, you'll learn the background to the places we visit and the stories behind Edinburgh's colourful characters past and present. * We'll recommend places to eat/drink and other things to do in town to avoid the usual tourist traps. * We don't mind if you use a smart phone, compact camera or DSLR, we'll help you get amazing photos using anything. *We keep it simple, understandable and in no time you'll be getting photos you love. *Why choose us? We have a wealth of professional experience, our photography clients include Lonely Planet, getty images and we have been exhibited globally. We take our experience and break it down to keep it simple, effective and easy for you to pick up and develop your own style on our fun and friendly tour. * We recommend bringing the camera you are most comfortable with, whether it is a DSLR or a smartphone. * For cameras with manual settings, we recommend a wide-medium range zoom (24-105mm range) as being the most useful but anything wider (16-35mm) or longer (70-200mm) as well as prime lenses (50mm fixed lens for example) will also be used on the session. * If you are using a smartphone we recommend you download the "Snapseed" app before the tour. It's free and it an amazing editing tool. * Please make sure your batteries are fully charged and have spare batteries with you. * Please make sure you have space on your memory card/device. ALL OUR PHOTO TOURS ARE PRIVATE TOURS SO WE CAN CONCENTRATE 100% on you: These tours run daily at 9.00am, 1.00pm and 5.00pm subject to availability. Our private tour is tailored to suit your needs, whether you want in depth 1-on-1 instruction with your camera, just want to see the best of the city on your own, or you are already know about your camera functions and just want find the best places off the beaten track to get the best images then this is the tour for you. Where this tour goes does depend on the light, but we can get to areas you might not otherwise get to. What we see and what we can do is decided by you. Private tours are £120 for 1 person and add £30pp thereafter

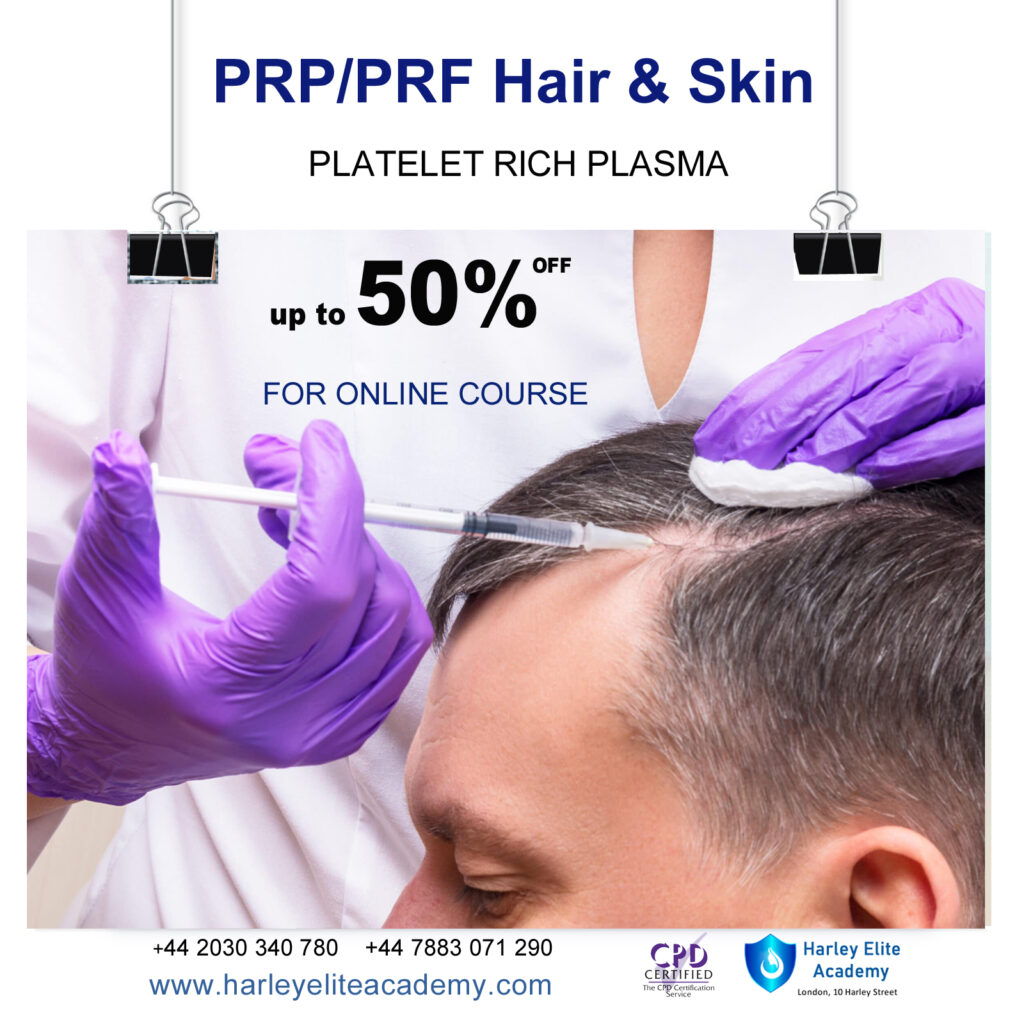
PRP / PRF SKIN & HAIR COURSE
By Harley Elite Academy (HeLa)
MASTERCLASS 8 CPD POINTS 1 DAY INTENSIVE COURSE ONLINE or IN-CLINIC NOTE! After booking we will contact you for scheduling the exact course date! Courses dates are subject to change due to mentors availability. We will inform you via email if a date becomes available! CLINICAL PRP • Sports medicine • Traumatology • Ophthalmic • Burn trauma • Wound healing –diabetic foot • Skin grafting • Dentistry-sinus lift • Tooth implants. PRP theory & equipment: Training Online Theory will enable you to understand: Anatomy Vascular Supply, Contraindications Patient consultation Complications Management Post treatment advice Dealing with equipment A certification of training will be provided upon completion of the course. Aesthetic PRP • Skin rejuvenation • Hair restoration • Fat grafting in combination PRP • Post laser •Acne & Rosacea •Acne scar •TissueVolumisation alternative of HA fillers •Aesthetic gynecology /urology. Plathelet Rich Plasma We will cover pertinent information including mechanism of action, safety and efficacy issues, management and treatment of complications, dilution guidelines, and more. Hands on practical session – skin rejuvenation and hair loss Extraction, Preparation and Dosage Management Injection techniques – face, neck and head (hair loss); also the use of cannula Upon successful completion of the course, you will receive a certificate and title of PRP Certified Practitioner. MASTER CLASS PRP & PRF During the course we are providing . Taking blood and how to use a Centrifuge . PRP injecting techniques in face neck and décolletage hands. PRP Microneedling using a DERMAPEN. Combination treatment PRP with Mesotherapy. MECHANISM OF ACTION Platelets + Leucocytes form 3D mesh release of GF Chemo attraction and migration of macrophages and stem cells Stem cells proliferates by mitosis Stem cells undergo differentiation process BENEFIT FROM PRP TREATMENT & THERAPYExperience the advantages of PRP treatment and therapy, utilizing autologous blood with natural growth factors for disease-free and hypoallergenic benefits. Boost wound healing by regulating mitosis, proliferation, and differentiation, enhancing tissue with collagen, elastin, and hyaluronic acid. Benefit from improved tissue oxygenation, nutrition flow, and support for procedures like hair transplants, fat transfers, and skin grafts.PRP works effectively in skin rejuvenation, facial resurfacing, microneedling, and combines well with HA, PDO threads, skin boosters, peeling, or CO2 lasers. It also proves beneficial for hair restoration, showing positive results in various protocols for Androgenic alopecia and age-related hair loss.PRP where works .Skin rejuvenation-facial resurfacing.application-injection alone. Microneedling Combination with HA,Combination with PDO threads,Skin boosters , peeling or CO2 lasers Hair restoration, Multiple protocols with positive results Evidence for improvement of: Androgenic alopecia-male and females, “spot hair lost” Improvement of age related hair loss. You need to be medically qualified as a doctor, dentist, nurse, pharmacist or paramedic with full governing body registration and have completed a Foundation Filler Course and to have administered a number of cases. Additional information ATTENDANCE ONLINE (Theory), IN CLINIC (Practice) COURSE LEVEL EXPERT | Masterclass Course
Ophthalmology for HCAs
By M&K Update Ltd
Develop essential knowledge and appropriate skills in the quality treatment and management of the patient with an eye problem

This course is about learning to use your digital SLR camera with confidence and skill. Explore aperture, shutter speed and megapixels through to white balance, ISO ratings, histograms and much more! With a blend of technical tuition, demonstration, practical assignments and group discussion, you will discover how to unlock your camera’s full potential and take better pictures. If you don’t have a digital SLR we can often provide one for you – please select from dropdown at time of booking. You can also use your interchangeable or fixed lens system, mirrorless or rangefinder camera on this course. Bridge cameras without interchangeable lenses can be used too, but please note that they may not allow the full range of camera controls. Computer experience is beneficial. Day 1: Features of your Digital SLR camera. Areas covered include aperture, shutter speed and megapixels through to white balance, ISO ratings, histograms and all the rest. There will be time to ask questions and demonstrate the advantages of each feature, getting to grips with the “how’s” and “why’s” We will put into practise all the features that have been discussed and demonstrated in session one on a walk around town with your cameras. We will come back to the gallery, learn a little about methods of downloading and viewing photographs, and explore some basic Photoshop tools. Day 2: Exercises, Assignments and Review Question time. There will be a few formal exercises set up to practise on and time to discuss the elements learned in day one. We will also discuss in more detail the more compositional aspects of photography, and prepare for the afternoons’ assignment. You will carry out your assignments outside the gallery and be given a time to return with your completed assignments. Assignment presentations, troubleshooting and review. The last half will involve editing and viewing the photographs, open discussions and asking any final questions. Courses are subject to minimum enrolment. Please register early, within five days of the start date, to reduce the likelihood of course cancellation. Please read our cancellation policy before booking. Students, anyone over the age of 65, and those in receipt of any form of benefits can claim the concessionary price, offering a 10% discount on the full course price. Valid proof of eligibility must be produced on the first day of the course. Please use the code CONCESSION when prompted at checkout.
Emergency First Aid at Work 6 hours (VTQ) Level 3 - EFAW - Group booking up to 6 participants
(27)By PETM
Embark on a journey to become a workplace hero with our comprehensive one-day First Aid course. This dynamic and engaging training program is designed to equip you with the essential skills and knowledge needed to handle emergency situations confidently and effectively.

This 6 week course will support you to make the most of the range of applications Adobe Premiere Pro offers in the production of video. Sample footage will be provided for you throughout the course, but you can also bring along your own video files to work on. The course is quite technical so some computer experience is required. We use Macs on the course – the Premiere interface is the same across operating systems but some shortcuts and menu items are different. Week 1- The basics This week we’ll start with some of the basics, introducing you to editing and Premiere Pro through: A short history of editing; from analogue to digital Getting to know the layout of Premiere Pro Working with ‘bins’ (folders) and creating edit Sequences Making selects from the rushes and sound files by creating in and out points Introducing clips to the timeline and making a simple edit with music Understanding rendering for smooth, full quality playback Week 2- Editing narrative sequences This week we’ll get further stuck into editing by building narrative, focus on offline editing‚ better organisation of your projects and breaking down footage through: Re-linking lost or moved footage Video ingest – importing and organising clips Organising and breaking down rushes using annotated markers and sub-clips Basics of the effects and motion settings Using our skills to create a simple narrative sequence Editing a dialogue sequence Considering the best ways of exporting your film for online Learn Adobe Media Encoder for more efficient exporting Week 3- Video settings, effects & titles This week we will focus in on what makes up video from a technical standpoint. We will then look at how we can work with and alter these parameters for different uses in our films through: Transcoding – converting the footage into an editable file and understanding codecs and meta data Adjusting scale and positioning and using motion keyframes to create movement over time Adding titles and animating them Applying transitions and various stock video effects Layering tracks and using opacity and different layer blending effects Creating masks and using motion tracking Working with green-screen footage, creating mattes, mask filters and working with multiple layers Week 4- Audio & sound This week we’ll consider the importance of sound design and music for narrative and atmosphere in film and experimental video through: Learning how to enhance your film with sound and music Introducing audio and music to the timeline, cutting and leveling Laying down music and cutting the footage to fit Building sound design around an existing edit with sync-sound and SFX Common practice and different approaches for syncing external microphone audio and video Mastering the audio and making sure that it is all levelled Learning how to create subtitles for our films and different methods to export/embed them Week 5- Colour This week we’ll start looking at colour in our videos and what role that plays. We will look at the process of colour grading and changing the mood in our films through: Using Lumetri Colour, the colour-correcting function within Premiere Pro CC Matching the colour of different cameras to create a similar look Creating different “colour grades” to create different atmospheres Stylising our footage Understand the colour limitations of video files and the importance of exposure when filming Working with tracked masks to isolate certain areas within your image to colour correct Week 6- Putting it all together In our final week we will get the opportunity to experiment with all the skills we’ve learned to create an opening sequence for a tv series. This is also a great opportunity to revisit any topics from previous weeks. Courses are subject to minimum enrolment. Please register early, within five days of the start date, to reduce the likelihood of course cancellation. Please read our cancellation policy before booking. Students, anyone over the age of 65, and those in receipt of any form of benefits can claim the concessionary price, offering a 10% discount on the full course price. Valid proof of eligibility must be produced on the first day of the course. Please use the code CONCESSION when prompted at checkout.
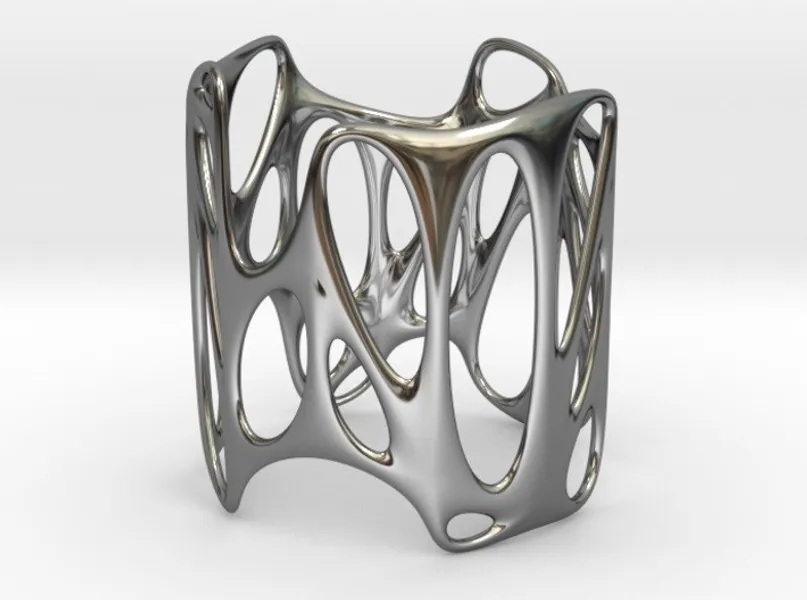
Jewellery Design Course - Create Personalised Jewellery (Blender)
By FluidDesigner
Learn to use 3D printing software to design and create your own pendants, earrings, rings and bracelets. The course is on a one-to-one basis. If you want to be in the jewellery trade as a designer and seller of modern jewellery or you simply want to create designs for yourself and your family then you should be learning how to create your own designs using apps such as Fluid Designer for 3D Printing.
Night Photography
By Rich Dyson
When the sun sets it doesn’t mean that you need to stop taking photographs. The Night Time Experience is designed for photographers who understand the fundamentals of exposure and now want to explore creativity in a different way. A tripod is a must for night-time photography as we look at different ways you can use the available light from the street, vehicles or even the stars to illuminate a scene and create a terrific image that you would want to share. The workshop is very much reliant on the dry weather as we will usually be working with long exposures and some aspects, such as star trails, require a cloudless evening so whilst the agenda for the session isn’t fixed, the techniques you will learn can be applied to many other forms of low light photography. To get the most benefit from this workshop you will need to understand how to use the manual functions on your camera. If you are unsure, we would recommend you attend the Switch to Manual session first. About Ideal if you understand how to set the exposure of your camera manually. Look at different ways of using light to make exciting and interesting photographs as the daylight disappears. Experience level - Intermediate What to Bring You will need a camera that you can set the exposure manually A good sturdy tripod. It is helpful to have a wide-angle lens and a long zoom, although if you only have a kit-lens then that will still be fine for this workshop The timing for this workshop is flexible on the conditions, it will last somewhere between 3 and 4 hours. Ensure your camera batteries are fully charged and consider having a spare An empty memory card, we’ll take about 150 photographs during the session.