- Professional Development
- Medicine & Nursing
- Arts & Crafts
- Health & Wellbeing
- Personal Development
Pressure Ulcer Prevention & Management
By Prima Cura Training
Learners will be able to demonstrate much improved awareness of pressure sores and understand how they can help positively impact the service users' lives. They will be able to identify the function of the different layers of skin, highlight how and why pressure sores form, understand how they can prevent them and have a better understanding of the dressings, aids, and equipment used.

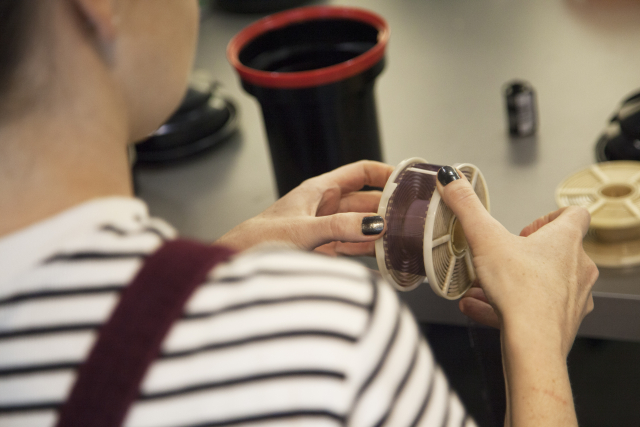
“Any good photography is a successful synthesis of technique and art.” – Andreas Feininger Discover the magic of Black & White Photography and learn some of the secrets the masters use to make stunning photographs. Explore the fundamentals of light and time and no longer be a slave to the Auto setting. Master the manual functions of your 35mm SLR film camera and unlock its true potential. Get to grips with the complete darkroom workflow from processing film to printing your own black & white photographs. Perfect for those with no experience or those looking for a full refresher. If you don’t have a 35mm SLR camera we have a limited number available for use during the course – please make your selection from the dropdown at time of booking. Week 1 Capture, technical notes, discussions, art context Understand the fundamentals of light and time in balancing an accurate exposure; No longer be a slave to the Auto setting! Learn how to utilise the Manual functions of your 35mm SLR camera including aperture, shutter speed, film speed and metering. Understand depth of field, composition and creative photo-making techniques; Appreciate photography within an art context – Begin to look at the work of other photographers Assignment: You will be given one roll of B&W film to be shot for the second week Week 2 Film processing Learn how to process B&W film by hand in Stills’ darkrooms. We will discuss different film types and chemistry, as well as best practice procedures for film handling. Appreciating photography within an art context-Sally Mann. Week 3 Contact Printing Gain an appreciation of general darkroom procedures;understand how to set up your enlarger and make a contact print using the traditional analogue method; learn how to make 8×10″ work prints using the single filter printing method. All paper and chemistry will be provided. Week 4 Darkroom printing This last session will allow participants to keep on printing with some one to one attention. We will also explore some basic dodging and burning and other printing techniques to get the most from your negatives and make a series of final prints. Courses are subject to minimum enrolment. Please register early, within five days of the start date, to reduce the likelihood of course cancellation. Please read our cancellation policy before booking. Students, anyone over the age of 65, and those in receipt of any form of benefits can claim the concessionary price, offering a 10% discount on the full course price. Valid proof of eligibility must be produced on the first day of the course. Please use the code CONCESSION when prompted at checkout. Stills uses ILFORD PHOTO chemicals on this course that can potentially pose a risk to pregnant and breast feeding women and asthmatics. We take every care to ensure good working practices and adequate ventilation in our darkrooms. If you feel you may be adversely affected, please visit the Health and Safety section of Ilford’s website for further information. General Guidance Notes for Pregnant and Breast Feeding Women and Asthmatics: From a risk assessment standpoint, provided all necessary control measures (such as good working practices, adequate ventilation, and the use of appropriate PPE) are in place then pregnant and breastfeeding women should be able to continue to work safely with photochemical products.Inhalation is the main route by which fumes and gases enter the body, making good ventilation a high priority. Exposure to irritant chemicals that would not affect most people may provoke an asthma attack in a person who already has asthma. For example, low levels of the gas sulphur dioxide can be produced by some ILFORD PHOTO processes. Most individuals would be unaffected but asthmatics may suffer adverse affects. ILFORD PHOTO products include no known human carcinogens, and no substances to which phrase R46 (May cause heritable genetic damage) or R64 (May cause harm to breastfed babies) applies. Most ILFORD PHOTO developers use hydroquinone, and their classification therefore includes R40 (Limited evidence of a carcinogenic effect) and R68 (Possible risk of irreversible effects). Some ILFORD PHOTO chemicals use boric acid or borates. These substances are classified as toxic for reproduction. As a result, the classification of some of the powder developers includes R60 (May impair fertility) and R61 (May cause harm to the unborn child).

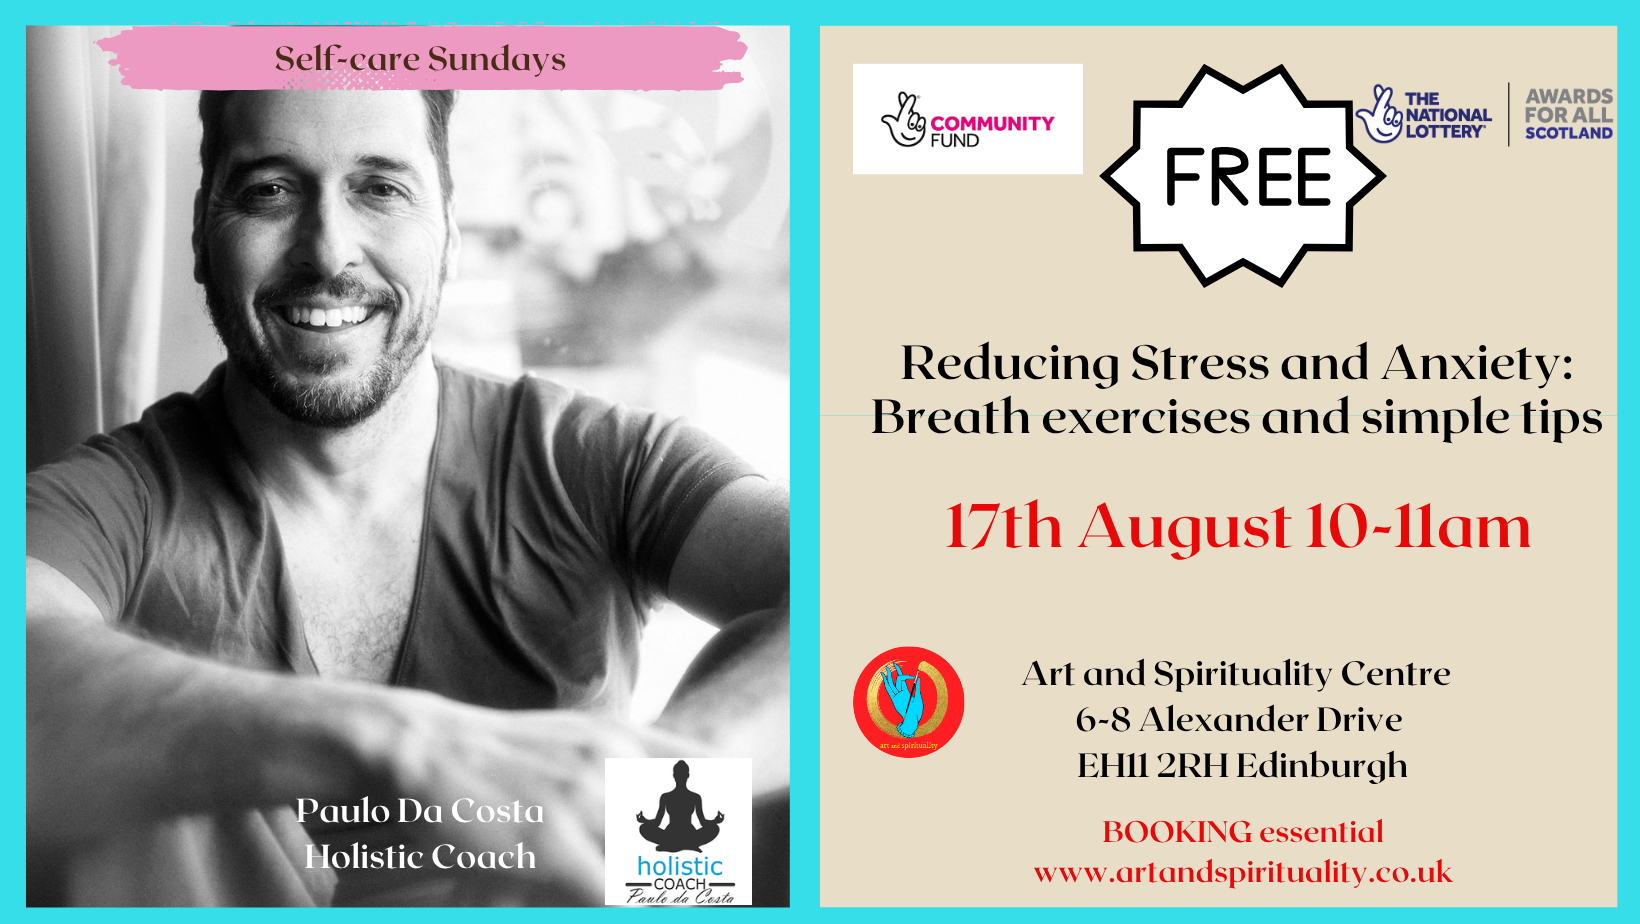
In this free and welcoming session, you’ll learn how to reduce stress and anxiety using one of the most powerful tools you already have: your breath. This practical class is designed to help you identify the signs of stress in your body and mind, and gently guide you toward restoring balance using simple, effective breathing techniques. Whether you're feeling overwhelmed, anxious, or simply in need of a moment of calm, you’ll leave with easy-to-use tools that can support your well-being anytime, anywhere. Through guided exercises and gentle breathwork, we’ll explore: How to recognise stress and anxiety patterns in your daily life Why the breath is such a powerful tool for emotional regulation A variety of simple breathing techniques to calm the nervous system How to use breath as a grounding practice in moments of overwhelm A short relaxation practice to integrate what you’ve learned No previous experience needed—just bring yourself, comfortable clothing, and a willingness to breathe. Come as you are. Leave feeling more grounded, peaceful, and connected to your inner calm. Open to all – everyone welcome. This FREE class is for Adults and is sponsored by Community Fund, Awards for All By attending this class you release the teacher, Giada Gaslini and Art and Spirituality Cic, from any liability arising out of any personal injuries, emotional or physical release, death, physical reaction, expectations of results, theft in the venue or damages that may happen to people and objects while attending. Pictures will be taken during the workshop, if you prefer not to be in them, please inform the teacher.
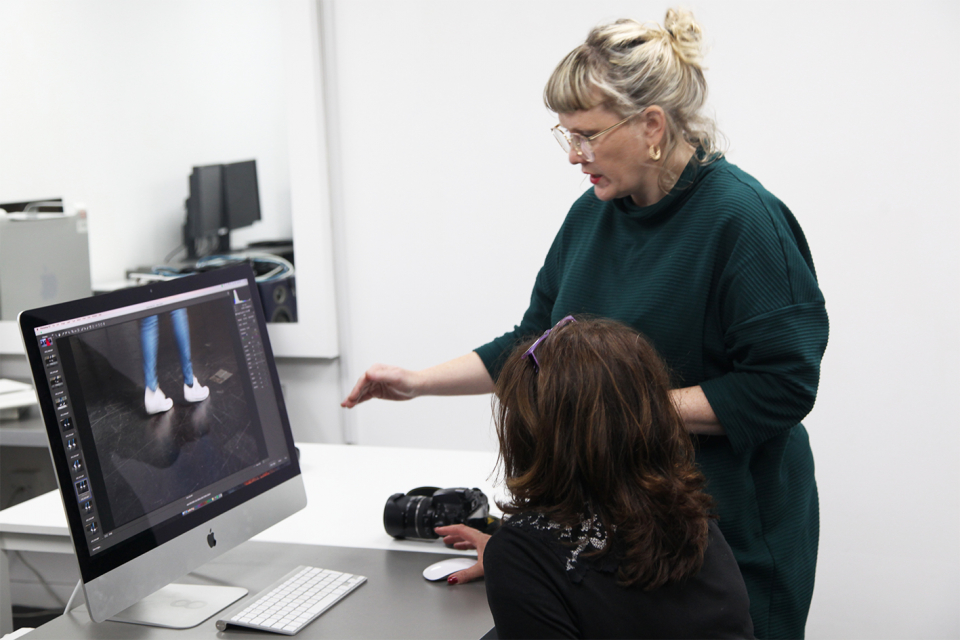
Adobe Lightroom Classic helps solve two of the main problems that afflict digital photographers: how to organise all your files, and how to edit them without spending all of your spare time at a computer screen. Lightroom Classic is a convenient and flexible desktop programme that helps you to organise and sift your photographs into collections, and also gives access to a powerful set of tools that edit, enhance and export your pictures. You can use intuitive pre-set tools, you can create your own favourite adjustments, you can edit large numbers of images with one click of a mouse, and you can fine-tune your image-editing by selectively working on parts of a picture. And you can experiment, secure in the knowledge that you are working in a non-destructive environment and that your pictures are safe. This practical short course will introduce you to the principles of file organisation and image-editing, giving you the knowledge and confidence to choose when to work with this convenient and flexible programme, and whether or not you need the full power of Photoshop Creative Suite. Sample picture files will be provided for you to work with, or you can bring a selection of your own. If you work in RAW, please also bring JPEGs on a memory stick, external hard drive or cloud storage such as Dropbox. Please note this course does not cover the new version of LightRoom CC (which is specifically designed for mobile devices) and only uses the most recent version of LightRoom Classic. Morning You will get to know the Lightroom layout and workspace, importing a set of files into the catalogue and starting to organise the files into collections and adding useful file information. You will explore the opportunities for viewing and aids for analysing the pictures. You will start to use the convenient ‘quick develop’ editing tools. We will then explore the digital image-editing workflow. The usual flow is to correct and optimise before we enhance, interpret or exaggerate. The basic areas to consider are cropping, cloning, colour and tone. Taking each in turn, we will correct and clean up the pictures in a measurable and controllable way. We will investigate techniques to control digital noise, colour distortions and lens corrections. We will work on individual files and also start applying corrections to batches. We will create and apply pre-set corrections. Afternoon Having corrected and optimised the picture files, we can start interpreting, enhancing and exaggerating – the fun part of image-editing! We can try colour to black-and-white conversions, using the many pre-sets to guide; we can selectively boost or restrain colours; we can add grain and textures, vignettes and split tones; we can mix and match these effects and create and save our own favourite effects. We can apply adjustment effects to selected picture areas. Image editing is all good fun, but how do we know where to start? Or when to stop? We‚’ll have a look at some photographic styles and techniques from photography’s rich history to give us some ideas and then try to replicate them. We will discuss ways of using the programme and the technology to develop photographic projects. And we will look at how Lightroom can help us to export those projects as books, prints and slideshows. Designed for those who are already familiar with some digital photography processes but who want to pursue a particular aspect and develop skills in a specific genre. This course is the perfect follow-on from our Digital SLR training courses and will support you in building upon your existing knowledge of camera skills and allow you to work confidently on your own projects. Some prior digital SLR photography experience is therefore recommended. Courses are subject to minimum enrolment. Please register early, within five days of the start date, to reduce the likelihood of course cancellation. Please read our cancellation policy before booking. Students, anyone over the age of 65, and those in receipt of any form of benefits can claim the concessionary price, offering a 10% discount on the full course price. Valid proof of eligibility must be produced on the first day of the course. Please use the code CONCESSION when prompted at checkout.

Even if you have completed a level 3 NVQ or a previous version of the wiring regulations, you still will have to prove you are conversant with the current standards. So therefore, keeping up to date with the latest wiring regulations satisfies these requirements. Although the BS 7671 can be a tricky book to navigate, our course has been designed in such a way as to ensure that you will have the knowledge to identify and find the topics covered in each of the relevant parts of the book. Further information can be found here: C&G 2382-22 BS7671 18th Edition — Optima Electrical Training (optima-ect.com)

Forestbathing Friday
By WanderWomen
Enjoy a morning in a small circle of women, in nature, connecting to yourself & nature in a mix of mindfulness, adventure, nature connection, women & community.

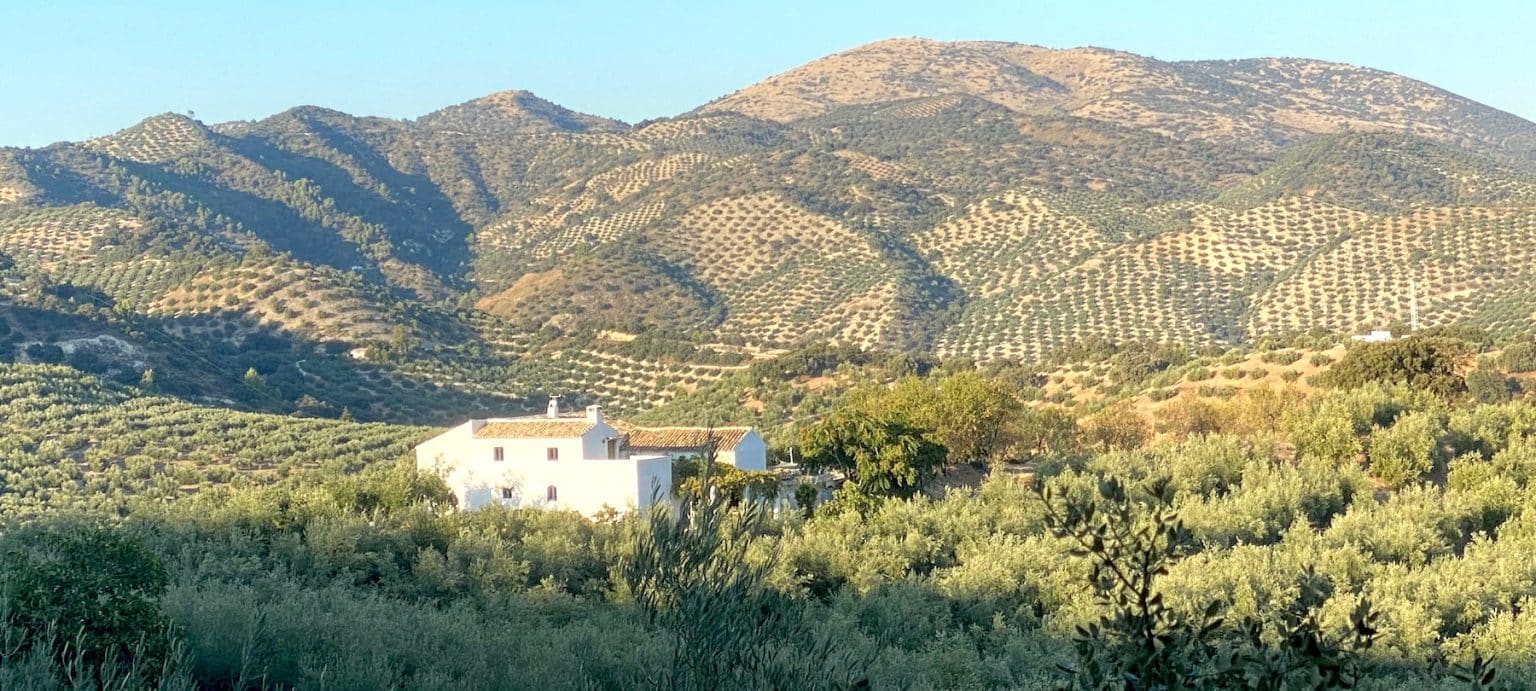
WYLLIE FOX ART TUITION
By Wyllie Fox Tuition
Francesca Wyllie (BA Hons Fine Art) has an amazing north-facing art studio at El Retiro in Andalucia, which was purpose-built to accommodate painting groups. Bespoke painting and sculpture workshops can be arranged or Francesca can travel locally to guide you in your own studios or locations.
DIPLOMA IN TROWEL OCCUPATIONS (CONSTRUCTION)
By Oscar Onsite
REFERENCE CODE 610/0501/0 COURSE LEVEL NVQ Level 3 THIS COURSE IS AVAILABLE IN Course Overview Qualification mandatory units (Mandatory – Credits: 144 Minimum, 144 Maximum) A/650/0295 (VR40V3) Erecting Masonry Structures in the Workplace Level: 2 Credits: 31 D/650/0296 (VR41V3) Setting out to form Masonry Structures in the Workplace Level: 2 Credits: 23 T/650/0293 (VR42V3) Erecting Masonry Cladding in the Workplace Level: 2 Credits: 24 A/503/2772 (209v2) Confirming Work Activities and Resources for an Occupational Work Area in the Workplace Level: 3 Credits: 10 Y/650/1392 (210V3) Developing and maintaining good occupational working relationships in the workplace Level: 3 Credits: 8 R/503/2924 (211v2) Confirming the Occupational Method of Work in the Workplace Level: 3 Credits: 11 A/503/1170 (641) Conforming to General Health, Safety and Welfare in the Workplace Level: 1 Credits: 2 T/650/1391 (49V3) Erecting masonry to form architectural and decorative structures in the workplace Level: 3 Credits: 35 Qualification optional units (Optional – Credits: 19 Minimum, 19 Maximum) H/650/0298 (VR44V3) Erect Thin Joint Masonry Structures in the Workplace Level: 2 Credits: 24 Y/650/0294 (VR50V3) Repairing and Maintaining Masonry Structures in the Workplace Level: 3 Credits: 25 R/650/0292 (VR639V3) Installing Drainage in the Workplace Level: 2 Credits: 19 F/650/0297 (VR810V1) Installing and forming specialist masonry elements in the workplace Level: 3 Credits: 21