- Professional Development
- Medicine & Nursing
- Arts & Crafts
- Health & Wellbeing
- Personal Development

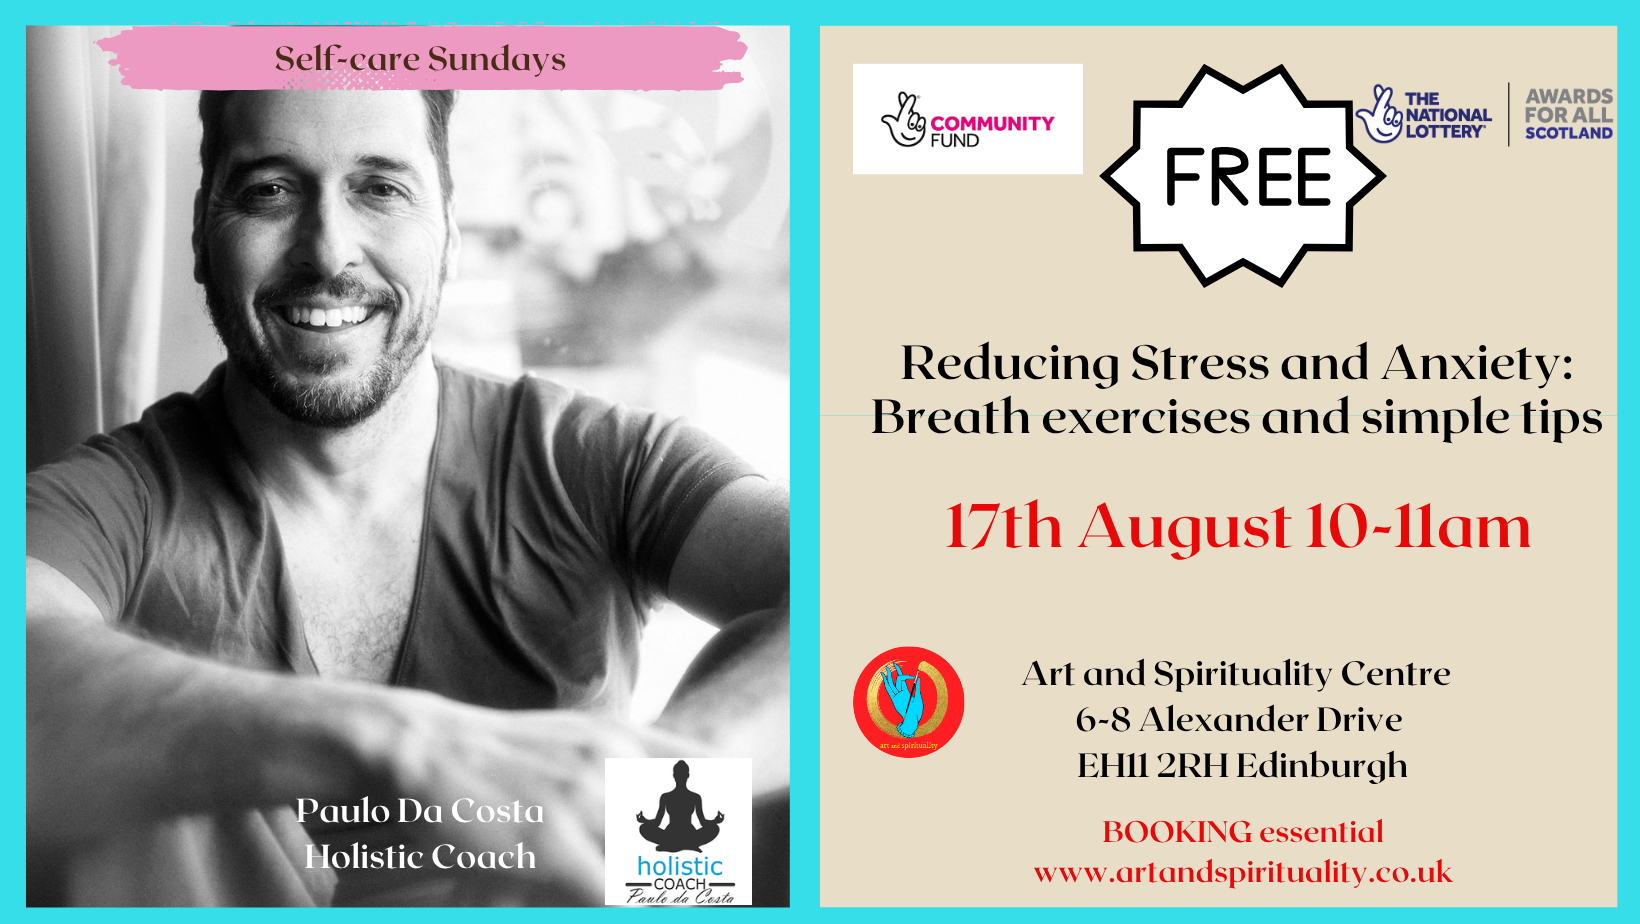
In this free and welcoming session, you’ll learn how to reduce stress and anxiety using one of the most powerful tools you already have: your breath. This practical class is designed to help you identify the signs of stress in your body and mind, and gently guide you toward restoring balance using simple, effective breathing techniques. Whether you're feeling overwhelmed, anxious, or simply in need of a moment of calm, you’ll leave with easy-to-use tools that can support your well-being anytime, anywhere. Through guided exercises and gentle breathwork, we’ll explore: How to recognise stress and anxiety patterns in your daily life Why the breath is such a powerful tool for emotional regulation A variety of simple breathing techniques to calm the nervous system How to use breath as a grounding practice in moments of overwhelm A short relaxation practice to integrate what you’ve learned No previous experience needed—just bring yourself, comfortable clothing, and a willingness to breathe. Come as you are. Leave feeling more grounded, peaceful, and connected to your inner calm. Open to all – everyone welcome. This FREE class is for Adults and is sponsored by Community Fund, Awards for All By attending this class you release the teacher, Giada Gaslini and Art and Spirituality Cic, from any liability arising out of any personal injuries, emotional or physical release, death, physical reaction, expectations of results, theft in the venue or damages that may happen to people and objects while attending. Pictures will be taken during the workshop, if you prefer not to be in them, please inform the teacher.
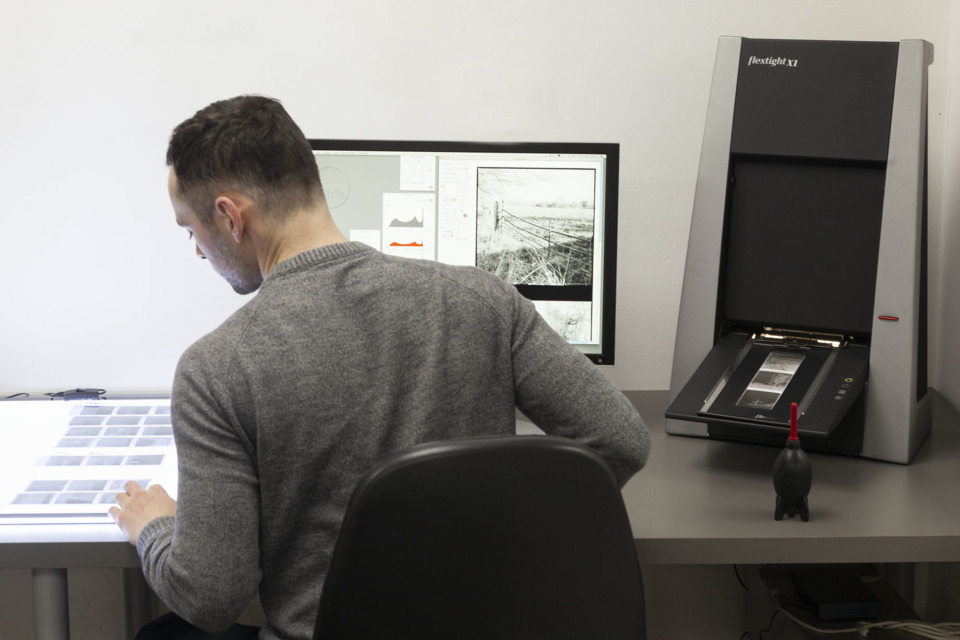
Do you have a growing mountain of negatives and/or prints and wish to have them as digital files? This course will equip you with the skills to digitally archive your collection ready for reprinting and sharing online! It can be intimidating to approach alone, but this class will break the process down into an easy step-by-step tutorial – from scanning, to editing, and exporting. Having completed the course, participants will have a solid understanding of the required processes and can go on to take full control of their negatives and potential outputs. This workshop will take you through the scanning process – turning analogue negatives/prints into digital files – using two different scanners: an Epson flatbed and a Hasselblad virtual drum scanner. Providing an opportunity to look at how best to scan and restore prints as well as negatives, you will learn the benefits of both scanning systems and understand when and why to use them. Once images are scanned, you will then be shown how to take full advantage of all the information you have captured to really get the most out of the files. The course will guide you through the editing process using Adobe Photoshop to bring your photos up to the highest standard, utilizing colour correction, levels, adjustments as well as a walkthrough of the processes used to clean dust and scratches from your images. You will be shown how to export files for digital printing as well as for sharing online. All equipment and software will be provided for you, but in order to get the most out of the course you are encouraged to bring along a varied selection of negatives and/or prints to use during the course. It is estimated that you will have time to scan up to a dozen images during the day, so please do not bring along whole archives at this stage! Having completed the course you will be able to return to Stills to confidently use the scanning facilities here on a session or daily basis. However, much of the information and learning from these systems can be directly applied to your own home scanning setup if required. Courses are subject to minimum enrolment. Please register early, within five days of the start date, to reduce the likelihood of course cancellation. Please read our cancellation policy before booking. Students, anyone over the age of 65, and those in receipt of any form of benefits can claim the concessionary price, offering a 10% discount on the full course price. Valid proof of eligibility must be produced on the first day of the course. Please use the code CONCESSION when prompted at checkout.
Production Sharing Contracts (PSC) & Related Agreements
By EnergyEdge - Training for a Sustainable Energy Future
Gain a deep understanding of Production Sharing Contracts (PSC) and related agreements through our expert-led course. Enroll now and excel in your field with EnergyEdge.

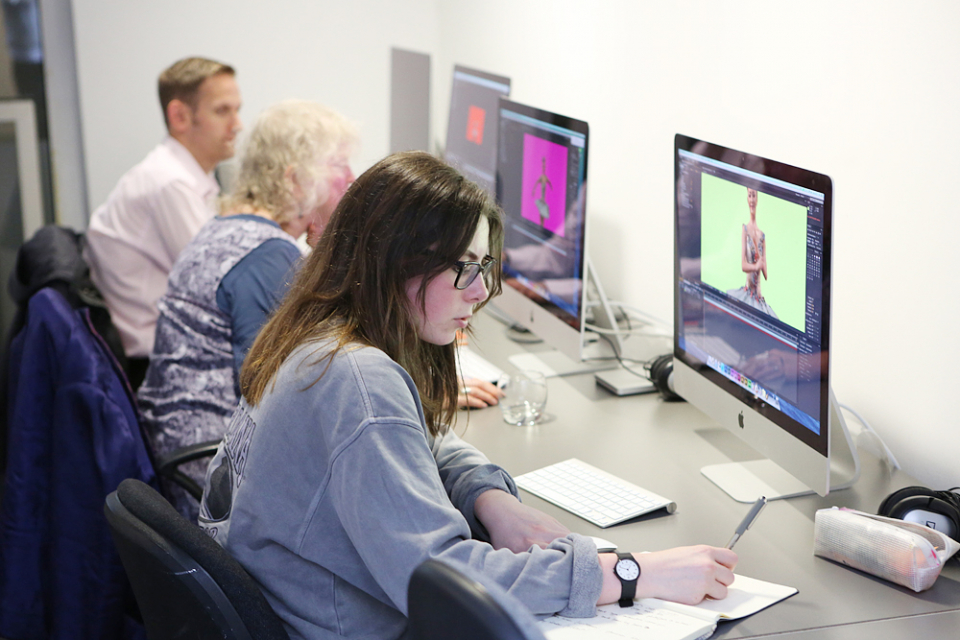
Adobe After Effects CC is the industry leader in video compositing software, offering an exciting and versatile array of applications for the creation of professional moving image work. On this course you will learn a range of visual effects and animation techniques, working between Photoshop and After Effects to create videos which explore text based motion graphics, character animation, green-screen compositing, 3D landscapes, motion tracking and lots more in-between. Alongside technical exercises the tutor will screen and discuss relevant artists, designers and filmmakers, providing both the technical skills and inspiration to create your own professional motion graphics work, filmic special effects or experimental artists video. Computer experience is required. Week 1 This week we will create a short video that combines text, still image and video layers. Through this exercise you will learn how to: Navigate the workspace on After Effects Set up a project and select a video format Introduce video to the timeline and split layers Change the position and scale of layers Introduce basic text Use selections in Photoshop to create a still image composition Import this composition into After Effects to create a composite video. Week 2 This week we will look at basic animation techniques. Through a series of exercises, you will learn how to: Use Photoshop to great multi-layered elements for animation Import these Photoshop elements into After Effects Work with key-frames and interpolation Add motion blur Duplicate and pre-compose animated elements Create a parallax effect to give the illusion of depth Apply blending modes Work with the puppet tool to create moving joints for an animated character Week 3 This week we will look at converting 2D photographs into a 3D virtual space to provide depth and movement. Through a series of exercises, you will learn how to: Convert a 2D image into a 3D space Set up a multi-layered diorama in Photoshop Import this into After Effects and position the layers within 3D space Create an animated camera move through 3D space Apply depth of field Week 4 This week we will look at working with green-screen compositing to place a live action figure within an animated backdrop. Through a series of exercises, you will learn how to: Work with the Keylight filter Adjust colour balance and tone Composite the figure against an animated background Introduce shadows and highlights Use the green-screen figure to create a silhouette Week 5 This week we will look at applying masks to footage to create cutouts, as well as exploring different applications for effects. Through a series of exercises, you will learn how to: Work with masks Use the Roto-mask tool Apply time re-mapping Work with ‘Particle Playground’ and similar effects Week 6 This week we will look at working with the paint panel to create animated drawings, as well as using motion tracking to attach a text element to a moving point within a video clip. Finally, we will cover how to output your final project, adding sound effects and applying a basic edit. Through a series of exercises, you will learn how to: Create text based motion graphics (kinetic typography) Apply motion tracking to live action footage Render your project Add sound to your video Courses are subject to minimum enrolment. Please register early, within five days of the start date, to reduce the likelihood of course cancellation. Please read our cancellation policy before booking. Students, anyone over the age of 65, and those in receipt of any form of benefits can claim the concessionary price, offering a 10% discount on the full course price. Valid proof of eligibility must be produced on the first day of the course. Please use the code CONCESSION when prompted at checkout.
As phone and tablet cameras continue to improve and App developments become more advanced, mobile photography – previously considered only suitable for quick snaps and throwaway selfies – is more and more becoming recognised as a legitimate photographic medium. And anyone with a phone or tablet can do it! This course will explore the concepts of digital camera photography (and all that it entails) but through the medium of your own mobile device. Through a mixture of discussion and practical work this course will help you to push the limits of what your phone camera can do. As well as exploring the creative side of photography, we’ll break down some of the technical elements to get a better understanding of photography in general and learn how to achieve similar results using your phone or tablet. We’ll explore useful Apps to help get the desired output from your device and spend time looking at postproduction techniques that can improve and enhance your camera photos beyond a casual snapshot. Some of the Apps we will be looking at include Slow Shutter (iOS), VSCO (iOS/Android), Snapseed (iOS/Android), Adobe Lightroom for Mobile (iOS/Android) and Manual Camera (Android). You do not need to have all these downloaded in advance and, please be aware that depending on the capabilities of your phone, some of the features of these apps may not be available to you. This course is suitable for beginners and requires very little technical knowledge – just an enthusiasm and interest in photography and how to get a little more from your device. Please bring comfy weather-appropriate clothing as there will be some time spent outside shooting. Please specify the Make and Model of your mobile device when booking, so that the tutor can provide specific information tailored to your device wherever possible Courses are subject to minimum enrolment. Please register early, within five days of the start date, to reduce the likelihood of course cancellation. Please read our cancellation policy before booking. Students, anyone over the age of 65, and those in receipt of any form of benefits can claim the concessionary price, offering a 10% discount on the full course price. Valid proof of eligibility must be produced on the first day of the course. Please use the code CONCESSION when prompted at checkout.

Data Analysis
By Step Into Learning
Data analysis translates numbers and data into information that can be used to solve problems or track business performance. Data analysis produces graphs, charts, tables and reports. Data analysis is in high demand across all sectors, such as finance, consulting, manufacturing, pharmaceuticals, government and education. The ability to pay attention to detail, communicate well and be highly organised are essential skills for data analysts. They not only need to understand the data but be able to provide insight and analysis through clear visual, written and verbal communication. This course provides the knowledge and skills to help you hone your data analysis skills.

Appreciative Inquiry
By Inovra Group
Overview Appreciative Inquiry is a form of action research that collects people’s stories of best practices. We can use these best practices as a way to initiate organisational change. This course will guide attendees through the process of Appreciative Inquiry (AI) and give them the techniques to succeed in using the AI system. This course will benefit anyone that leads change and wants to create positive dialogue that leads to improvements within their organisation. Description David Cooperrider, Suresh Srivastva, and their colleagues at Case Western Reserve University developed AI in the 1980s. According to them, the aim of Appreciative Inquiry is to help the organisation in: Envisioning a collectively desired future Realising that vision in ways that successfully translate intention into reality and beliefs into practices The AI approach can be applied in almost all groups of people and once the process starts, the change is put in motion. The appreciative approach works in individual conversations among colleagues, managers and employees. AI consultants around the world are increasingly using an appreciative approach to bring about collaborative and strengths-based change. This course will provide attendees with the means to effectively develop the skills of managers for the benefit of their organisation. They will be taken through the full process of appreciative inquiry; developing a wide understanding of the tools and techniques required to effectively improve communication and affect change. What can Appreciative Inquiry achieve? Well, just imagine you were better able to: Solve problems within an organisation in a positive and forward-thinking way. Be more curious and excited about the challenges faced within the business. Ask unconditional, positive questions to strengthen the organisations capacity to increase potential. Approach change in an affirmative mindset. Use questions to create movement and change within the company. Simply apply core communication skills, for overall organisational success Topics covered: What is Appreciative Inquiry? – A review of the subject with an activity that helps embed understanding and a case study that explains the process in action. Benefits of Appreciative Inquiry to the Organisation – Establishing how AI can aid and improve the way an organisation works and how people communicate within it. Exploring how specific organisational issues can be viewed positively. Appreciative Inquiry Questions – Understanding how questions can be used to identify positive organisational improvements and refocus our approach to business issues. Appreciative Inquiry Interviews – A set process for performing AI interviews and framing consultations to get the best out of those involved. A chance to practice the given approach and hone personal skills. The 4D Model – An overview of the AI 4D Model (Discovery, Dream, Design, Destiny) and how it is applied. The 4D Model: Topic – Demonstrating how selecting the topic is the beginning of the 4D model process. Choosing the participants own topic to work on throughout the training. The 4D Model: Discovery – Showing how positive discussions are kick-started at this stage and taking a chance to look at, ‘the best there is and what has been’. The 4D Model: Dream – ‘Thinking big and beyond what they have in the past’. Creating an amazing and positive vision for the future. The 4D Model: Design – Laying the foundation with a design of the vision, principles, and set of propositions that describe the ideal end state. Defining the desired state by creating a hierarchy and blueprint for success. The 4D Model: Destiny – Defining clear actions that will help the organisation and individuals achieve what they have set out to. The output is the self-reinforcing nature of using positive and affirmative inquiry to improve the business. The 4D Model: Summary Task – Review of learning and knowledge check. The Change Process – Exploring Dr. Kotter’s 8-step change process and how it can support the AI approach. Rooms of Change – Understanding feelings and attitudes to change, using this interesting and memorable model. Using an activity to help participants consider their own ‘change position’ and what this might mean for them. Strategies for Managing Change – A simple set of skills to help overcome the challenges faced by people trying to implement change. Applying these strategies to the 4D Model and Appreciative Inquiry. Recall Quiz – A chance to review learning in an engaging way. Summary – Developing actions and key points to take away. Who should attend Managers who want to learn about and practice the Appreciative Inquiry approach to drive positive changes. Requirements for Attendees None.

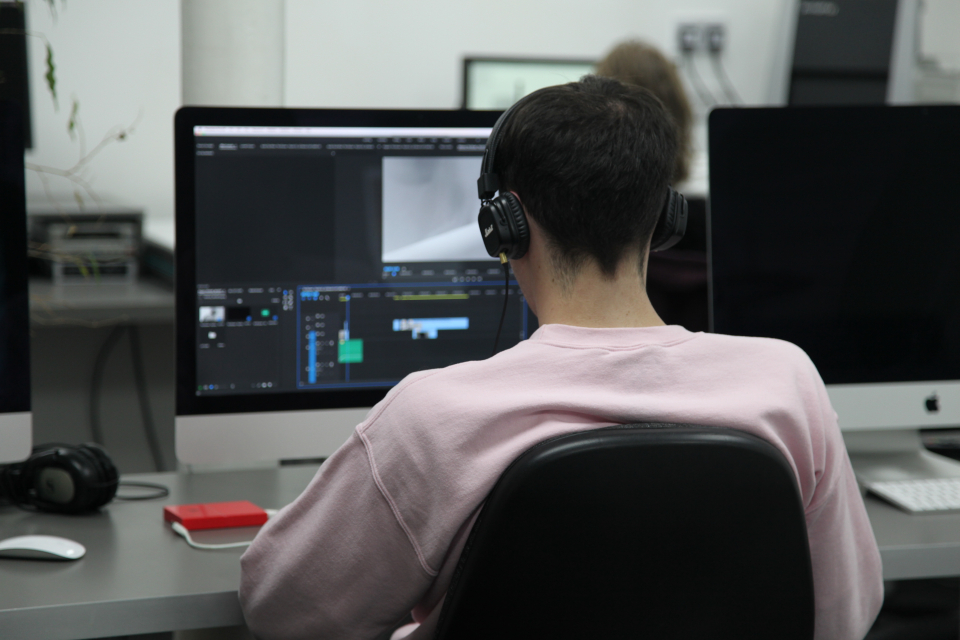
This 6 week course will support you to make the most of the range of applications Adobe Premiere Pro offers in the production of video. Sample footage will be provided for you throughout the course, but you can also bring along your own video files to work on. The course is quite technical so some computer experience is required. We use Macs on the course – the Premiere interface is the same across operating systems but some shortcuts and menu items are different. Week 1- The basics This week we’ll start with some of the basics, introducing you to editing and Premiere Pro through: A short history of editing; from analogue to digital Getting to know the layout of Premiere Pro Working with ‘bins’ (folders) and creating edit Sequences Making selects from the rushes and sound files by creating in and out points Introducing clips to the timeline and making a simple edit with music Understanding rendering for smooth, full quality playback Week 2- Editing narrative sequences This week we’ll get further stuck into editing by building narrative, focus on offline editing‚ better organisation of your projects and breaking down footage through: Re-linking lost or moved footage Video ingest – importing and organising clips Organising and breaking down rushes using annotated markers and sub-clips Basics of the effects and motion settings Using our skills to create a simple narrative sequence Editing a dialogue sequence Considering the best ways of exporting your film for online Learn Adobe Media Encoder for more efficient exporting Week 3- Video settings, effects & titles This week we will focus in on what makes up video from a technical standpoint. We will then look at how we can work with and alter these parameters for different uses in our films through: Transcoding – converting the footage into an editable file and understanding codecs and meta data Adjusting scale and positioning and using motion keyframes to create movement over time Adding titles and animating them Applying transitions and various stock video effects Layering tracks and using opacity and different layer blending effects Creating masks and using motion tracking Working with green-screen footage, creating mattes, mask filters and working with multiple layers Week 4- Audio & sound This week we’ll consider the importance of sound design and music for narrative and atmosphere in film and experimental video through: Learning how to enhance your film with sound and music Introducing audio and music to the timeline, cutting and leveling Laying down music and cutting the footage to fit Building sound design around an existing edit with sync-sound and SFX Common practice and different approaches for syncing external microphone audio and video Mastering the audio and making sure that it is all levelled Learning how to create subtitles for our films and different methods to export/embed them Week 5- Colour This week we’ll start looking at colour in our videos and what role that plays. We will look at the process of colour grading and changing the mood in our films through: Using Lumetri Colour, the colour-correcting function within Premiere Pro CC Matching the colour of different cameras to create a similar look Creating different “colour grades” to create different atmospheres Stylising our footage Understand the colour limitations of video files and the importance of exposure when filming Working with tracked masks to isolate certain areas within your image to colour correct Week 6- Putting it all together In our final week we will get the opportunity to experiment with all the skills we’ve learned to create an opening sequence for a tv series. This is also a great opportunity to revisit any topics from previous weeks. Courses are subject to minimum enrolment. Please register early, within five days of the start date, to reduce the likelihood of course cancellation. Please read our cancellation policy before booking. Students, anyone over the age of 65, and those in receipt of any form of benefits can claim the concessionary price, offering a 10% discount on the full course price. Valid proof of eligibility must be produced on the first day of the course. Please use the code CONCESSION when prompted at checkout.
A perfect follow-on course for those who have already completed an introductory darkroom printing course, or who have a reasonable level of B&W darkroom printing experience. Please bring B&W negatives (35mm or medium format) that relate to each other in some way (subject matter, tonal range, environment etc.) as we will be making a number of prints that can be read as a series. Please note: This course only covers the printing of images and participants should therefore bring previously processed negatives and if you have one, a printed contact sheet along to the session. All other materials (including a range of papers) will be provided. Class sizes are currently limited to 4 participants to enable social distancing throughout the course. Morning Presentation and analysis of what makes a successful series of photographs, and how the final print can be crafted to accentuate the photographer’s artistic intent Reading the negative and pre-visualising the print Re-cap of darkroom skills – including overview of single filter printing, test strips and making a work print Learning how to split-filter print Afternoon Making a printing plan Using fibre based paper Plenty of practical darkroom time to work on your images and gain confidence in the new skills and processes Finishing your prints Courses are subject to minimum enrolment. Please register early, within five days of the start date, to reduce the likelihood of course cancellation. Please read our cancellation policy before booking. Students, anyone over the age of 65, and those in receipt of any form of benefits can claim the concessionary price, offering a 10% discount on the full course price. Valid proof of eligibility must be produced on the first day of the course. Please use the code CONCESSION when prompted at checkout. Stills uses ILFORD PHOTO chemicals on this course that can potentially pose a risk to pregnant and breast feeding women and asthmatics. We take every care to ensure good working practices and adequate ventilation in our darkrooms. If you feel you may be adversely affected, please visit the Health and Safety section of Ilford’s website for further information. General Guidance Notes for Pregnant and Breast Feeding Women and Asthmatics: From a risk assessment standpoint, provided all necessary control measures (such as good working practices, adequate ventilation, and the use of appropriate PPE) are in place then pregnant and breastfeeding women should be able to continue to work safely with photochemical products.Inhalation is the main route by which fumes and gases enter the body, making good ventilation a high priority. Exposure to irritant chemicals that would not affect most people may provoke an asthma attack in a person who already has asthma. For example, low levels of the gas sulphur dioxide can be produced by some ILFORD PHOTO processes. Most individuals would be unaffected but asthmatics may suffer adverse affects. ILFORD PHOTO products include no known human carcinogens, and no substances to which phrase R46 (May cause heritable genetic damage) or R64 (May cause harm to breastfed babies) applies. Most ILFORD PHOTO developers use hydroquinone, and their classification therefore includes R40 (Limited evidence of a carcinogenic effect) and R68 (Possible risk of irreversible effects). Some ILFORD PHOTO chemicals use boric acid or borates. These substances are classified as toxic for reproduction. As a result, the classification of some of the powder developers includes R60 (May impair fertility) and R61 (May cause harm to the unborn child).
