- Professional Development
- Medicine & Nursing
- Arts & Crafts
- Health & Wellbeing
- Personal Development
2188 Courses in Cardiff delivered Live Online
Vray for Architects and Interior Designers 3ds max or Sketchup Training
By London Design Training Courses
Why Choose Vray for Architects and Interior Designers 3ds max or Sketchup Training Course? Click here for info Achieve stunningly realistic renders with our tailored course in V-Ray. Designed for experienced SketchUp and 3ds max users, this advanced training covers model preparation and rendering techniques, customized to your skill level and preferences. Duration: 10 hrs. Method: 1-on-1, Personalized attention. Schedule: Tailor your own hours of your choice, available from Mon to Sat between 9 am and 7 pm. SketchUp is renowned for its user-friendly interface and widespread usage in 3D modeling. Now, with V-Ray for SketchUp, users can take advantage of a powerful rendering tool for unparalleled visualization quality and realism. V-Ray seamlessly integrates into the SketchUp environment, allowing for efficient rendering within your existing workflows. Our course is ideal for those seeking to enhance their SketchUp proficiency by incorporating V-Ray's potent rendering capabilities for 3D models. We adapt the training to your current skill levels in both SketchUp and V-Ray and tailor the content to your modeling requirements and desired rendering quality. V-Ray Rendering Training Course. Course Duration: 10 hours Course Description: This 10-hour course enhances rendering skills with V-Ray, a leading 3D visualization engine. Participants master photorealistic renders, focusing on lighting, materials, and post-production. Covering key concepts, workflow, lighting techniques, material creation, rendering settings, and post-processing, the course ensures stunning visual results. Course Outline: Module 1: Introduction to V-Ray Rendering (1 hour) Overview of V-Ray and its role in 3D rendering Understanding the rendering workflow Setting up V-Ray for your 3D software platform Module 2: Essential Rendering Concepts (1 hour) Understanding global illumination and its impact on renders Exploring image sampling and antialiasing techniques Introduction to render elements for post-processing Module 3: Lighting Techniques (2 hours) Mastering various lighting types in V-Ray Creating natural lighting with HDRI maps Implementing artificial lighting with V-Ray lights Achieving realistic daylight with V-Ray sun and sky Module 4: Material Creation (2 hours) Creating realistic materials using V-Ray material editor Applying textures and procedural maps for added realism Understanding material reflections and refractions Advanced techniques for materials like glass, metal, and fabric Module 5: Rendering Settings and Optimization (1.5 hours) Exploring V-Ray rendering settings for different scenarios Understanding render output options and resolution settings Efficiently using V-Ray distributed rendering for faster results Module 6: Post-Processing with Photoshop (1.5 hours) Enhancing renders through post-processing techniques Compositing render elements for added control Adjusting colors, contrast, and lighting in Photoshop Adding effects and final touches to achieve photorealism Module 7: Advanced Rendering Techniques (1 hour) Working with V-Ray proxies and instancing for complex scenes Utilizing V-Ray displacement for intricate detailing Understanding depth of field and motion blur effects Module 8: Real-World Project (1 hour) Applying the skills learned to complete a real-world rendering project Guidance and feedback from the instructor

How to ensure consistent compliance with the Independent School Standards (for upto 20 people)
By Marell Consulting Limited
A workshop for independent schools that are inspected by Ofsted. Providing a proven strategy for ensuring compliance with the independent school standards.

Usability Testing
By Experience Thinkers
Gain robust techniques for obtaining feedback from end users throughout product design, and learn how to identify new opportunities for design improvement.

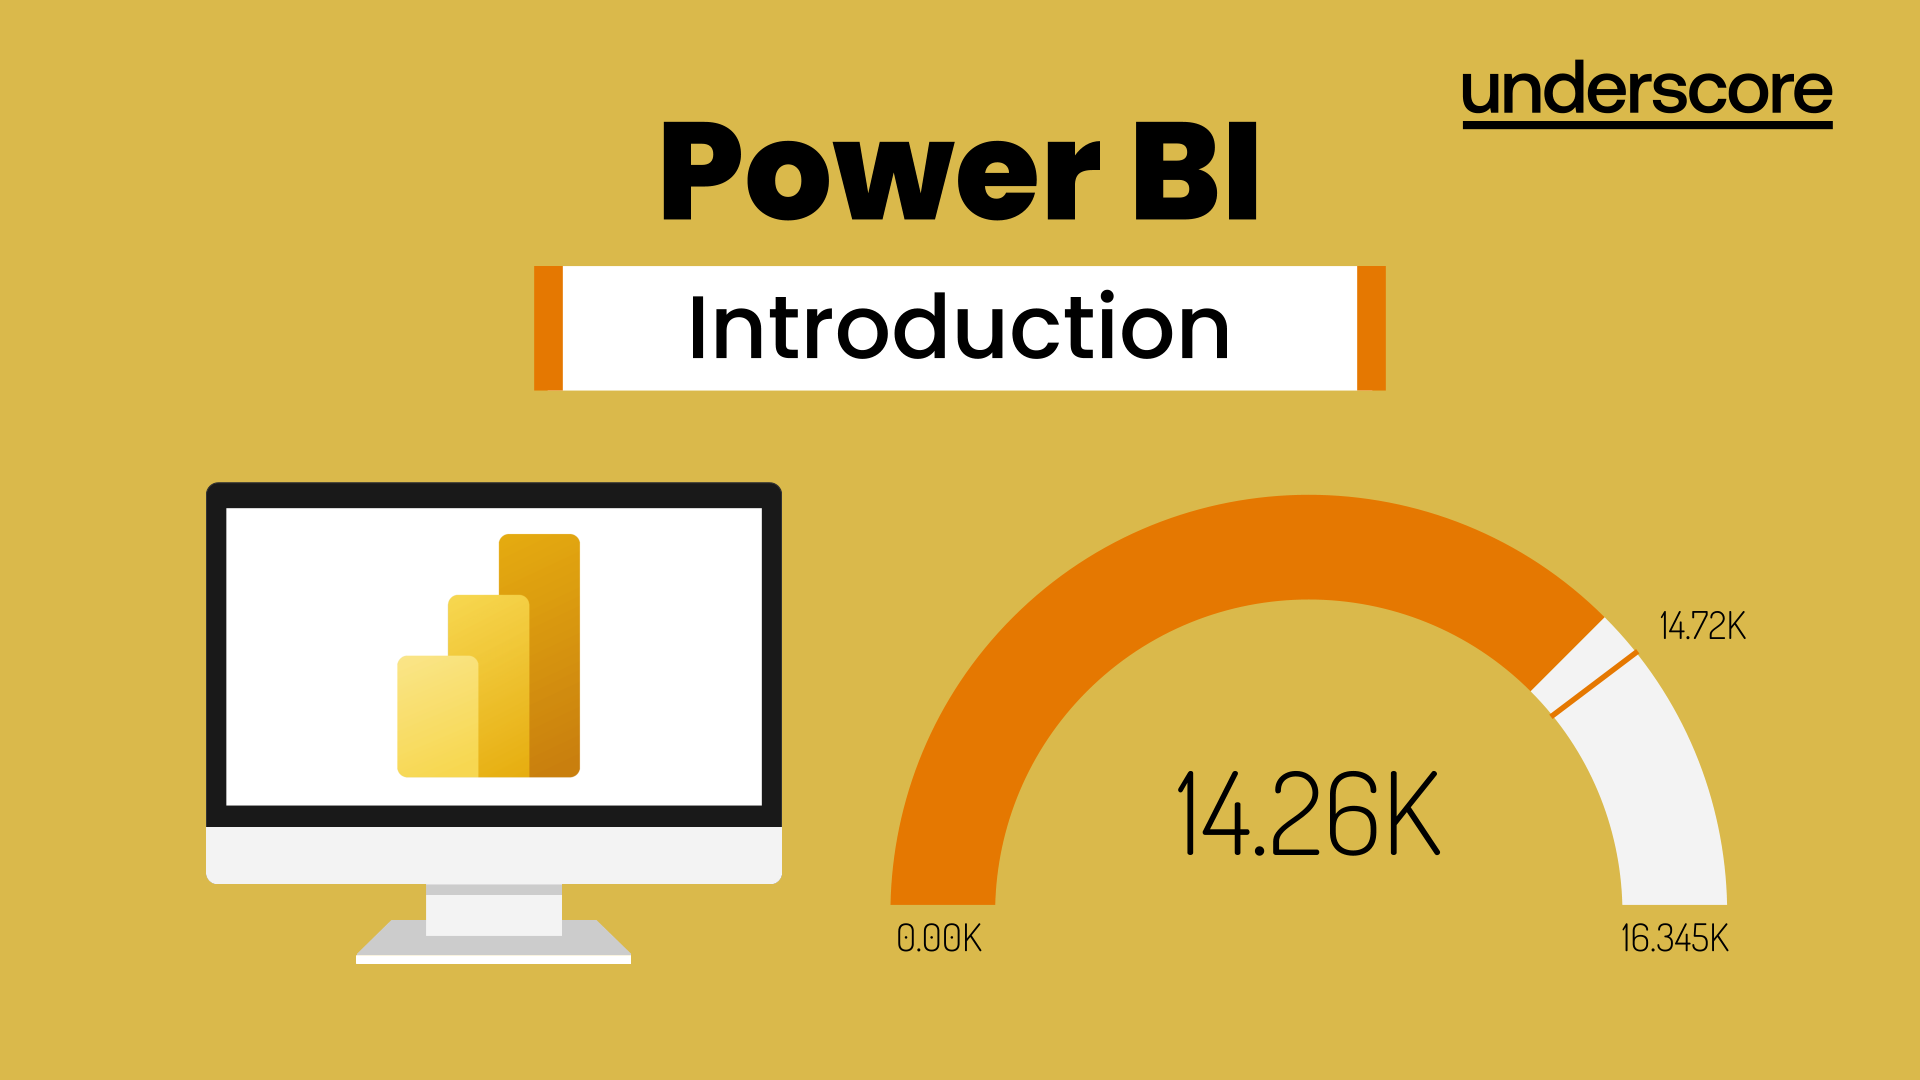
Power BI Introduction
By Underscore Group
Learn how to use this powerful tool to import and clean data and create some amazing visuals. Course overview Duration: 2 days (13 hours) Power BI Desktop is a powerful tool for working with your data. It enables you to import multiple data sources and create effective visualisations and reports. This course is an introduction to Power BI to get you started on creating a powerful reporting capability. You should have a good working knowledge of Excel and managing data before attending. Objectives By the end of the course you will be able to: Import data from multiple data sources Edit and transform data before importing Create reports Create different visualisations Create data models Build data relationships Use the drill down features Create measures Use the Power BI Service Build dashboards Use the mobile app Content Essentials Importing Data Power BI Overview Data sources Importing data Transforming Your Data Editing your data Setting data types Removing columns/rows Choosing columns to keep Setting header rows Splitting columns Creating Reports Creating and saving reports Adding pages Renaming pages Interactivity Refreshing your data Adding Columns Columns from example Custom columns Conditional columns Append Queries Importing folders Setting up and using append queries Creating Chart Visualisations Adding chart elements Choosing chart types Setting properties Setting values, axis and legends Using tooltips Visual filters Setting page and report filters Creating Tables, Cards, Gauges and Maps Adding table elements Adding maps Working with cards Working with matrices KPIs and Gauges Conditional Formatting Setting rules Removing conditional formatting Working with Data Models Merge Queries Setting up and using merge queries Merging in columns of data Creating a Data Model The data model Multiple data tables Connecting tables Building relationships Relationship types Building visuals from multiple tables Unpivoting Data Working with summary data Unpivoting data Using Hierarchies Using built in hierarchies Drill down Drill up See next level Expand a hierarchy Create a new hierarchy Grouping Grouping text fields Grouping date and number fields Creating Measures DAX functions DAX syntax Creating a new measure Using quick measures Using the PowerBI Service Shared workspaces My workspace Dashboards Reports Datasets Drill down in dashboards Focus mode Using Q&A Refreshing data Using Quick Insights Power BI Mobile App Using the Power BI Mobile App
3ds Max Basics Training Course
By ATL Autocad Training London
Who is this course for? 3ds Max Basics Training Course. This course is designed for beginners and enthusiasts looking to learn the fundamentals of 3ds Max. Whether you're a budding 3D artist, designer, or hobbyist, this training course provides a comprehensive introduction to the basics of 3ds Max. Click here for more info: Website Duration: 10 hrs Method: 1-on-1 and Personalized attention. Schedule: Tailor your own schedule by pre-booking a convenient hour of your choice, available from Mon to Sat between 9 am and 7 pm. Course Outline: 3D Modeling and Animation with 3ds Max I. Introduction to 3ds Max - Course overview and objectives - Navigating the user interface - Basic settings and preferences II. Creating 3D Objects - Building simple shapes with primitive objects - Craft complex designs using Editable Poly - Enhancing objects with modifiers - Applying materials and textures for realistic effects III. Lighting Techniques - Illuminating scenes with different light sources - Exploring various types of lighting - Adjusting light properties for desired effects - Casting shadows to enhance realism IV. Camera Control - Creating and configuring camera views - Fine-tuning camera settings for optimal shots - Animating cameras for dynamic scenes V. Animation Fundamentals - Mastering keyframe animation techniques - Utilizing the time slider and track view - Animating object transformations - Adding movement to materials and textures VI. Rendering Process - Configuring render settings for high-quality output - Selecting appropriate output formats - Streamlining rendering with batch processing - Enhancing final renders with post-processing effects VII. Project-Based Learning - Applying acquired skills to complete a final project - Exercising creativity and problem-solving abilities - Integrating modeling, animation, lighting, and rendering into the project In-Depth Course Outline: 1. Modeling - Edit Poly Modeling: Extrude, Chamfer, Cut, and Slices - Symmetry Mirror Modeling - Designing a Table and Chair - Creating a Basic House Model - Working with Lines and Shapes - Importing Plans from AutoCAD/Vectorworks - Crafting Interior Spaces - Adding Doors, Windows, Railings, and Trees - Implementing Stairs 2. Modifiers - Exploring Compound Objects - Utilizing Connect, Scatter, Pro Boolean, Loft, and Terrain Modifiers - Manipulating Bend, Taper, Twist, Stretch, Skew, FFD, Wave, Ripple, and Lattice - Employing the Lathe Modifier for Curved Objects 3. 3ds Max Basic Lights - Mastering Omni, Spot, and Direct Lights for Illumination 4. 3ds Max Camera - Understanding Free and Target Cameras for Optimal Shots 5. Texturing and Rendering - Applying Diffuse and Bump Mapping Techniques - Integrating Environment and Background Images - Configuring Render Settings for High-Quality Images - Lighting and Rendering Scenes in 3ds Max Upon completing our 3ds Max Basic Training Course, participants will: Master Fundamental 3D Modeling: Acquire proficiency in basic 3D modeling techniques, including object creation and manipulation. Texturing and Material Application: Learn the art of texturing and applying materials to 3D models for realistic rendering. Essential Lighting and Rendering Skills: Understand fundamental lighting principles and rendering techniques to create visually appealing scenes. Basic Animation Knowledge: Grasp the basics of animation, including keyframe animation and movement principles. Scene Composition and Camera Setup: Learn how to compose scenes effectively and set up cameras for different perspectives. Recommended Resources: Official Autodesk Documentation: Explore Autodesk's official website for 3ds Max documentation, including tutorials, user guides, and forums for troubleshooting. Books: Consider essential reads like '3ds Max For Dummies' by Kelly L. Murdock or '3ds Max 2022 Essentials' by Randi L. Derakhshani and Dariush Derakhshani for detailed guides on mastering the software. By utilizing these resources, participants can further enhance their 3ds Max skills and stay updated with the latest industry trends and techniques." Skills Acquired: Fundamental 3D Modeling Techniques in 3ds Max Texturing and Material Application Skills Lighting and Rendering Fundamentals Animation Basics and Keyframe Animation Introduction to Scene Composition and Camera Setup Career Opportunities: Entry-Level 3D Modeler Junior 3D Animator Texturing and Lighting Assistant CAD Designer in Architectural Firms Product Visualization Artist in Marketing Agencies Upon completing our 3ds Max Basic Training Course, students will acquire foundational 3D modeling and animation skills, opening doors to entry-level positions in various industries, including animation studios, architectural firms, and marketing agencies." Step into Personalized Learning with Us! Why Choose Us? Our Exclusive Benefits: Tailored One-on-One Training: Experience personalized coaching from skilled architects and designers, either face-to-face at (SW96DE) or via live online sessions. Sessions are available Monday to Saturday, 9 am to 7 pm. Customized Tutorials: Take home unique video tutorials crafted to elevate your learning experience. Comprehensive Learning Resources: Access a digital reference book for thorough revision, ensuring you grasp every concept effectively. Free Ongoing Support: Enjoy continuous post-course assistance via phone or email, ensuring your success extends beyond the class. Flexible Syllabus: We adapt syllabus and projects to match your specific needs, ensuring you learn exactly what matters most to you. Official Certificate: Certificate upon completing the course. Why Us? Personalized Learning Support: Our courses, ranging from 10 hours to 120 hrs Diploma training Courses, provide unwavering support at every stage. With personalized homework assignments and free after-course assistance, we pave the way to mastering software with unparalleled guidance. Individual Attention, No Crowded Classrooms: Bid farewell to overcrowded classrooms. Experience the intimacy of one-on-one learning. This ensures you receive the undivided attention you deserve, creating a confident and comfortable learning environment. Financial Flexibility: Embarking on your educational journey shouldn't be a financial burden. We offer a range of payment plans tailored to your needs. Explore the available options and embark on your learning adventure today. Expert Instructors, Real-world Expertise: Our instructors are meticulously chosen experts, renowned for their extensive industry knowledge and passion for teaching. They are dedicated to imparting invaluable skills to anyone eager to learn. Download 3ds max. Autodesk Download a free 30 day trial of 3ds Max
Unity 3d one day course 1-2-1
By Real Animation Works
Unity 3d face to face training customised and bespoke.
Data with python for improvers
By futureCoders SE
Introduction to web development with React. 30 Hour course over 5 weeks.

Adobe After Effects Basic to Advanced level training course 1-2-1
By Real Animation Works
AFTEREFFECTS face to face training customised and bespoke.
Adobe Illustrator and Photoshop Masterclass Training
By ATL Autocad Training London
Adobe Illustrator and Photoshop Masterclass Training, your gateway to Photoshop and Illustrator. Learn with the best software for publishing and marketing materials. This comprehensive training covers Photoshop, Illustrator, and InDesign, offering step-by-step tutorials tailored for creative professionals. Click here for more info: Website Duration: 10 hours Approach: Individualized, Tailored Content, Flexible Pace, Personal Support Scheduling Flexibility: 1-on-1 sessions from Mon to Sat, 9 am to 7 pm, based on your availability. Course Title: Adobe Photoshop and Illustrator Mastery Workshop Duration: 10 Hours (Divided into 10 Modules) Module 1: Introduction to Adobe Photoshop (1 hour) Familiarization with Photoshop interface and tools Understanding bitmap graphics and resolution Basic image editing techniques (cropping, resizing, color adjustments) Significance of layers in design Module 2: Essential Photoshop Tools (1 hour) Mastery of selection tools (Marquee, Lasso, Magic Wand) Understanding brushes and their settings Introduction to the Pen tool for precise selections Working adeptly with layers and layer styles Module 3: Advanced Image Editing (1 hour) Proficiency in advanced color adjustments (Curves, Levels, Hue/Saturation) Techniques for photo retouching and manipulation Creating composite images using blending modes Application of filters and special effects for creative designs Module 4: Introduction to Adobe Illustrator (1 hour) Exploration of Illustrator interface and tools Working with vector graphics and paths Basic shapes and drawing tools Understanding anchor points and handles Module 5: Creating Vector Artwork (1 hour) Expert use of the Pen tool for precise vector illustration Creating and editing shapes and objects Mastery in handling gradients and patterns Understanding the Appearance panel Module 6: Illustrator Typography (1 hour) Text tools and advanced formatting options Crafting text effects and artistic typography Integration of text with shapes and images Working adeptly with text on a path Module 7: Combining Photoshop and Illustrator (1 hour) Importing Illustrator files into Photoshop and vice versa Efficient use of smart objects and vector shapes in Photoshop Creation of custom brushes and patterns in Illustrator for seamless use in Photoshop Designing posters and flyers by combining elements from both software Module 8: Integration with InDesign (1 hour) Exporting assets from Photoshop and Illustrator for InDesign Crafting layouts in InDesign using assets from both programs Understanding print and digital design nuances Preparing files for printing and online use Module 9: Advanced Techniques and Tips (1 hour) Creating custom actions and automation in Photoshop Mastery in advanced selection techniques Utilizing Illustrator's advanced tools (Pathfinder, Shape Builder, etc.) Exploration of creative design styles and trends Module 10: Final Projects and Portfolio (1 hour) Individual or group projects incorporating Photoshop and Illustrator skills Detailed review and feedback on the projects Preparation of a portfolio showcasing the work Upon completion of the Adobe Photoshop and Illustrator Mastery Workshop, participants will: Master Advanced Design Techniques: Acquire expert skills in both Adobe Photoshop and Illustrator, delving into advanced tools, filters, and effects for intricate design work. Seamlessly Integrate Software: Learn to seamlessly integrate Photoshop and Illustrator, enabling the creation of dynamic and visually appealing designs by leveraging the unique strengths of both programs. Develop Creative Problem-Solving: Cultivate creative problem-solving abilities by exploring diverse design styles and industry-relevant trends, empowering the creation of innovative and captivating visuals. Construct Professional Portfolios: Gain the expertise to construct professional portfolios, showcasing a diverse range of projects incorporating advanced Photoshop and Illustrator techniques. Collaborate on Real-World Projects: Collaborate effectively on real-world design projects, combining Photoshop and Illustrator skills to produce high-quality marketing materials, promotional content, and digital artwork. Career Opportunities: Upon mastering Photoshop and Illustrator, participants can pursue a range of creative careers, including: Graphic Designer: Craft visually appealing designs for print and digital media, ranging from marketing materials to social media graphics. Digital Illustrator: Create intricate digital illustrations and artworks for various applications, including book covers, digital publications, and games. Web Designer: Develop engaging and user-friendly website layouts and elements, optimizing user experience through appealing visuals. Advertising Artist: Design compelling advertisements for print and online platforms, captivating audiences and promoting brands effectively. Freelance Designer: Work as a freelance designer, taking on diverse projects from clients and agencies, showcasing versatility in both Photoshop and Illustrator skills. By mastering these Adobe tools, participants open doors to a multitude of creative opportunities in the ever-expanding digital design industry. Skills Acquired: Participants in the Adobe Illustrator and Photoshop Masterclass Training will develop advanced skills in vector graphics, digital illustration, and photo manipulation using Adobe Illustrator and Photoshop. Key skills include: Precision Vector Graphic Design in Illustrator Creative Digital Illustration Techniques Advanced Photo Editing and Manipulation in Photoshop Job Opportunities: Upon completion, individuals can pursue roles such as: Graphic Designer Digital Illustrator Advertising Creative Branding Specialist Elevate Your Design Skills: Master Adobe Illustrator and Photoshop, crafting stunning graphics, logos, and digital illustrations. Understand design principles, tools, and workflows. Receive a recognized Certificate of Completion and access recorded lessons for future reference. Expert Guidance, Your Schedule: Learn from certified experts, tailored to your timetable-flexible online or in-person sessions, Monday to Sunday, 9 am to 8 pm. Enjoy lifetime email support for seamless learning. Unleash Your Creativity Today: Enroll now to ignite your creative potential in Adobe Illustrator and Photoshop. Elevate your designs effortlessly.
Digital Electronics
By Hi-Tech Training
The course will be delivered through 9 online virtual classroom sessions. The 10th and last session will involve the additional practical work for the course as well as the written examination (multiple choice for City & Guilds and written for Hi-Tech Training) which will take place at our training centre at 43 North Great Georges Street, Dublin 1 (completed online for non ROI learners). During the virtual classroom sessions, trainees will have a live video feed with their instructor talking to them, doing practical live demonstrations on equipment being involved actively in the learning. We will send out a practical kit so that trainees can complete assignments and practical work at home. The kit is the property of Hi-Tech Training and will be returned to Hi-Tech Training on the last day of the course. (The kits may also be purchased by the learner….see the Kits Page Link for more details). The kit consists of power supply unit breadboard, multimeter, cables, The kit consists of breadboard, multimeter, oscilloscope, battery and connectors, components including resistors, LEDs and ICs (AND, NAND, OR, NOR, X-OR, X-NOR, Inverter, Buffer, Latches, Flip-Flops, Timers, etc). Trainees will build various projects as part of the course. The kit forms an integral part of the course, so full course fees need to be paid at least 7 days prior to course commencement to allow time to ship the kit in time for the course.