- Professional Development
- Medicine & Nursing
- Arts & Crafts
- Health & Wellbeing
- Personal Development
442 Courses in Cardiff delivered Live Online
“You don't take a photograph. You make it" - Ansel Adams Photography For Parents - Editing In Lightroom Next course starts 11 March 2024 Editing is an essential skill for anyone with even just a passing interest in photography. Much as we try, we can't always get everything right in camera and editing tools help us bring our vision to life, help correct problems and allow our images to look beautifully polished. We teach how to do all these things in Adobe Lightroom because it's a powerful, intuitive and affordable tool used by Pros around the world for that very reason. KEY COURSE INFO: Course type: Instructor-led Course duration: 4 weeks + prep module Course format: Online course with interactive edit-along live classes, feedback on your learning and support group WHAT YOU LEARN: From being able to correct issues such as over/under exposure, issues with colour or graininess to bringing your vision to life, creating mood and tone to your images, knowing how to use editing software is a must. But good and purposeful editing goes way beyond just slapping on a preset or a filter - in our course we teach you all about the tools - not just what all of them do but how, and we teach you how to know what to use and when to achieve certain effects.everything you need to allow you to style your photos, confidently use the software and fix common problems. editing to correct common photo problems creating good editing workflow using powerful precision tools editing to achieve beautiful skin tones using light and colour creatively editing to bring out a mood of a feel THIS IS THE COURSE FOR YOU IF : Love taking photos but want them to look more polished - with colours that pop and light that's perfectly balanced You want to be able to fix common issues such as under- or overexposure, white balance or colour casts so that you never need to bin an image just because it wasn't right straight out of camera You want to get more creative with light and colour to make the images look just like the moment felt. Bring on the moody edits or sun soaked edits or light kissed skin tones or creative black and white conversions You want to confidently use the editing techniques so you can bring your vision to life every time, without guesswork You want to be able to prepare your images for print so that your walls can beam with pride at the beauty that you captured Next Editing in Lightroom course starts 11 March 2024 4 core course modules plus prep module Support Facebook group Weekly edit-along live webinar Practice files to learn on Feedback on your images HERE IS WHAT YOU WILL LEARN in this course : Our Photo Editing in Lightroom course guides you through the photo editing process in Adobe Lightroom from start to finish – from setting it up correctly, organising your collections and creating a workflow that works for you, through learning the capabilities of all the editing tools - such as adjusting exposure, colours, light or sharpening the images; all the way to printing and creating photo books. We’ll show you how to create specific artistic effects ( high impact Black and white, vintage, light and airy, dark and moody etc ), and how to fix common photography problems ( grainy images, underexposed images, wrong colours etc). At the end of the course you will be able to confidently manage your photo collection with Lightroom, achieve desired artistic effects and make your photos truly stand out. Getting around in Lightroom and Lightroom Classic - shooting in full manual - but with clarity and purpose Correcting common problems - whether your photo started too dark or too bright, your child's face was in a shade, the white balance and colours were off, the grain was heavy, the light looked dull - you can fix it all within a couple of clicks in Lightroom Using Lightroom's super powerful intelligent masking tools to quickly and efficiently edit specific parts of your image - from brightening up the eyes to rescuing overblown skies Enhancing and adding beautiful light - light makes images stand out, but it can be hard capturing the atmosphere it creates in camera at times. Lightroom is where you can bring light to life and make your images feel how what you saw in real life Knowing how to shoot in camera so you can get the most in editing - photographers will often purposefully under or overexpose images in camera so that they have more chance of balancing the image just they way they want in Lightroom. INSIDE THE MODULES - aka WHAT DO YOU LEARN? Module 0: Getting set up in Lightroom This module is released a week before the course starts to give you a chance to fully familiarise yourself with the layout, structure and the best way of working in Lightroom Classic, including guidance of creating a smooth selection and culling process that helps you see and keep the best of your images, without getting bogged down with 100s near duplicates. Module 1: Getting Started In Lightroom - Global Edits In this module we introduce you to Lightroom's most powerful tools - the global edits. We help you understand how to tweak your images to achieve the effects you're after quickly - from adjusting over and under exposure, to correcting white balance in a few different ways, to having a play with my favourite Lightroom tool - the tone curve. Major Takeaways: At the end of the module you will have gained full control of lightroom key global tools and will be able to use them to correct any global - as in affecting the whole image - issues with your images. This includes perfecting your exposure, balancing your colour and white balance, sharpening and creating clarity and more. Module 2: Targeted Edits - Masks! Lightroom allows us to apply edits to selected parts of the image through a range of its very powerful, intelligent and manual masks. This means you can now effortlessly select your subject from the photo to adjust them separately with just one click, you can pick only the sky, the subject's eyes or only colour green or any other element and treat them differently to the rest. Major Takeaways: You will be able to use the full range of masks in lightroom and apply your edits exactly where they are needed, and nowhere else. This includes working with with the new AI powered masks which can detect a person's individual features and allow you to selectively edit them in a few simple steps, as well as those more manual tools, that allow you to literally paint with light and colour on your photographs. Module 3: Creative Editing in Lightroom This is a brand new module in our course where we take all the tools introduced in Modules 1 and 2 and actually use them to achieve different effects on our photos. Wer show you how to be guided by light when editing, how to achieve a light and airy or a moody edit on your images, how to add light and how to convert to black and white, as well as how to edit skin in Lightroom! This module is all play! Major Takeaways: You will learn how to create yoru own editing process - from knowing where to start and to understanding what elements of your photograph may need or benefit from adjusting and knowing how you can do so to achieve different outcomes. You will also learn how to edit your skin tones so they look delightful - no matter what your subject's complexion. Module 4: After the edits We close the course with a module centered around all the things you might want to do after the edits - from preparation for print, creating photo books, but also sharing your images online and syncing them between different machines and adobe workplaces. PLUS there is a little Photoshop intro so you get a glimpse at how it's different and what it can do. Major Takeaways: You will learn how to connect all of your Adobe ecosystem and sync and share your images across multiple devices. You will learn how to prepare your images for print so they look their very best and how to create photobooks. Next course starts 11 March 2024 Absolutely, without a doubt book Editing. I was very unsure at first. My interest in photography is to capture those memories so it felt like it was 'cheating' to edit. I can honestly say it's like magic.To finish off the pictures you love and just give you complete control over the exposure, colours to make them perfect, to rescue the disasters etc. I learnt so much in those few weeks and it made the biggest difference to my photos. Kerry White Editing in LIGHTROOM Book your space now: COURSE STARTS : 11 March 2024 ( 4 weeks + 1 prep week)COURSE COST : £179 ( payment plans available ) What’s included: 4 weekly modules with step by step illustrated tutorials and videos + prep module weekly edit along class online class ( also recorded) - on Wednesday evenings feedback and advice on your edits private support group PDF workbook and downloadable videos Practice images to learn on Join our next group to really bring life to your images and make them look sleep, polished and full of light COURSE PREREQUISITES: Lightroom or Lightroom Classic CC software installed on your computer or tablet. RECOMENDED : Lightroom Photography Plan 25GB – a monthly subscription at approx £9pm – including Lightroom CC, Lightroom Classic CC and Photoshop. This plan can also be occasionally purchased at a lower price via Amazon or Groupon if you purchase a year’s worth of subscription in one go ( average savings – around 2-4 months worth depending on the deal) Please note that Adobe also has a Lightroom Plan with 1TB of storage – we do not recommend this plan as it restricts you to one version of software only. The increased Cloud storage can always be purchased as an add on or your plan can be switched from Photographer plan to CC only at a later stage if you prefer.


Autodesk 3ds Max Training One-to-One, Online or Face-to-Face Options
By Real Animation Works
Customized and Bespoke 3ds Max Training: Face-to-Face and Online Options

GenAIBIZ: Making ChatGPT and Generative AI Work for You (Exam GAZ-110)
By Nexus Human
Duration 1 Days 6 CPD hours This course is intended for This course is primarily designed for business leaders, consultants, product and project managers, and other decision makers who are interested in unlocking new business opportunities and augmenting existing business processes using generative AI. It's also a great starting point for any business professionals who want to investigate generative AI solutions for their own individual tasks and workflows. This course is also designed to assist students in preparing for the CertNexus GenAIBIZ (Exam GAZ-110) credential. Overview In this course, you will identify ways in which generative AI can bring significant value to the organization. You will: Describe the fundamentals of AI and generative AI. Generate text using AI. Generate code using AI. Generate images and video using AI. Generate audio using AI. Identify the challenges of generative AI. Implement organizational strategies for generative AI. This course is designed to demystify generative AI for business professionals, as well as to trace its power to actionable, real-world business goals. It will give you the essential knowledge of generative AI you'll need to elevate the organization in these exciting times. GenAIBIZÿoffers business professionals with the ability to describe the fundamentals of AI and generative AI; generate text, code, images, video, and audio using generative AI; identify the challenges of generative AI; and implement organizational strategies for generative AI. Exam voucher is included.This course may earn you a Credly badge. Lesson 1: AI Fundamentals Topic A: AI Concepts Topic B: Generative AI Concepts Lesson 2: Generating Text Using AI Topic A: Identify Text Generation Concepts Topic B: Solve Business Problems Using Text Generation Lesson 3: Generating Code Using AI Topic A: Identify Code Generation Concepts Topic B: Solve Business Problems Using Code Generation Lesson 4: Generating Images and Video Using AI Topic A: Identify Image and Video Generation Concepts Topic B: Solve Business Problems Using Image and Video Generation Lesson 5: Generating Audio Using AI Topic A: Identify Audio Generation Concepts Topic B: Solve Business Problems Using Audio Generation Lesson 6: Identifying Challenges of Generative AI Topic A: Identify Shortcomings of Generative AI Topic B: Identify Ethical Risks of Generative AI Topic C: Identify Business Concerns of Generative AI Lesson 7: Implementing Business Strategies for Generative AI Topic A: Apply Best Practices for Generative AI in the Organization Topic B: Evaluate the Results of Generative AI Projects

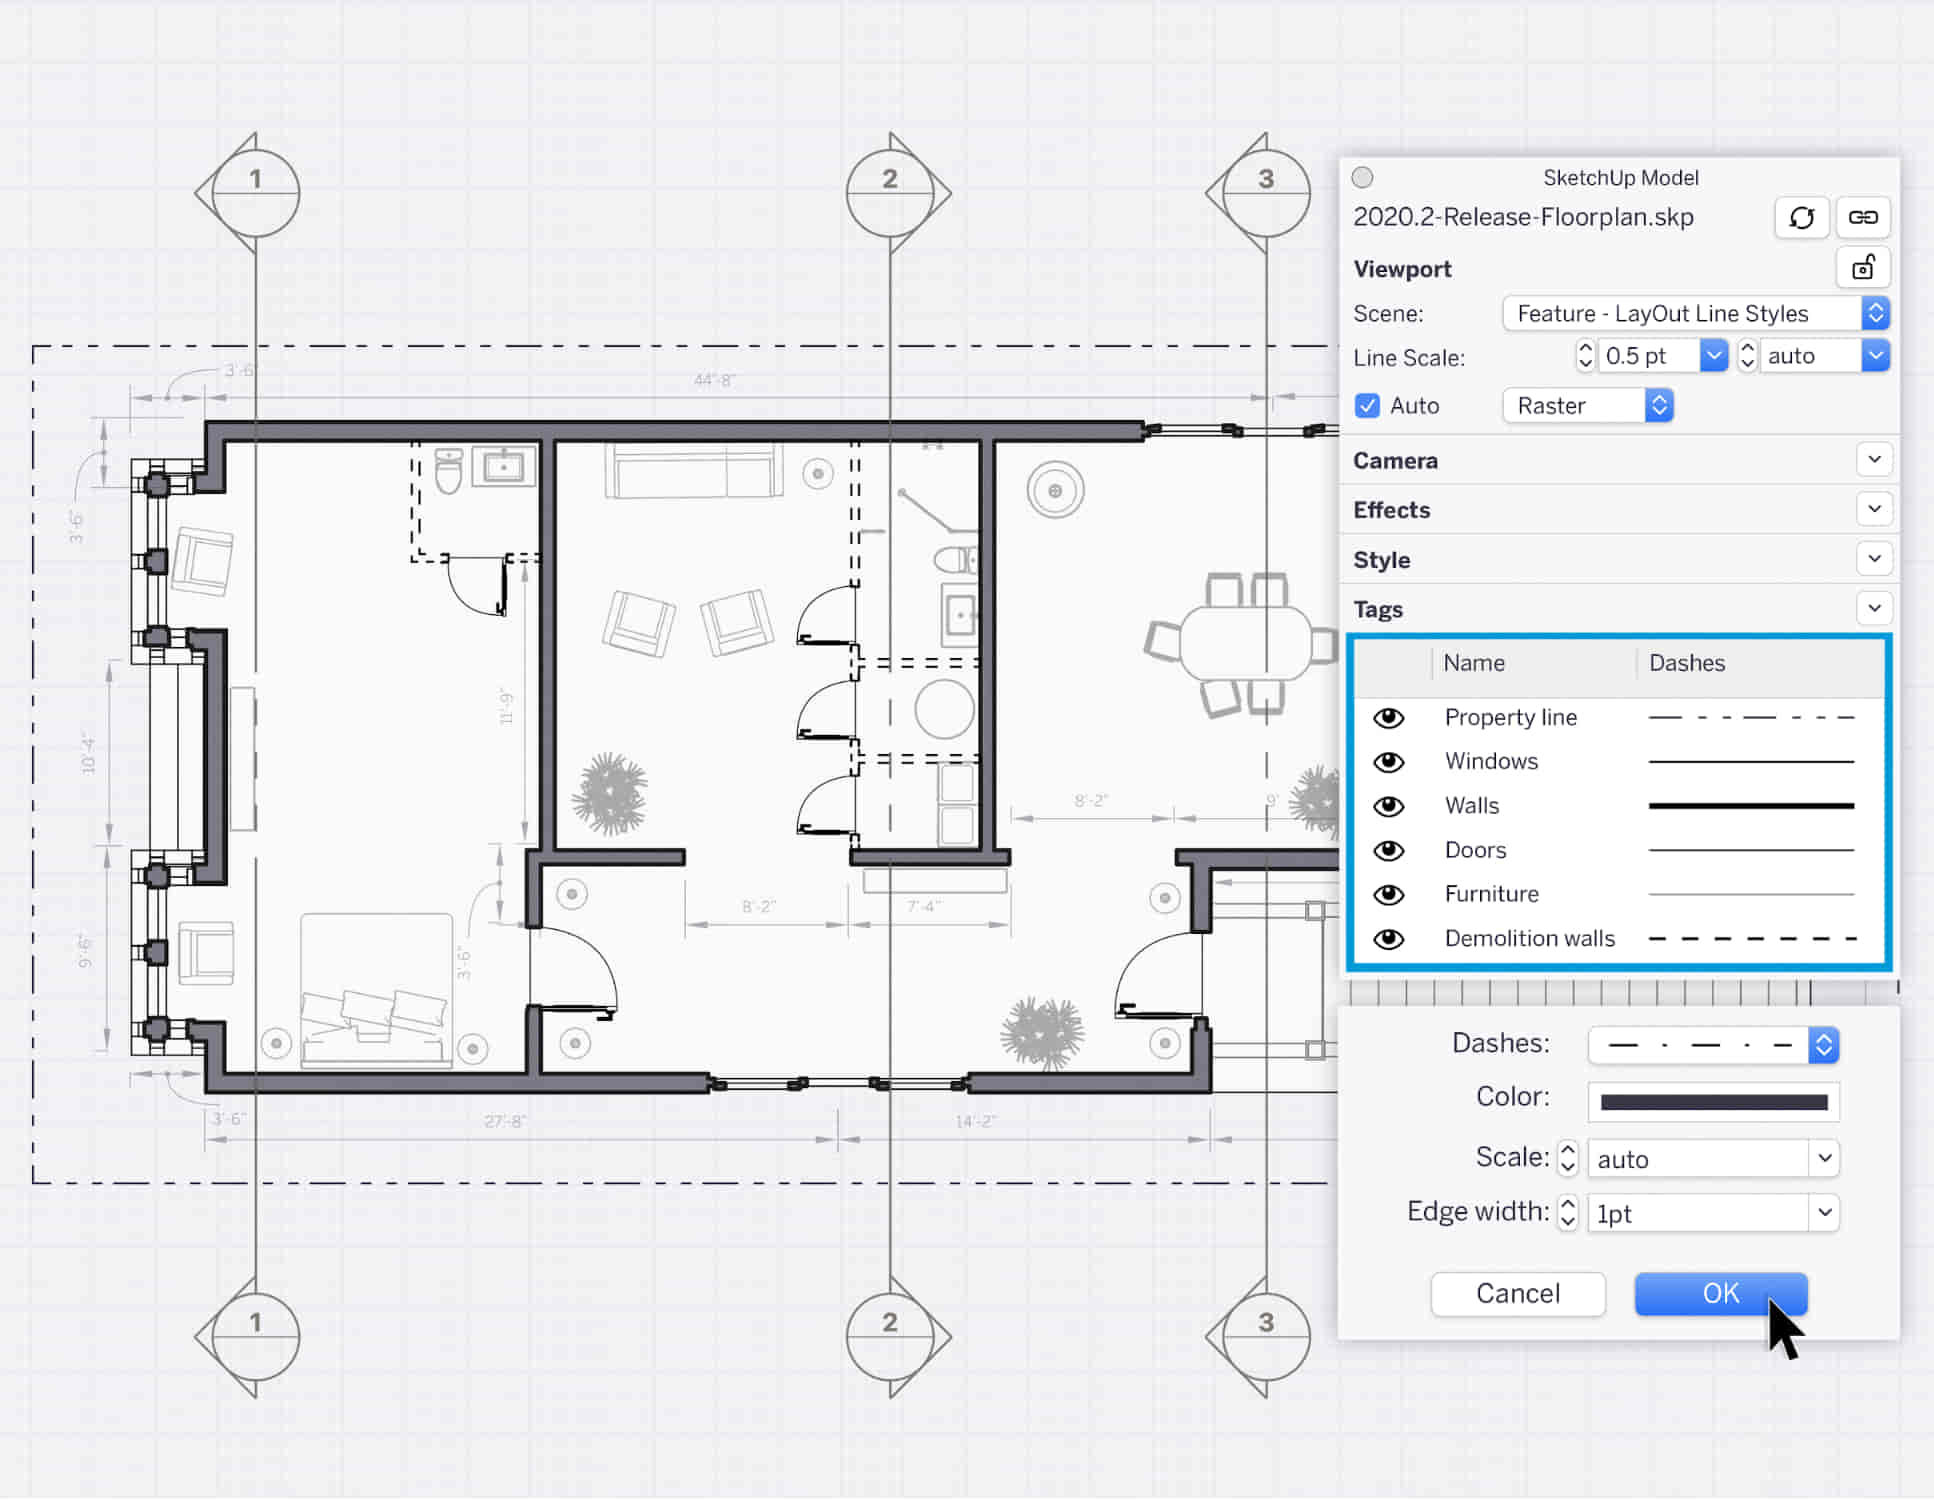
SketchUp Course With Layout and V-Ray
By ATL Autocad Training London
Why Opt for SketchUp Course With Layout and V-Ray? Learn SketchUp with Layout and V-Ray for professional 3D modeling, detailed modeling, and high-quality rendering. Essential for architects and designers for creating visualizations and precise presentations. Check our Website When can I Enrol? 1-on-1 training. Mon to Sat 9 am and 7 pm Book over the Phone 02077202581. Training Duration: 10 hours. You have the flexibility to split these hours over multiple days. Training Method: In-person or live online. Course Outline: SketchUp, Layout, and V-Ray - 10-Hour Training Module 1: Introduction to SketchUp (1 Hour) SketchUp Interface: Explore the basics of the SketchUp user interface. Navigation and View Tools: Learn how to navigate and manipulate 3D space. Module 2: SketchUp Fundamentals (1 Hour) Drawing and Modeling: Begin creating 3D objects and structures. Editing Tools: Manipulate and modify objects efficiently. Module 3: Advanced SketchUp Techniques (1 Hour) Components and Groups: Understand component and group organization. Layers and Scenes: Organize your model and create dynamic views. Module 4: SketchUp for Architectural Design (1 Hour) Architectural Modeling: Explore architectural modeling techniques. Interior Design: Apply SketchUp to interior space design. Module 5: Landscape Design with SketchUp (1 Hour) Landscape Modeling: Use SketchUp for outdoor environment design. Terrain and Topography: Model terrain and natural landscapes. Module 6: Introduction to Layout (1 Hour) Layout Basics: Get familiar with the Layout interface. Setting Up Viewports: Begin using viewports for presenting your SketchUp models. Module 7: Creating Layout Documents (2 Hours) Document Setup: Set up and customize your layout documents. Inserting SketchUp Models: Import SketchUp models into Layout viewports. Dimensioning and Labeling: Add dimensions and labels to your layout documents. Module 8: Presentation and Export (1 Hour) Styling and Rendering: Enhance your SketchUp models for presentations. Exporting and Printing: Learn how to export and print your Layout documents. Module 9: Introduction to V-Ray (1 Hour) V-Ray Interface: Get acquainted with the V-Ray user interface. Materials and Lighting: Learn the basics of materials and lighting in V-Ray. Module 10: Advanced V-Ray Rendering (1 Hour) Advanced Materials: Explore advanced material creation and customization. Realistic Lighting: Master V-Ray lighting techniques for photorealistic renders. By the end of this 10-hour course, you'll have a comprehensive understanding of SketchUp for 3D modeling, Layout for professional documentation, and V-Ray for rendering, empowering you to create stunning 3D designs and presentations. Upon completing this course, you will: Master SketchUp: Create 3D models with precision and creativity. Layout Proficiency: Produce professional design documentation. V-Ray Rendering Skills: Craft photorealistic visualizations. Advanced Techniques: Explore advanced modeling and rendering. Project Experience: Apply skills to real-world projects. Job Opportunities: Architectural Designer Interior Designer Landscape Designer CAD Technician 3D Modeler Rendering Specialist Visualization Artist Layout Specialist Freelance Designer Urban Planner Learning Objectives: Mastering SketchUp with Layout: Learn to create precise 2D floor plans, elevations, and construction documents using SketchUp's Layout tool. Advanced Rendering with V-Ray: Dive into V-Ray to create photorealistic renders, enhancing your visualizations with lighting, textures, and realistic materials. Collaborative Design: Develop skills for collaborative project planning and presentation, enabling effective communication with clients and teams. Job Opportunities: Architectural Visualization Specialist: Create detailed architectural visualizations and presentations for clients and marketing purposes. Interior Designer: Design interior spaces, produce detailed layouts, and create realistic renders for residential and commercial projects. 3D Visualization Artist: Work in the gaming or animation industry, creating 3D models and environments. Freelance Rendering Expert: Offer specialized rendering services to architectural firms, interior designers, or real estate developers. Layout Designer: Specialize in creating professional 2D layouts and construction documents for architectural projects. Why Choose Us? Tailored One-on-One Training: Personalized coaching from industry experts, in-person or online, Monday to Saturday. Customized Tutorials: Enhance skills with exclusive video tutorials designed for your learning journey. Comprehensive Resources: Access a digital reference book for thorough concept revision. Free Ongoing Support: Enjoy continuous assistance via phone or email even after the course ends. Flexible Syllabus: Adapted to your needs for focused and efficient learning. Official Certification: Ccertificate upon course completion. Why Us? Supported Individual Learning: Unwavering support with personalized homework and post-course assistance. Personalized Attention: Experience one-on-one learning, fostering a confident and comfortable environment. Financial Flexibility: Choose from various payment plans tailored to your budget. Expert Instructors: Learn from industry experts dedicated to your success.
The Missing Links – Affect Bridge, Molar Memories and Sub-threshold Trauma
By Human Givens College
Essential CPD to deepen your understanding and develop your skills as a therapist CPD Certificate: 3 hours Length: 9.45am – 1.00pm (GMT) LIMITED PLACES – Feb date now full Join Ros Townsend live online on Tuesday 8th October 2024 for this important CPD course, designed specifically for mental health professionals interested in the human givens approach. BONUS – you will get a recording for 2 weeks afterwards to maximise your learning. There are many occasions when a client presents with an excessive emotional response and it is not immediately apparent why this is happening. Perhaps they know that they are ‘over-reacting’ in some way – getting very angry, very fearful – or are experiencing a driven urge to take a particular action – such as eating or having sex. This live online course will help you gain confidence in working safely and ethically with affect bridges to discover if an unhelpful pattern, in the form of a molar memory or sub-threshold trauma is at the root of their experience, allowing you to then determine collaboratively with your client the best ways of addressing that. During the course, there will be plenty of opportunity to ask questions of the tutor, and to engage in exercises and discussions with your peers and colleagues. Why take this course Whether you are a new HG therapist wanting to develop a clear understanding of how to utilise an affect bridge to determine if a molar memory or sub-threshold trauma is present, and to better understand the protocols for working with these, or whether you are an experienced HG practitioner looking to refresh your knowledge and delve deeper into understanding this valuable skillset, this course will help you gain the skills and understanding you need to do so safely and effectively. In an early article regarding molar memories, Joe Griffin termed them ‘an ancient mechanism that is ruining lives’; and the impact of such driven urges on the lives of our clients cannot be underestimated. Molar memories can, on first encountering the theory, seem complicated and unfathomable, but this course will set them – and sub-threshold traumas and the use of the affect bridge to access both – within a clear framework of understanding, linking back to the way in which our brain perceives things (referencing the APET model) and to RIGAAR (how we structure a good therapy session). During the course, numerous case studies will be shared and used as the basis for exercises, and there will be ample opportunity to link the learning to your own experiences in the therapy room. You will gain a clear understanding of: how to follow the treatment protocols for working with molar memories and sub-threshold traumas – adapting these, of course, to each client’s unique model of reality; how to safely and ethically utilise an affect bridge; and how to avoid the danger of creating any false memories. Ros is a brilliant teacher and presenter. She made the whole course interesting, engaging and informative as well as very supportive. She was also very patient with all our questions!GEMMA ROGERS, COUNSELLOR/COACH What the training covers: How APET and RIGAAR relate to one another Why an understanding of APET is essential when working with affect bridge What an affect bridge is How to use affect bridge safely and ethically within your therapy sessions How to avoid the risk of creating false memories Why we must proceed with caution when undertaking affect bridges when working online The difference (in this context) between ‘positive’ and ‘negative’ The tell-tale patterns of a sub-threshold trauma and a molar memory being present A framework to understand the presentations of both sub-threshold traumas and molar memories How to identify a sub-threshold trauma An understanding of the treatment protocol for sub-threshold traumas How to identify a molar memory An understanding of the treatment protocol for molar memories Why molar memories sometimes present differently in complex trauma How to use the understanding of APET and help clients to utilise affect bridge as a positive tool within their lives Who is this course suitable for? This course is designed for both trainee and fully-qualified HG therapists It is also suitable for any mental health professionals interested in the human givens approach It is recommended to all HG practitioners by the Human Givens Institute (HGI) Timings 9.45 am – Join Zoom 10.00 am – Course session starts 1.00 pm – Course ends In any online training it’s important to build in regular breaks and ensure that every 20 minutes there is a shift in focus of attention to pull the eyes away from the screen. There will be two 10–15 minute comfort breaks during the training and regular opportunities for discussion and exercises in break-out rooms. Meet your tutor Rosalind Townsend Ros Townsend is an experienced psychotherapist and supervisor with busy practices in SW England, where she combines private therapy work with referrals from Occupational Health and the NHS. Read more

Bespoke AutoCAD Mac Basic-Intermediate Course
By ATL Autocad Training London
Why Learn Bespoke AutoCAD Mac Basic-Intermediate Course? Learn AutoCAD using your projects and learn how to use powerful tools and techniques for drawing, dimensioning, and printing 2D drawings with our Intermediate AutoCAD course. Check our Website How long is the training? 10 hours, Choose and split 10 hrs Mon to Sat 9 am to 7 pm. Book online or call 02077202581 or 07970325184. Method? 1-on-1, available in both in-person and Live Online. Course Topics Include: Building Fundamental Shapes Working with Lines, Arcs, and Polylines Utilizing Grip Tools Precision Object Alignment Data Management and Backups Exploring File Formats Ensuring Disaster Recovery Mastering Object Creation Handling Measurement Units Dynamic Input Techniques Inquiring Commands and Measurement Tools Effective Object Viewing Navigating Zoom and Pan Object Manipulation Strategies Object Selection Methods Swift Object Management Object Transformation Techniques Scaling and Altering Objects Trim, Extend, and Offset Functions Creating Geometric Variations Object Joining and Editing Corner Filleting and Chamfering Stretching Objects Organizing Your Drawings Layer Management Customizing Object Properties Applying Linetypes Layout Design and Setup Efficient Page Configurations Scaling Drawing Views Adding Annotations Multiline and Single-Line Text Creation Text Styling and Editing Dimensioning Concepts Customizing Dimension Styles Dimension Editing Implementing Multileaders Object Hatching Hatching Editing Reusable Content Management Blocks and Symbols Tool Palette Usage Working with Groups Model Space and Paper Space Understanding Layout Creation and Viewports Viewport Scaling Plotting and PDF Output Managing Multiple Sheet Drawings Utilizing Plotstyles Crafting Custom Drawing Templates Download AutoCAD Mac https://www.autodesk.co.uk After completing the AutoCAD for Mac course, learners can expect the following learning outcomes: Proficiency in AutoCAD: Participants will acquire the skills and knowledge needed to confidently use AutoCAD for Mac, including creating and editing drawings, managing objects, and applying precision techniques. Effective Design Skills: They will gain the ability to produce accurate 2D drawings, making them valuable assets in design-related professions. Jobs that individuals can pursue after completing this course include: Draftsperson: Working in architectural, engineering, or construction firms to create technical drawings and plans. CAD Technician: Assisting in the development of designs for various projects, such as product design or urban planning. Interior Designer: Using AutoCAD for space planning and layout design in the interior design industry. Architectural Designer: Collaborating on architectural projects, including creating floor plans and elevations. Mechanical Designer: Participating in the design and development of mechanical components and systems. Civil Engineering Technician: Supporting civil engineers in designing infrastructure projects, such as roads and bridges. Electrical or Electronics Designer: Assisting in the creation of electrical schematics and electronic circuit diagrams. Landscape Designer: Planning and visualizing outdoor spaces, gardens, and landscapes. Completing this AutoCAD course opens doors to various industries where precise and detailed 2D drawing skills are highly valued. The AutoCAD Mac Bespoke 1 on 1 Basics to Intermediate Level Training Course provides participants with a comprehensive skill set, enabling them to attain proficiency in using AutoCAD Mac. This course covers a wide range of functionalities and caters to individuals at all skill levels, whether they are beginners or experienced users. Participants will begin by learning fundamental features such as drawing, editing, annotations, and dimensioning. As they progress, they will delve into more advanced topics like object manipulation, customizing workspaces, and streamlining workflows. Key Benefits of the Course: Mastery of Mac-AutoCAD: Acquire expertise in both essential and advanced techniques for creating precise 2D drawings. Enhanced Productivity: Increase efficiency by implementing time-saving tips and optimizing your work processes. Versatile Design Abilities: Develop the skills to undertake diverse projects in fields such as architecture, engineering, and more. Industry-Relevant Competencies: Elevate your career prospects across various industries by gaining in-demand AutoCAD skills. Access to Recorded Lessons: Review and reinforce your learning at your convenience with access to recorded lesson sessions. Ongoing Email Support: Receive continuous assistance and guidance via email even after completing the course. Enroll today to benefit from interactive learning experiences guided by experienced instructors. Choose between flexible in-person or online sessions, gain access to lesson recordings, and enjoy a lifetime of email support. Tailored Guidance: Get personalized coaching and instruction tailored to your unique learning needs and objectives. Convenient Scheduling: Choose from flexible training slots available Monday to Saturday from 9 am to 7 pm, accommodating your busy schedule. Versatile Learning Options: Select between in-person training at our location, conveniently situated just 5 minutes away from Oval Tube Station, or participate in live online sessions from anywhere. Engaging Interactions: Participate in interactive sessions designed for questions, discussions, and problem-solving, creating an immersive learning experience. Effective Progression: Accelerate your learning with focused guidance, allowing you to advance at your own pace while mastering the material. Tailored Curriculum: Customize the course content to align with your prior knowledge and specific areas of interest, ensuring a relevant and engaging learning experience. Real-Time Guidance: Receive immediate feedback from the instructor, enhancing your comprehension and skill development. Comprehensive Support: Enjoy ongoing assistance and clarification opportunities through email or additional sessions beyond the course for an in-depth learning experience.

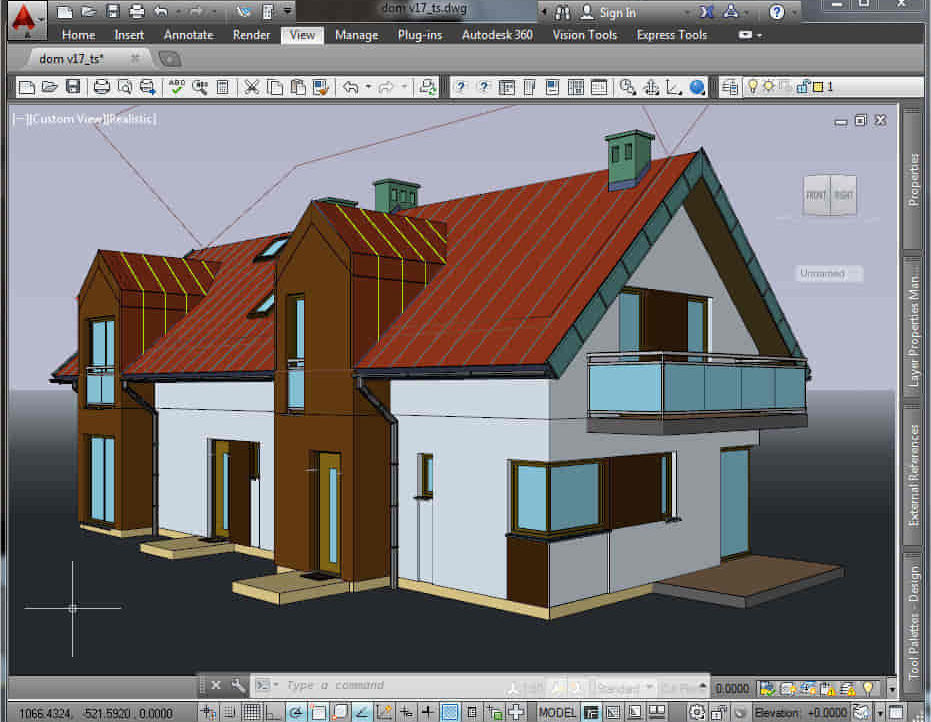
AutoCAD Architecture 1 on 1 Course
By ATL Autocad Training London
Why Choose AutoCAD Architecture 1 on 1 Course? Our courses for AutoCAD and AutoCAD Architecture. AutoCAD conveys design intent through Lines and Circles, AutoCAD Architecture enhances these elements with walls, doors, windows and AEC. Click here for more info: Website When Can I Reserve My Spot? 1 on 1 training and available from Monday to Saturday, 9 am to 7 pm Duration: 16 hours, which you can flexibly book. Training Method: 1-on-1, in-person face-to-face or live online training. AutoCAD Architecture 3D Course Overview: AutoCAD Architecture Introduction Distinguishing AutoCAD Architecture from AutoCAD LT Exploring the User Interface and 3D Viewing Wall Construction and Customization: Adding Walls to the Model Creating Specialized Curtain Walls Modifying Walls for Specific Needs Joining Walls for Complex Structures Incorporating Wall Openings for Doors and Windows Ceiling Plans (Reflected): Establishing Ceiling Grids and Construction Details Customizing Ceiling Grids for Design Consistency Inserting Ceiling Fixtures and Detailed Construction Structural Design and Analysis: Utilizing Structural Elements and Online Resources Constructing Column Grids and Annotating Columns Adjusting Column Grids and Annotations Enhancing Clarity with Column Grid Annotations Stairs: Designing and Customizing Stairs Adding Railings and Detailed Construction Refining Railings and Detailed Construction Floors and Slabs: Creating Floor Slabs with Construction Details Aligning Floor Slabs with Design Specifications Editing Slabs Using Slab Tools and Construction Details Roofs and Roof Detailing: Roof Creation for the Building Designing Roof Slabs for Specific Areas Modifying Roofs and Roof Slabs as Needed Precise Roof Detailing with Roof Slab Tools Annotation: Scaling Detail Drawings and Annotations Incorporating Text, Leaders, and Comments Accurate Dimensioning in AutoCAD Architecture Enhancing Clarity with Various Annotation Tools Equipment and Furnishings: Integrating Interior and Exterior Furnishings Incorporating Blocks and 3D Models for Realism Leveraging Tool Palettes and Autodesk Seek Resources Model Views Ready for Printing PDF: Creating Callouts for Specific Views Designing Elevations, Sections, and Construction Details Modifying Callout Objects for Improved Visualization Implementing Live Sections and Elevations Generating Reports and Managing Project Resources Schedules: Adding Door and Window Labels Editing Label Data for Accuracy Creating Schedules for Efficient Project Management Customizing Schedules to Meet Specific Requirements This comprehensive AutoCAD Architecture 3D course equips participants with the skills needed to create intricate 3D architectural models, implement construction details, and efficiently manage project resources. It empowers participants to produce professional-grade architectural designs using AutoCAD Architecture software." Upon completion of the AutoCAD Architecture 1-on-1 Course, participants will demonstrate proficiency in architectural design using the application. They will have mastered essential techniques, gained expertise in drawing management, refined their model visualization skills, and earned an accredited certificate. This tailored learning experience, coupled with post-course support and practical exercises, will significantly boost career prospects in the field. Download Autocad Architecture Training Choices: Personalized in-person or Live online courses. Tailored courses designed to meet your specific knowledge and project needs. Customized Learning: Adapt the course to match your existing skills and project requirements. Certifications: Instructors certified by Autodesk. AutoCAD Architecture training Certificate of Attendance. Expert Guidance: Learn from Autodesk Certified Instructors with extensive professional experience. Interactive Learning: Engage in practical, hands-on training. Follow step-by-step demonstrations and practice in real-time. Keep your course-created files for future reference. Comprehensive Resources: Receive a detailed training guide for ongoing reference. Earn an e-certificate upon successful course completion. Post-Course Assistance: Access lifetime email support from your instructor. Prerequisites: Basic familiarity with standard AutoCAD or equivalent knowledge. Version Versatility: Training available for any AutoCAD Architecture version to suit your requirements." Thorough Learning Experience: Establish a robust 3ds Max foundation and master vital skills for crafting impressive 3D models and visualizations. Customized Instruction: Benefit from one-on-one guidance provided by seasoned instructors, ensuring focused and tailored learning. Flexible Learning Paths: Select between in-person or live online sessions, granting you the flexibility to learn from any location. Lesson Recordings: Gain access to recorded lessons for future reference, facilitating self-paced review of course content. Ongoing Email Assistance: Access continuous email support from our experts to address any queries or seek clarifications. Complimentary Career Guidance: Receive valuable career advice from industry professionals, assisting you in charting a successful course in the realm of 3D modeling and visualization."