- Professional Development
- Medicine & Nursing
- Arts & Crafts
- Health & Wellbeing
- Personal Development
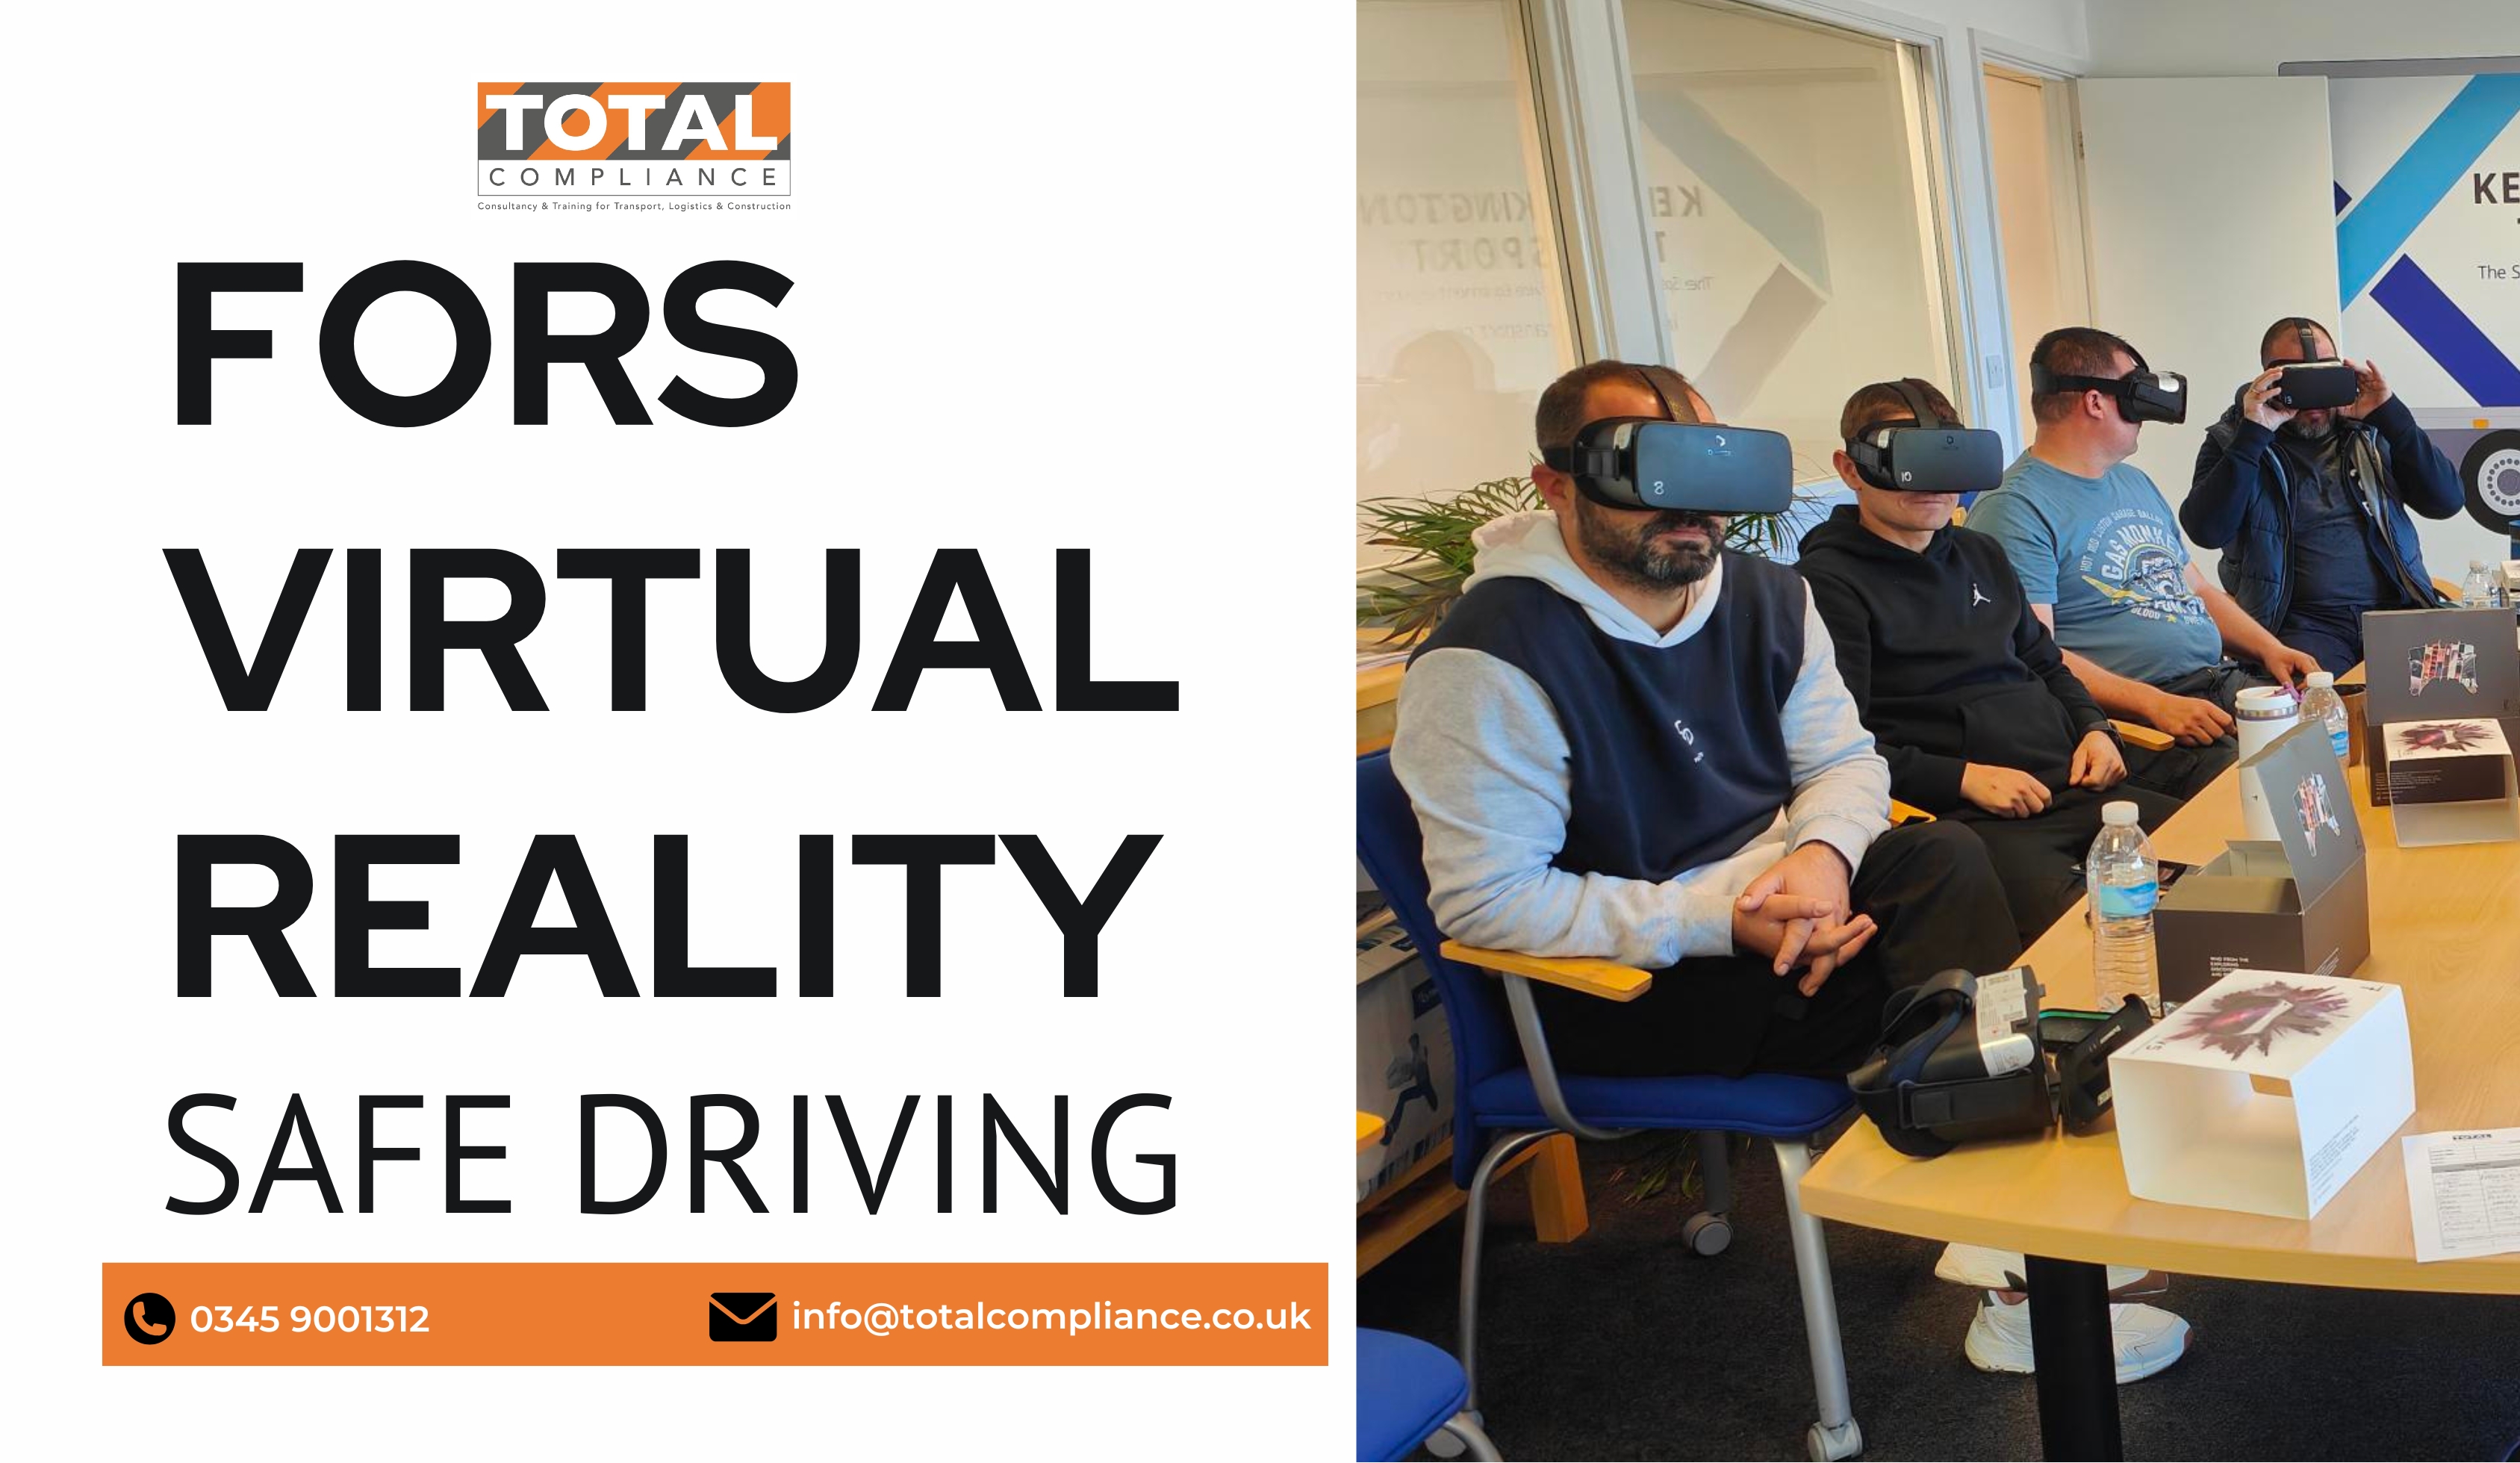
FORS Virtual Reality - Safe Driving - Periodic 7 Hour CPC- Bristol - Nov 2025
By Total Compliance
Registration will begin at 7:30 AM. The training will begin promptly at 8:00 AM. Please plan your arrival accordingly to ensure you don't miss any important information. Equip your drivers with the skills to navigate urban roads safely with our innovative VR training course. This DVSA-approved, 7-hour course utilises virtual reality to create a fully immersive learning experience. Drivers will gain a firsthand perspective of the challenges faced by vulnerable road users, such as cyclists, in a safe and controlled environment. Benefits: Immersive Learning: Develop empathy and understanding of vulnerable road users through VR simulations. Accessible & Risk-Free: Learn defensive driving techniques without the need for on-road cycling experience. Consistent Quality: Get a standardised training experience unlike unpredictable real-world scenarios. Course Content: The Changing Urban Landscape Sharing the Road with Vulnerable Users Defensive Driving Techniques Driver Attitude and Perception Impact of Driver Fitness on Safety Hazard Recognition for Vulnerable Road Users Compliance and Recognition: This course meets the requirements of: Work Related Road Risk (WRRR) FORS Silver Level CLOCS Standard Invest in your drivers' safety and the safety of vulnerable road users. Enroll today! Please review our Terms and Conditions for more information.

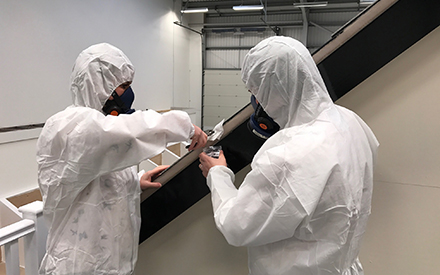
BOHS P405 Online - Management of Asbestos in Buildings (including Asbestos Removal)
By Airborne Environmental Consultants Ltd
The main subject areas of the course are: Legislation and guidance for asbestos practitioners. The properties of asbestos and health effects of exposure to asbestos fibres. The types of asbestos and its uses in buildings. The types of asbestos surveys. The asbestos register, risk assessment and management plan. Asbestos remediation. The role of asbestos analysts and laboratory procedures.
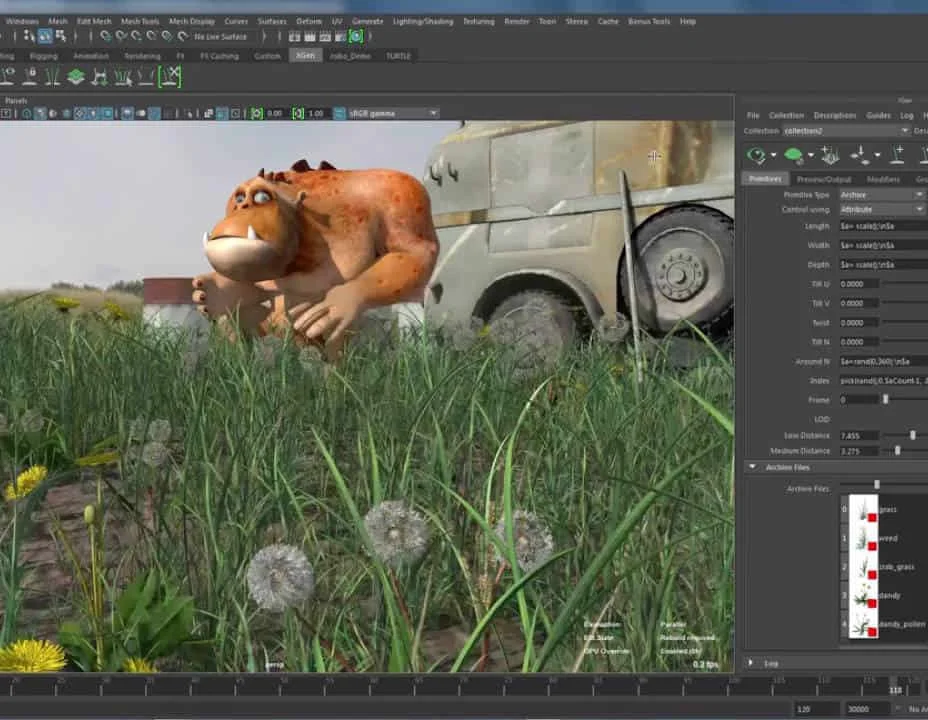
Complete Maya Beginner to Advanced Training
By ATL Autocad Training London
Why Choose Complete Maya Beginner to Advanced Training? Maya's extensive toolkit includes modeling, animation, simulation, and more, amplifying your versatility and influence in the 3D production pipeline. Click here for more info: Website Beginners or those with basic 3D knowledge. No specific digital media background is required. Duration: 40 hours Training Approach: 1-on-1 Sessions. Schedule: Customize your schedule by pre-booking a convenient hour of your choice, available Monday to Saturday between 9 am and 7 pm Course Structure: I. Introduction to Maya (3 hours) Maya Overview and Applications Interface Navigation and Basic Tools Project Creation and Management II. Basic Polygon Modeling (6 hours) Fundamentals of Polygon Modeling Creating and Editing Basic Shapes Advanced Techniques: Extrusions, Bevels, and NURBS for Organic Shapes III. Intermediate Modeling (6 hours) Advanced Polygon Modeling: Booleans, Deformers, and Surfaces Architectural Model Creation Sculpting Tools for Organic Shapes IV. Texturing and Materials (6 hours) Introduction to Texturing and Material Application Texture Mapping, UV Unwrapping, and Shaders Painting Textures with 3D Paint Tool V. Lighting and Rendering (6 hours) Basic and Advanced Lighting Techniques Realistic Lighting Environments Camera Setup, Composition, and Rendering VI. Animation (9 hours) Keyframe Animation and Animation Curves Character Rigging and Animation Complex Character Rigs, Lip Sync, Facial Animation, Dynamics, and Simulations VII. Rigging (4 hours) Skeleton Creation and Joint Binding Weight Maps and Simple to Complex Rigging Systems VIII. Special Effects (4 hours) Particle Systems, Fluid Dynamics, Fire, and Explosions Advanced Simulations with nCloth and nParticles Paint Effects and Mash Networks IX. Advanced Rendering Techniques (2 hours) Render Layers, Passes, and Global Illumination Mental Ray Rendering and Settings X. Conclusion and Next Steps (1 hour) Course Review, Tips for Further Learning Q&A Session and Feedback Please note that the course outline is flexible and can be tailored based on the learners' needs and proficiency levels. Autodesk Maya Basics to Advanced Level Course: Modeling: Surfaces, Control Vertex, Polygons, Extrusion Techniques, Subdiv Modeling, and More Deformations: Twist, Lattice, Flare, Bend Tools Shapes: Lines, Pen Tools, Surface Manipulation Techniques Animations: Keyframe Setup, Path Animations, Skeletons, IK Handles, Skinning Dynamics and Special Effects: Particle Systems, Fluid Dynamics, Lighting Effects, and Advanced Simulations Texturing and Rendering: Diffuse and Bump Mapping, Reflections, Shaders, Lights, and Camera Techniques Fluid Effects and Ncloth: 2D and 3D Containers, Collision Effects, Wind Simulations, and Gravity Control Rendering: Image and Animation Rendering, Playblast, Resolution Controls, and Output Formats. Advanced Modeling: Master intricate 3D models, including polygon, NURBS, and architectural modeling. Expert Texturing: Create realistic textures, apply shaders, and utilize the 3D paint tool. Complex Animation: Rig characters, perform lip sync, facial animation, and dynamic simulations. Special Effects Mastery: Understand particle systems, fluid dynamics, fire effects, and advanced simulations. Rendering Expertise: Grasp advanced rendering techniques, including layers, passes, and global illumination. Comprehensive Rigging: Develop joints, skeletons, and advanced rigging systems for characters and objects. Fluid Dynamics Proficiency: Manipulate 2D/3D fluid containers, create collision effects, and work with wind/gravity simulations. Advanced Lighting and Camera: Perfect lighting, shadows, and special effects. Master camera setups for diverse visual compositions. Recommended Books: "Introducing Autodesk Maya 2023" by Dariush Derakhshani and Randi L. Derakhshani "Mastering Autodesk Maya 2023" by Todd Palamar "Maya Character Creation: Modeling and Animation Controls" by Chris Maraffi "Maya Secrets of the Pros" by John Kundert-Gibbs and Dariush Derakhshani "The Art of 3D Computer Animation and Effects" by Isaac Victor Kerlow Advanced Maya Training Tailored to You: Elevate your Maya skills with specialized training covering essential areas like modeling, UV mapping, texturing, lighting, camera movement, and rigging. Your learning experience is personalized to match your unique requirements and preferences. Discuss your goals with our trainer, and we'll create a syllabus tailored just for you. Flexible Training Choices: Select between in-person sessions at our UK center or attend live online classes, offering convenience and accessibility. Certified Instructors: Benefit from expert guidance provided by Autodesk Authorized Trainers from London Design Training Course. Hands-On Learning: Our practical approach combines theory with step-by-step demonstrations, allowing ample time for hands-on practice on your computer with Maya. You'll retain all the files you create. Compatibility Across Platforms: Maya training caters to both Windows and Mac users, ensuring compatibility with various versions of Maya. Comprehensive Training Package: Participants receive an e-certificate upon successful completion, validating their Maya training. Lifetime Support: Enjoy a lifetime of email support post-training, ensuring assistance with any queries or challenges that arise. Tailored to Your Version: Training can be adapted to your preferred Maya version, ensuring you learn using the most relevant and up-to-date software features. Download Maya https://www.autodesk.co.uk Highly skilled mentors with practical experience. Cutting-edge facilities ensuring an immersive learning environment. Comprehensive courses spanning diverse design disciplines. Practical projects to enhance your portfolio. Networking avenues within the dynamic design community. Skills attuned to current industry trends. Opportunities for professional growth. Choose from flexible in-person or online classes. Internationally recognized training credentials. Engage in London's thriving art and design scene.
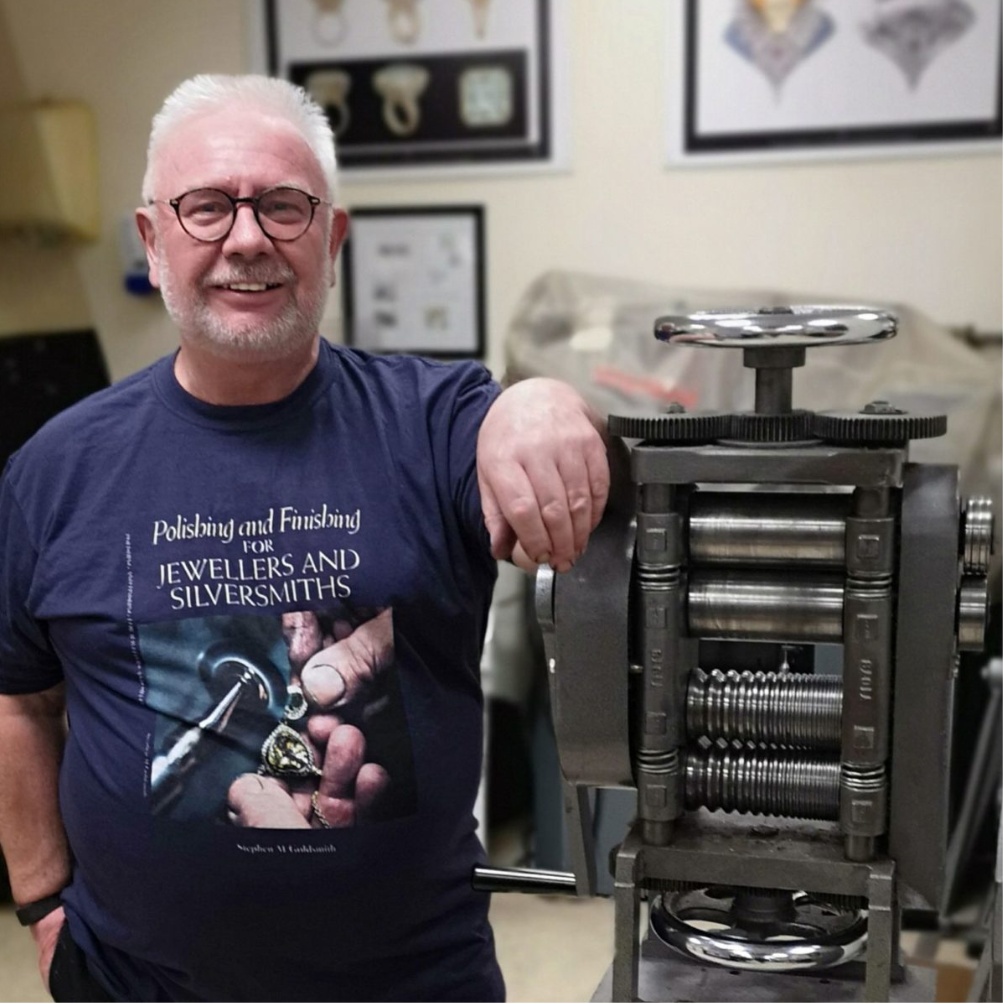
Polishing Masterclass with Stephen M Goldsmith Thursday 31st October and Friday 1st November (2 Day Course) 10-4pm
(21)By Workshop 925
We are very pleased to announce that Stephen Goldsmith aka the Gold polishing Guru is coming to our workshop 925 to teach his polishing masterclass. If you’re in the industry, he needs no introduction but for anyone who hasn’t heard of him, he is a master of the polishing craft with over 50 years experience, his client list past and present includes, Asprey, Garrard, Theo Fennell, Hamilton and Inches Crown Jewellers of Scotland, The Royal Mint, The Royal Society. He has polished and restored many famous silverware pieces including the Americas Cup; Davis Cup; Wimbledon Cup and the Premier League Cup and he has also advised the Tower of London Jewel House on the upkeep of their silver collections. He also judged the polishing section of Goldsmiths craft and design awards. WHEN: Thursday 31st October and Friday 1st November 2024 WHERE: Workshop 925 based at The Mayford Centre, just outside of Woking and very close to Guildford. Unit F9 The Mayford Centre, Mayford Green Woking, Surrey GU22 0PP TUTOR: Stephen M Goldsmith ABOUT STEPHEN: Stephen M Goldsmith started out at Rochester Art college, now known as University for the Creative Arts and was apprenticed at C.J Vander’s in 1971 and indentured with The Worshipful Company of Goldsmiths’. Now a Master Polisher of over 50 years’ experience, originally working for the Crown Jewellers Asprey & Garrards and well-known society jeweller Theo Fennell. Many of the pieces polished are now seen in Palaces, Museums and the rich and famous across the world. Stephen is one the most respected jewellery & silver polishers and is currently is teaching polishing across Europe and is known affectionately as “The Gold polishing Guru”. He has polished and restored many famous silverware pieces including the Americas Cup; Cricket World cup, Wimbledon Cup, Dubai Gold Cup, Premier League Cup. He has also been privileged to work in the jewel house at the Tower of London restoring The Grand Punch bowl made in 1830 and used by the Royal family on many occasions. Also known for polishing the largest pure gold coins made by the Royal Mint the largest being the James Bond 7kg pure gold coin. He is a fellow of the Institute of Professional Goldsmiths (IPG) and their official ambassador and a Master of The Dutch Guild of Goldsmiths. He shares his trade skills by teaching nationally and internationally including at Goldsmiths Centre, School of Master Jeweller’s Birmingham and VanTol & Breet Academy (Netherlands), The School of Jewellery Dublin & The Design & Craft Irish Craft Council in Kilkenny, Vannilla Ink, Aka_bespoke Manchester, Sheila Fleet in Orkney, Patrick Mavros in Zimbabwe and Mauritius. Stephen is a Freeman of The Worshipful Company of Goldsmiths’ and was granted the Freedom of the City of London in 1975. He has also had the very rare honour of winning The Goldsmith’s Company Award twice, plus many other prestigious awards and served as a council member for The Goldsmiths’ Craft and Design Council and a published authority on polishing precious metals “Polishing and Finishing for Jewellers and Silversmiths by the Crowood Press. WHAT DOES THE DAY INVOLVE? We are very pleased to announce that Stephen Goldsmith aka the Gold polishing Guru is coming to our workshop 925 to teach his polishing masterclass. If you’re in the industry, he needs no introduction but for anyone who hasn’t heard of him, he is a master of the polishing craft with over 50 years experience, his client list past and present includes, Asprey, Garrard, Theo Fennell, Hamilton and Inches Crown Jewellers of Scotland, The Royal Mint, The Royal Society. He has polished and restored many famous silverware pieces including the Americas Cup; Davis Cup; Wimbledon Cup and the Premier League Cup and he has also advised the Tower of London Jewel House on the upkeep of their silver collections. He also judged the polishing section of Goldsmiths craft and design awards.You can get a glimpse of what he does on his instagramWHAT HAPPENS DURING THE MASTERCLASS?First, Stephen will talk about his career giving you an insight into the makings of a master craftsman. Then he will demonstrate just why he is known as master polisher. After this demonstration you will be guided by Stephen to try and replicate what you have been shown in the demonstration.After working through a few more exercises you will set to work on your own jewellery, receiving guidance on not just how to achieve the finish you would like for your jewellery but to reach a standard of finish you didn’t know you could.These Masterclasses are a great opportunity to learn from someone who is:a) A true master in our tradeb) Not a grump or condescending because you don’t know somethingc) Happy to chat and share his knowledge!All you need to bring is some of your own jewellery (around 6 items) at the point where it’s ready for polishing.You will have a spindle that is yours for the duration of the masterclass, mops, materials etc will be provided. It can be a messy business so make sure your clothing is workshop friendly!You will also have full access to our workshop, benches, tools and equipment if needed.This Masterclass will leave you with the knowledge and skills to take your polishing to a highly professional standard.EXPERIENCE REQUIRED: This class will benefit jewellers with some experience who are looking to learn to polish their work to a professional level. Our small classes mean we are able to provide each student with the support they require. CLASS SIZE: 6 WHAT TO BRING: For safety reasons, during each class, you are required to wear appropriate footwear, we request that no open toed shoes are worn within Workshop 925. Long hair should also be tied back when working with the equipment. You may also wish to bring a notebook. We have handouts for many demonstrations, but there are always many tips and tricks given verbally by the tutor, which some might like to keep note of. We have a microwave, kettle and fridge to store or cook your lunch choices. PAYMENT OPTIONS: You can pay via our website or in our workshop in person using our card machine. If you prefer to pay directly, you can email us on hello@workshop925.com and we can invoice you manually to arrange a bank transfer. For classes over £80, instalment options are also available. Please email us on hello@workshop925.com to arrange. Gift Voucher – if you have a voucher to redeem, please email us before booking on hello@workshop925.com Please check your dates carefully before booking a class as we are unable to offer refunds. See our Terms & Conditions for full details.
Microsoft Project Introduction - Online classroom
By Microsoft Office Training
Course Objectives At the end of this course you will be able to: Identify the components of the Microsoft Project environment Create a new project plan Create the project schedule Use different views to analyse the project plan Create, allocate and manage resources in a project plan Finalise a project plan Track progress View and report project plan information ' 1 year email support service Customer Feedback Very good course. Learnt a lot. Looking forward to the next level. Alexandra - CIAL ' 1 year email support service Take a closer look at the consistent excellent feedback from our growing corporate clients visiting our site ms-officetraining co uk With more than 20 years experience, we deliver courses on all levels of the Desktop version of Microsoft Office and Office 365; ranging from Beginner, Intermediate, Advanced to the VBA level. Our trainers are Microsoft certified professionals with a proven track record with several years experience in delivering public, one to one, tailored and bespoke courses. Our competitive rates start from £550.00 per day of training Tailored training courses: You can choose to run the course exactly as they are outlined by us or we can customise it so that it meets your specific needs. A tailored or bespoke course will follow the standard outline but may be adapted to your specific organisational needs. Introduction to Microsoft Project Recap on project management concepts Project environment overview The 3 databases: Tasks, Resources and Assignments Different ways of displaying the Project Plan Access Help Creating a Project Plan Create a New Project Plan Project Information Create and apply the project calendar Defining recurring exceptions to the calendar Defining the calendar's work weeks Create the Summary tasks Create the Work Breakdown Structure Task creation and scheduling Exploring the Entry Table and its fields Task editing and the Task Information window Task Durations Defining Milestones Manual Scheduling vs Automatic Scheduling Changing the Task's Calendar Create a split in a Task Create Task Relationships Adding Lag or Lead to a Relationship Identifying the Critical Path Adding Constraints and Deadlines to Tasks Create Recurring Activities Adding Notes and links to Tasks Managing Resources Exploring the Entry Table and its fields Resource editing and the Resource Information window Resource Types Fixed Costs vs Variable Costs Adding Resource Costs Defining when costs accrue Changing the Resource Calendar and Availability Project calendar vs Resource and Task Calendar Assigning Resources to Tasks Effort Driven Scheduling Resolving Resource Overallocation Tracking the Project Progress Setting a Project Baseline Entering Actuals Different ways of viewing the Progress Checking if the Project is on track Viewing and Reporting Project Detail Adding Tasks to the Timeline and sharing it Modifying the Timescale and Zoom level Formatting the Gantt View Filtering and Grouping Tasks Print and Troubleshoot the Gantt View Using built-in Reports in Microsoft Project Who is this course for? Who is this course for? This course is designed for a person who has an understanding of project management concepts, who is responsible for creating and modifying project plans, and who needs a tool to manage these project plans. Requirements Requirements General knowledge of the Windows OS Career path Career path Microsoft Office know-how can instantly increase your job prospects as well as your salary. 80 percent of job openings require spreadsheet and word-processing software skills
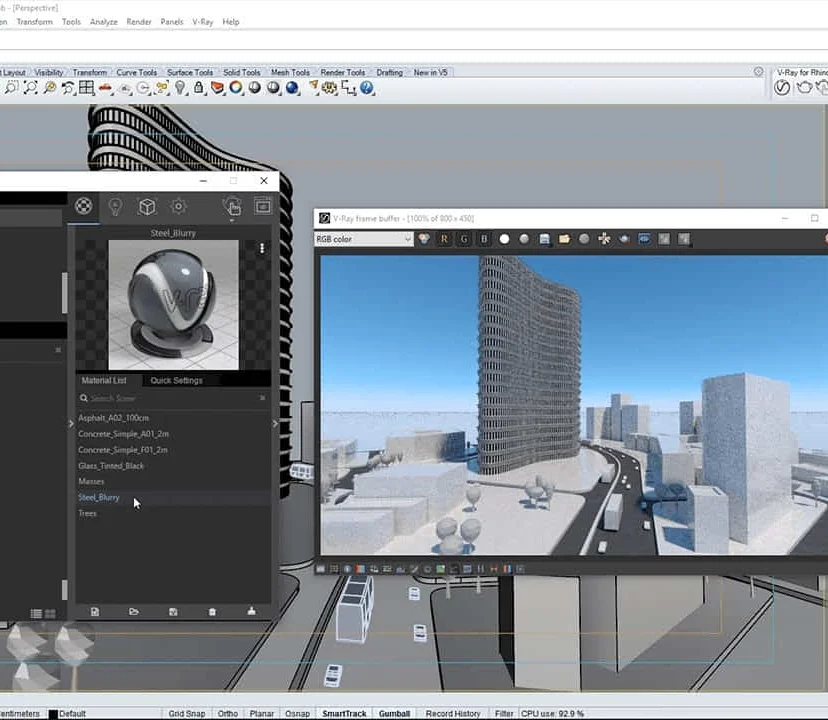
Complete Rhino 3D and V-Ray Training Program: Basic to Intermediate
By ATL Autocad Training London
Why Choose Complete Rhino 3D and V-Ray Training Program: Basic to Intermediate? Learn Rhino 3D and V-Ray for Rhino Basic to Intermediate Training Course. Suitable for beginners and experienced users alike, this program equips you with vital modeling and rendering skills. Opt for in-person or live online sessions. Click here for more info: Website Duration: 16 hours. Approach: 1-on-1 Sessions, Customized Content and Flexible Learning. Scheduling Flexibility: Tailor your sessions from Mon to Sat between 9 am and 7 pm. Course Title: Complete Rhino 3D and V-Ray Training Program: Basic to Intermediate - 16 Hours Session 1-2: Introduction to Rhino 3D Basics (2 hours) Understanding Rhino Interface: Navigating toolbars, command line, and properties panel. Basic Geometric Shapes: Creating lines, circles, and polygons with precision. Editing Tools: Mastering move, rotate, scale, and mirror commands. Session 3-4: Advanced Rhino 3D Modeling Techniques (2 hours) Curves and Surfaces: Delving into NURBS curves, creating complex surfaces, and blending techniques. Modeling Aids: Utilizing grids, snaps, and construction planes for accuracy. Organizing with Layers: Managing complex projects efficiently. Session 5-6: Introduction to V-Ray for Rhino (2 hours) V-Ray Interface: Understanding V-Ray toolbar and settings. Basic Lighting: Exploring different light types and their effects on scenes. Materials: Creating realistic materials, understanding diffuse, reflection, and transparency. Session 7-8: Intermediate V-Ray Concepts (2 hours) Advanced Lighting: Mastering HDRI lighting, creating natural outdoor lighting scenarios. Texture Mapping: Understanding UV mapping, applying textures seamlessly. Rendering Optimization: Reducing noise, optimizing settings for quicker, high-quality renders. Session 9-10: Rhino-V-Ray Integration (2 hours) Model Preparation: Optimizing Rhino models for V-Ray rendering. Advanced Material Manipulation: Creating complex materials, incorporating textures. Interactive Rendering: Real-time adjustments for immediate feedback. Session 11-12: Advanced Modeling Techniques in Rhino (2 hours) Advanced Surface Modeling: Creating organic shapes, advanced surfacing techniques. Precision Modeling: Advanced curve editing, filleting, and trimming. Working with 3D Text: Creating custom 3D text for design projects. Session 13-14: Scene Composition and Presentation (2 hours) Camera Settings: Understanding focal length, depth of field, and perspective. Scene Composition: Design principles, rule of thirds, focal points, and balance. Post-Processing: Enhancing renders in Photoshop, adding atmosphere and context. Session 15-16: Final Project and Portfolio Review (2 hours) Final Project Work: Participants apply learned skills to create a complex 3D scene. Instructor-led Critique: Feedback session for final projects. Portfolio Guidance: Tips for selecting the best works for a professional portfolio. By the end of this 16-hour course, participants will have a deep understanding of both Rhino 3D and V-Ray, allowing them to create intricate 3D models and produce high-quality, realistic renders for various applications. Upon completing the Rhino 3D and V-Ray Basic to Intermediate Training Course, participants can expect to achieve the following learning outcomes: Proficiency in Rhino 3D and V-Ray: Develop a comprehensive understanding of Rhino 3D and V-Ray interfaces, tools, and functionalities, enabling participants to navigate and utilize the software effectively. 3D Modeling Skills: Master the art of creating captivating 3D objects and shapes using Rhino 3D, including editing, transforming, and refining designs for diverse applications. Material Application: Acquire the ability to apply and customize materials and textures to enhance the visual appeal and realism of 3D models, elevating the quality of designs. Lighting Techniques: Gain expertise in utilizing V-Ray lighting tools, such as V-Ray lights and HDRI maps, to achieve striking lighting effects in rendered scenes. Rendering Excellence: Learn to optimize V-Ray render settings, control global illumination, and apply dynamic effects like depth of field and motion blur for high-quality and impressive renders. Advanced Modeling: Develop skills in advanced modeling techniques, including handling curves, surfaces, and solids, enabling participants to tackle complex design challenges. Lighting Mastery: Acquire the knowledge and expertise to create and adjust artificial lights, utilize the Sun and Sky system, and craft custom HDR images for realistic lighting setups. Seamless File Management: Understand various file formats for exporting and importing 3D models, facilitating efficient collaboration and preparation for 3D printing. Creative Problem-Solving: Enhance creative thinking and problem-solving abilities through hands-on practice and exploration of diverse design scenarios. Professional Presentation: Learn post-production techniques in Photoshop to enhance renders and create visually appealing design presentations for effective communication. Continuous Learning: Access valuable resources and tips to encourage continuous learning and professional growth in Rhino 3D and V-Ray. Skills You'll Gain: Master Rhino 3D basics: Curves, surfaces, modeling aids, and precision techniques. Explore intermediate V-Ray concepts: Advanced lighting, material manipulation, and texture mapping. Understand Rhino-V-Ray integration for seamless 3D modeling and rendering workflows. Optimize render settings for high-quality output and reduced rendering times. Career Opportunities: Upon completing this program, you'll be prepared for various roles in the design and visualization industry, such as: 3D Modeler: Create detailed 3D models for diverse industries, including architecture and product design. Architectural Visualizer: Produce realistic architectural visualizations for presentations and marketing materials. Product Designer: Develop visually appealing product prototypes and visualizations for marketing and manufacturing. Visualization Specialist: Work in design studios, advertising agencies, or game development companies, creating immersive visual content. Freelance Designer: Offer your skills on platforms like Upwork or Fiverr, providing 3D modeling and rendering services to clients worldwide. Solidify Rhino 3D Expertise: Master foundational modeling skills, including intricate geometries and surface manipulation, establishing a robust foundation for your 3D design journey. Unlock V-Ray for Rhino: Explore the potential of V-Ray for Rhino, learning to create mesmerizing visualizations and achieve lifelike rendering results that bring vitality to your designs. Enhance Visual Appeal: Grasp advanced lighting techniques, material application, and texture methods to elevate the visual allure of your 3D creations, making them more immersive and authentic. Explore Advanced Concepts: Delve into optimizing rendering settings, post-production tactics, and efficient workflows, advancing your design proficiency to higher levels. Hands-On Experience: Engage in practical exercises and real-world projects, applying your skills in practical contexts to enrich your portfolio and showcase your capabilities effectively. Certification of Achievement: Receive a valuable Certificate of Completion, confirming your expertise in Rhino 3D and V-Ray for Rhino, enhancing your professional credibility as a skilled designer. Flexible Learning Paths: In-Person or Live Online: Opt for in-person sessions, fostering collaborative learning, or choose live online classes for convenience and accessibility, tailoring your learning experience to your preferences. Personalized Guidance: Regardless of your chosen format, benefit from tailored instruction and guidance, ensuring optimal learning outcomes and continuous support throughout the course.
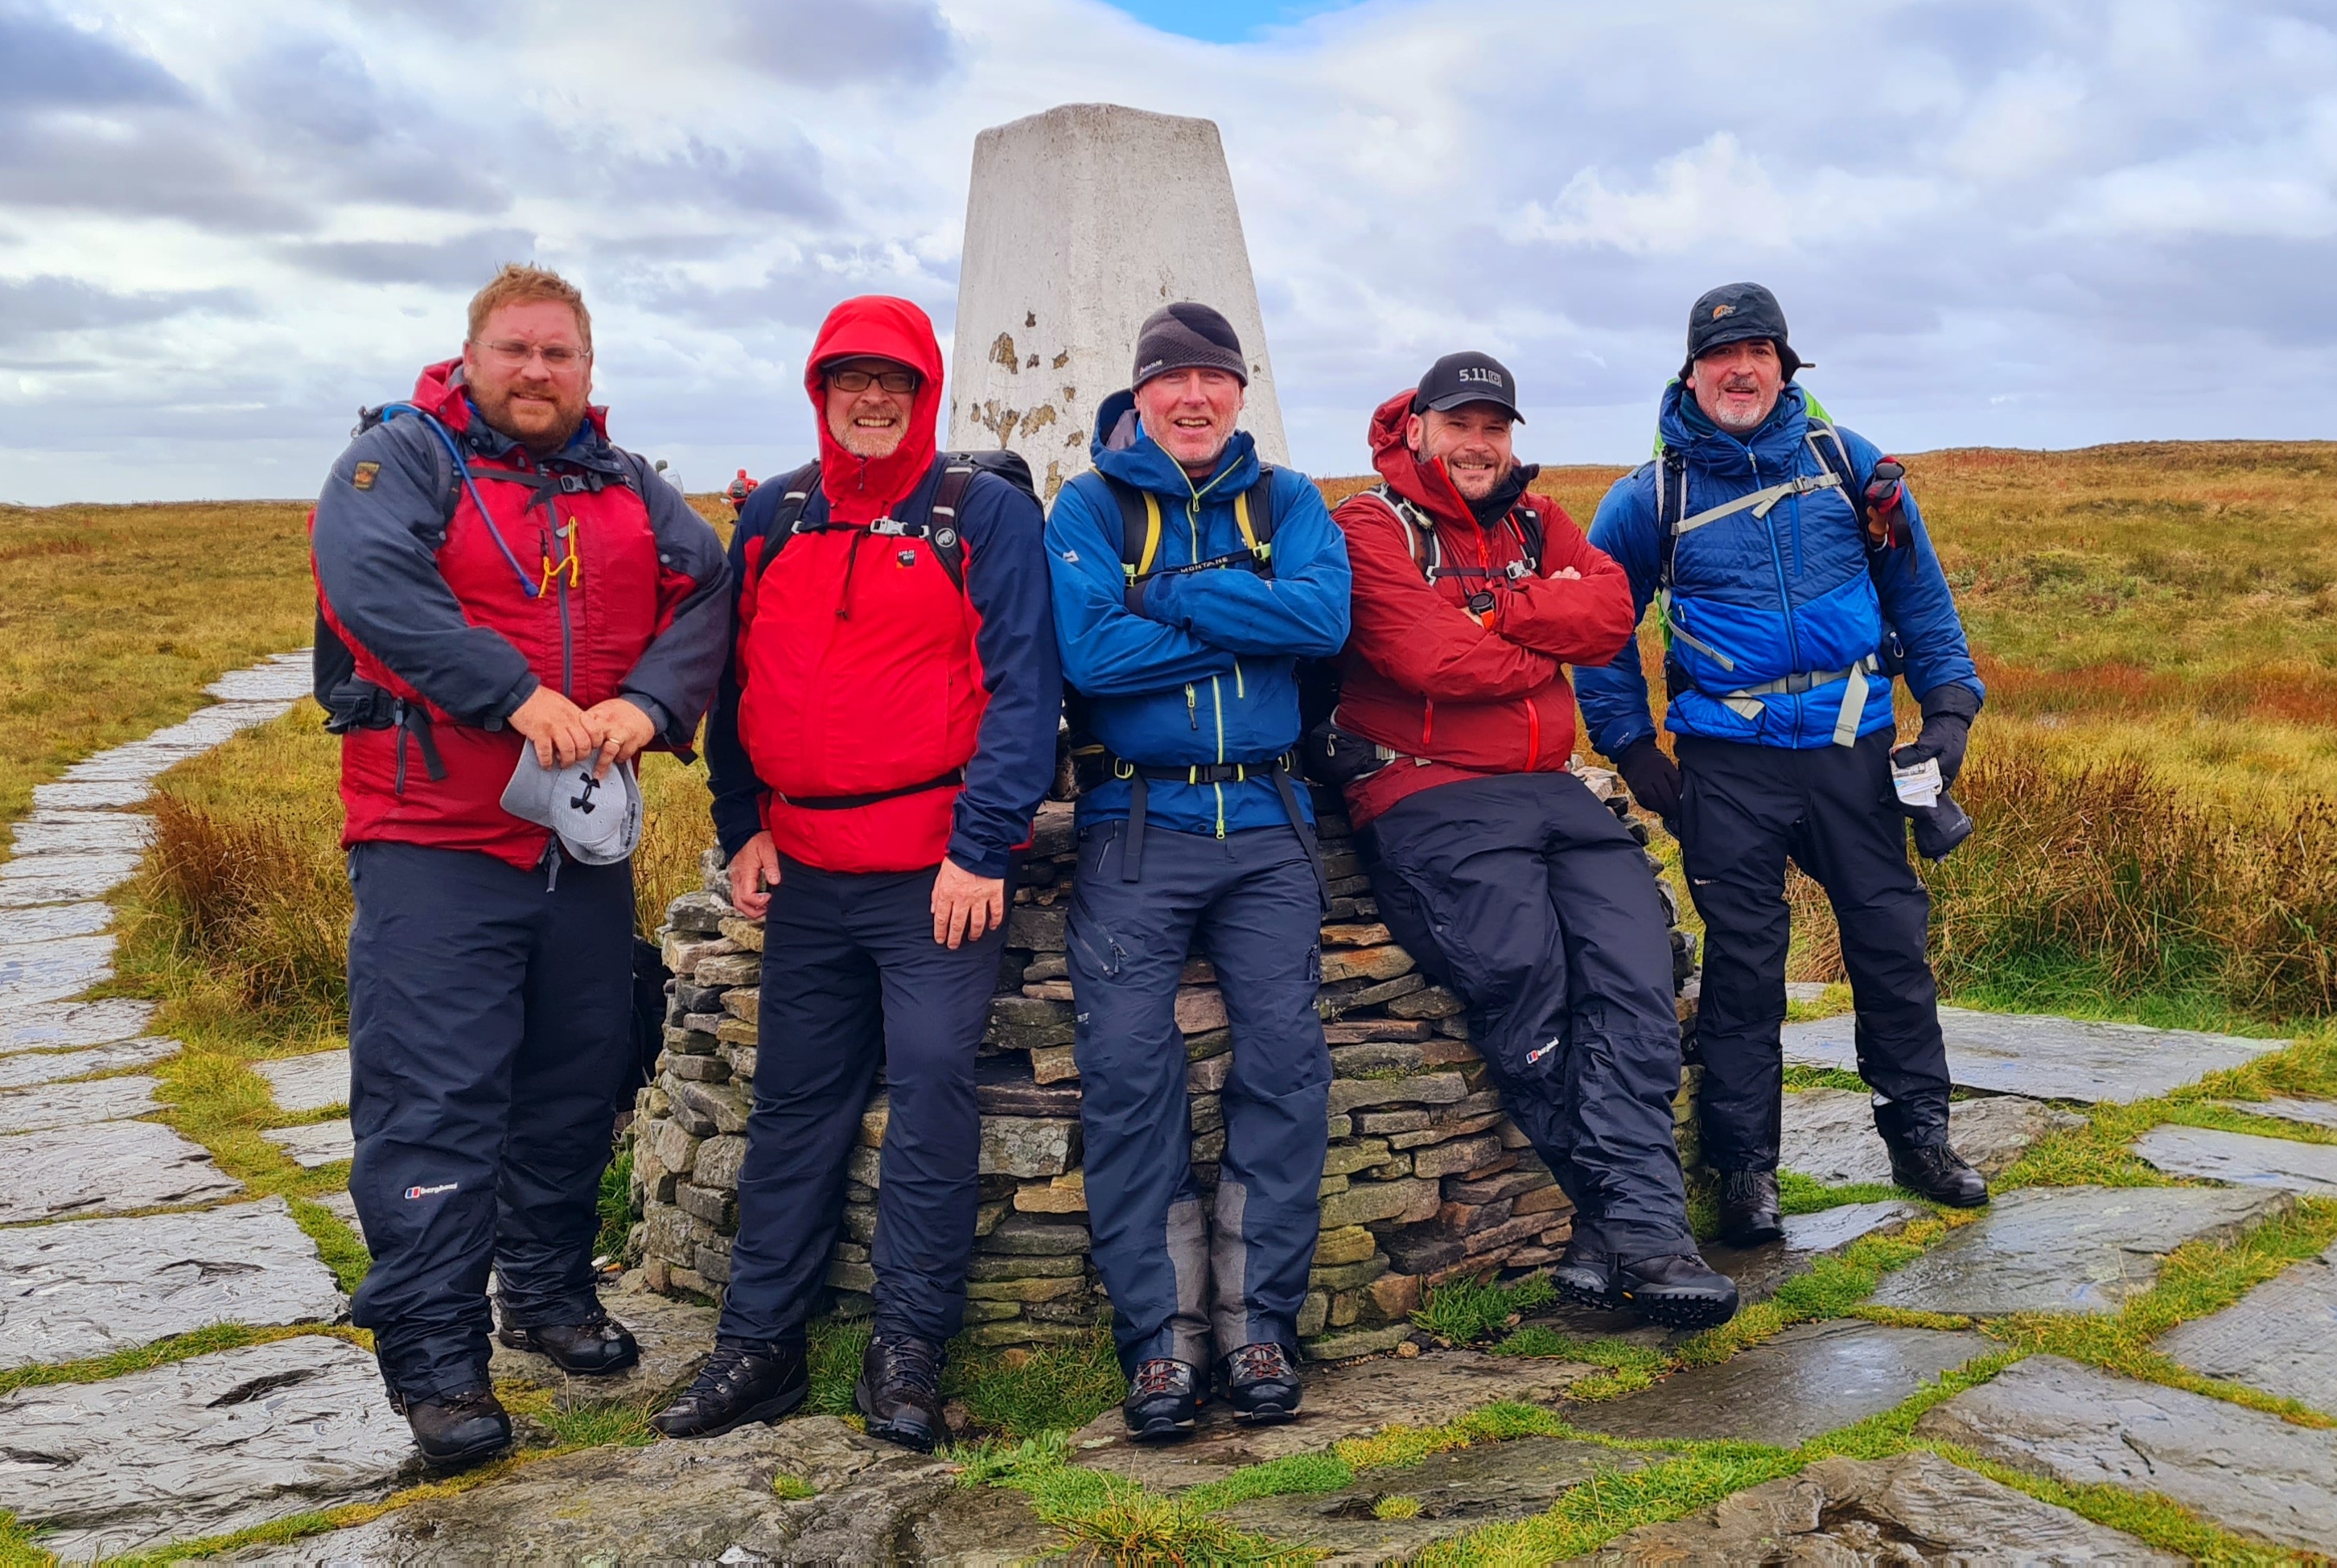
Day 1 will start with an outdoor classroom input, and then out on the ground to practise some map reading skills and some compass work. Day 2 will be out on the hills all day, and will include individual assessments. The 2 days will be very relaxed and enjoyable. Successful candidates will receive an official NNAS certificate.
This Level 4 City and Guilds 2396-01 Design and Verification of Electrical Installations course has been designed to help develop the skills and up date the knowledge of the requirements to enable you to professionally design, erect and then verify an electrical installation. This course is aimed at those who will have responsibility for designing, supervising, installing and testing electrical installations. Further information can be found here: C&G 2396 Electrical Design Course — Optima Electrical Training (optima-ect.com)

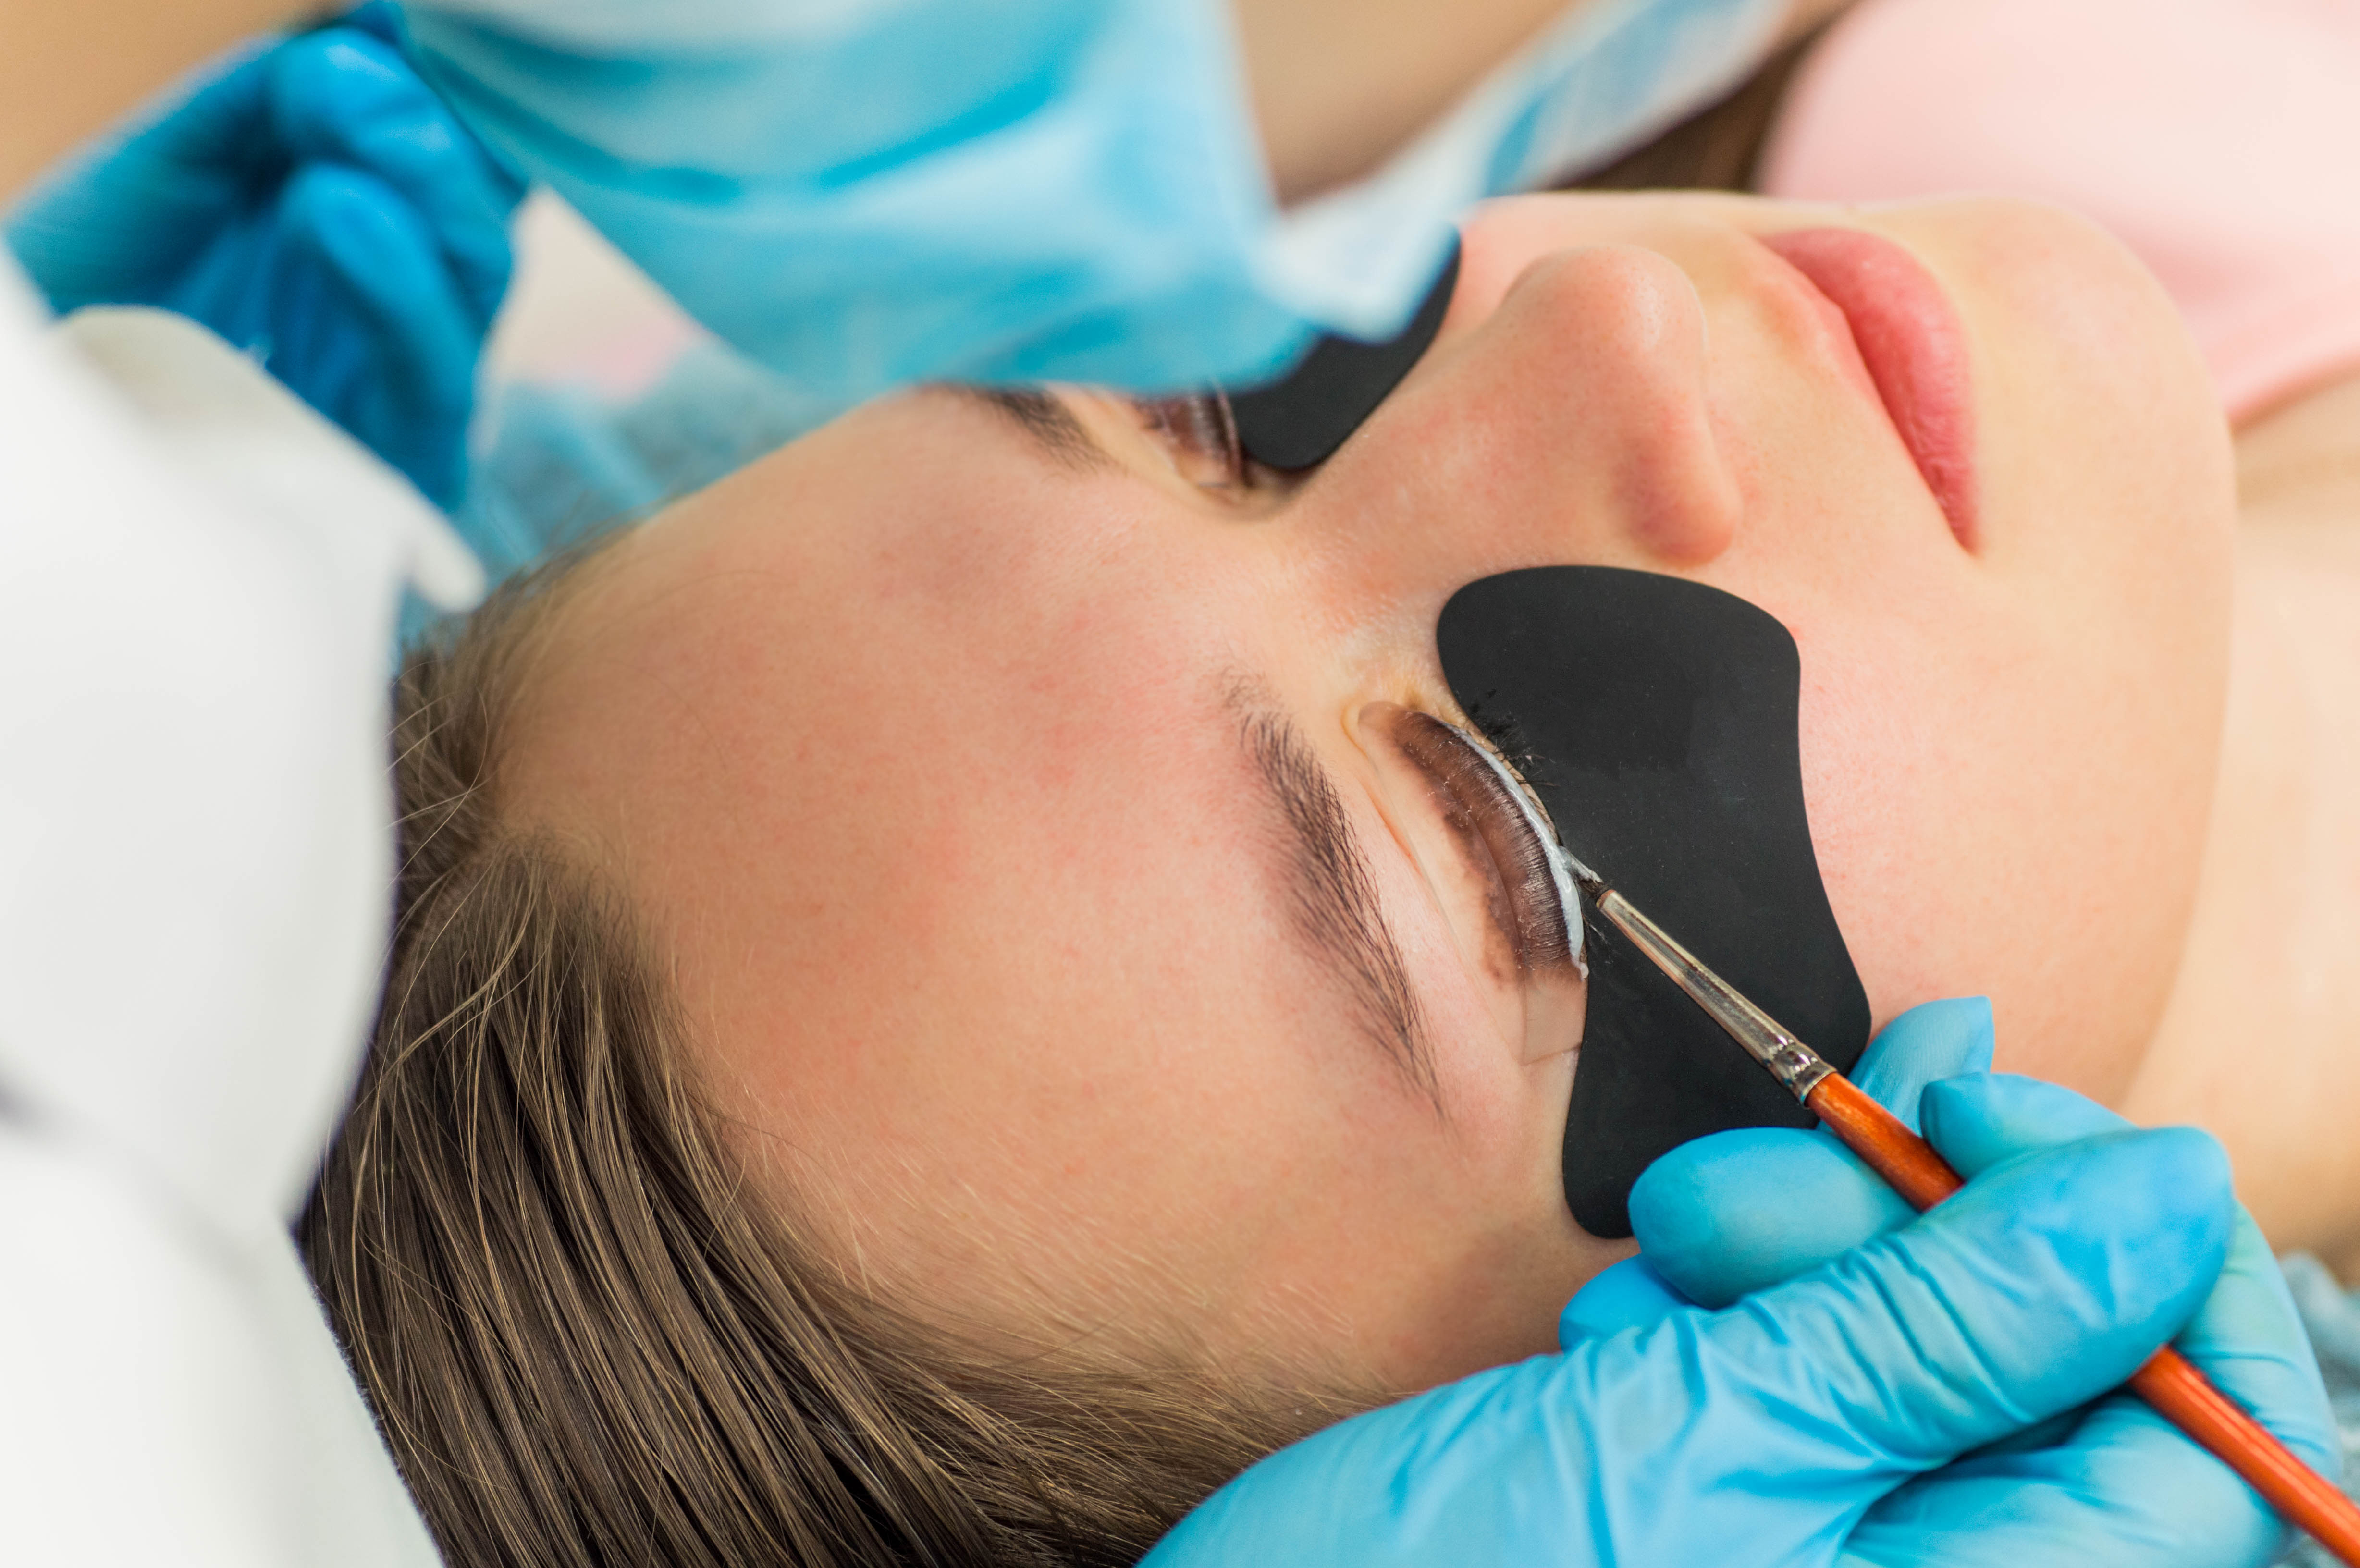
Lash Lift & Tint Course
By The Beauty Click Academy
GTi Lash Lift & Tint Course CPD Points – 20 Price—£99 Included – Hard copy training manual Optional Add on’s – You may wish to add on the following take home kits to your course booking: Pinkfishes.com Lash lift & tint starter kit – £64.95 This is not essential for the course, all products and tools needed for the course will be provided on the day. You may be required to bring a model with you to this course. A fully comprehensive course to teach the natural eyelashes lash lift treatment. Training includes all Anatomy, Physiology, Theory and practical work necessary to create beautifully lifted lashes, that look longer, thicker and more dramatic. It is often said that the eyes are the windows to the soul, and it is for this reason that women have paid close attention to how they are presented for centuries. This course will teach you about the technique, products and tools used to provide a professional Lash Lift and Tint treatment and includes a practical training session and assessment. On completion of the course you will receive a certificate and a recognised, insurable qualification. Includes all tools and products required for the course, there is no take home kit provided with this course. Course Requirements - If you are not currently a Guild member, you will need to purchase a 3 month student membership costing £25. This will give you access to your online theory work. (You can attend and access theory work for as many Guild courses as you wish within the 3 month period) We will enrol you 2-3 weeks prior to your course date, so you will receive an email with information on how to set up your student membership from us at this point. You can find more information on Guild membership types here. No previous experience necessary.