- Professional Development
- Medicine & Nursing
- Arts & Crafts
- Health & Wellbeing
- Personal Development
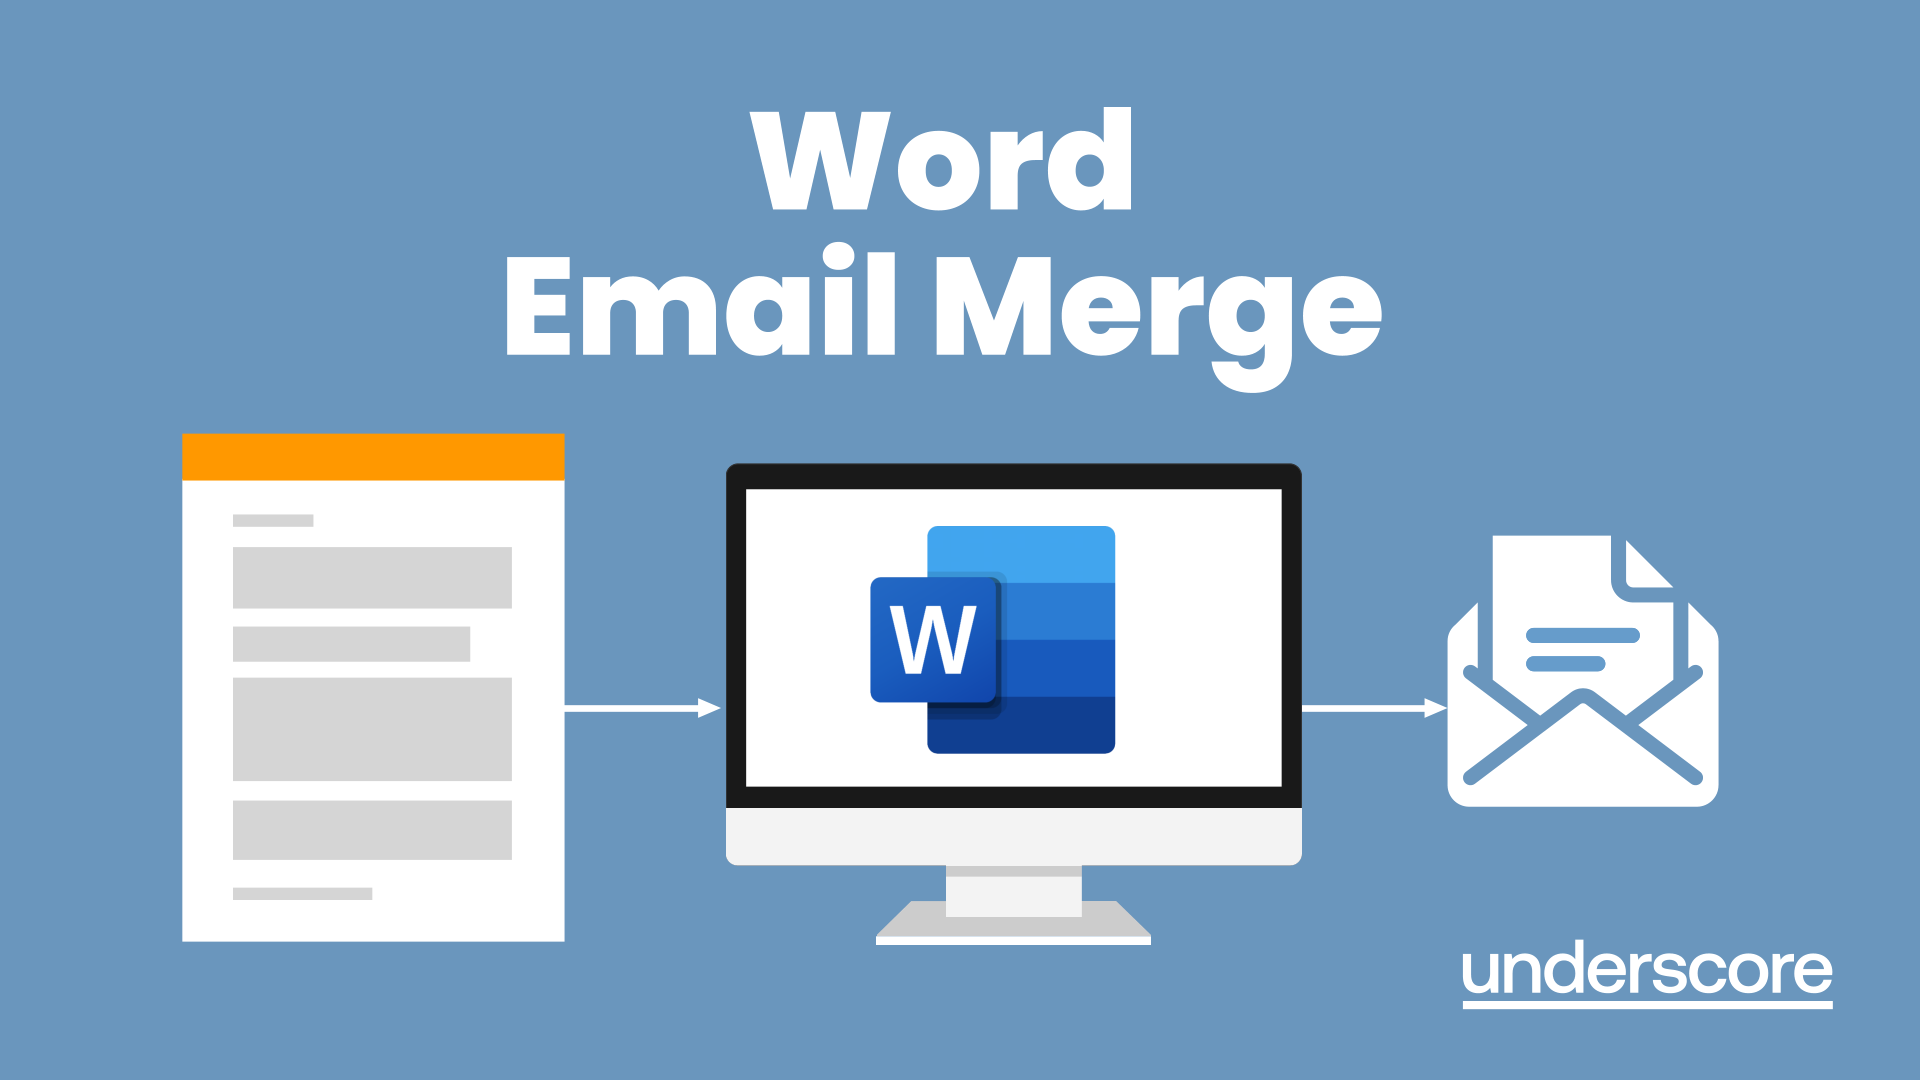
Word email merge
By Underscore Group
Learn how to create a mail merge in Word to allow you to send personalized emails to groups of people. Course overview Duration: 2 hours This course looks at how you can create a list of contacts with emails and then build a document to email out to everyone. This ensures that everyone gets a personal email but no one else sees the recipients. Objectives By the end of the course you will be able to: Create source data to use in a merge Create a document to email out Attach source data contacts Filter recipients Send out emails to all Content Creating source contact data Creating your source data in Excel Creating a Word mail merge document Starting a mail merge document Attaching your source contact data Building the document Emailing your document Previewing the results Running a test to a document Setting up any filters Sending your document to emails
R&D project management (In-House)
By The In House Training Company
R&D work is often carried out in entrepreneurial companies with the aim of developing solutions to scientific or technological problems for a wide range of customers. Projects can include longer term 'frontiers of science' research, medium term product development/manufacturing or more immediate troubleshooting or contract research assignments. In all these contexts, the ability to create innovative solutions in a timely and cost-effective manner is the essence of successful R&D. Whilst R&D groups typically excel in technical expertise, those involved often recognise that there is scope for improving the way that projects are managed. The aim of this training programme is to address this need whilst ensuring that the creative, entrepreneurial spirit that is fundamental to good R&D continues to flourish. MODULE 1: Creating the foundations for success Off-line video tutorials and exercises Total time ~ 1 - 1.5 hours Video 1: Making the most of project management in R&D Characterising R&D projects Applying project management to R&D work Exploiting the potential of project management in R&D Video 2: Promoting success in R&D project management Modelling successful project management Evaluating performance and promoting success The role and skills of the project manager/leader MODULE 2: Initiating and defining R&D projects Live interactive sessions (via Zoom): Session 1: 10:00 - 12:00 Session 2: 14:00 - 15:30 Session 1: Selecting and initiating projects Recognising worthwhile opportunities; initiating projects Identifying stakeholders and their goals Characterising and engaging stakeholders Session 2: Defining goals and agreeing deliverables Establishing the full scope of the project Clarifying and prioritising project deliverables Defining and agreeing deliverable specifications MODULE 3: Planning R&D projects Live interactive sessions (via Zoom): Session 1: 10:00 - 12:00 Session 2: 14:00 - 15:30 Session 1: Identifying and organising activities Creating effective plans; avoiding planning pitfalls Identifying tasks and assigning responsibilities Sequencing tasks and estimating durations Session 2: Developing the timeline and resource plan Identifying the 'critical path'; creating a resource plan Dealing with estimating uncertainty Accelerating the programme MODULE 4: Leadership and teamwork in R&D projects Off-line video tutorials and exercises Total time ~ 1 - 1.5 hours Video 1: Working effectively in project teams Building teamwork in contemporary organisations Recognising each other's skills; building synergy Building good working relationships; handling conflict Video 2: The role of the R&D project team leader Building teamwork: the role of leadership Creating an effective team culture Delegating work and motivating team members MODULE 5: Managing uncertainty in R&D projects Live interactive sessions (via Zoom): Session 1: 10:00 - 12:00 Session 2: 14:00 - 15:30 Session 1: Characterising uncertainty; identifying risks Exploring uncertainty; applying risk management Focusing the risk management process Identifying and defining risk events Session 2: Managing and controlling risks to the project Evaluating risk events Selecting between risk strategies; setting contingencies Updating and controlling exposure to risk MODULE 6: Implementing and controlling R&D projects Live interactive sessions (via Zoom): Session 1: 10:00 - 12:00 Session 2: 14:00 - 15:30 Session 1: Initiating assignments and managing changes Creating a pro-active implementation and control culture Establishing effective implementation and control procedures Assigning work and managing changes Session 2: Monitoring, managing and developing performance Adopting meaningful monitoring techniques Responding to problems; building performance Managing and controlling multiple project assignments

Microsoft Word Intermediate (now with live online classes)
By Microsoft Office Training
Course Objectives At the end of this course you will be able to: Customise tables and charts Customise formatting with styles and themes Modify pictures in a document Create customised graphic elements Insert content using Quick Parts Control text flow Use templates to automate document creation Perform mail merges Use macros to automate common tasks '1 year email support service Take a look at the consistent excellent feedback from our corporate clients visiting our site ms-officetraining co uk Customer Feedback Excelent enviroment for training. Tahnk you. Jenny Price - ACER ' With more than 20 years experience, we deliver courses on all levels of the Desktop version of Microsoft Office and Office 365; ranging from Beginner, Intermediate, Advanced to the VBA level. Our trainers are Microsoft certified professionals with a proven track record with several years experience in delivering public, one to one, tailored and bespoke courses. Tailored in company training courses: You can choose to run the course exactly as they are outlined by us or we can customise it so that it meets your specific needs. A tailored or bespoke course will follow the standard outline but may be adapted to your specific organisational needs. Working with Tables and Charts Sort Table Data Control Cell Layout Perform Calculations in a Table Create a Chart Customising Formats Using Styles and Themes Create and Modify Text Styles Create Custom List or Table Styles Apply Document Themes Using Images in a Document Resize an Image Adjust Image Appearance Integrate Pictures and Text Insert and Format Screenshots Use the Snipping tool Creating Custom Graphic Elements Create Text Boxes and Pull Quotes Draw Shapes Add WordArt and Other Text Effects Create Complex Illustrations with SmartArt Inserting Content Using Quick Parts Insert Building Blocks Create and Modify Building Blocks Insert Fields Using Quick Parts Controlling Text Flow Control Paragraph Flow Insert Section Breaks Insert Columns Link Text Boxes to Control Text Flow Using Templates Create a Document Using a Template Create a Template Using Mail Merge The Mail Merge Features Merge Envelopes and Labels Create a Data Source Using Word Using Macros Automate Tasks Using Macros Create a Macro Who is this course for? Who is this course for? This course is designed for users who to create or modify complex business documents as well as customised Word efficiency tools Requirements Requirements Preferably, delegates should have attended the Word Introduction course. Career path Career path Microsoft Office know-how can instantly increase your job prospects as well as your salary. 80 percent of job openings require spreadsheet and word-processing software skills

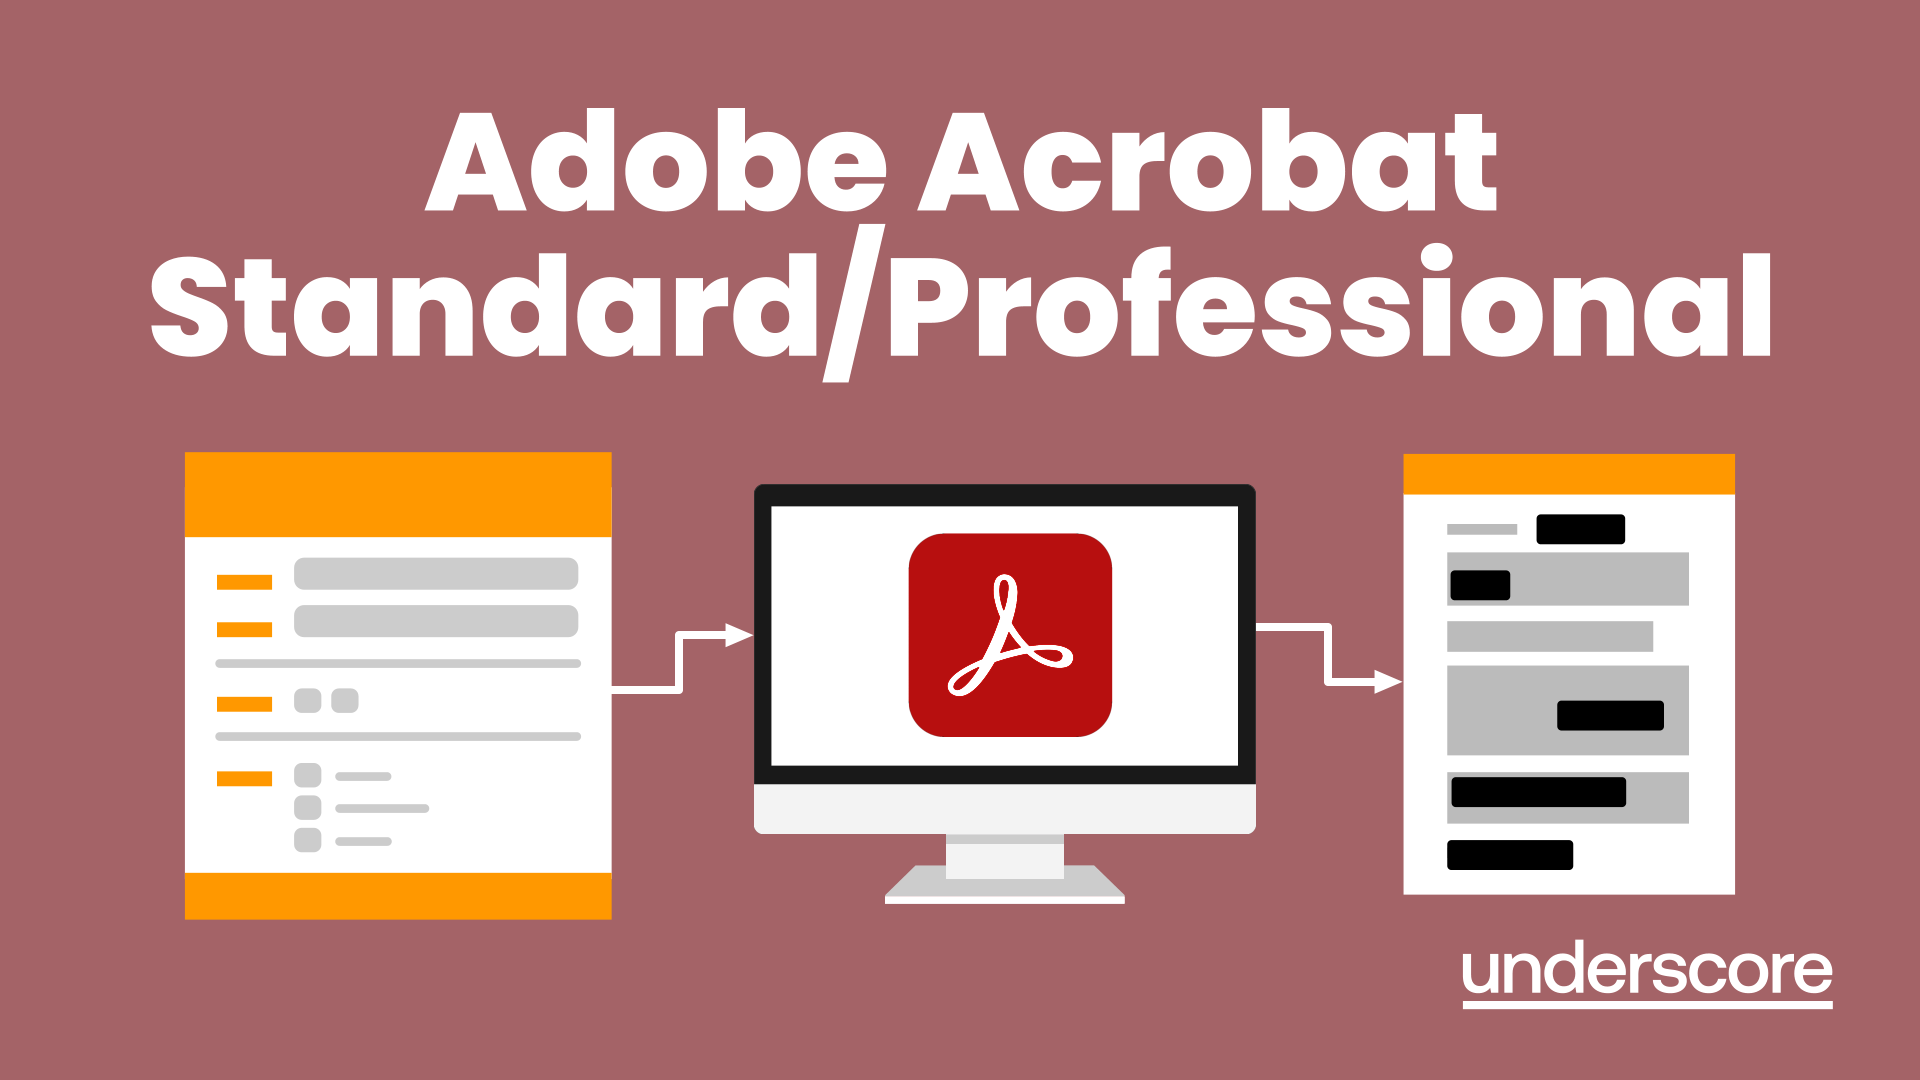
Adobe Acrobat (Standard or Professional)
By Underscore Group
Discover the amazing features this tool has to offer in combining, collating and editing documents and the forms, markups and redaction techniques available. Duration 1 day (6.5 hours) Overview This Adobe Acrobat course looks at the powerful features of the tool quite often overlooked. The course requires the use of either the Standard or Professional versions of Acrobat as the free Acrobat Reader only has limited functionality. Learn how to combine documents into a single file, edit and mark up PDFs, compare documents, redact data from documents and create fillable forms. Objectives By the end of the course you will be able to: Create PDFs from other tools Set security Collate and combine files into a single PDF Edit PDF files Complete and sign documents Create fillable forms Mark up PDF documents Compare files Redact data Content Creating PDFs Building PDF documents from Word, Excel and PowerPoint Setting PDF options for print, image quality and security Working in Acrobat Home, Tools and Document Views Using the Navigation Panel and Pane Floating toolbar and Contextual menus Collating and Combining Files Combining multiple files into a single PDF Adding extra files Deleting pages and reorganising pages Editing Files Editing text and graphics Adding text and images Adding headers and footers, watermarks and backgrounds Adding Links Adding manual links Automatic links Completing and signing documents Using fill and sign to complete forms Adding signatures Creating Fillable and Signable Forms Prepare a form Autodetect fillable fields Add manual fillable fields Adding drop downs, check boxes, etc. Naming fields Setting field properties Previewing the form Marking Up Documents Marking up changes Using sticky notes Using the highlighter pen Adding stamps Attaching documents and audio Replying to comments Comparing Files Selecting settings Comparison report Reviewing differences Using the changes pane Redacting Data (Acrobat Professional only) Setting redaction options Redacting chosen text Searching and redacting words, phrases or patterns Redacting whole pages Applying redaction
This 3 Days programme will equip you to use, price, manage and evaluate interest rate and cross-currency derivatives. The course starts with the building blocks of money markets and futures, through yield curve building to interest-rate and cross-currency swaps, and applications. The approach is hands-on and learning is enhanced through many practical exercises covering hedging, valuation, and risk management. This course also includes sections on XVA, documentation and settlement. The programme includes extensive practical exercises using Excel spreadsheets for valuation and risk-management, which participants can take away for immediate implementation.

Primavera Risk Analysis
By Underscore Group
Discover the powerful schedule and cost risk analysis features of PRA. Course overview Duration: 2 days (13 hours) Our Primavera Risk Analysis course gives a detailed introduction to the schedule and risk analysis features of Primavera Risk Analysis. It shows the powerful features of the tool and give hands on practice throughout the course to ensure you can confidentially put your new skills into practice back in the workplace. This course is designed for new users of Primavera Risk Analysis, and no previous experience is required. You should however be familiar with risk management processes and terminology. Objectives By the end of the course you will be able to: Import schedules into PRA Add three point estimates onto plans Perform schedule and cost analysis Use templated quick risk Run risk analysis Interpret results from the Risk Histogram and Tornado graph Add task percentiles to a Gantt chart Set up a risk register Add qualitative and quantitative risks Link risk to activities in the plan Create reports Use the Distribution Analyser Content Importing schedules Importing MSP and Primavera Schedules Running import checks Checking schedule integrity Schedule risk analysis 3 point estimating Entering uncertainly Different distributions Using quick risk Updating plan Importing plans with 3 point estimates Cost/Resource uncertainty Resource loadings Creating 3 point cost estimates Resource distributions and escalations Simple cost estimates Templated quick risk Setting up and applying templated quick risk Assessing risk at WBS level Running risk analysis Running risk analysis Interpreting results on the Risk Histogram Setting analysis options Task percentiles Setting task percentile options Including task percentiles on the Gantt chart Tornado graph Creating a Tornado graph Viewing sensitivity Analysing sensitivity against activities Setting up the risk register Setting Schema levels Defining criteria and tolerances Setting up a Risk Breakdown Structure (RBS) Working with manageability and proximity Saving scoring matrices Adding custom fields Exporting data Exporting to Excel, Word and PowerPoint Qualitive risks Setting risk IDs Adding risk cause, description and effect Setting up risk details Entering mitigation actions Quantitative risks Linking risks to activities Adding schedule and cost impacts Defining how multiple risks impact Correlation Migrating your plan Adding mitigation actions to your plan as tasks Linking tasks to mitigation actions Actioning your risk register Progressing risks Importing progressed plans Linking register to progressed plans Risk history The Waterfall chart Saving and reporting Exporting the risk register Running reports Creating new reports Building and comparing risk plans Using the distribution analyser Comparing dates and cost

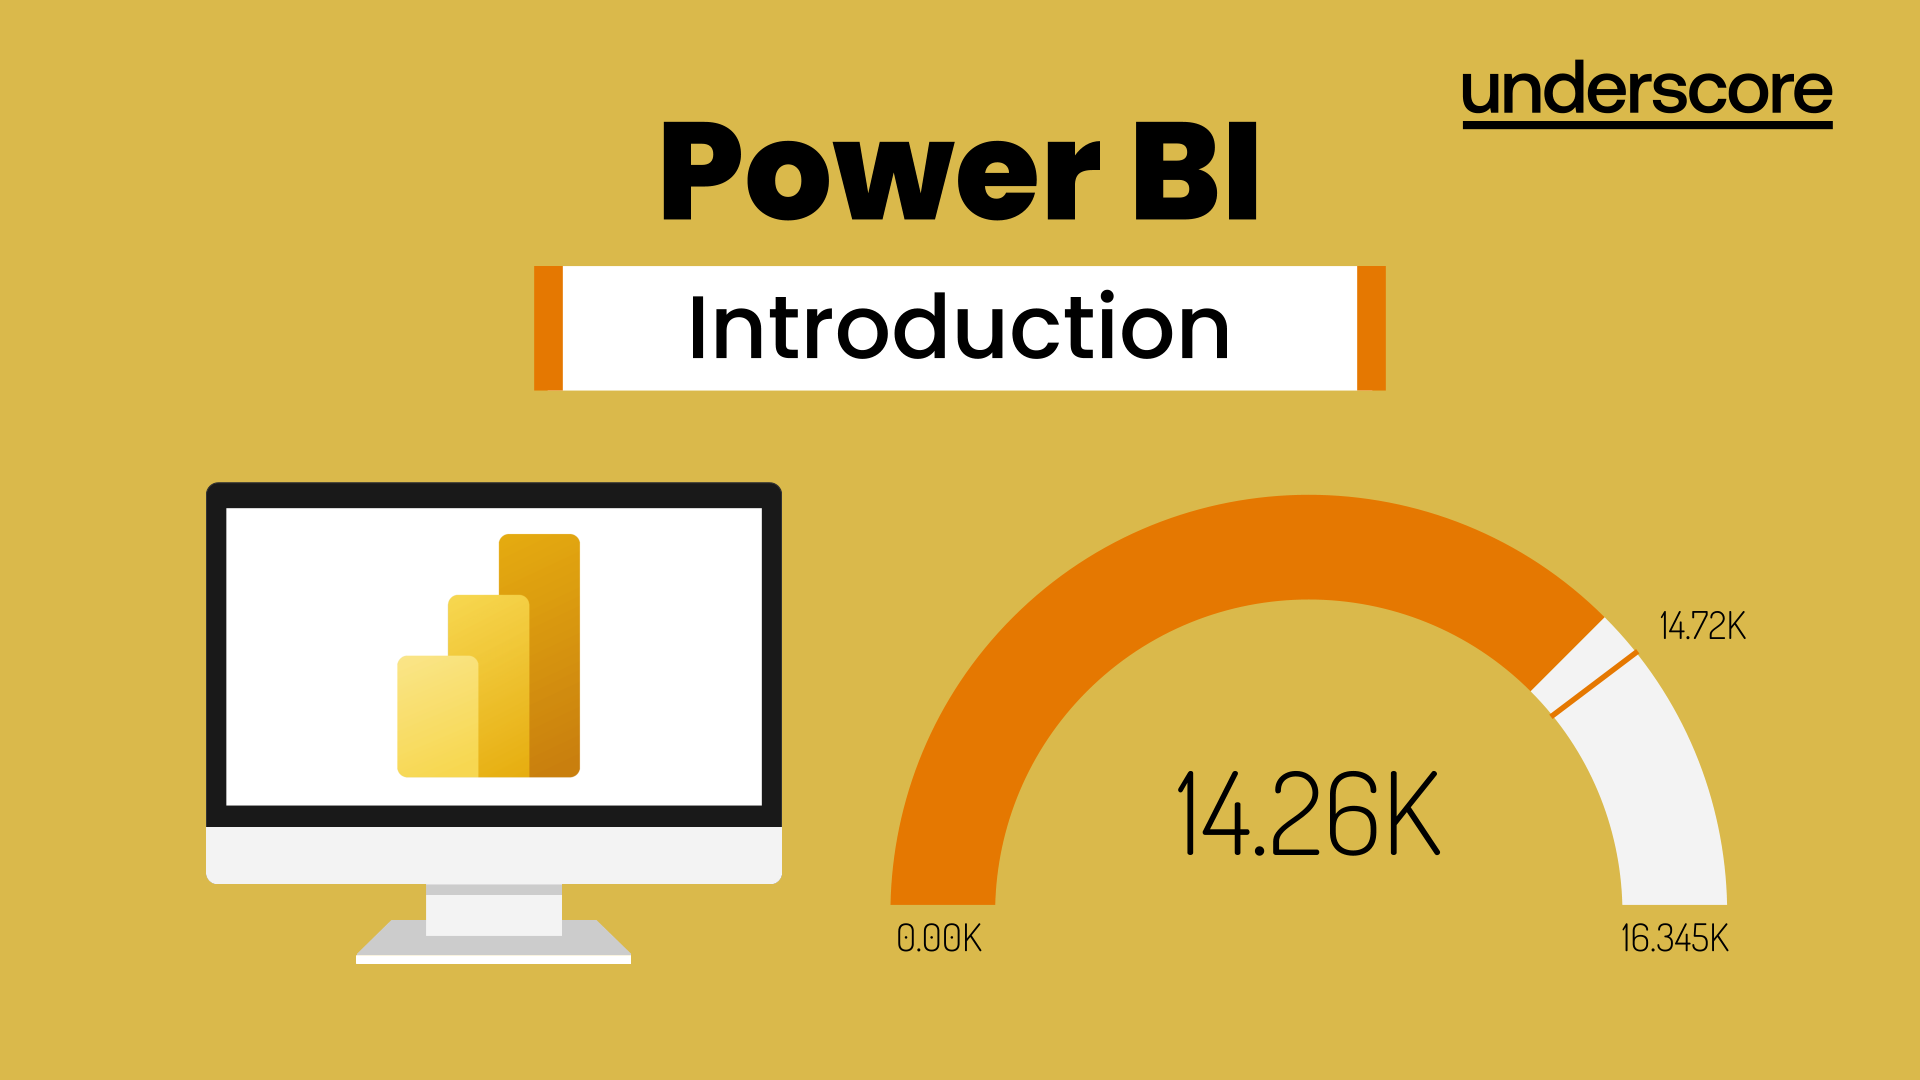
Power BI Introduction
By Underscore Group
Learn how to use this powerful tool to import and clean data and create some amazing visuals. Course overview Duration: 2 days (13 hours) Power BI Desktop is a powerful tool for working with your data. It enables you to import multiple data sources and create effective visualisations and reports. This course is an introduction to Power BI to get you started on creating a powerful reporting capability. You should have a good working knowledge of Excel and managing data before attending. Objectives By the end of the course you will be able to: Import data from multiple data sources Edit and transform data before importing Create reports Create different visualisations Create data models Build data relationships Use the drill down features Create measures Use the Power BI Service Build dashboards Use the mobile app Content Essentials Importing Data Power BI Overview Data sources Importing data Transforming Your Data Editing your data Setting data types Removing columns/rows Choosing columns to keep Setting header rows Splitting columns Creating Reports Creating and saving reports Adding pages Renaming pages Interactivity Refreshing your data Adding Columns Columns from example Custom columns Conditional columns Append Queries Importing folders Setting up and using append queries Creating Chart Visualisations Adding chart elements Choosing chart types Setting properties Setting values, axis and legends Using tooltips Visual filters Setting page and report filters Creating Tables, Cards, Gauges and Maps Adding table elements Adding maps Working with cards Working with matrices KPIs and Gauges Conditional Formatting Setting rules Removing conditional formatting Working with Data Models Merge Queries Setting up and using merge queries Merging in columns of data Creating a Data Model The data model Multiple data tables Connecting tables Building relationships Relationship types Building visuals from multiple tables Unpivoting Data Working with summary data Unpivoting data Using Hierarchies Using built in hierarchies Drill down Drill up See next level Expand a hierarchy Create a new hierarchy Grouping Grouping text fields Grouping date and number fields Creating Measures DAX functions DAX syntax Creating a new measure Using quick measures Using the PowerBI Service Shared workspaces My workspace Dashboards Reports Datasets Drill down in dashboards Focus mode Using Q&A Refreshing data Using Quick Insights Power BI Mobile App Using the Power BI Mobile App
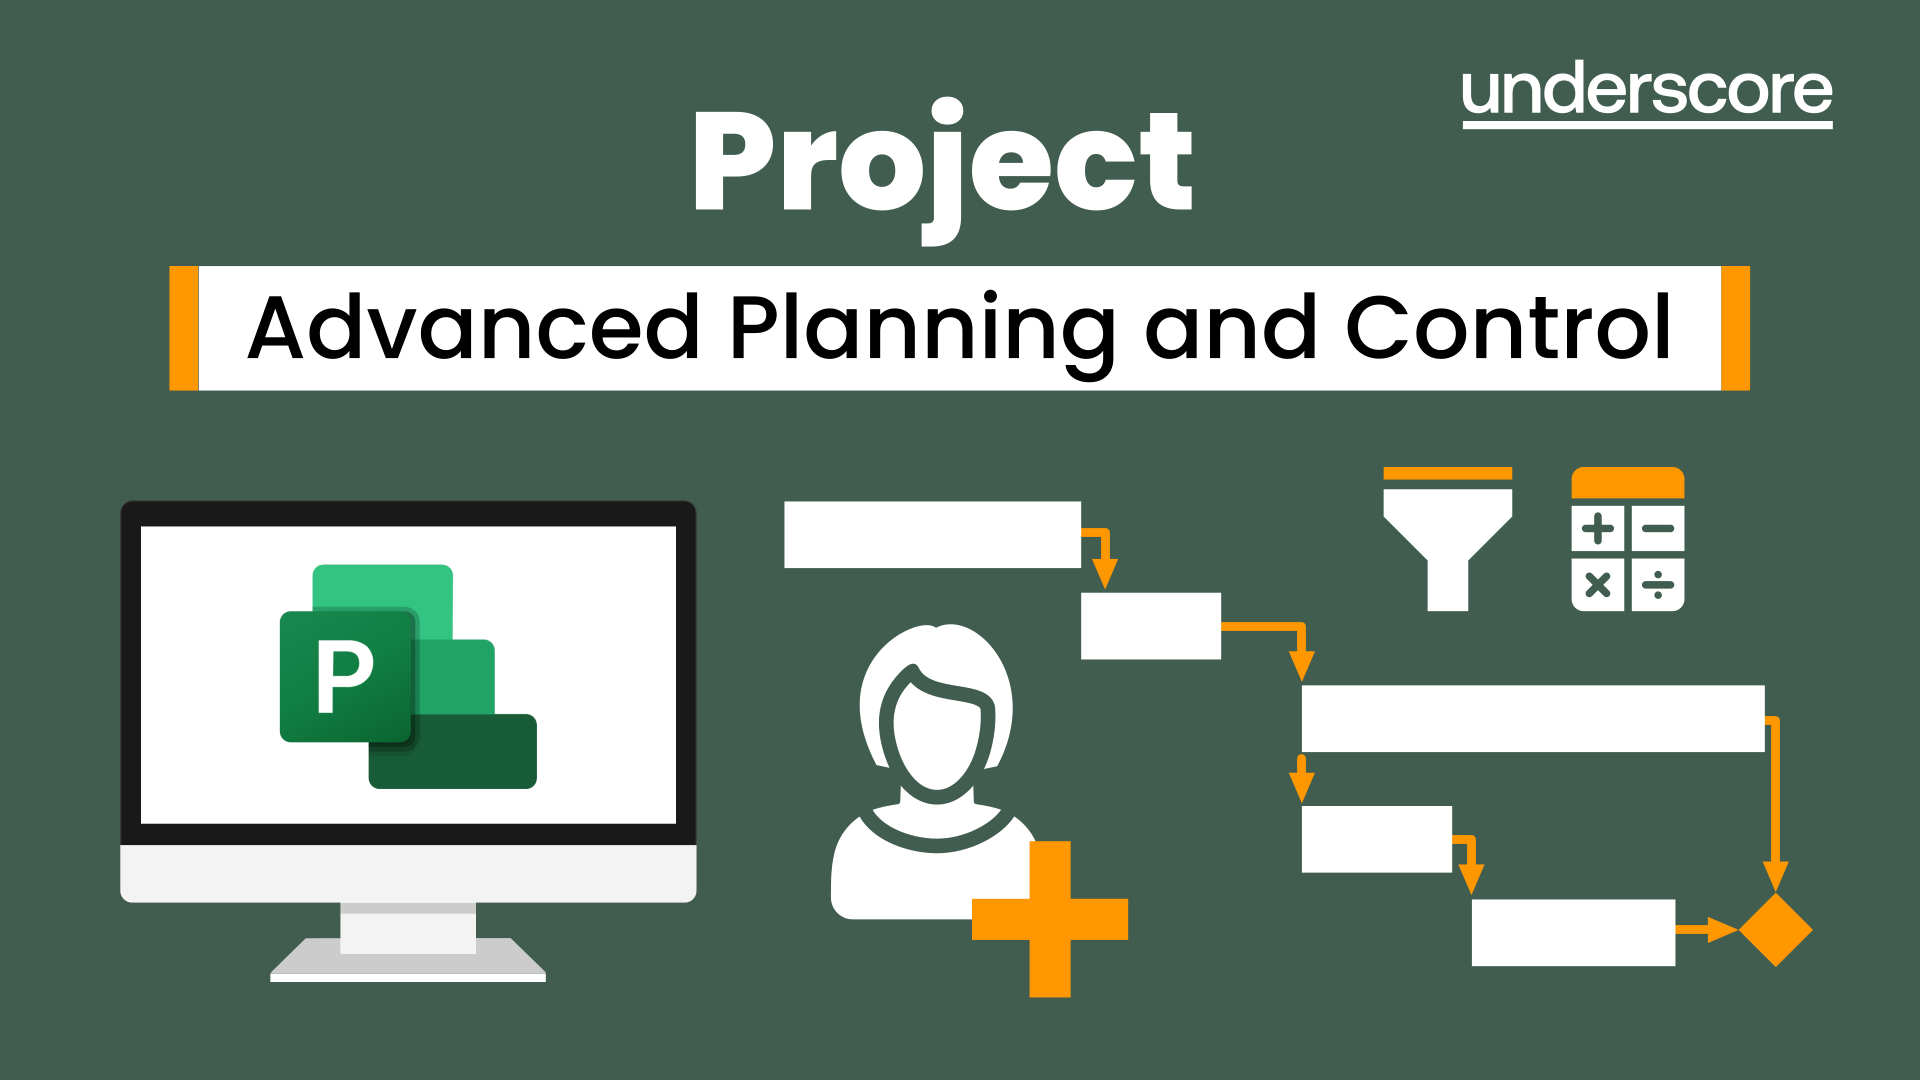
Project Advanced Planning and Control
By Underscore Group
Look at some of the more advanced planning features available in Project. Course overview Duration: 1 day (6.5 hours) Our Project – Advanced Planning and Control course looks at advanced planning and resourcing techniques in Microsoft Project and how to customise your schedule to give better visibility and flexibility. The course is designed for experienced users of Project who have attended our Project Planning and Control introduction course or have equivalent knowledge. You must be confident using Project to build and resource schedules and create task dependencies. Objectives By the end of the course you will be able to: Work with different types of task Amend resource load on a task Work with multiple resource rates Create custom tables Add custom fields Create calculated fields Add drop down lists in fields Filter and extract information Create new views Export information Content Advanced planning techniques Splitting tasks Task types Spreading work across activities Advanced resourcing techniques Resource types Assignment views Effective dates Work contours Overtime work Using multiple resource rates Creating custom tables Customising tables Adding fields Creating custom fields Adding text, number, date and time fields Using flag fields Defining pick lists Renaming custom fields Creating calculated fields Creating formulas Using graphical indicators Uploading and tracking progress Completing work Completing work per resource Updating tasks Updating the project Working with the status date Rescheduling work Viewing baseline against schedule Project overview statistics Working with filters Building standard filters Building interactive filters Task and resource filters Using highlight filters Creating custom views Creating customised views Customising text styles Using grouping techniques Exporting information Exporting to Excel
School of Economic and Financial Modelling
By Mindset Resource Consulting
Our Economic and Financial Modelling courses are suitable for economists, researchers and regulators in policy making institutions such as central banks, ministries of finance, trade and investment, economic planning authorities, regional/international policy institutions, think tanks, petroleum industry and other business/economic sectors that make use of statistical and econometric modelling techniques.

Visual Analytics Best Practice
By Tableau Training Uk
This course is very much a discussion, so be prepared to present and critically analyse your own and class mates work. You will also need to bring a few examples of work you have done in the past. Learning and applying best practice visualisation principles will improve effective discussions amongst decision makers throughout your organisation. As a result more end-users of your dashboards will be able to make better decisions, more quickly. This 2 Day training course is aimed at analysts with good working knowledge of BI tools (we use Tableau to present, but attendees can use their own software such as Power BI or Qlik Sense). It is a great preparation for taking advanced certifications, such as Tableau Certified Professional. Contact us to discuss the Visual Analytics Best Practice course Email us if you are interested in an on-site course, or would be interested in different dates and locations This Tableau Desktop training intermediate course is designed for the professional who has a solid foundation with Tableau and is looking to take it to the next level. Attendees should have a good understanding of the fundamental concepts of building Tableau worksheets and dashboards typically achieved from having attended our Tableau Desktop Foundation Course. At the end of this course you will be able to communicate insights more effectively, enabling your organisation to make better decisions, quickly. The Tableau Desktop Analyst training course is aimed at people who are used to working with MS Excel or other Business Intelligence tools and who have preferably been using Tableau already for basic reporting. The course includes the following topics: WHAT IS VISUAL ANALYSIS? Visual Analytics Visual Analytics Process Advantages of Visual Analysis Exercise: Interpreting Visualisations HOW DO WE PROCESS VISUAL INFORMATION? Memory and Processing Types Exercise: Identifying Types of Processing Cognitive Load Exercise: Analysing Cognitive Load Focus and Guide the Viewer Remove Visual Distractions Organise Information into Chunks Design for Proximity Exercise: Reducing Cognitive Load SENSORY MEMORY Pre-attentive Attributes Quantitatively-Perceived Attributes Categorically-Perceived Attributes Exercise: Analysing Pre-attentive Attributes Form & Attributes Exercise: Using Form Effectively Colour & Attributes Exercise: Using Colour Effectively Position & Attributes Exercise: Using Position Effectively ENSURING VISUAL INTEGRITY Informing without Misleading Gestalt Principles Visual Area Axis & Scale Colour Detail Exercise: Informing without Misleading CHOOSING THE RIGHT VISUALISATION Comparing and Ranking Categories Comparing Measures Comparing Parts to Whole Viewing Data Over Time Charts Types for Mapping Viewing Correlation Viewing Distributions Viewing Specific Values DASHBOARDS AND STORIES Exercise: Picking the Chart Type Exercise: Brainstorming Visual Best Practice Development Process for Dashboards and Stories Plan the Visualisation Create the Visualisation Test the Visualisation Exercise: Designing Dashboards and Stories This training course includes over 20 hands-on exercises to help participants “learn by doing” and to assist group discussions around real-life use cases. Each attendee receives an extensive training manual which covers the theory, practical applications and use cases, exercises and solutions together with a USB with all the materials required for the training. The course starts at 09:30 on the first day and ends at 17:00. On the second day the course starts at 09:00 and ends at 17:00. Students must bring their own laptop with an active version of Tableau Desktop 10.5 (or later) pre-installed. What People Are Saying About This Course "Steve was willing to address questions arising from his content in a full and understandable way"Lisa L. "Really enjoyed the course and feel the subject and the way it was taught was very close to my needs"James G. "The course tutor Steve was incredibly helpful and taught the information very well while making the two days very enjoyable."Bradd P. "The host and his courses will give you the tools and confidence that you need to be comfortable with Tableau."Jack S. "Steve was fantastic with his knowledge and knowhow about the product. Where possible he made sure you could put demonstrations in to working practice, to give the audience a clear understanding."Tim H. "This was a very interesting and helpful course, which will definitely help me produce smarter, cleaner visualisations that will deliver more data-driven insights within our business."Richard A. "Steve is very open to questions and will go out of his way to answer any query. Thank you"Wasif N. "Steve was willing to address questions arising from his content in a full and understandable way"Lisa L. "Really enjoyed the course and feel the subject and the way it was taught was very close to my needs"James G.